
If you are planning on exploring visual storytelling and producing another publication or picture-story, i.e photobook, zine, photo-essay as final outcomes in the exam, then make sure you have completed and published the following blog posts:
- RESEARCH & ANALYSIS
- CONCEPT & NARRATIVE
- DESIGN & LAYOUT
- FINAL LAYOUT & EVALUATION
BLOG POST: RESEARCH & ANALYSIS
1. Research a photobook and describe the story it is communicating with reference to:
subject-matter (what is it about?)
genre (landscape, portraiture, still-life etc)
approach to image-making (documentary, tableaux, conceptual etc.)
2. Who is the photographer?
Why did he/she make it? (intentions/ reasons)
Who is it for? (audience)
How was it received? (any press, reviews, awards, legacy etc.)
3. Deconstruct the narrative, concept and design of the book and apply theory above when considering:
- Book in hand: how does it feel? Smell, sniff the paper.
- Paper and ink: use of different paper/ textures/ colour or B&W or both.
- Format, size and orientation: portraiture/ landscape/ square/ A5, A4, A3 / number of pages.
- Binding, soft/hard cover. image wrap/dust jacket. saddle stitch/swiss binding/ Japanese stab-binding/ leperello
- Cover: linen/ card. graphic/ printed image. embossed/ debossed. letterpress/ silkscreen/hot-stamping.
- Title: literal or poetic / relevant or intriguing.
- Narrative: what is the story/ subject-matter. How is it told?
- Structure and architecture: how design/ repeating motifs/ or specific features develops a concept or construct a narrative.
- Design and layout: image size on pages/ single page, double-spread/ images/ grid, fold- outs/ inserts.
- Editing and sequencing: selection of images/ juxtaposition of photographs/ editing process.
- Images and text: are they linked? Introduction/ essay/ statement by artists or others. Use of captions (if any.)
UNDERSTANDING PHOTOBOOKS:
NARRATIVE, EDITING, SEQUENCING, DESIGN, FORM, FUNCTION
Earlier in the academic year we looked at narrative in photography. Click on the blog post below to refresh your knowledge and understanding and revisit some of the theories around visual storytelling.
Narrative – summary
Narrative is essentially the way a story is told. For example you can tell different narratives of the same story. It is a very subjective process and there is no right or wrong. Whether or not your photographic story is any good is another matter.
Narrative is constructed when you begin to create relationships between images (and/or text) and present more than two images together. Your selection of images (editing) and the order of how these images appear on the pages (sequencing) contributes significantly to the construction of the narrative. So too, does the structure and design of the photo-zine or photobook.
However, it is essential that you identity what your story is first before considering how you wish to tell it. Planning and research are also essential to understanding your subject and there are steps you can take in order to make it successful. Once you have considered the points made between the differences in narrative and story complete the following:
CASE-STUDIES:
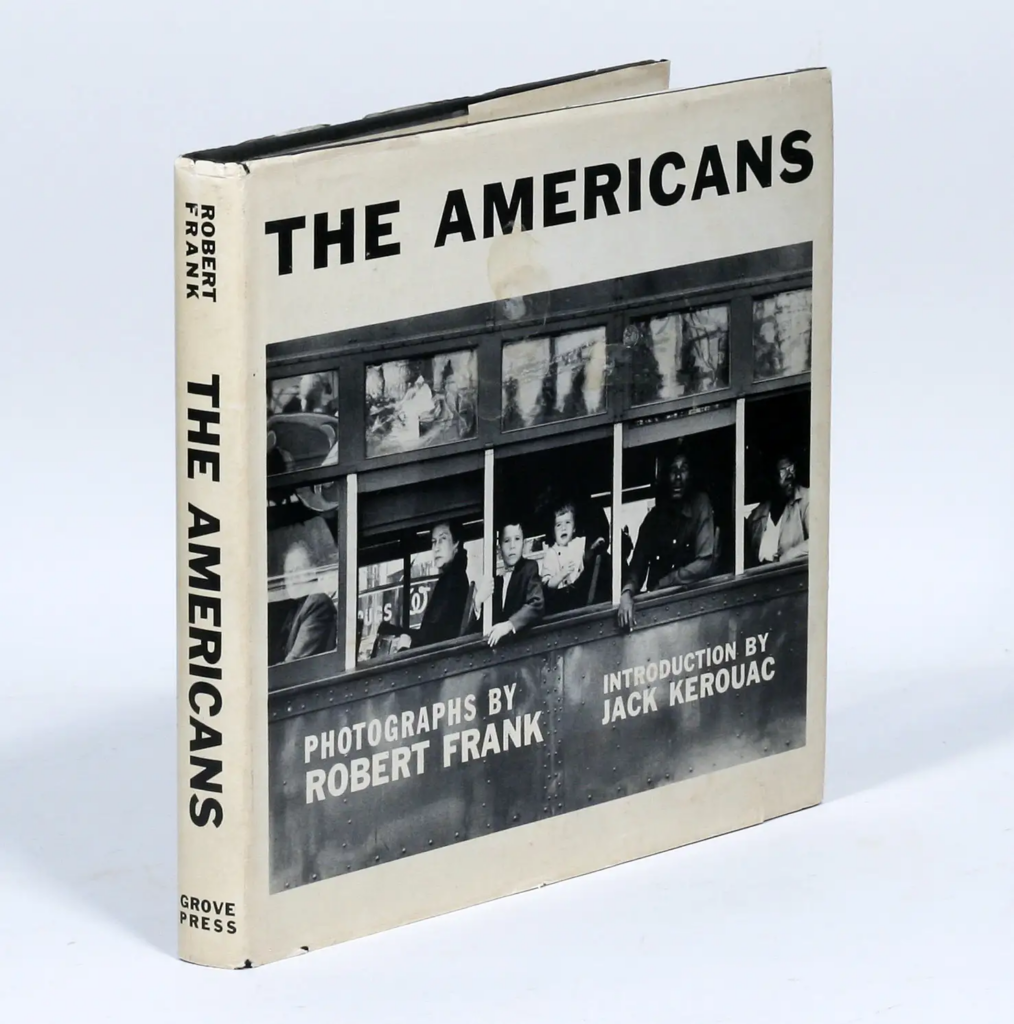
PHOTOBOOKS: In October of 1958, French publisher Robert Delpire released Les Américains in Paris. The following year Grove Press published The Americans in New York with an introduction by American writer, Jack Kerouac (the book was released in January 1960).
Robert Frank: The Americans
Like Frank’s earlier books, the sequence of 83 pictures in The Americans is non-narrative and nonlinear; instead it uses thematic, formal, conceptual and linguistic devices to link the photographs. The Americans displays a deliberate structure, an emphatic narrator, and what Frank called a ‘distinct and intense order’ that amplified and tempered the individual pictures.
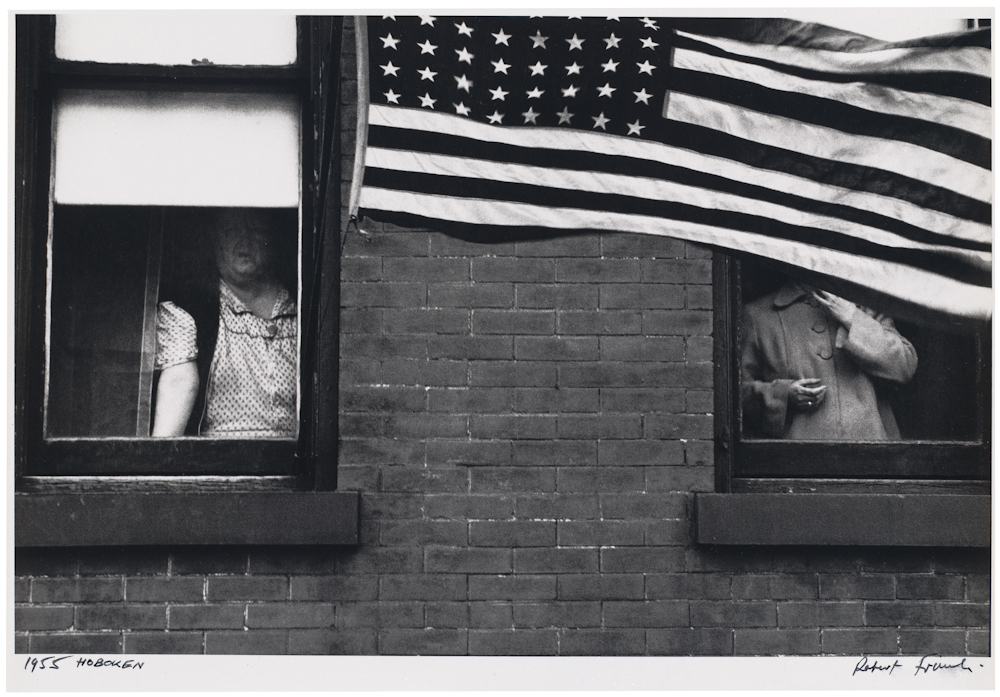
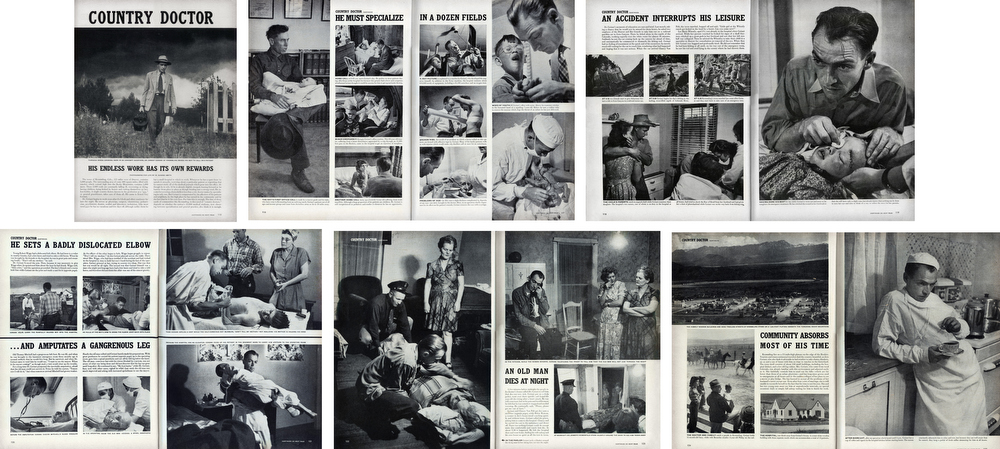
PHOTO-ESSAY: The life of a country doctor in Colorado’s Rocky Mountains
W. Eugene Smith: Country Doctor
“A photo is a small voice, at best, but sometimes – just sometimes – one photograph or a group of them can lure our senses into awareness. Much depends upon the viewer; in some, photographs can summon enough emotion to be a catalyst to thought”W. Eugne Smith
W. Eugene Smith compared his mode of working to that of a playwright; the powerful narrative structures of his photo essays set a new benchmark for the genre. His series, The Country Doctor, shot on assignment for Life Magazine in 1948, documents the everyday life of Dr Ernest Guy Ceriani, a GP tasked with providing 24-hour medical care to over 2,000 people in the small town of Kremmling, in the Rocky Mountains. The story was important at the time for drawing attention to the national shortage of country doctors and the impact of this on remote communities. Today the photoessay is widely regarded as representing a definitive moment in the history of photojournalism.
TRADITIONAL PICTURE STORY
Here is a Powerpoint with more information about how to construct a Traditional Picture Story that includes individual images such as:
- Person at Work
- Relationship Shot
- Establishing Shot
- Detail shot
- Environmental Portrait
- Formal Portrait
- Observed Portrait
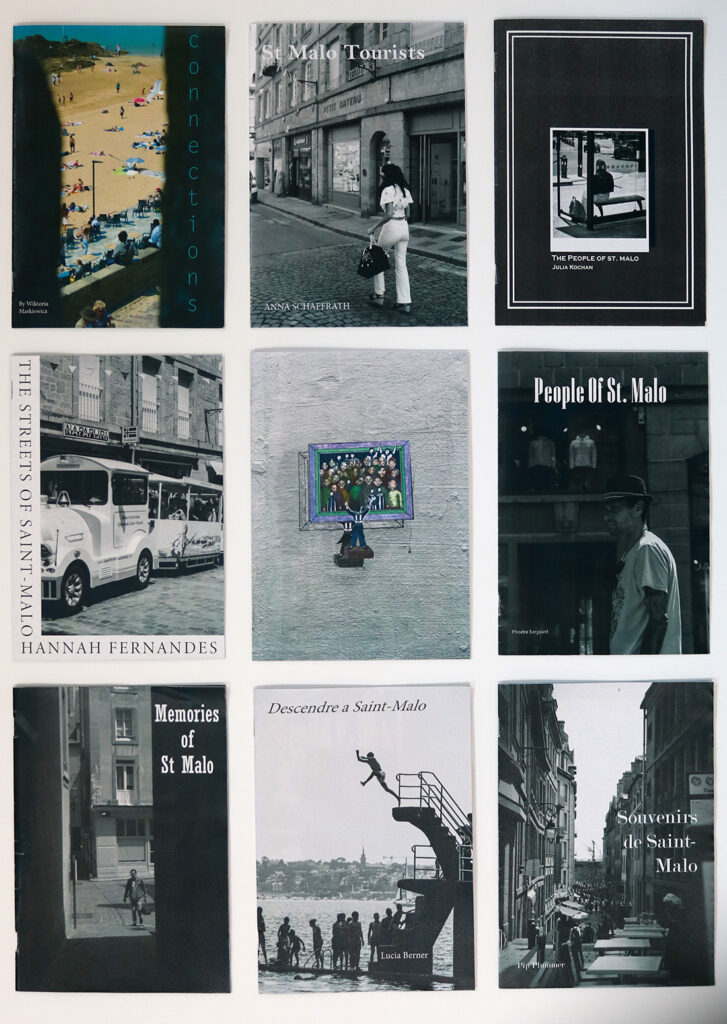
ZINES
Explore more alternative zine designs, structures and bindings here


BLOG POST: CONCEPT & NARRATIVE
1. Write a book specification and describe in detail what your book will be about in terms of narrative, concept and design with reference to the same elements of bookmaking as above.
Narrative: What is your story?
Describe in:
- 3 words
- A sentence
- A paragraph
Design: Consider the following
- How you want your book to look and feel
- Paper and ink
- Format, size and orientation
- Binding and cover
- Title
- Structure and architecture
- Design and layout
- Editing and sequencing
- Images and text
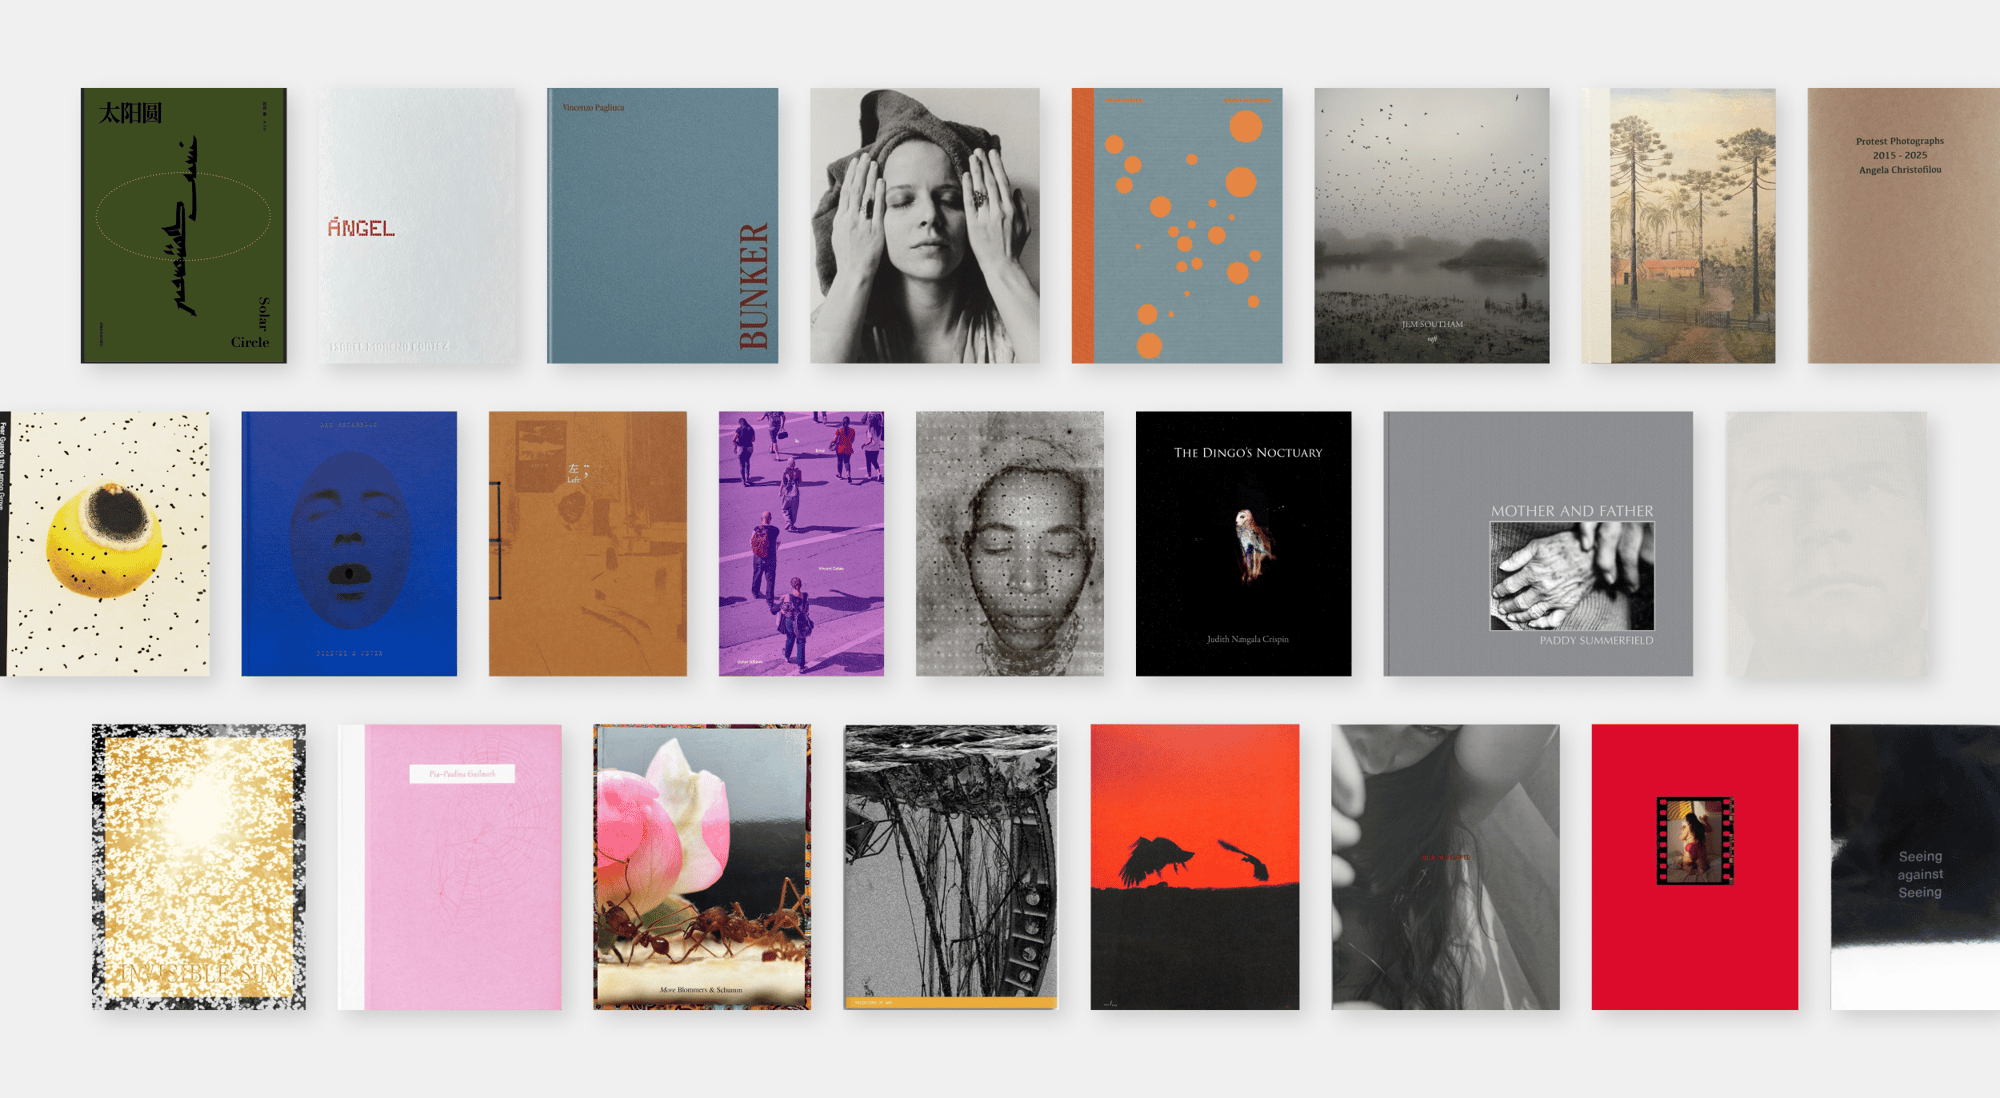
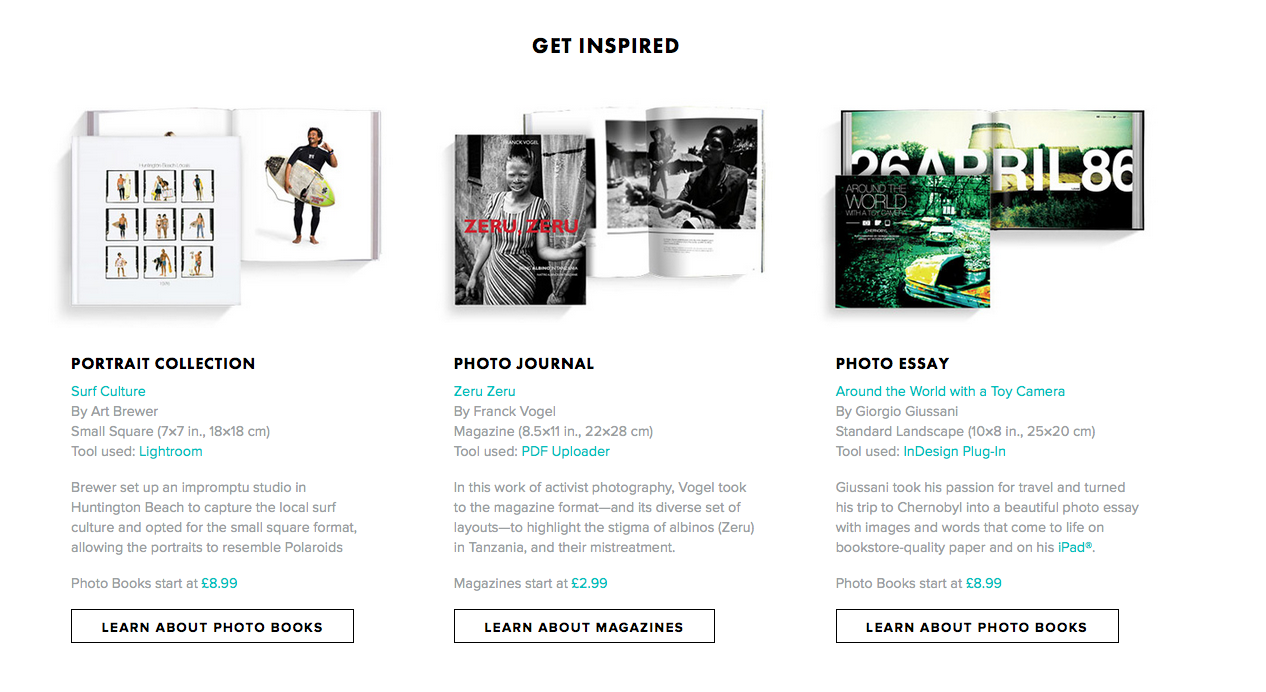
2. Produce a mood-board of design ideas for inspiration. Look at BLURB online book making website, photo books from photographers or see previous books produced by Hautlieu students on the table in class.
Photobook makers and publishers
Aperture
MACK
Steidl
Chose Commune
Self Publish Be Happy
Dewi Lewis Publishing
Akina Books
Skinnerboox
Kehrer
Void
Witty Kiwi
Dalpine
Kodoji Press
Super Labo
Fw: Books
Editions Xavier Barrel
Morel Books
PhotoBookStore – Independent bookshop with good video browsers
The Photobook Review – Reviews of photobooks
BLOG POST: DESIGN & LAYOUT
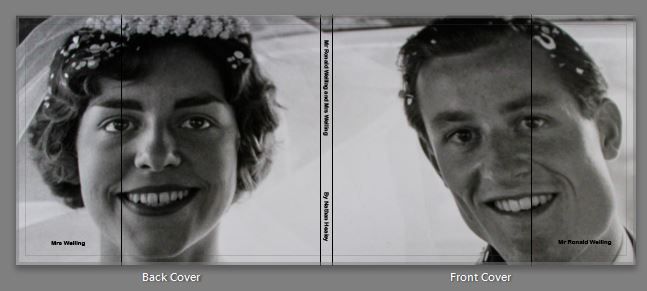
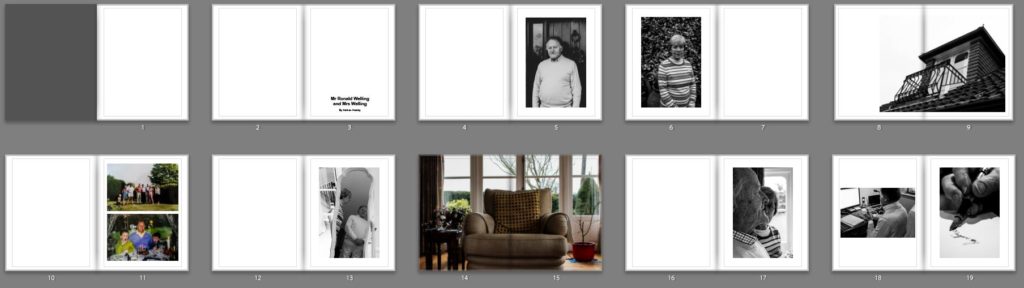
Produce screen prints of layout ideas as you progress and add to the blog for further annotation, commenting on page layout > narrative > sequencing > juxtaposition of pictures > design elements > title > use of text / image captions
Contrast:

Compliment:

I ultimately decided to go with this style of replicating the vintage effects in my own images, but I will remove my name from the second one and highlight that it is archive material and will add image captions to show the original photographer of each image as well as what the picture is showing.

Current front cover for each zine, I quite like the complimentary style but as I experiment I may switch back to contrast or potentially do a mix of both throughout.


BLOG POST: FINAL LAYOUT & EVALUATION
Your final blog post should be an online link to you BLURB book with an evaluation – see below for instructions
EVALUATION: Upon completion of photobook make sure you evaluate and reflect on your learning and final outcomes. Comment on the following:
What references did you make to artists references?
comment on technical, visual, contextual, conceptual?
How successful was your final outcomes (book, film, prints etc)?
Did you realise your intentions?
UPLOAD BOOK TO BLURB
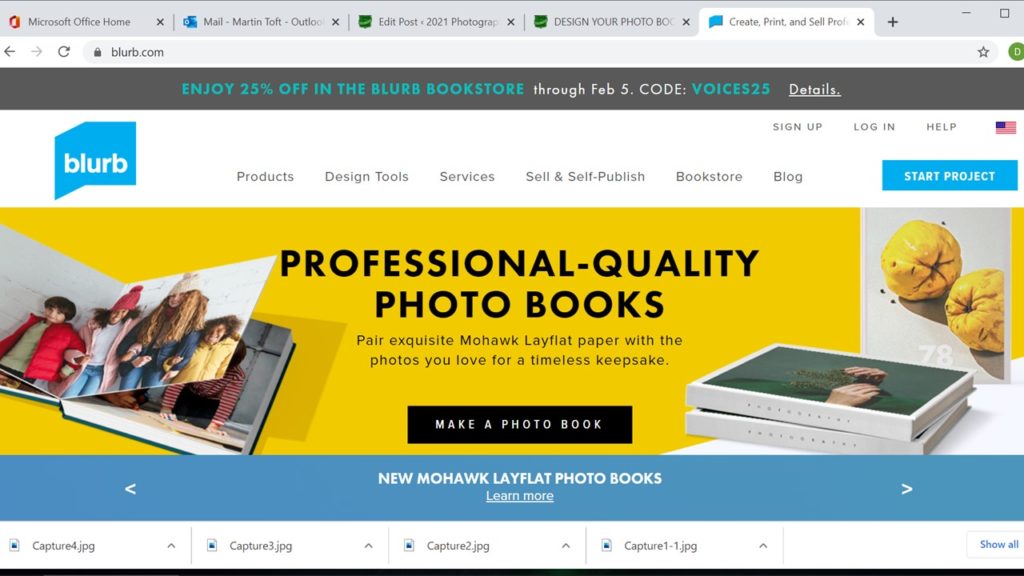
BLURB – Upload layout via internet
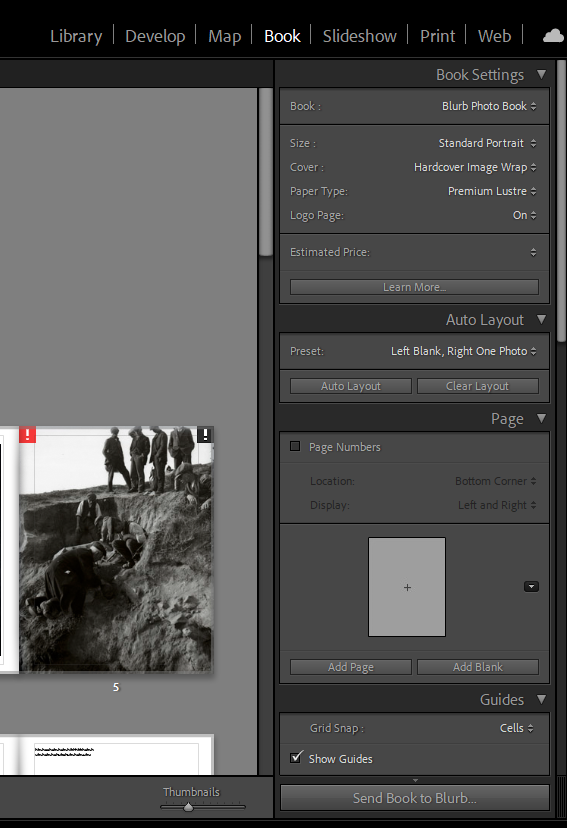
Inside Lightroom upload book design to BLURB by clicking on button: Send Book to Blurb. Then log onto your account on the Blurb website, go dashboard where you book is stored and go through check out process and order the book.
Consider spending a few extra pounds on choosing better paper, such as Premium Lustre in check-out, change colour on end paper or choose different cloth/ linen if needed.
BLURB – Upload pdf (if no internet)
Once your final design has been signed off by the teacher follow these steps to upload book as a PDF to Blurb.
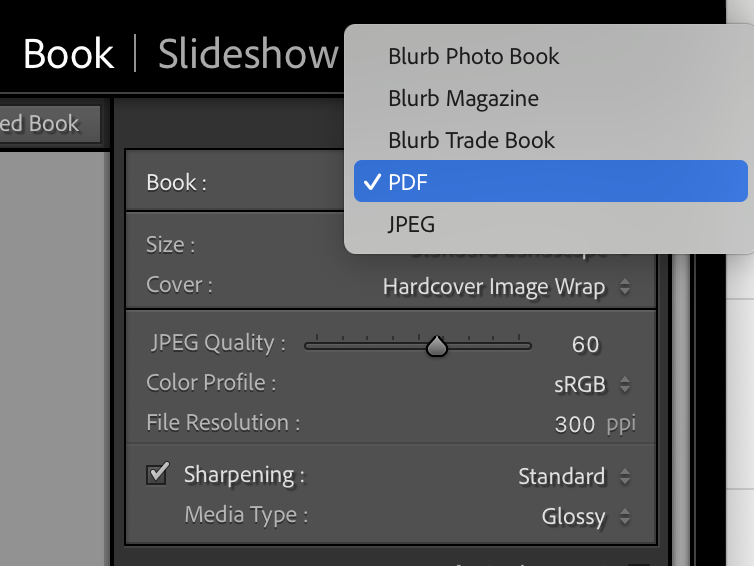
1. In Lightroom top right corner click drop-down menu in Blurb Photo Book and choose PDF. Make sure you increase JPEG Quality to 100 %.
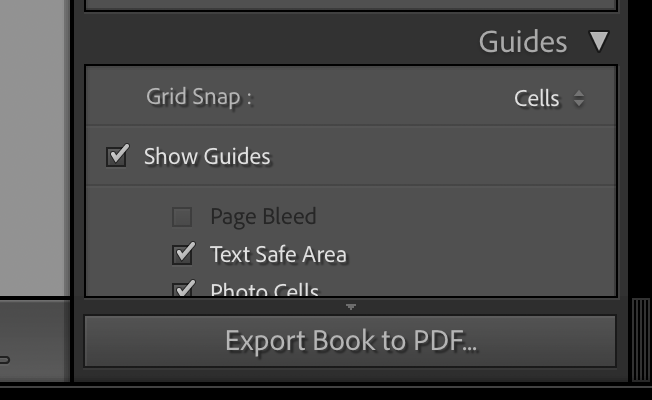
2. In bottom right corner click button: EXPORT BOOK to PDF
3. Save PDF as filename: PHOTOBOOK in folder in your student folder on M:drive.
4. Move PDF file: PHOTOBOOK to One Drive in Office 365.
5. At home download above file from One Drive and save on your personal computer.
6. Log into your BLURB account (www.blurb.co.uk)
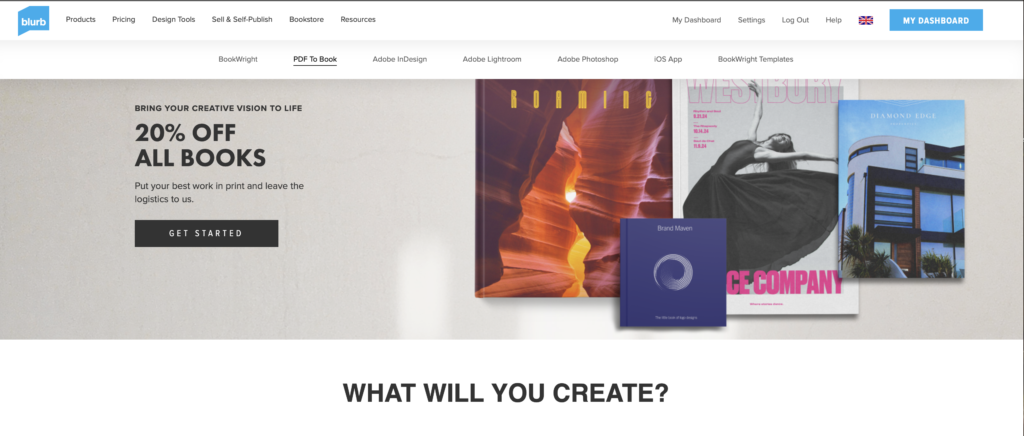
7. In top menu bar click on Design Tools and choose PDF to Book in drop down menu.
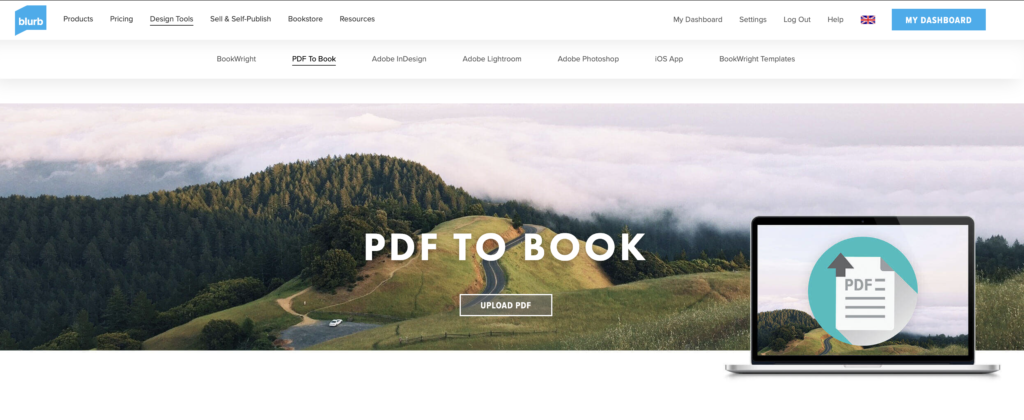
8. Click on button: Upload PDF

9. Upload your PDF files.
Cover PDF: Click to choose a file or drag and drop one here
Pages PDF: Click to choose a file or drag and drop one here
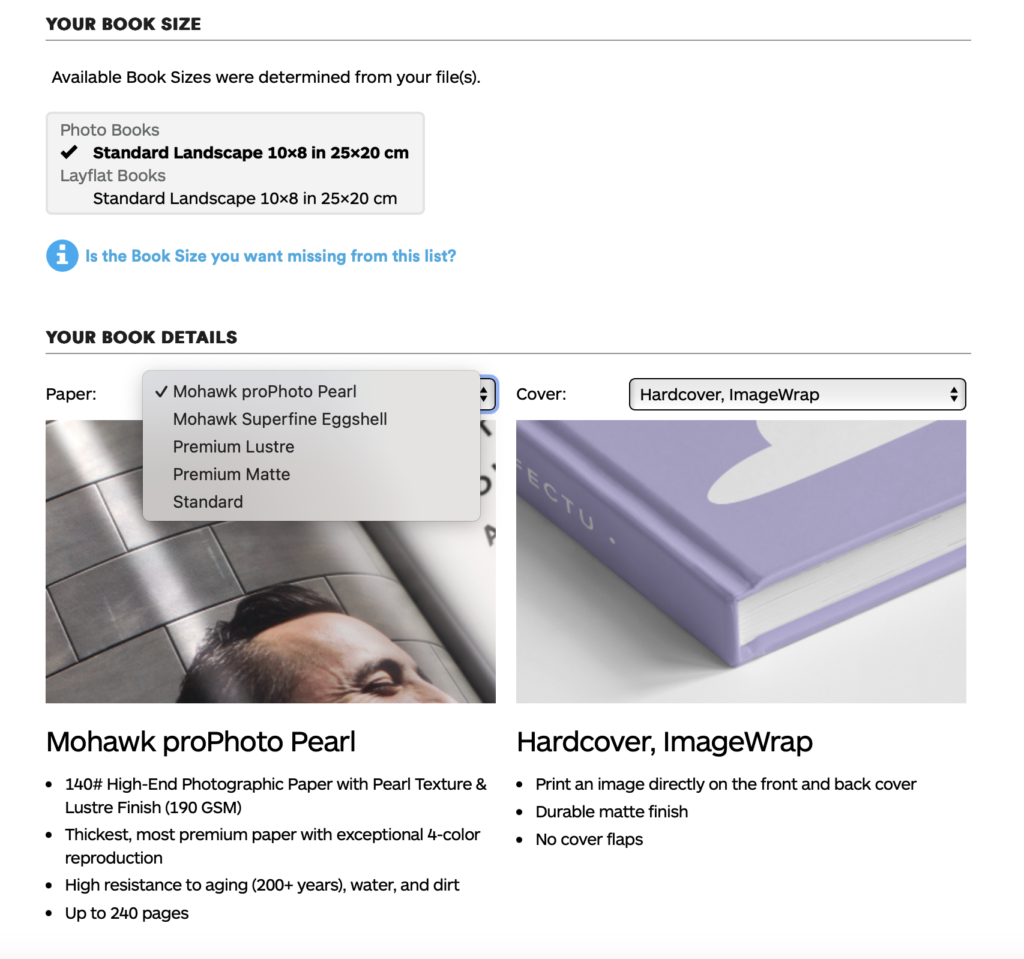
10. Once uploaded, choose paper, either Premium Lustre or Premium Matte and choose cover, either Hardcover, Image wrap or Soft cover.
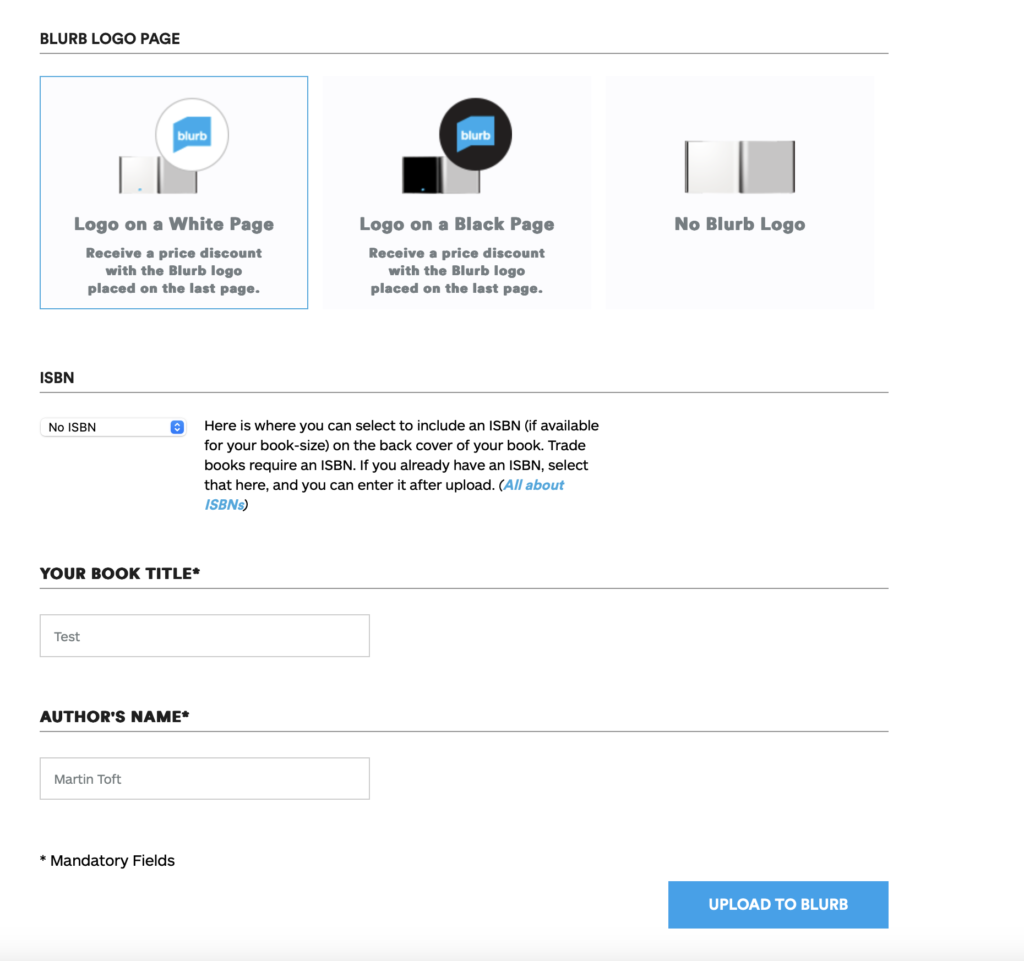
11. Select either Logo on white page or Logo on black page. IT cost you more if you choose no logo.
12. Type Title of your book and Author’s name (your name)
13. Click button: Upload to Blurb and go to check-out and order your photobook (you need either debit or credit card)
HYPERLINK TO BLURB PHOTOBOOK
LINK TO ONLINE BLURB BOOK
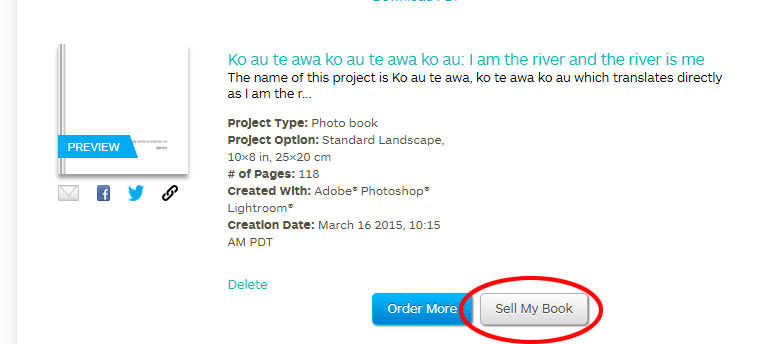
Log into your blurb account and click on Sell my book
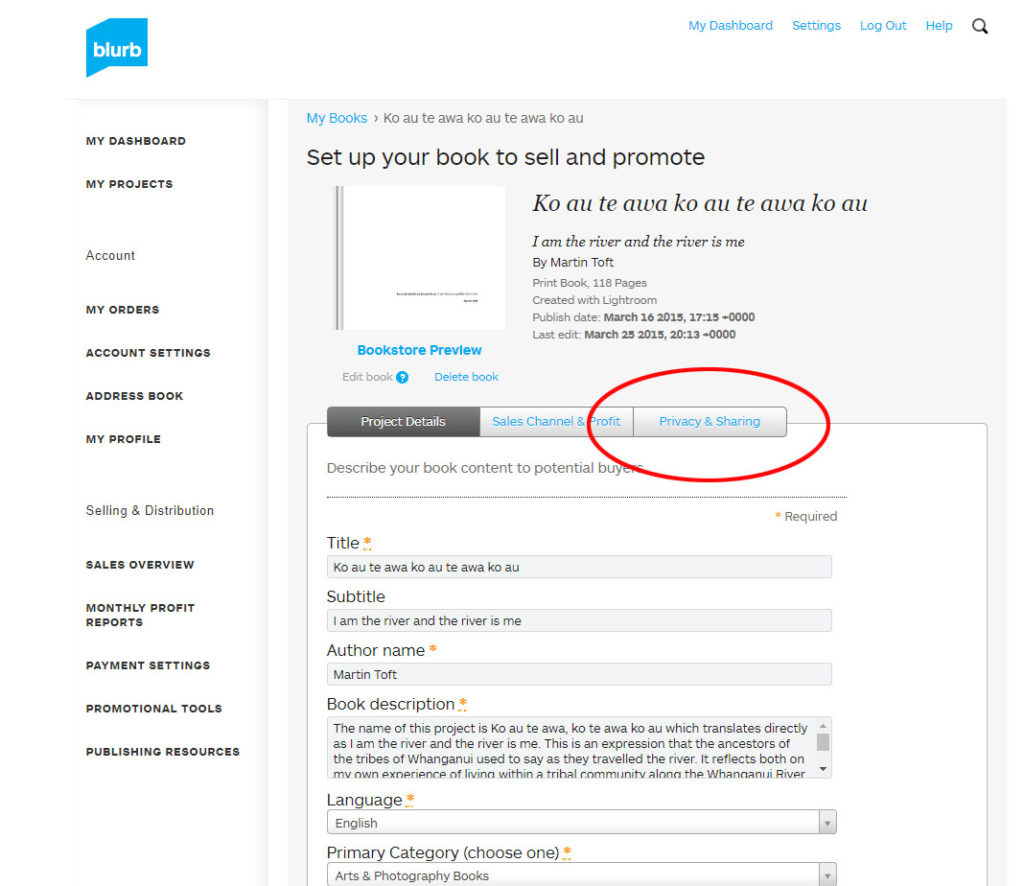
Click on Privacy & Sharing
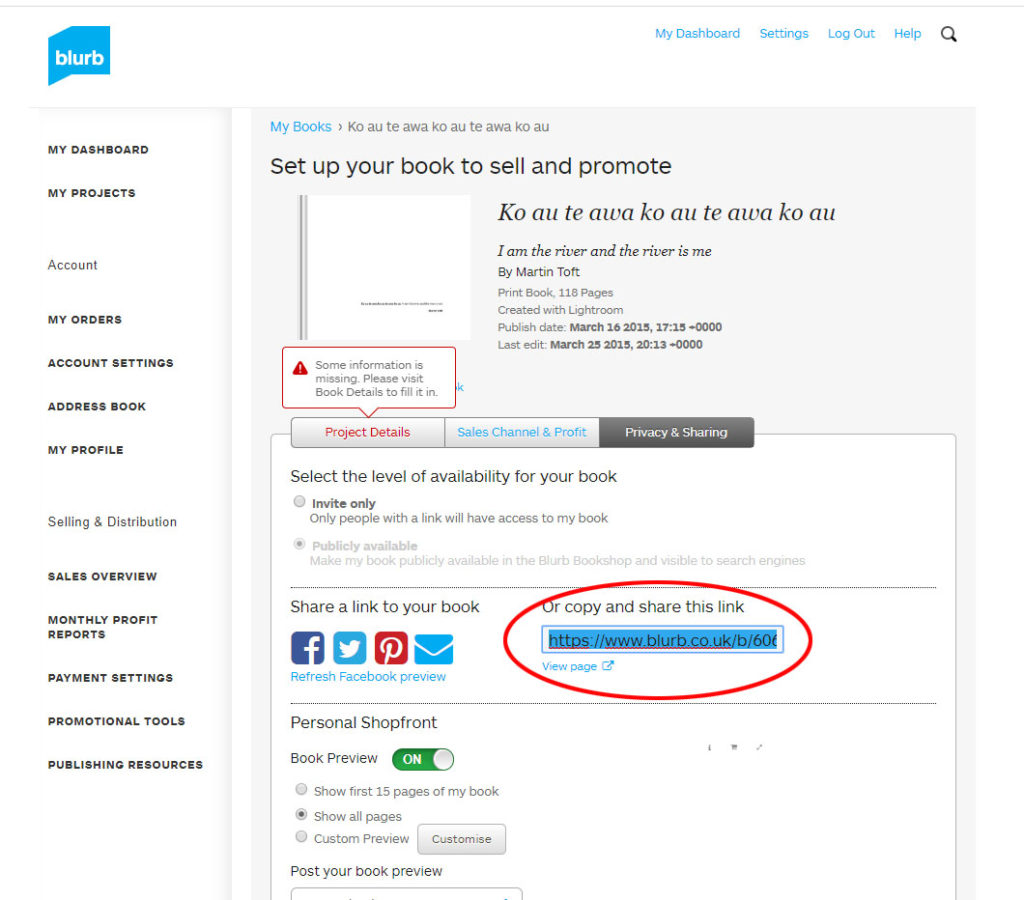
Copy link circled in red above.
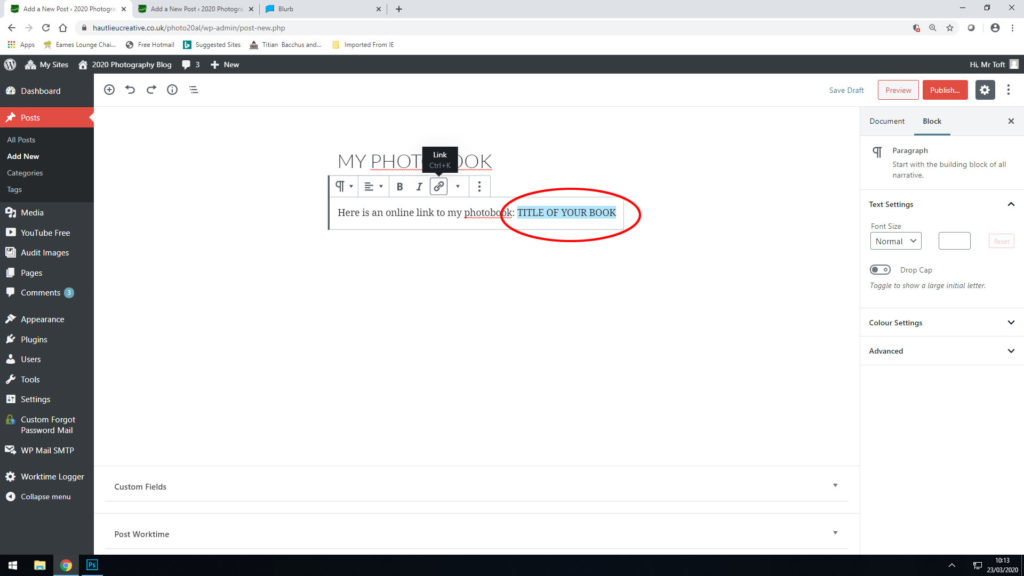
In your Photobook blog post with your final layout and design, at the very top, type title of your Photobook and copy in link from Blurb using Link button above.