
Plan
- Liminal
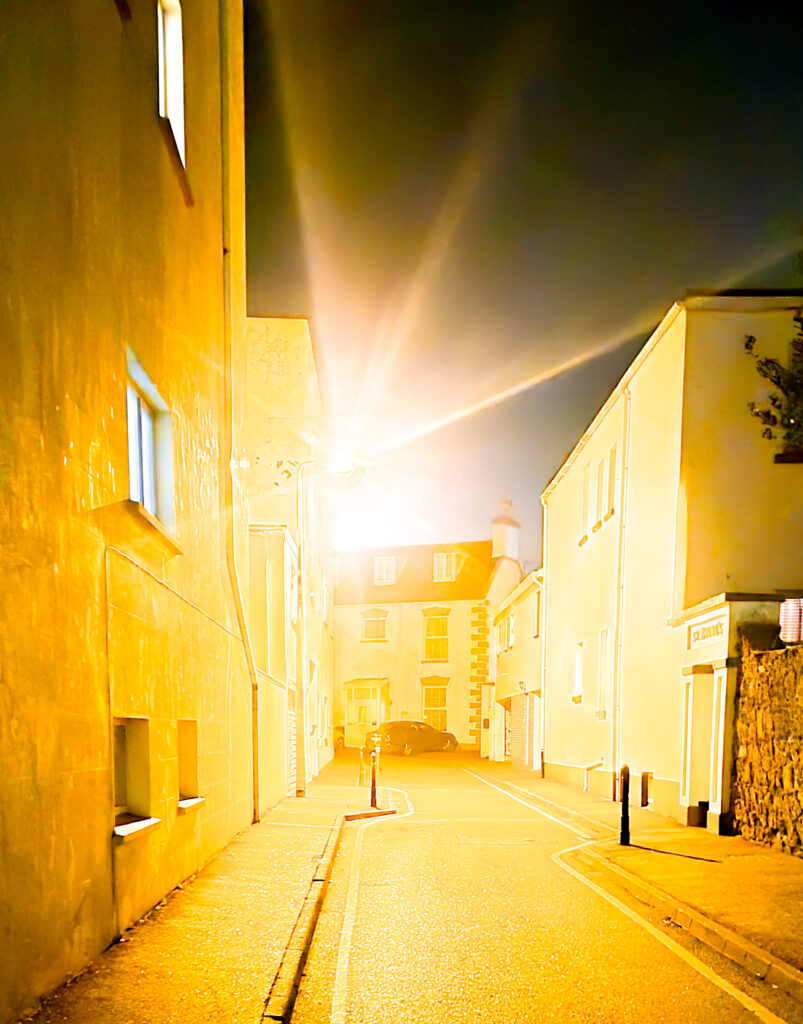
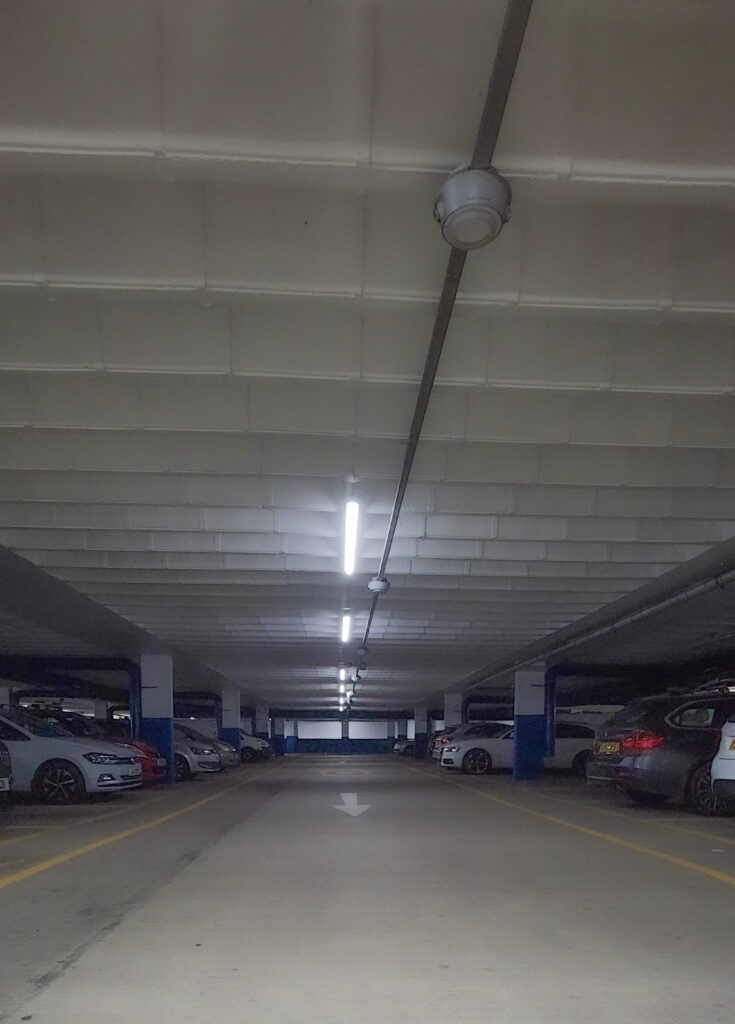
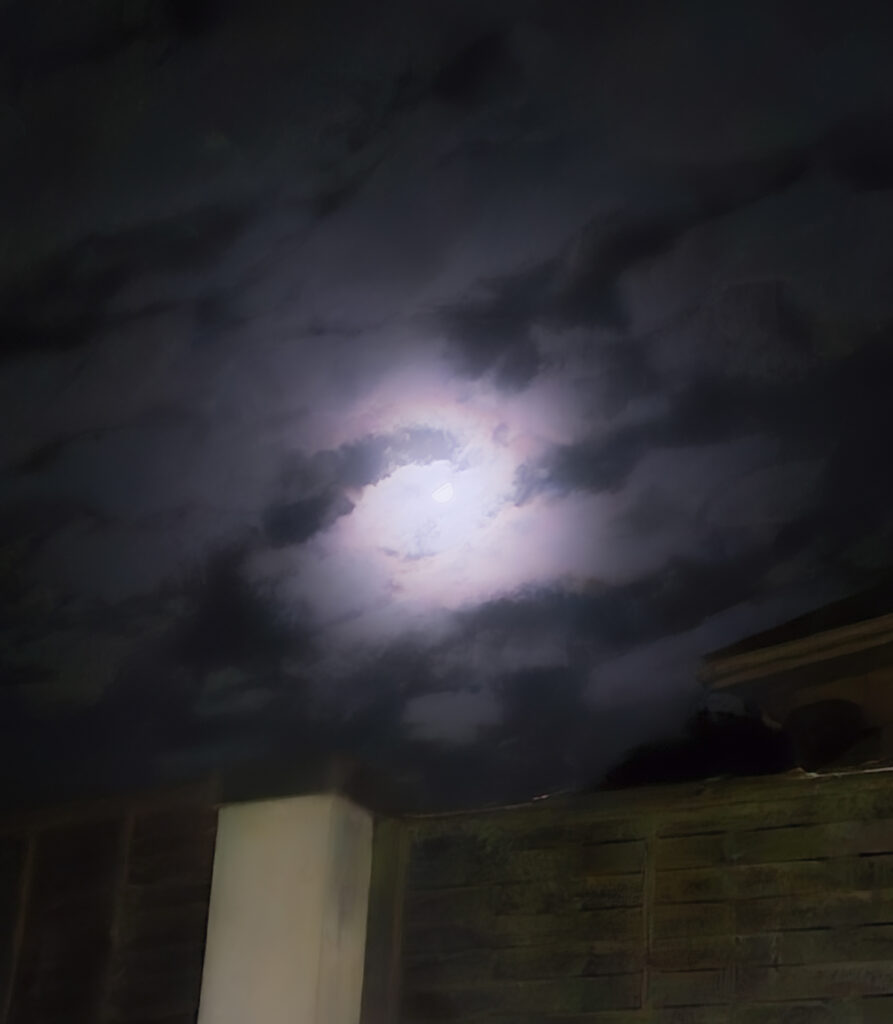
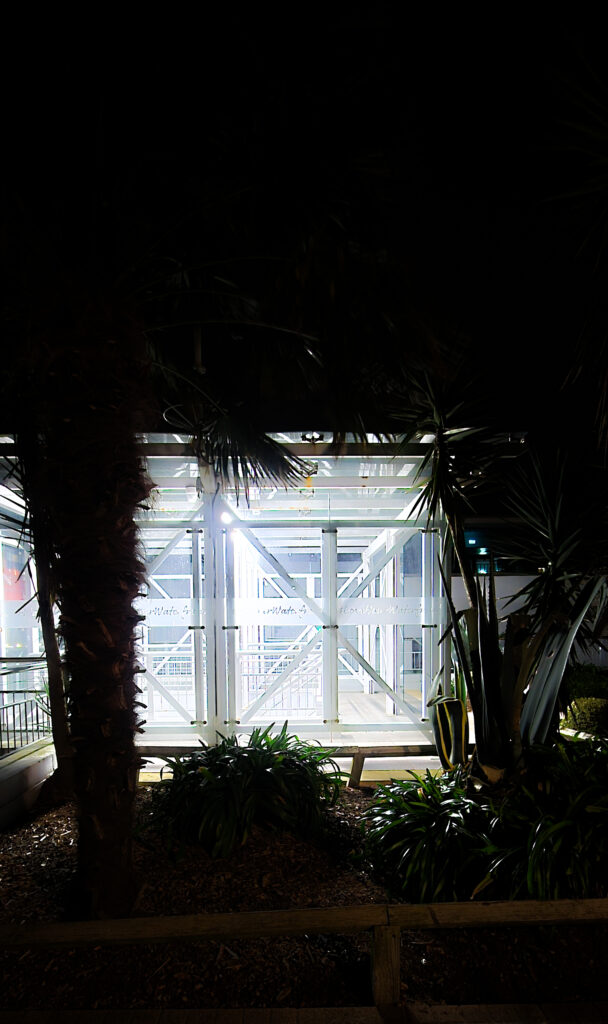
- Shoot on Location
- Found Footage Style
- Surrealist
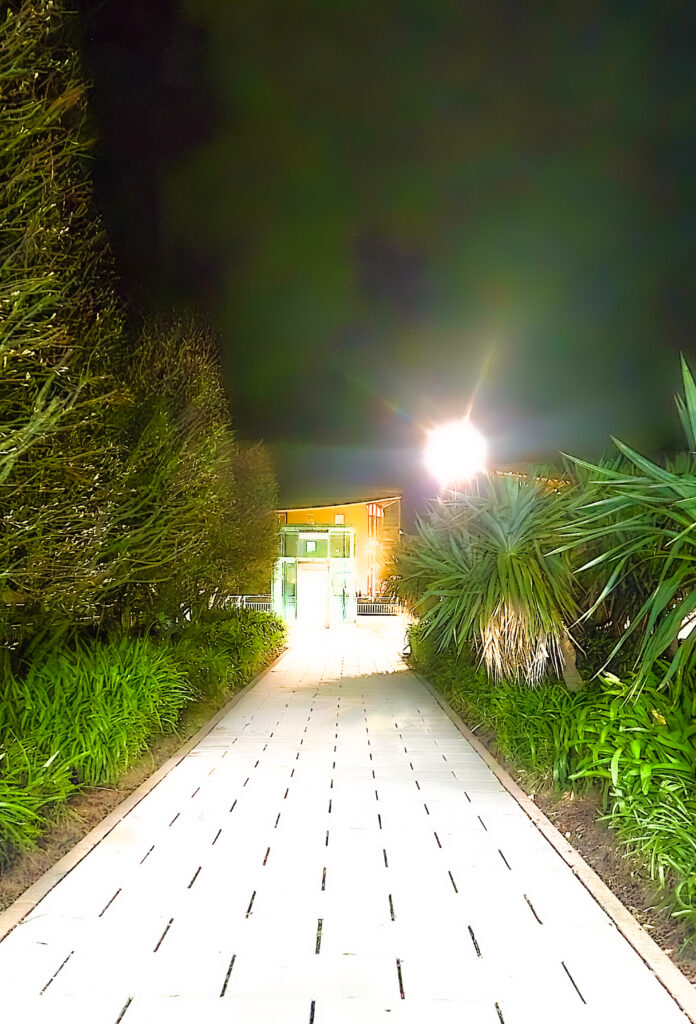
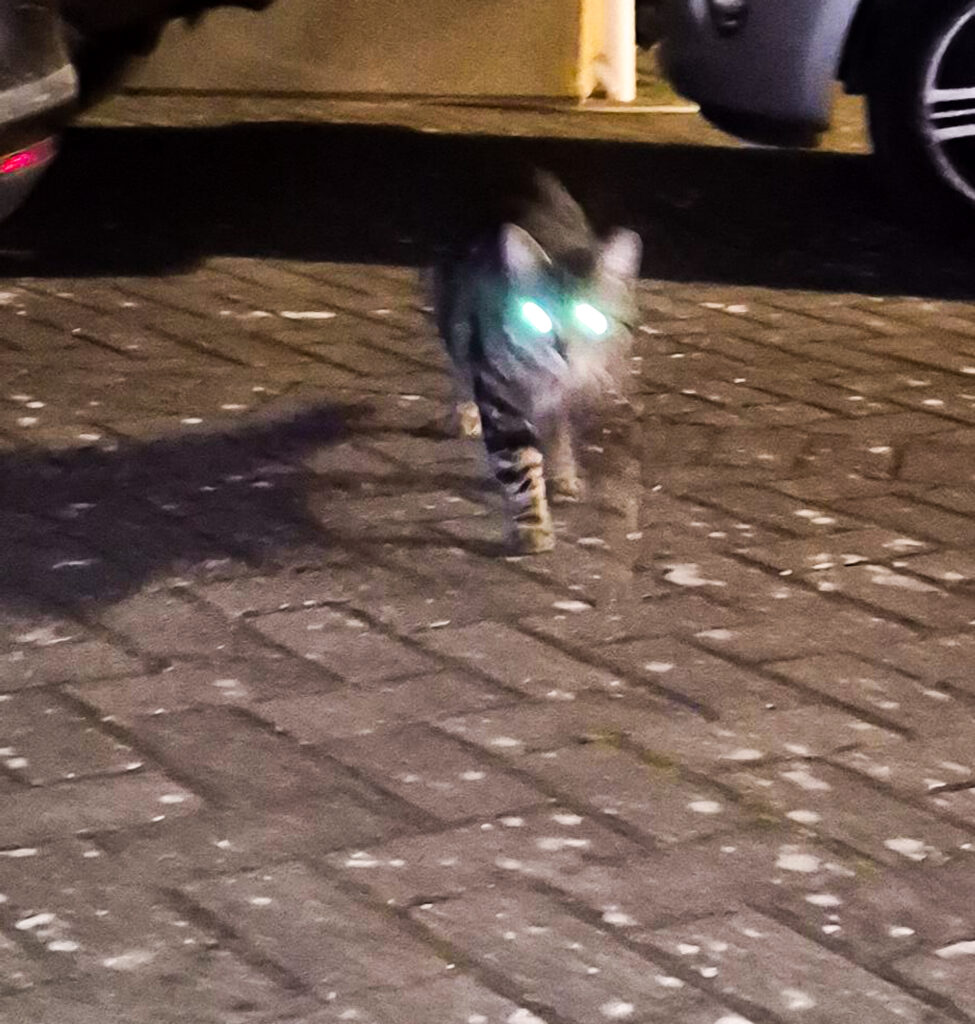
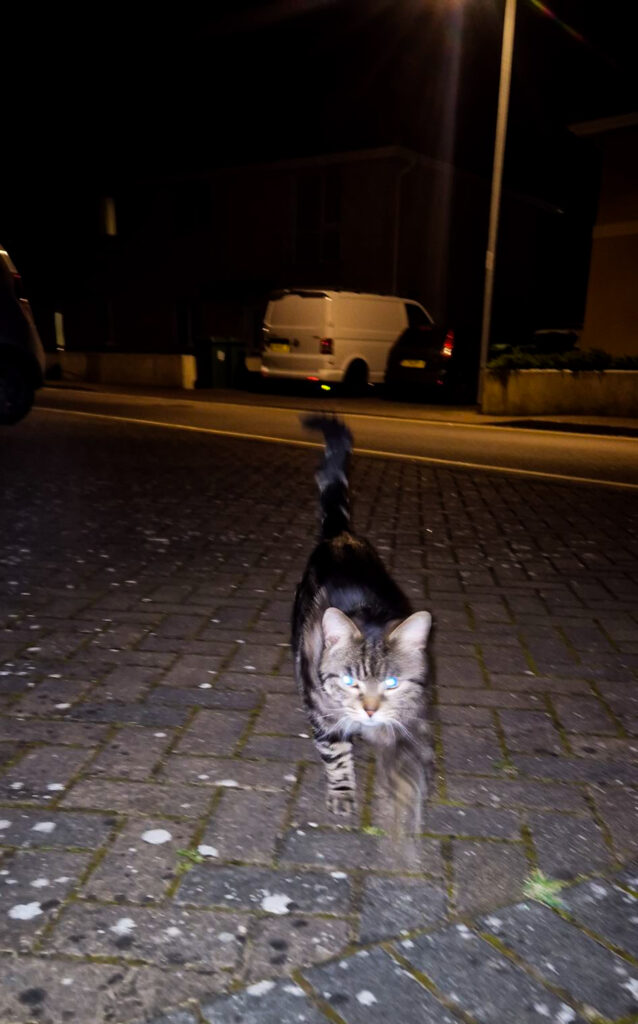
- Cats, Entities
- Somewhat Empty Space
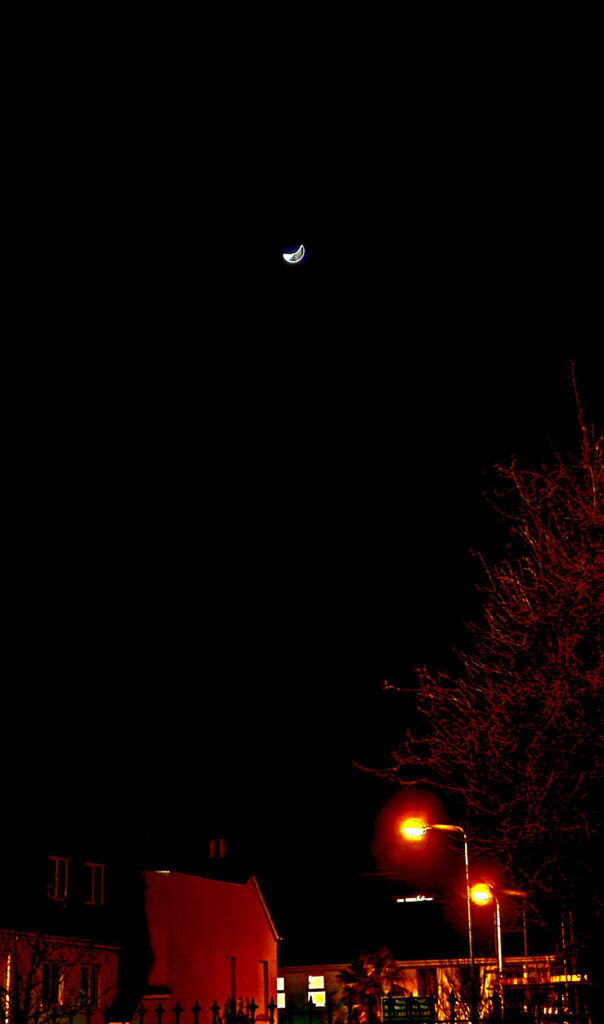
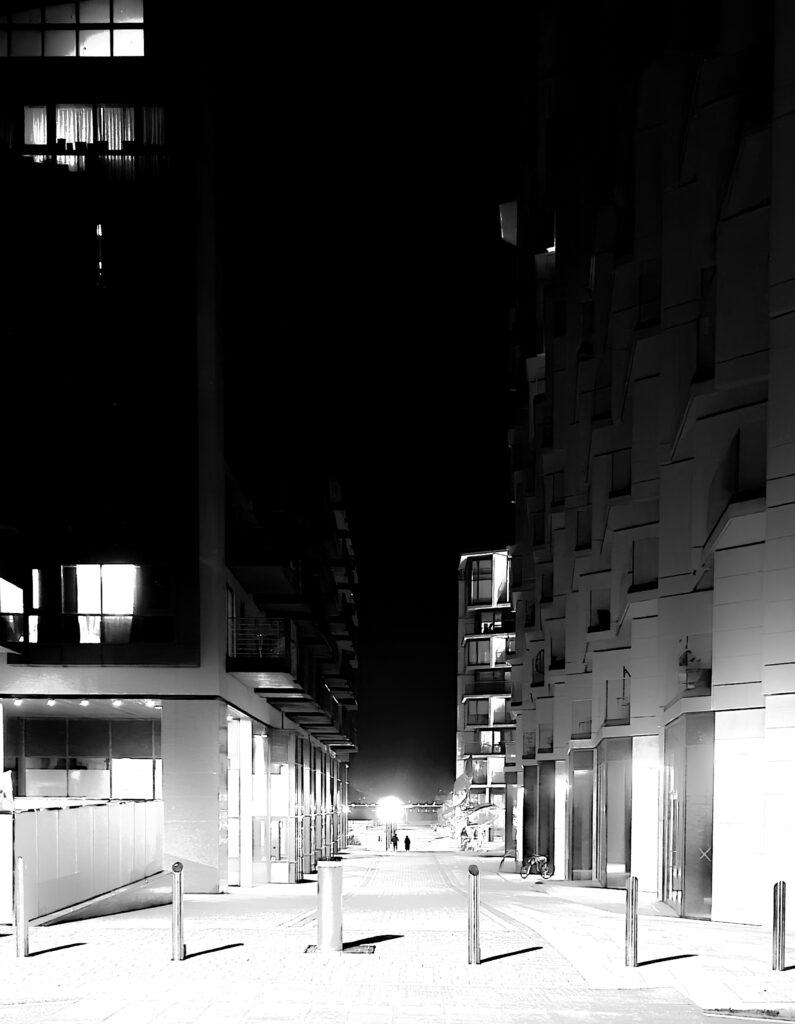
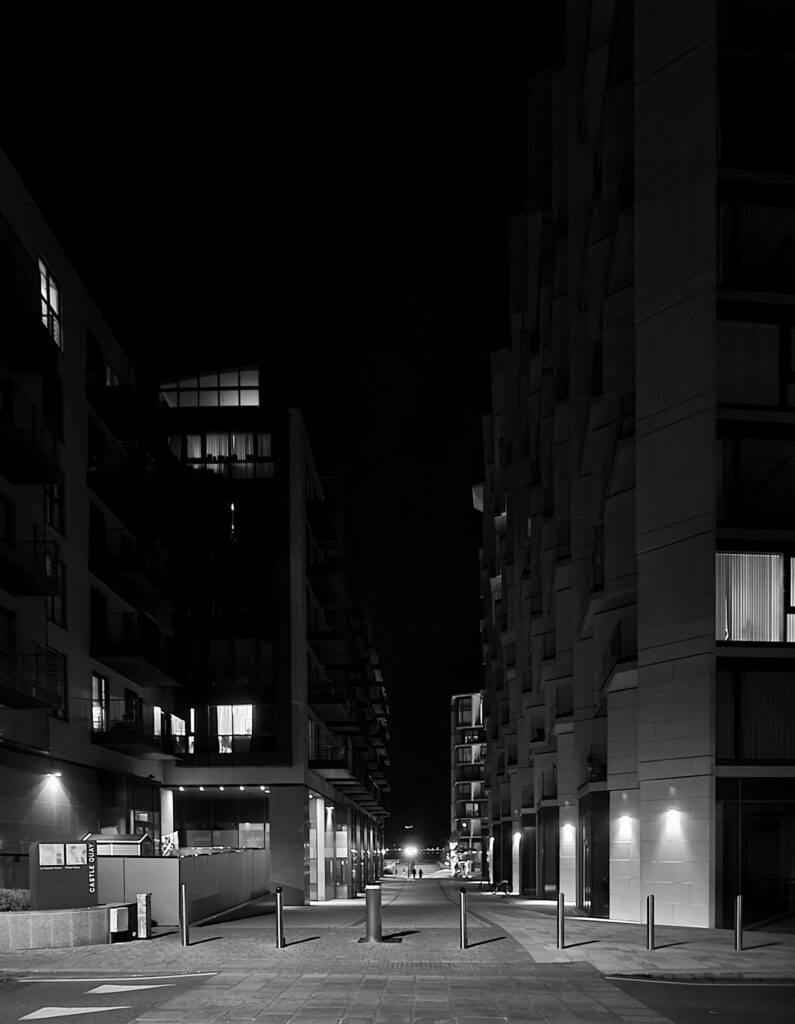
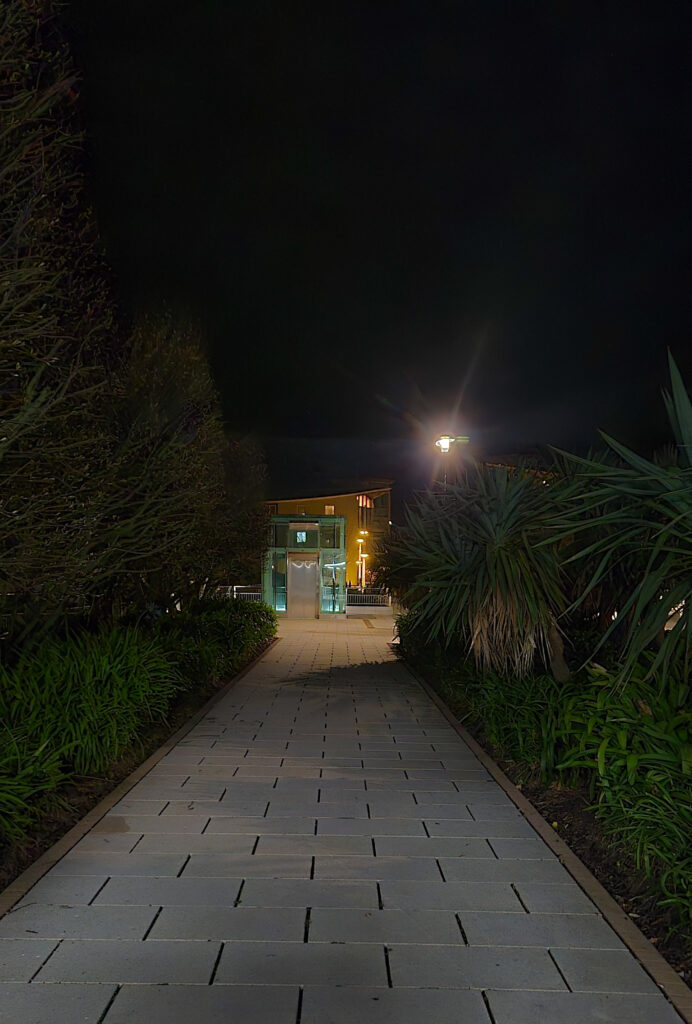
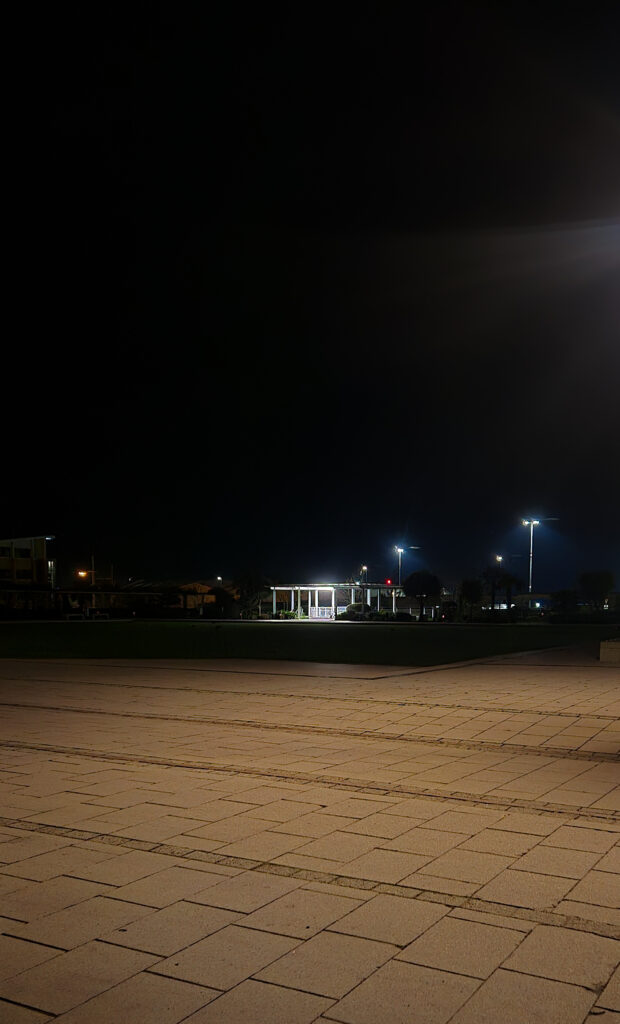
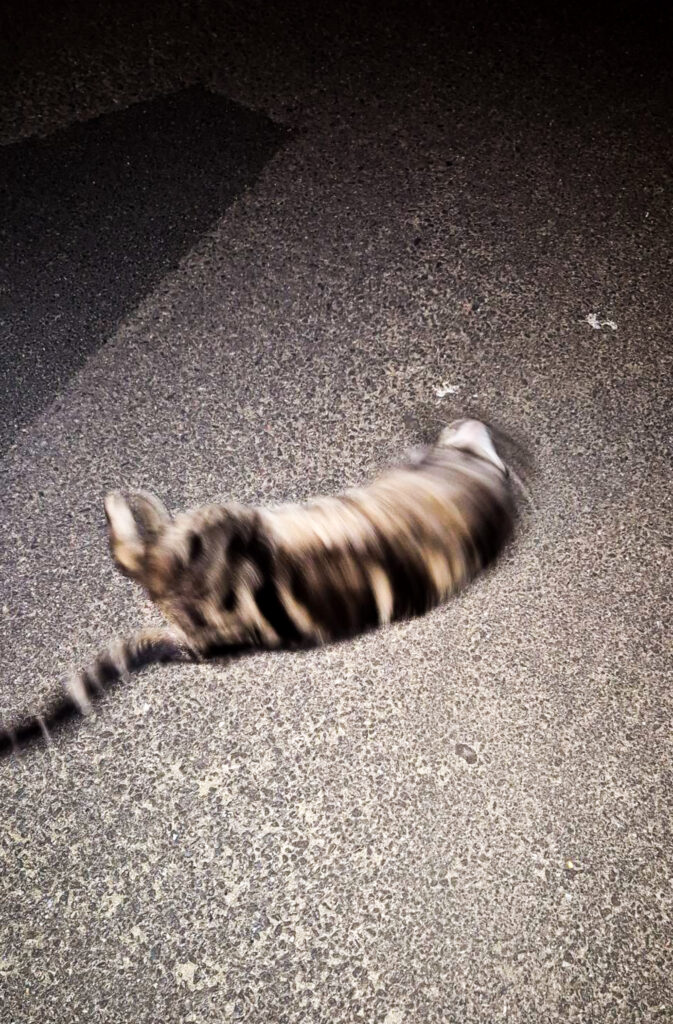
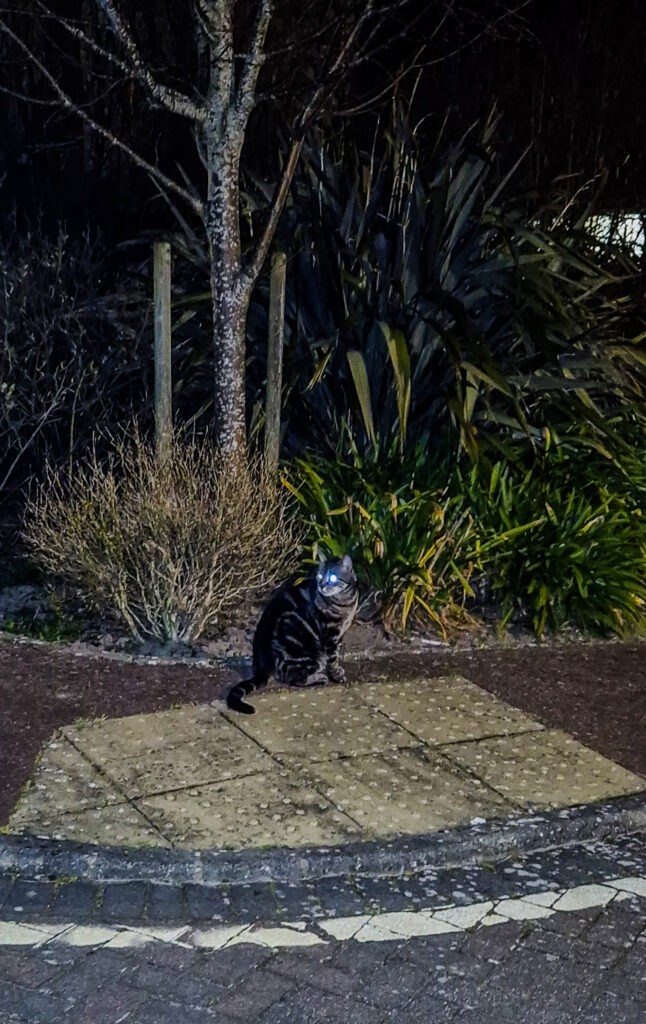
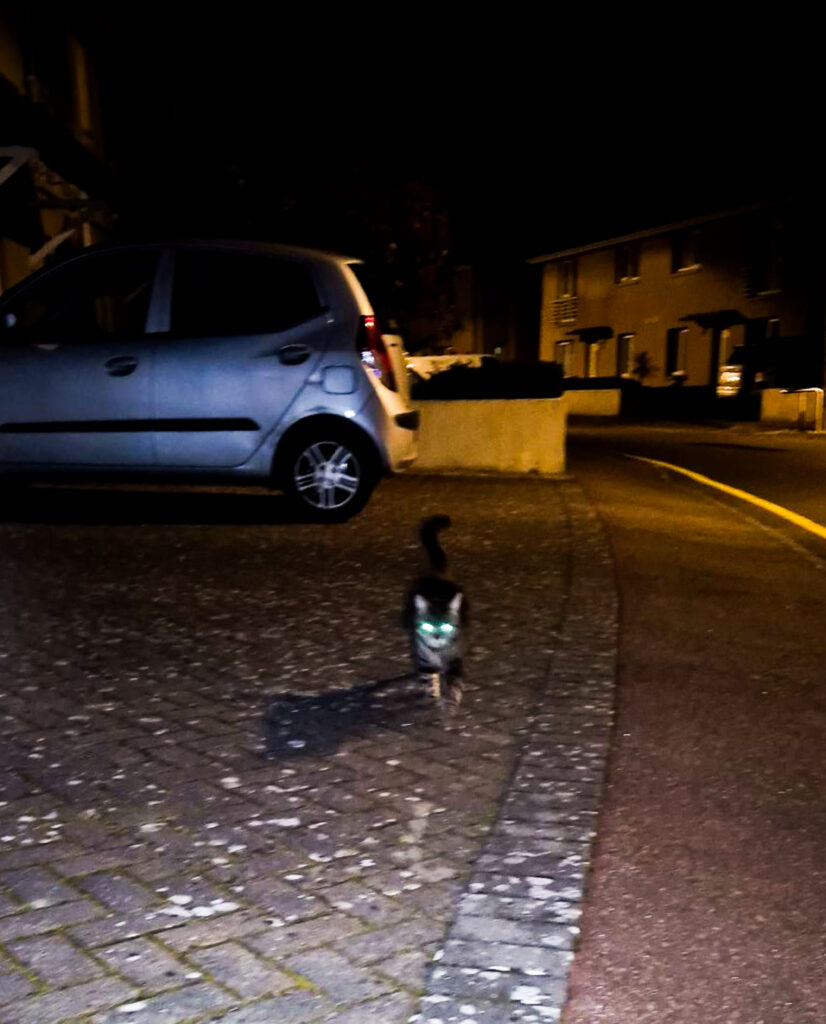
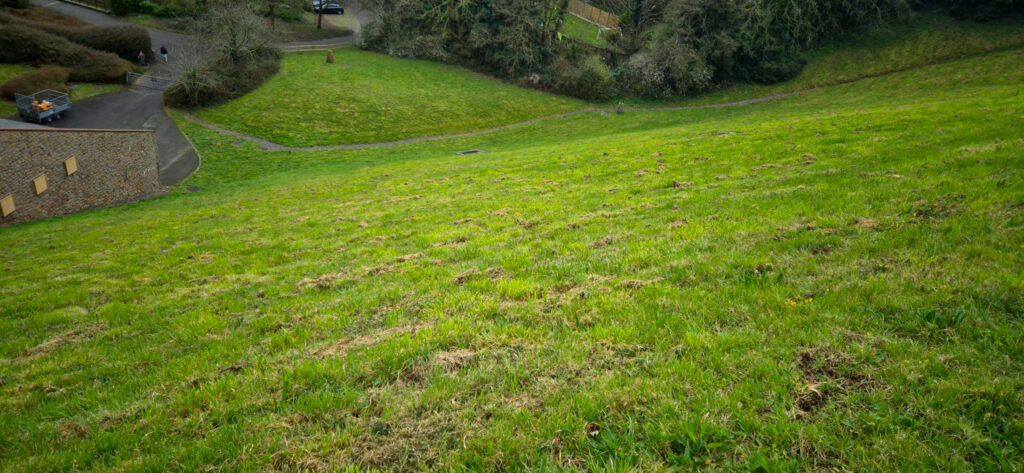
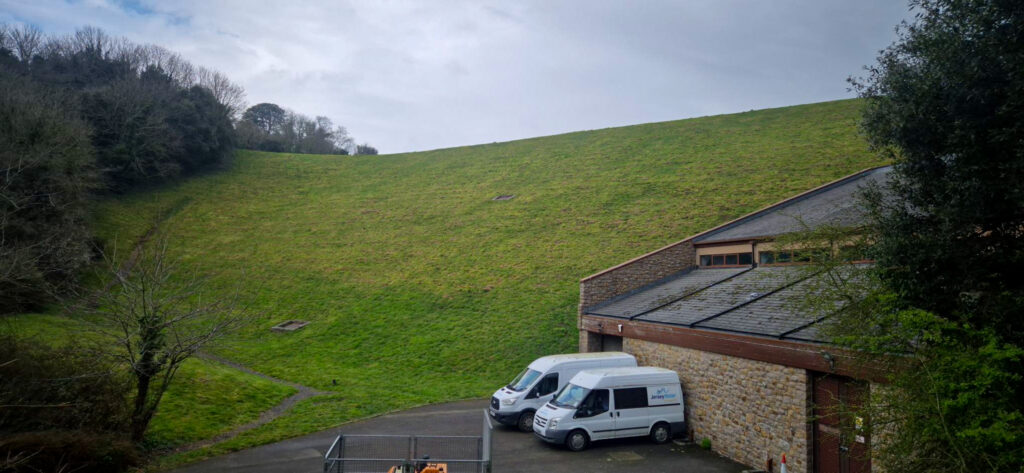
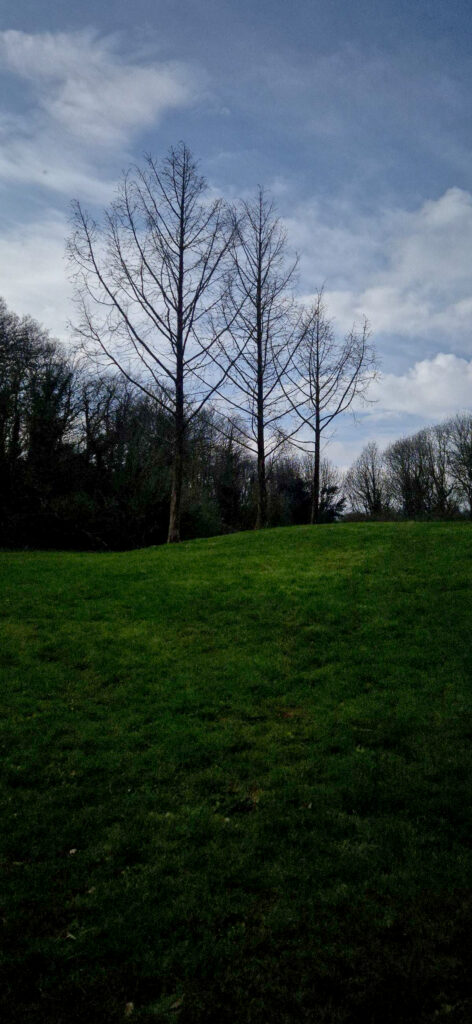
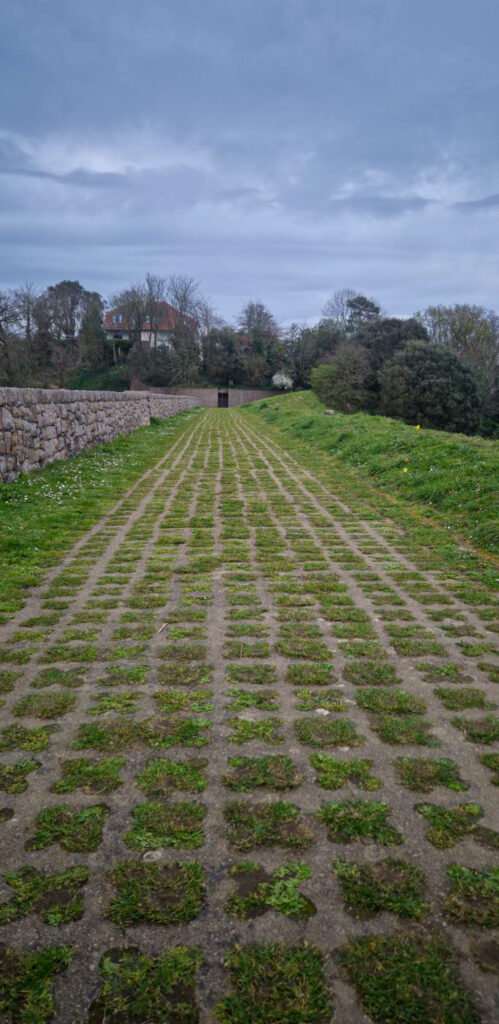
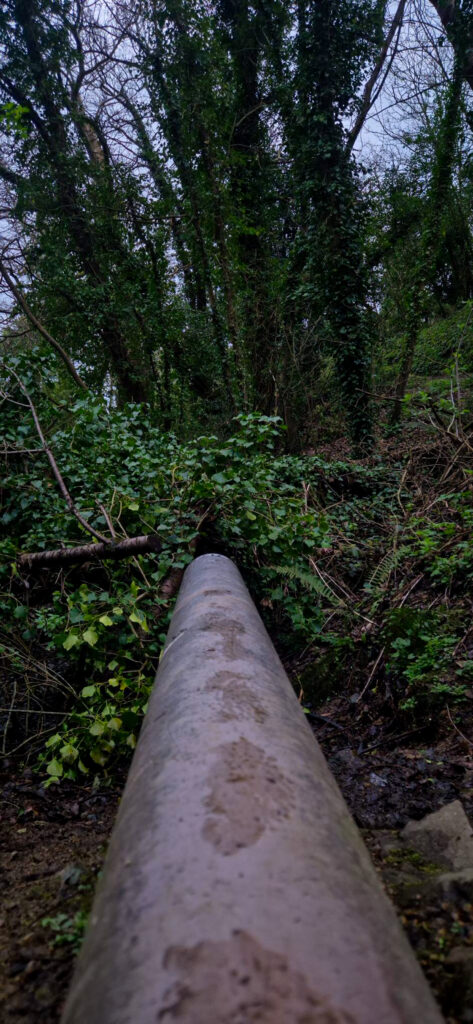
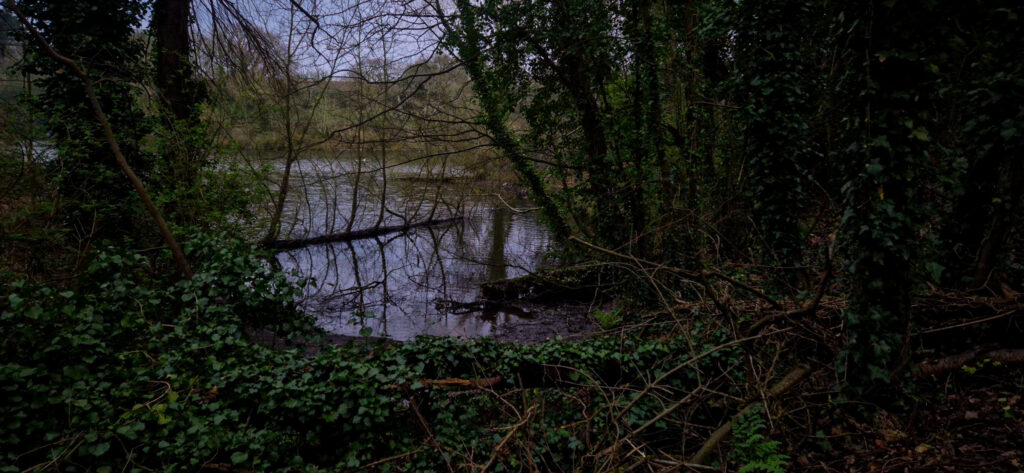
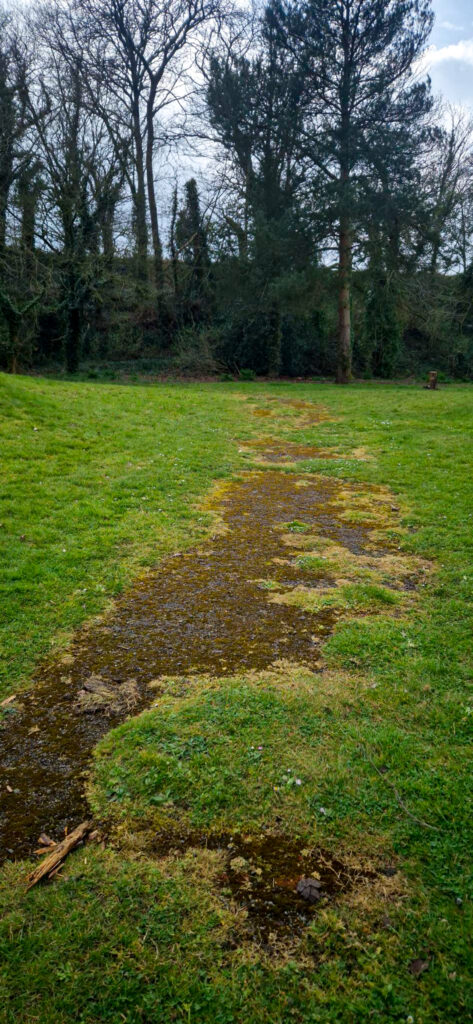
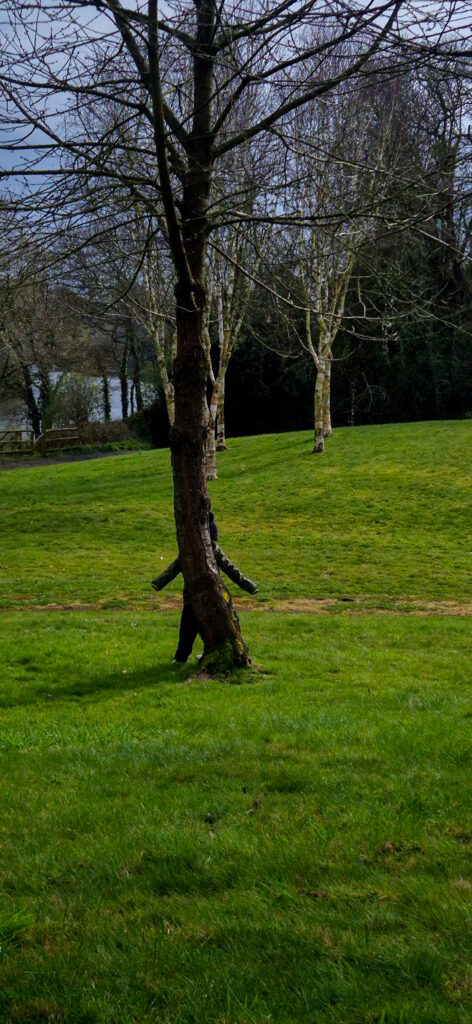
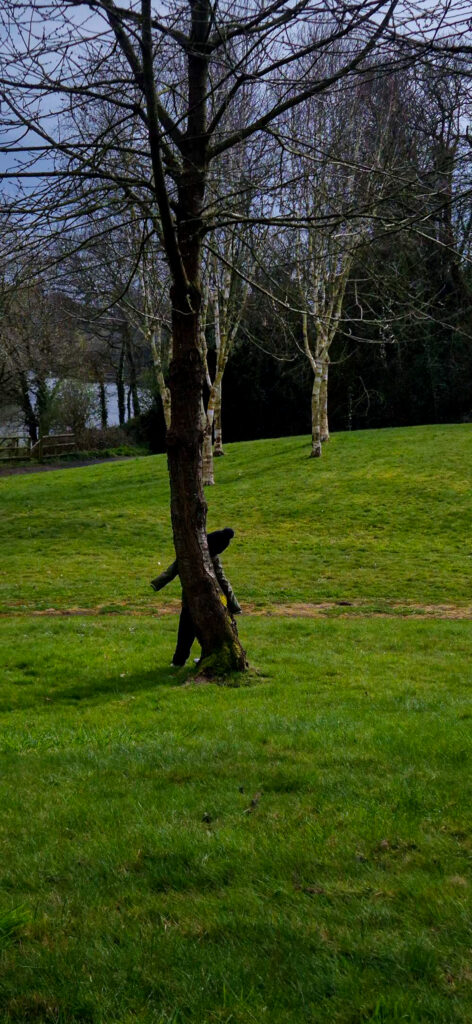
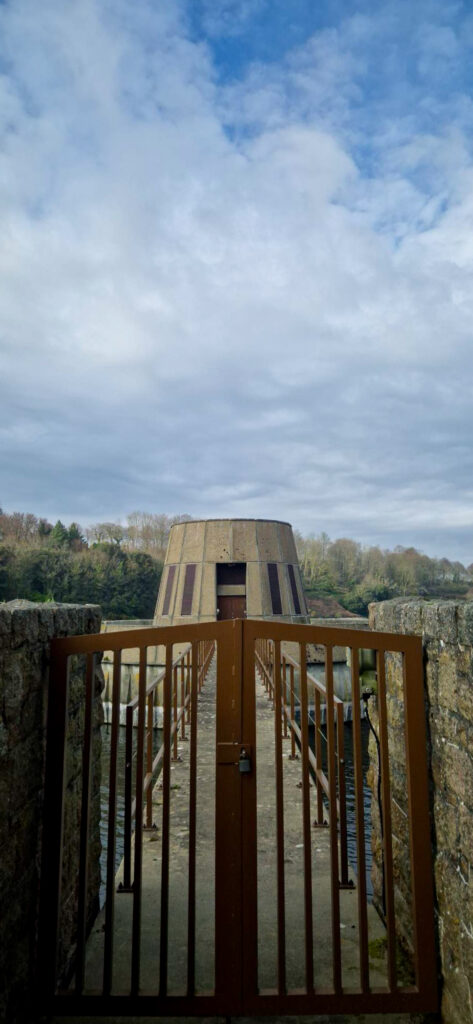
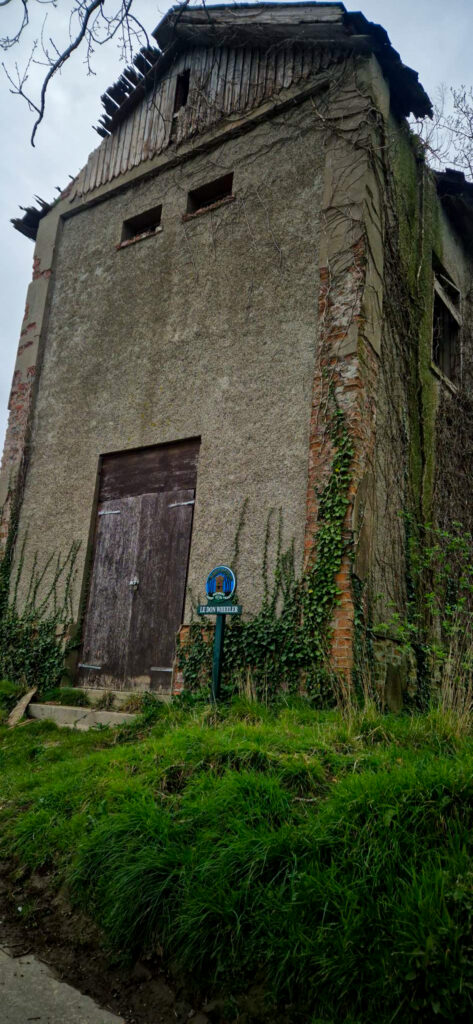
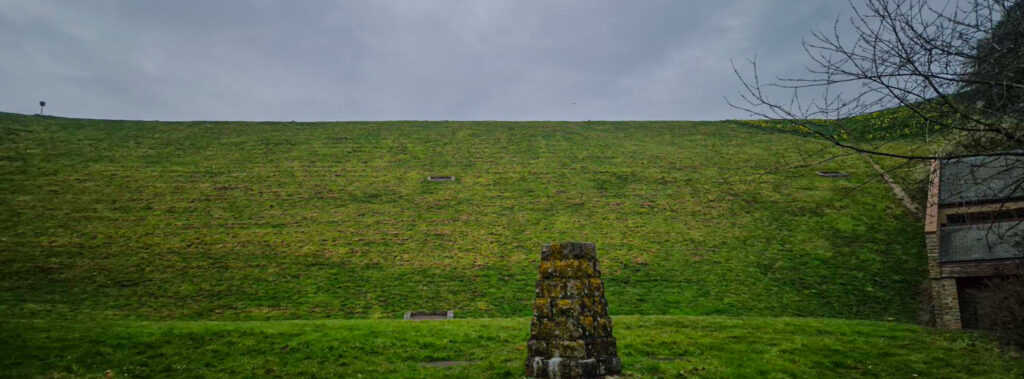
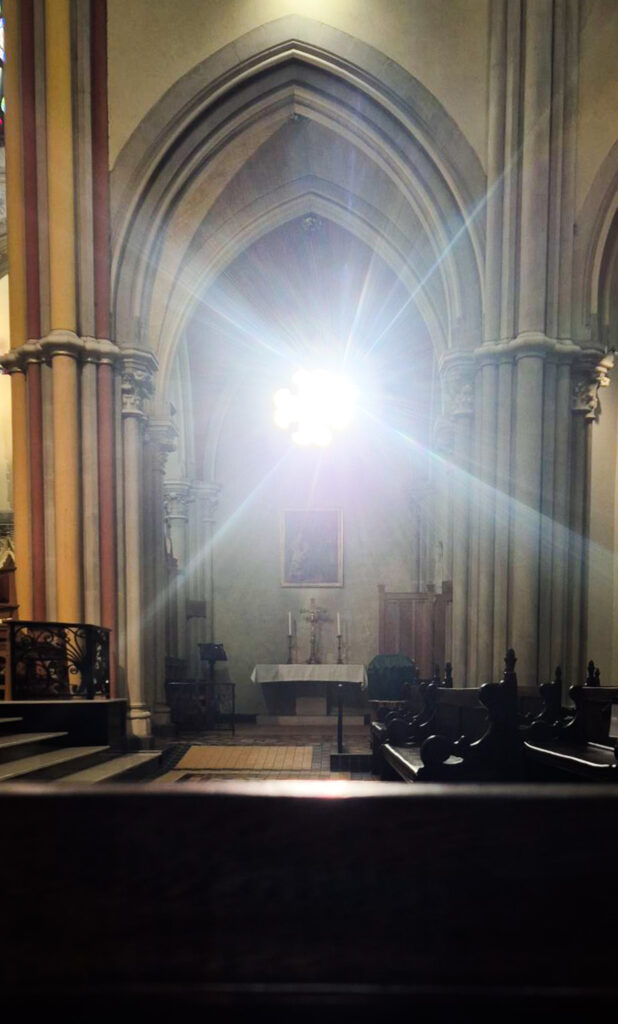
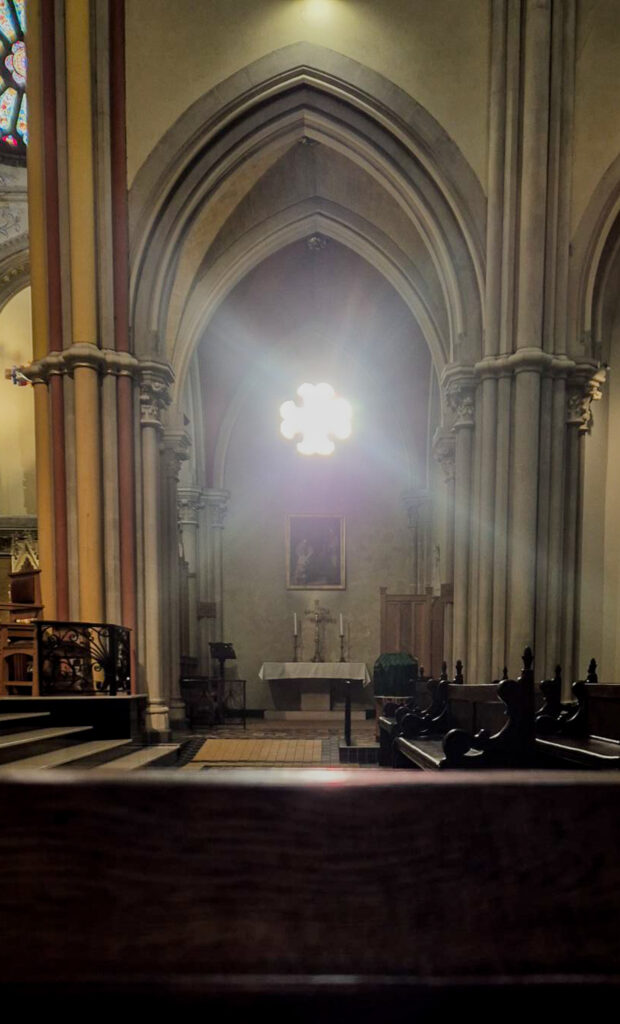
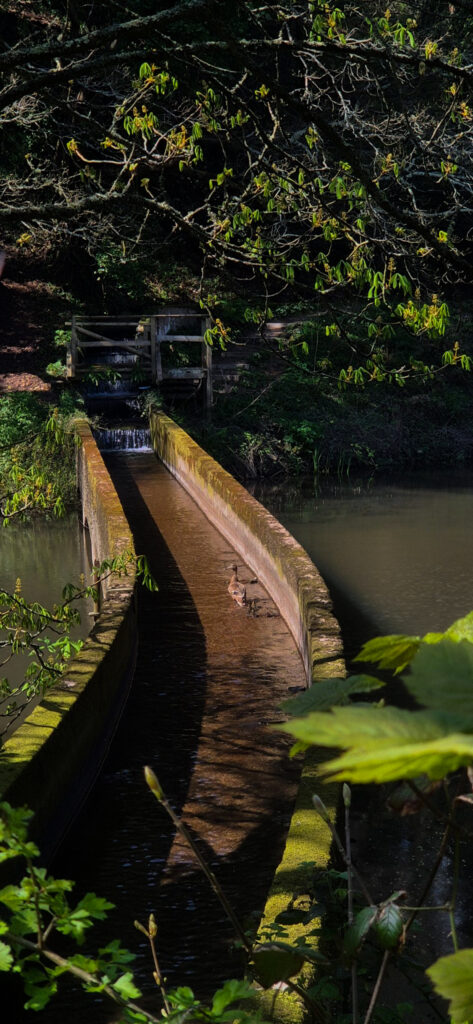
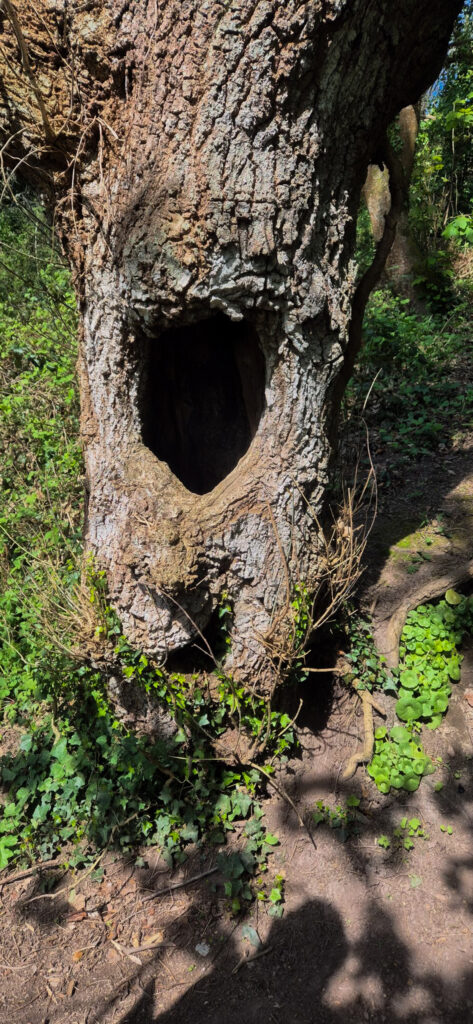
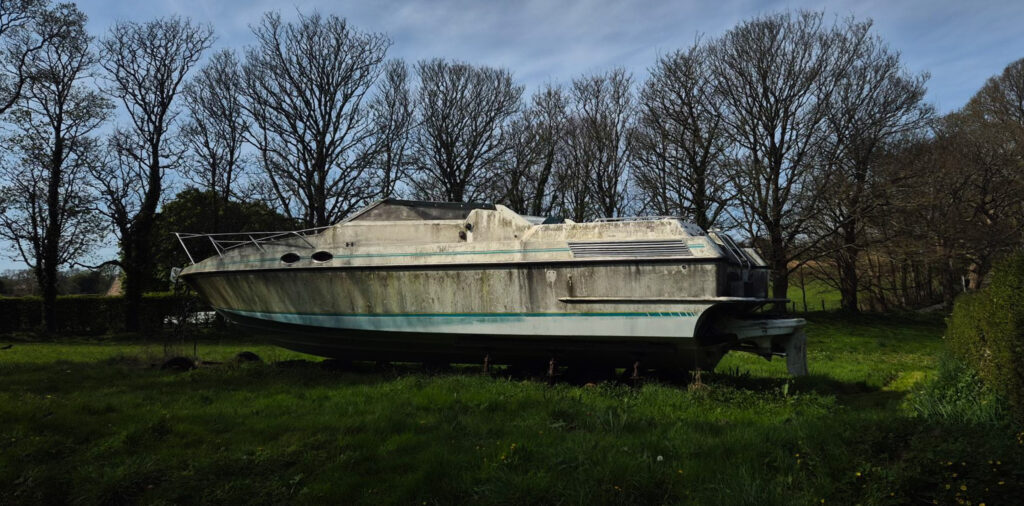
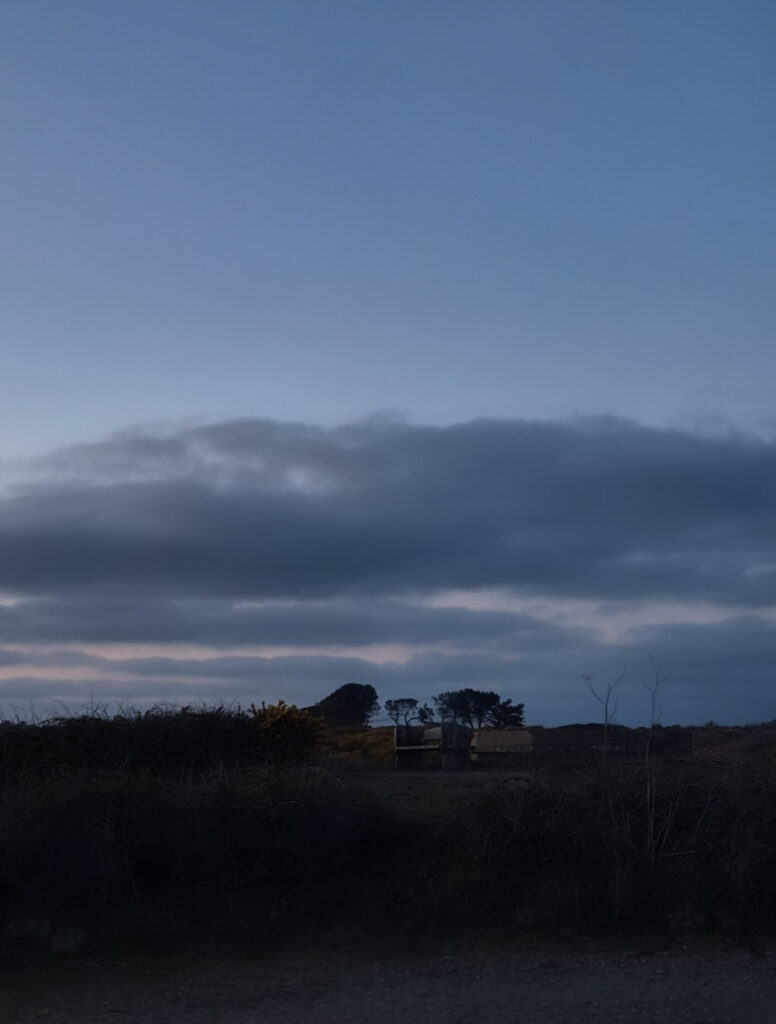
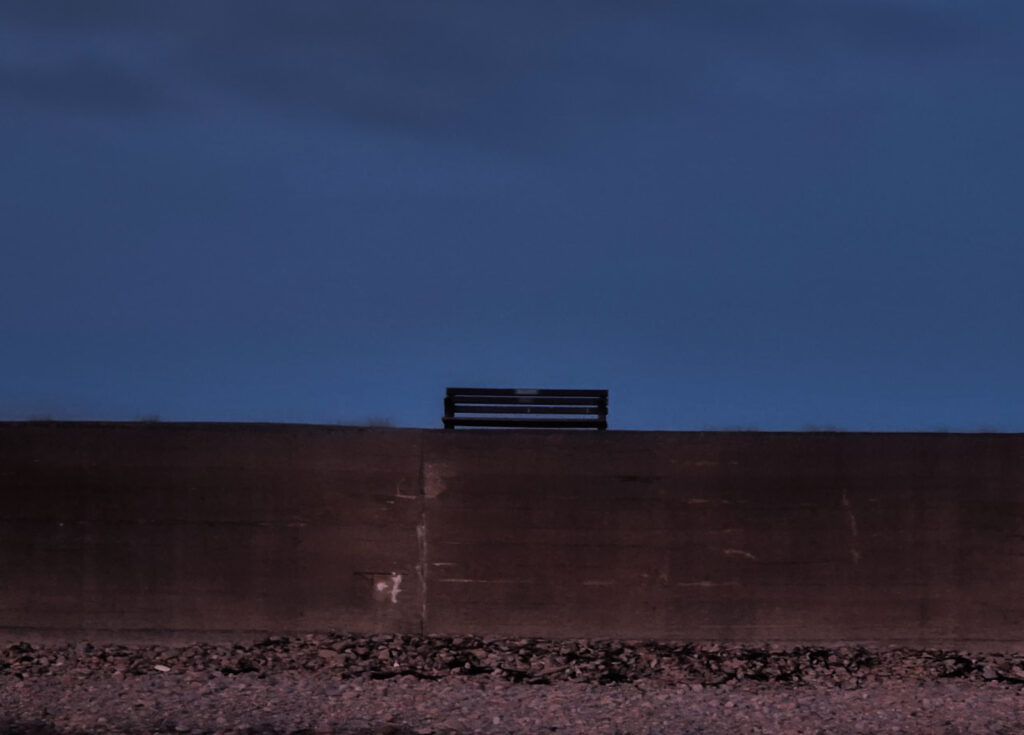
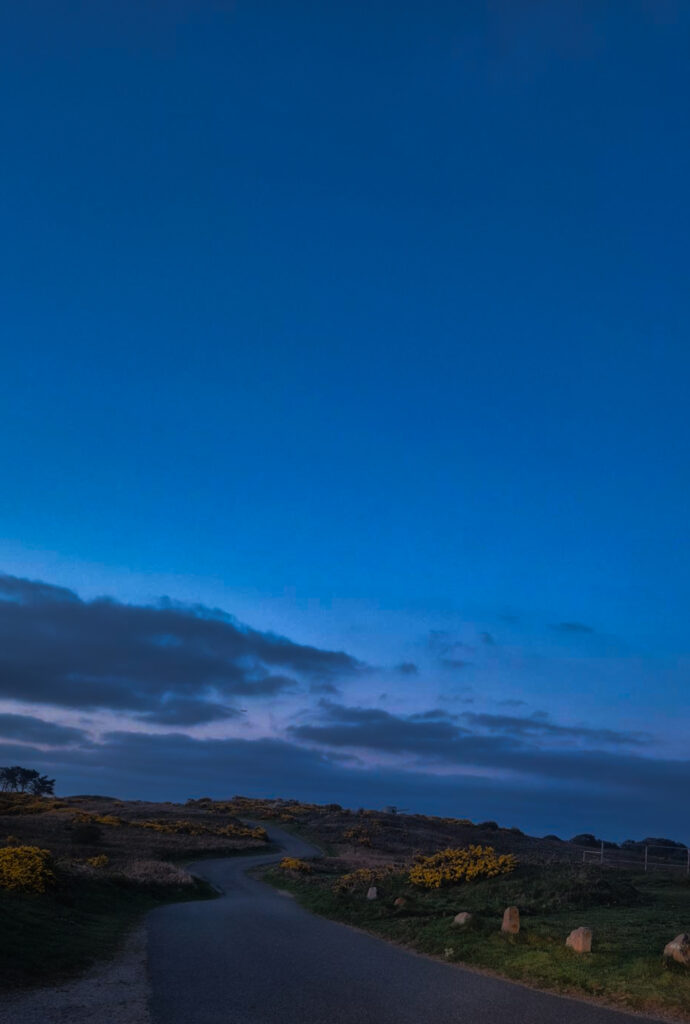
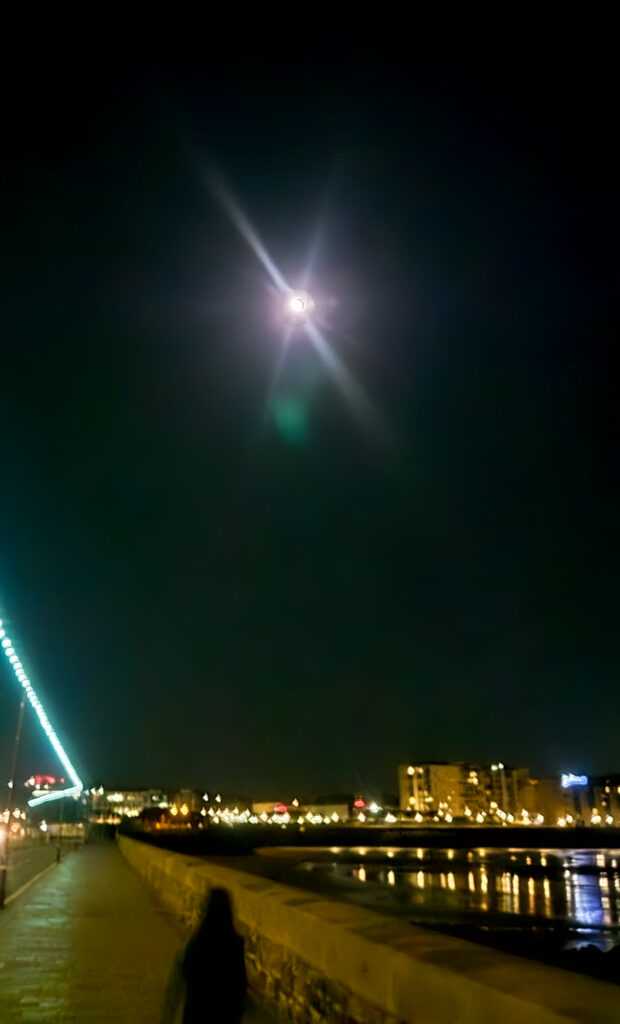
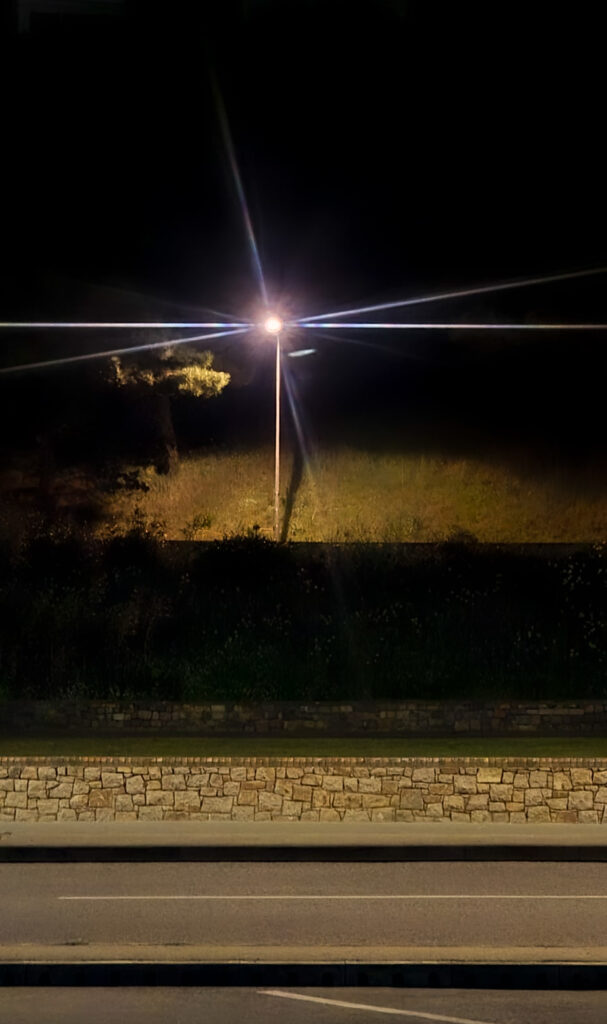
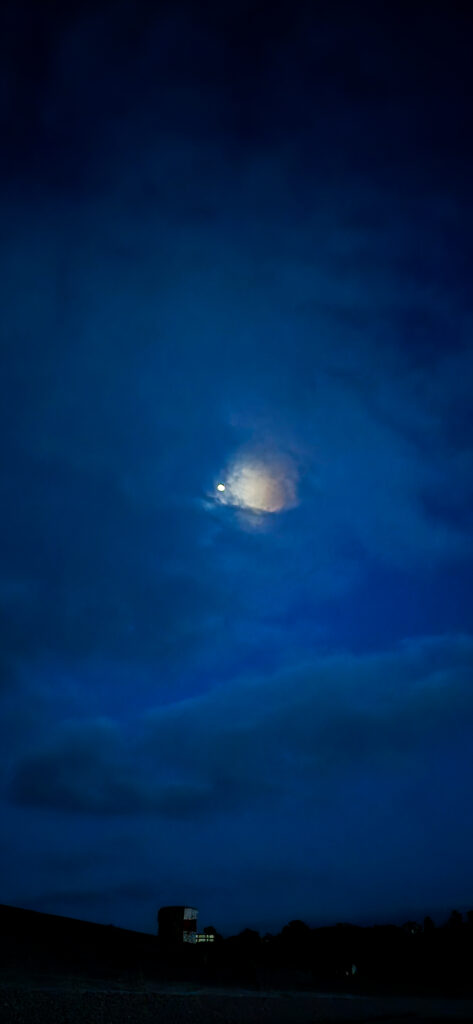
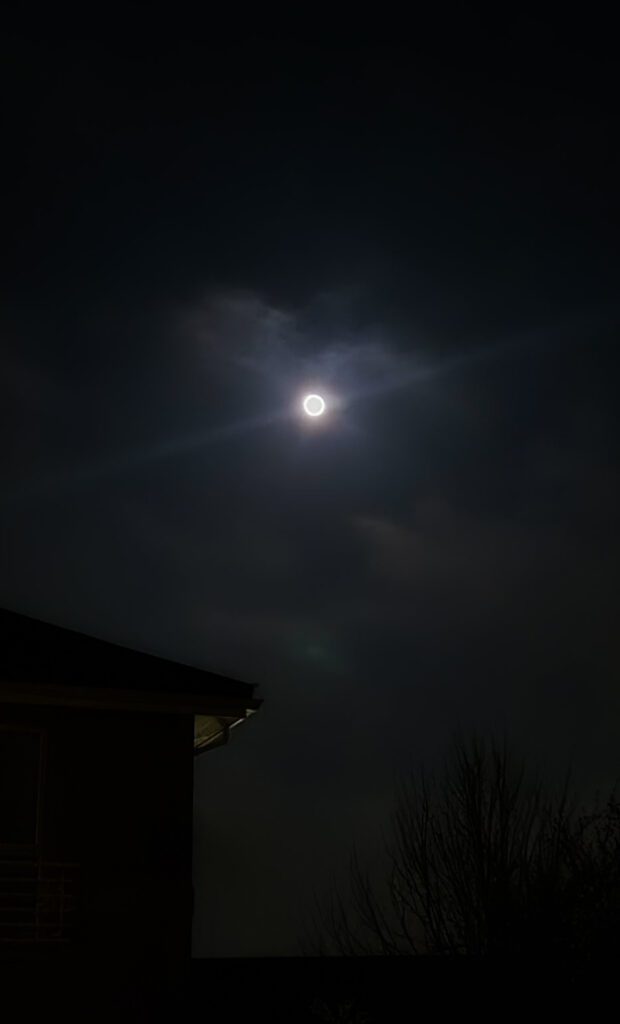
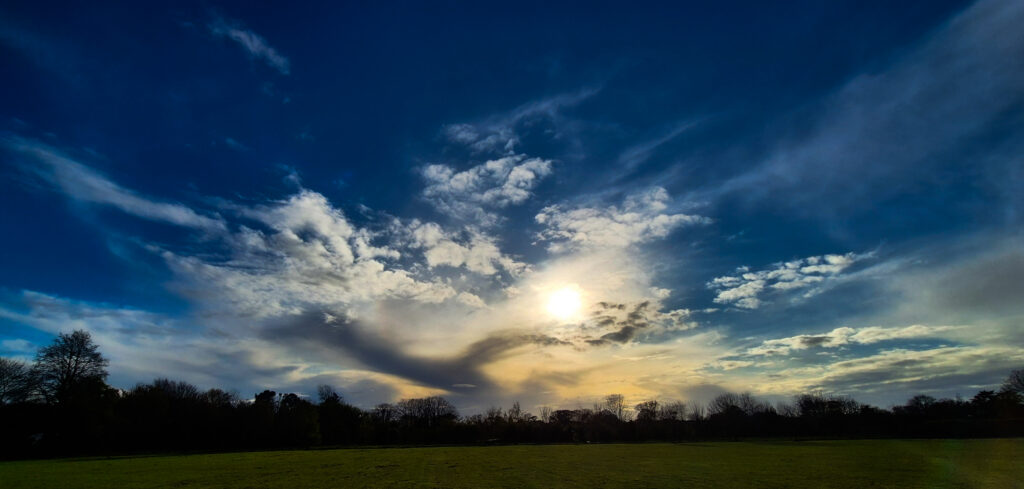
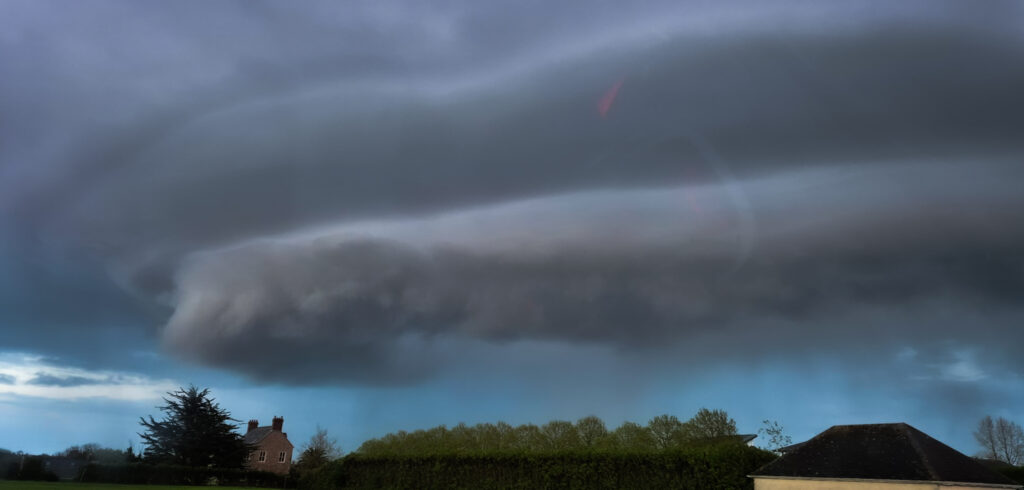
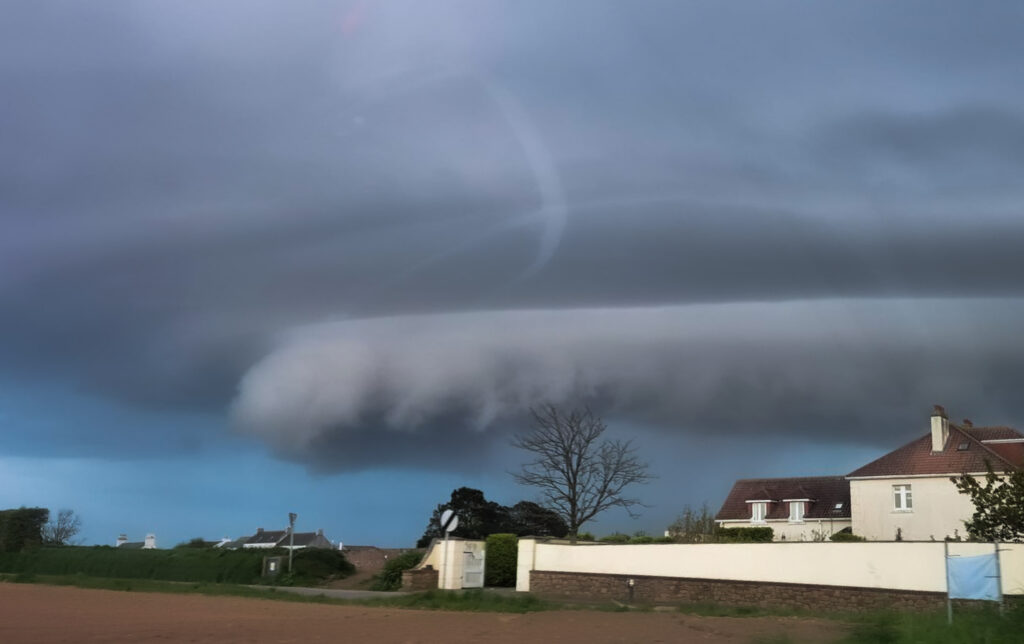
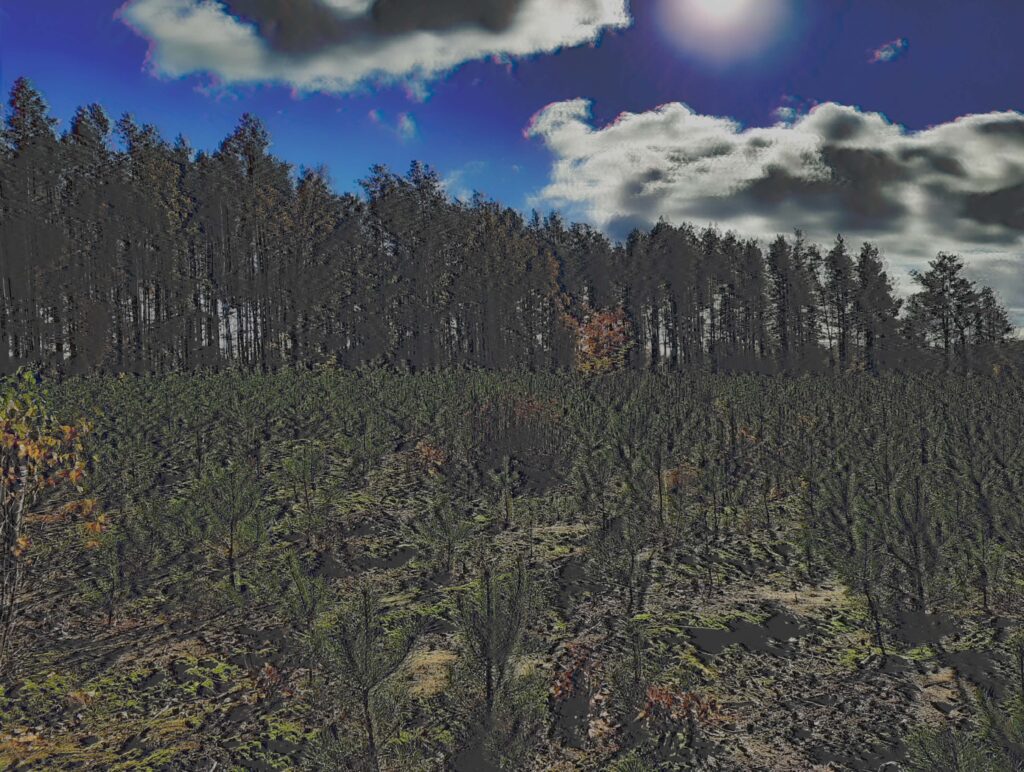
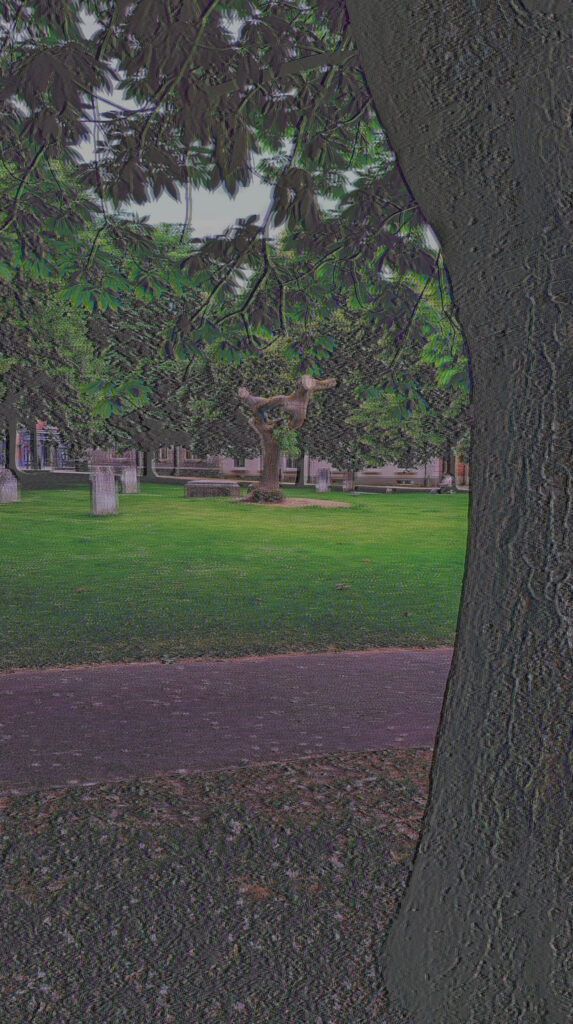
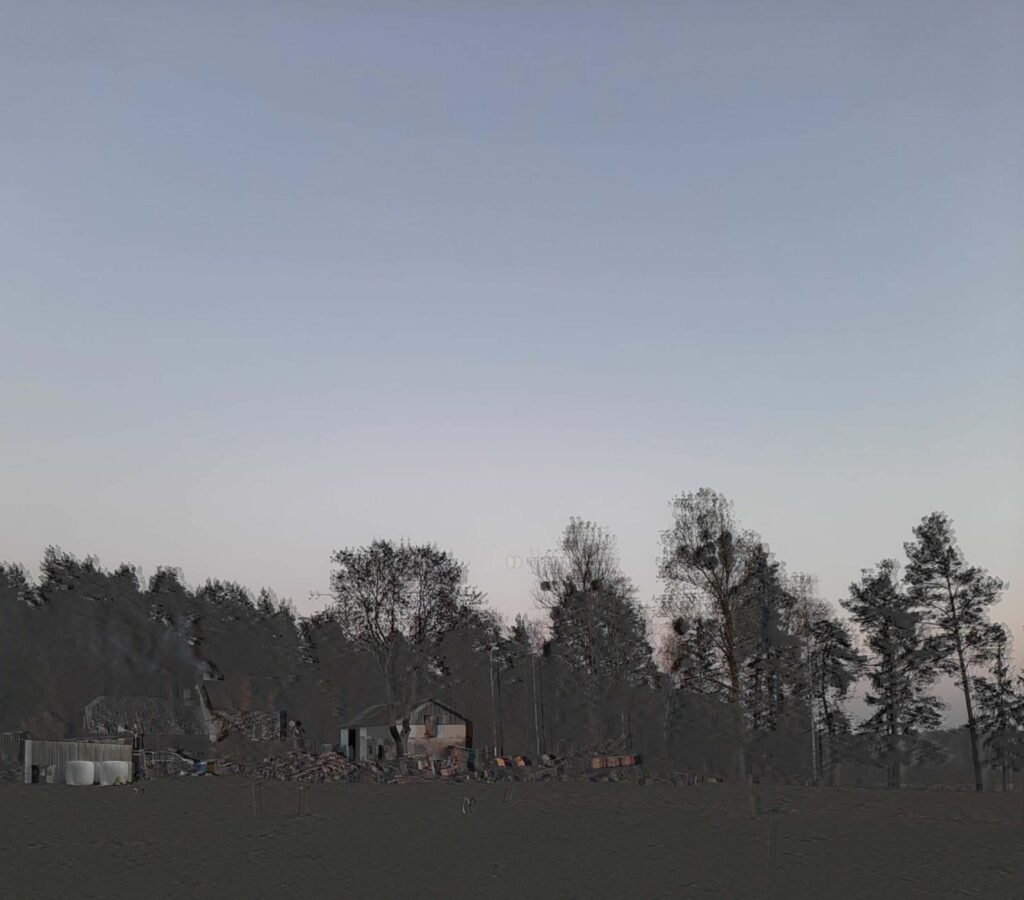
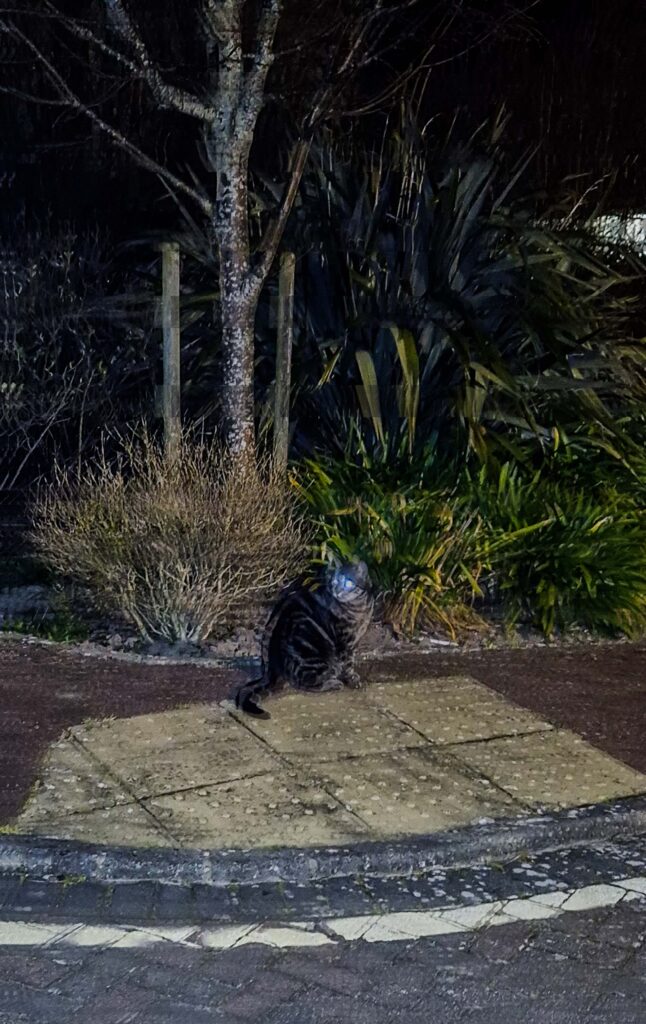
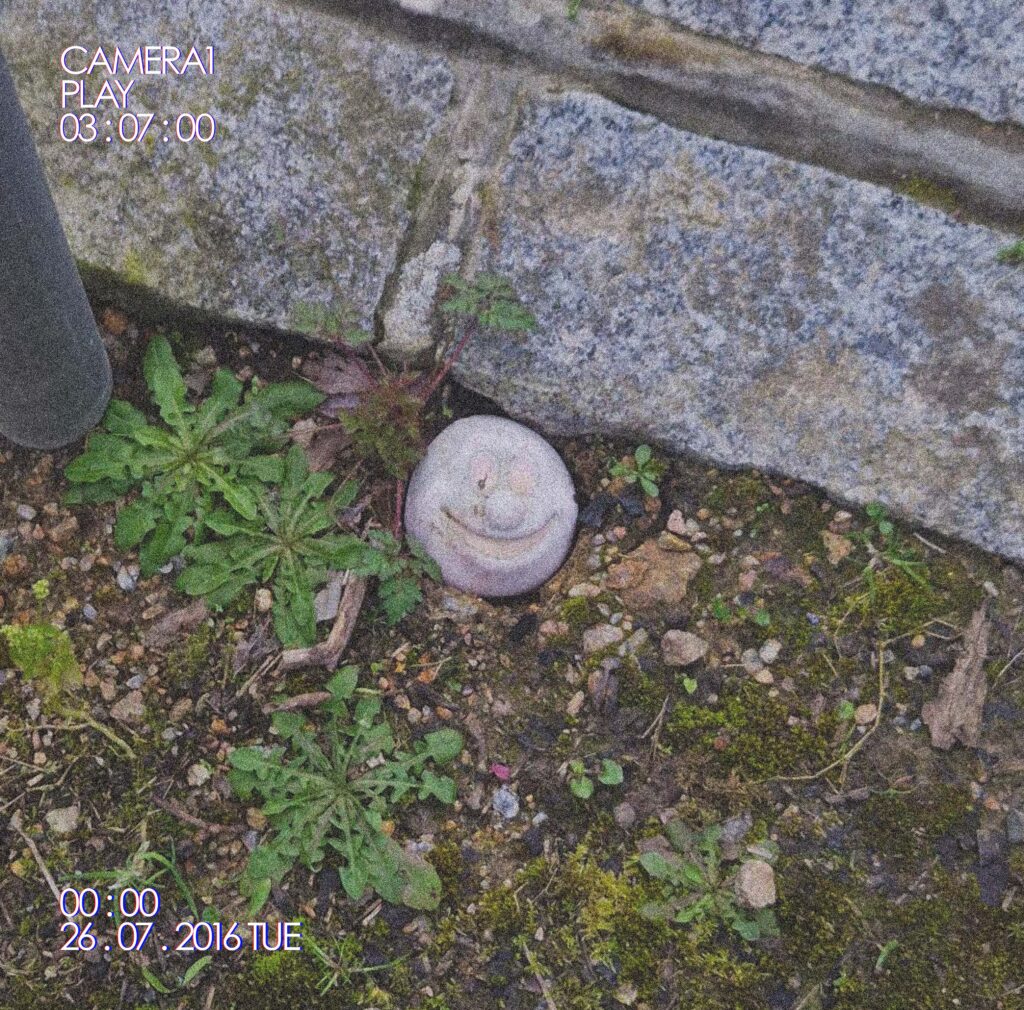
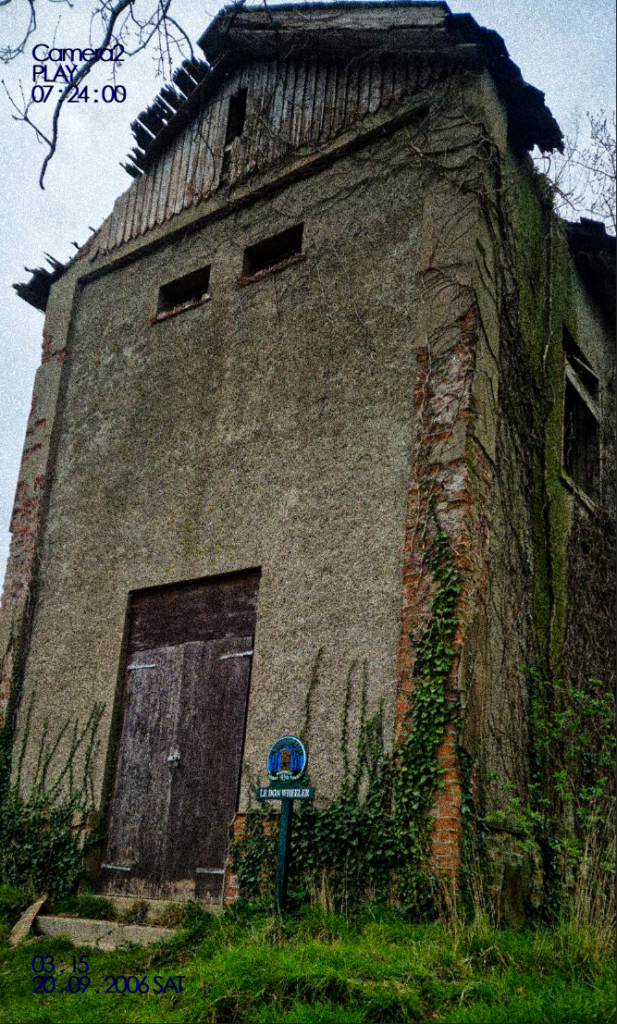
Contact Sheet
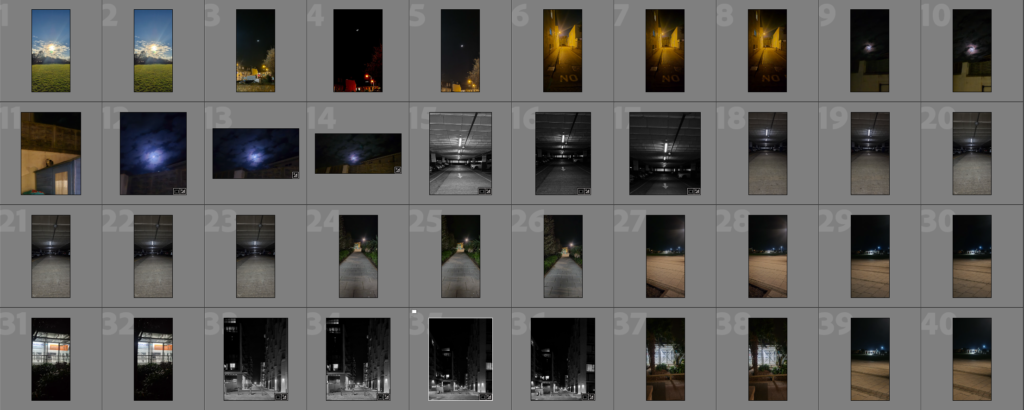


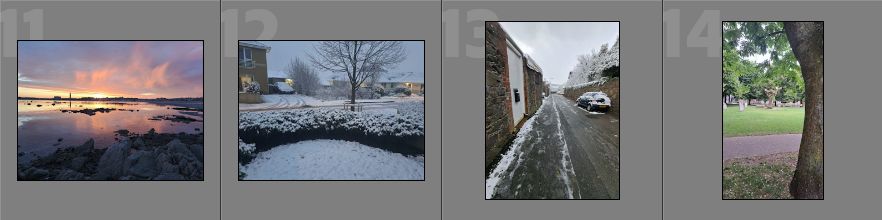
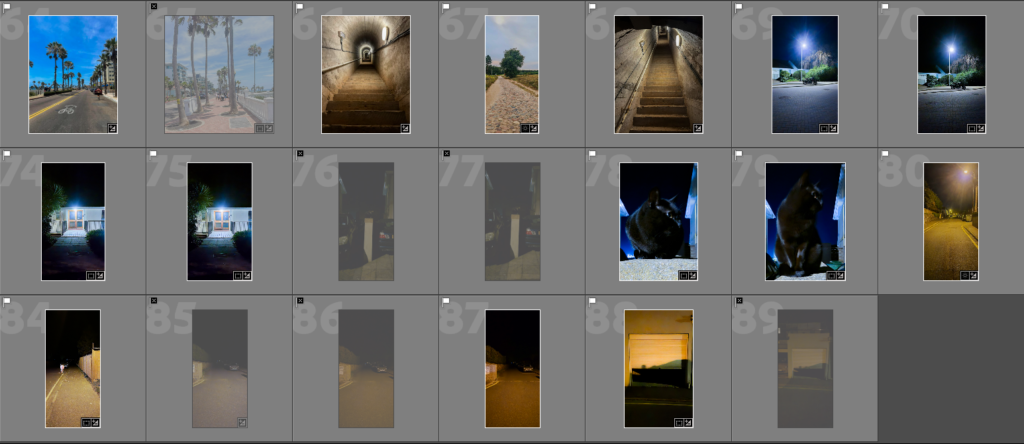
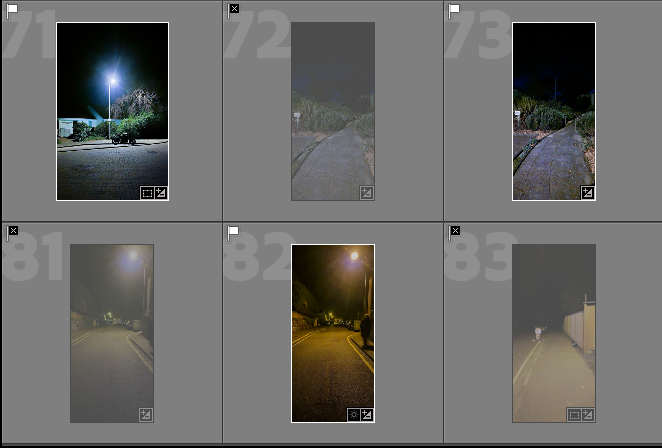
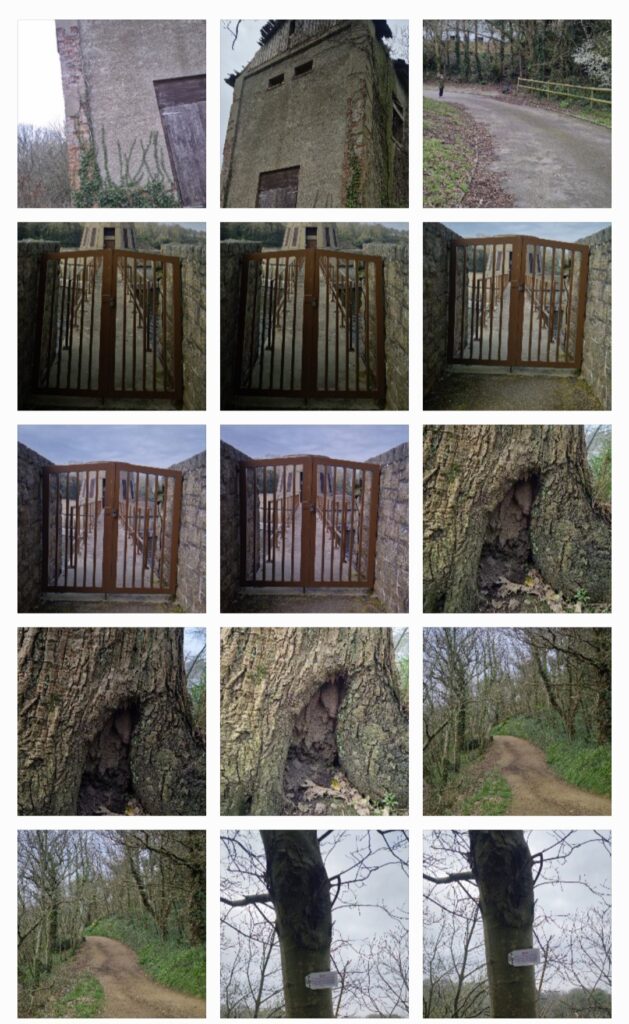
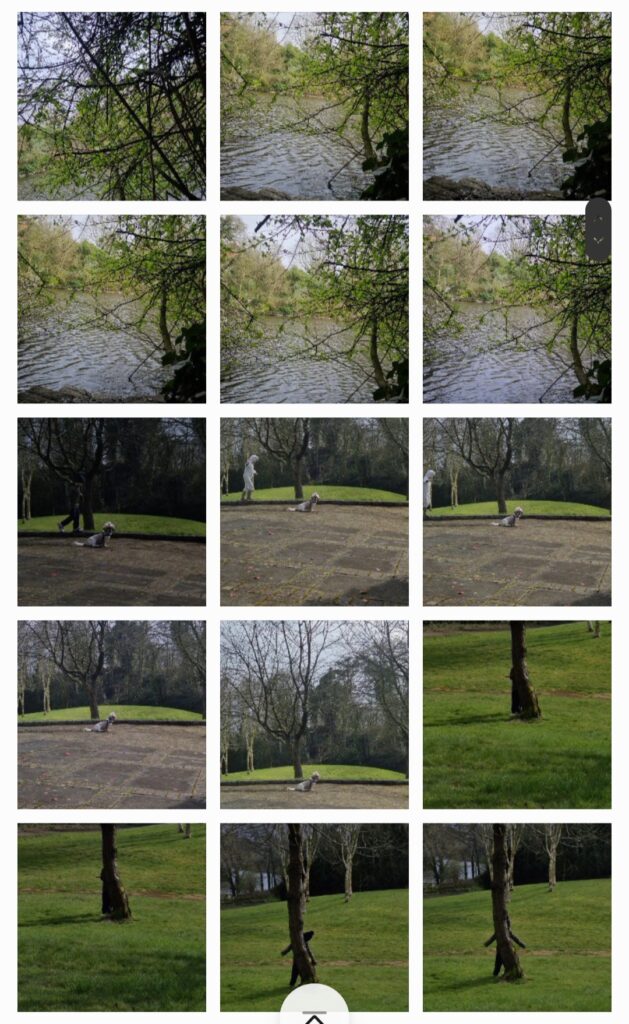
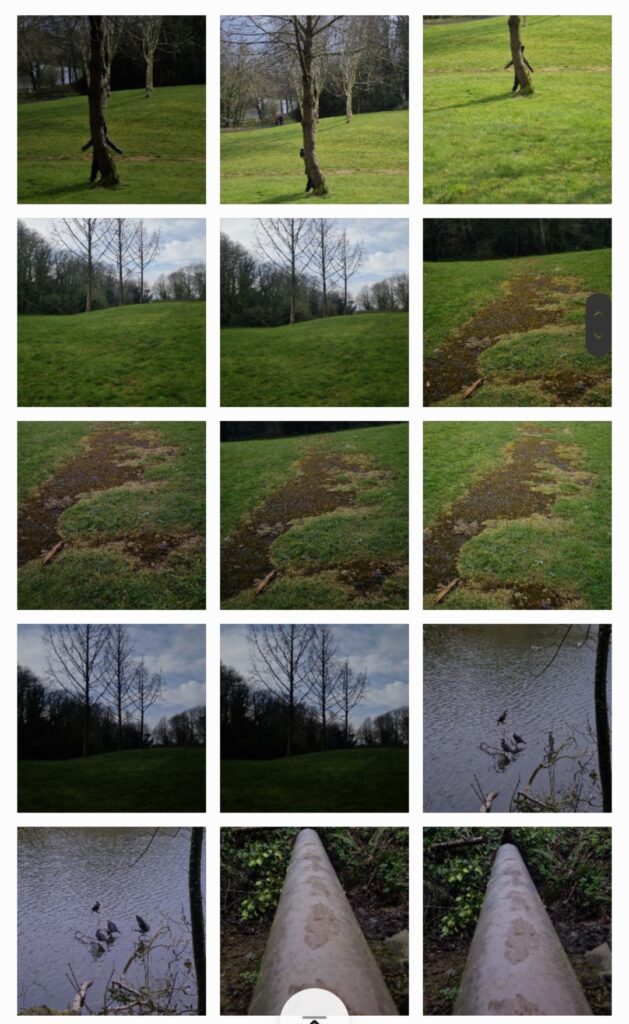
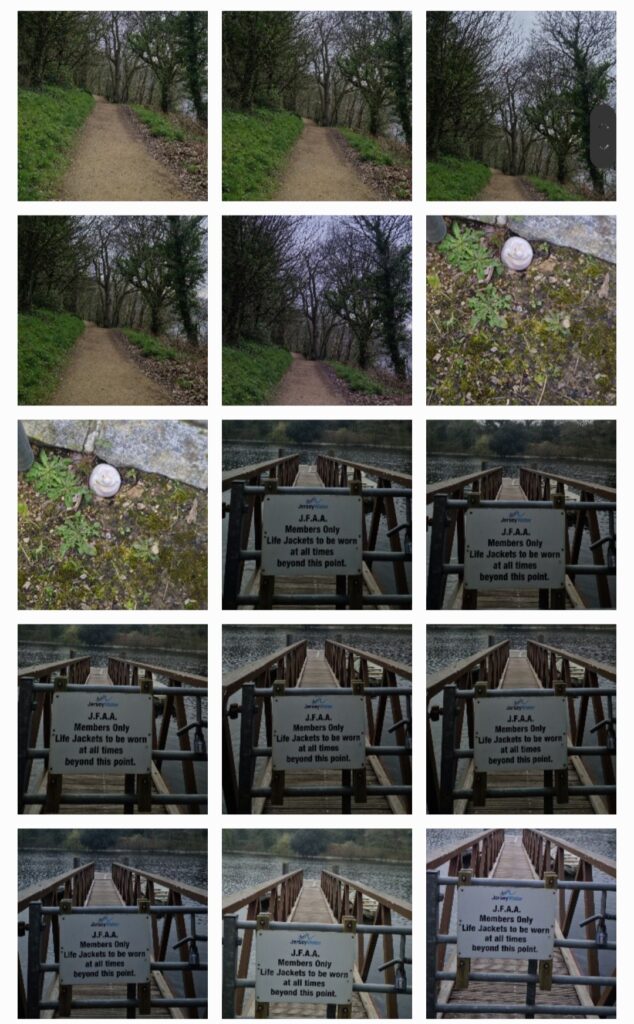
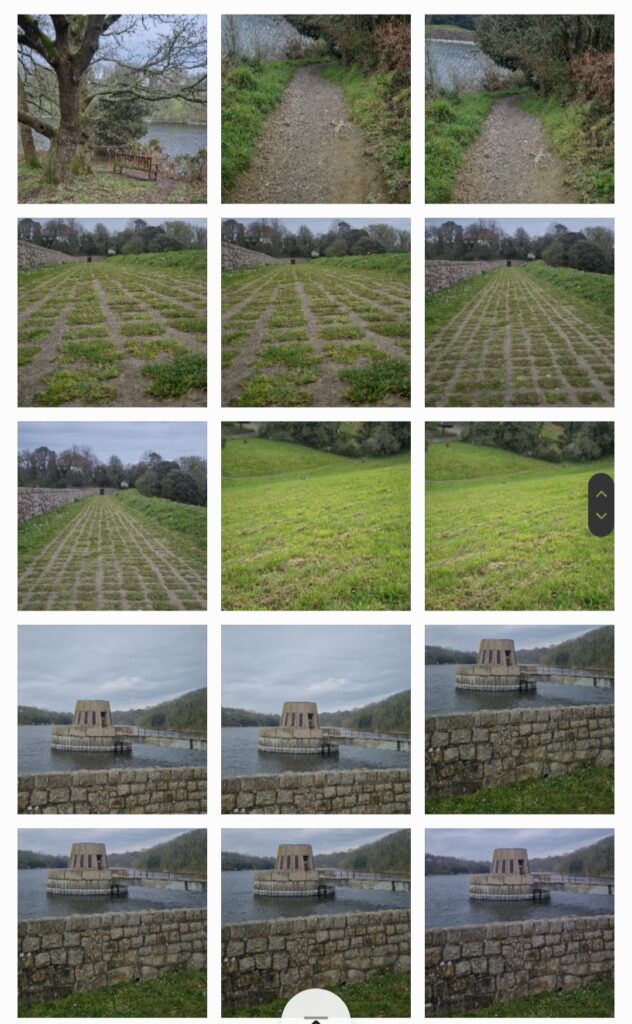
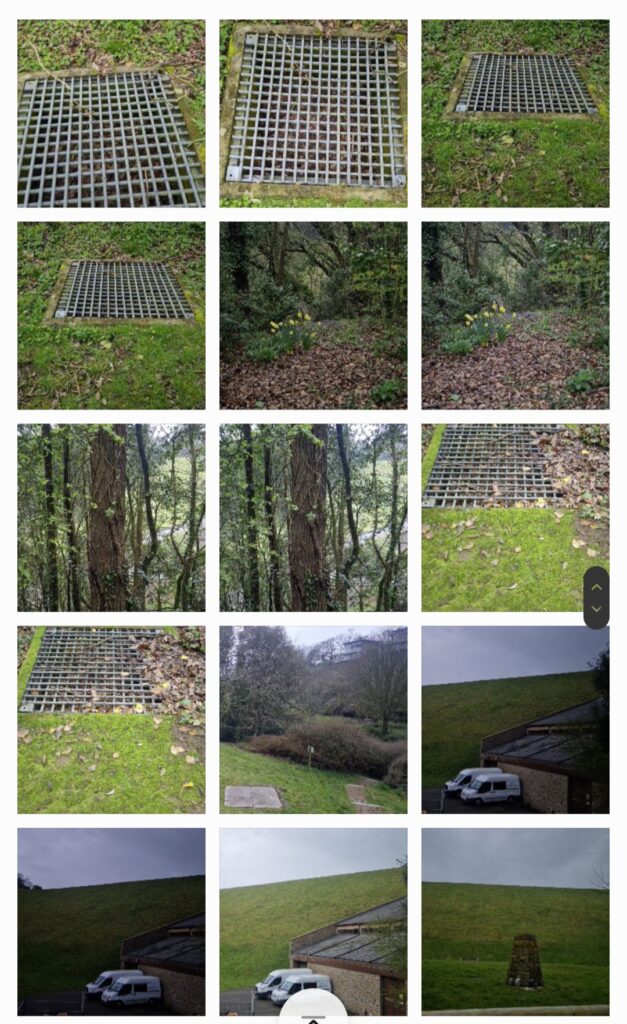
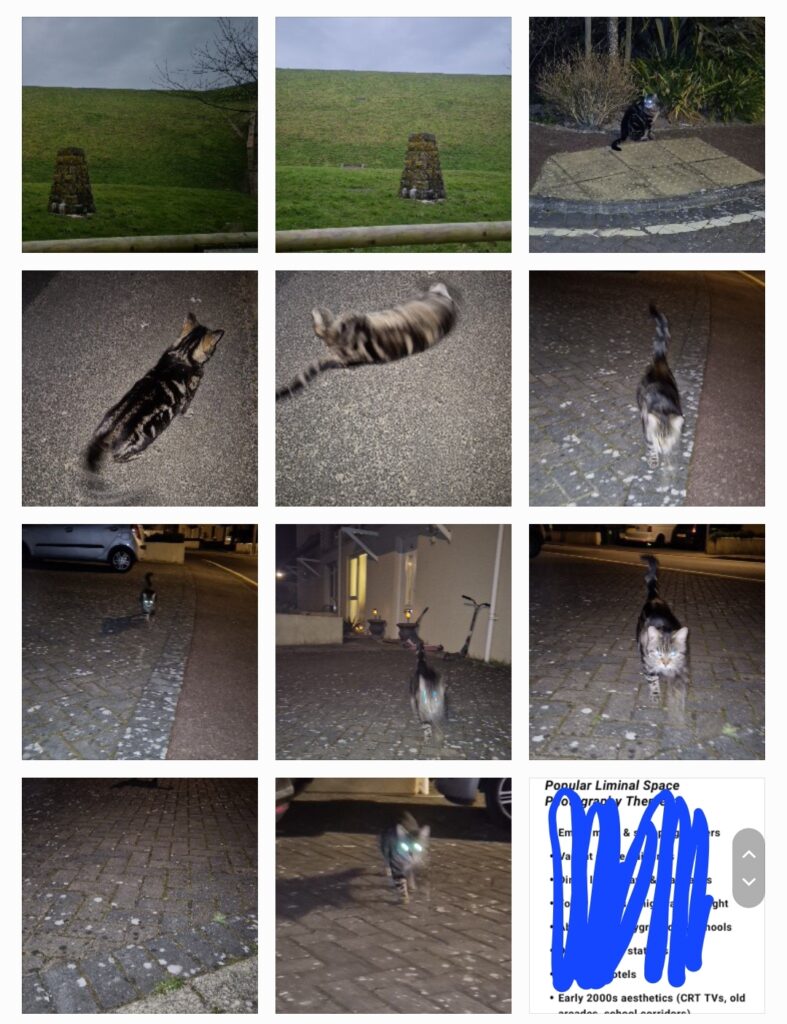
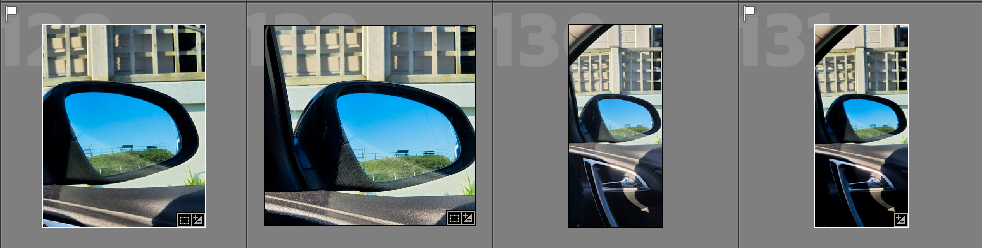
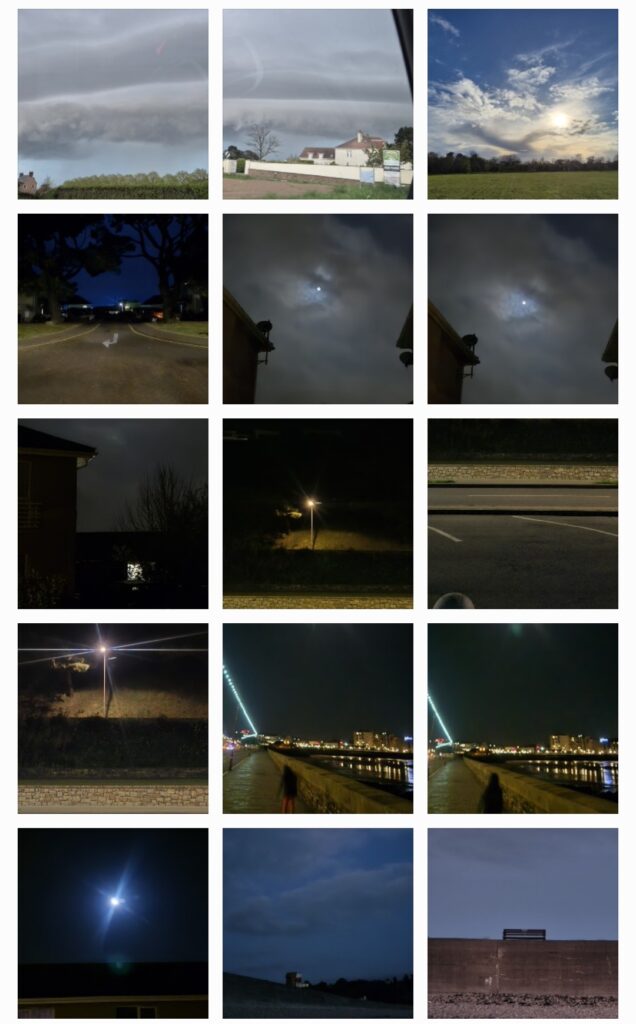
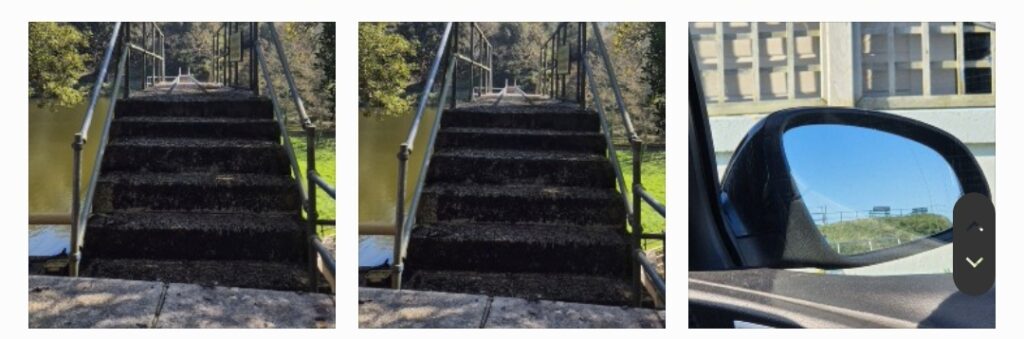
Selected images from photoshoots
These are potentially all the images I have selected to edit further on photoshop.


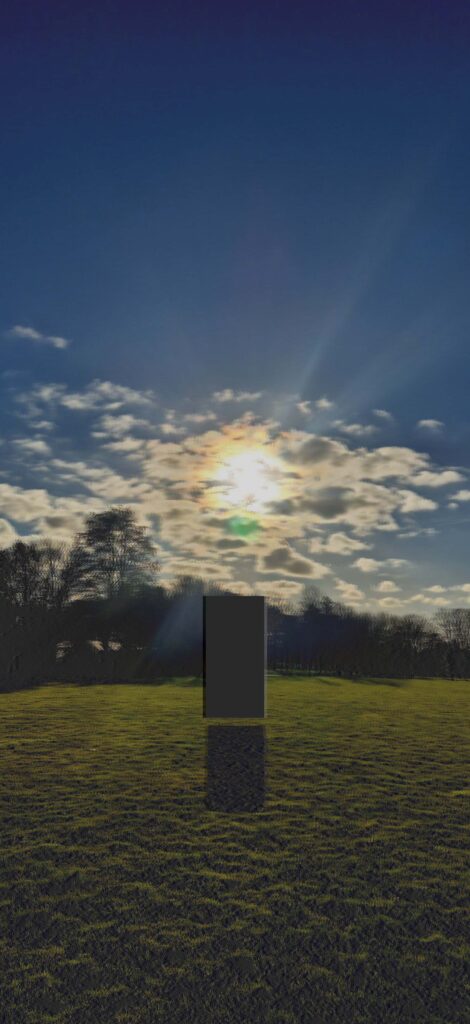
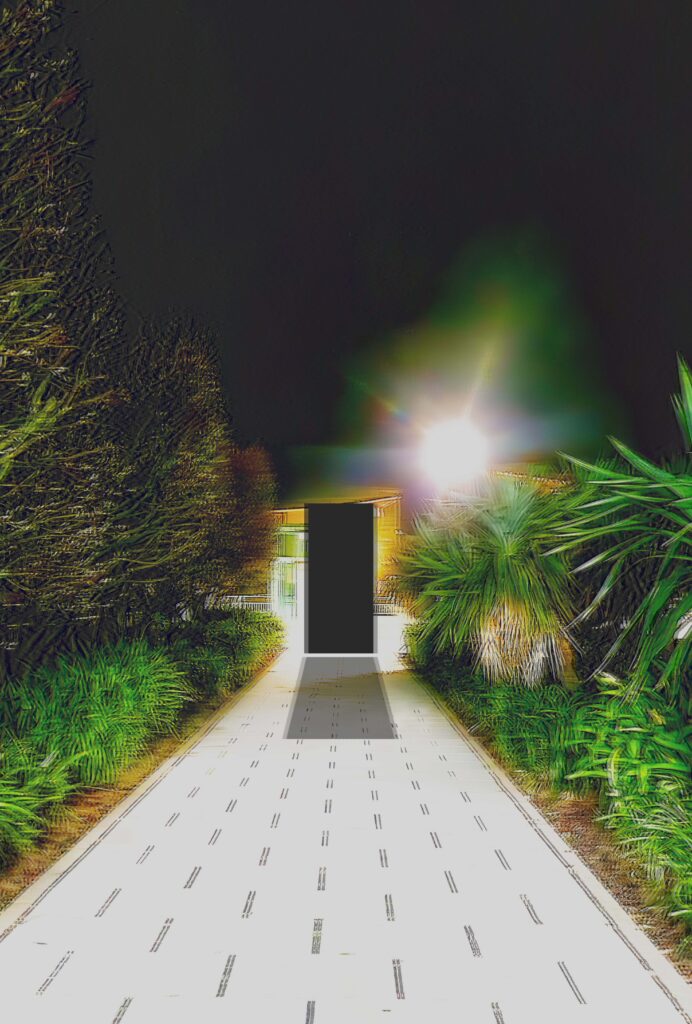
Final Images (Photoshop Edits)


Development Process

In order to make the images above, these are the steps I took:
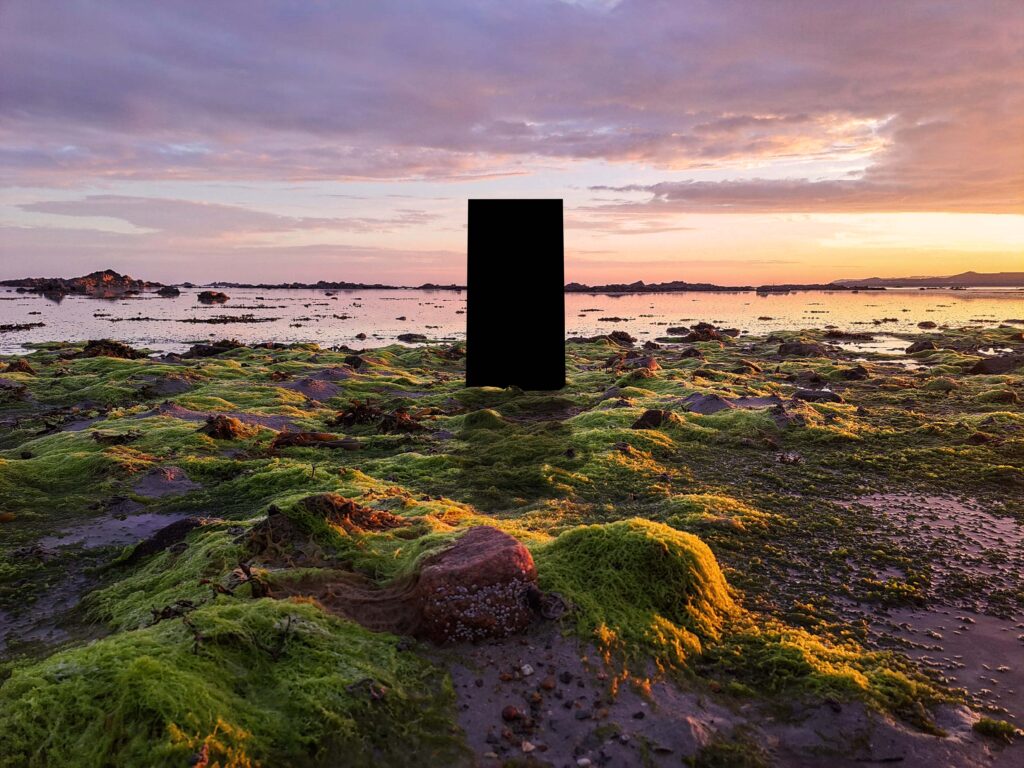
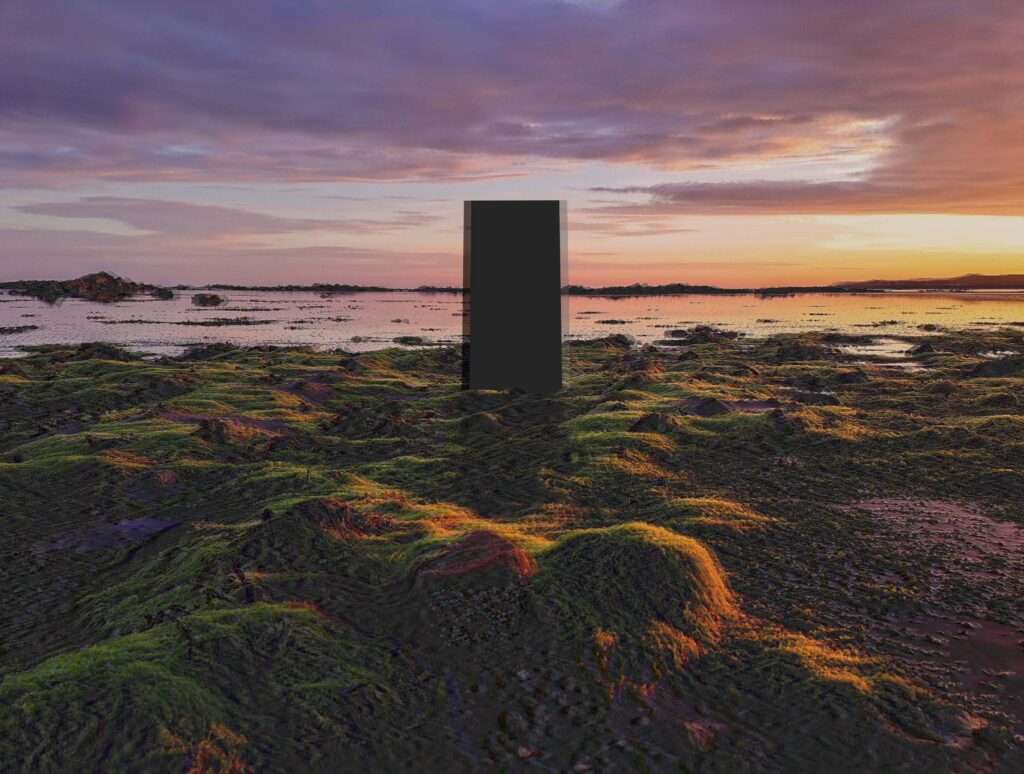
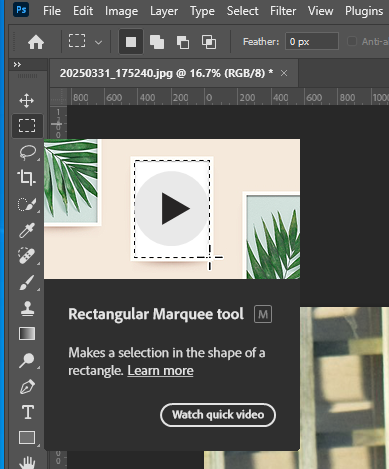
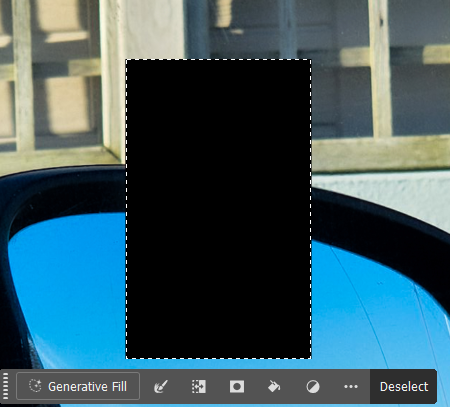
- Create a new layer after importing your desired image
- Select the Rectangular Marquee Tool
- Draw a rectangle/some sort of shape
- Select the Paint Bucket tool and select Fill Colour
- Change the colour to Black
- Deselect the shape and start moving to desired location
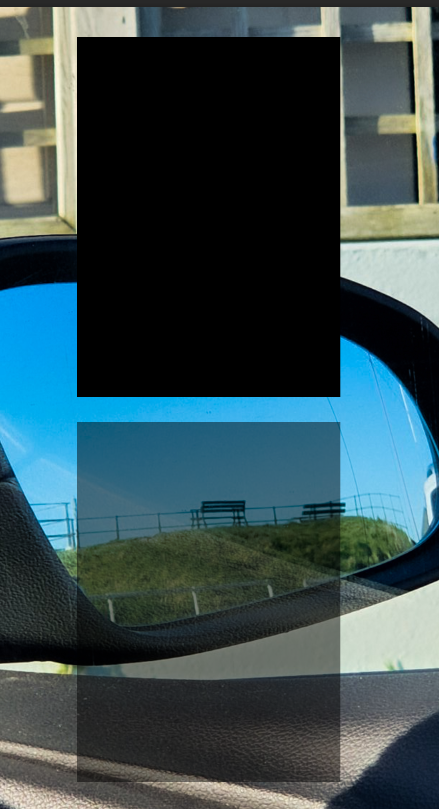
- Duplicate the shape layer or repeat steps on a new layer
- Move the duplicated shape under the original and start lowering it’s opacity to create a shadow-like affect
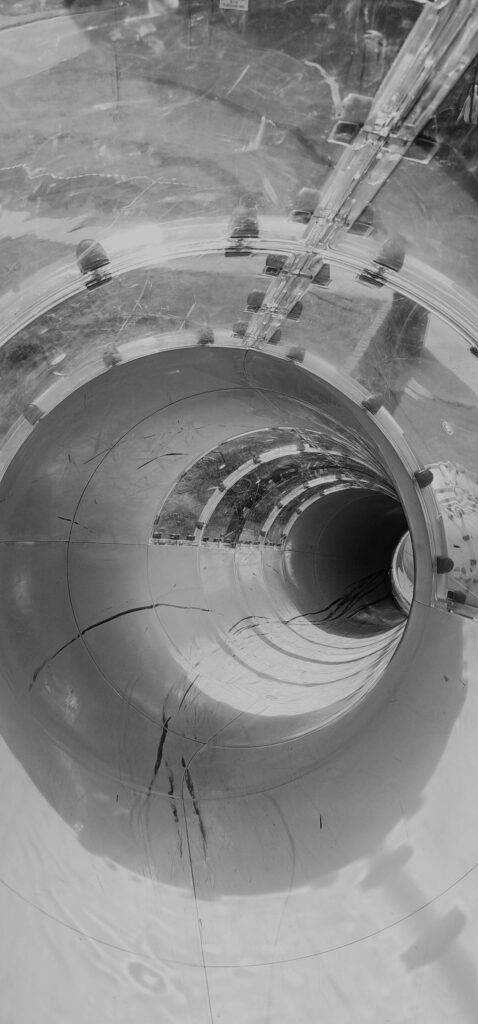
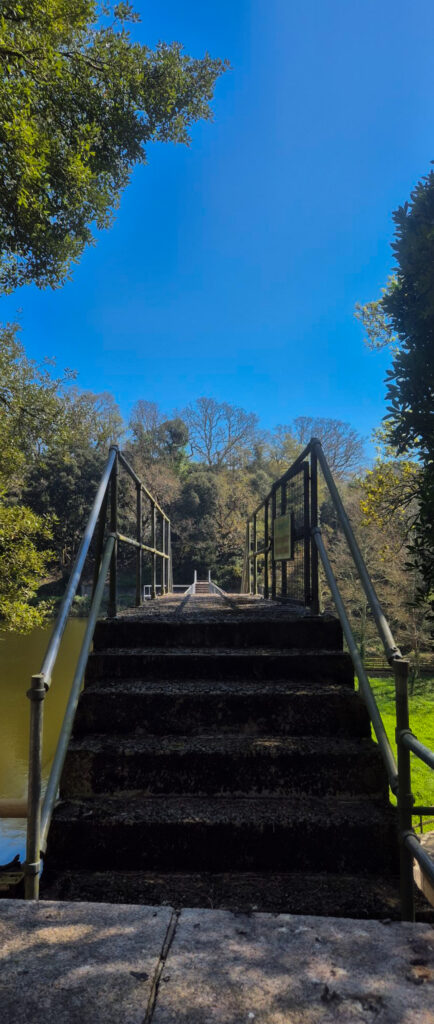
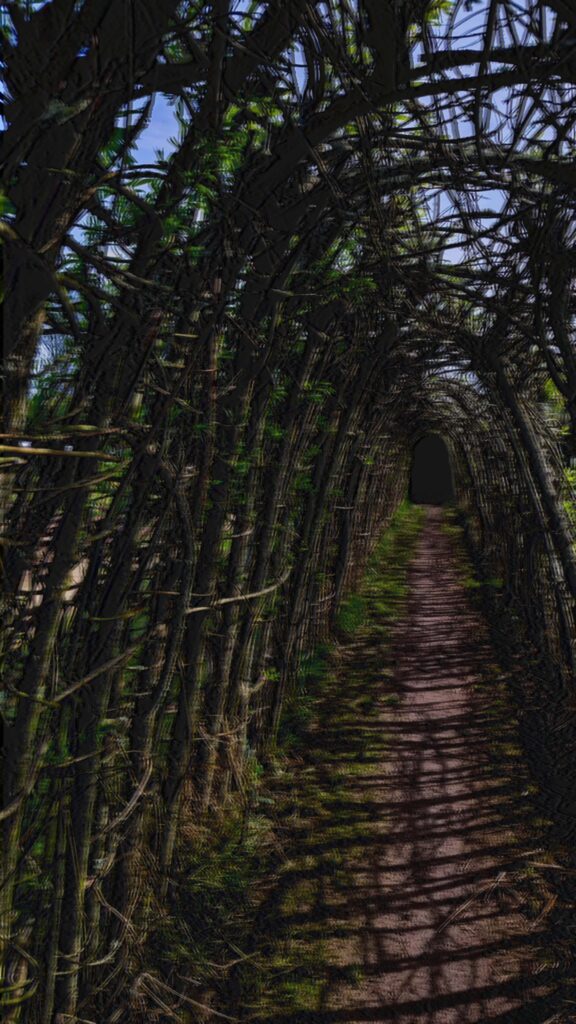
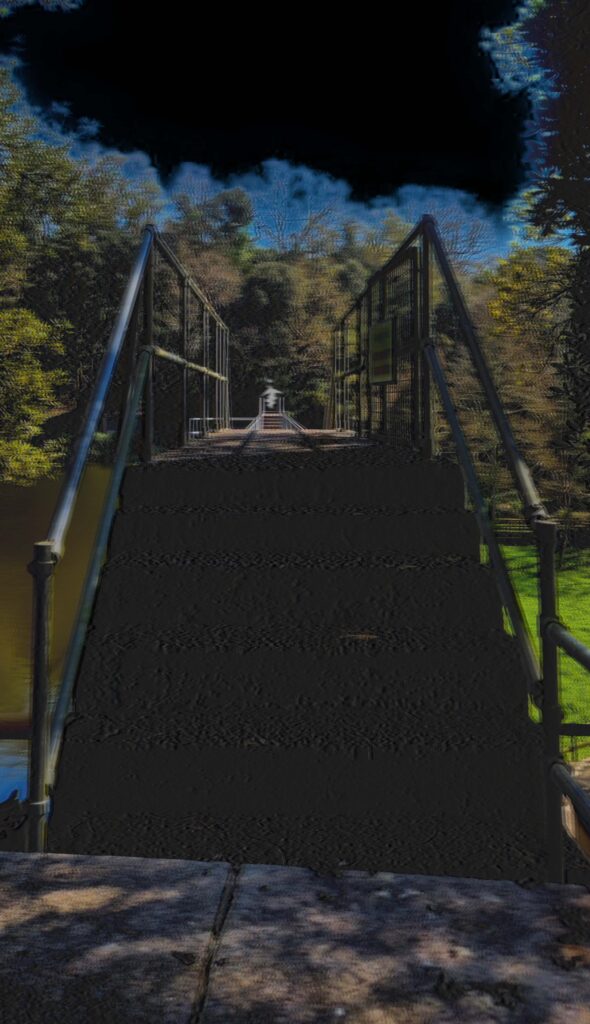
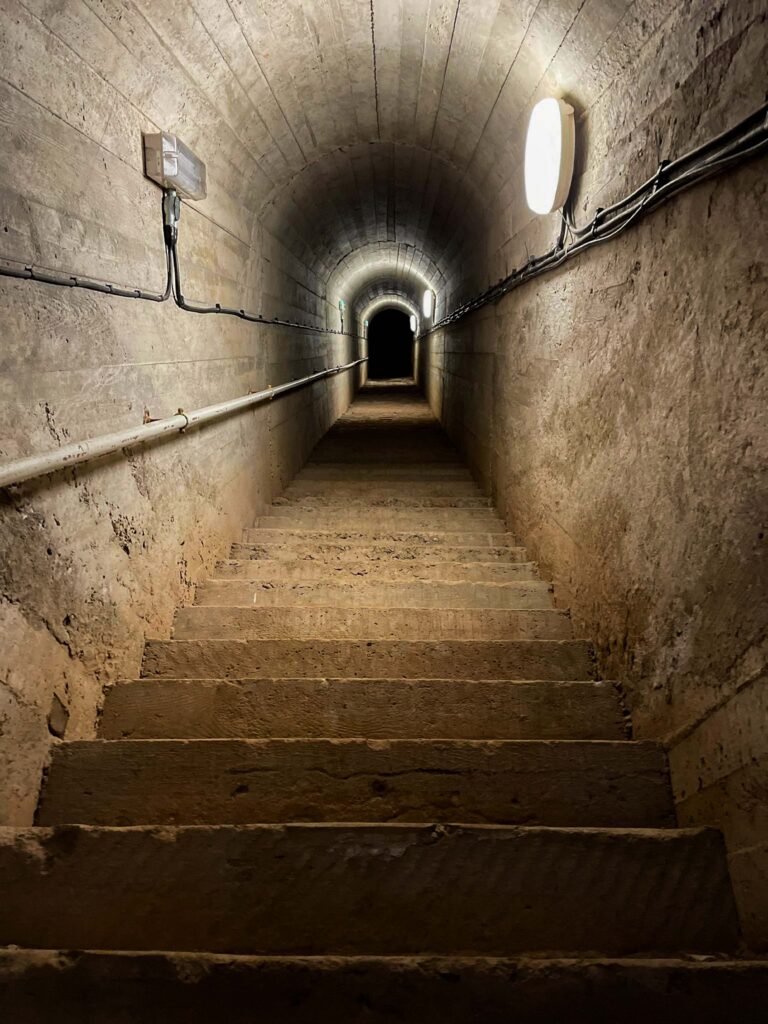
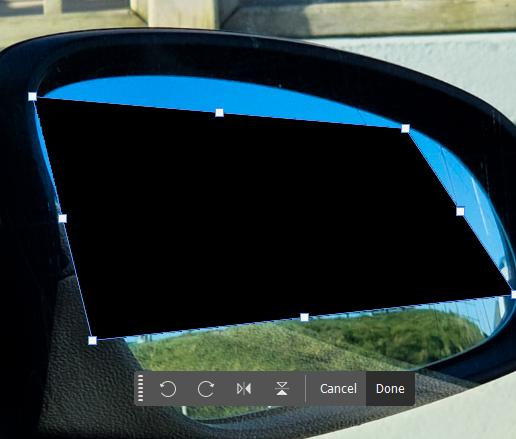
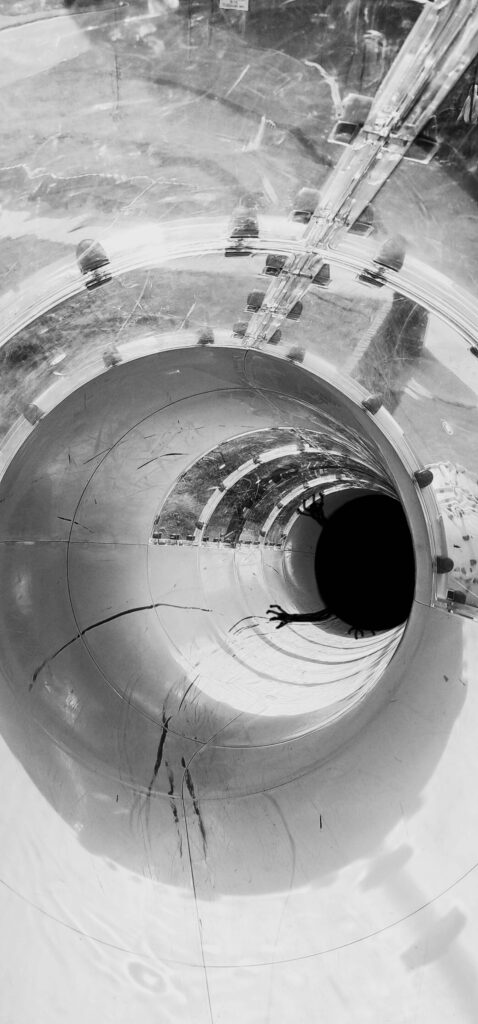
- To replicate the tunnel and stair image above you have to create a shape and place it in an area that you wish to black out or give an affect of a hole
- You then manipulate the shape by selecting Edit, Transform, Distort or Perspective and start shaping the shape to fit it’s environment, you should also use the Eraser Tool to be more precise

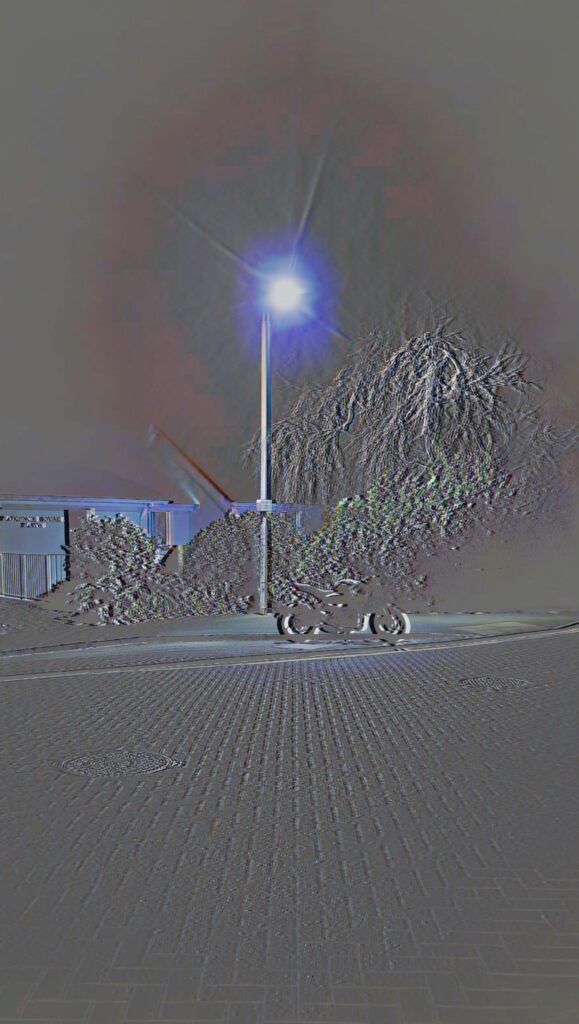
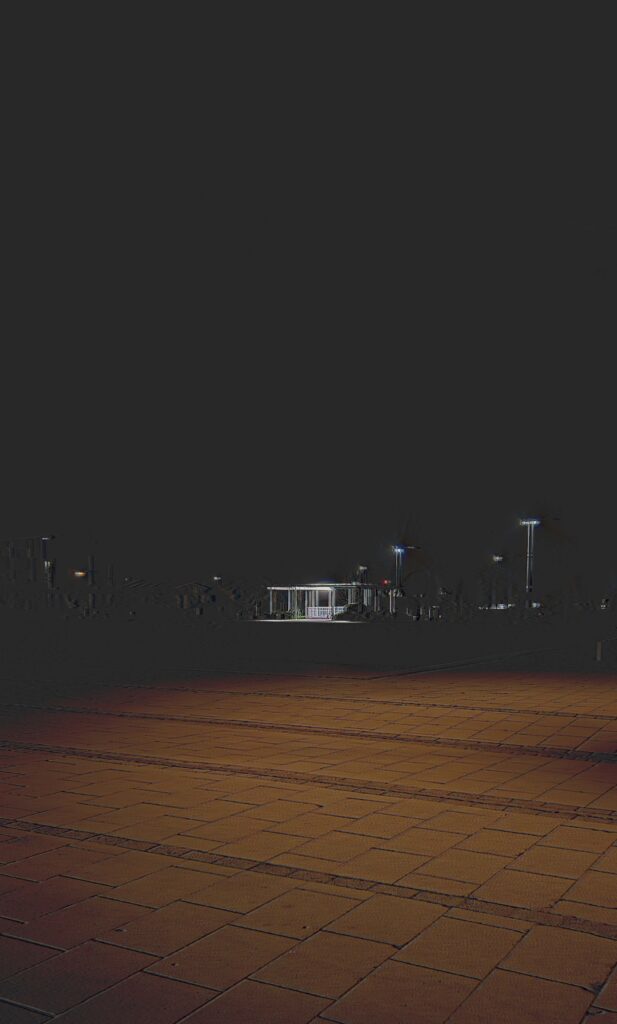
Steps I took to make the VHS style camera images:
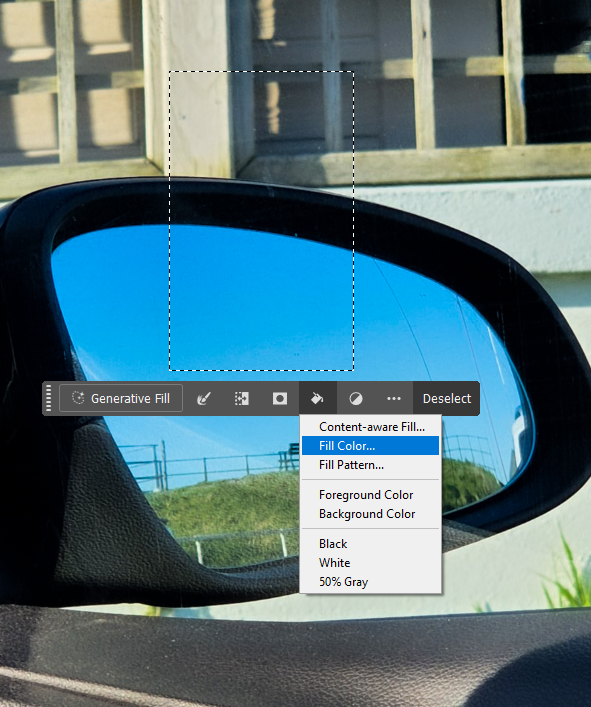
- Drag image into Photoshop
- Duplicate the image/layer
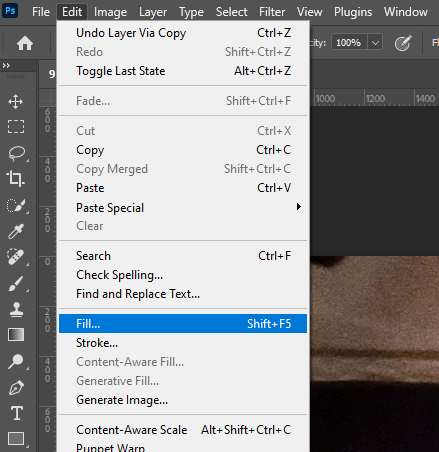
- Select the copied layer and select the edit button
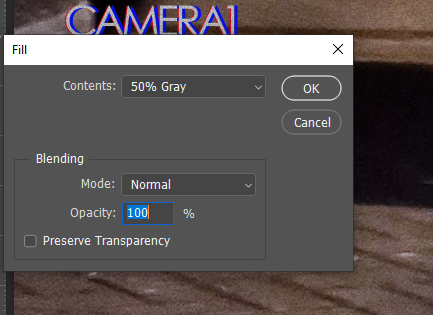
- Go to Edit and Fill and put in the settings 50% Gray and press OK
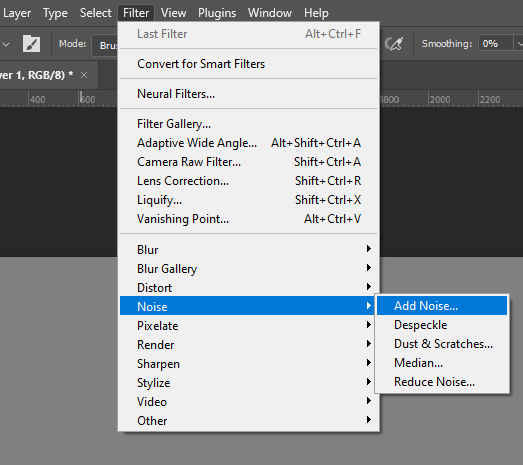
- Then go to Filter and select Noise then Add Noise
- Put in the settings 40%, Gaussian and Monochromatic


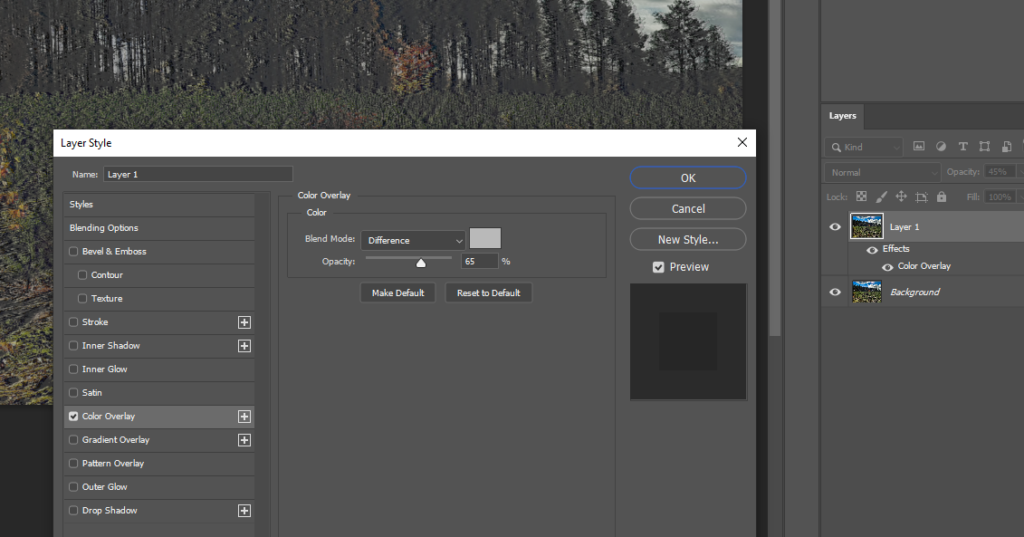
- After creating the VHS glitch effect, I changed the Opacity and Blend Mode
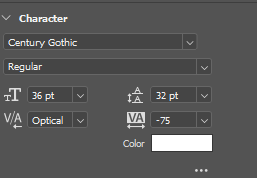
- Settings for text on the images, I attempted to mimic the VHS camera style text

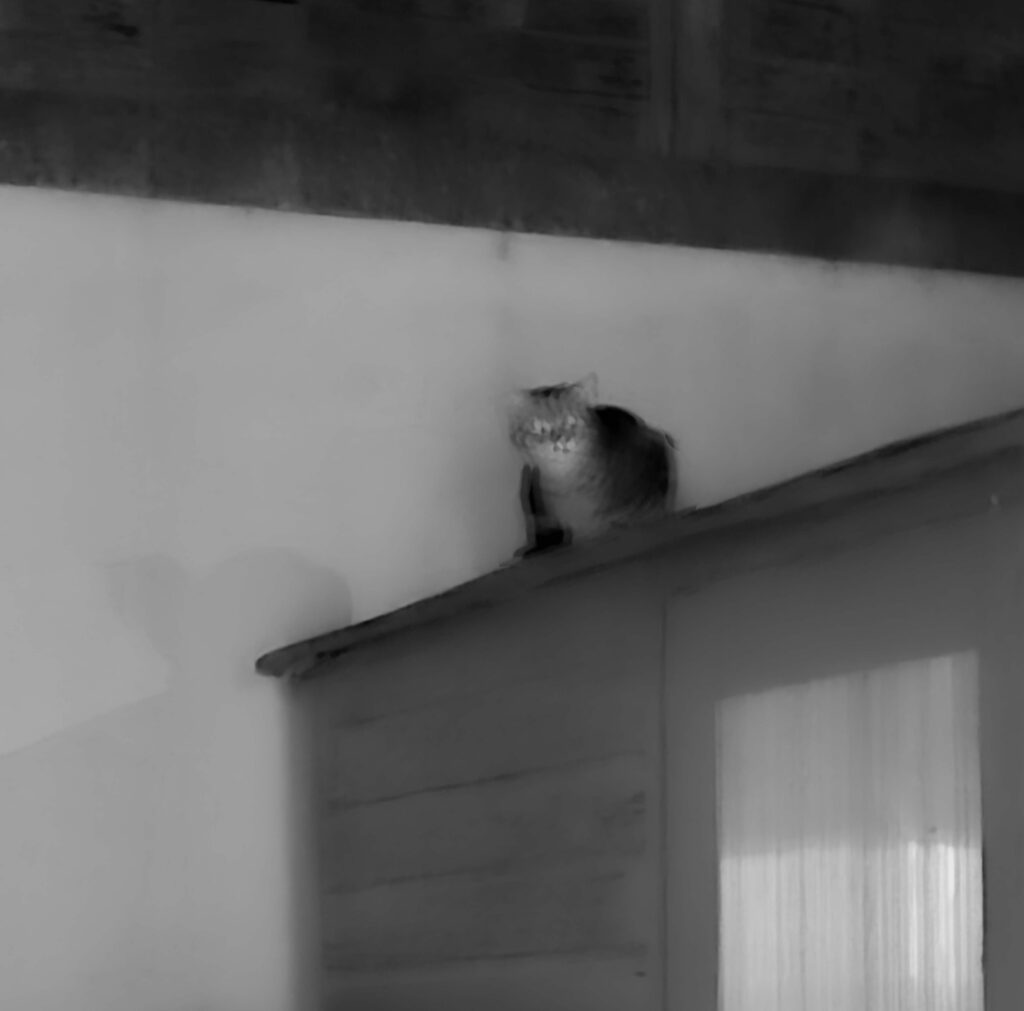
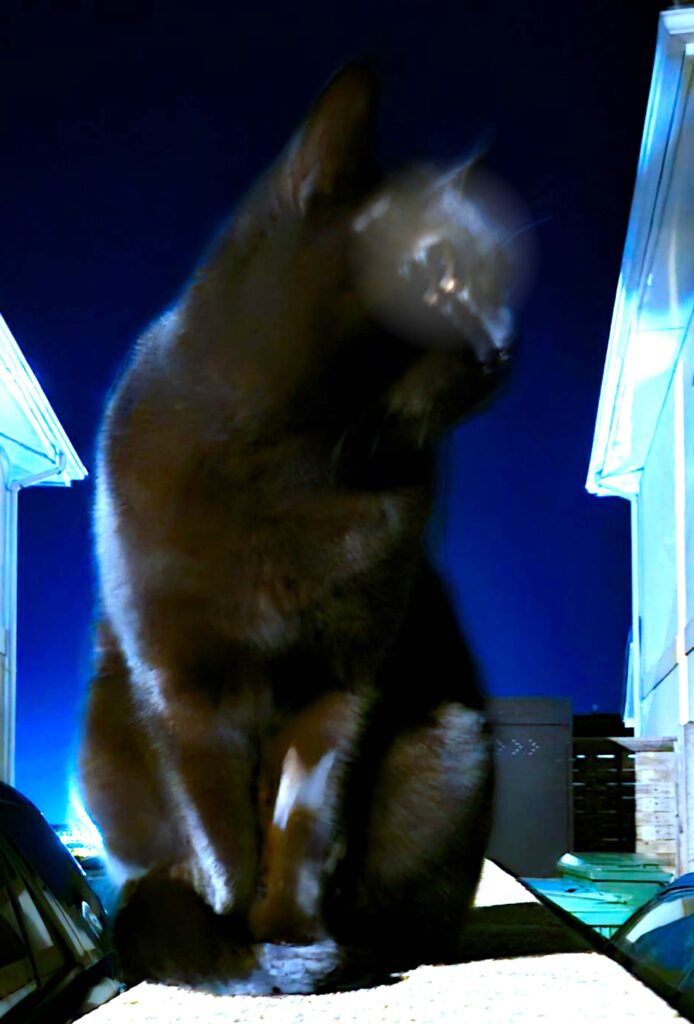
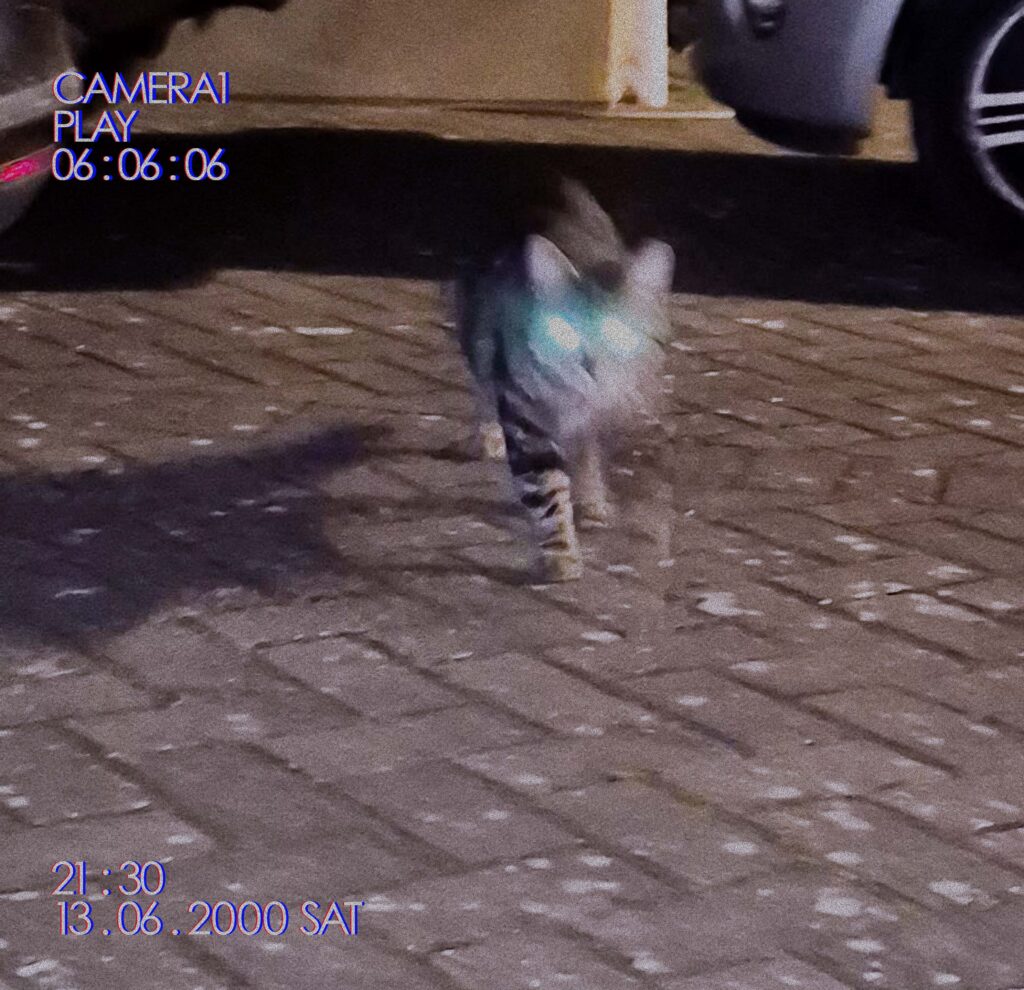
To achieve the image below, I had created multiple duplicates of the original image, I then lowered the opacity of each duplicate layer to different setting.
For the first duplicate layer I had lowered the opacity down to around 50% and then shifted the image towards the right to get a glitch like affect.
For the next layer I set the opacity much higher I then erased horizontal lines all the way down the image to create more of a glitched affect.
For the last layer I erased the whole image apart from the cat, I then changed the opacity of the layer and shifted the cat into a spot that I liked in order to make the cat look like the leading source to the glitching.

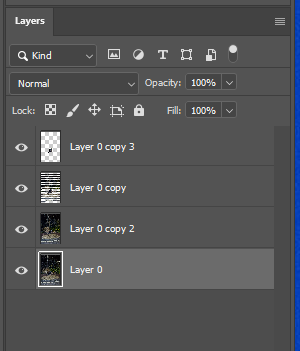
- Below are all the layers of the image above
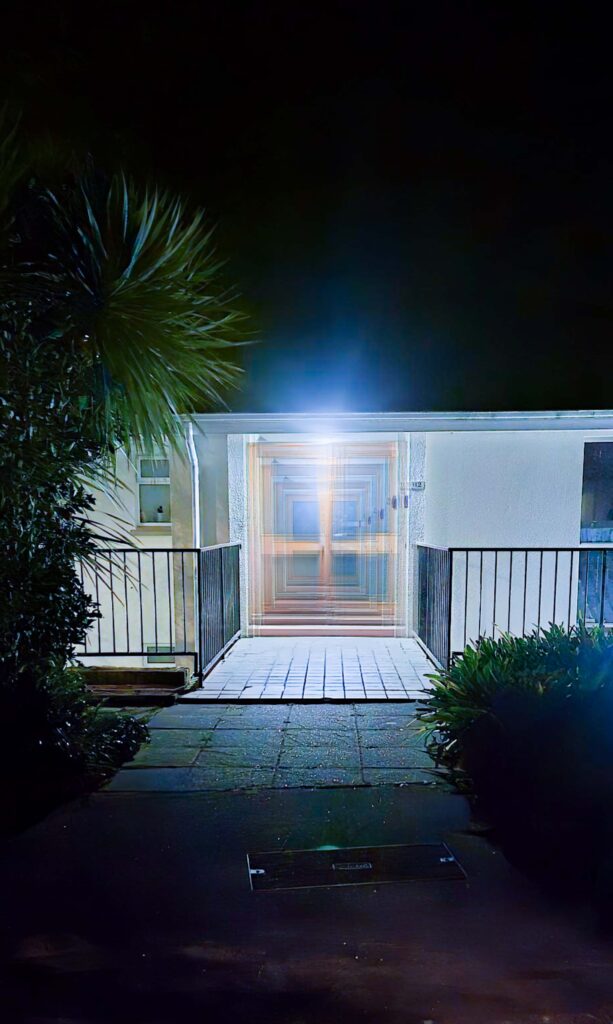
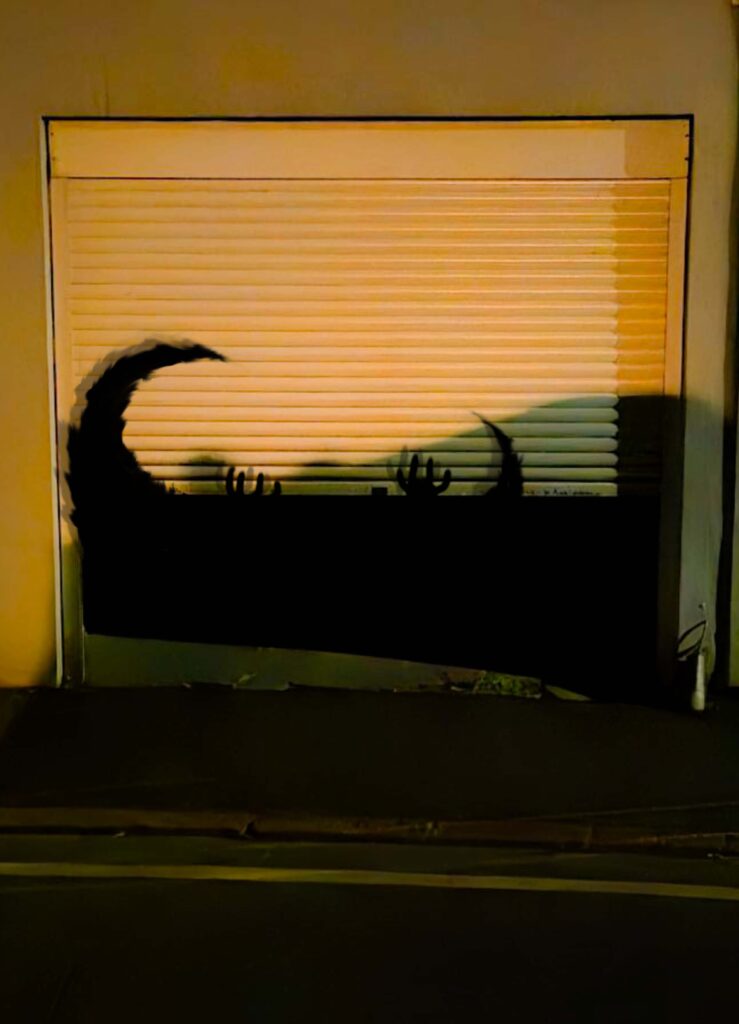
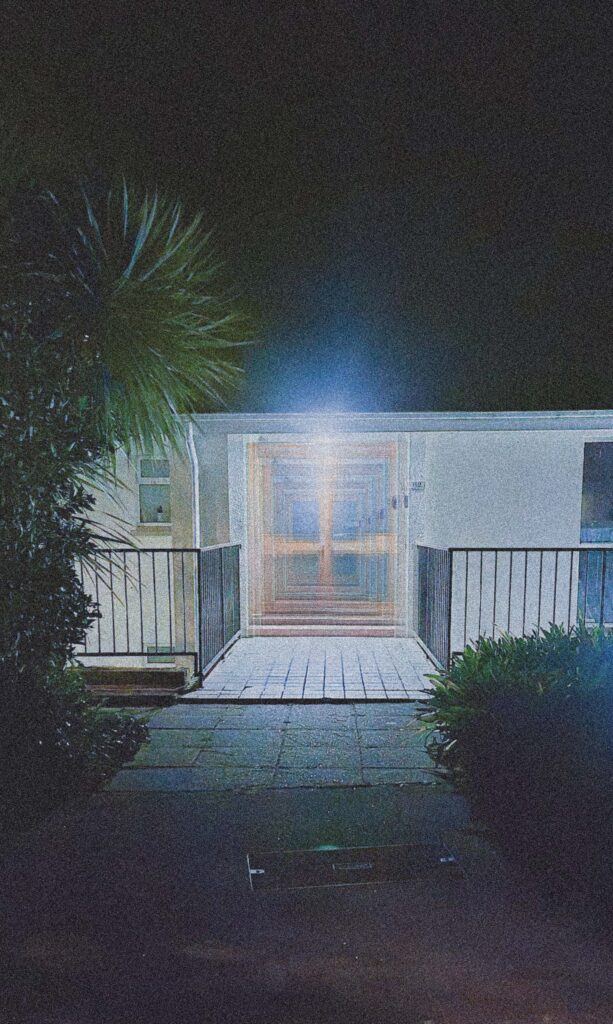
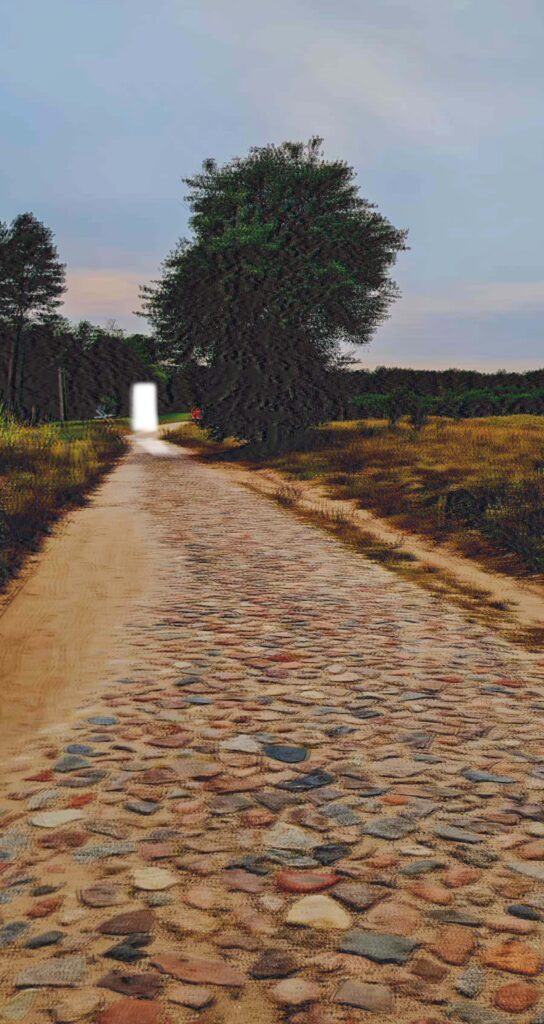
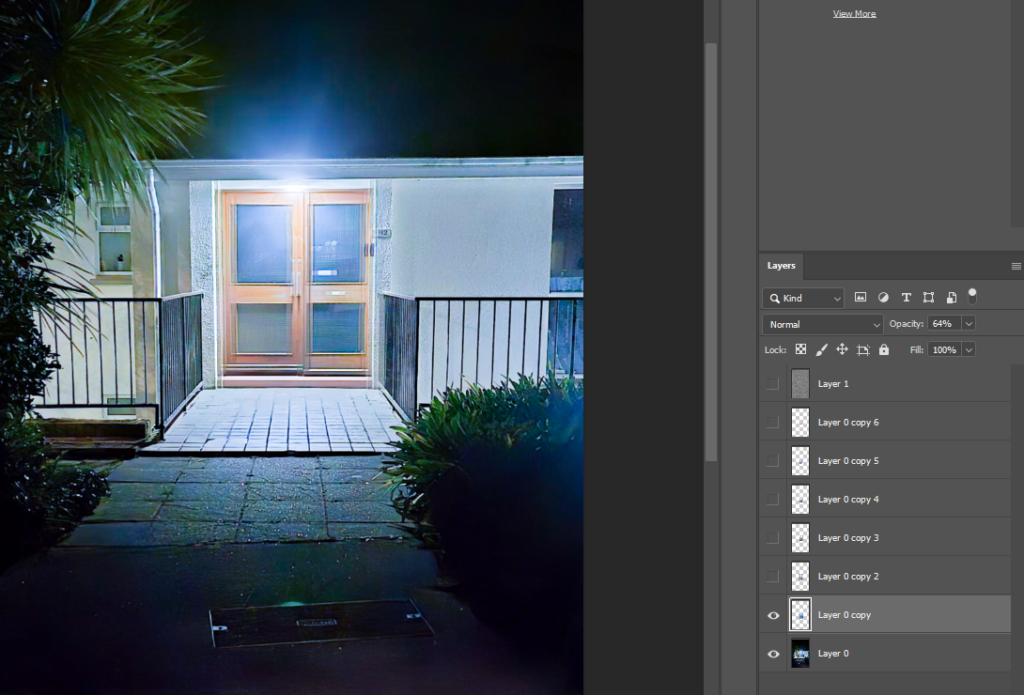
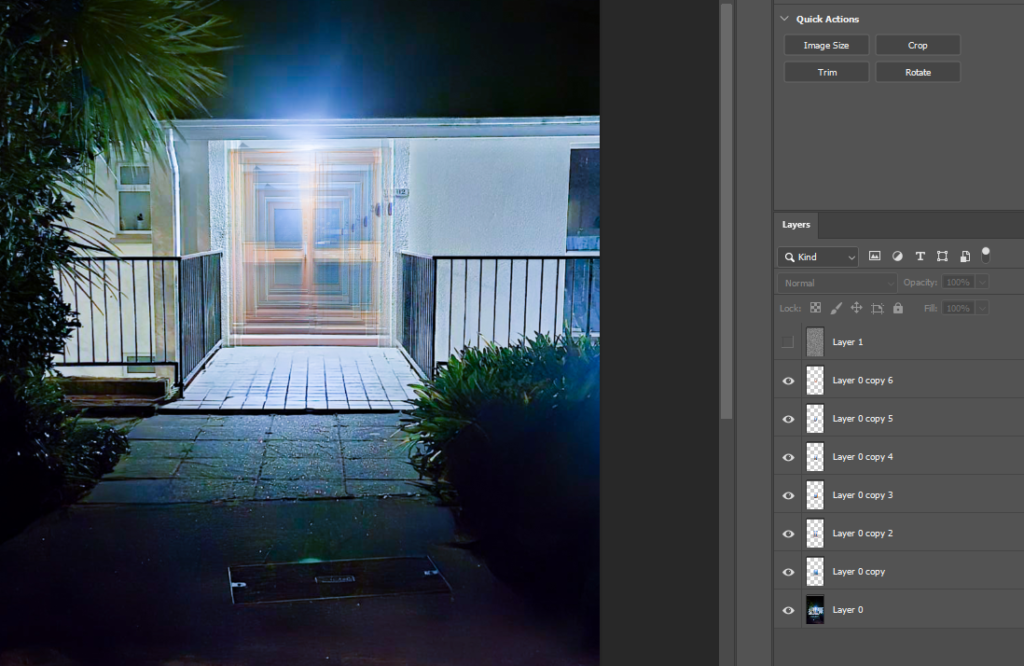
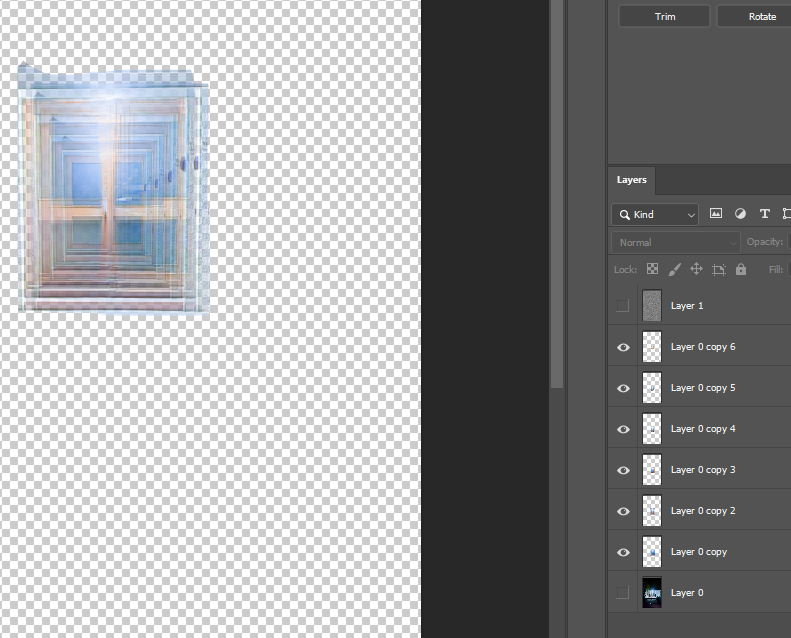
In order to make the image above, I had taken these steps:
- Import image into photoshop and duplicate it/the layer
- Use the Eraser Tool to erase the entire background apart from the door
- Change the opacity and shift the image, this will create a glitch affect
- Continue to duplicate this new layer but this time make the opacity lower and shrink the new image to start creating a never-ending looking door
- Keep repeating this step until you are satisfied
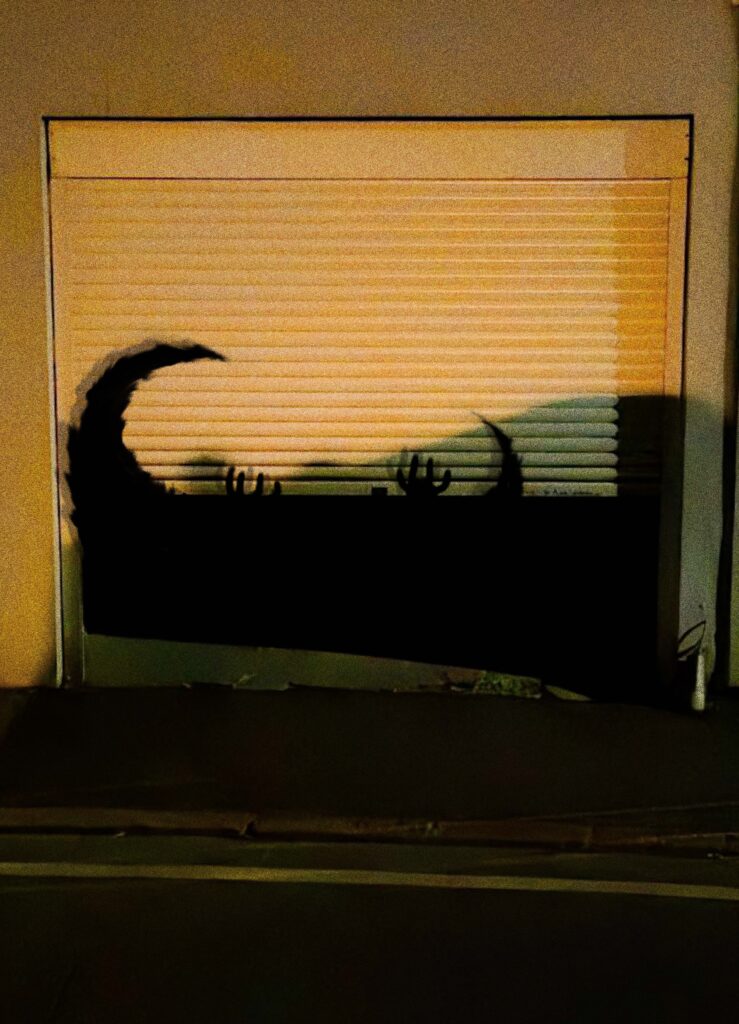
I then created a second version with a VHS affect as I wanted to see what the image would look like in that style.
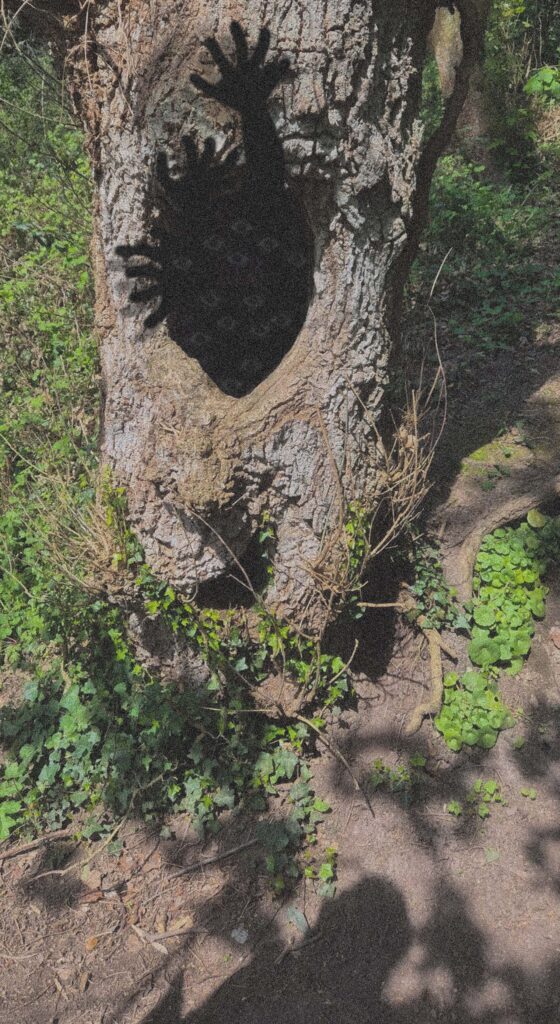
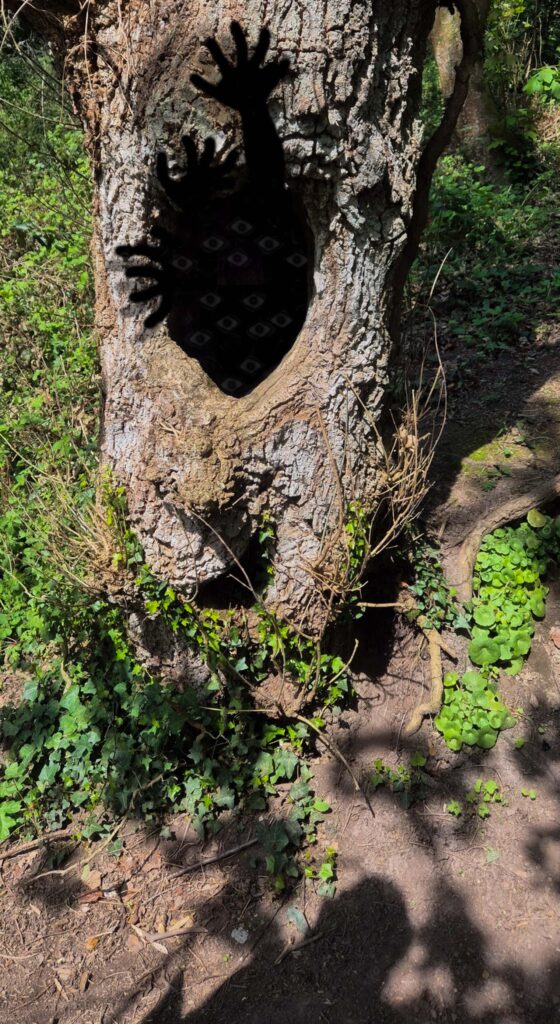
To make the images below, I used the Brush Tool and slowly drew the hand prints, body and arms with my computer mouse, this was a challenge for me as I’m used using a specialised pen for drawing digitally, however I like how the drawings turned out, I think the messy, unperfect style of them adds more to the uncanny and eerie atmosphere of the images.
For the hand print image I changed the opacity of my drawing layers individually to make the entity look as if it is behind the glass. I made sure to have individual layers for each drawing so that when I went to erase or edit something it wouldn’t affect the actual image or other drawings.
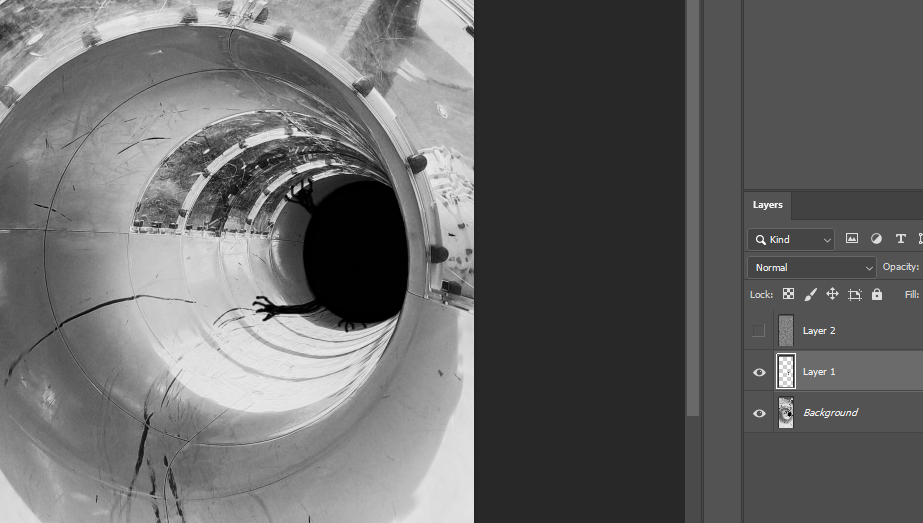
To create the image (and similar ones) below, I had used a combination of techniques that I had explained earlier. In this image in particular, I took great inspiration from Trevor Henderson and his creatures, I decided to draw my own entity as I felt the original image was lacking something.
I started drawing a random shape and then used the Smudge Tool to pull out and distort the edge and overall shape of the body. I then drew lines on the creature to represent teeth, I then used the Smudge Tool to do the same as I did with the body. Lastly I drew the spiralling mouth or eyeball by using various sizes of my Brush Tool and stacking them onto each other, each time using a smaller brush.
For the final touches I had duplicated the body of the entity and changed the opacity, I then distorted it to make a shadow. I had also decided to include the VHS style to make the image look more film like, I then added some text similar to ones you’d find on “Found Footage” work and on old cameras.
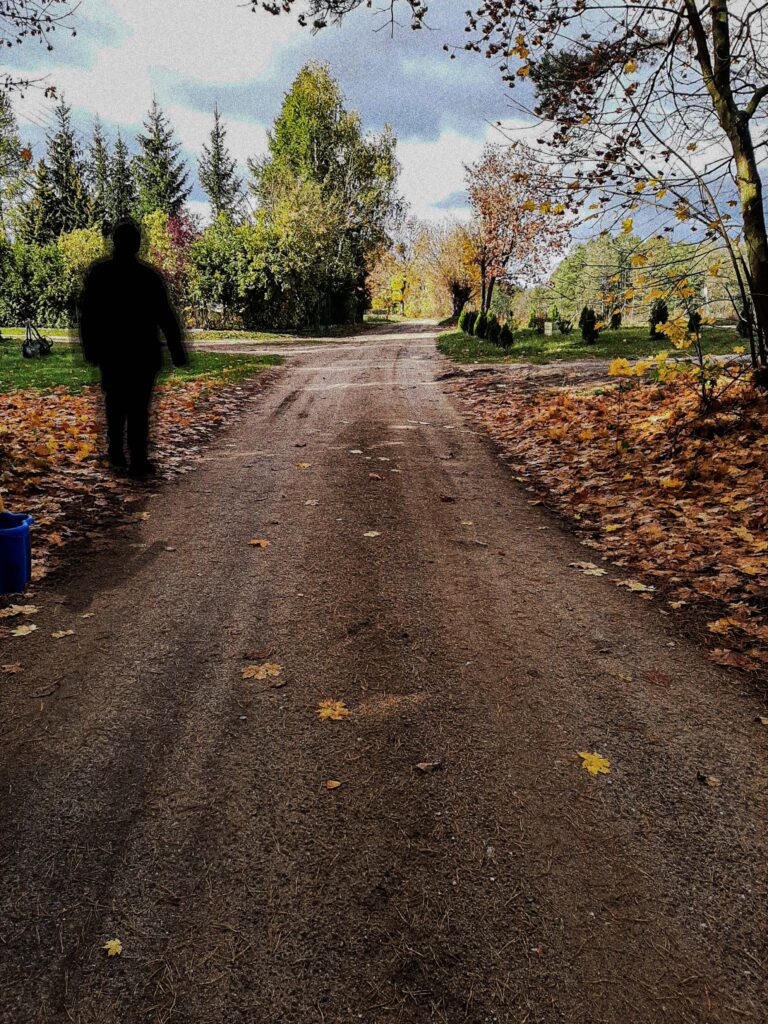
Saskia, looking at how your images are developing are you planning on more shoots that may involve people or self-portraiture? You have taken inspiration from Francesca Woodman who is often including herself in the images. A figure in the frame might add some extra nightmarish feel/ mood to the images.