EXAM GUIDANCE

Examination dates: 15 hrs controlled test over 3 days
Group 13C: 2, 23 & 24 April
Group 13A: 2, 23 & 24 April
Group 13D: 3, 25 & 28 April
(please check your email from C Farrow re : dates + clashes)

RULES: No use of mobile phones. No talking to each other or ask teachers for help.

You will have access to the blog to produce blog posts, BUT no access to the internet.

The blog will only be available for you to access during exam times each day between 09:00 – 15:20. In other words, you will not be able to make any changes/ improve work outside of exam times.

It essential therefore, that you have done must of the preparatory work – research/ artist case studies/ photo-shoots/ evidence of creativity, development and experimentation of images – before the exam period begins on day 1.

Work to be done
1. PRINTS: Final selection of images in print folder above (ready by end of Day 1: Wed 2 or Thurs 3 April of the Exam)
2. PRESENTATION: Complete mounting all final prints
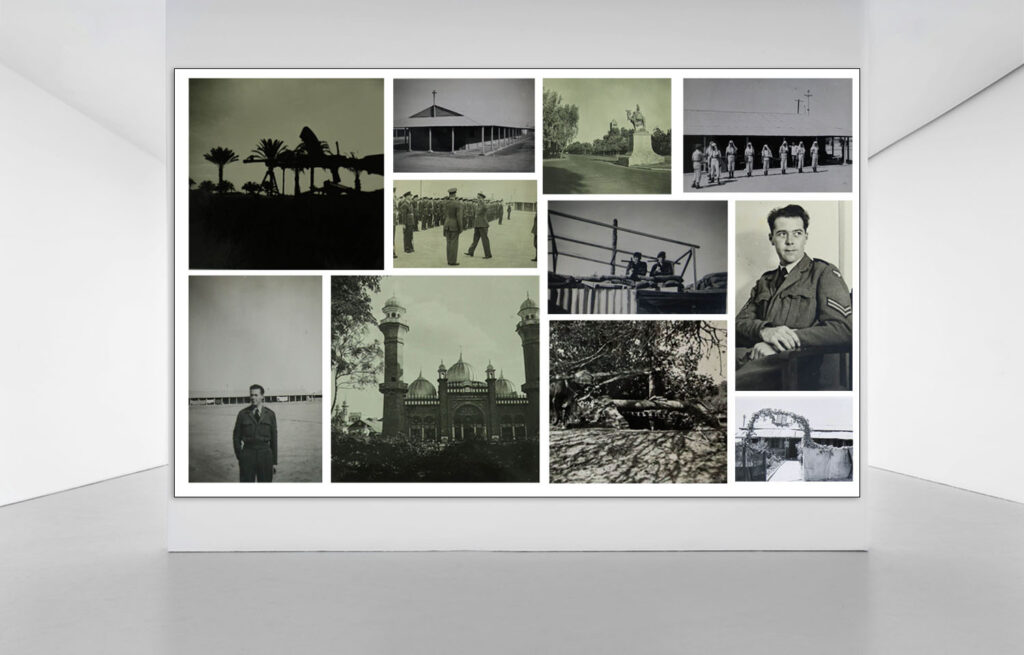
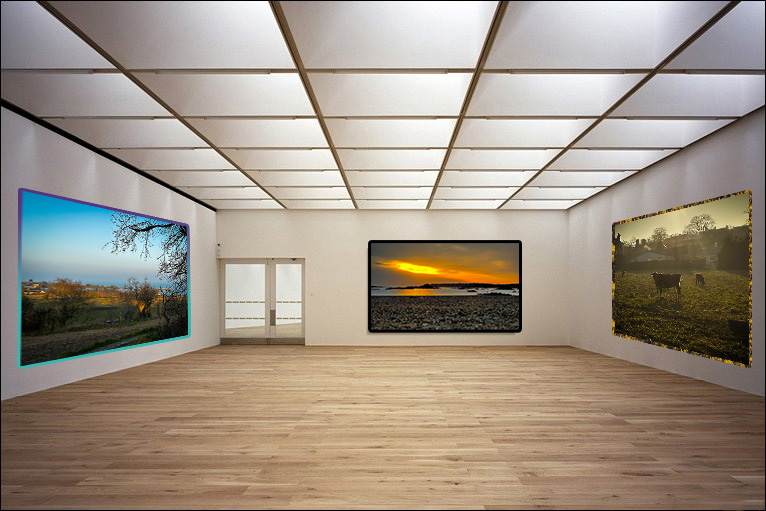
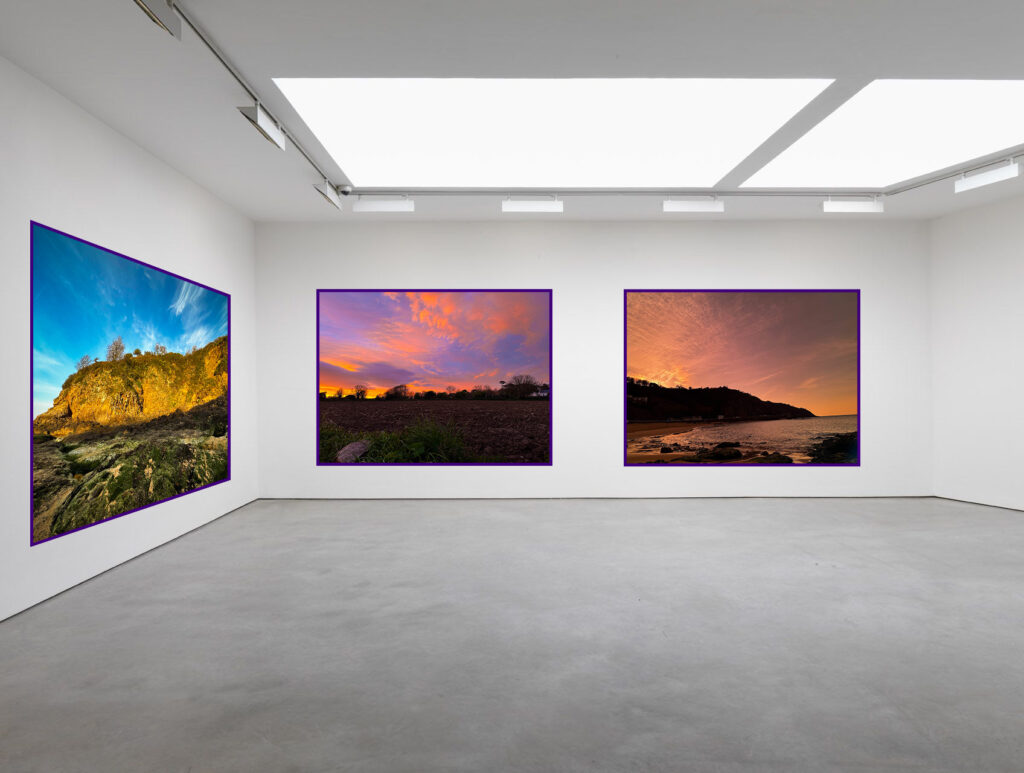
3. VIRTUAL GALLERY: Present final images using templates here: M:\Radio\Departments\Photography\Students\Image Transfer\EXAM 2024\Gallery mock-ups
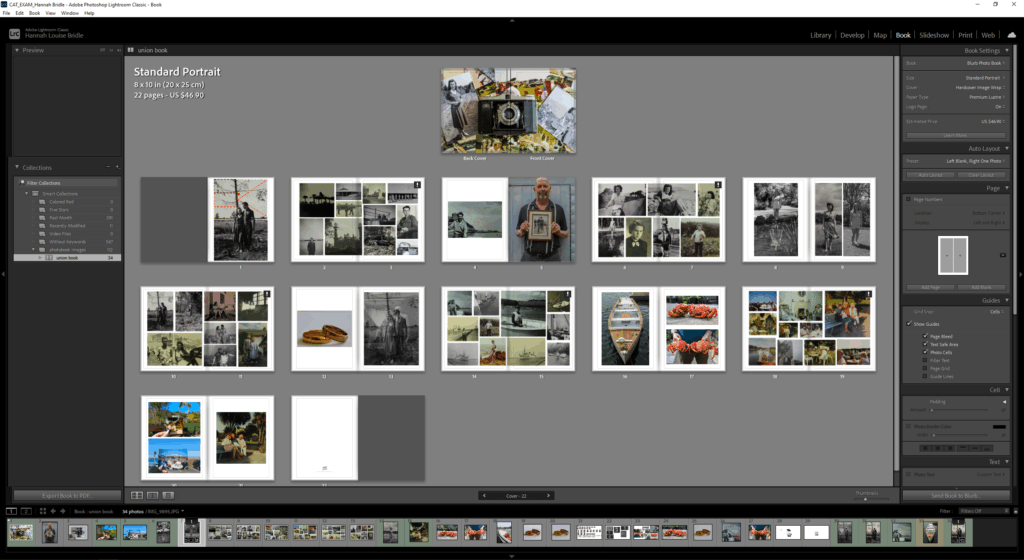
3. PHOTOBOOK: Complete design and evaluate
4. BLOG: Review and complete all supporting blogposts
5. FOLDER: Label all final outcomes and put in Exam folder
6. SIGN: Student authentication form

DEADLINE: LAST DAY OF YOUR EXAM
FINAL PRINTS > PHOTOBOOK > BLOG POSTS

IN PREPARATION FOR YOUR EXAM MAKE SURE THE FOLLOWING IS READY BY THE END OF THIS WEEK:

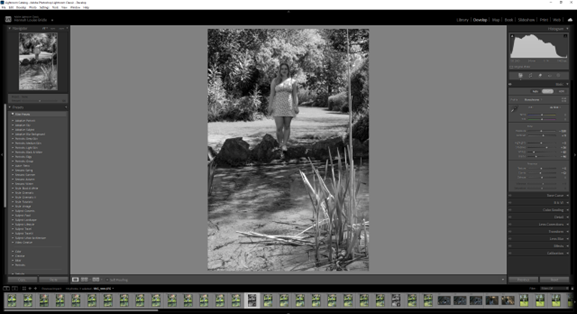
  1. Complete and upload new photoshoots and begin to edit in Lightroom – make sure to produce blog posts showing selection process and experimentation of images.
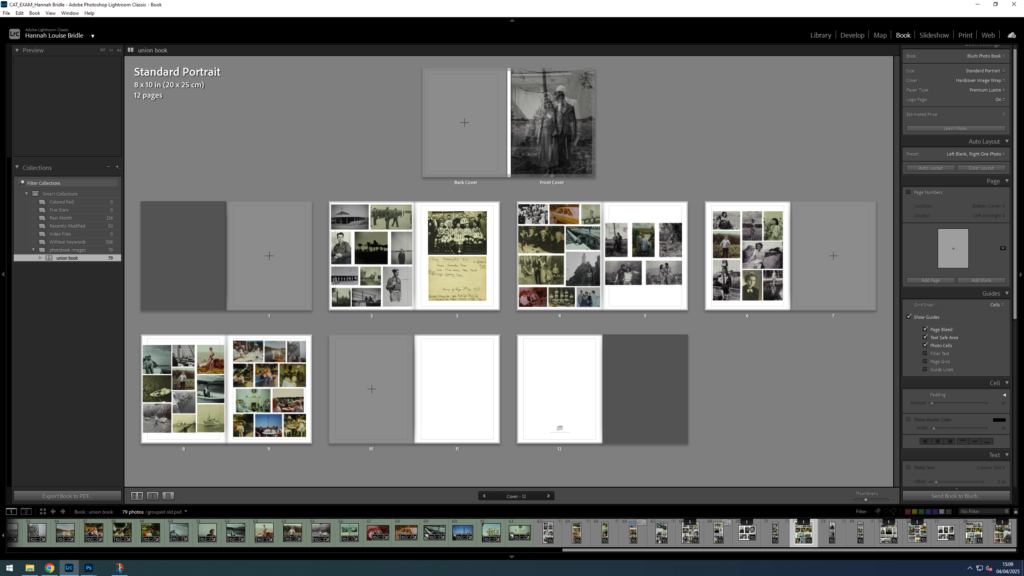
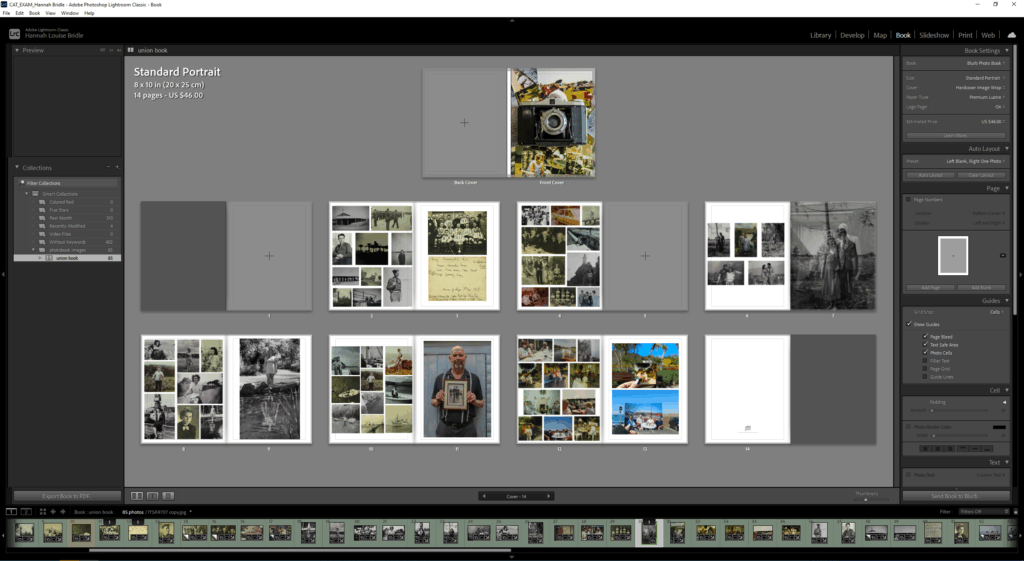
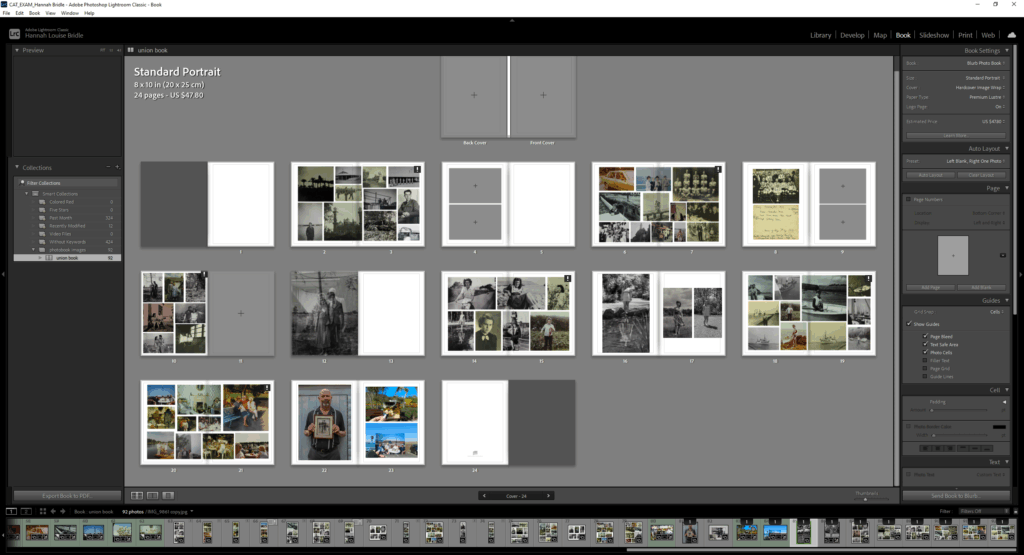
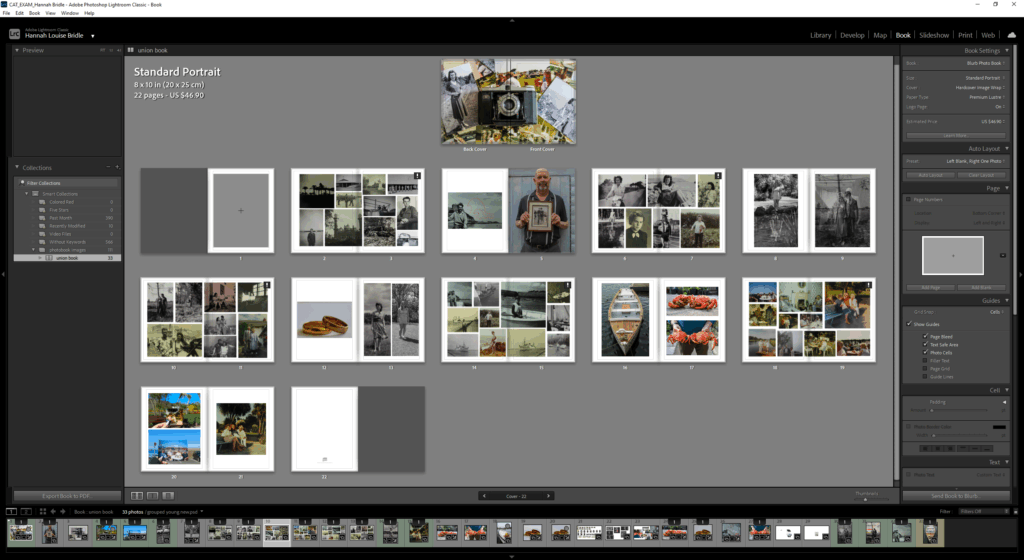
  2. A draft layout of your photobook using BLURB templates in Lightroom – exam time is used to fine tune design with teacher’s approval
  3. Review Checklist on blog for overview of work that must be completed – improve, complete and publish missing blogposts.

Structure your 3 day Exam as follows:

DAY 1:
PRINTS: Complete editing photoshoots, select and prepare final prints. Make sure you have produced blogposts for each photoshoot with a clear progression of selection and editing.

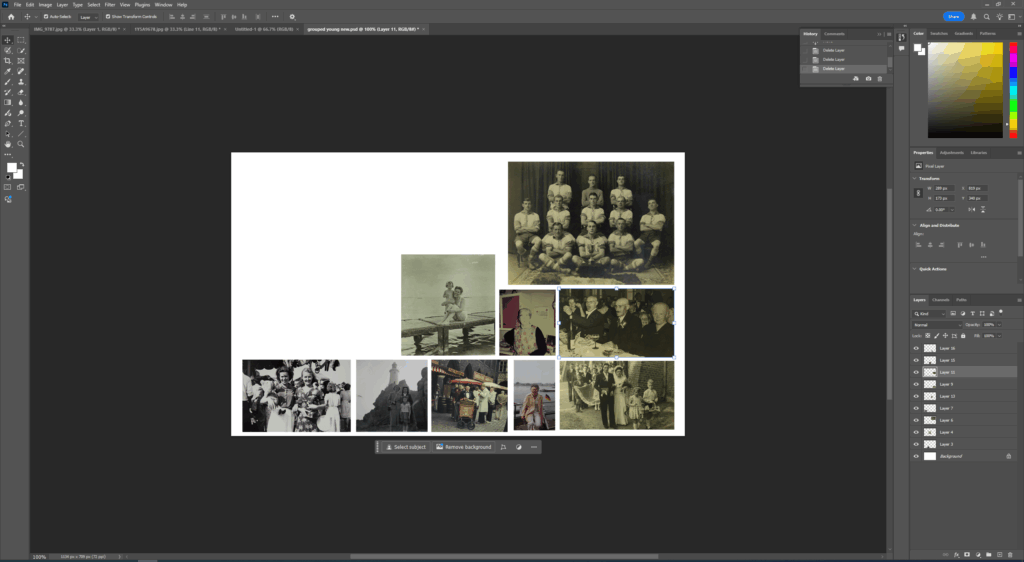
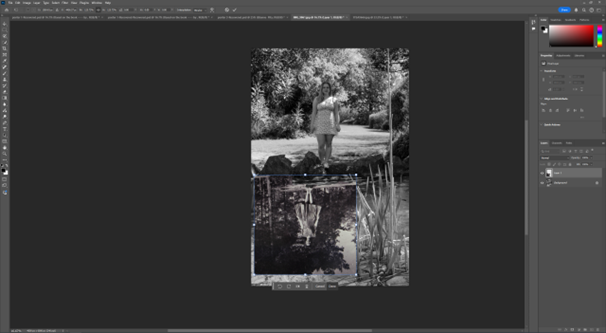
BLOG: Produce blog post showing presentation ideas and create mock-up in Photoshop. Consider appropriate sizes and ways of presenting images as singles, diptych, triptych, multiple grids/ collages/ combinations in window mounts or foamboard etc.

You must save final images (see guidelines below) in print folder here by end of the day:
M:\Radio\Departments\Photography\Students\Image Transfer\PRINTS EXAM 2025

DAY 2:
Photobook: Experiment with photobook design using BLURB in Lightroom – show variation of layouts and creativity.

Blog: Evidence of photobook process
1. Research and deconstruct photobook used as inspiration. Comment on different design element such as: feel of the book, paper, binding, format, size, cover, title, design, narrative (if appropriate), editing, sequencing, image and text.

2. Write a book specification and describe in detail what your book will be about in terms of narrative, concept and design with reference to the same elements of bookmaking as above.

3. Produce a blog post showing your layout and design process in Lightroom using a combination of print screens + annotation.

4. Final layout of every spread and write an evaluation.

5. Upload book design in Lightroom to Blurb and order your book via Blurb account. Once uploaded produce an hyperlink to book browser – see below for more details.

6. Once you have received book in the post bring into school.

Those who are not making a photobook can begin to mount up final prints and follow instruction below for Day 3.

DAY 3
PRESENTATION: Begin to mount your final prints as per your mock-up plans. Each final outcome must be labelled and velcro attached too. Make sure all your final images are presented in a folder with your name.

BLOG: Produce a virtual gallery and write a final evaluation of the exam module and your final outcome. Consider the following:

Gallery mock-ups M:\Radio\Departments\Photography\Students\YR 13 EXAM 2025\Gallery Mock-ups

– How successful was your final outcomes?
– Did you realise your intentions?
– What references did you make to artists references – comment on technical, visual, contextual, conceptual?
– Is there anything you would do differently/ change etc?

FINAL CHECK: Finish and publish any missing blog posts as per Checklist/ Go4School Tracking sheet and comments from teachers.

No students is allowed to leave until an authentication form is signed and teacher has signed off too.

PHOTOBOOK
Make sure you have a made a blog post that charts your design decisions, including prints screens of layout with annotation and write an ongoing evaluation. Final book design must be checked and signed off by teacher.

BLURB – ORDER BOOK
Inside Lightroom upload book design to BLURB, log onto your account on their website, pay and order the book.

Consider spending a few extra pounds on choosing better paper, such as Premium Lustre or Premium Matte in check-out, change colour on end paper or choose different cloth/ linen if needed.

LINK TO ONLINE BLURB BOOK

Your final blog post should be an online link to you BLURB book with an evaluation. If you have already written an evaluation as part of another blog post on your book design then add the online link to that blog post and change the date to make sure it sits at the top.

Log into your blurb account and click on Sell my book

Click on Privacy & Sharing

Copy link circled in red above.

Make a new blog post: MY PHOTOBOOK and copy in link from Blurb into the title of your book using Link button above.

FINAL PRINTS
Select your final prints (5-10) from various photoshoots or photobook and make a blog post showing ideas about how to present them.

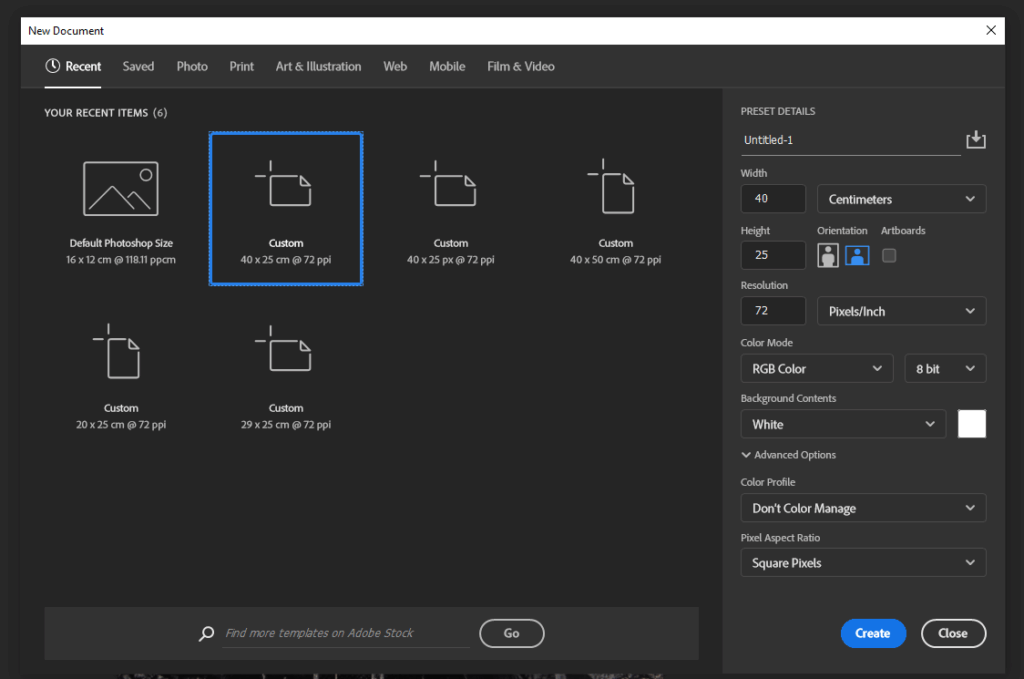
In photoshop produce a mock display (create new document size A1: 594 x 841mm) using different image sizes, for example: A3 x 2, A4 x 2, A5 x 3

PREPARE AND SAVE IMAGES FOR PRINTING:

  • Add your images to the print folder here…M:\Radio\Departments\Photography\Students\Image Transfer\Yr 13 Exam
  • Complete any unfinished work from last term if you have time, For example check your coursework portfolio and mount up any prints from previous projects.

File Handling and printing...

  • Remember when EXPORTING from Lightroom you must adjust the file size to 1000 pixels on the Short edge for “blog-friendly” images (JPEGS)
  • BUT…for editing and printing when EXPORTING from Lightroom you must adjust the file size to Short edge for “high resolution” images (JPEGS) like this…
  • A5 Short Edge = 14.8 cm
  • A4 Short Edge = 21.0 cm
  • A3 Short Edge =29.7 cm

This will ensure you have the correct ASPECT RATIO

Ensure you label and save your file in you M :Drive and then copy across to the PRINT FOLDER in IMAGE TRANSFER:

M:\Radio\Departments\Photography\Students\Image Transfer\PRINTS EXAM 2024

For a combination of images, or square format images you use the ADOBE PHOTOSHOP NEW DOCUMENT + PRINT PRESETS on to help arrange images on the correct size page (A3, A4, A5)

You can do this using Photoshop, Set up the page sizes as templates and import images into each template, then you can see for themselves how well they fit… but remember to add an extra 6mm for bleed (3mm on each side of the page) to the original templates. i.e. A4 = 297mm x 210 but the template size for this would be 303mm x 216mm.

Making a Virtual Gallery in Photoshop

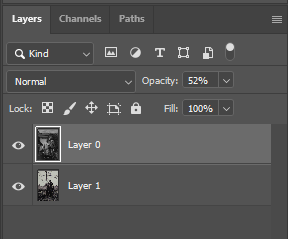
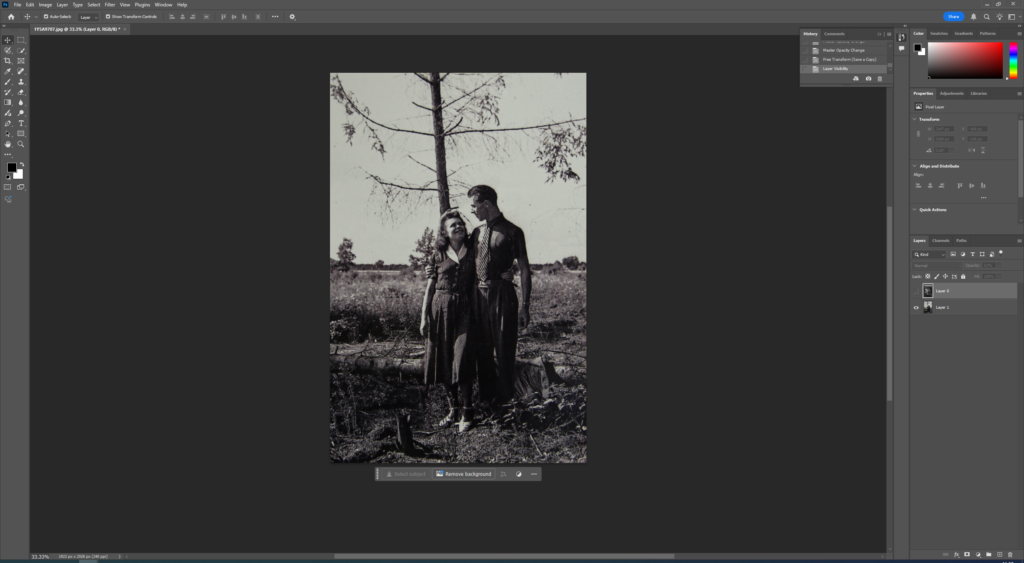
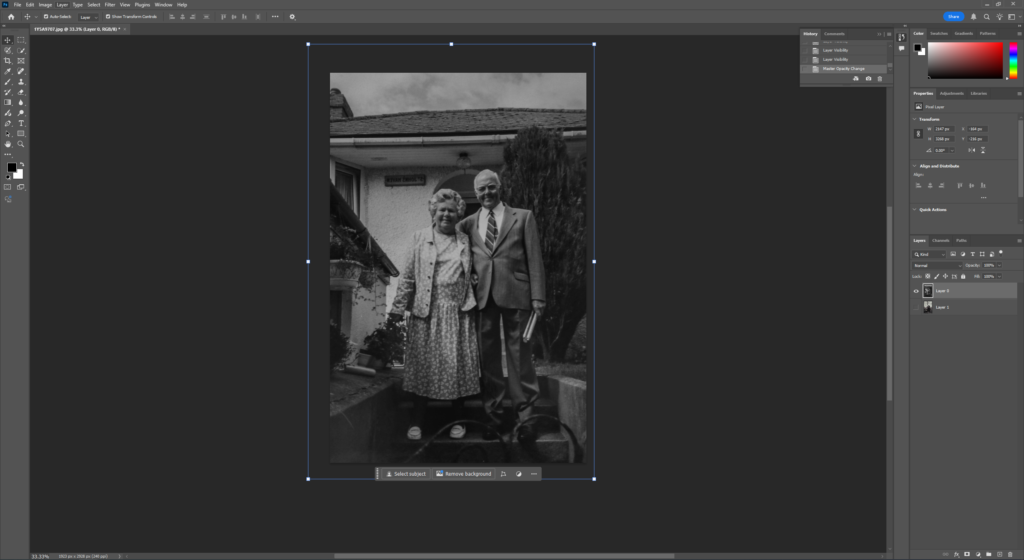
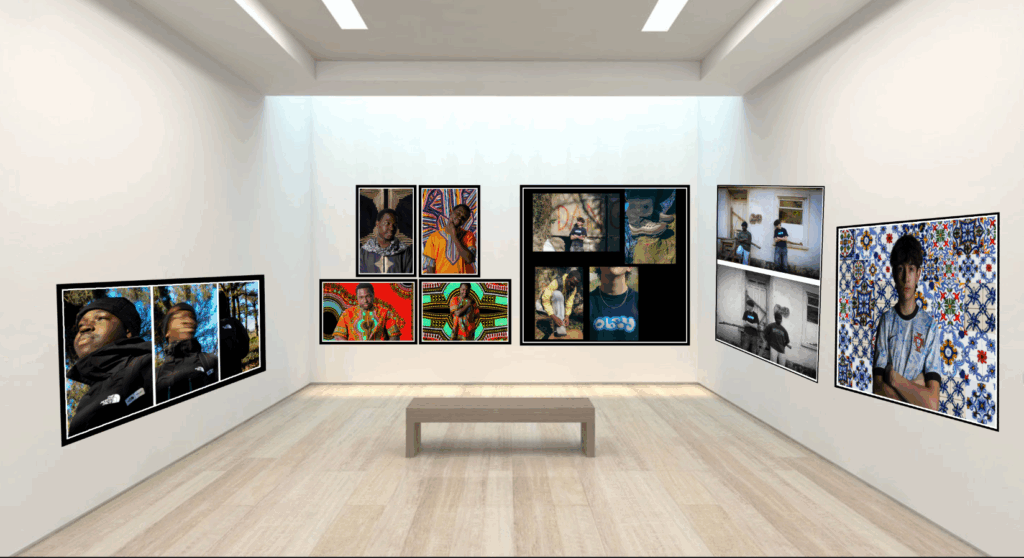
Download an empty gallery file…then insert your images and palce them on the walls. Adjust the perspective, size and shape using CTRL T (free transform) You can also add things like a drop shadow to make the image look more realistic…

The Photographers' Gallery - Gallery - visitlondon.com

Here is a selection of Gallery mock-ups that you can use to superimpose your own final images onto walls using Free transform tool in Photoshop.

M:\Radio\Departments\Photography\Students\YR 13 EXAM 2024\Gallery Mock-ups

Always ensure you have enough evidence of…

  1. moodboards (use influential images)
  2. mindmap of ideas and links
  3. case studies (artist references-show your knowledge and understanding)
  4. photo-shoot action plans / specifications (what, why, how, who, when , where)
  5. photo-shoots + contact sheets (annotated)
  6. appropriate image selection and editing techniques
  7. presentation of final ideas and personal responses
  8. analysis and evaluation of process
  9. compare and contrast to a key photographer
  10. critique / review / reflection of your outcomes

Photobook Specification

The Narrative

  • knowledge, tradition, passion
  • a small insight into Raoul, a Jersey farmer with a passion for traditional methods and Massey Fergusons
  • Using a book format, I want to show the viewer how farmers their ‘job’ is a lifestyle and a passion, if it wasn’t they wouldn’t be able to do it. Raoul still uses older techniques than most other farmers, in Jersey on a less commercial farm, preserving his tractors and the lifestyle produced by generations of his family. By showing this in a book I hope to show the union between old and new as well as farmers and the land.

Design

  • How you want your book to look and feel
  • Paper and ink I have selected premium lustre paper as a lot of my photos have deep detail and soft lighting so its important to have high quality ink and paper to preserve the photographs.
  • Format, size and orientation I tried a few different book styles, before settling on a portrait 20X25cm book, allowing for my portrait photos to fit well and having to stretch the photos less to spread across a double page.
  • Binding and cover– I will use a dust jacket as it is reminiscent of the style of many of the things in the photo. I think it will also add to the feel of the book being less modern.
  • Title– to be defined
  • Design and layout – I will use a mixture of shots, but I like the idea of completing almost a tour of the farm. Starting as what Raoul does and him working, to going around each room/barn exploring each element. This will work well with the way I have taken the photos with including linking shots (certain colours, food cans) in each room.
  • Editing and sequencing – the editing will remain similar throughout the book, keeping continuity within the narrative. As narrative progresses the the editing remains the same either saturated, bright colours or high contrast black and white, with a focus on enhancing the textures in each photo. Having a mixture will allow for my influence from impressionism to show, while still having the black and white will create a union of both colour styles, one looking at textures and one looking at colour. Both equally important for this project.
  • Images and text – I won’t have text throughout the book, but I hope to put a page, possibly the back page with certain photos and notes of the stories I was told while photographing. It would go against the style of the book to not include the stories and rich history but I don’t want the book to become a history book so it will work well having one page of multiple photos and text captions.

Book Design Mood Board

Having looked at blurb I have created a mood board of book covers I like. Most of them are black and white using a simple photo as the cover, something that sums up the book without having too much detail. There is a couple with smaller photos on the cover adding emphasis on the title, however while I like the covers I’m not sure it will suit my book. I also liked the red text on one, it helped the title stand out against the colour photo cover. All of these designs are image wrap covers, the option I will likely use for my book.
Short Film Making

Plan-

  1. Cars driving
  2. Small interviews
  3. Cars sat
  4. Portrayal of a bond

Step 1 :

I created Iphone Video Folder within my media drive, and within my photography folder, Within this folder I have the video’s I have filmed on the camera, the ones off my phone, the title and the actual saved project. Therefore I had to ensure that all my files were kept neatly otherwise I may loose track of things, and my premiere file may corrupt due to not being able to locate certain videos.

Step 2:

I then created the initial premiere pro file, so that I could start importing files and creating my short documentary. I made sure to save this initially so that there were no files problems.

Step 3:

After creating the original premier project I was able to start importing my videos, at this point I only had videos I had filmed on my Iphone therefore the structure of the video itself seemed to be in a portrait position, but I knew that this would change to a wide screen landscape once I started adding video’s from the camera.

Step 4:

I then came up with some mockup titles, and finally decided on one.

‘Miles Of Bonding’

After deciding on this I had to go into photoshop and create this as a file, by adding my words into a text box on a blank screen, I then had to make sure the background was transparent, otherwise it wouldn’t have looked very good within my video. I also did some research on fonts and finally decided on ‘Magneto’ as I had seen this font used within some different race car magazines.

Step 5:

I then imported my title into my premier project, which then sorted out my video alignment to be landscape rather than portrait. I also added a fade into my title, so that after a few seconds it fade completely into black whilst my first clip fades from 0% opaqueness into 100%.

Step 6:

After reviewing my video I realised that due to my videos being filmed on my Iphone they were quite glitchy and slow, with low resolution and the audio not adding up to the videos. I did some research about how to fix this problem, and after watching some youtube videos I came to the conclusion that I would have to save each of my Iphone videos as their own premiere pro project, and then re import them.

Step 7:

After fixing that small issue I could start on the base of my video. By adding my initial clips to the title, I wanted my video to start off dark to match the aesthetic of my behind the scenes book which also starts off dark.
Step 8:

I then finished adding my initial clips that I wanted to be in the video before my first part of my first interview.
Step 9:

After adding them all in, I started experimenting and playing around with them to see which ones would fit best, I knew that I wanted a big entrance therefore used the clip with the flame as my first clip.

Step 10:

After reviewing my iphone clips I came to the realisation that my video was starting off way too dark so I tried to incorporate some lighter footage at the start which I think really helped to build my intro. I did this through experimentation with trying different clips.

Clips –

Step 11:

I knew that I needed a sort of fade into video before my interview so I added a short clip with no sound and not a lot of movement to create this blending effect.

Step 12:

I then added the first half of my interview one, due to having a lot of footage in the same place of pure dialogue I have split them up with scenes of the interviewee in his car and other clips of cars. The main reason why I did this is because I didn’t want to have very long clips of pure dialogue as I feel people would get bored of this, and I wanted to keep attention.

Step 13:

I then added in the clips that I wanted between part one of my first interview and part two of my second interview. I made sure to keep these clips short and snappy as I wanted to gain the viewer’s attention back after that long interview clip.

Clips –

Step 14:

After filming my interview in full and my fly bys I then went through the footage to edit the clips and to cut out any unnecessary video.

I then used another shot of a fly by to circle back into the next part of an interview.

Step 15:

I played around with the sound effects of each video to create as clear a sound as I can, editing the videos of the ‘fly-bys’ to be seen as close up and the audio of the dialogue to make it as clear cut as possible.

Step 16:

As I kept filming new clips I made sure that I was adding them into the correct filming folder to then export them into my premiere pro project. This ensured that all my clips were the best quality that they could be and that there were no errors within the file.

Step 17:

I then added in part one of my second interview, with a smooth fade from the clips of the fly-by into dialogue.

Step 18:

After adding in the first part of my second interview and making sure the sound setting were set to dialogue, I started adding more clips of cars to fade back into my original interview.

Step 19:

I then went through and edited the audio on each clip and made sure that they all faded into one another, so that I could prepare to add part two of my first interview.

Clips –

Step 20-

I then went on too add the second part of my first interview. Making sure to carefully blend it into my other clips and get the correct audio settings’.

Step 21-

This second part was a lot shorter which meant that I knew that I could add some shorter clips before the next part of my second interview.

Clips –

Step 22-

I then added in my second part of interview 2, which is a very long one so I will keep in mind that between this and the next interview clip I will need to add a lot more little cuts to keep people’s attention.

Step 23-

I then went in and added all of the short interesting clips I wanted to gain retention.

Clips-

Step 24-

I then added in the final clip of my first interview, this clip is only a few seconds long so I know that I won’t need many clips after it for my interlude between here and the last part of my second interview.

Step 25-

I then added a few clips between that final question and the final questions of my next interview.

Clips-

Step 25-

I then went in and added the final part of my second interview, this ment that all interview clips were now used up and all I needed to do was shoot my third one.

Step 26-

I watched the whole video through and through and went in and did some cropping, blending and audio editing to make sure that everything was flowing smoothly and in good shape.

Colour Popping Experimentation

I then decided I also wanted to make a board of some colour popping experimentation for this project, so I ended up adding some more images to the print folder and therefore experimenting making some more boards and virtual gallery’s. I only wanted to print these in A5 thought as I didnt want them to be very big.

I will keep all of my colour popping experimentation images on one plain board, this is to group them together and show my experimentation with the images, I have printed them all in A5 so that they are small enough to all fit on one board.

This is my virtual gallery for my colour popping experimentation, this shows a clear and consistent idea throughout my colour popping editing, which is too select a main or the main subjects and change the background behind them in a way that makes them stand out, for some images black and white shades are the only options for this, but in ones where the subjects colour pallet completely differentiates to the background I am able to choose a different pre-sets to change.

Artist Research

I am going to be looking at an photographer called Tommy Inberg.

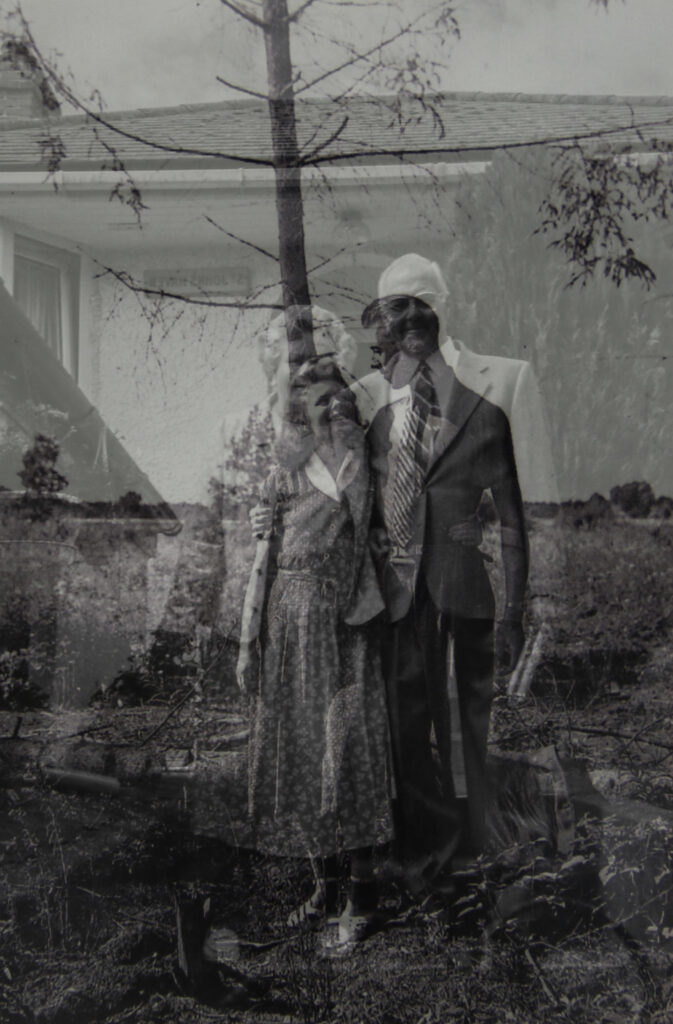
I have chosen to look at surrealism for my project with a specific focus on Tommy Inberg as I feel as though I am able to create lots of different images using photoshop to create the idea of union. Tommy Inberg is a photographer and visual artist born in 1980 in Sweden. He does a lot of digital editing with his images to create minimalistic and self–reflecting surreal photo montages while taking into consideration the thoughts and feelings behind the images he presents. I am inspired by this artist because I feel as though the meaning behind his images of human nature link in perfectly with the idea of union. This is because human – nature correlates with the idea of communities and society’s coming together as a group which is a force of habit through the way we are raised through our primary observations and learning. Tommy Inberg often leaves the interpretation of his artwork up to the viewer for them to create their own narrative on his work. Inberg uses his own feelings and thoughts through the vision of his work and makes it personal about his life trying to portray this through his abstract work. When I create my own images, I am going to use Tommy Inberg as my inspiration for the surrealism part of it, this is because I like that two opposing images can be created into one by merging them together to create a union image. I am going to aim to take pictures of hands, eyes and portraits of people to put them together to create a narrative that is down to the viewer to relate their own thoughts and feelings to.  

The first artist I am going to be looking at is Man Ray. He was an American visual artist who spent most of his time in Paris. He contributed to the dada and surrealist movements.

Final Prints and Presentation

All Photoshoots & Development ( From This Project)

For these images I went to various different places, such as Corbiere, my garden, garden centre, car park, mine & my friends car and the beach. I took a range of different images and ill upload some before & after.

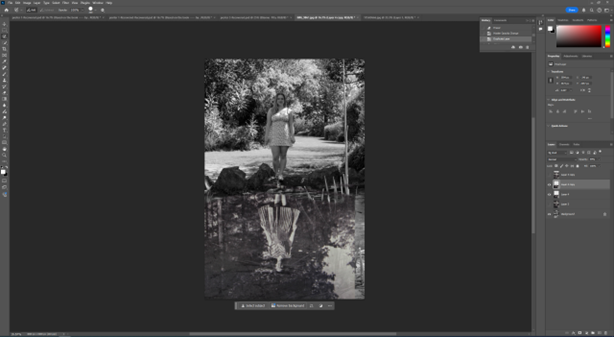
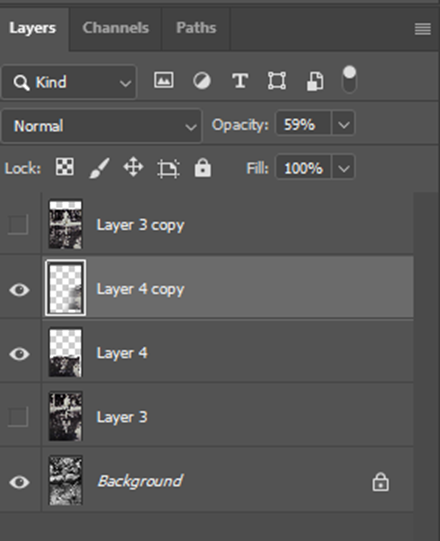
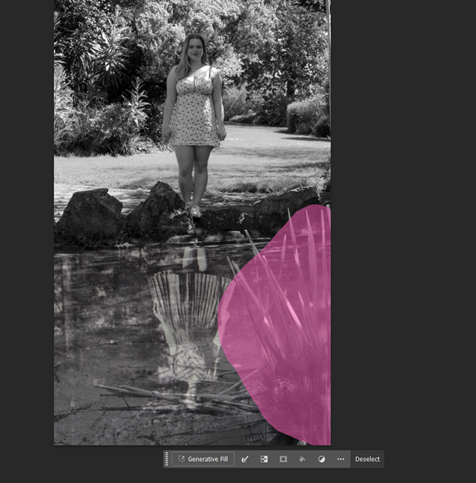
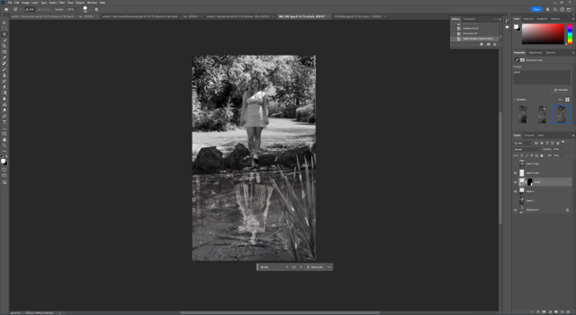
Here are some of my favourites images that I developed and edited using light room and Photoshop, with before and after effect so you can see my work and exactly how I tweaked my images.

Mounting & Final Images

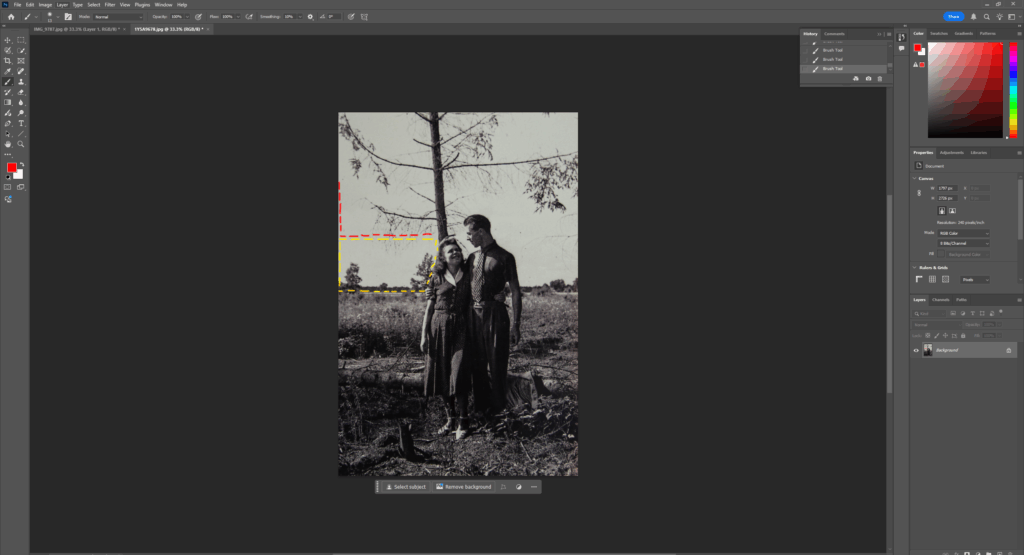
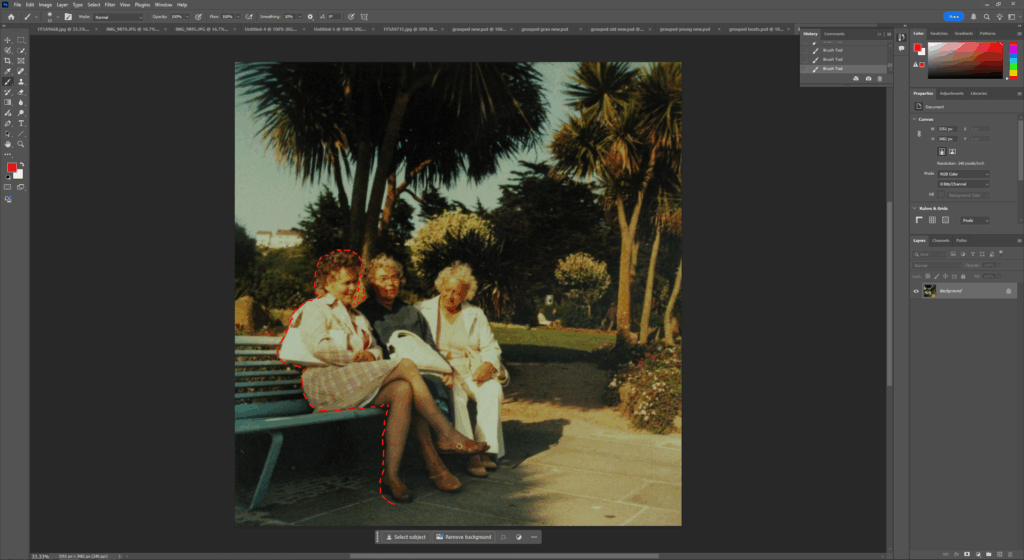
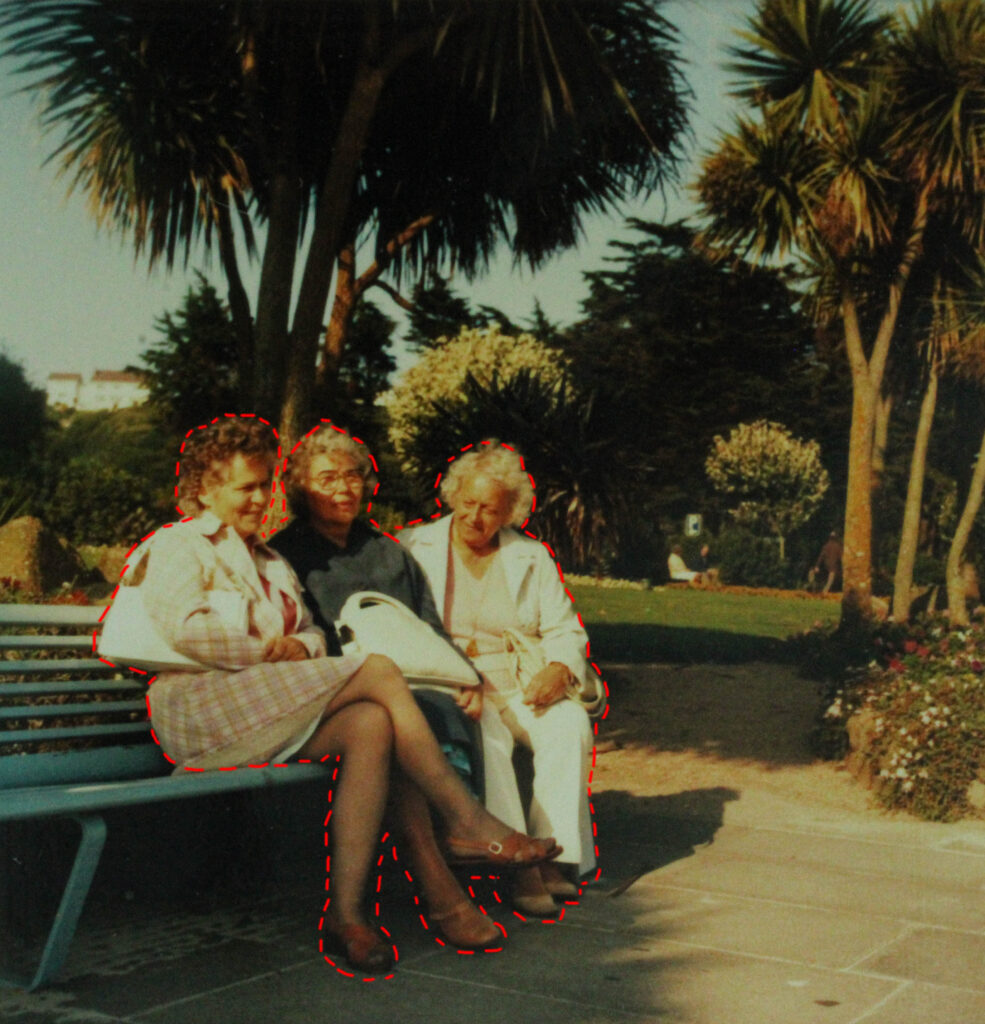
Image 1 – A3. For this image I used photoshop and cut out the whole background, made it all pink then went in the rubber to tweak any imperfection’s. G1

Image 2 – A5. For this image I used Lightroom to adjust/ tweak any minor issues with the image. I then changed the image into black and white. G2

Image 3 – A4. For this image I also used Lightroom and i included HDR for a better/ vibrant approach. G3

Image 4 – A4. I used Lightroom for this image and tweaked out any imperfections. G3

Image 5 – A5. For this image I used Lightroom to adjust/ tweak any minor issues with the image. I then changed the image into black and white. G2

Image 6 – A4. For this image I used Lightroom too. G3

Image 7 – A3. For this image I used photoshop and got a background and places it behind the two girls. G1

Image 8 – A4. For this image I used Lightroom and HDR. G3

Image 9 – A3. For this image I used photoshop and got a background and places it behind the women. G1

Image 10 – A3. For this image I used photoshop and got a background and places it behind the girls. G1

Image 11 – A5. For this image I used Lightroom to adjust/ tweak any minor issues with the image. I then changed the image into black and white. G2

Here are the tools that I used to create my final images for Lightroom and photoshop.

G= groups the images will be in when mounting.

Virtual Gallery

SOI

Introduction

For my final photography project, the theme of Union I’ve decided to merge the idea of feminism and girlhood. I’ve always been inspired by how women and girls are connected to one another and the strength that comes with understanding these connections.

I would like to know more about how we take care of each other, both in our day-to-day lives. I believe that girlhood is beautiful, strong, and complicated, but also often oversimplified or misinterpreted, mostly by men and so I’d like to reach towards the many different layers of what it means to be a girl today as I believe being a girl in todays society is very difficult.

Paragraph one, two & three

I’d like my photography to point to the power of women’s solidarity, how girls are lifting each other up to resist stereotypes, fight for equality and are there for each other. I want to demonstrate that girlhood is not about being “girly” but rather, it’s about claiming your identity, standing up for your friends, and drawing power from the community of other women and girls. The concept of union in this work symbolizes how we, as women, unite to advocate for each other’s voices and experiences which could be for misogyny, rape, assault and many issues women have to deal with today.

I plan to capture true interactions between girls that vulnerability, intimacy, and strength that comes from being together. I want to show the quiet acts of support, as well as the noisier. I also want to employ colour, light, and composition to express the intimacy and solidarity of these relationships, emphasizing the depth of feeling that exists, in some places such as the beach ,bathroom and narrowing down to a school bathroom too.

Cindy Sherman is also one of my biggest inspirations for this project since her work often concerns issues of identity and the performance of femininity and women’s roles. Her self-portraits made me think more about the representation of girls and women in the media and how we can resist those images through our own representation. Like Sherman, I am interested in reclaiming and redefining girlhood and femininity in my images to try and make this die down as women struggle voicing there opinions.

Conclusion

What I try to do through this project is create work that inspires audiences to reflect on the strength of women’s and girls’ solidarity. I’m trying to show that if we support each other and hold each other up, we’re not just stronger but we are unstoppable. I want to represent the depth and power of girlhood and the power that comes from finding common ground in it.

Artist Reference 2 – Juno Calypso

Introduction

Juno Calypso is a British photographer and visual artist renowned for her dramatic, sexualised self-portraits that are feminine explorations of loneliness, beauty, and the complexities of human relationships. Her genre combines elements of  art, surrealism, and filmmaking, and as such, she is the perfect reference guide for photographers interested in experimenting with staged photographs and edited images, you never actually understand what she is trying to uncover.

Paragraphs


Calypso’s photography is identifiable due to her distinctive aesthetic choices and the way she edits her images. Some of the most significant visual elements are:

Pastel and Neon Colour Schemes – Her images often feature pale pinks, greens, and blues, which create a nostalgic atmosphere.

Cinematic Lighting – She is careful with her lighting to enhance mood, often adding soft glows. A lot of her shoots are staged in retro-like environments, such as old hotels, beauty salons, or home situations, adding to the glamorous feel of her photographs.

Themes in Her Photography

Juno Calypso’s work goes beyond the visual, discussing deeper themes with regards to modern womanhood and self-discovery, which is what my project is all about.

Construction of Femininity – Through makeup, wigs, and staged photographs, she investigates how femininity is created and performed in society and she somehow finds a way to relate it all to girlhood just because of her images.

Isolation and Artifice – Her models (often herself disguised) are presented as isolated, artificial figures, raising questions about beauty standards, self-reflection, and personal space. She makes her self look fake, almost giving element’s of hyperreality.

Surrealism and Satire – Her work often has a satirical or eerie undertone that leaves the observer questioning whether they are observing things as they truly appear or why they are the way they are.


Union and Connection – While Calypso generally presents individuals isolated, she also examines tension between connection, especially in social or romantic relationships. Her photographs sometimes present the concept of union as she relates many different “strange” you could say perspectives and real life ones too.


Conclusion


Juno Calypso’s photography is a masterclass in marrying substance and beauty. Whether you adore her surreal storytelling, her powerful use of colour, or her contemplative themes, learning from her can be an excellent means of elevating your photographic aesthetic to the next level. Adopting her technique of staging, lighting, and performance can lead you to create powerful and captivating images that make an impact on real life and photography too.