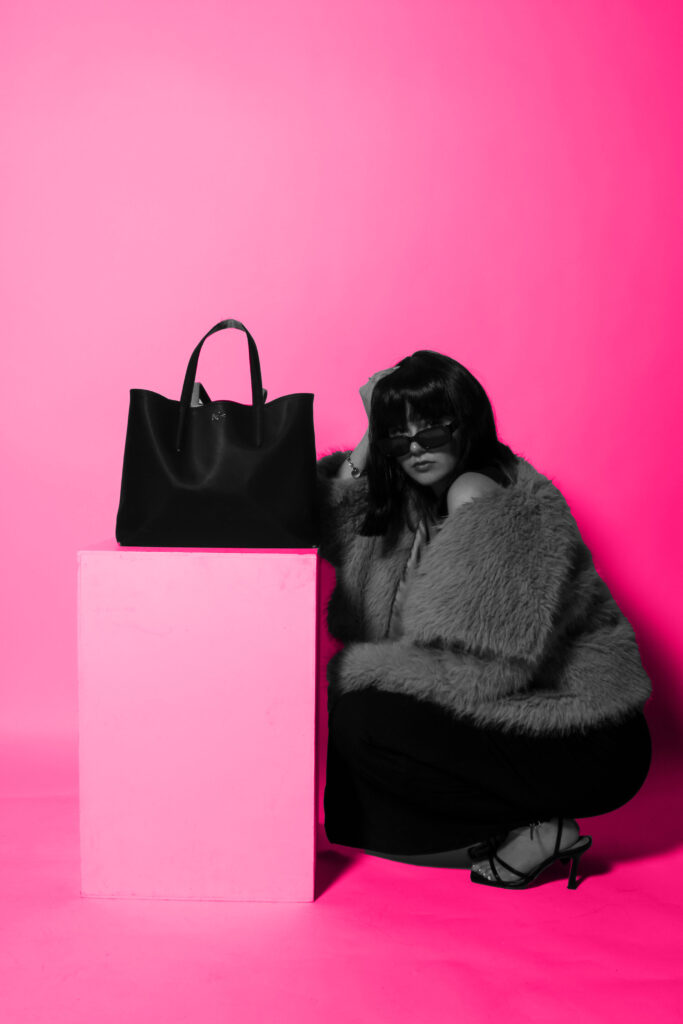
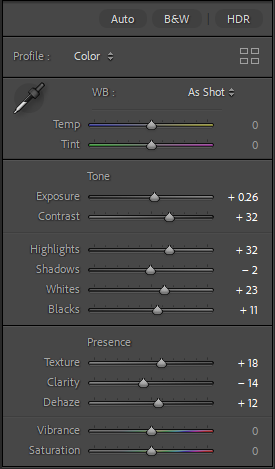
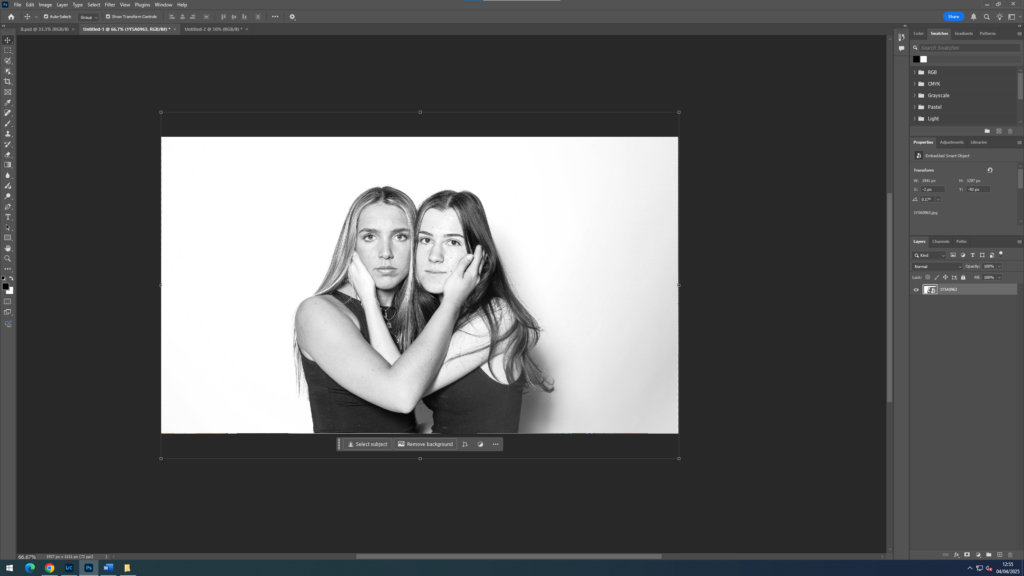
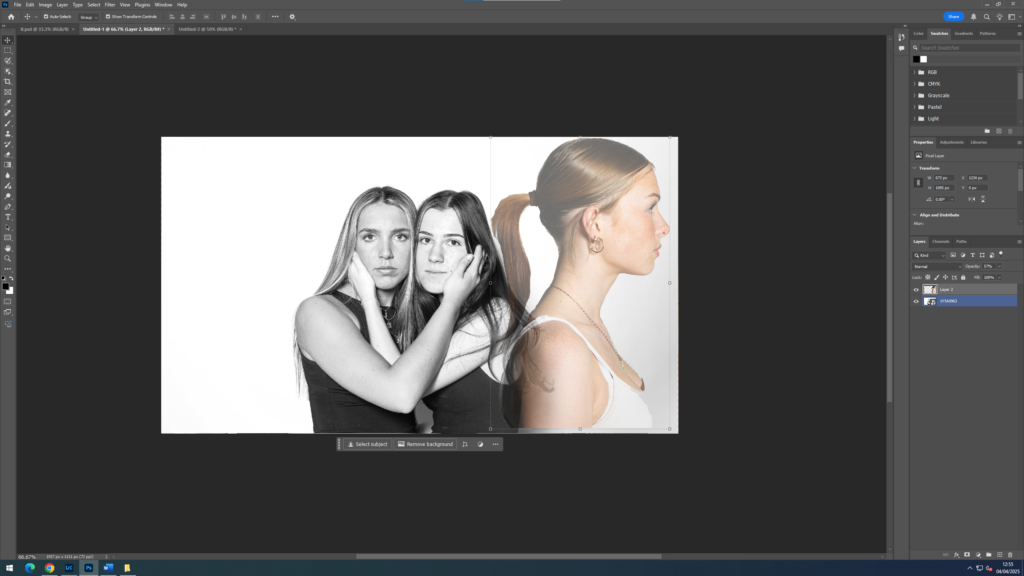
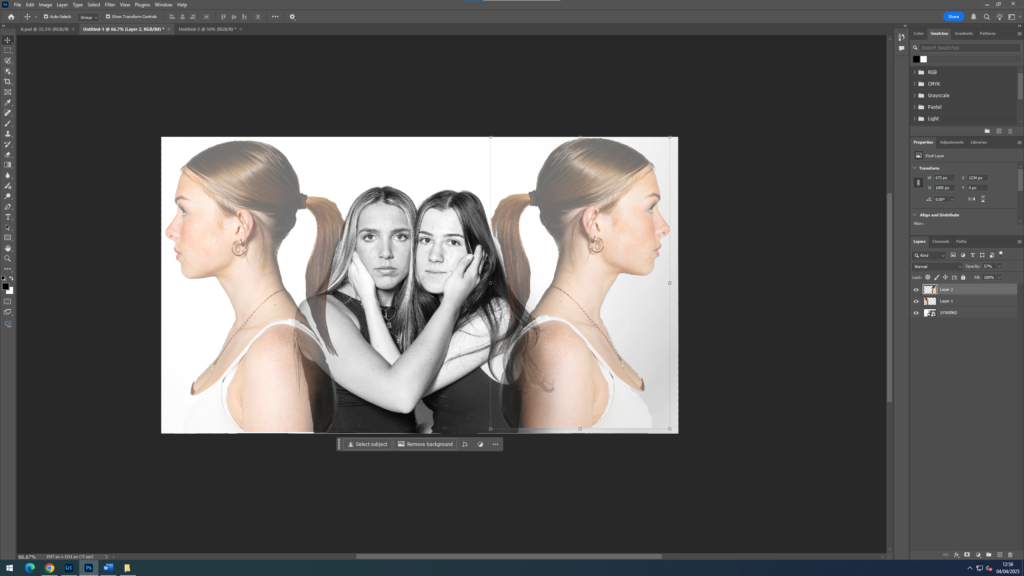
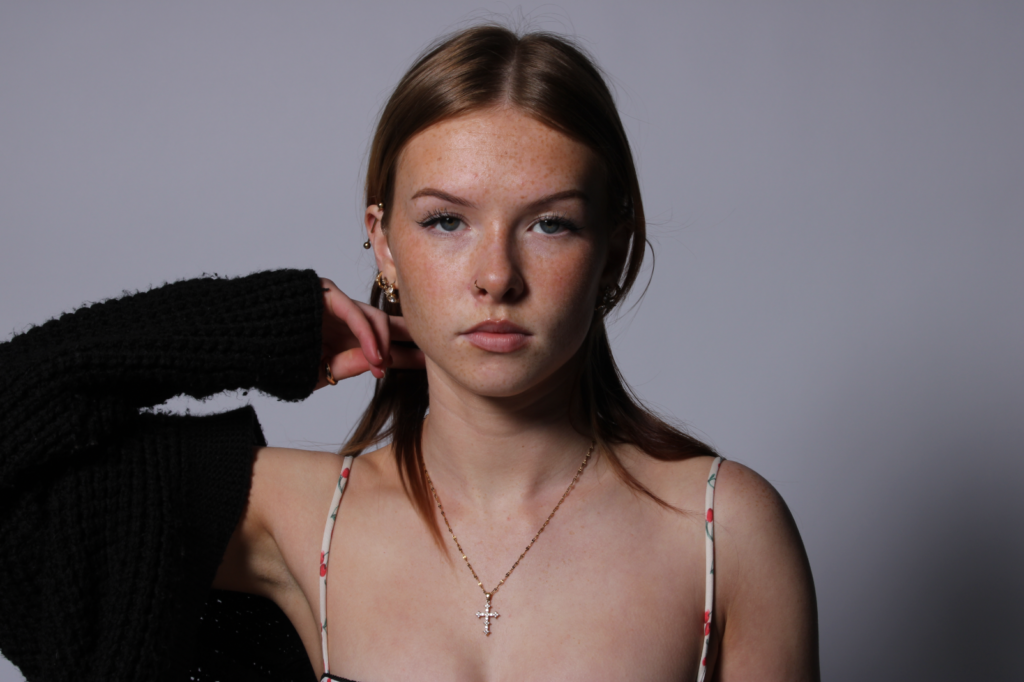
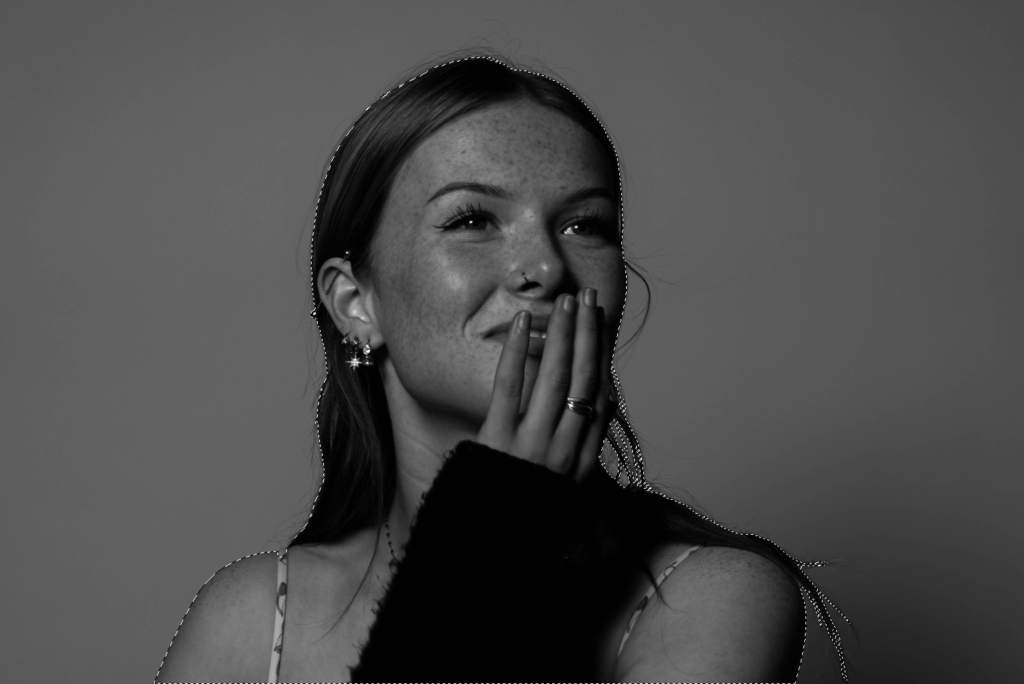
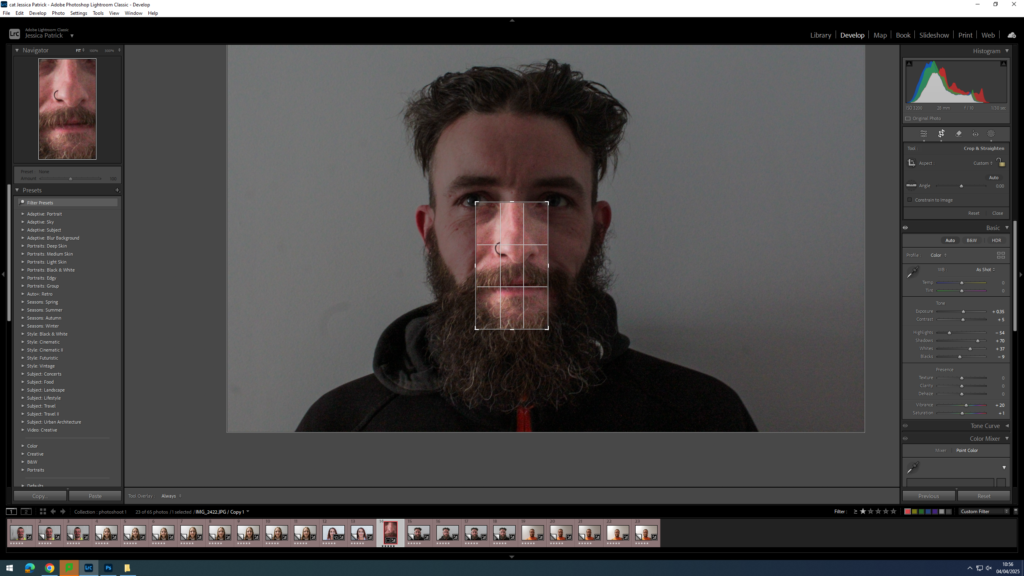
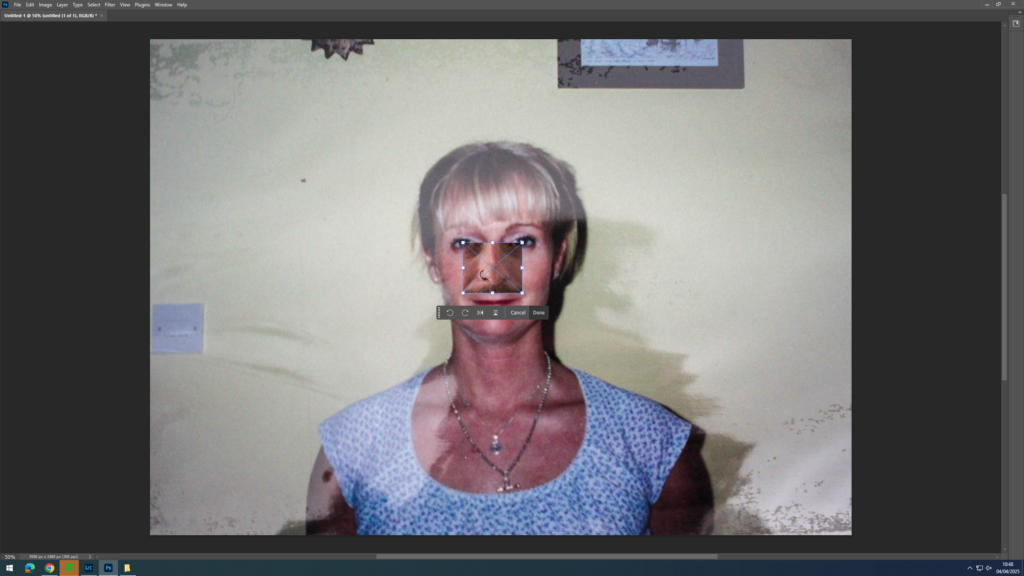
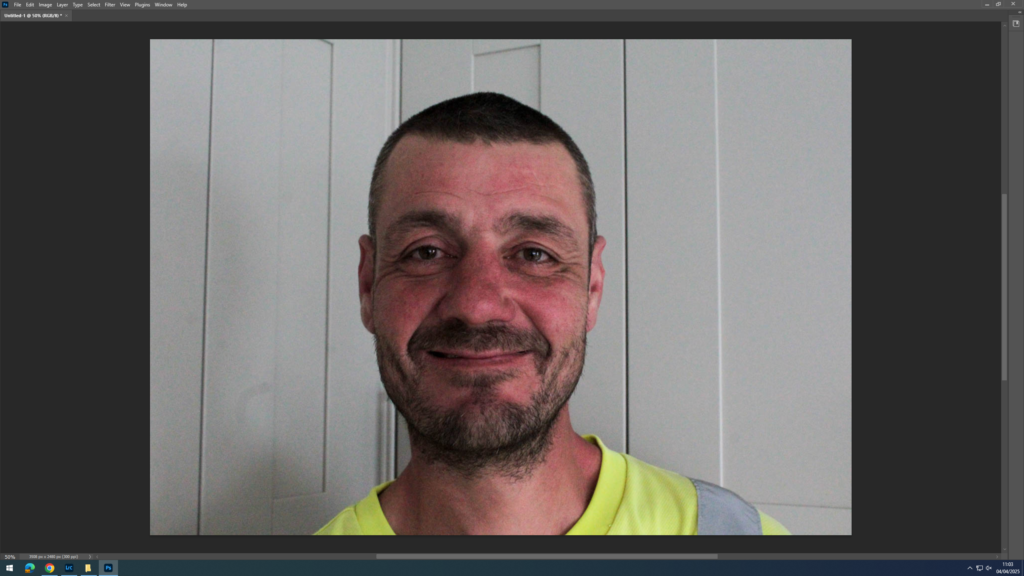
Cropping in photoshop:
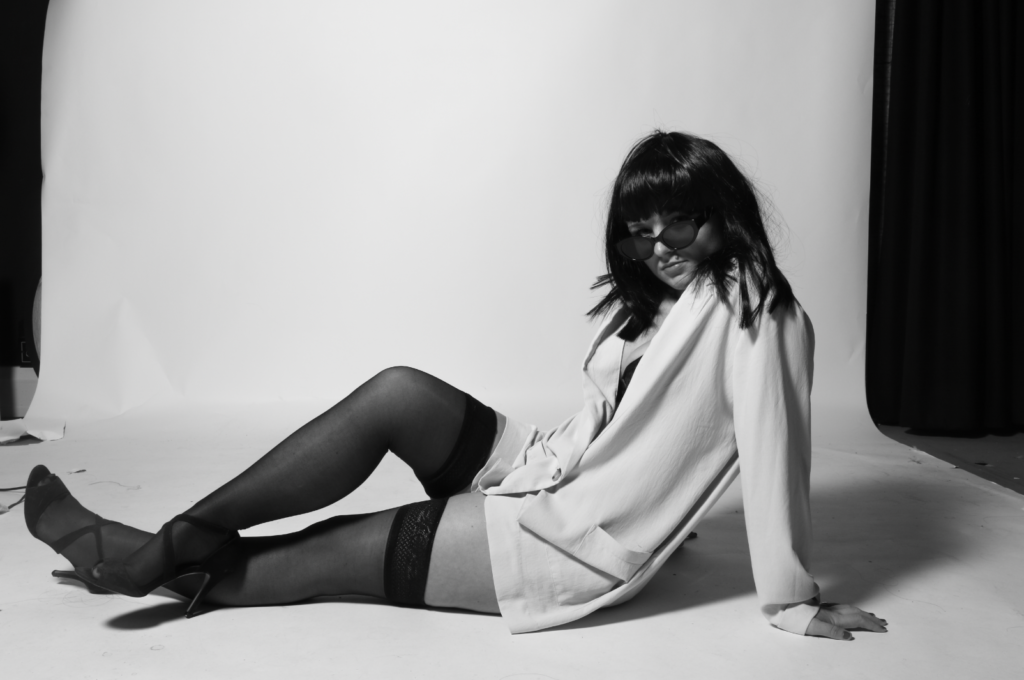
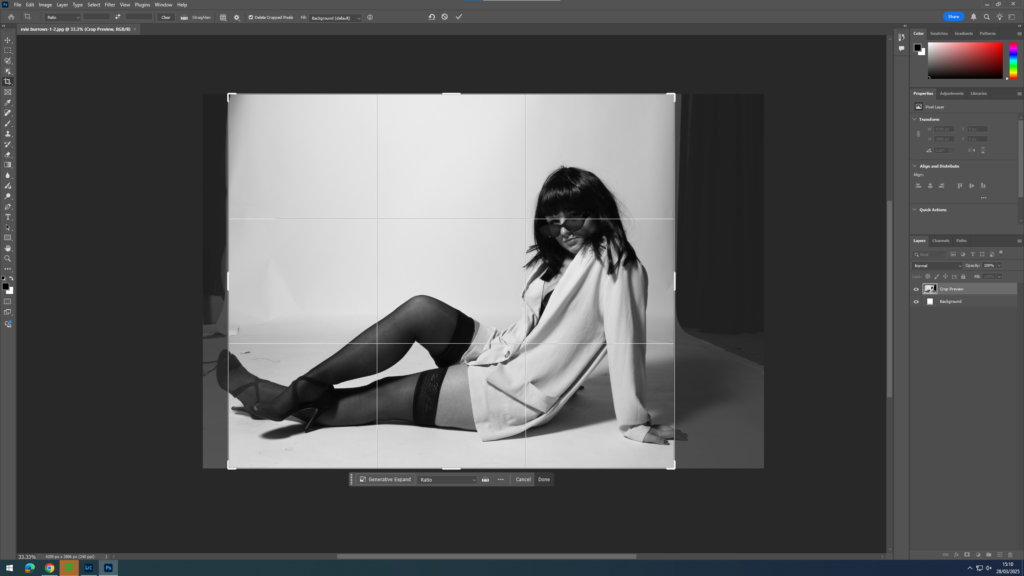
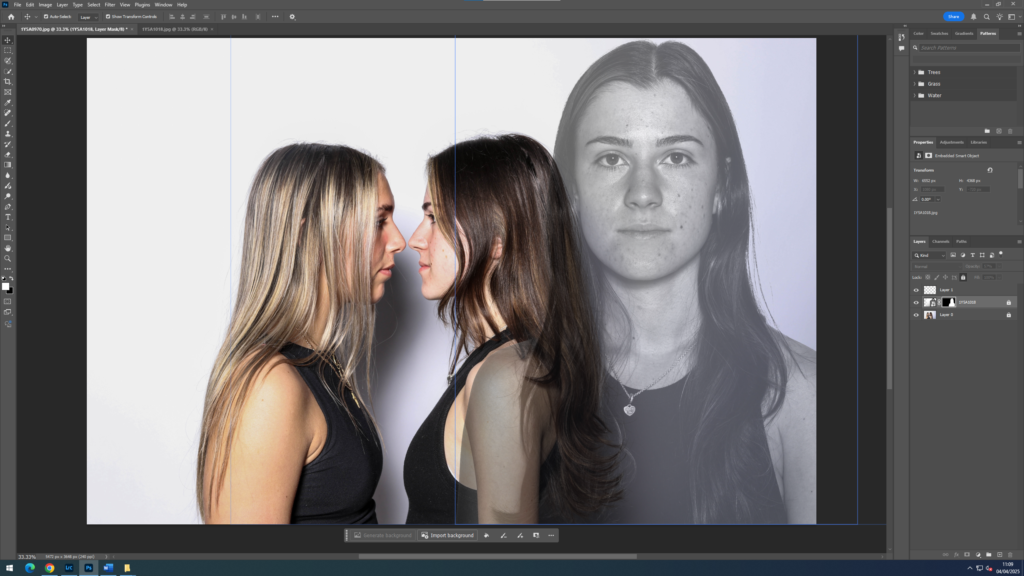
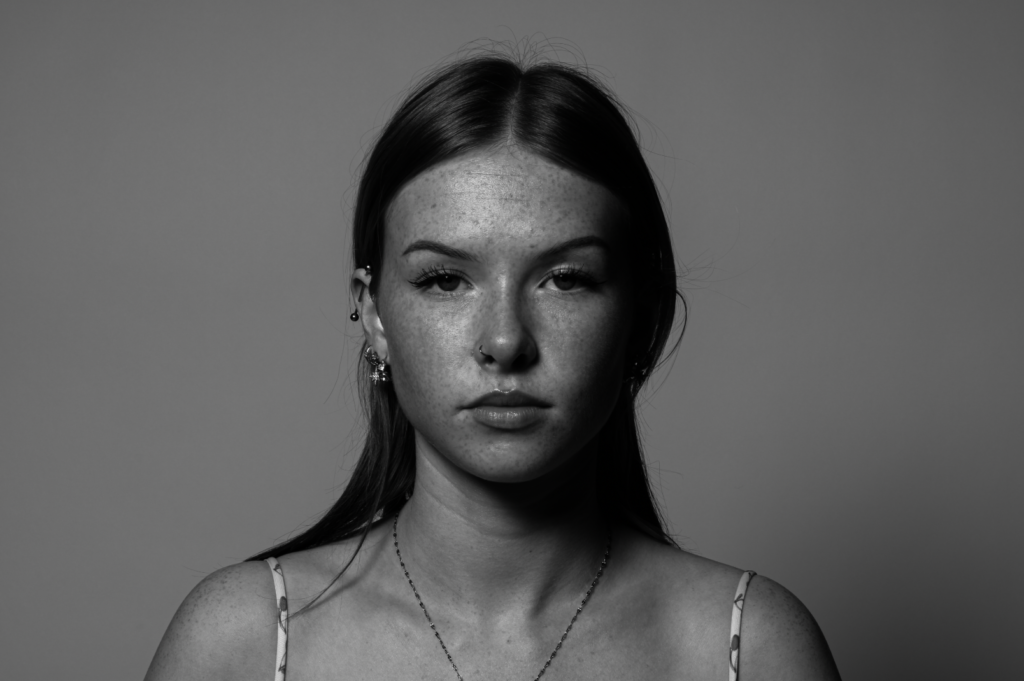
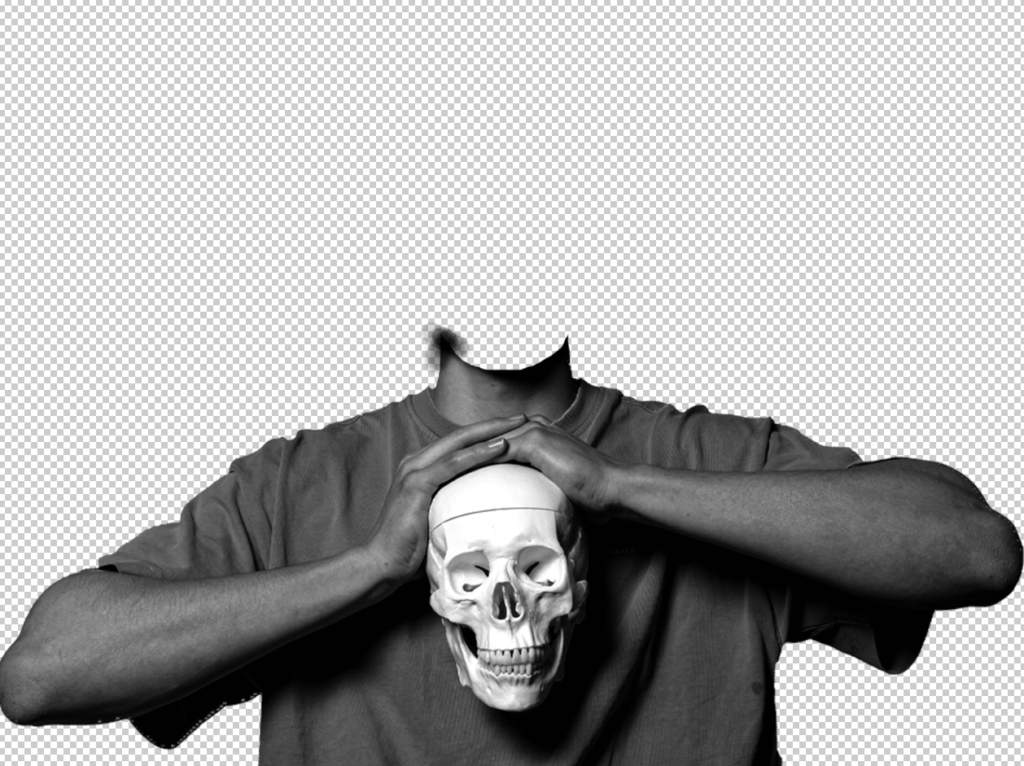
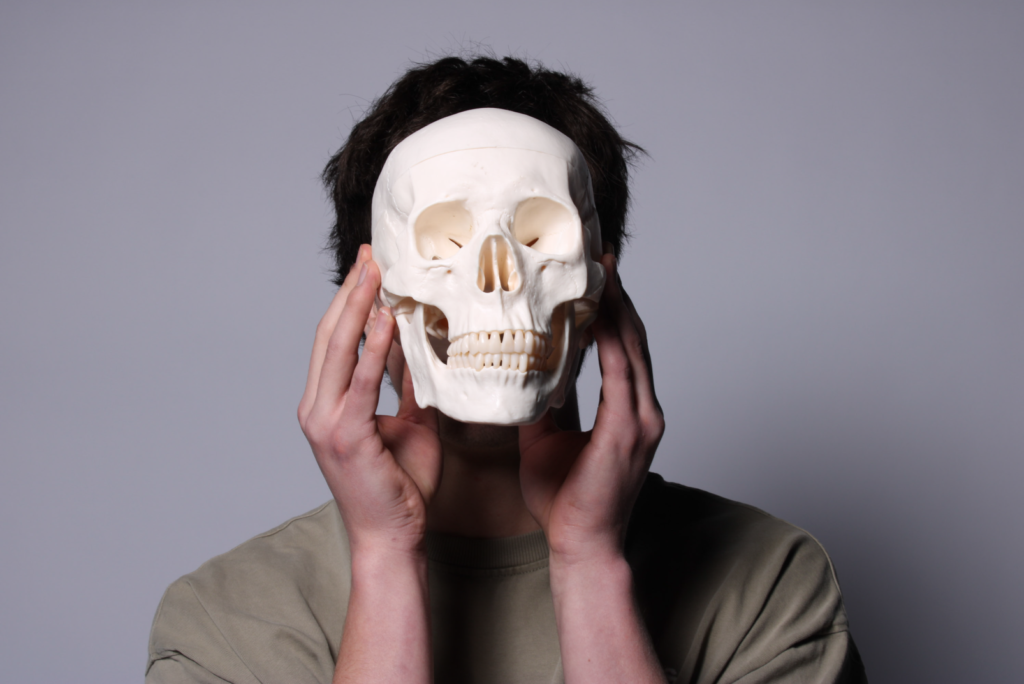
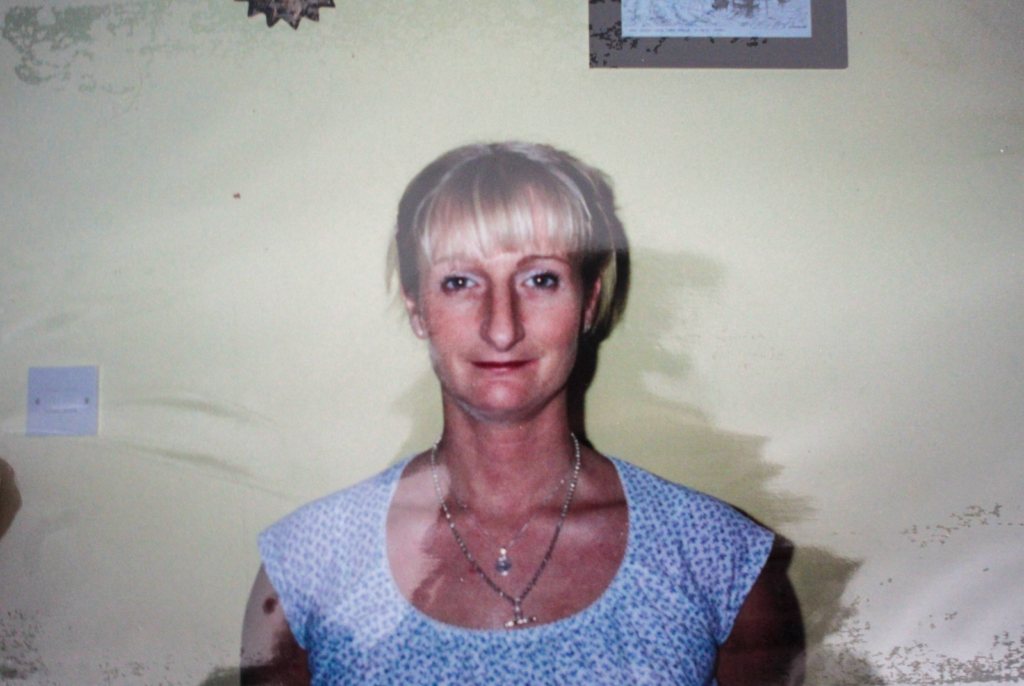
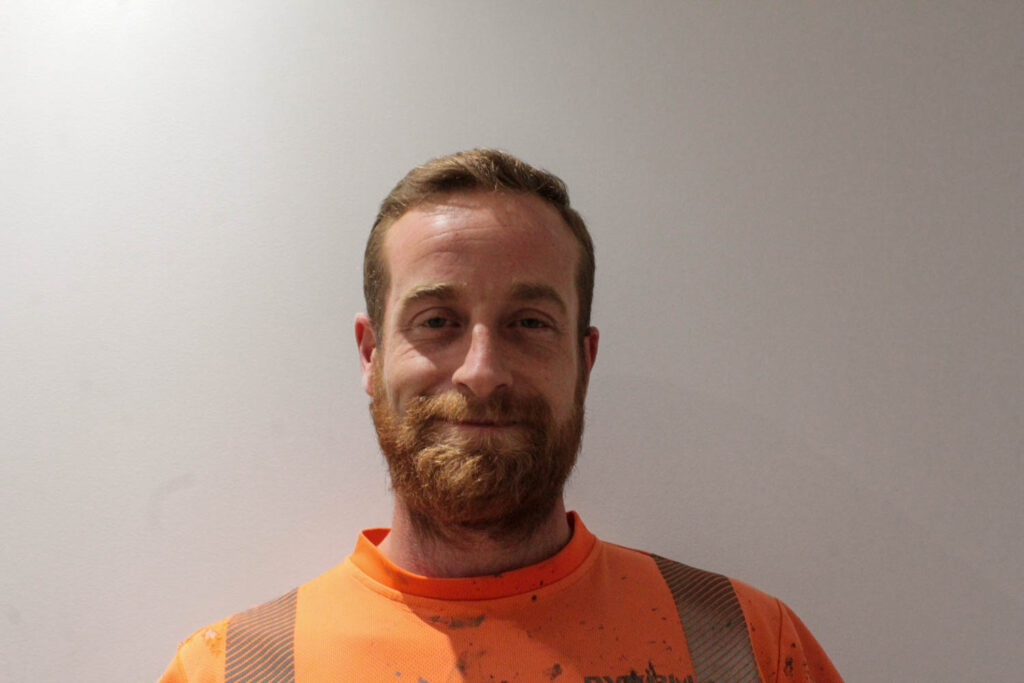
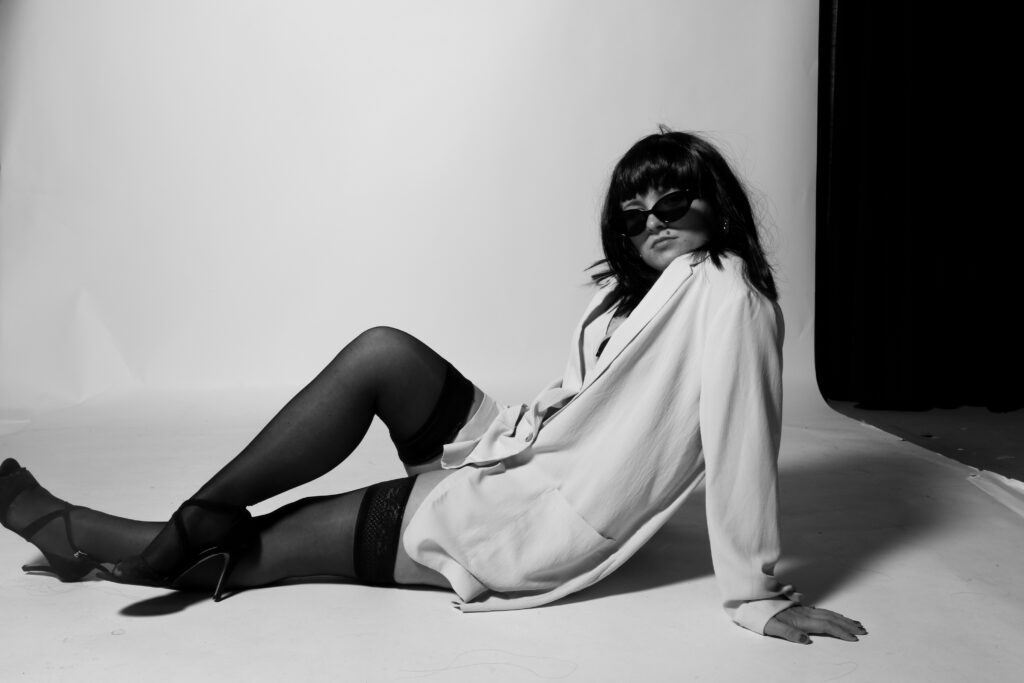
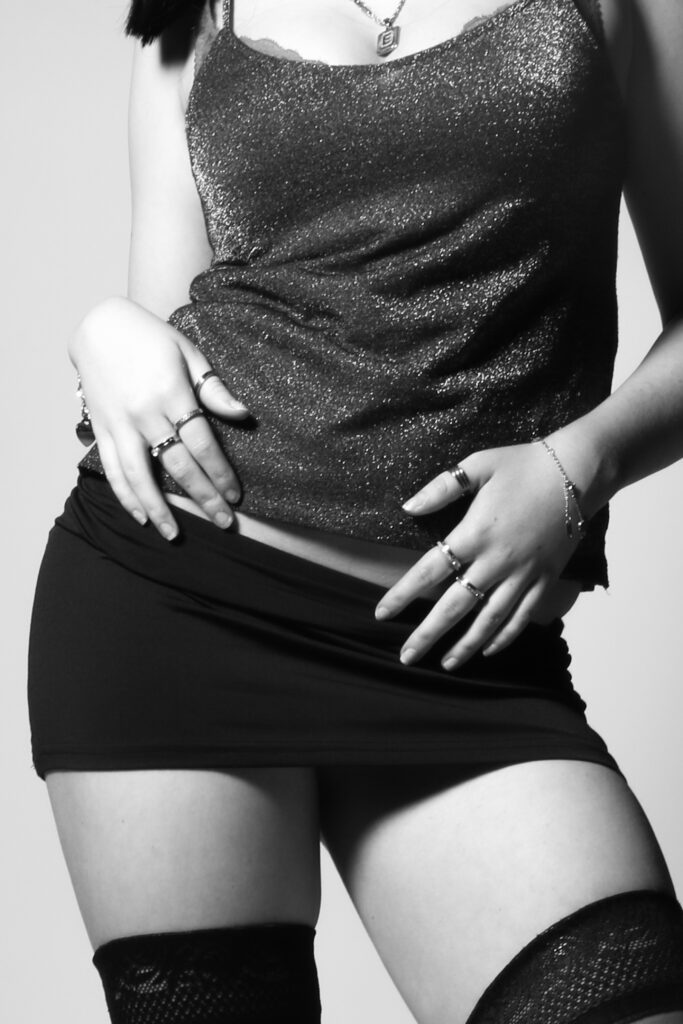
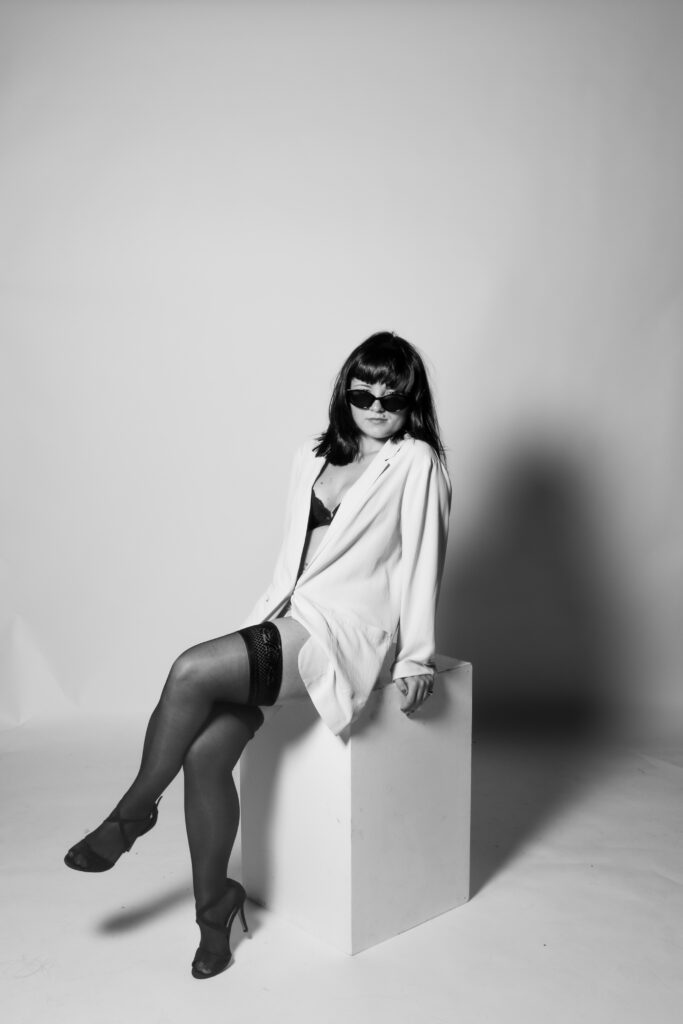
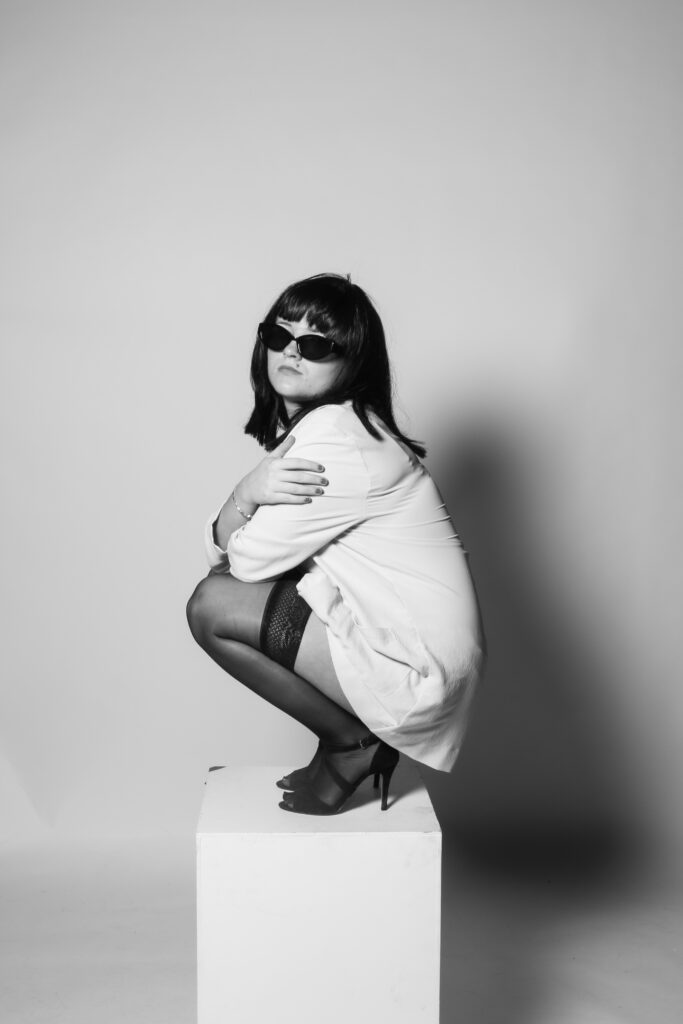
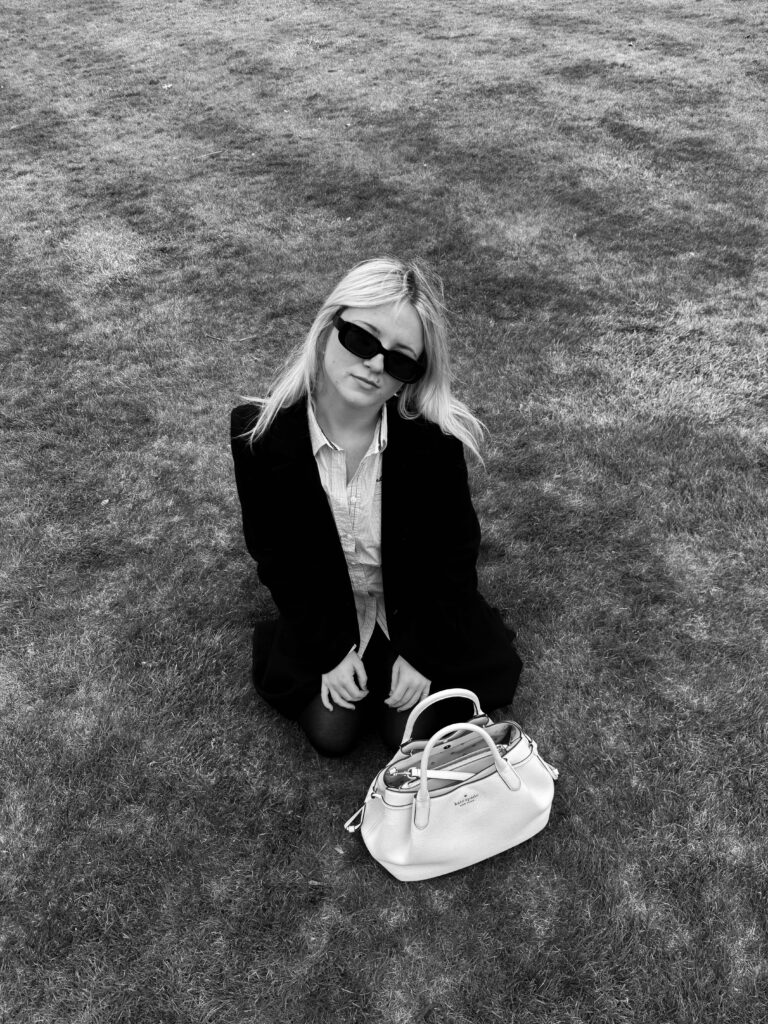
I chose to crop this image using photoshop rather than Lightroom. This is because photoshop allows you to crop certain areas within your image without cropping the whole thing, so by doing this I was able to crop out some of the unwanted material on the left side near the model’s feet, yet keep the image to a good size so all the elements I want to be included are.
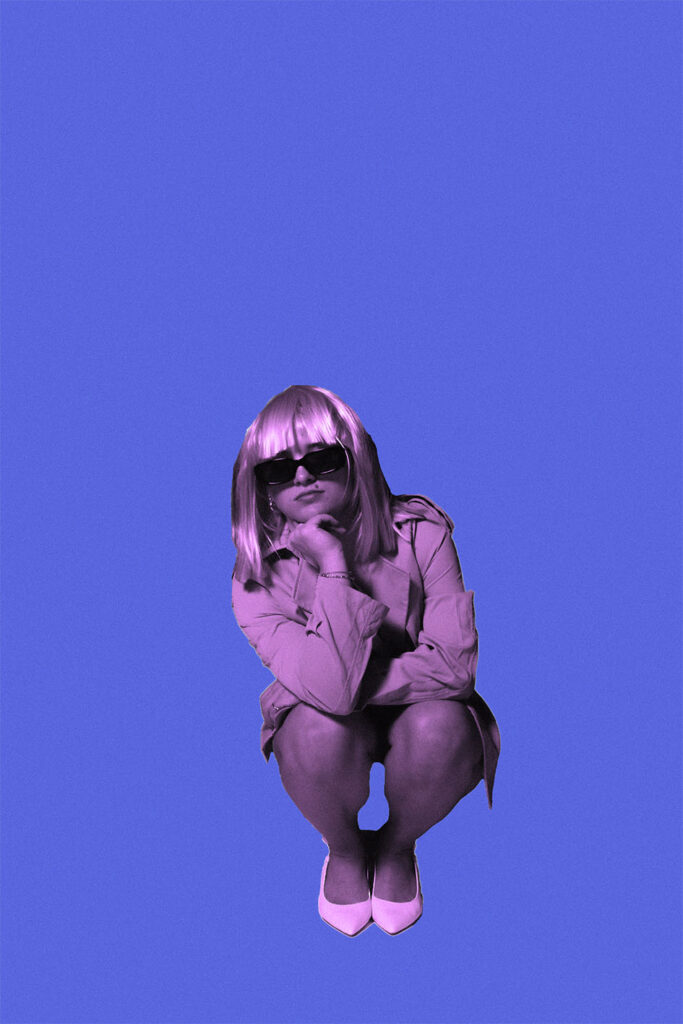
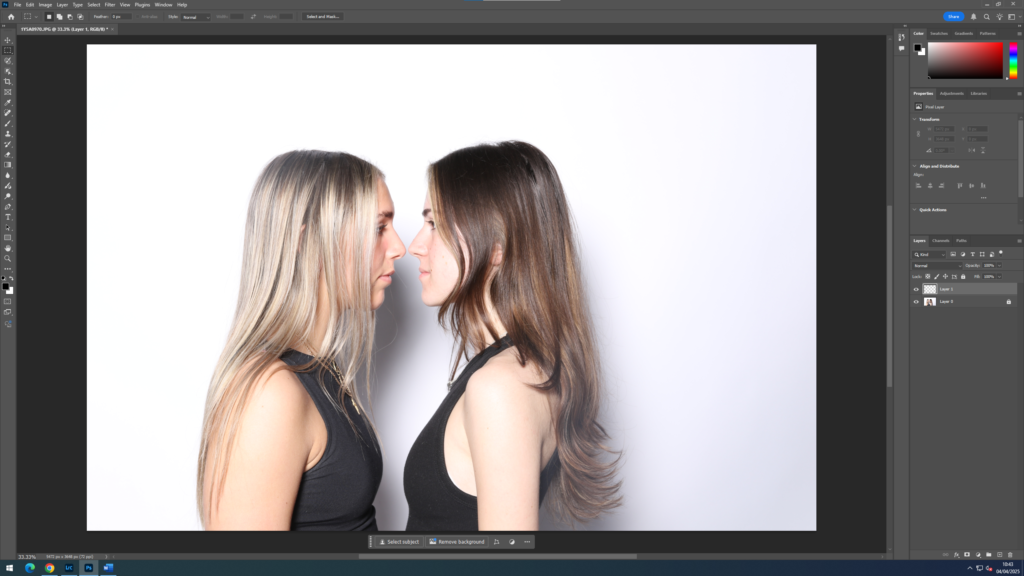
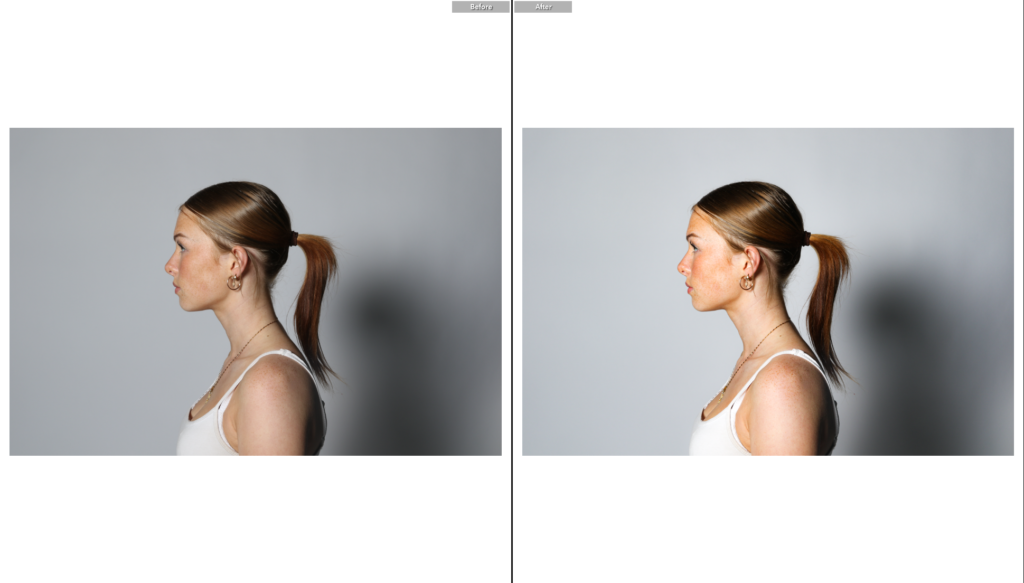
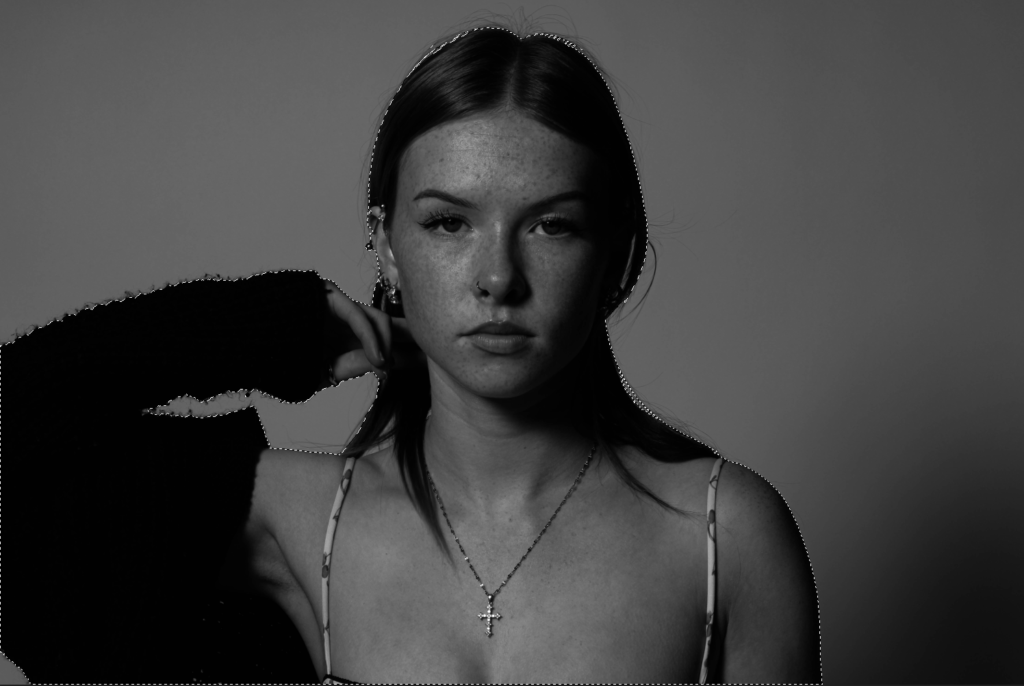
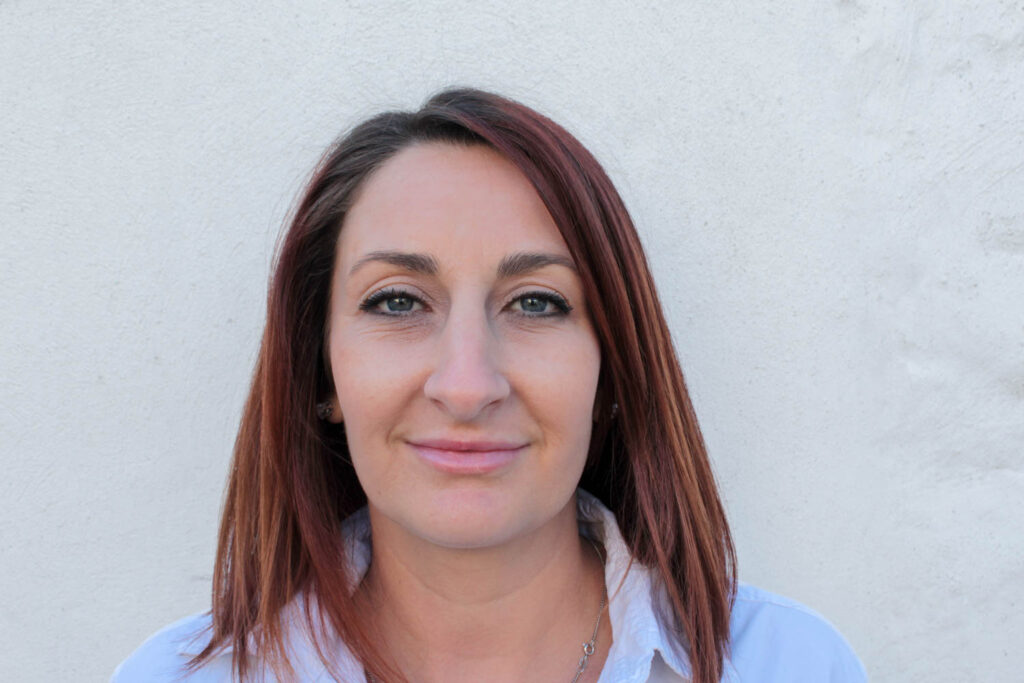
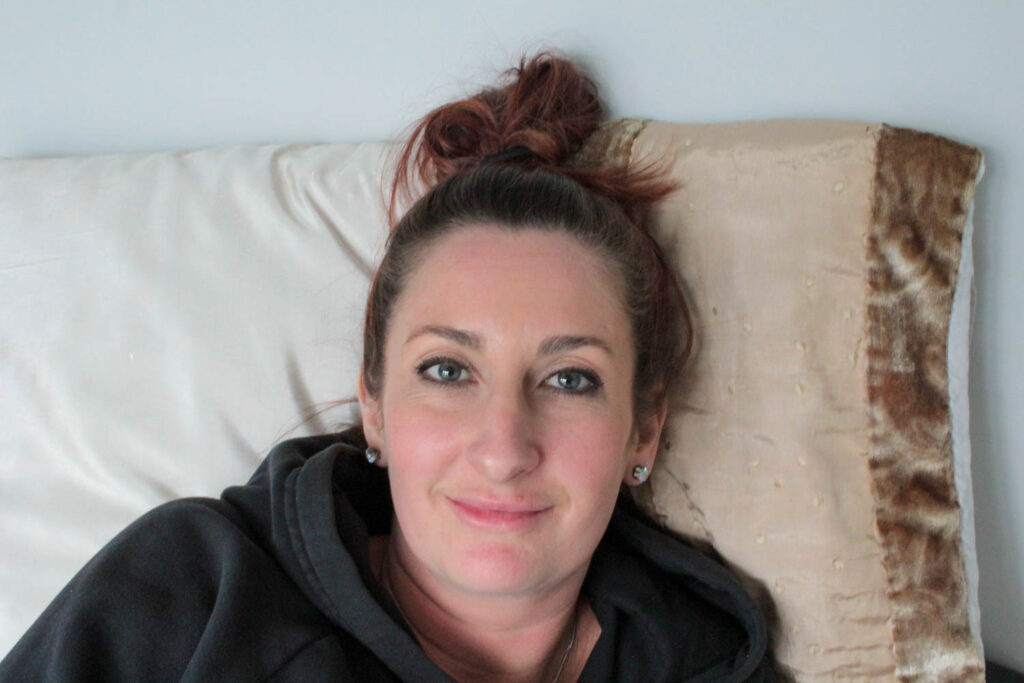
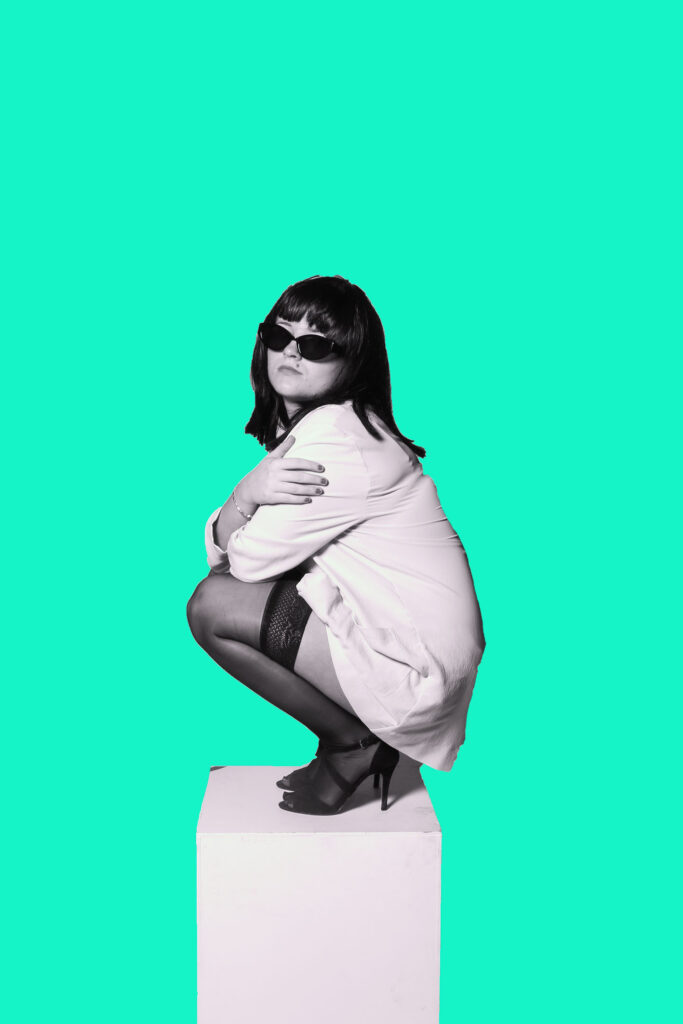
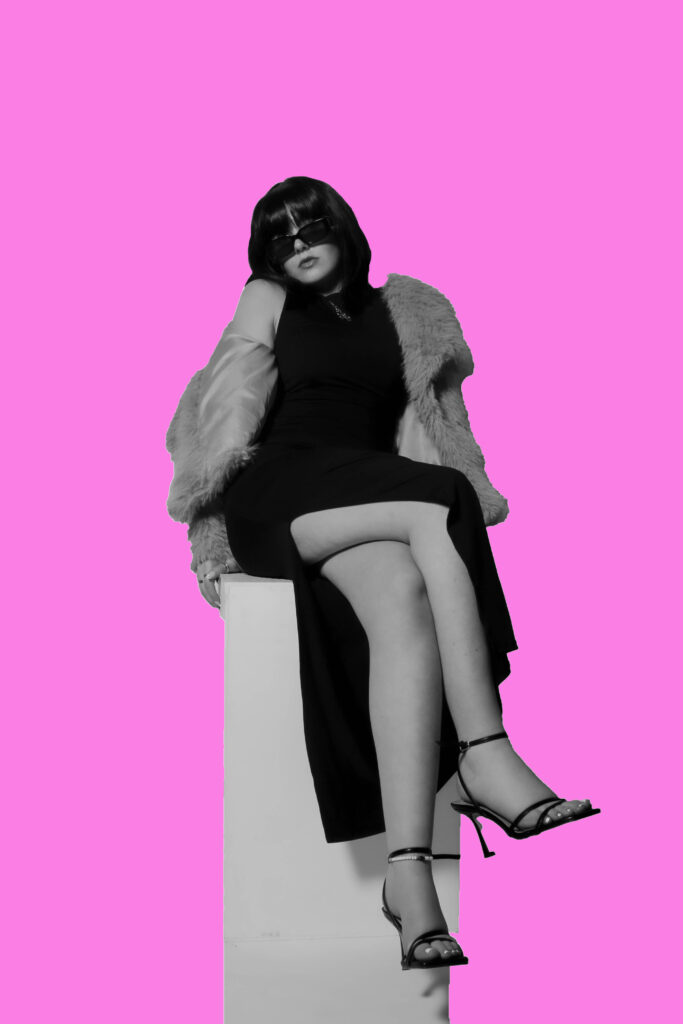
Background editing using photoshop – E.g. :

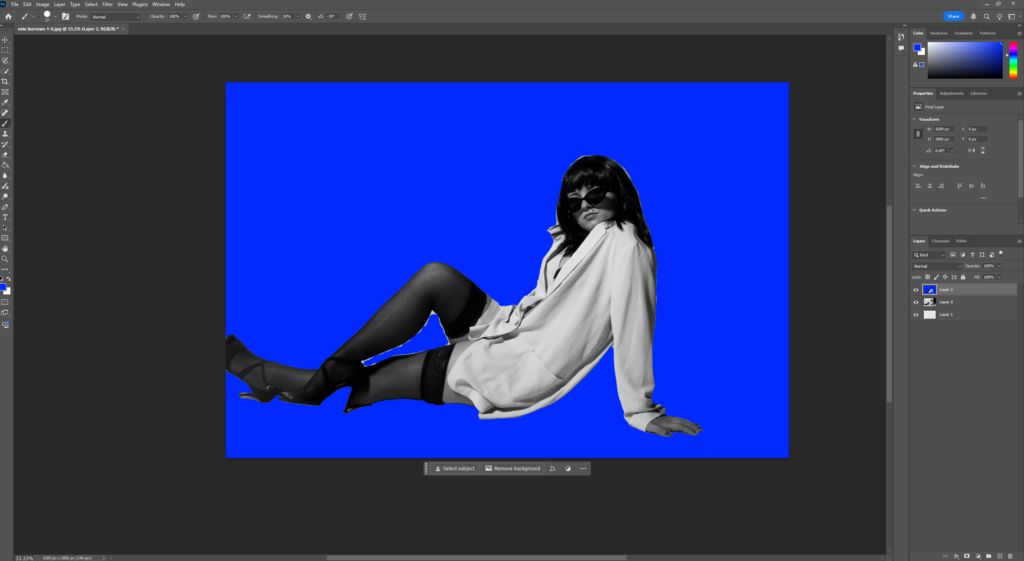
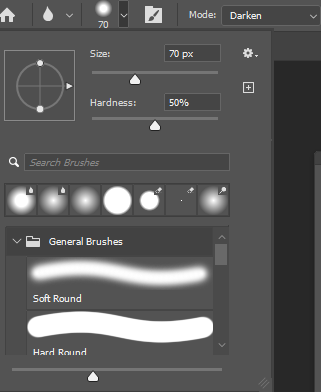
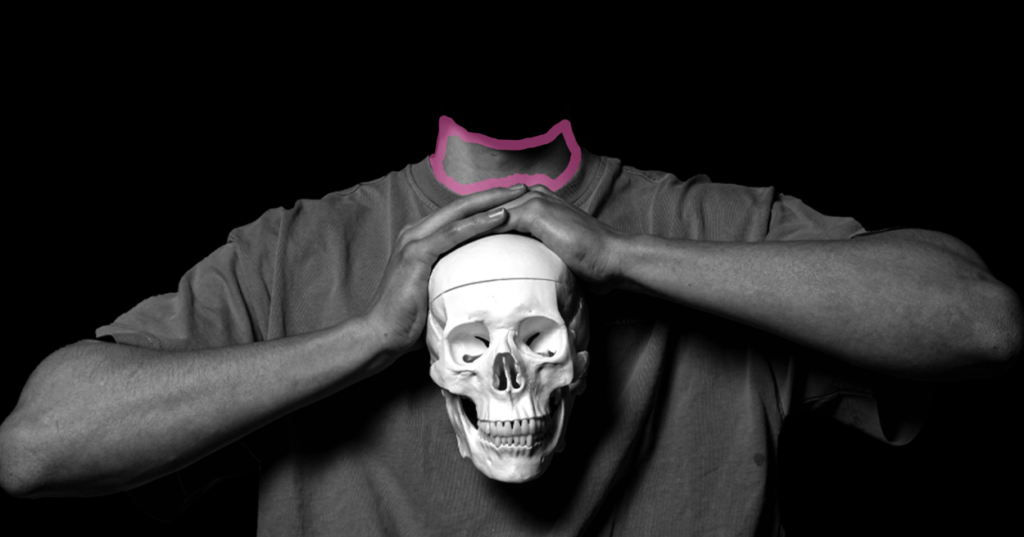
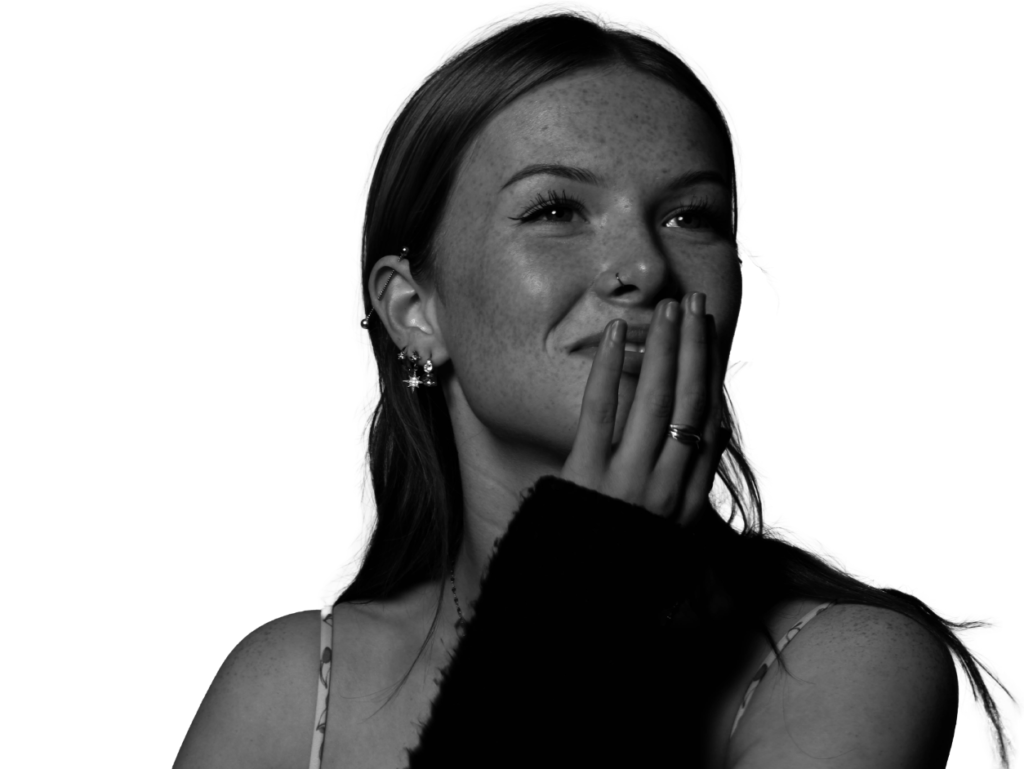
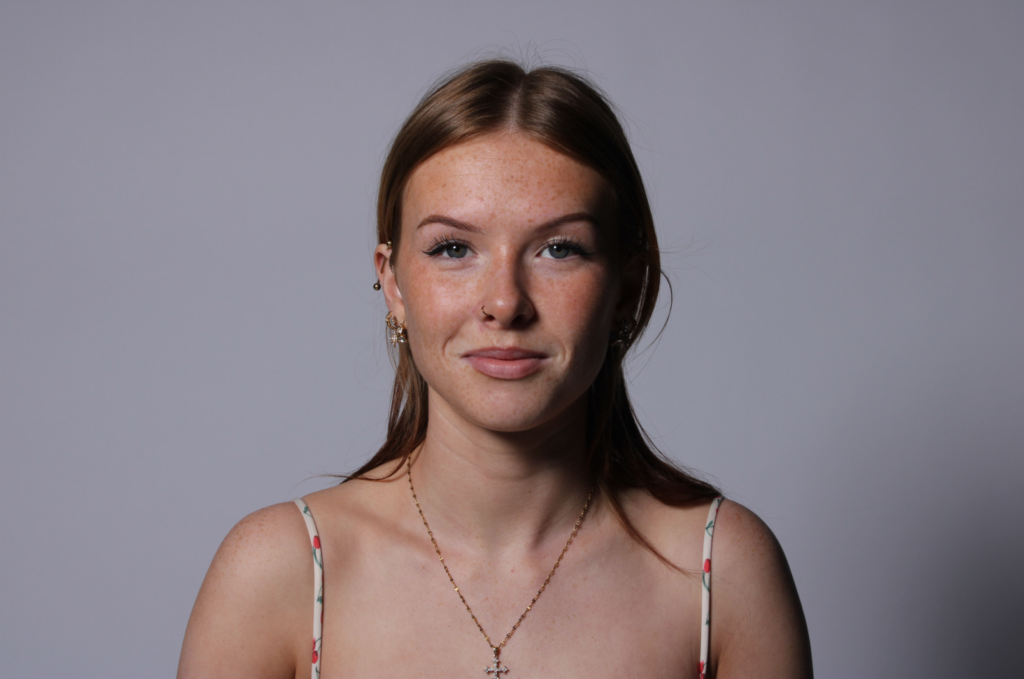
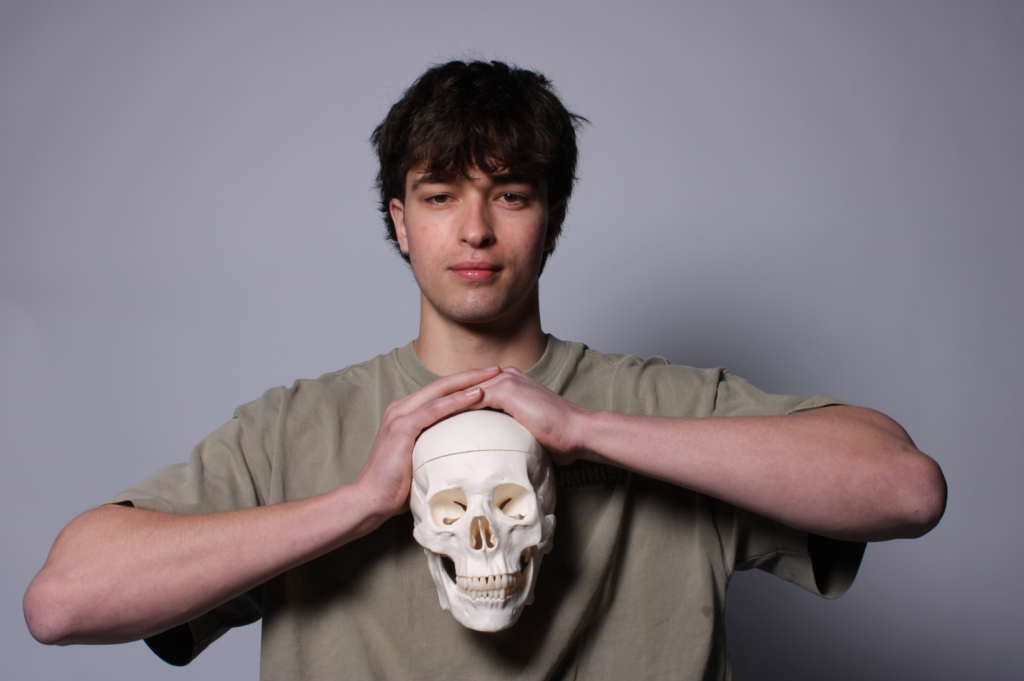
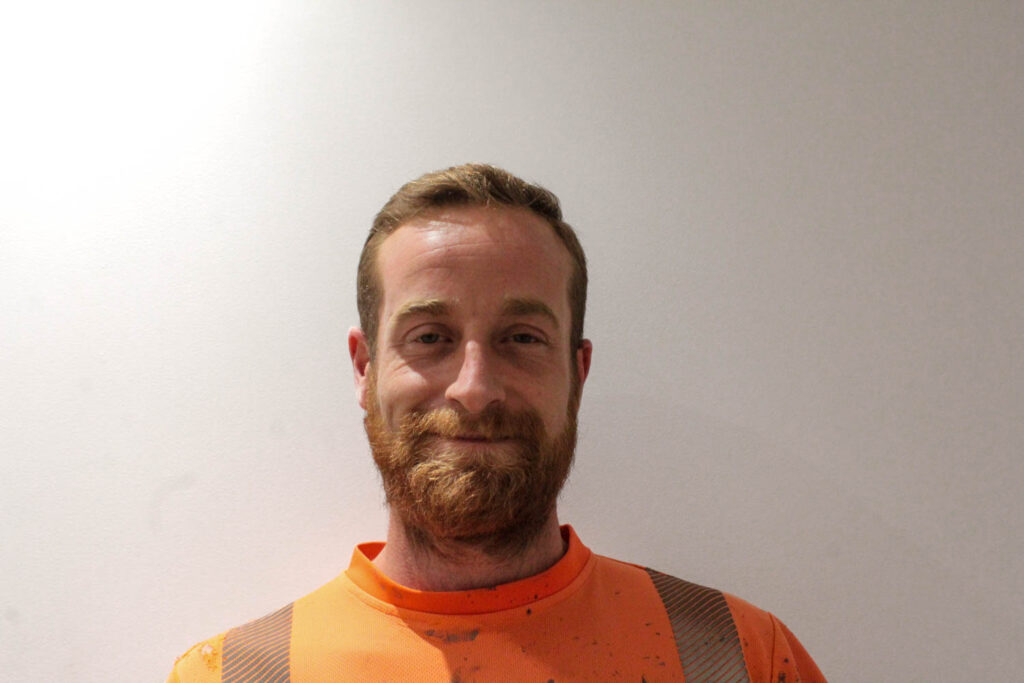
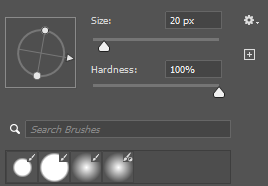
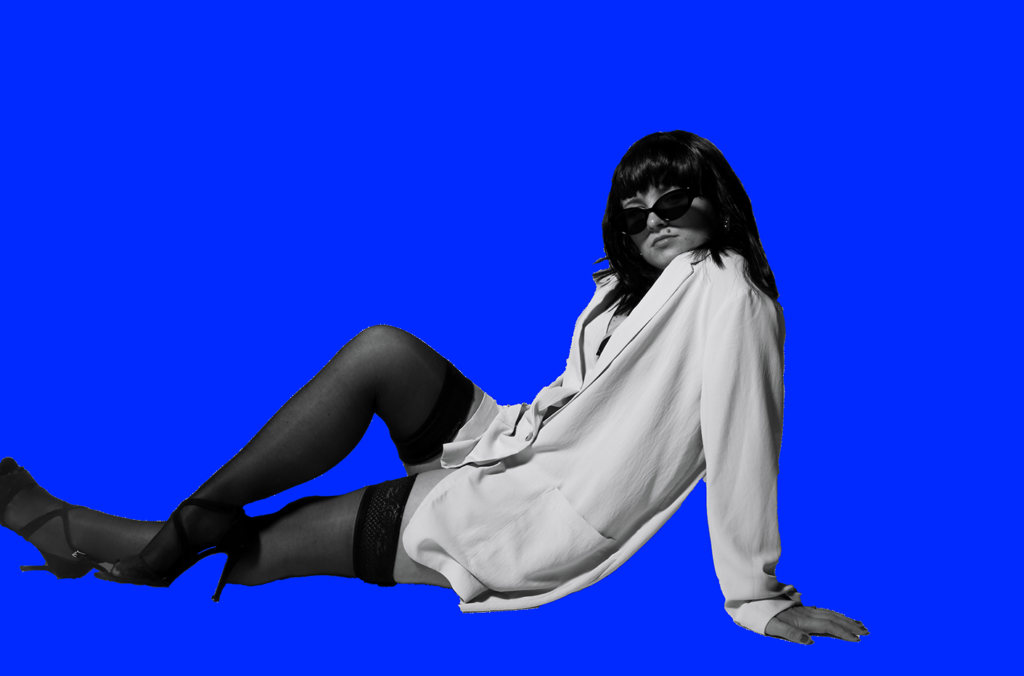
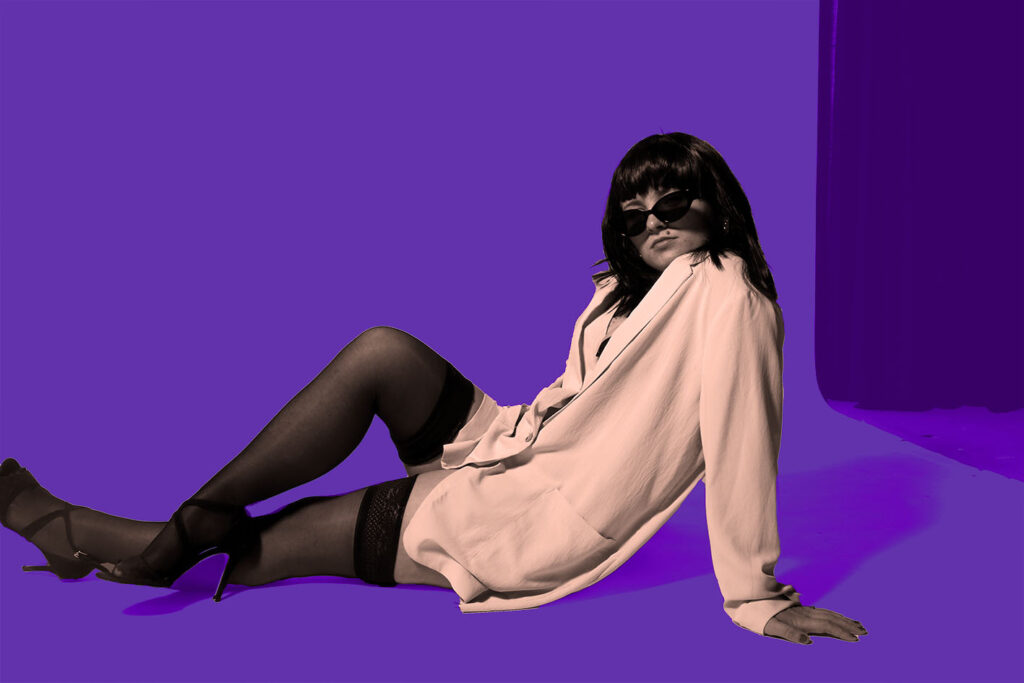
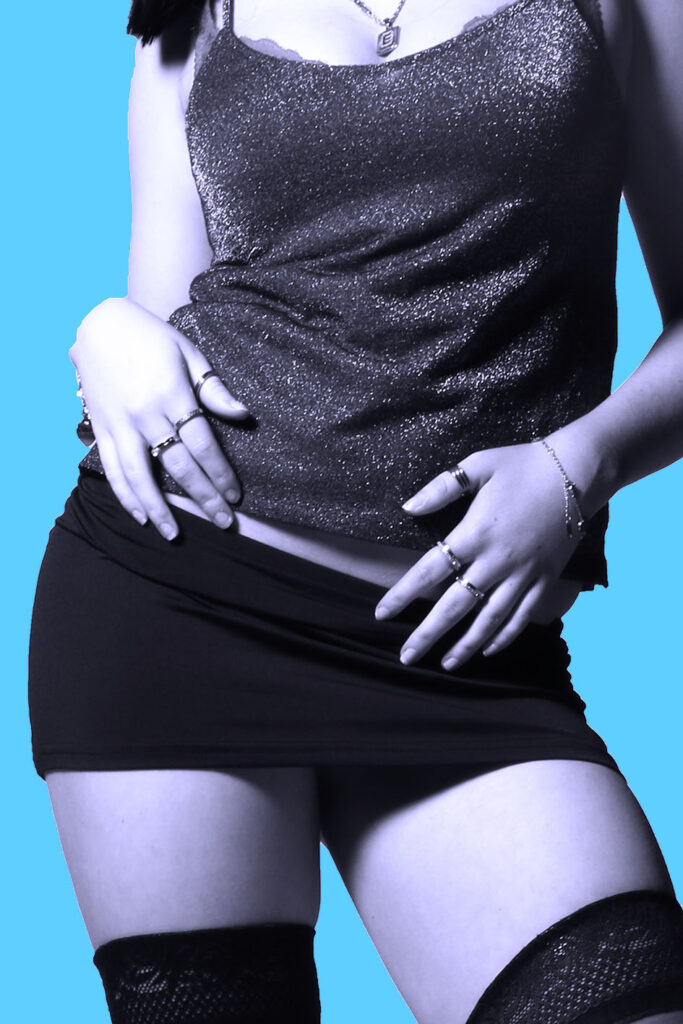
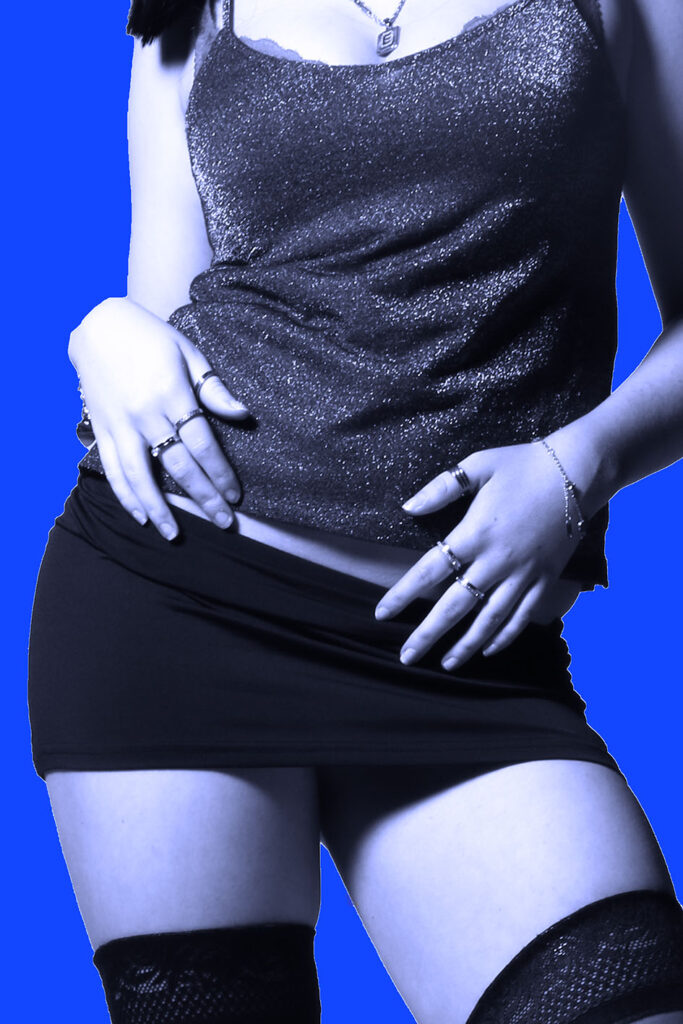
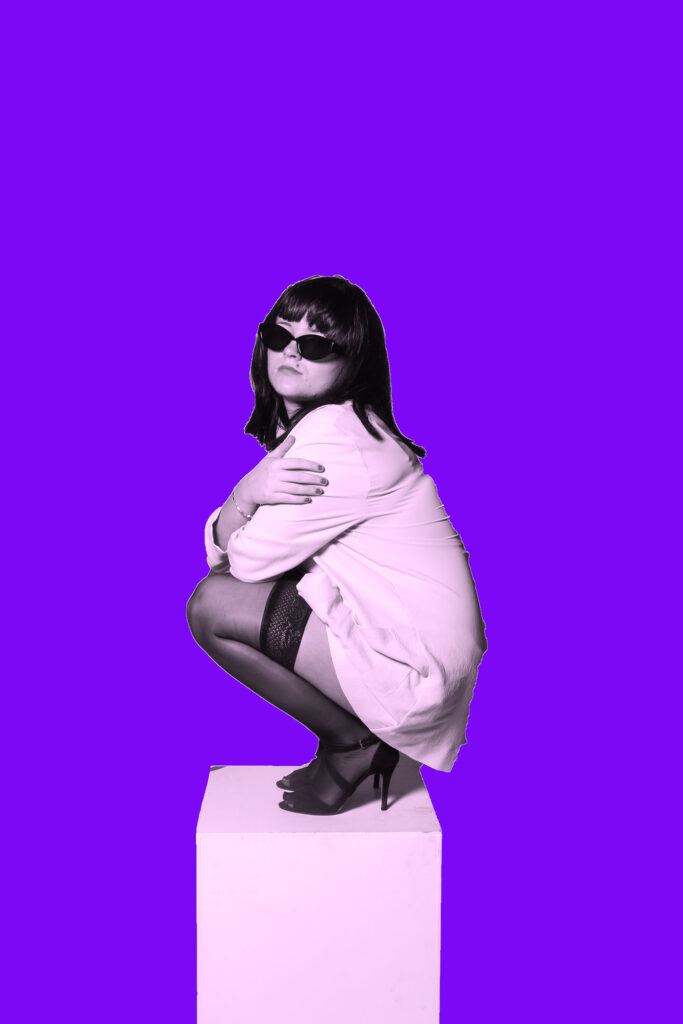
To achieve a plain blue background, I followed the same process that I have explained previously in one of my editing blog posts. In order to make the outcome look as realistic as possible, I had to carefully colour in all of the edges of subject to prevent a harsh outline. I used the pen brush tool, and adjusted the size of the brush so I can be more precise and make it look neat. I also adjusted the hardness to 100% to enhance the preciseness, and allow for no messy or white edges between the subject and the background.
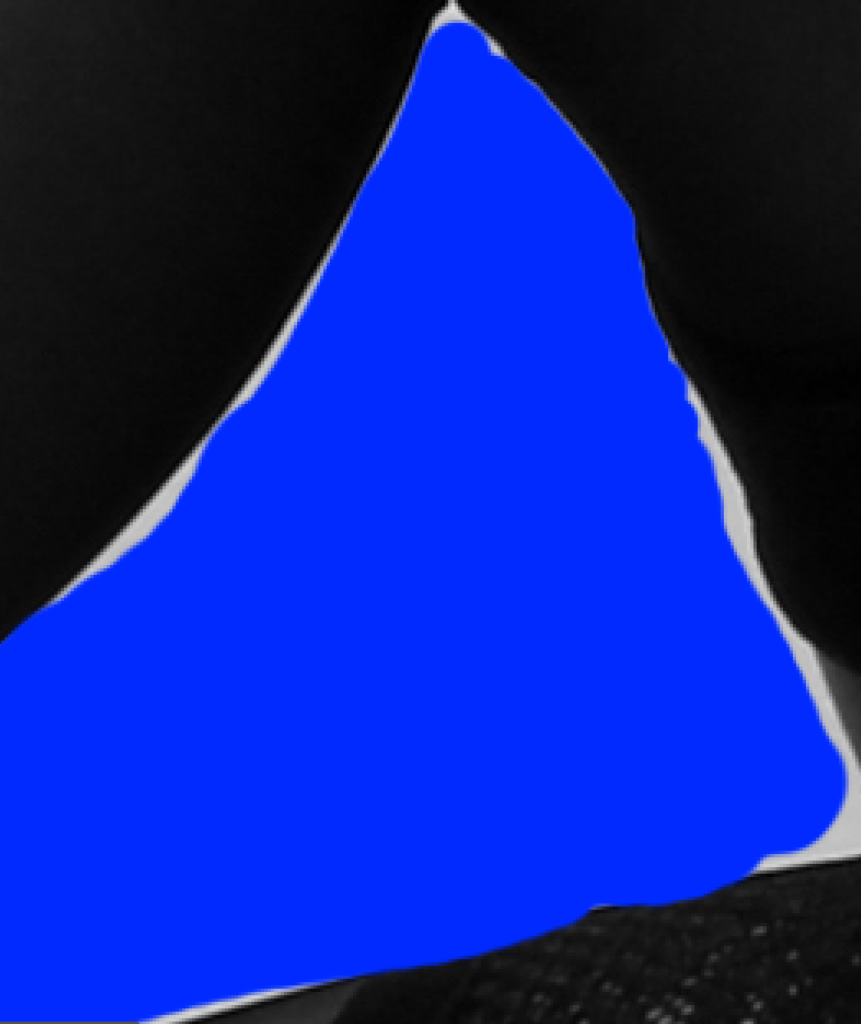
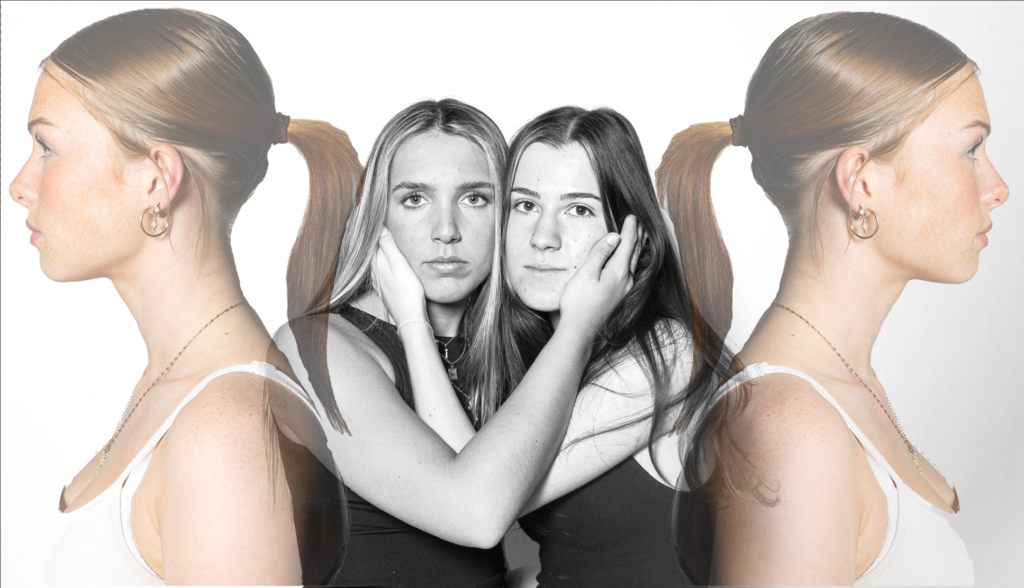
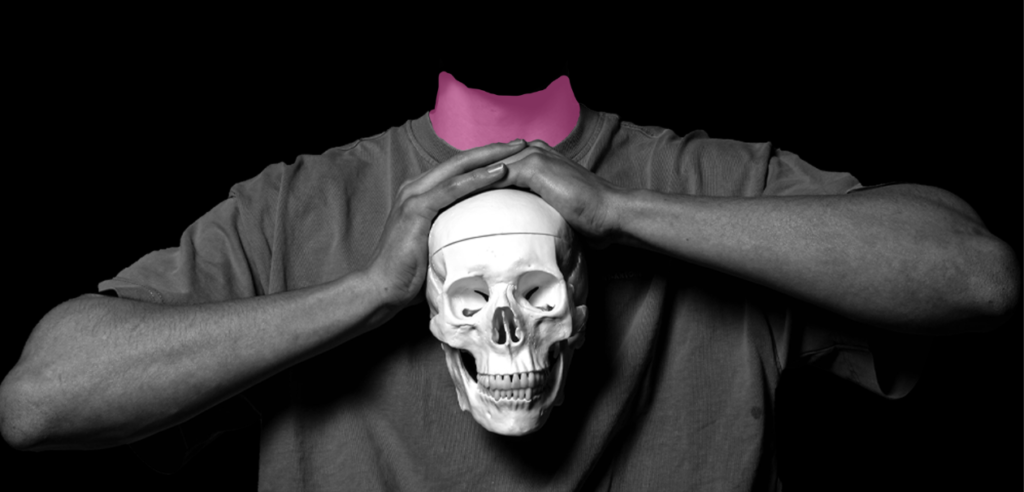
Here is what my image looked like after using the brush tool and removing all of the white edges, which I think looks a lot more successful and realistic.
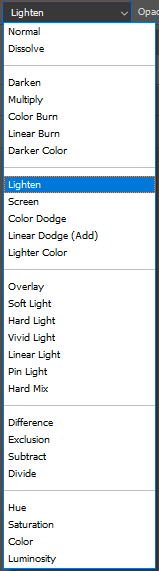
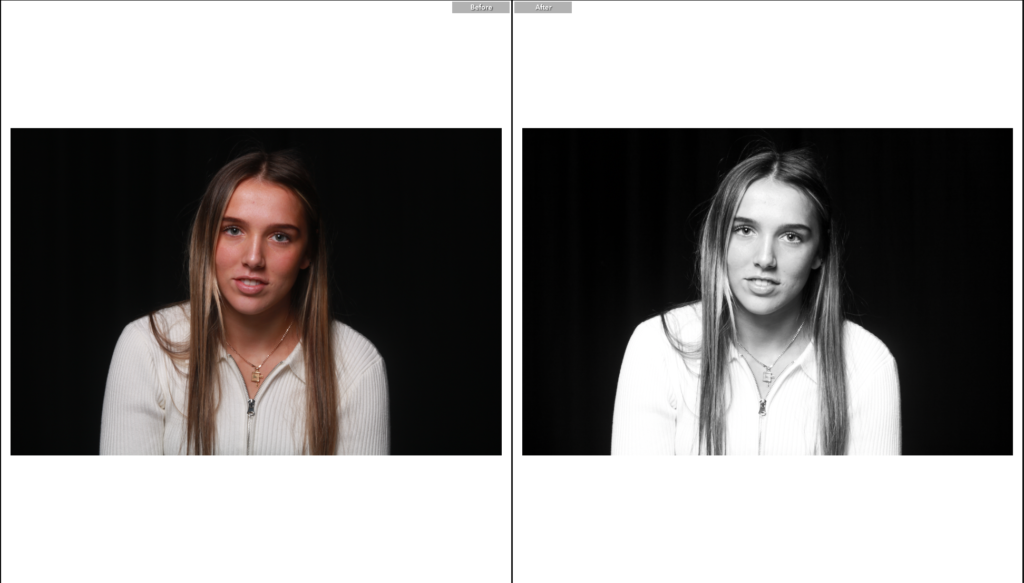
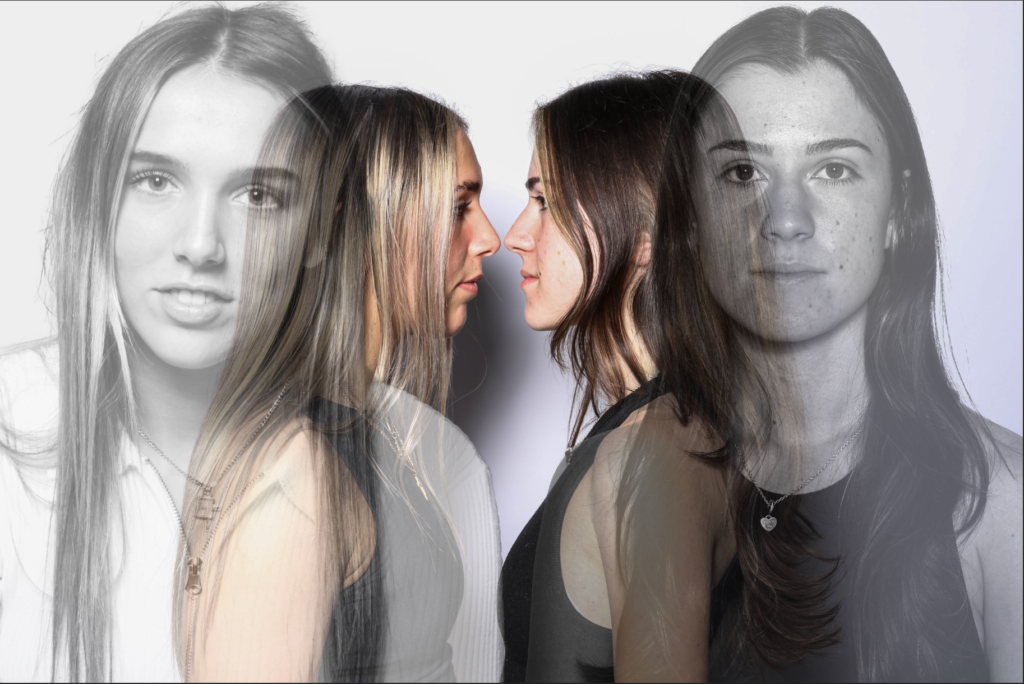
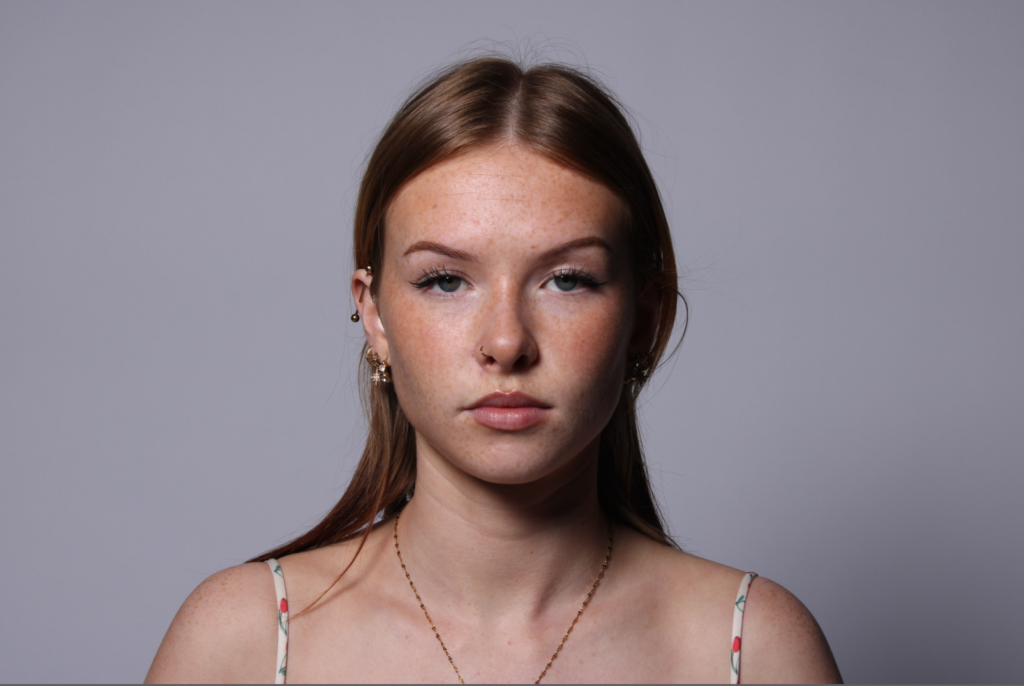
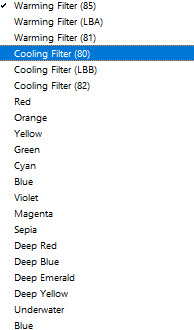
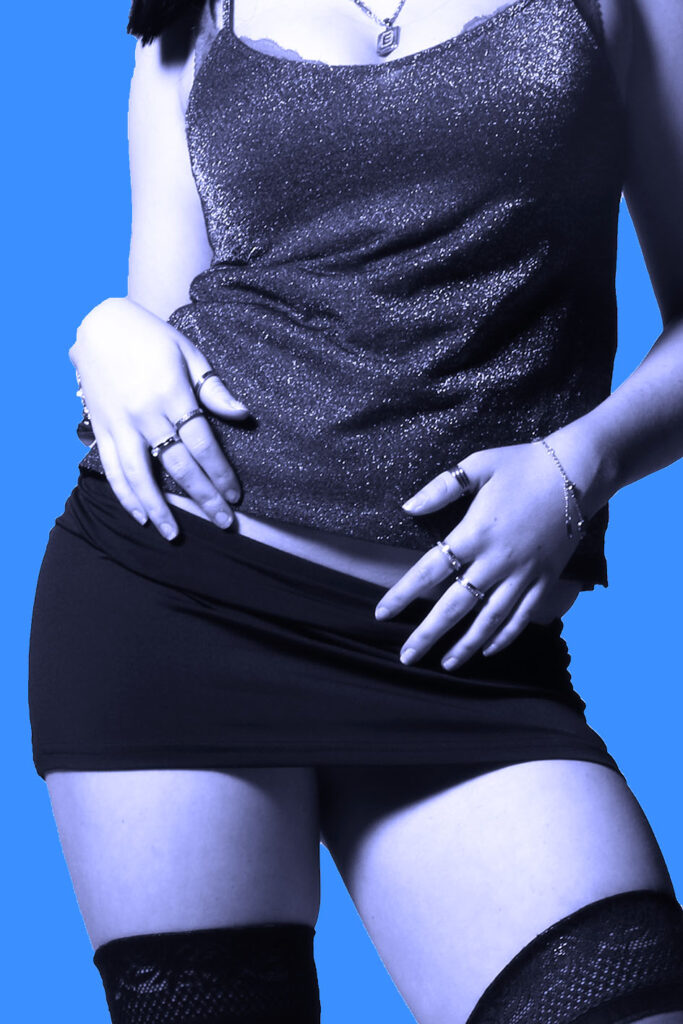
Finally, I decided to add a simple filter that would enhance my outcome further. This way, it gives the effect that everything is merged and blended together subtly, rather than it looking very separate and unprofessional.
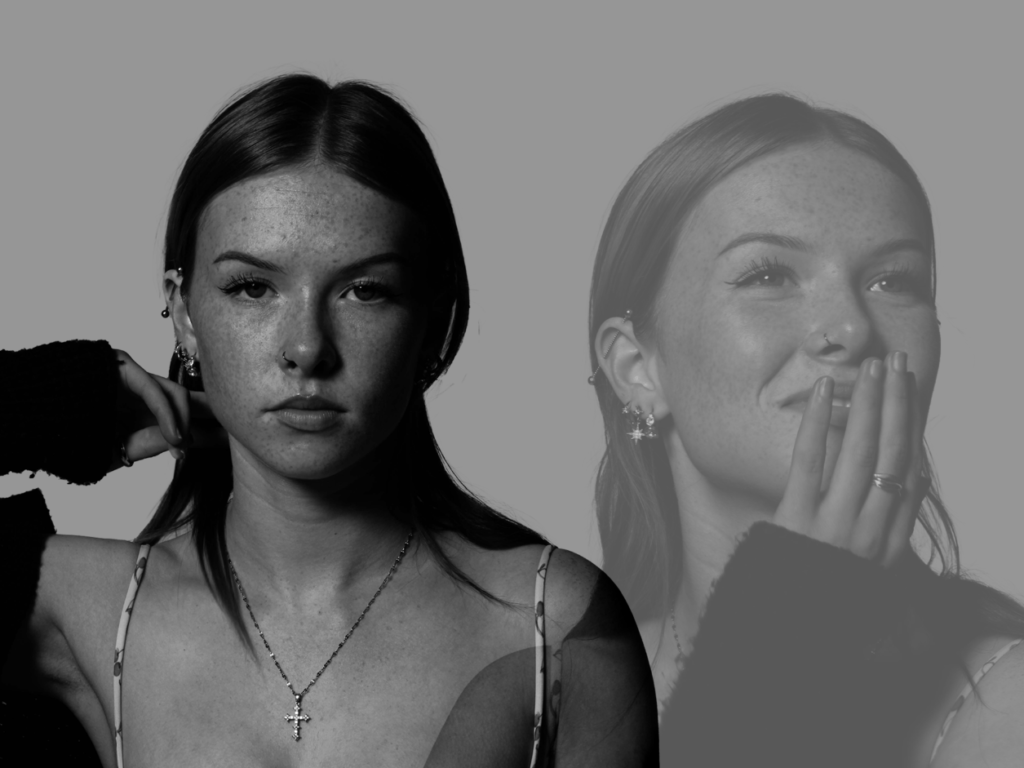
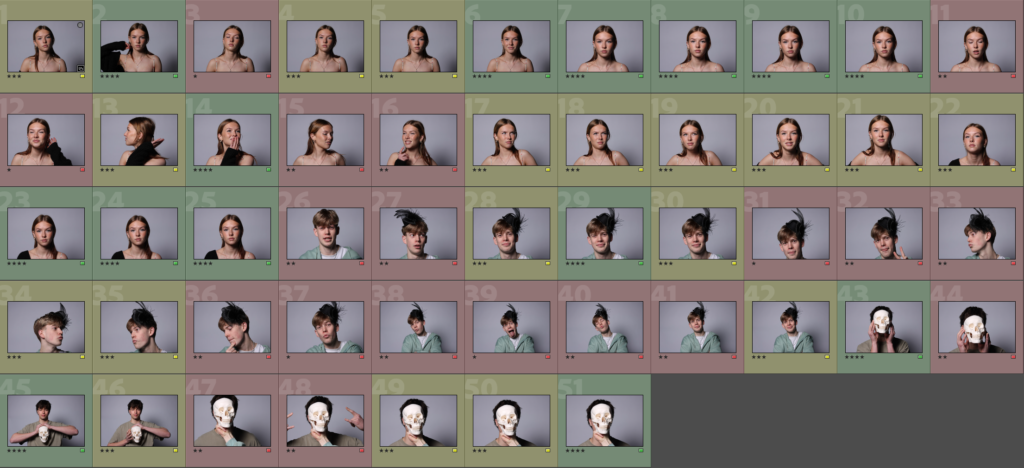
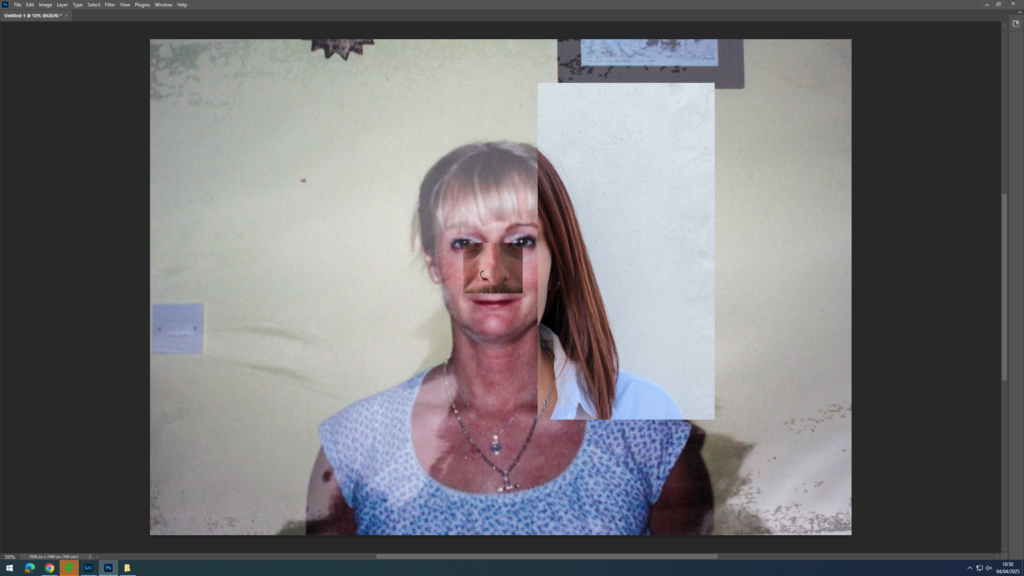
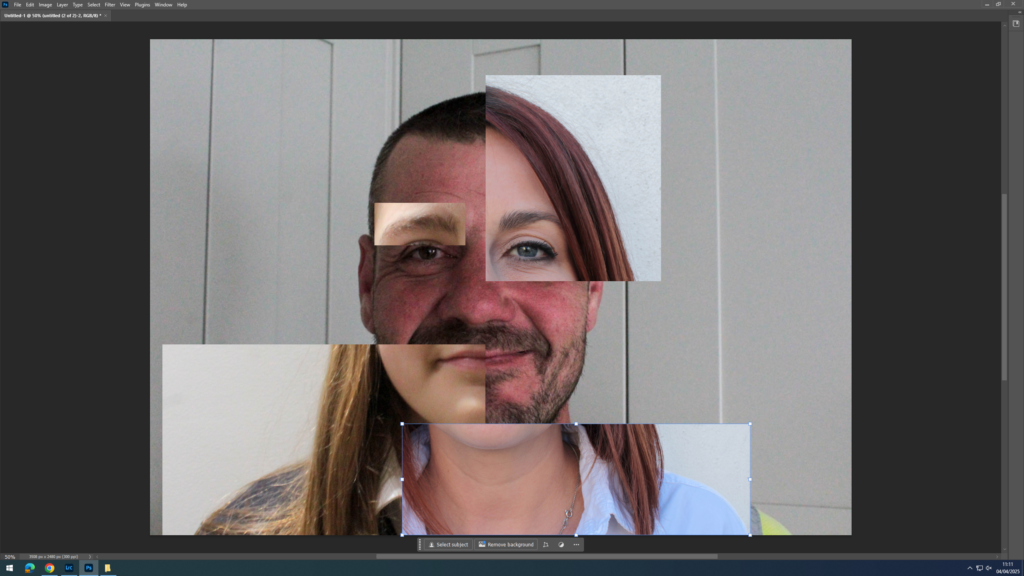
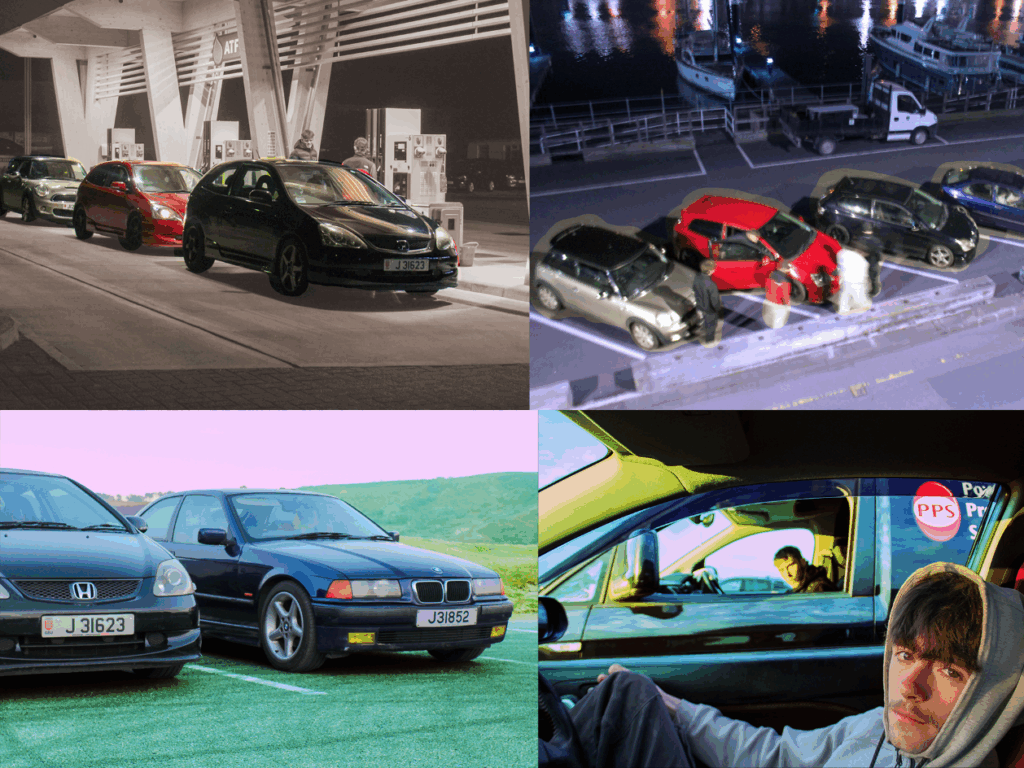
Edit 1 with random experimentations:
version 1:

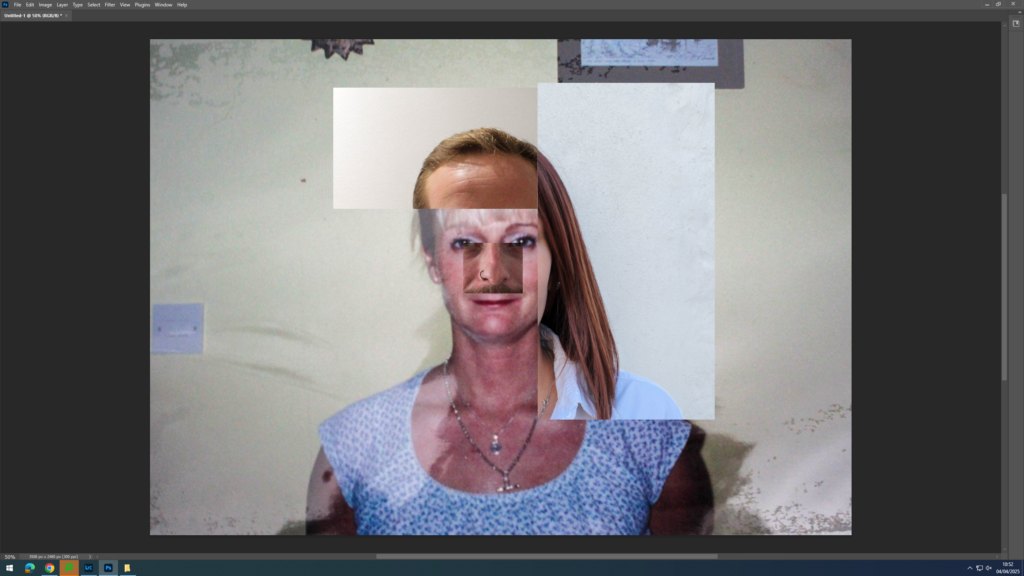
version 2:
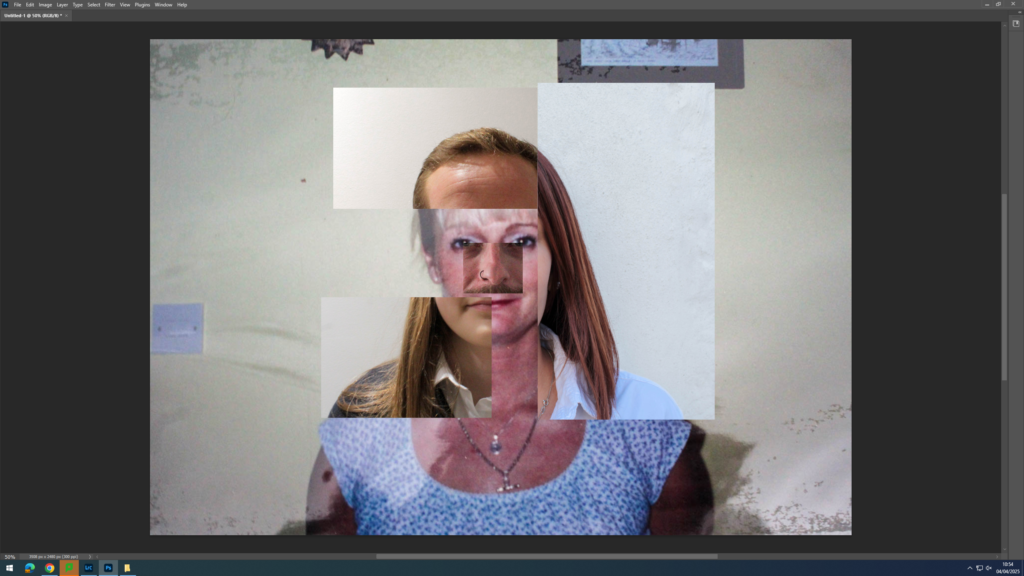
version 3:
version 4:
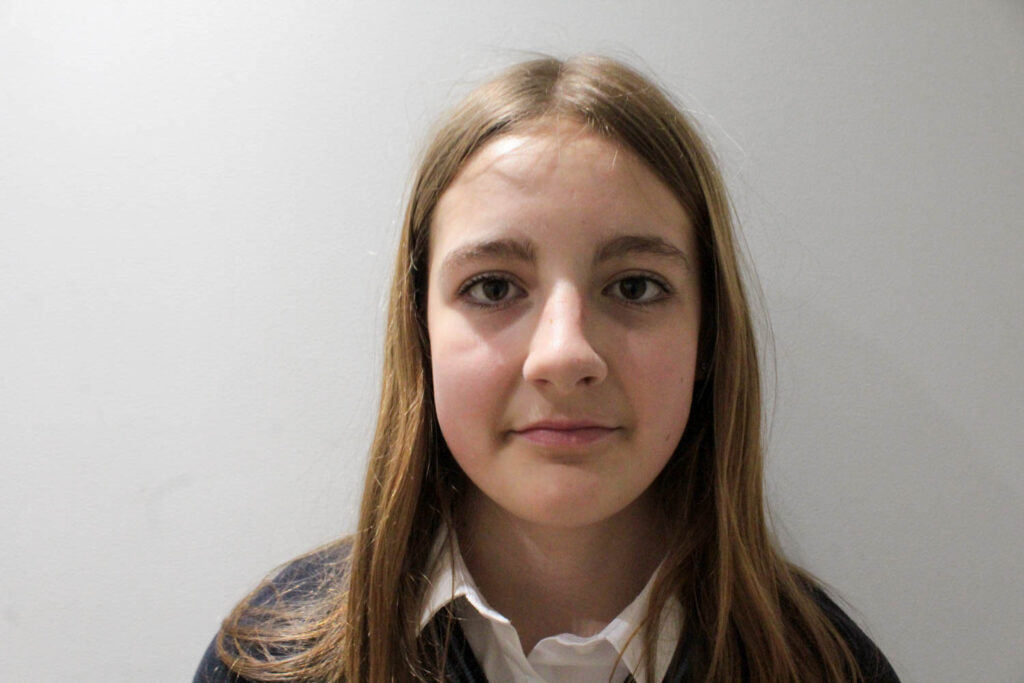
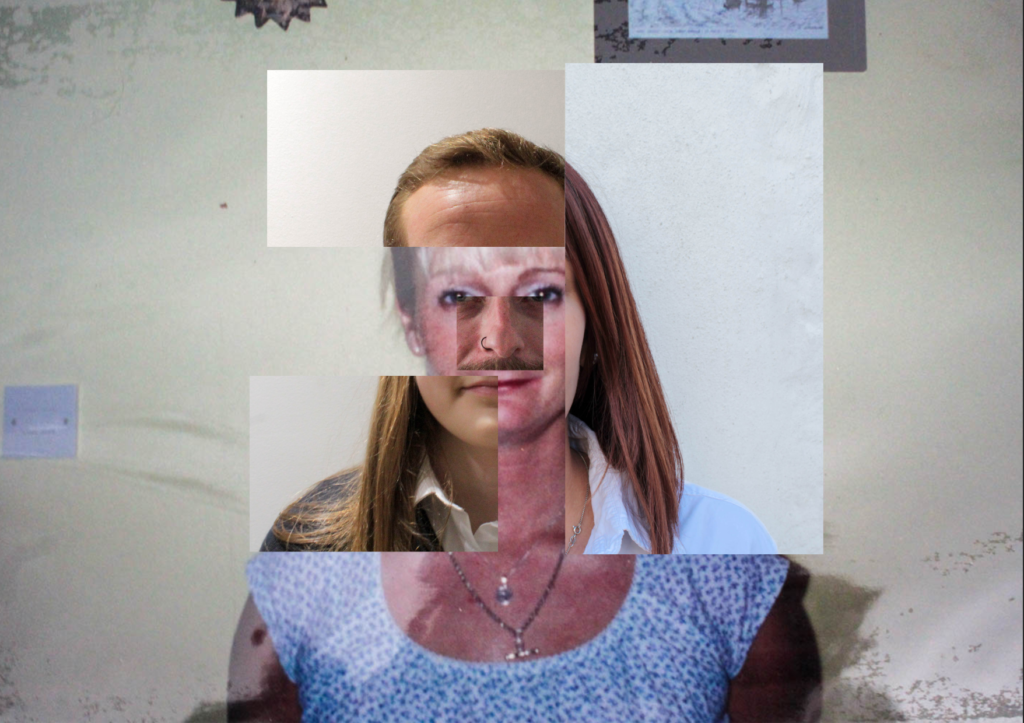
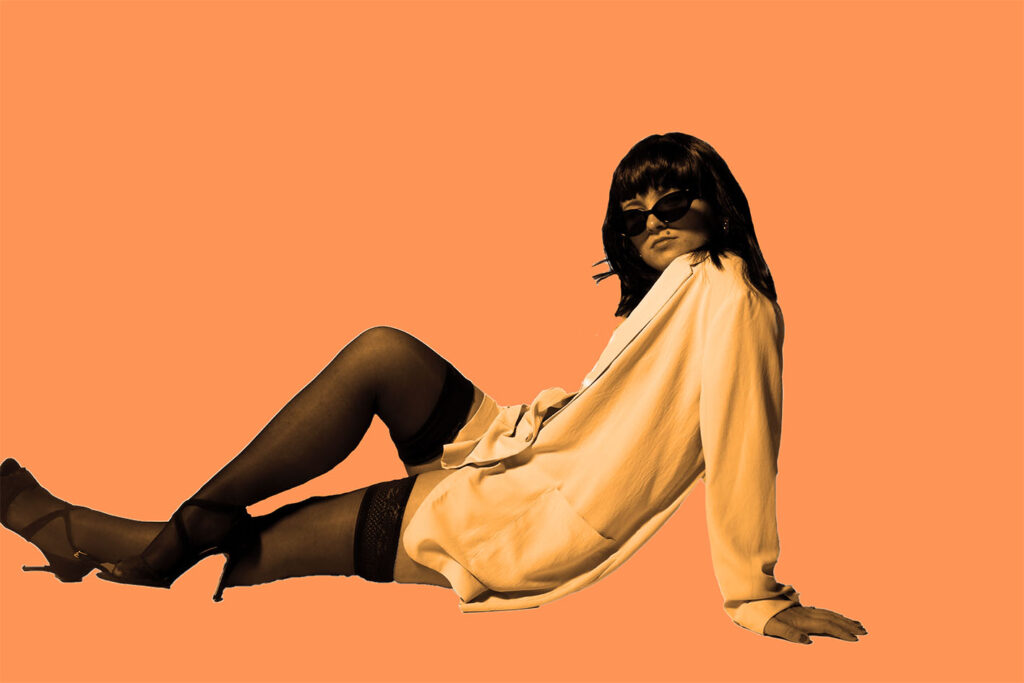
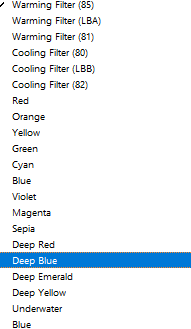
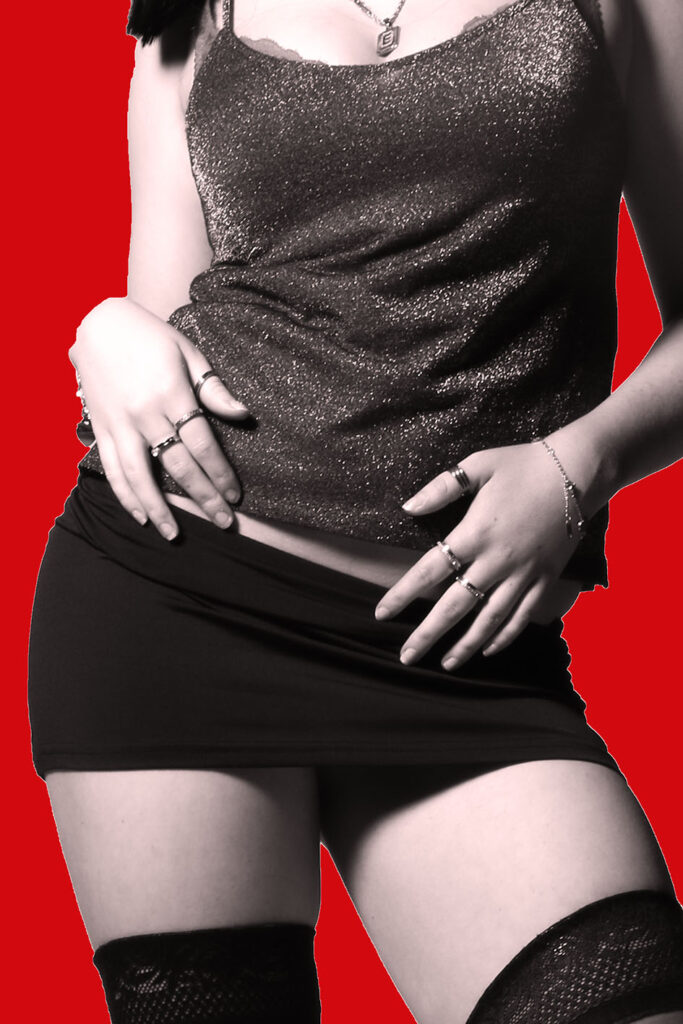
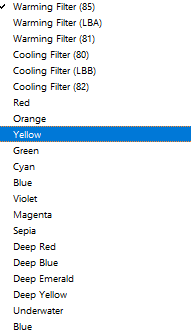
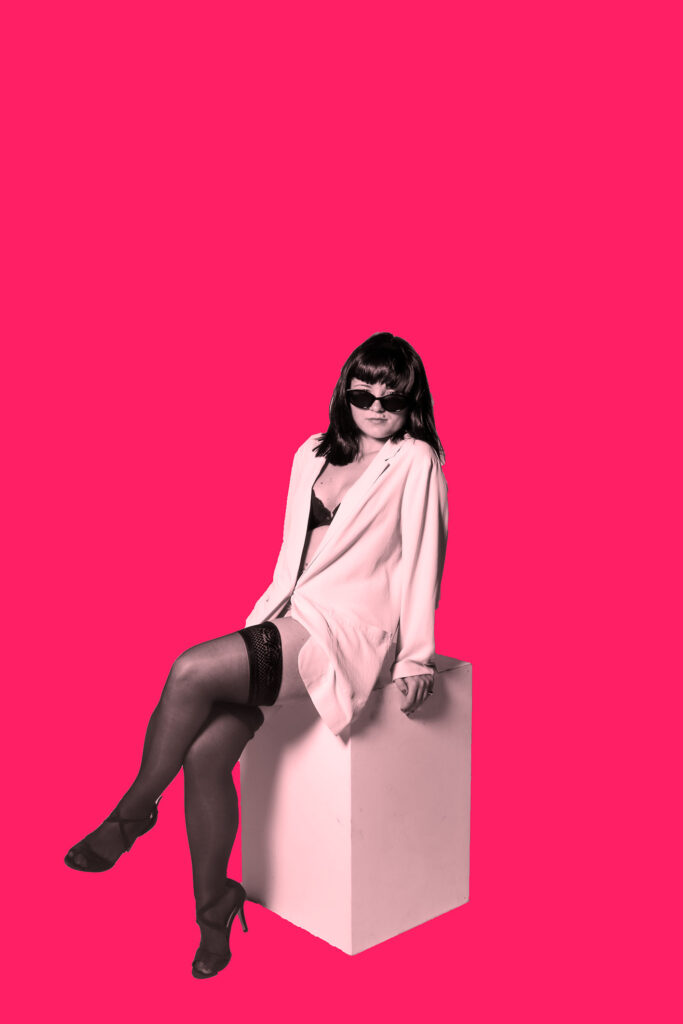
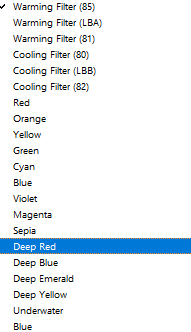
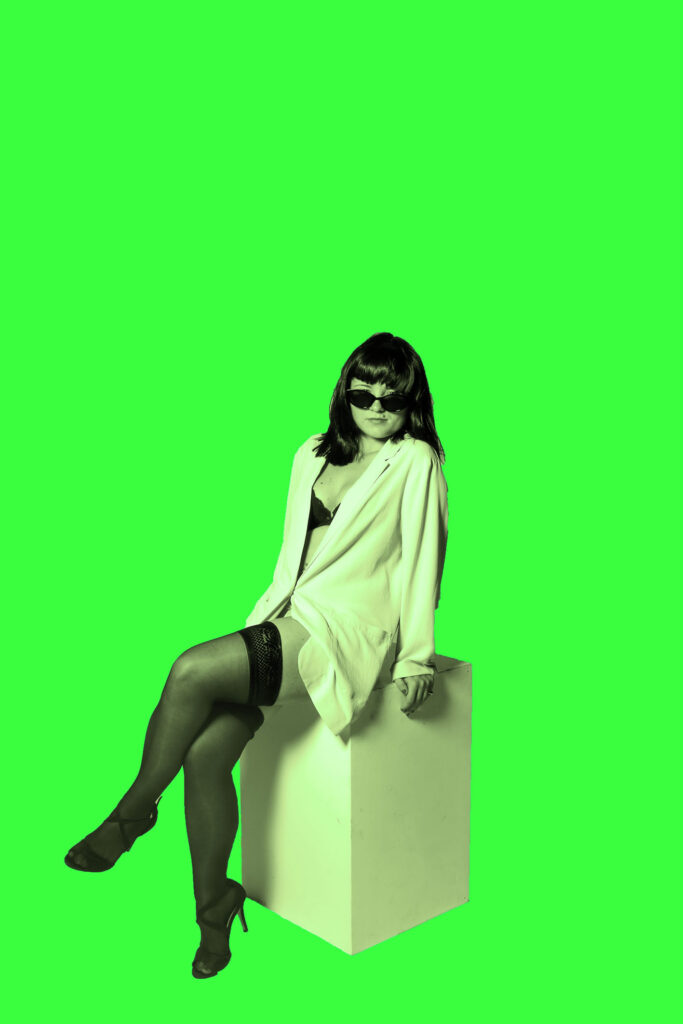
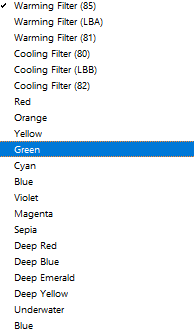
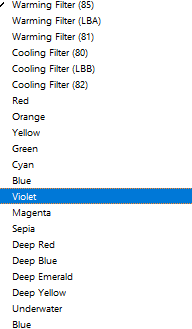
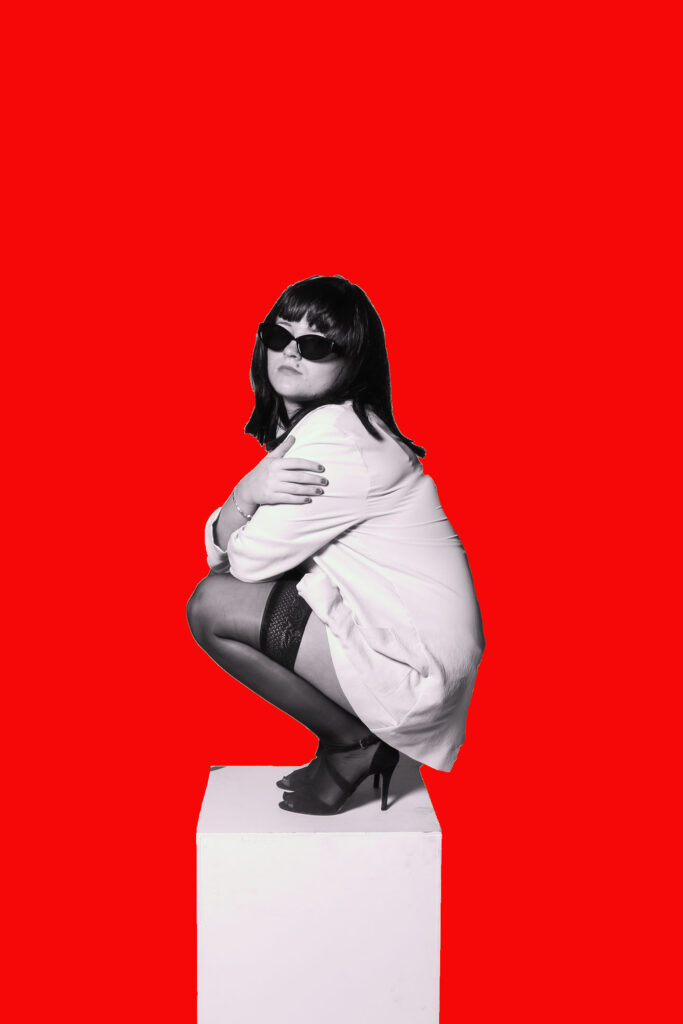
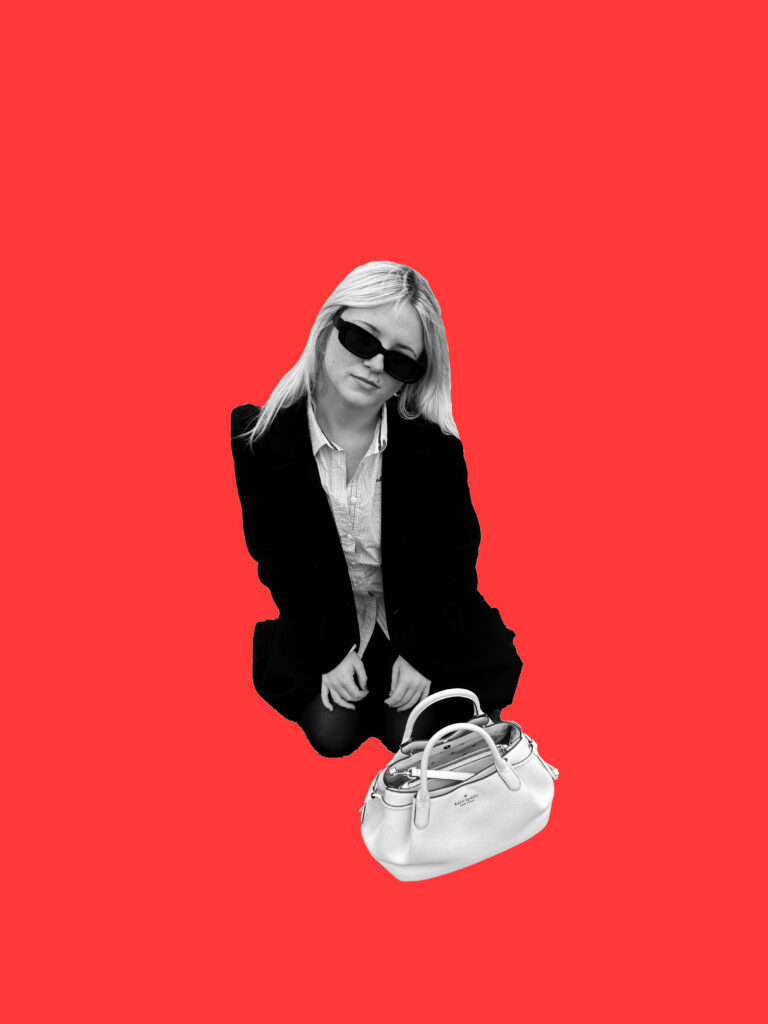
Furthermore, I selected the adjustments so I could subtly change the colour of the subject so that it matches the colour of the new backdrop. I selected the photo filter tool, where I could then decide which filter would suit the tones within each individual image
Edit 2:
version 1:
version 2:


version 3:
version 4 – (additional experiment) :
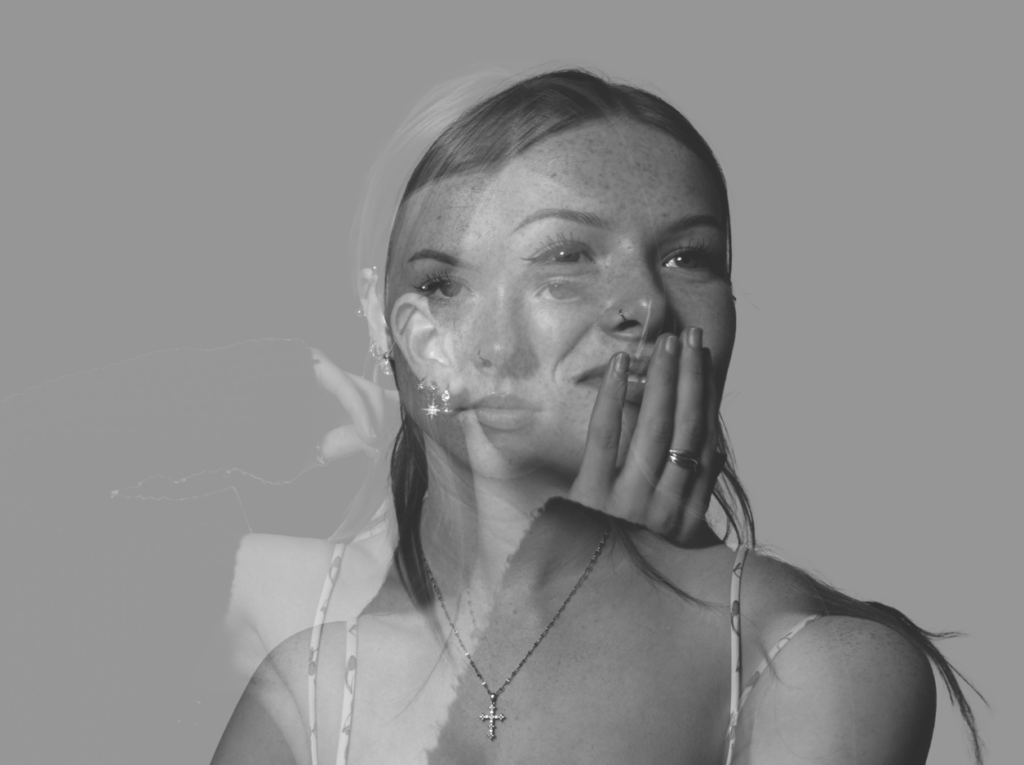
Edit 3:
version 1:
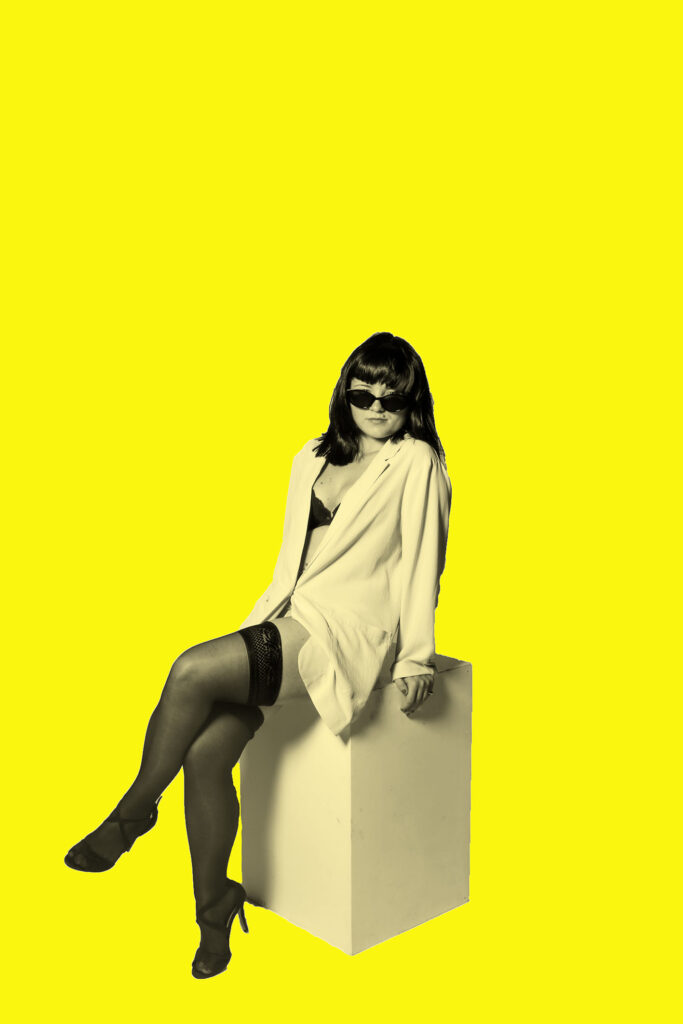
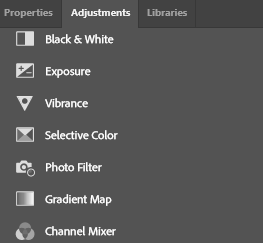
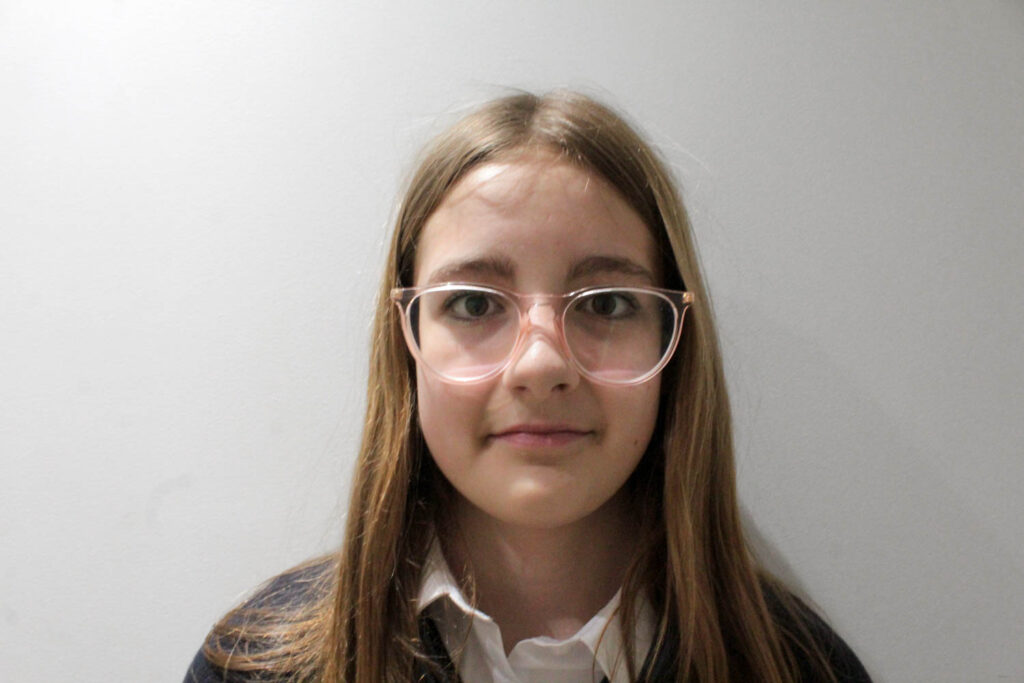
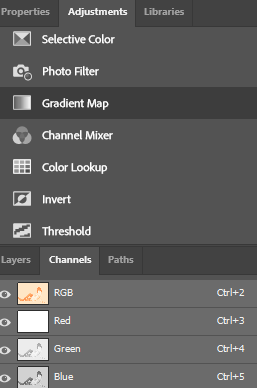
To achieve the different colour filters, I selected the adjustments tool and scrolled down to the photo filter. By doing this, my selected subject can blend seamlessly into the background as she will pick up a slight tint that matches the background, and this prevents harsh lines and the image from looking too artificial.
version 2:
version 3:
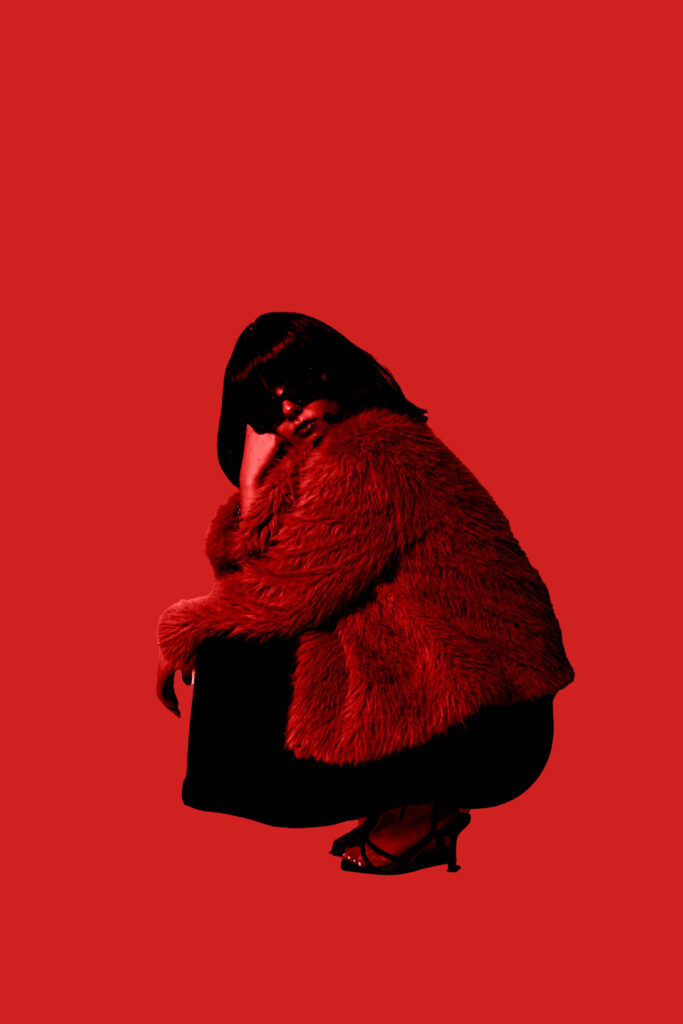
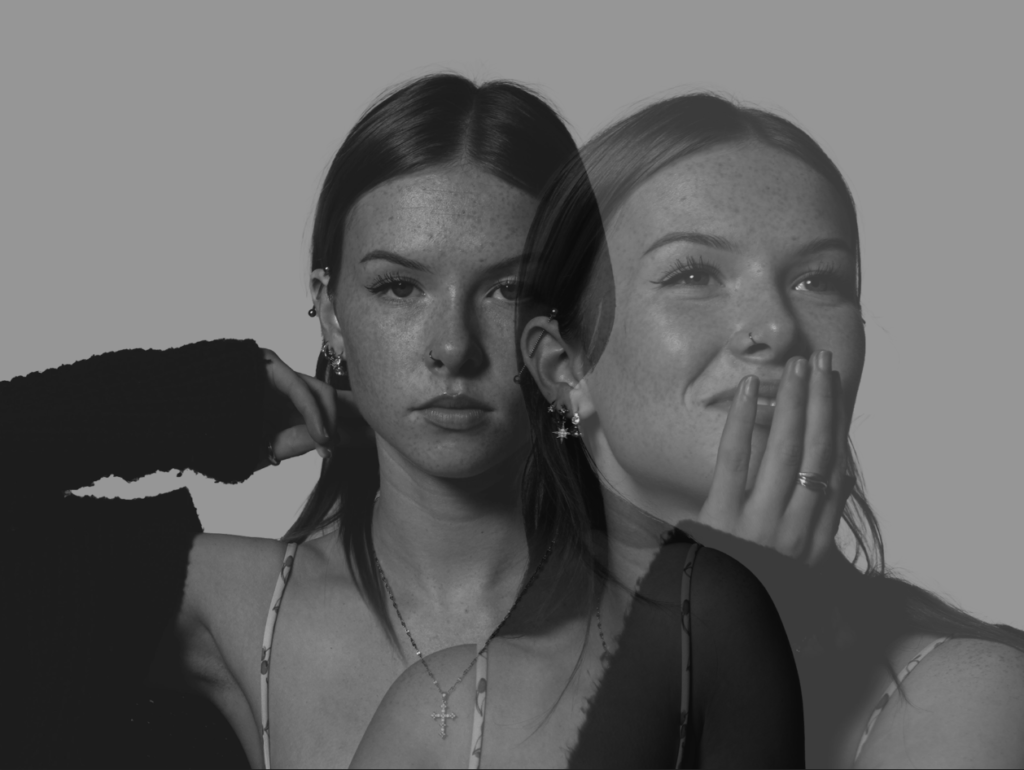
Edit 4:
version 1:
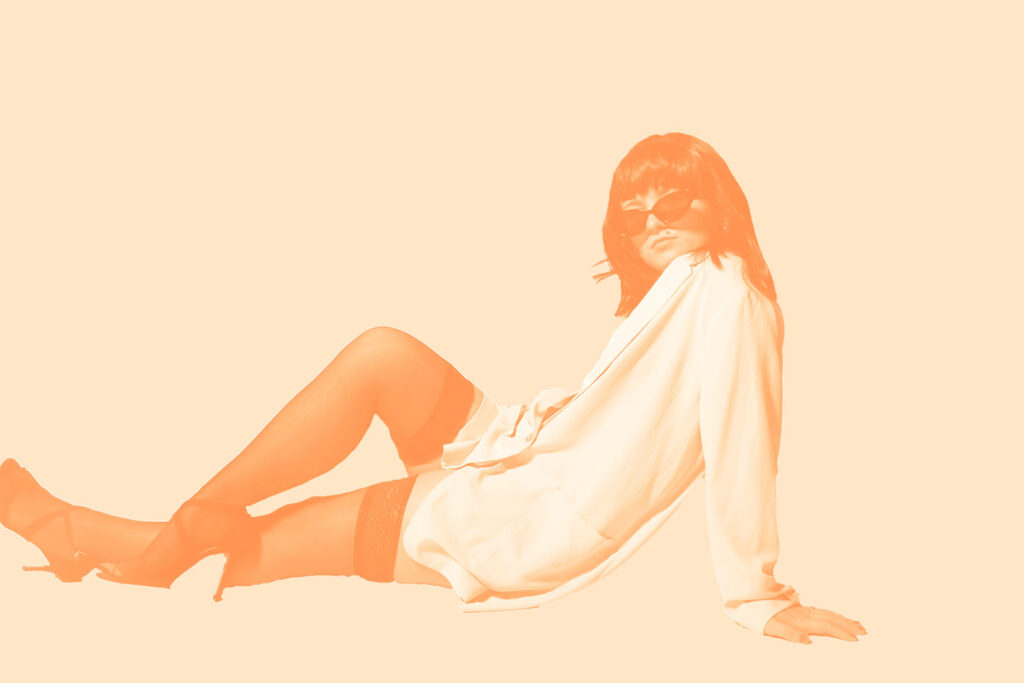
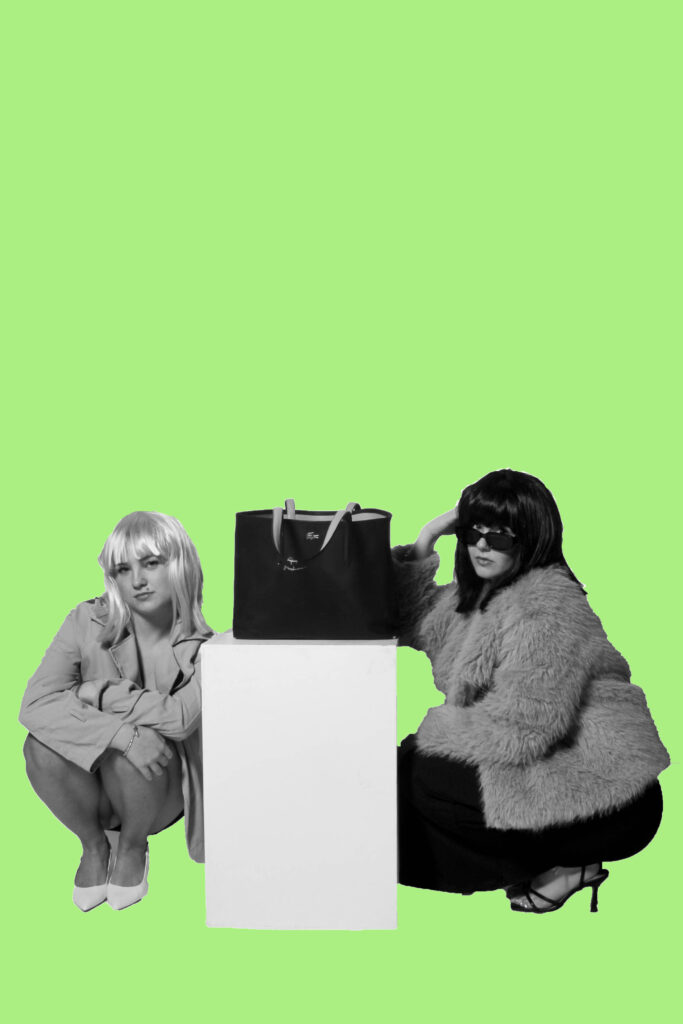
Same image but using the gradient map tool:
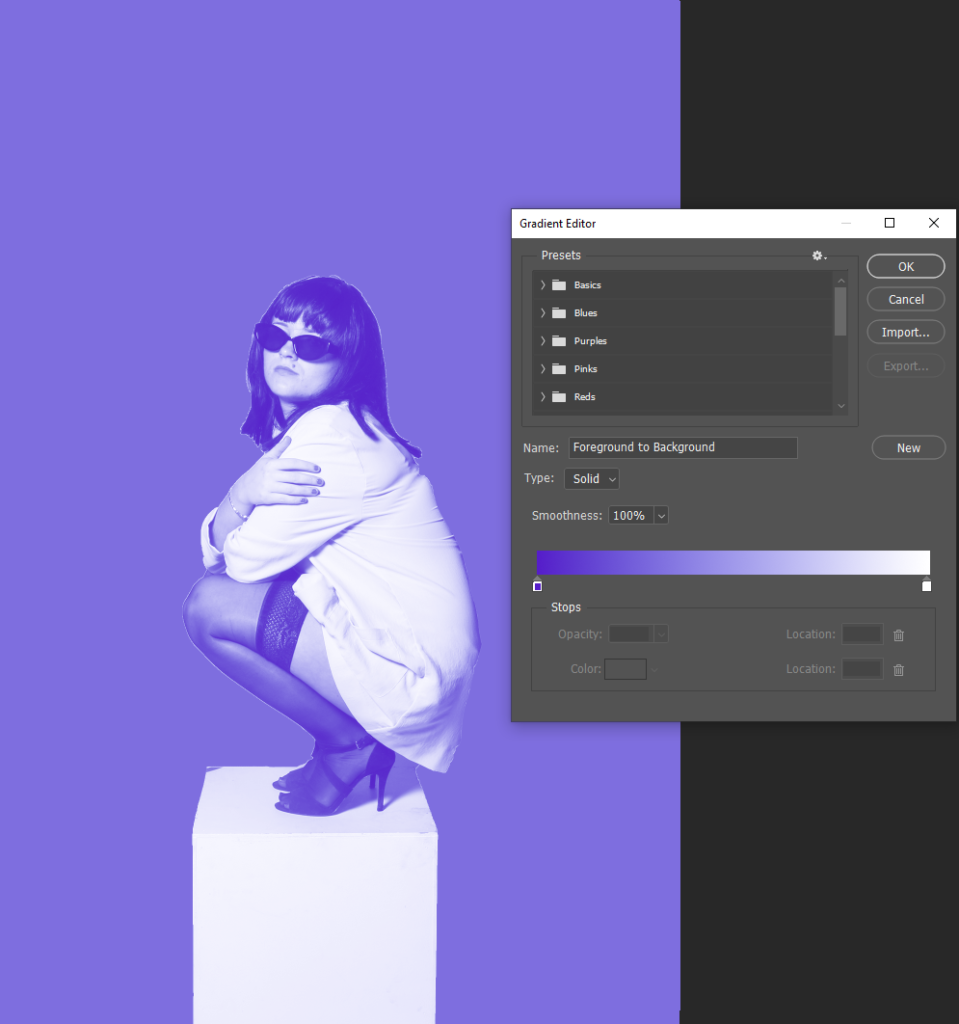
The gradient map tool further blends the selected subject into the background, which I like as it doesn’t allow for the image to appear too vibrant and fake. However, my artist inspiration Yayoi Kusama only uses bold colours in the backgrounds of her images, presenting a more real life effect. This filter makes my images feel more staged due to the excessive use of colour and editing, which could ultimately subtract my aim of creating raw images. Therefore, I will only use this filter on a small amount of my final outcomes for my photobook, this way I can present my raw and realistic approach, yet also showing some experimentations I conducted along the way.
version 2:
version 3:
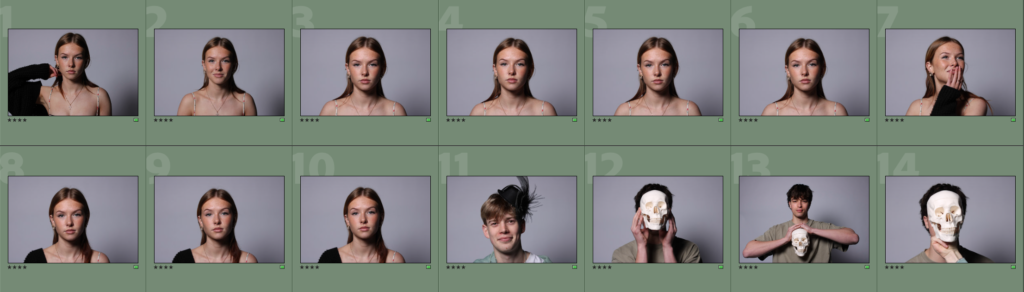
Extra edits for my photobook:


Most successful outcomes from editing: