Manifesto Categories:
For my shoots they will be characterised as either Blurred or Candid in terms of how they where photographed. As mentioned in the previous post, what constitutes either category is the following:
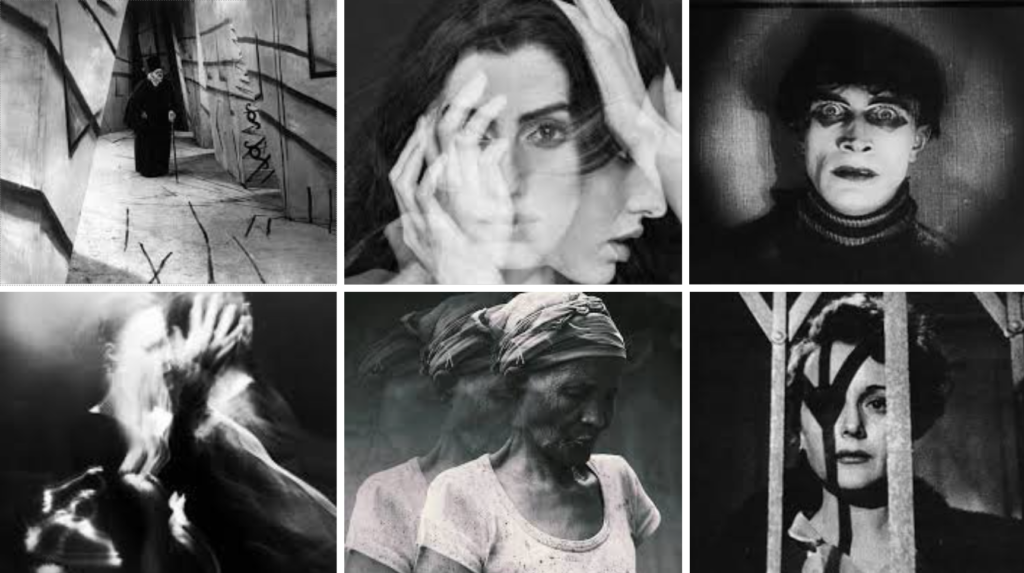
Blurred images being inspired by my impressionist artist study, Kyohyun Nam. What classifies to this, is that the subject of the image is either motion blurred or intentionally distorted by me.
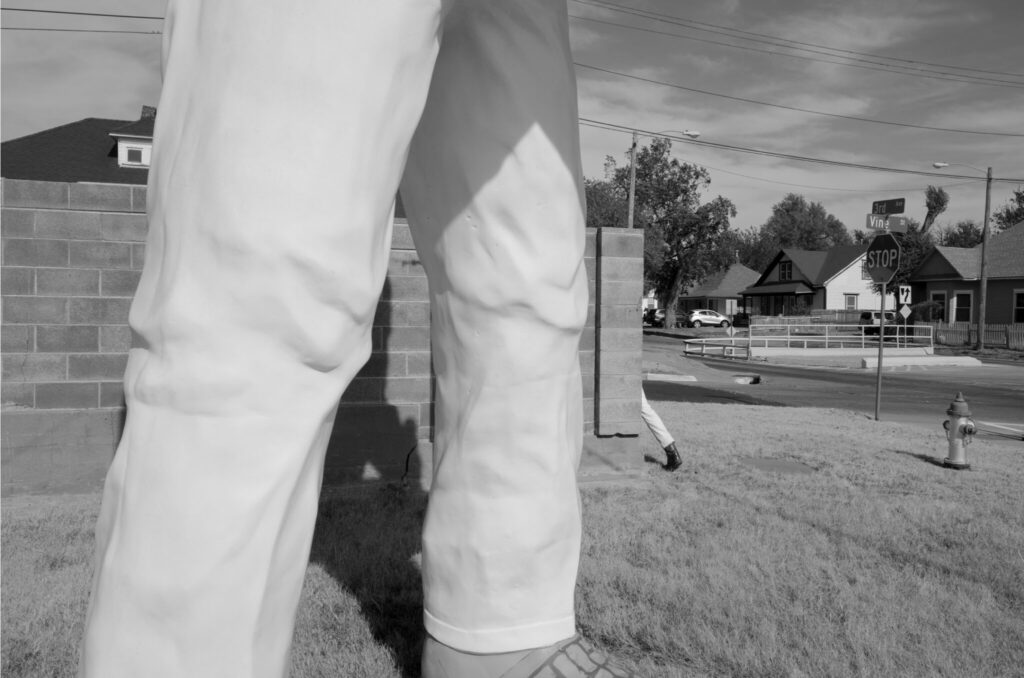
Candid images being inspired by my social realist artist study Robert LeBlanc. What classifies to this, is that subject of image is photographed regularly within an environment. This will attribute to strangers I photograph, peers who are the subjects of my images or landscapes around the Island.
Experimentation:
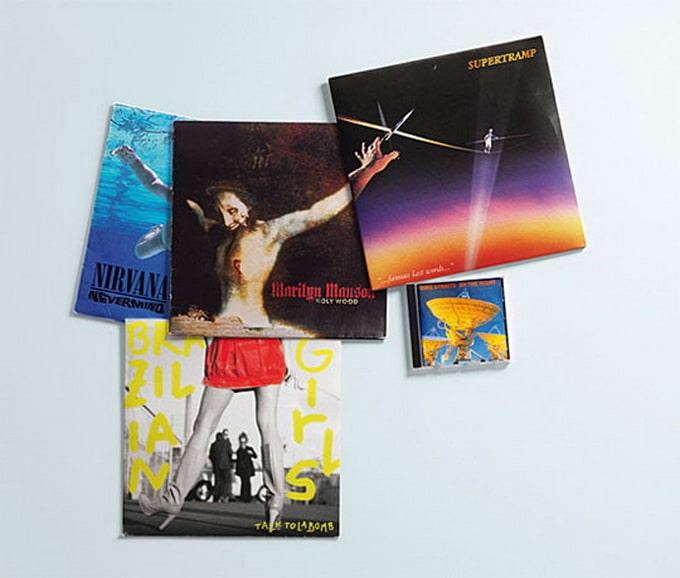
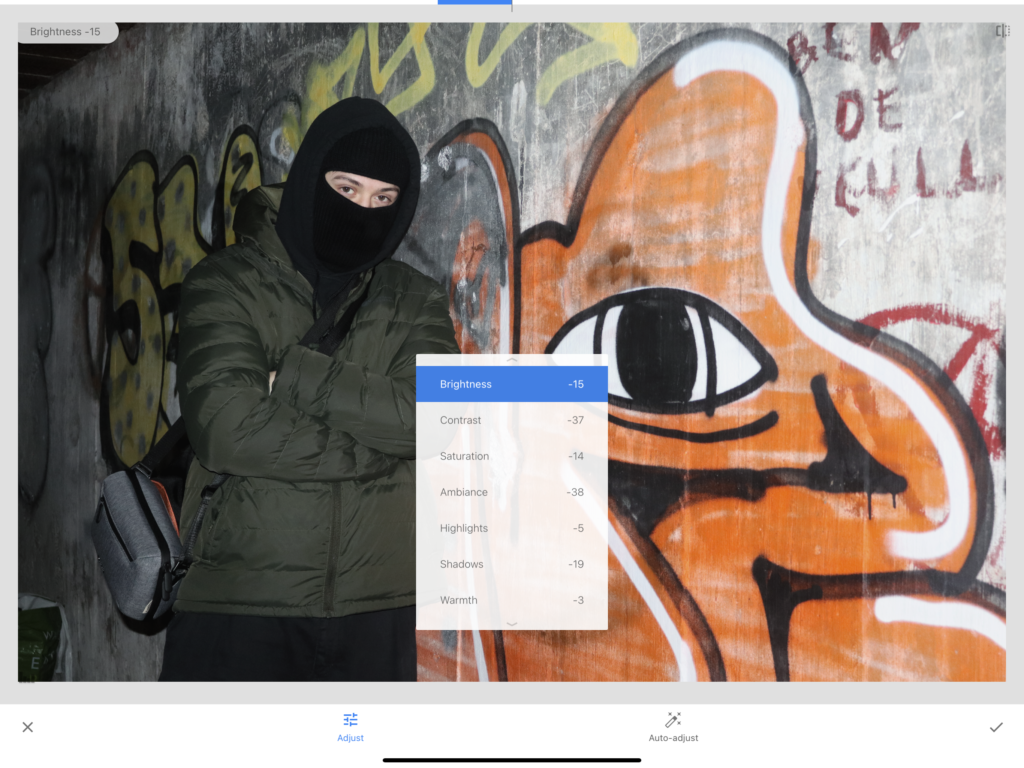
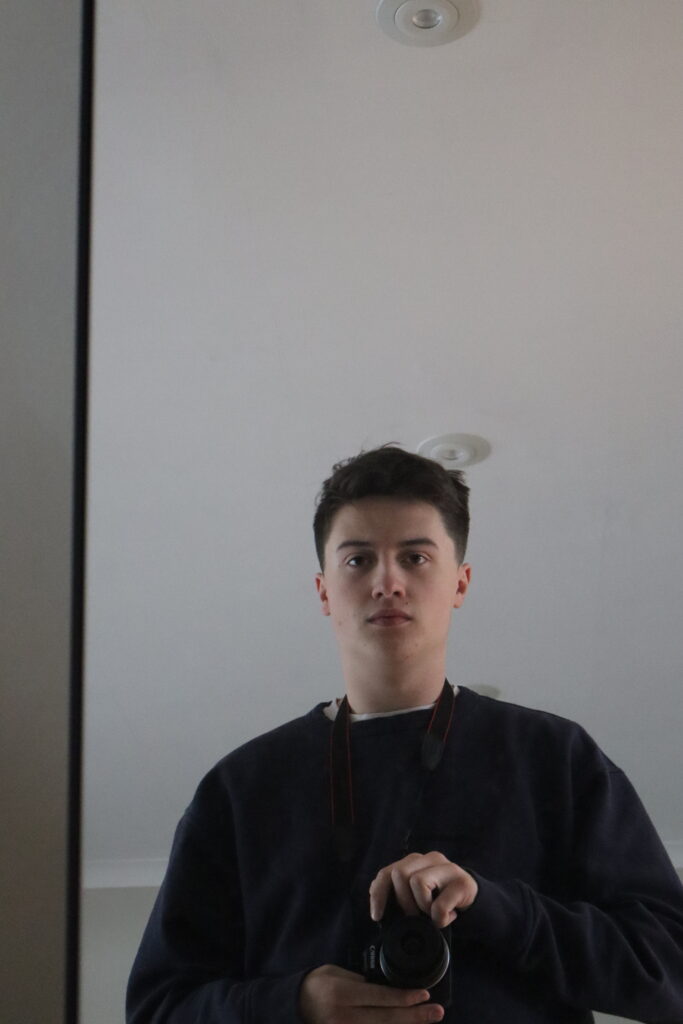
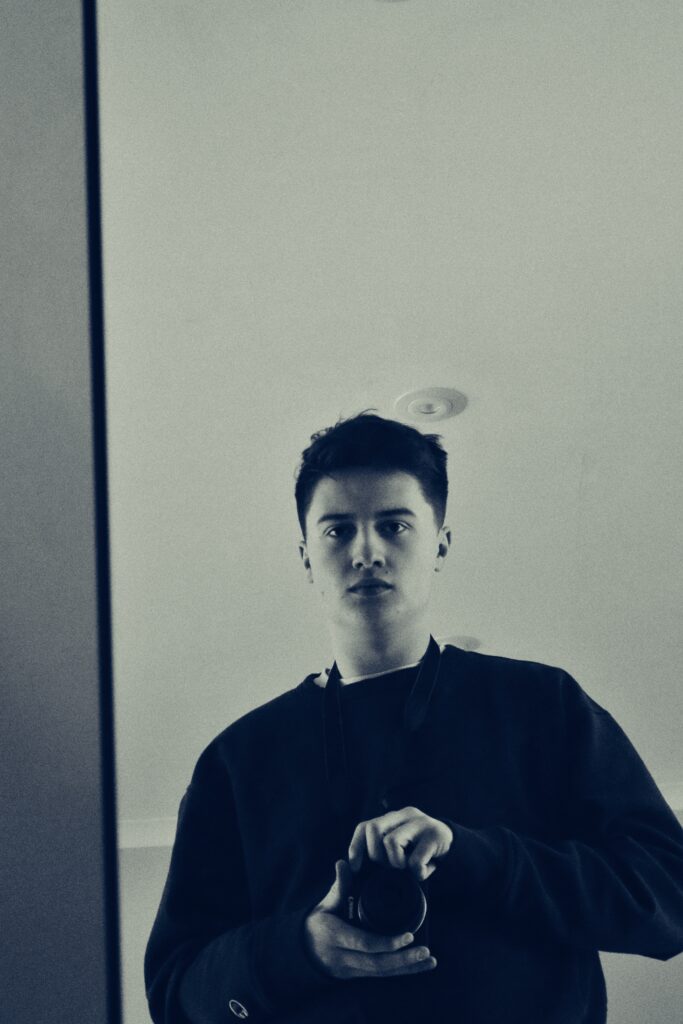
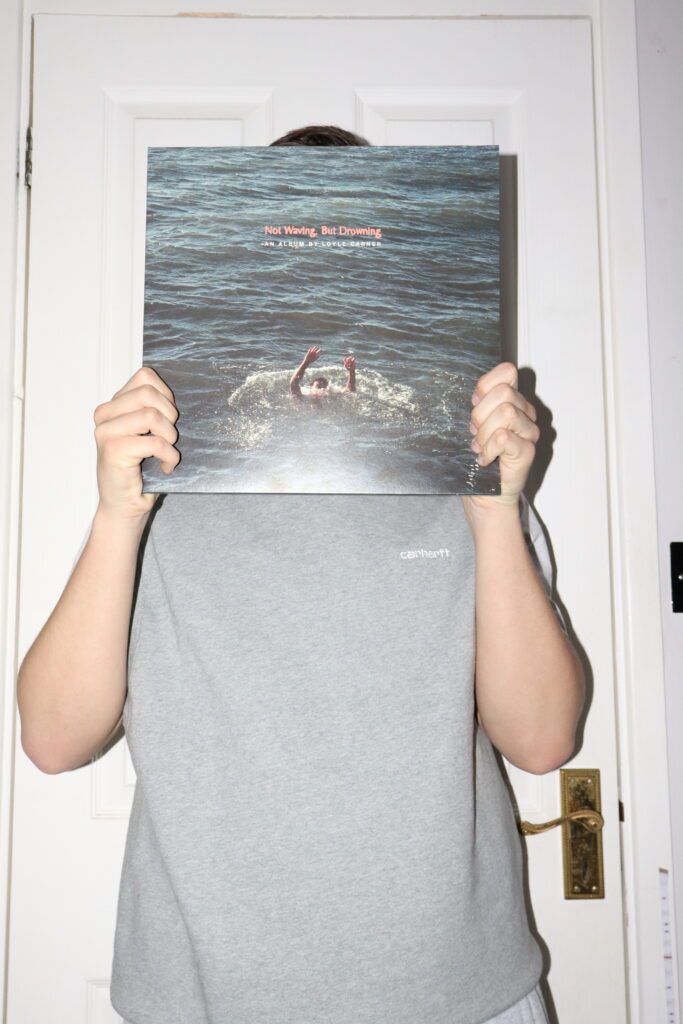
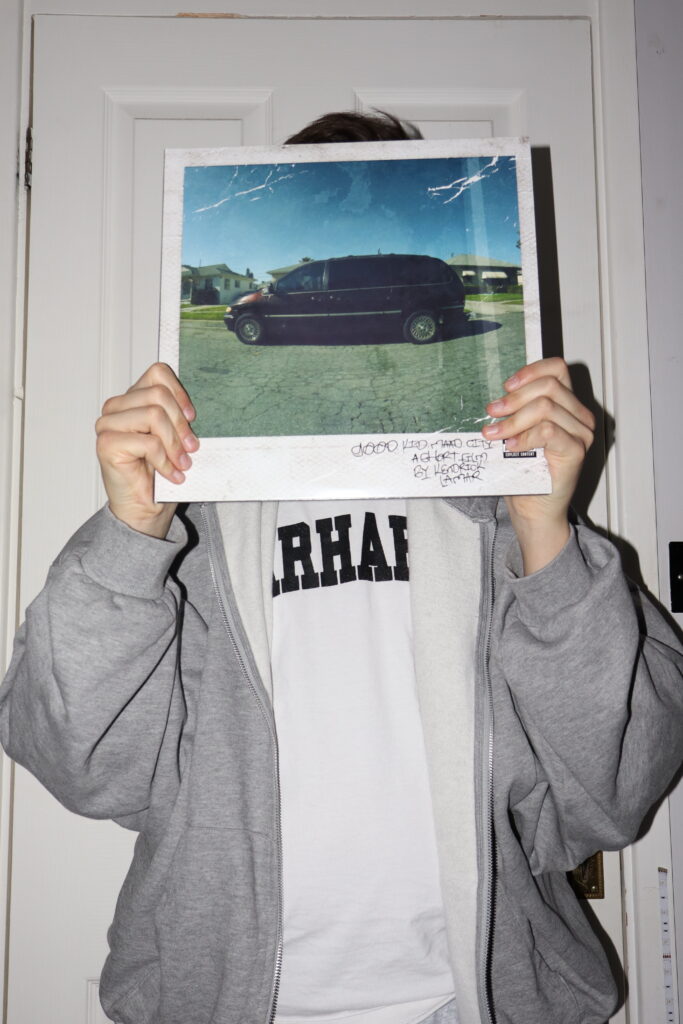
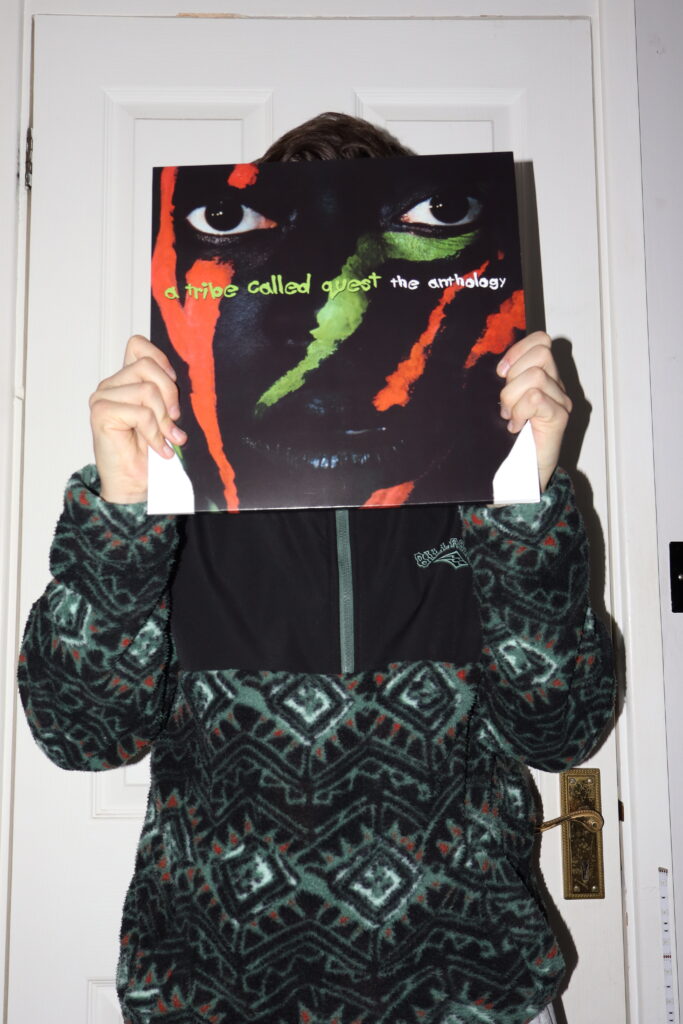
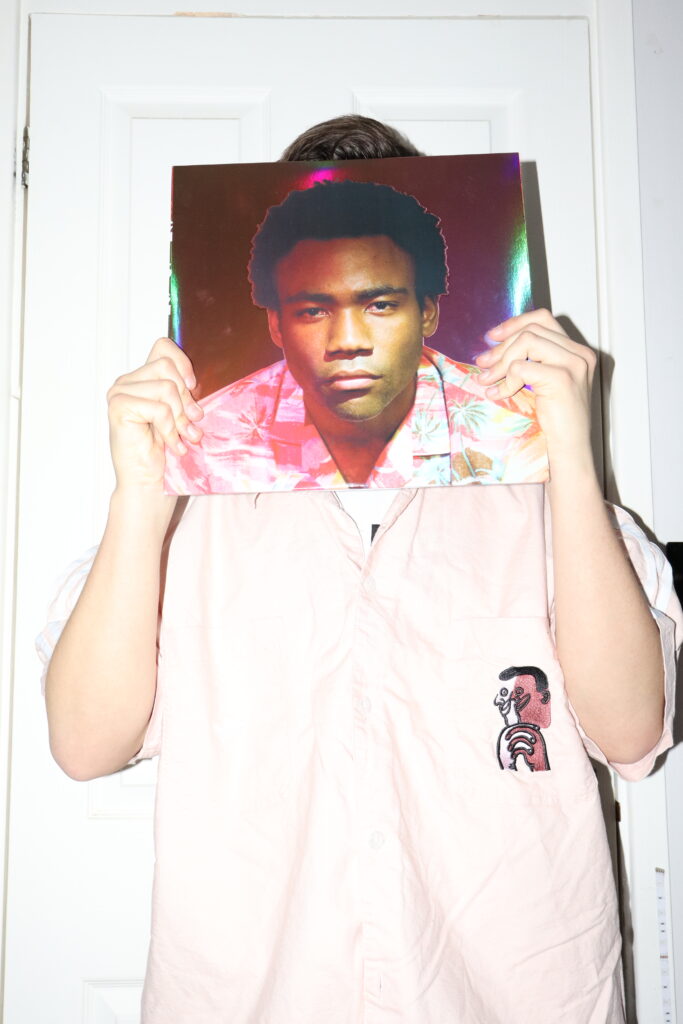
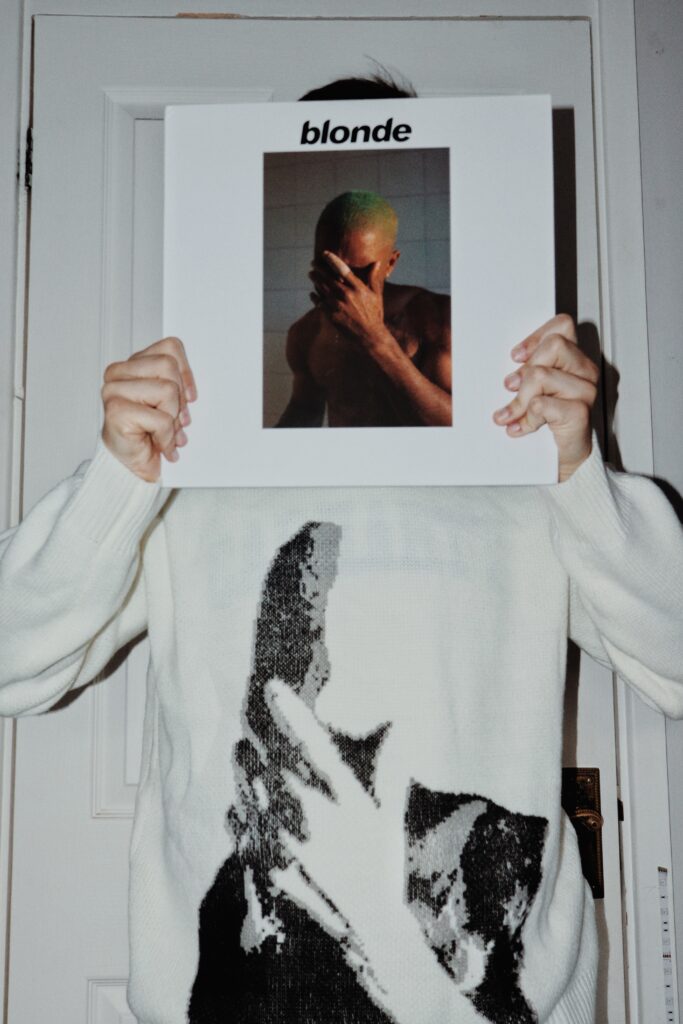
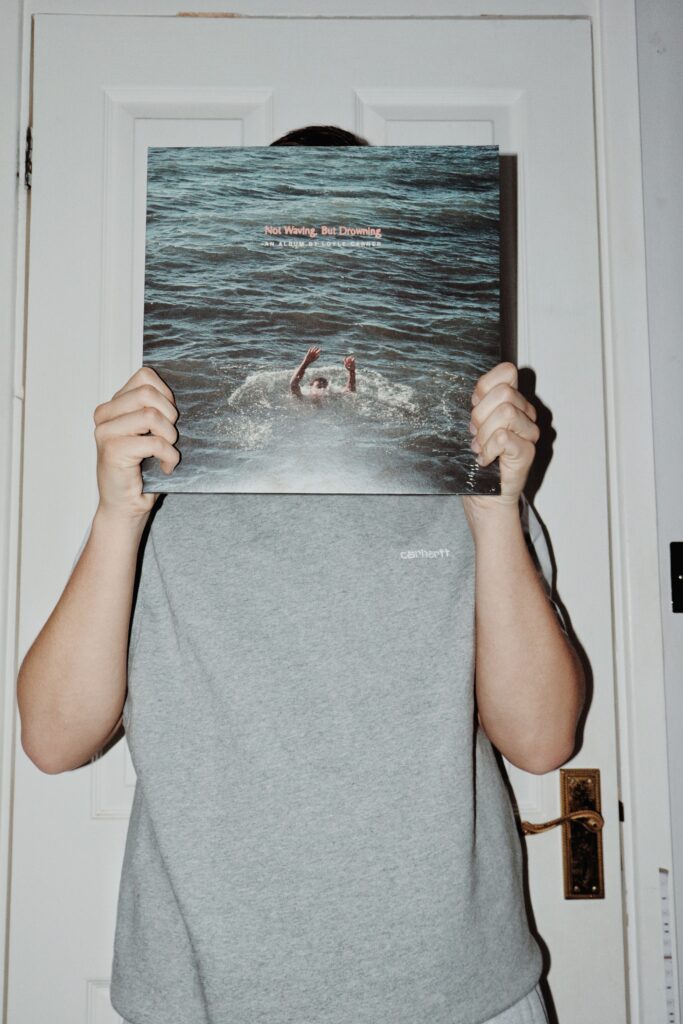
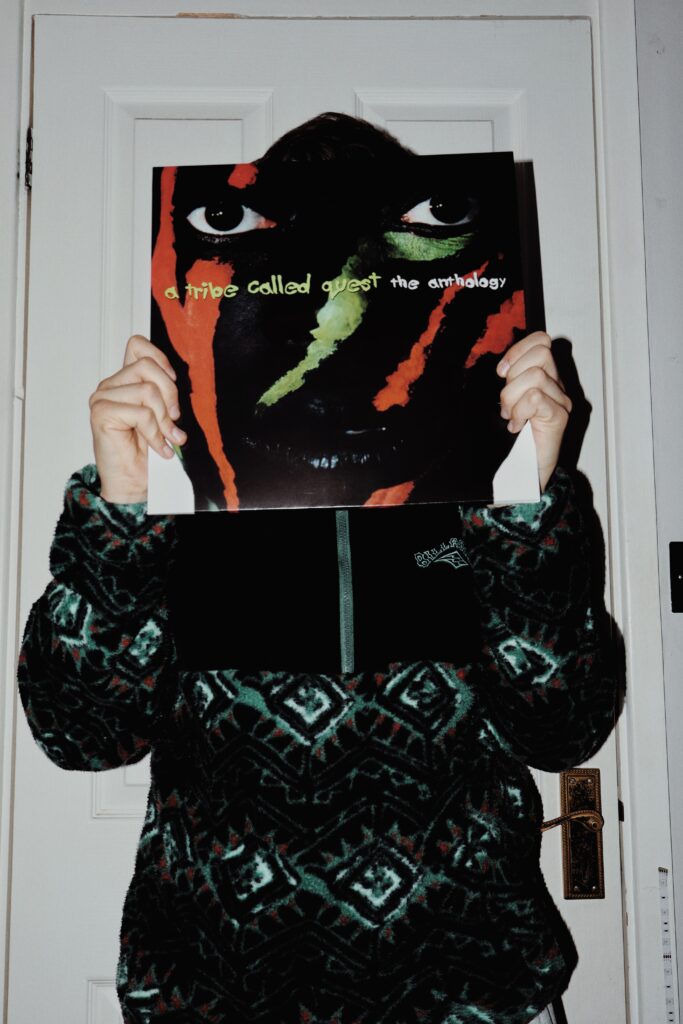
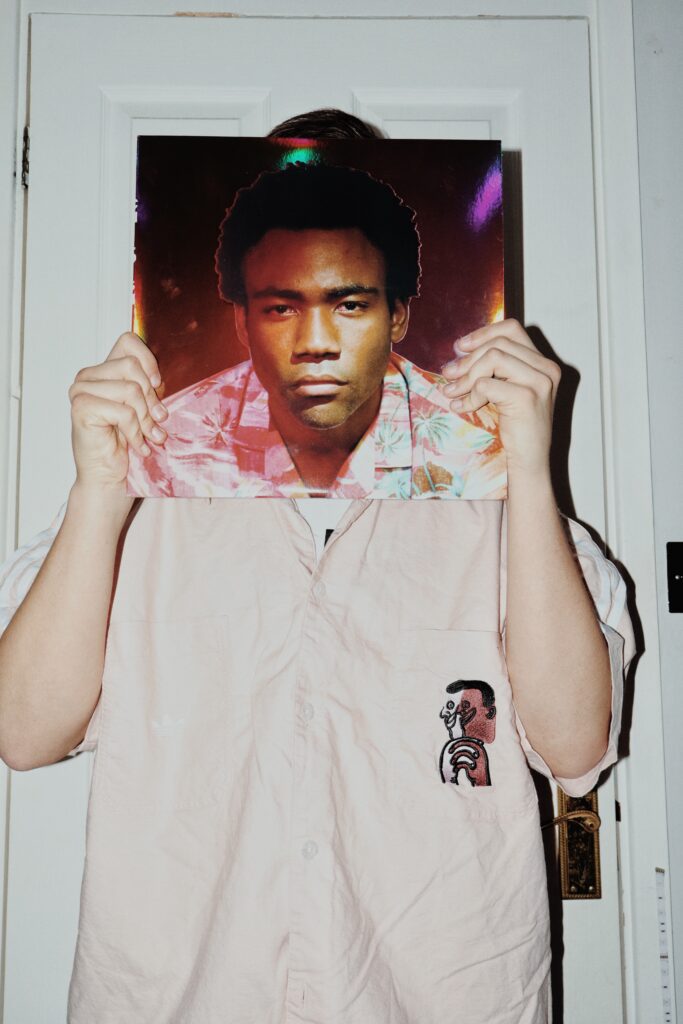
Examples of experimentation with my shoots can be found in shoots such as photoshoot Room 1, were I made variants to my already edited images to produce an interesting contrast from black and white to coloured (this is exampled within my magazine construction post where I show my arranging of images). Another example can also be found on my magazine construction post where I had taken a grainy black and white image of myself and experimented with it to produce work, inspired by my artist studies of collaging and montaging. Other examples include the creating of ‘advertisements’ out of some of my images where I experimented with the arrangement of text and images, this also is applicable to the front cover, the music section of the magazine too, also Is an example of experimentation within my project as I had to select and arrange what I thought would make an interesting collage of vinyl covers. Furthermore, experimentation is what led me to be able to produce my remade vinyl cover as by trying out different tools on the app – snapseed – I was then able to create an image which I find resembles it well.
Photoshoot Room 1:
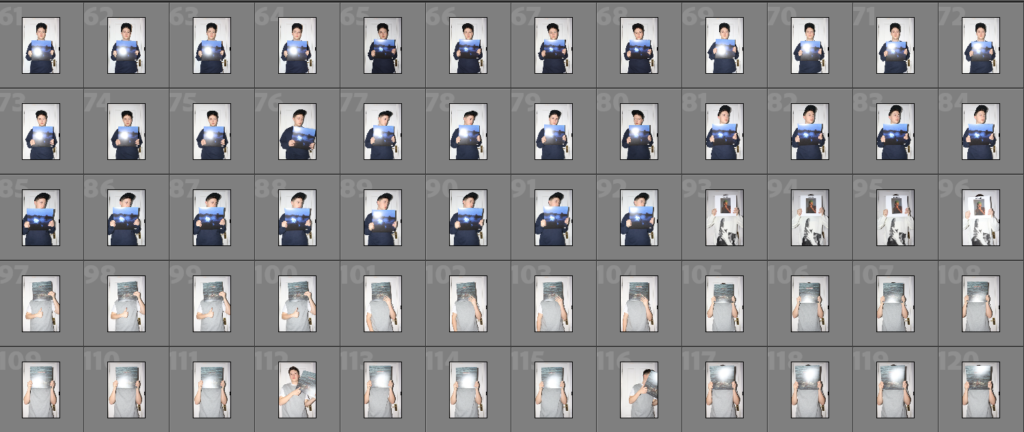
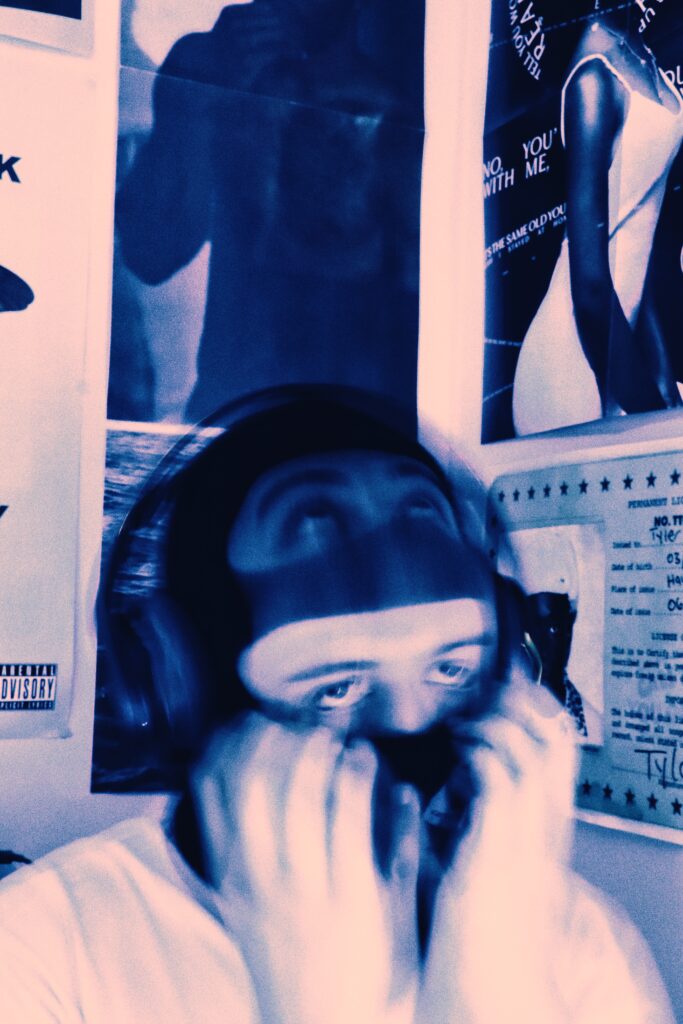
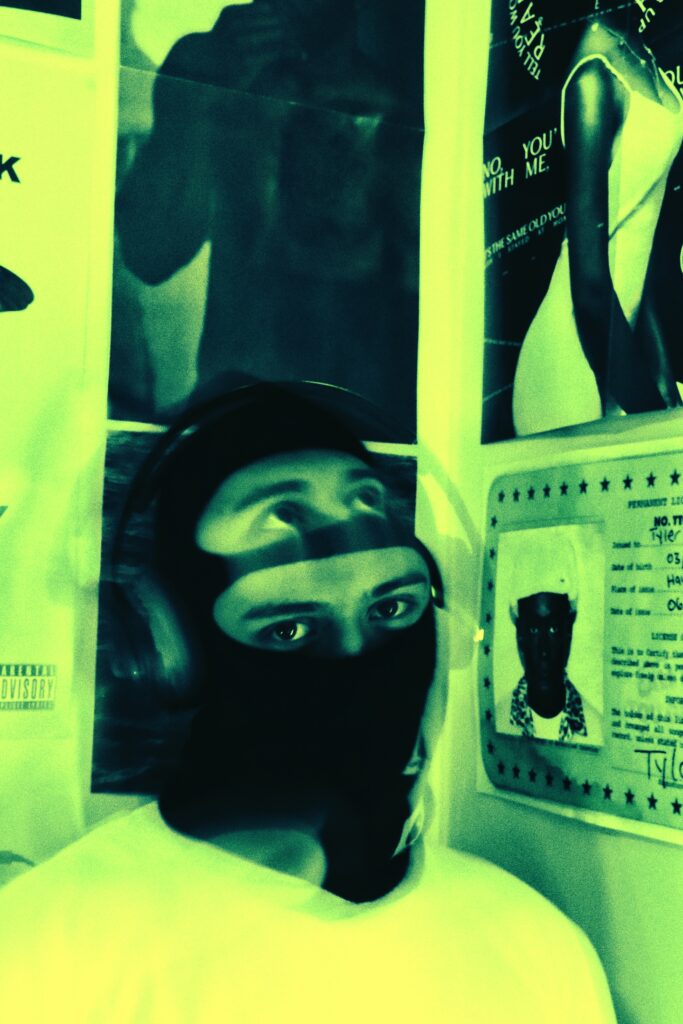
Manifesto:
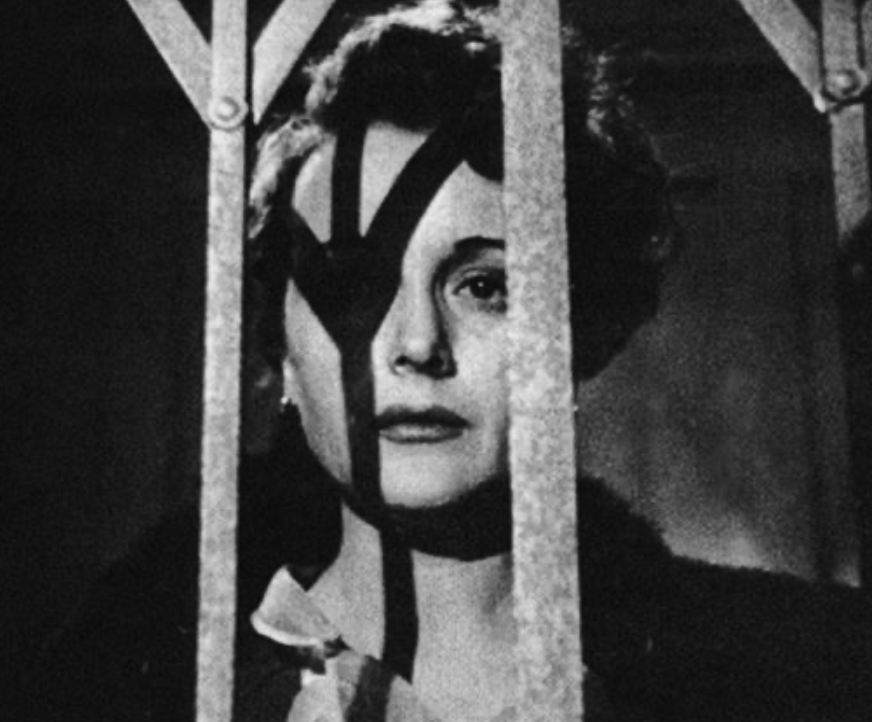
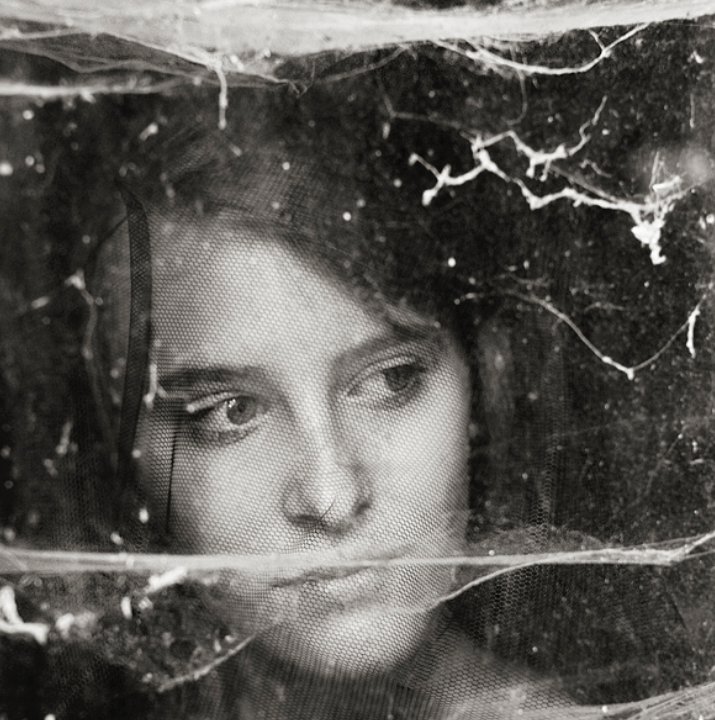
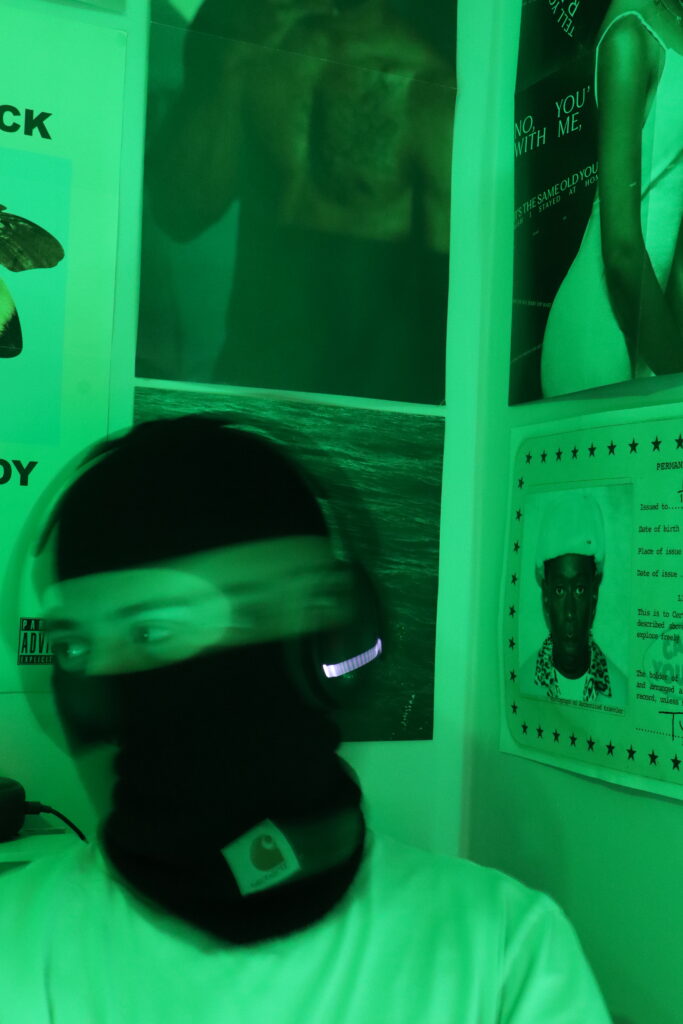
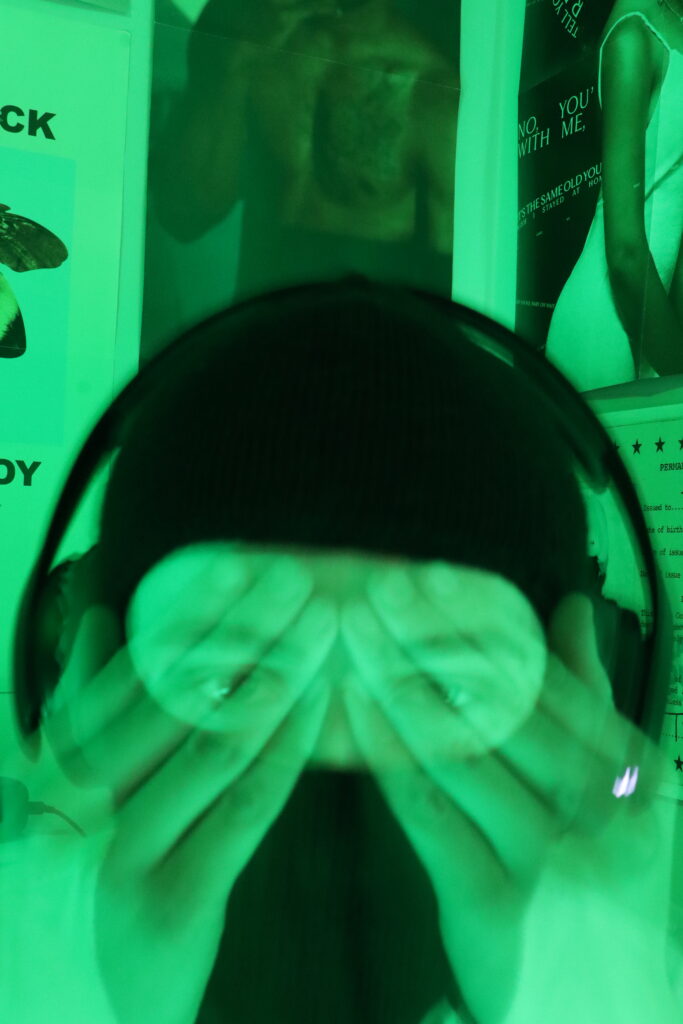
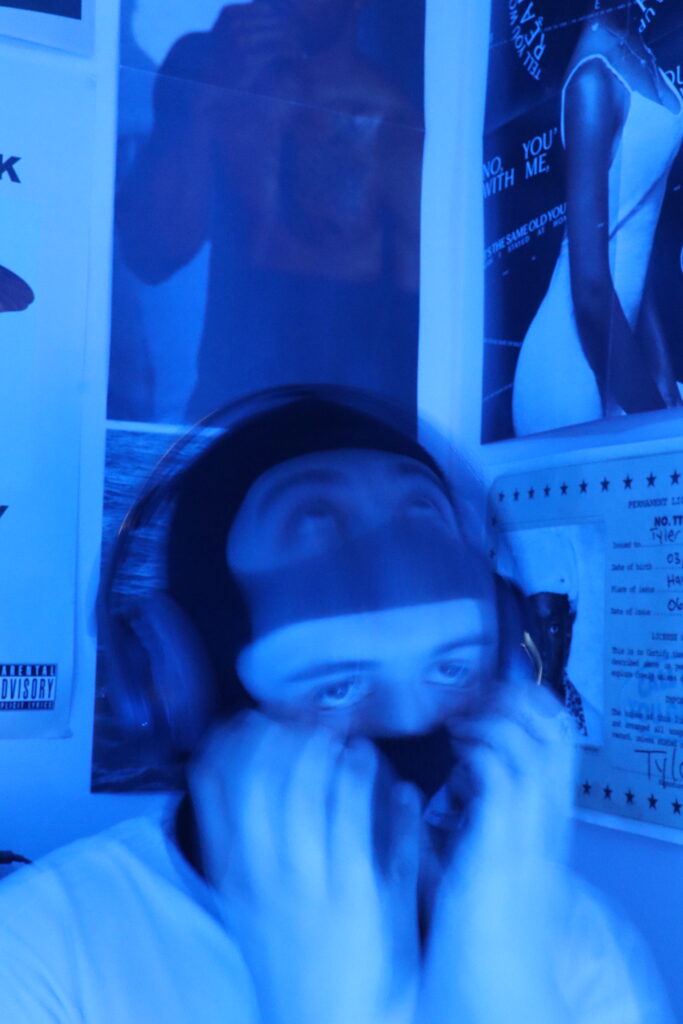
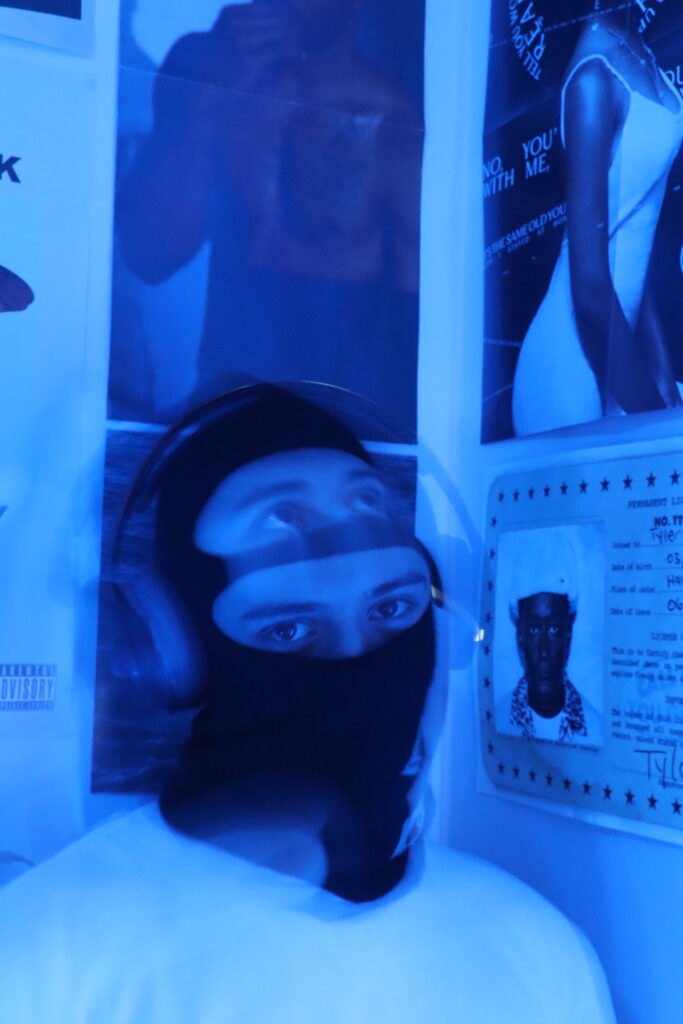
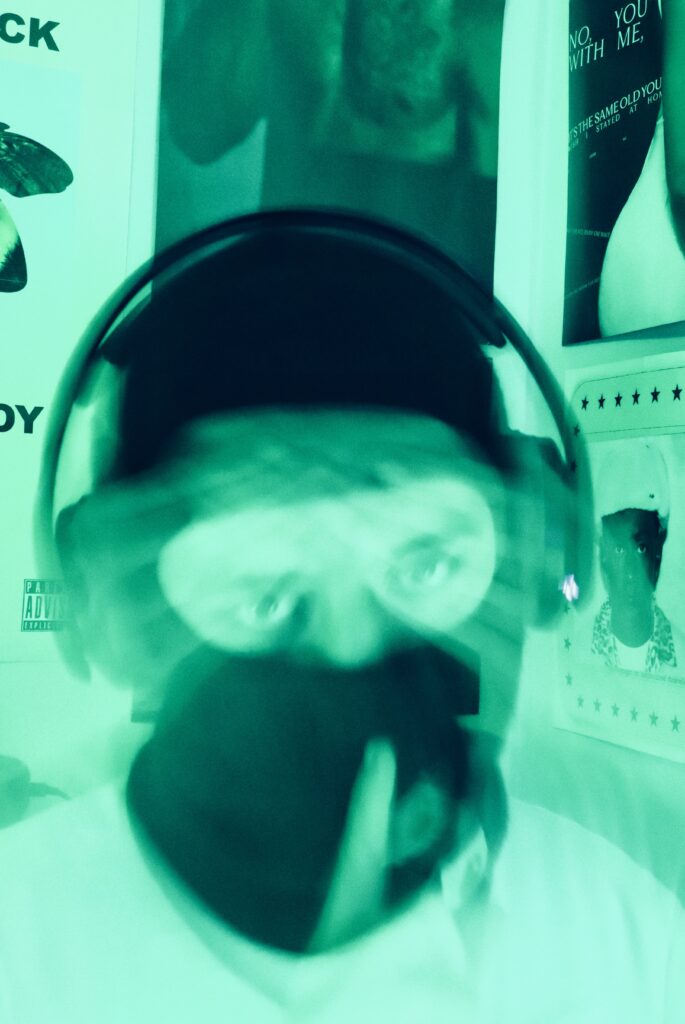
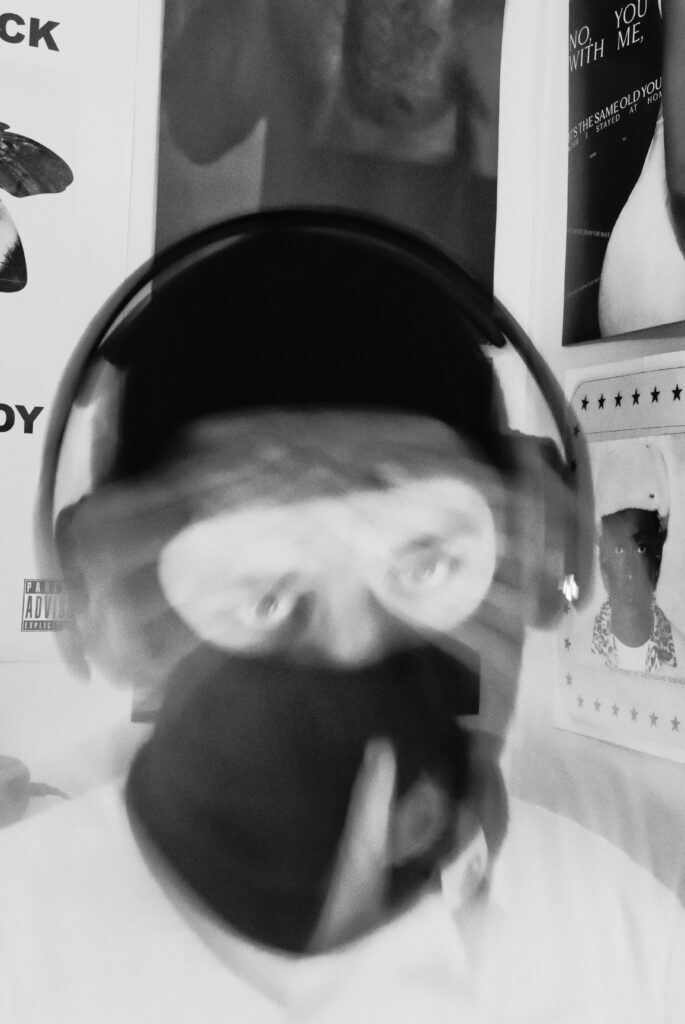
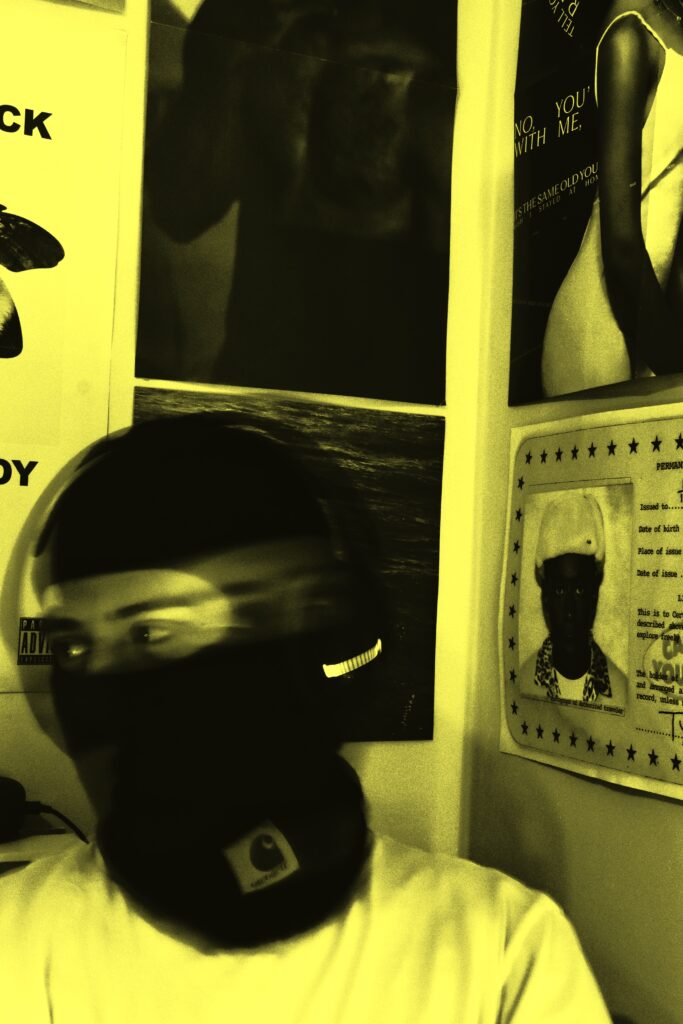
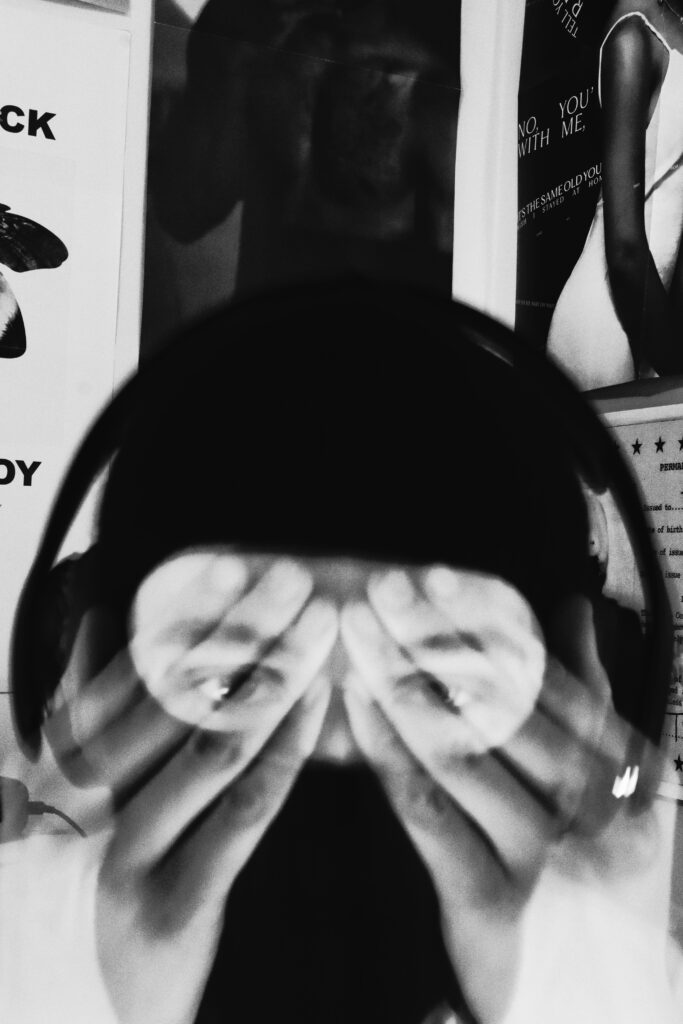
For these images I primarily shot on a fairly slow shutter speed to be able to produce the blur effect of my images, for ones taken in my room It averaged at around 1”6 With an F-stop of F11 and automatic ISO. These images will fit into the category of Blurred.
Before:
Editing:
For these images I applied the same process, with the only difference between them deciding the colour via white balance and temperature.
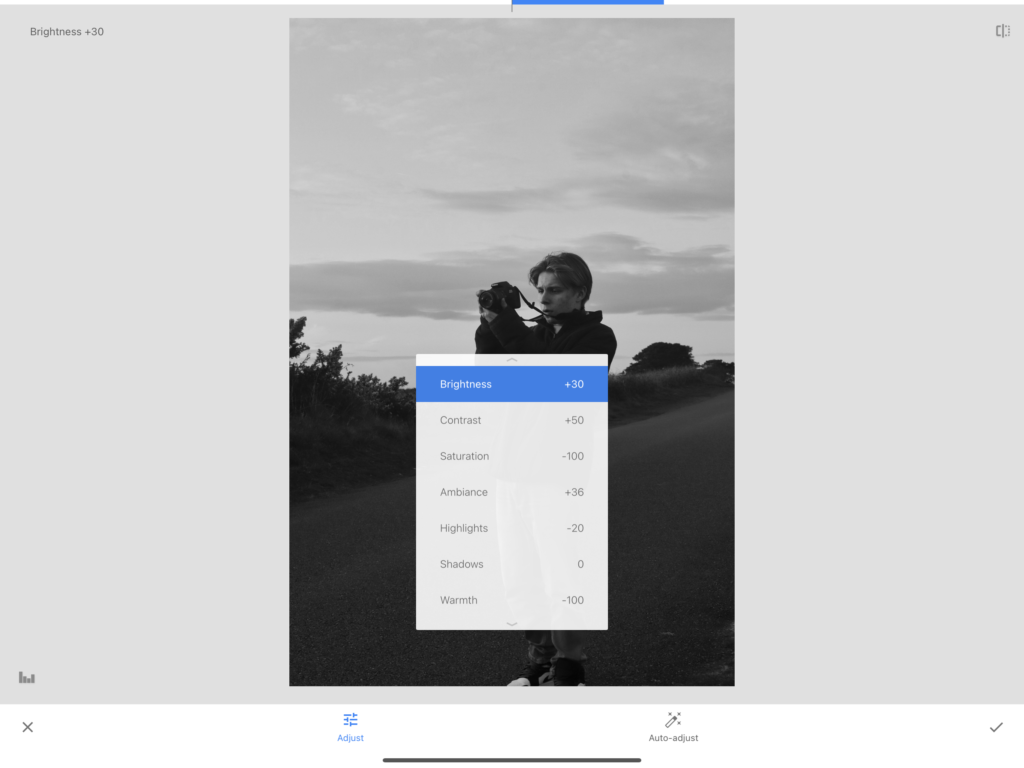
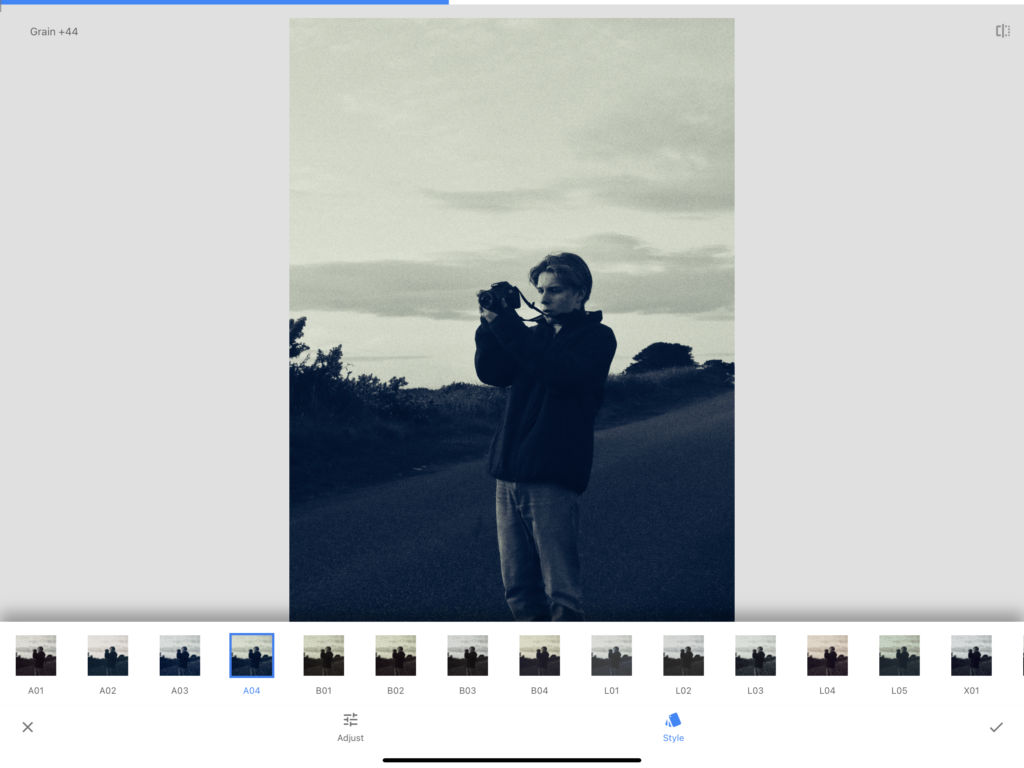
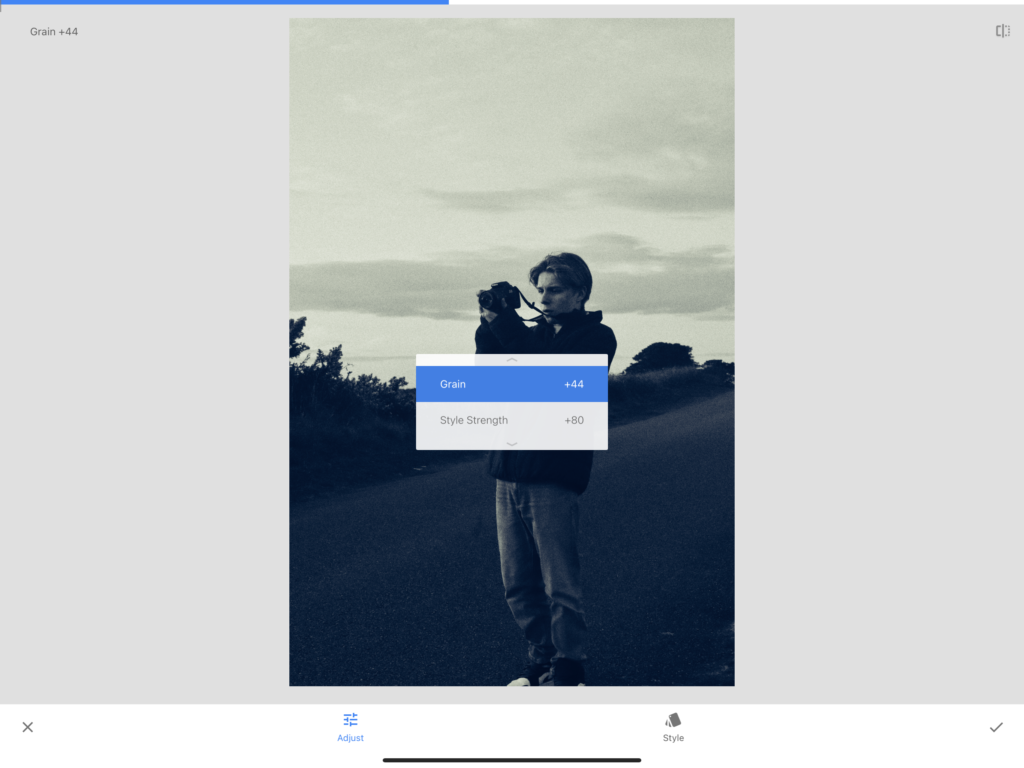
For the basic edits I made minor adjustments to the contrast and brightness, sharpening and minor tonal editing to add some depth. Once this was done then added a grainy film filter and then made my colour with the white balance and temperature.

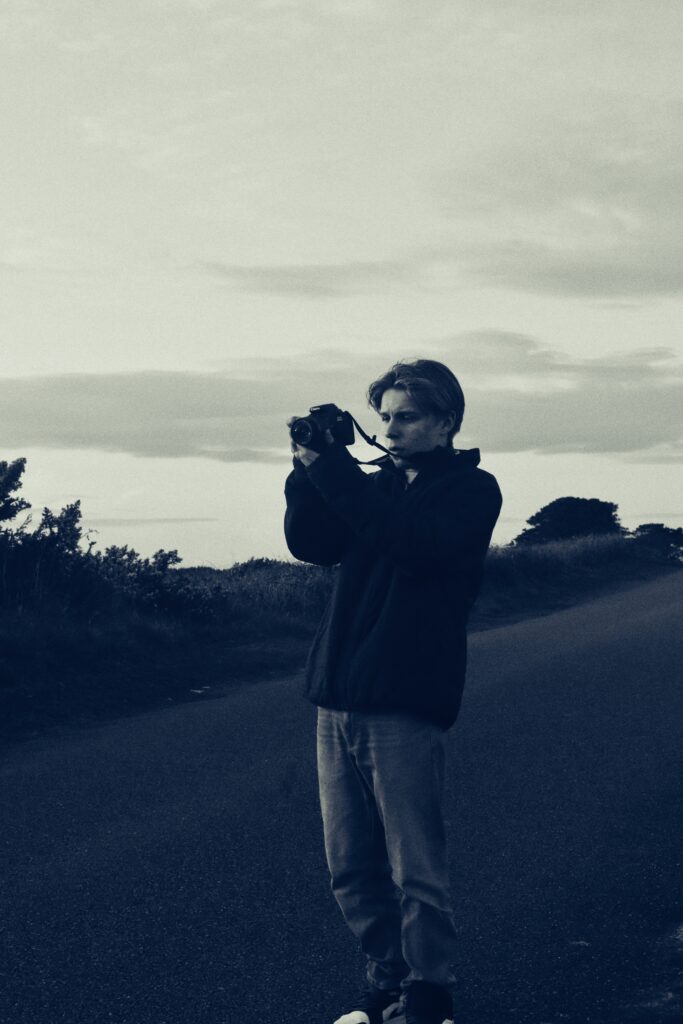
After:


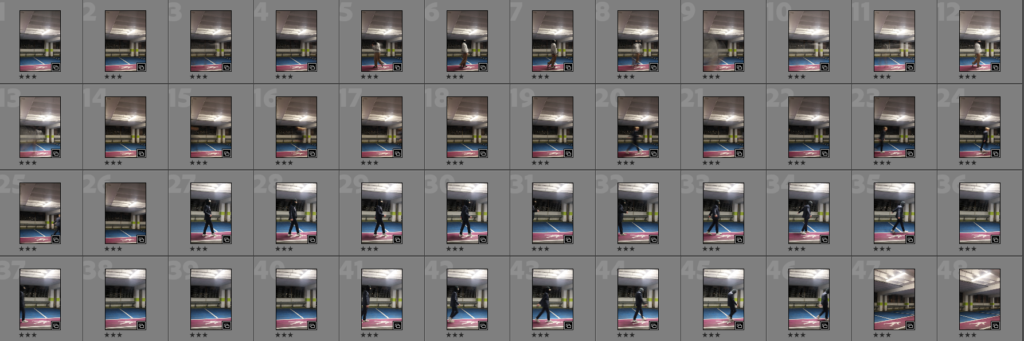
Photoshoot Carpark:
Manifesto:
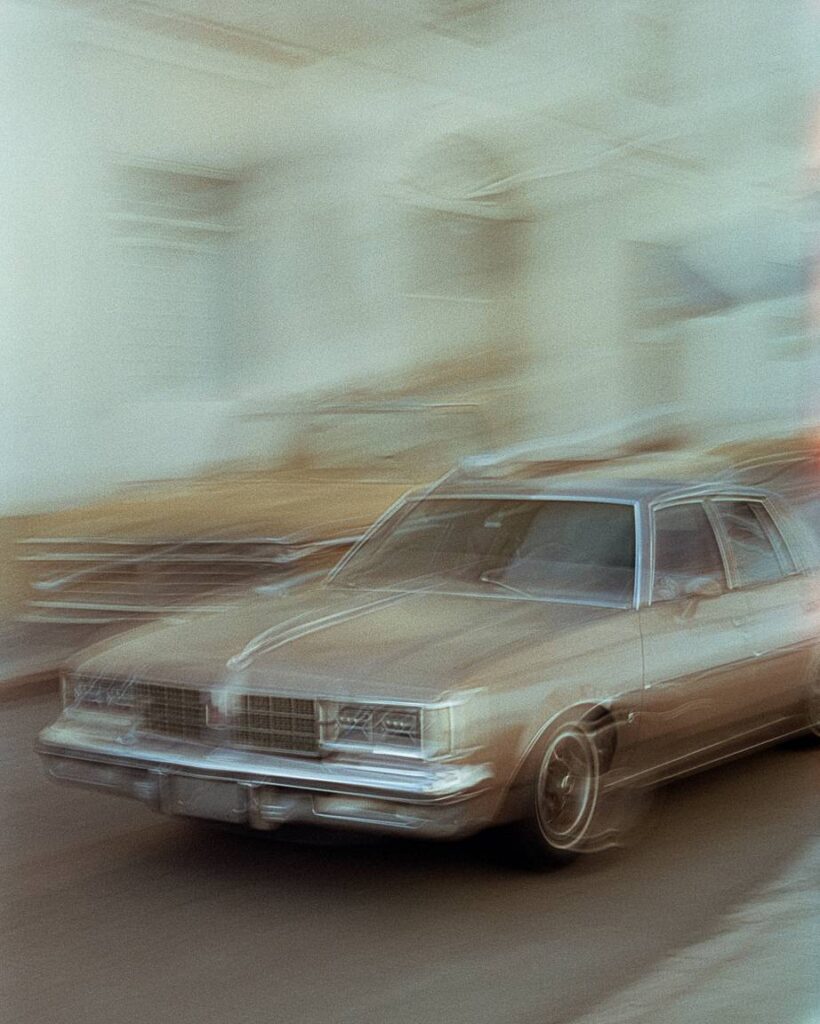
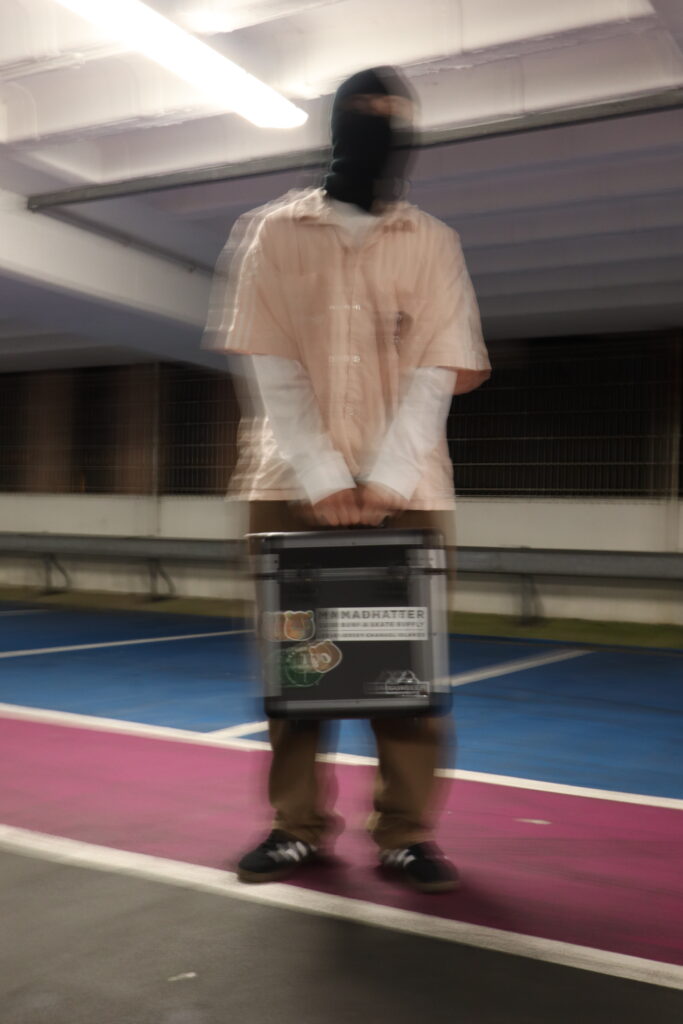
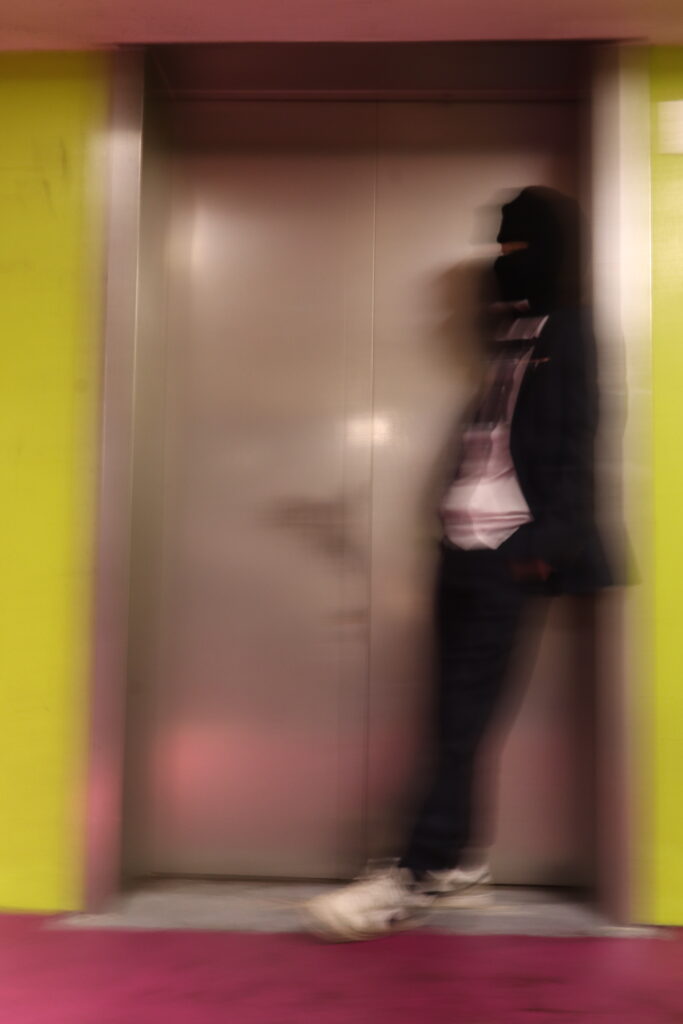
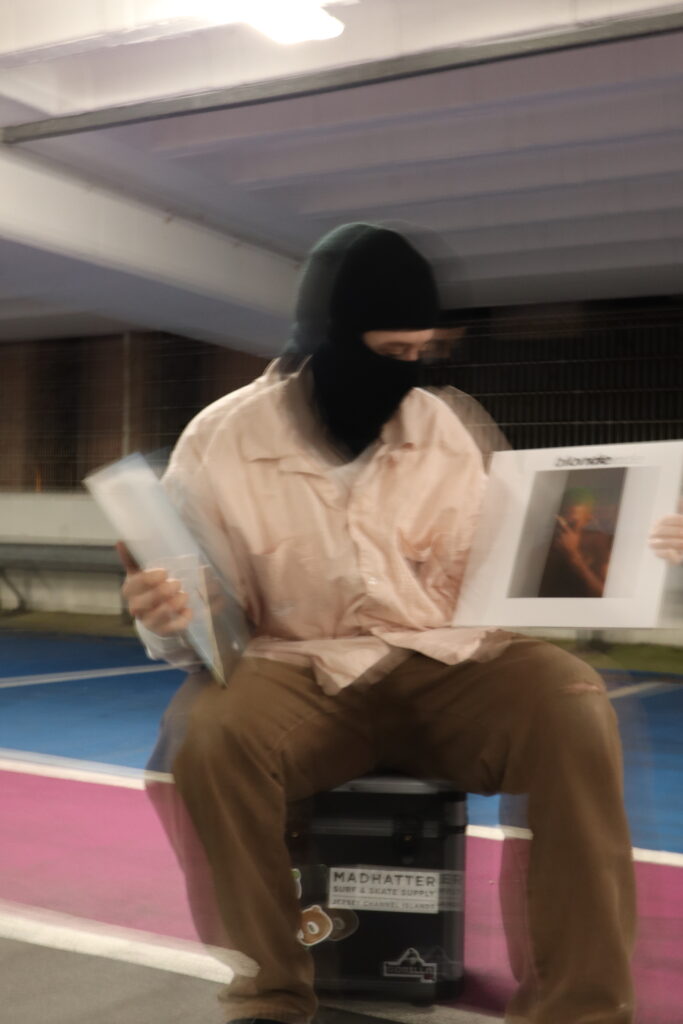
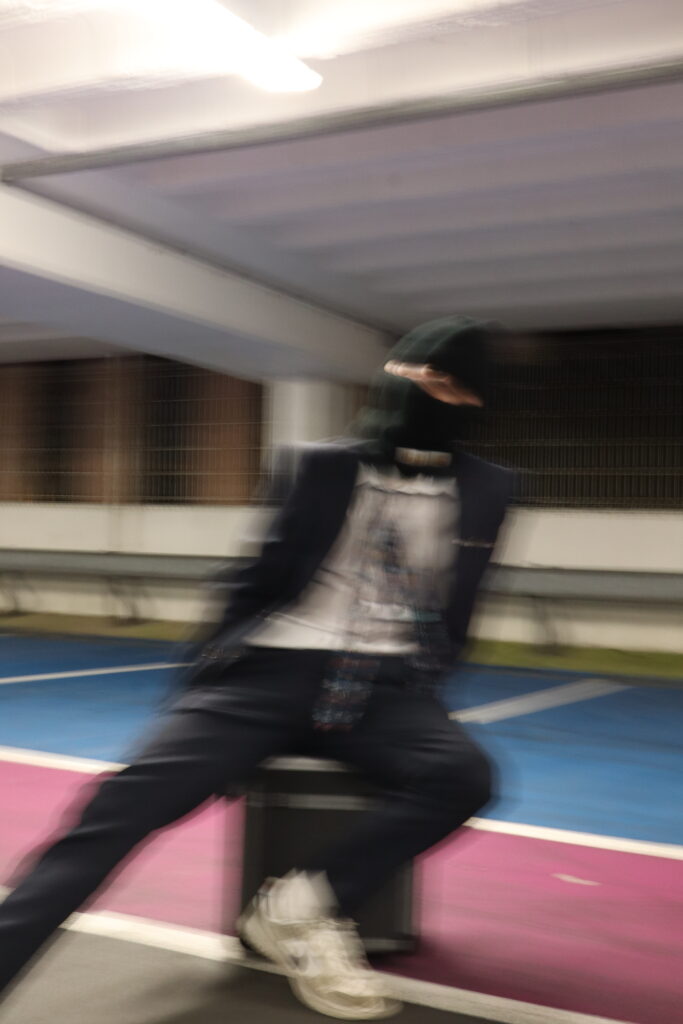
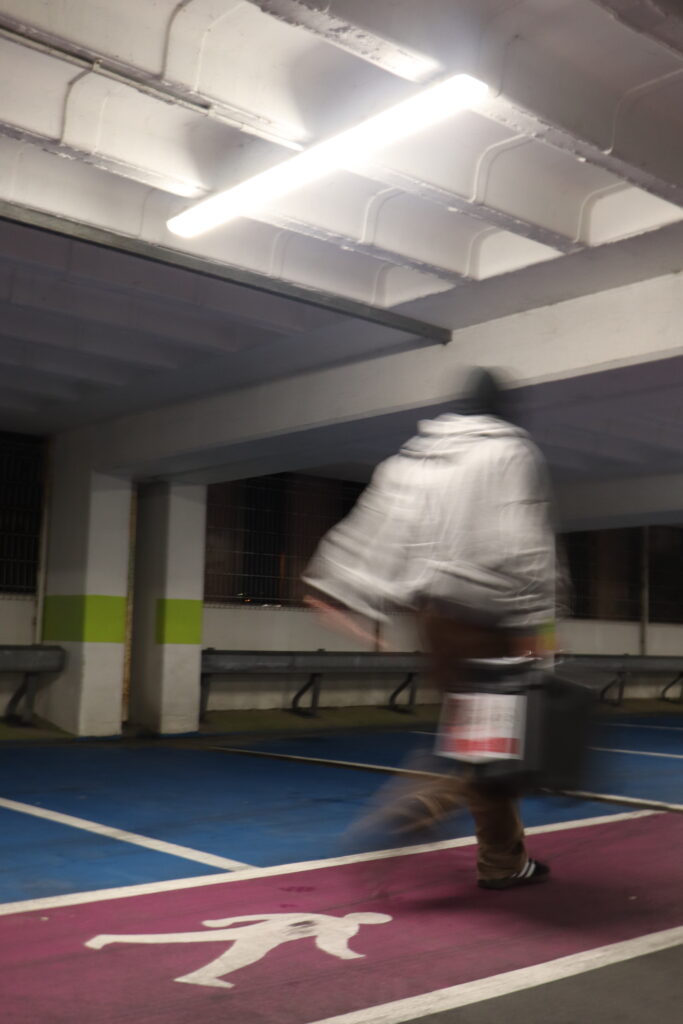
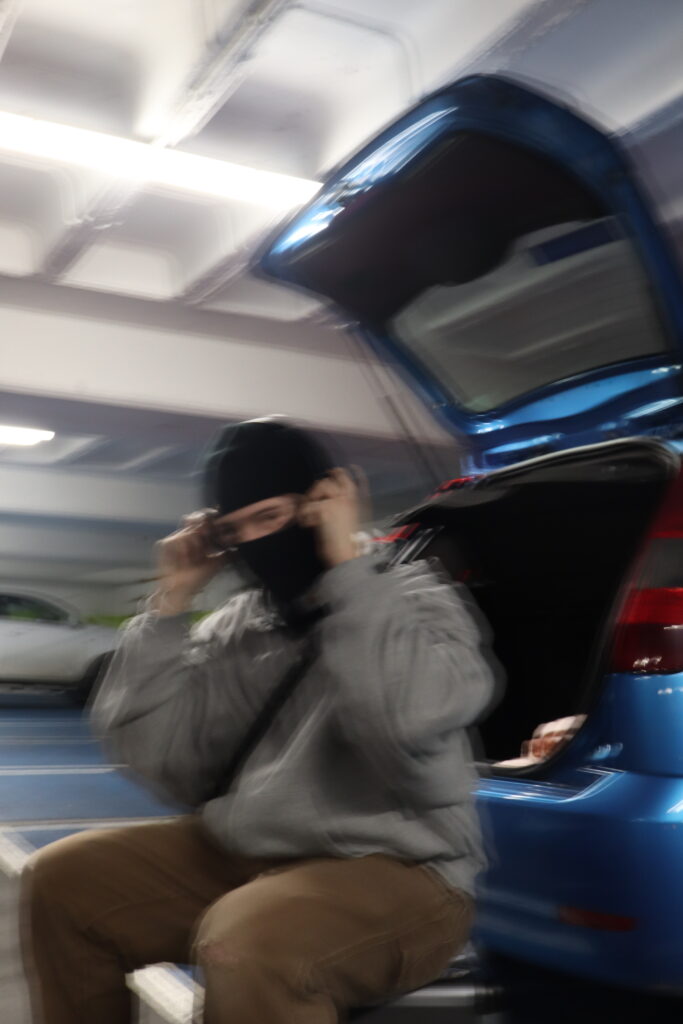
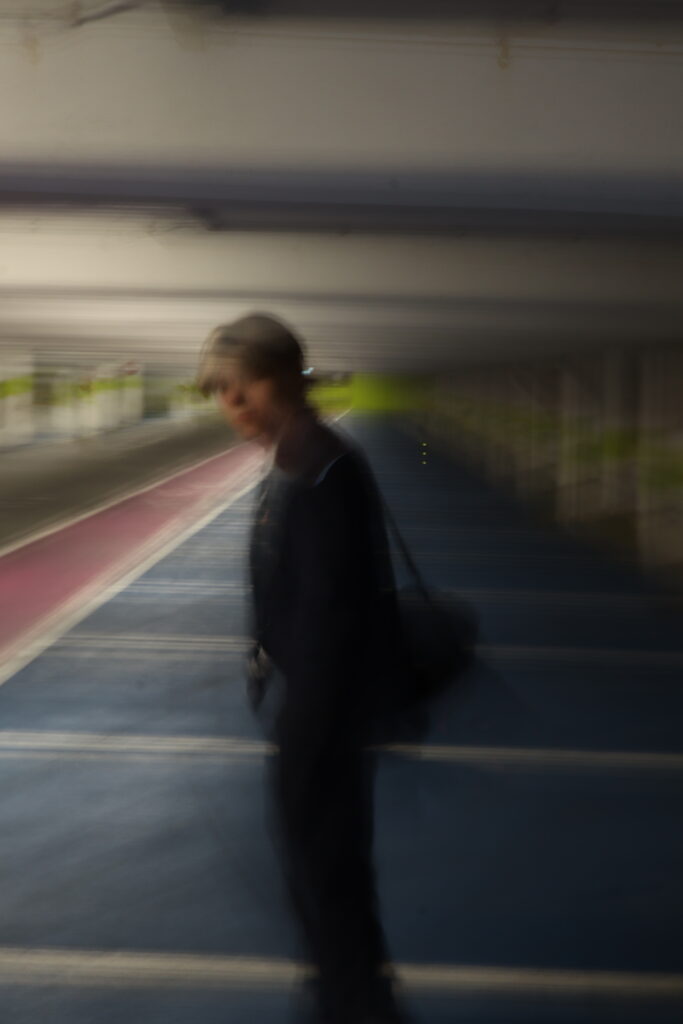
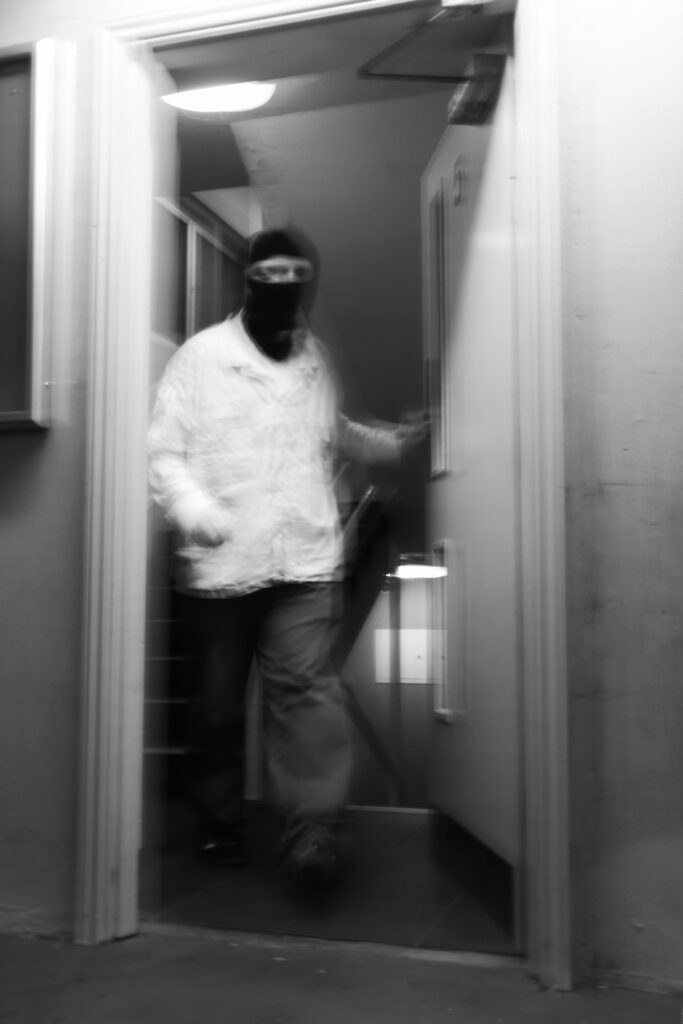
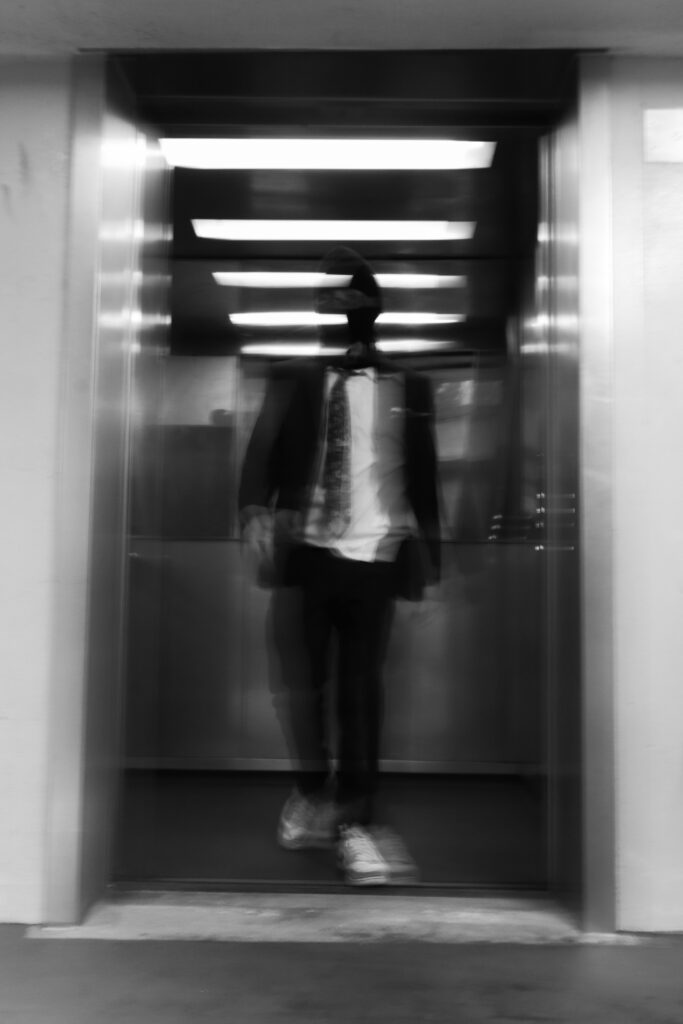
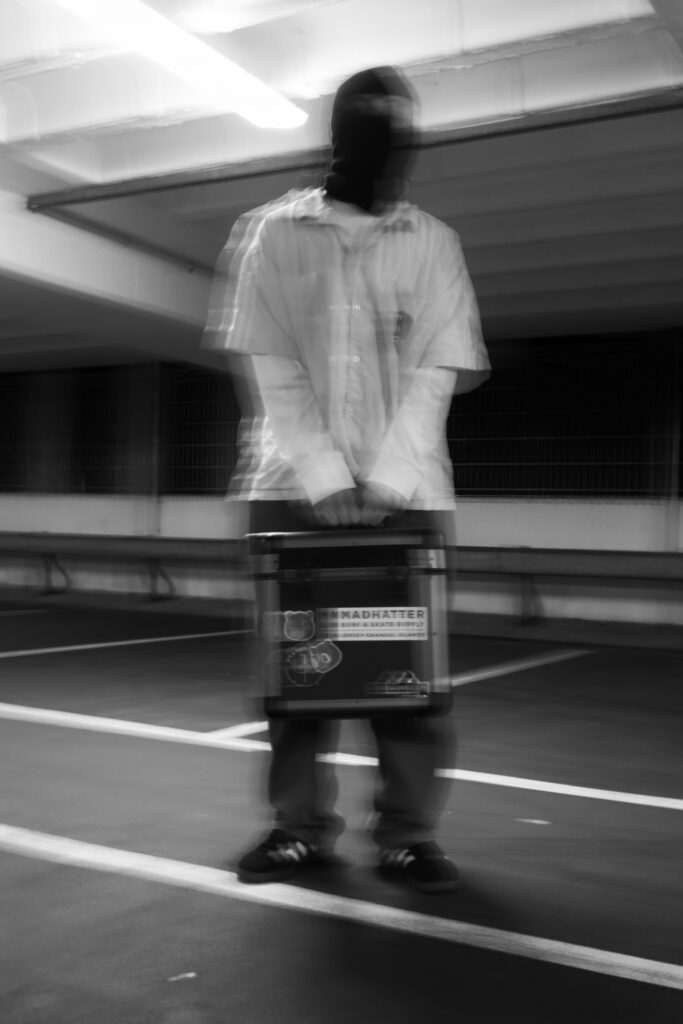
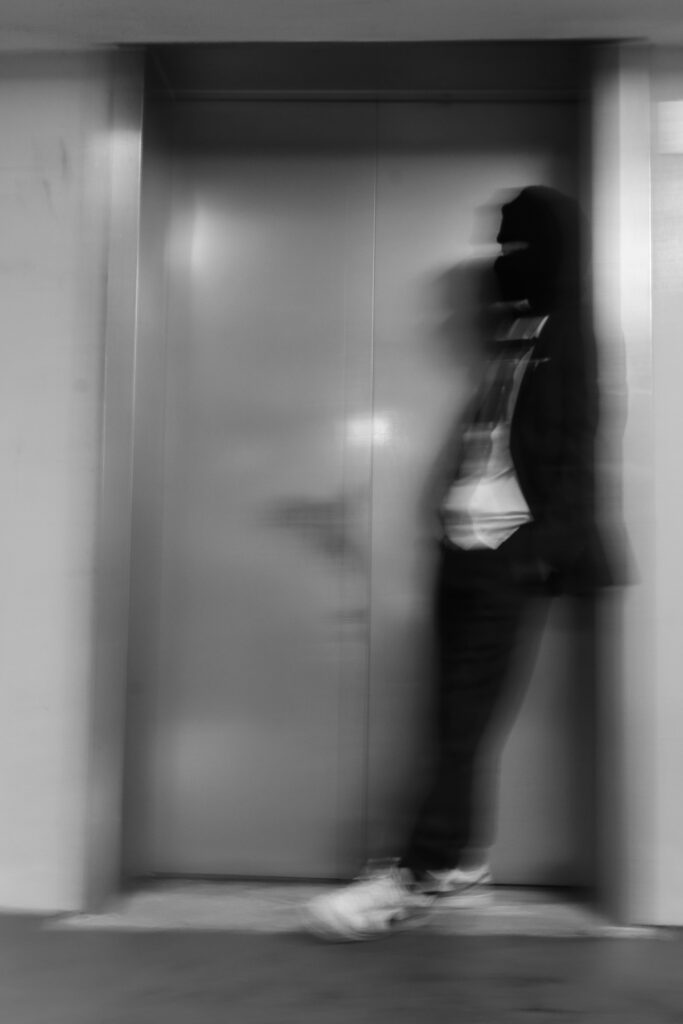
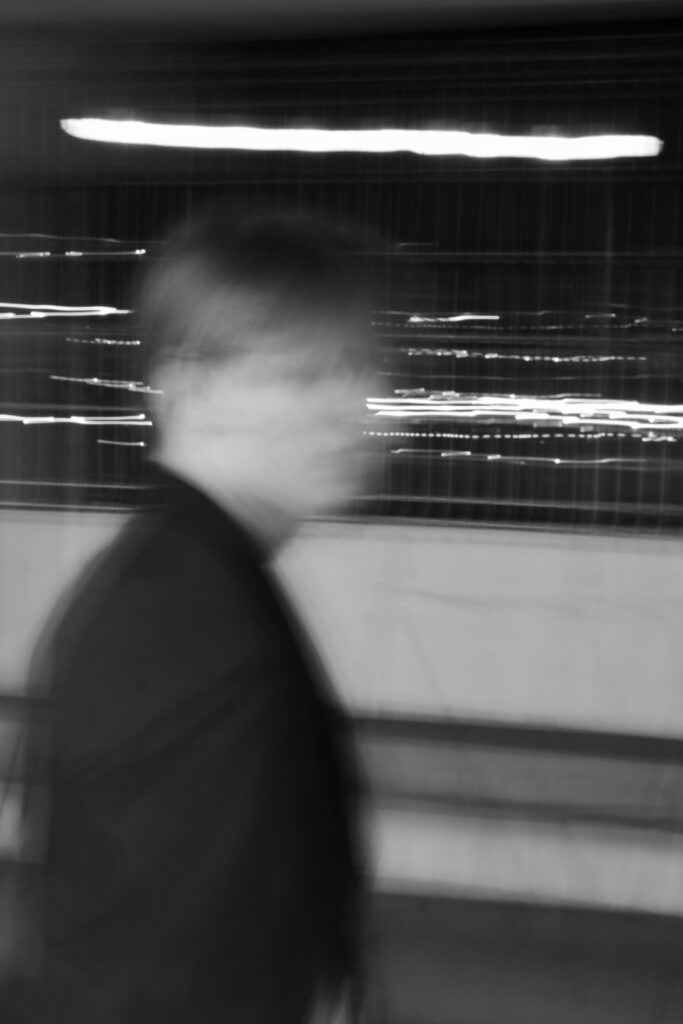
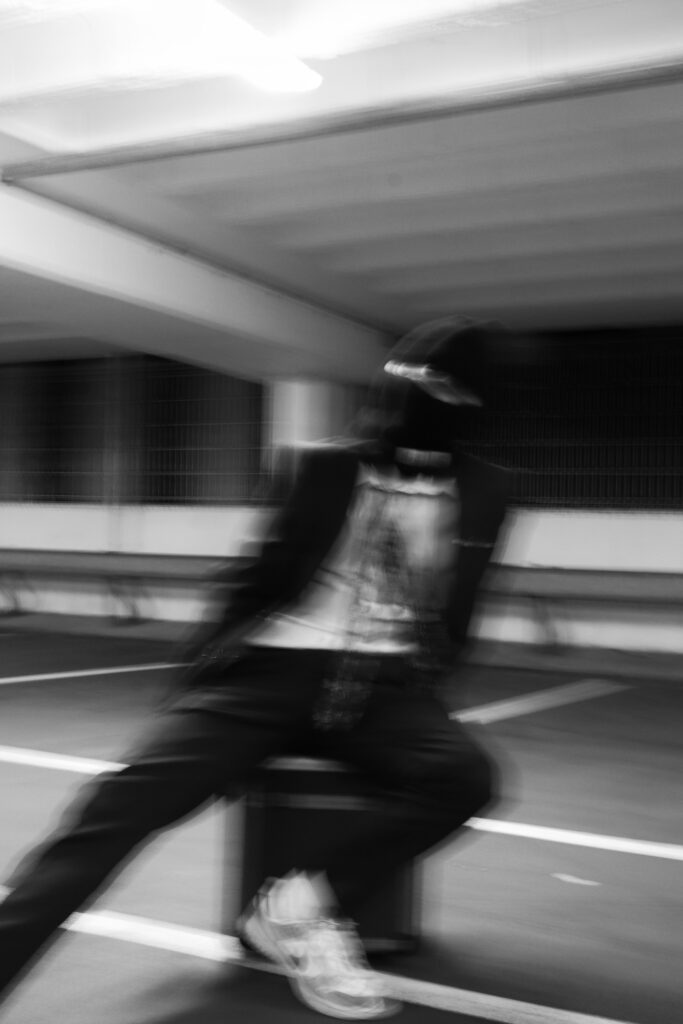
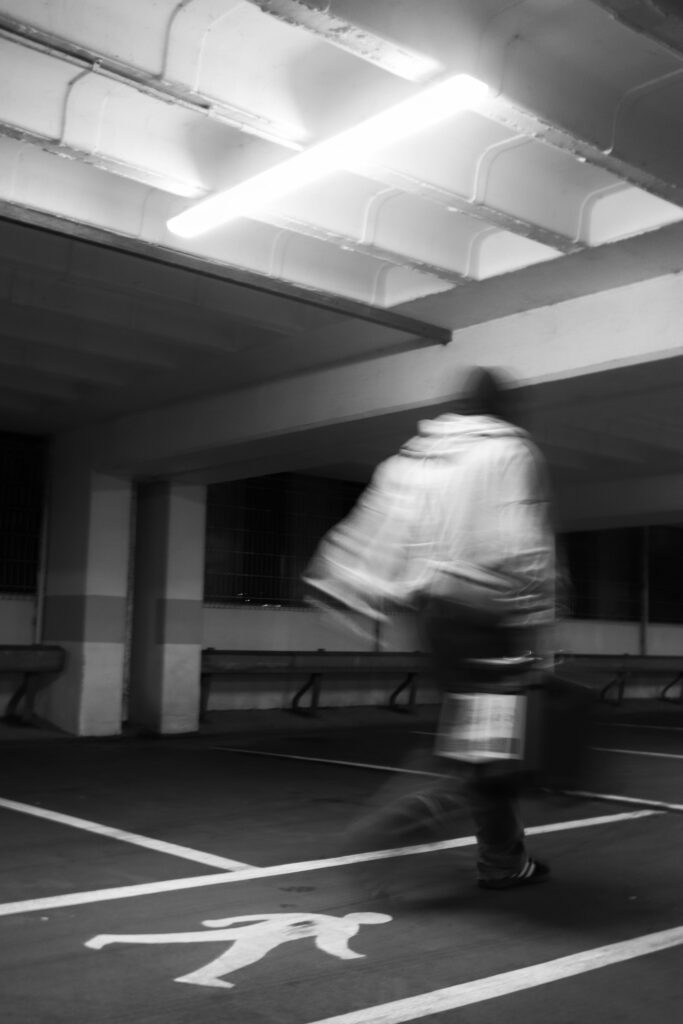
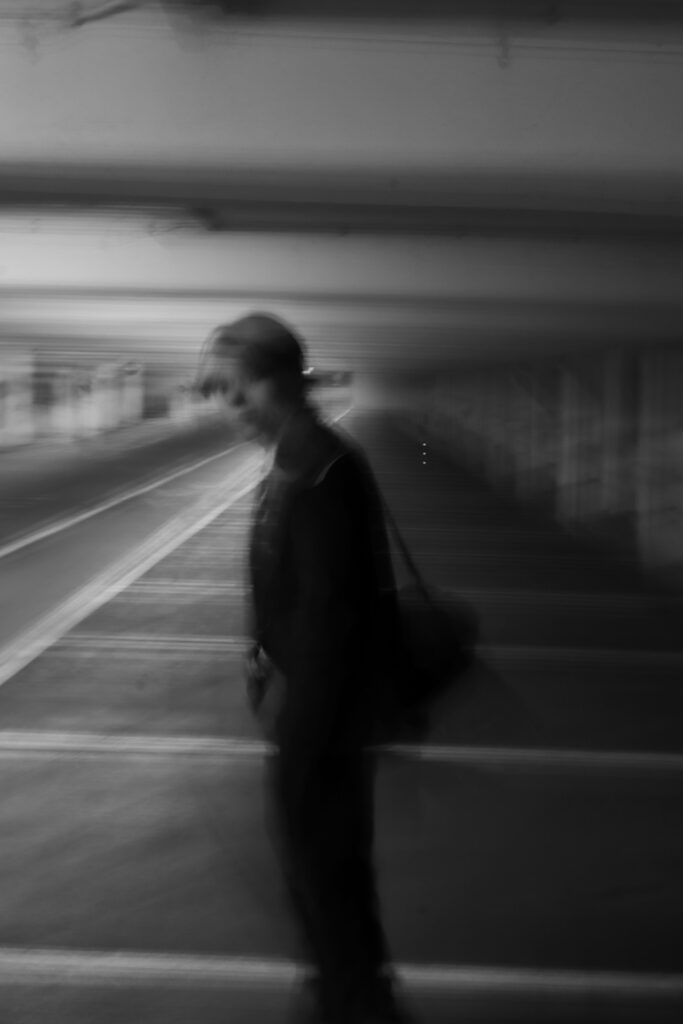
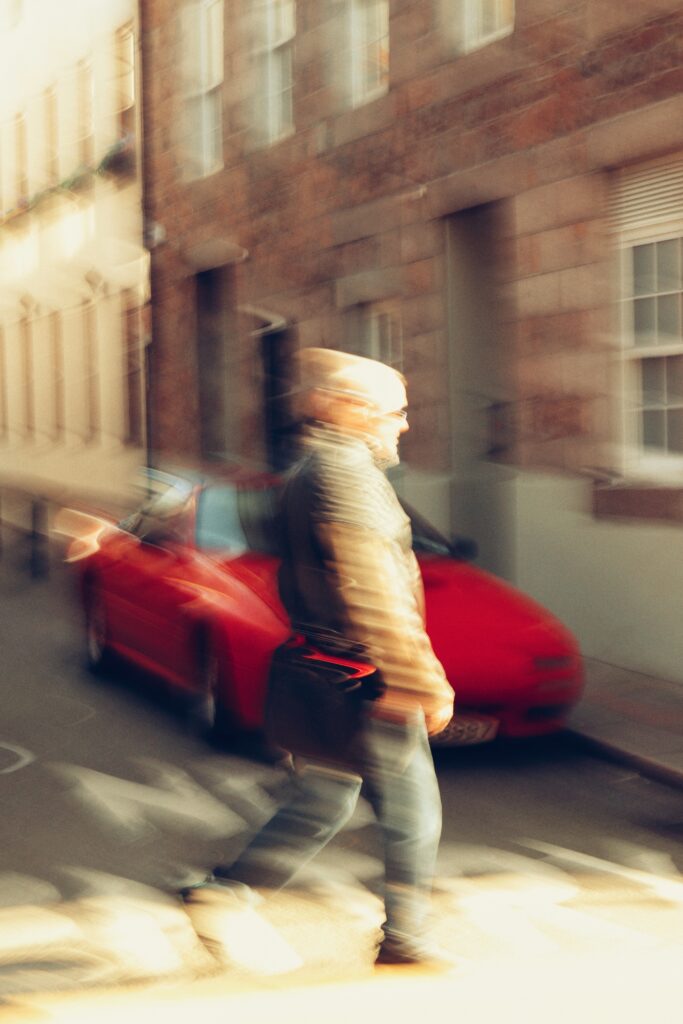
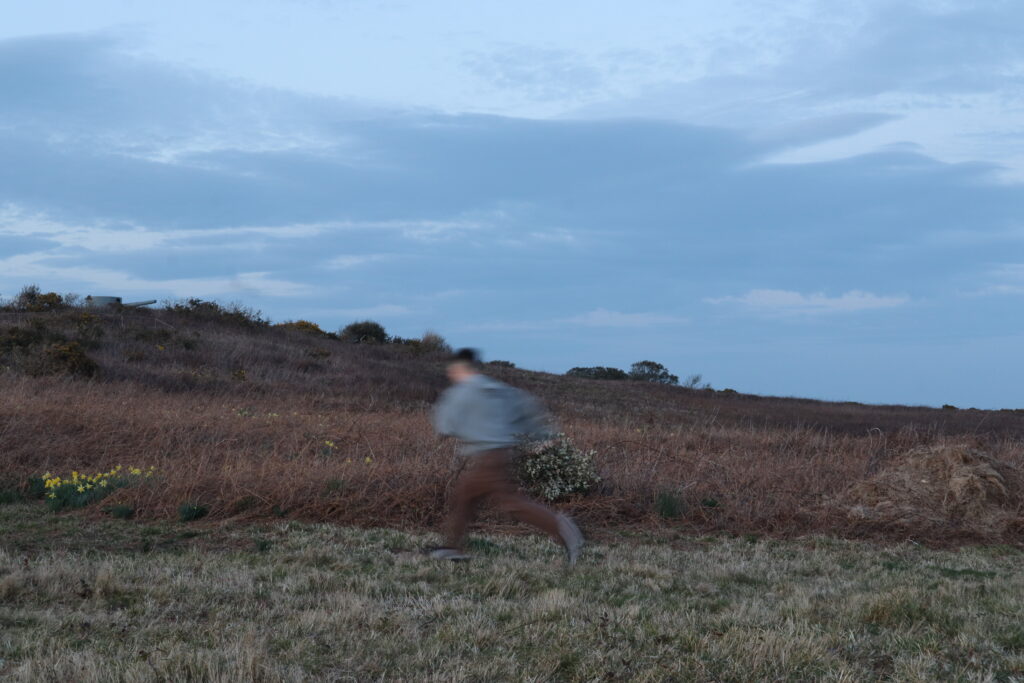
For the outdoor shoot at the car park, the shutter speed for these images fluctuated between 0”5 – 1/60, with the average being around 1”, with an F-stop changing between 4.5 – 6.3 with an automatic ISO also. The aim for this shoot was to create images inspired by my impressionist artist study but also make my own take on his methods through both still backgrounds on some photographs. This shoot is apart of the Blurred category.
Before:
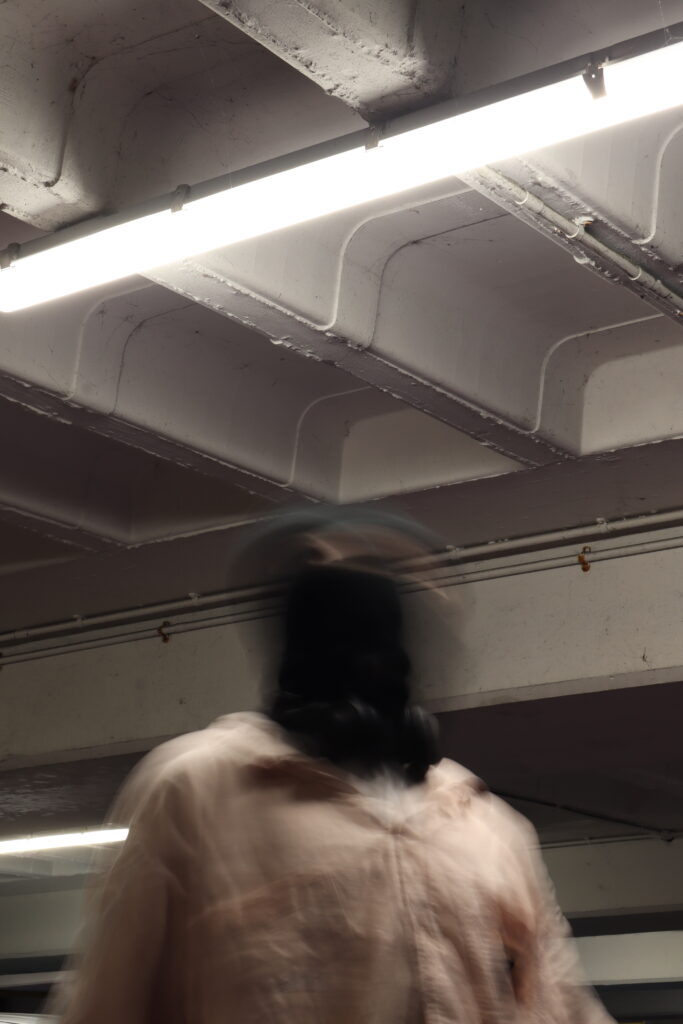


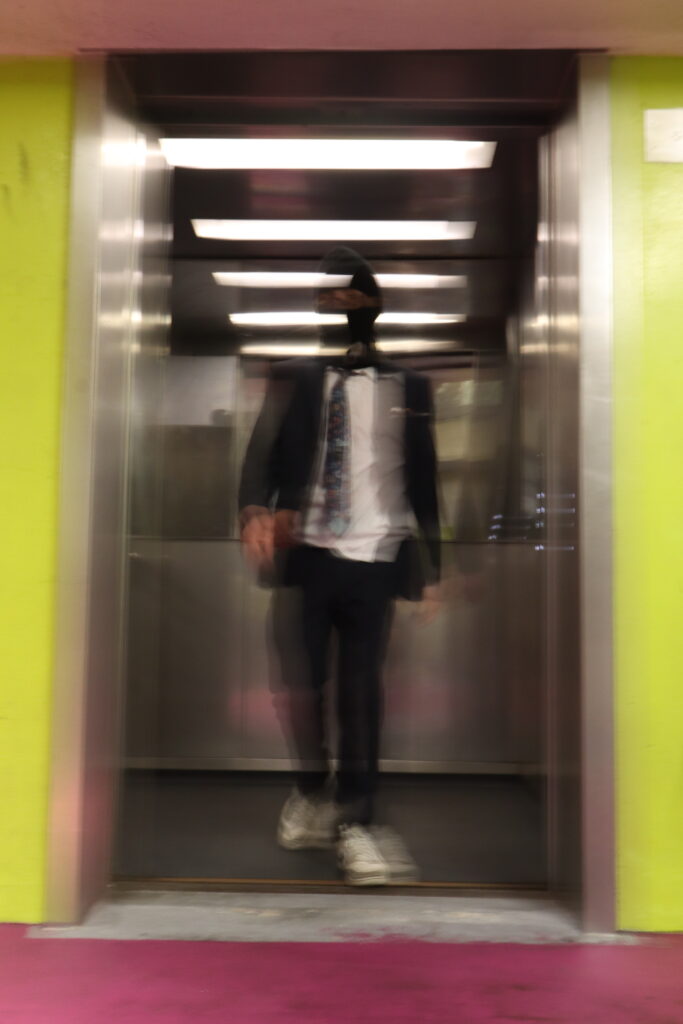

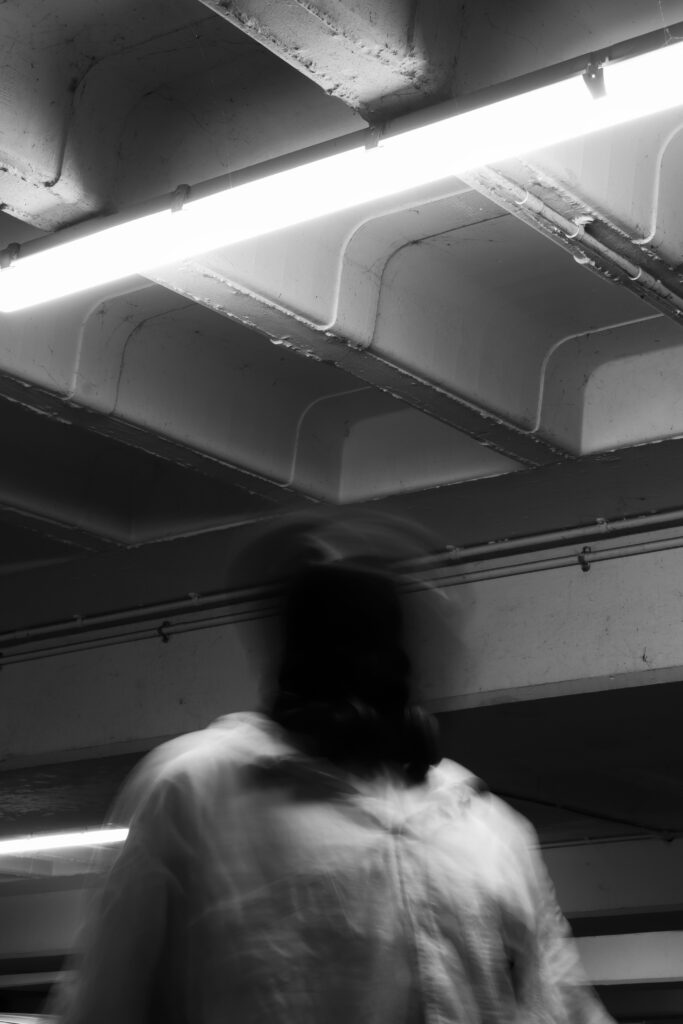
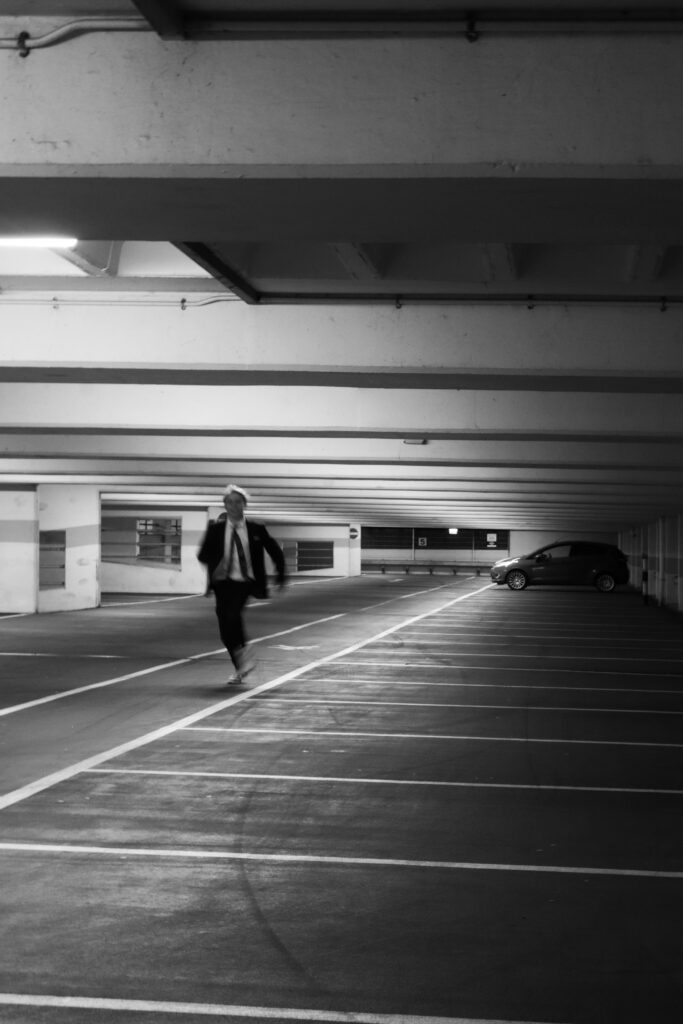
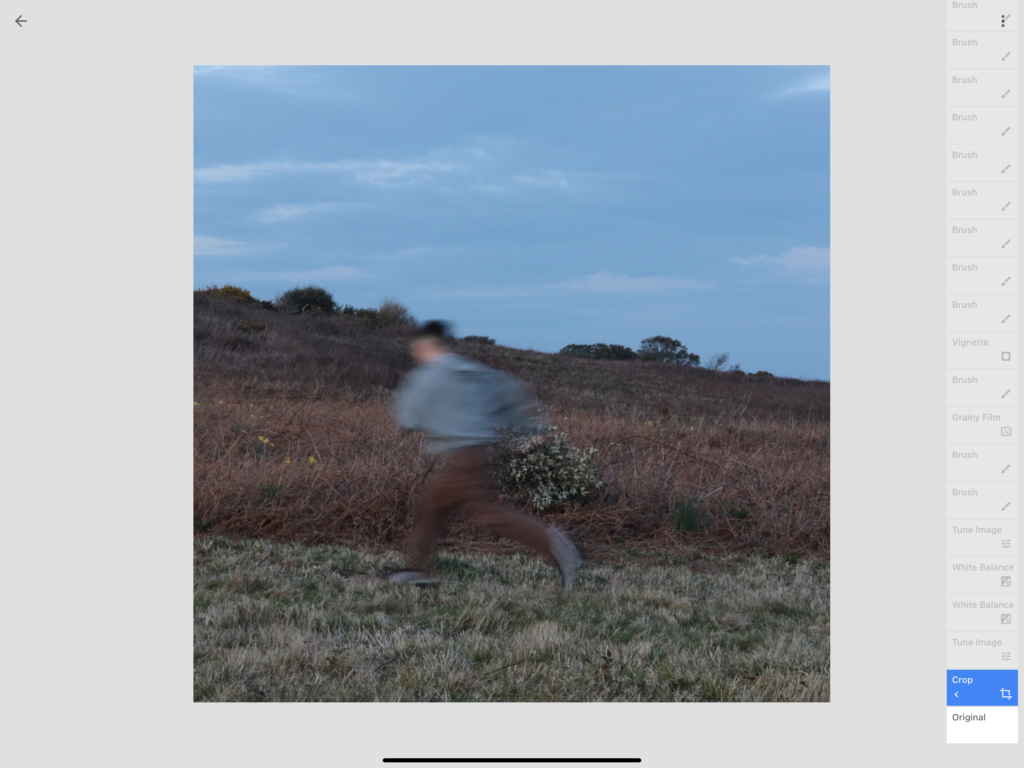
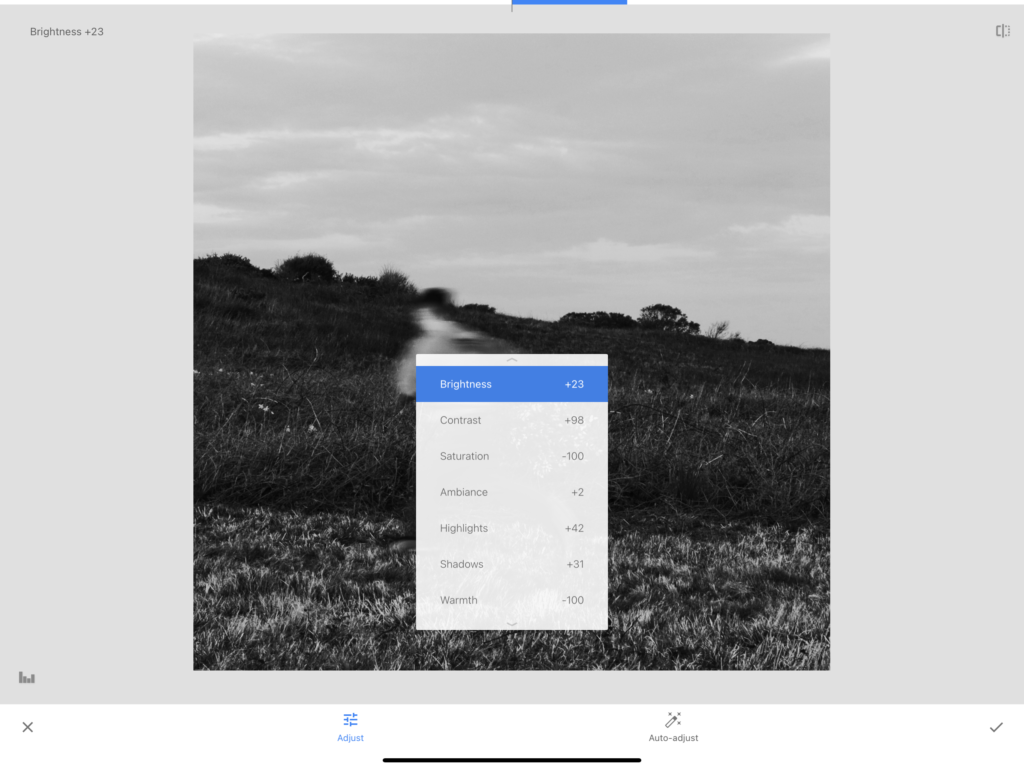
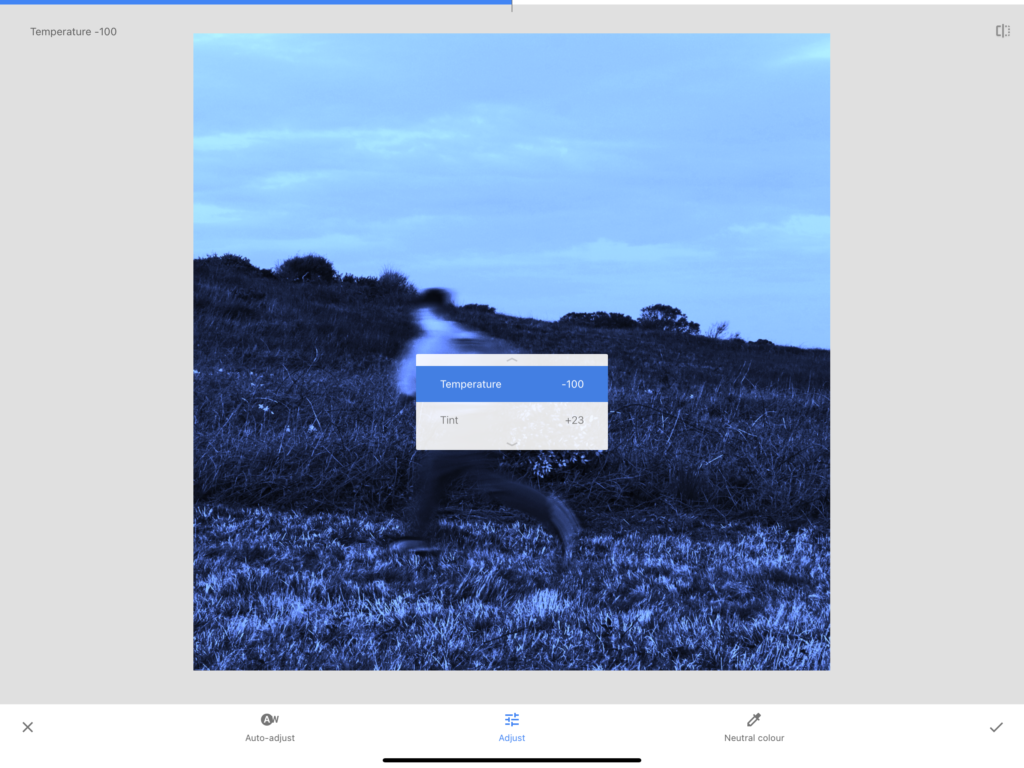
Editing:
For these images I applied all the same settings, due to the constant same source of lighting in all the images. Choosing black and white, I found this really brought out the detail of the photoshops with the blur as it makes it more interesting to look at and depict what is going on.
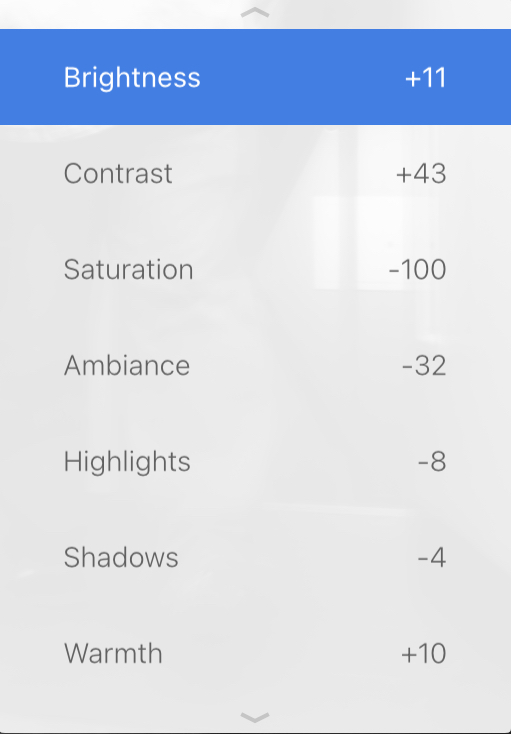
After:


Before:
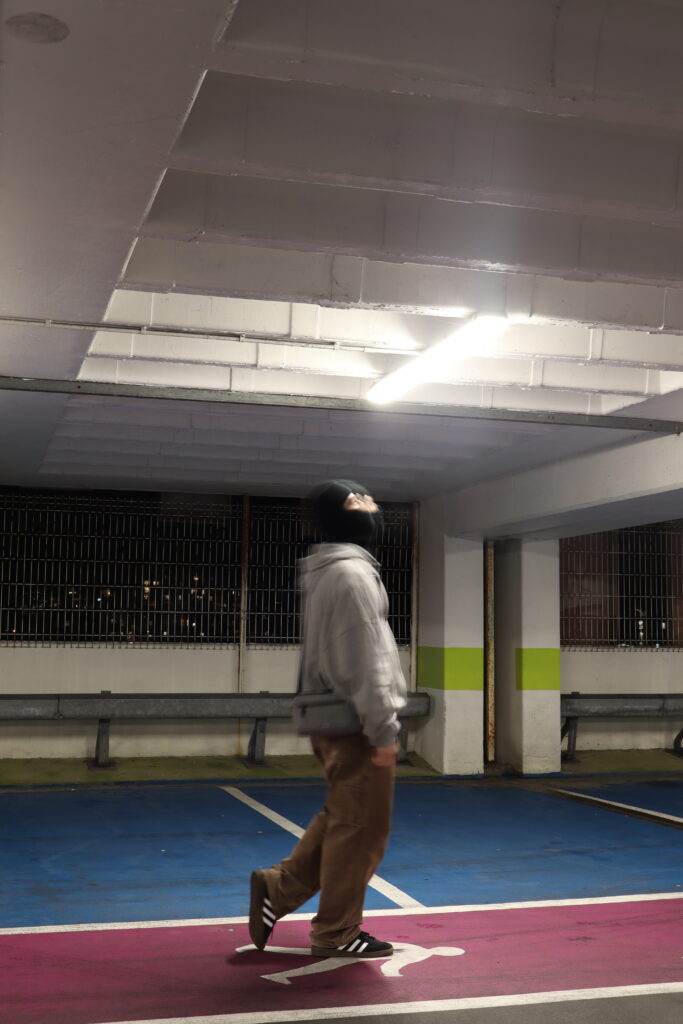
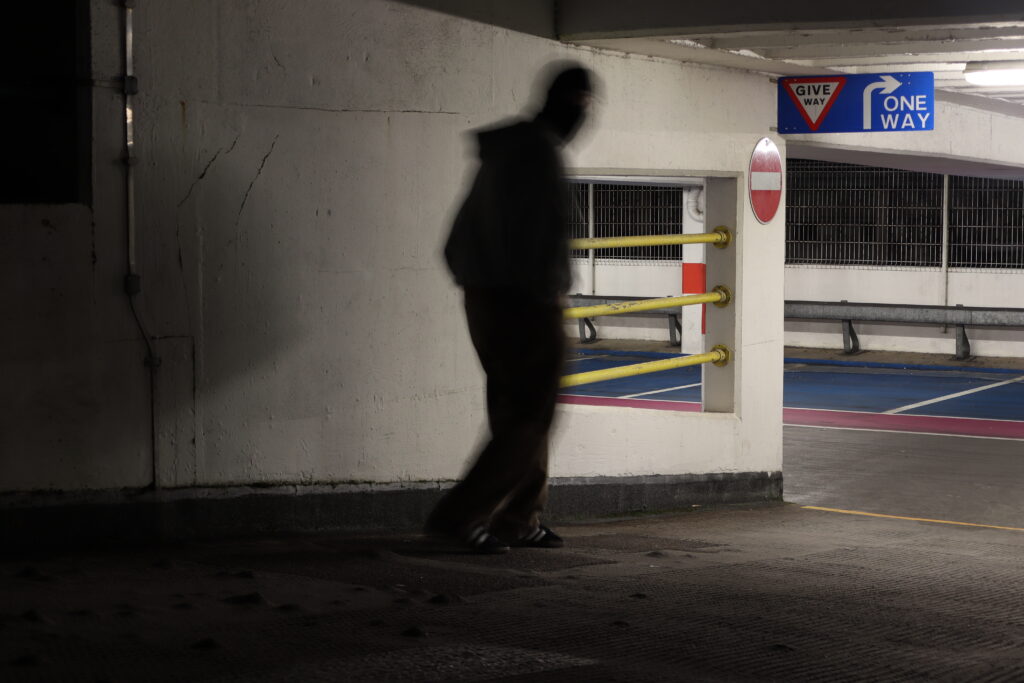
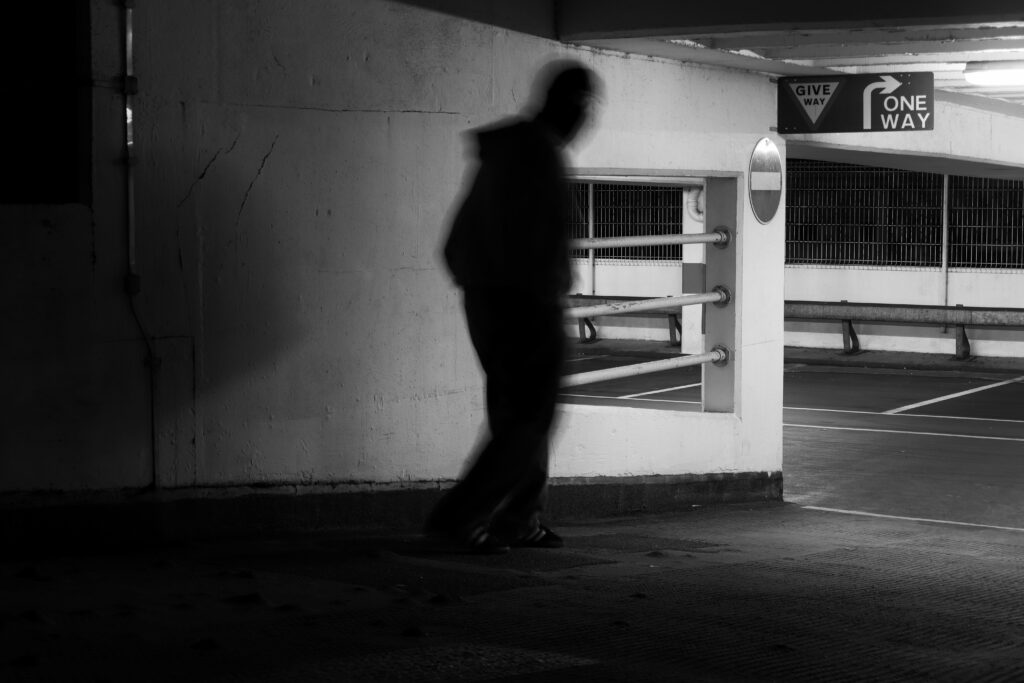
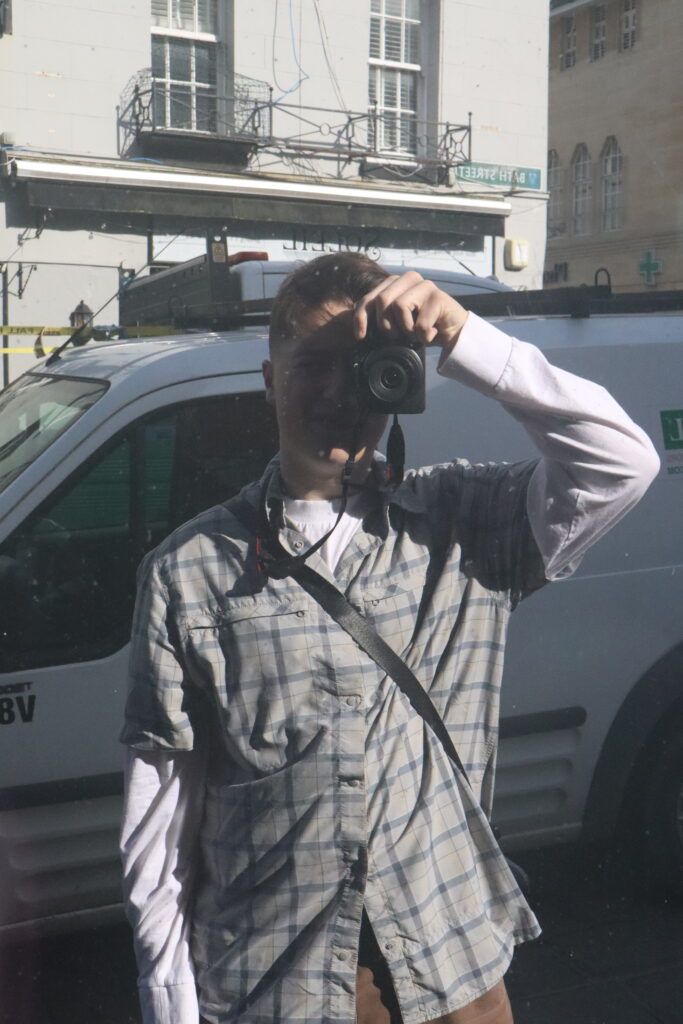
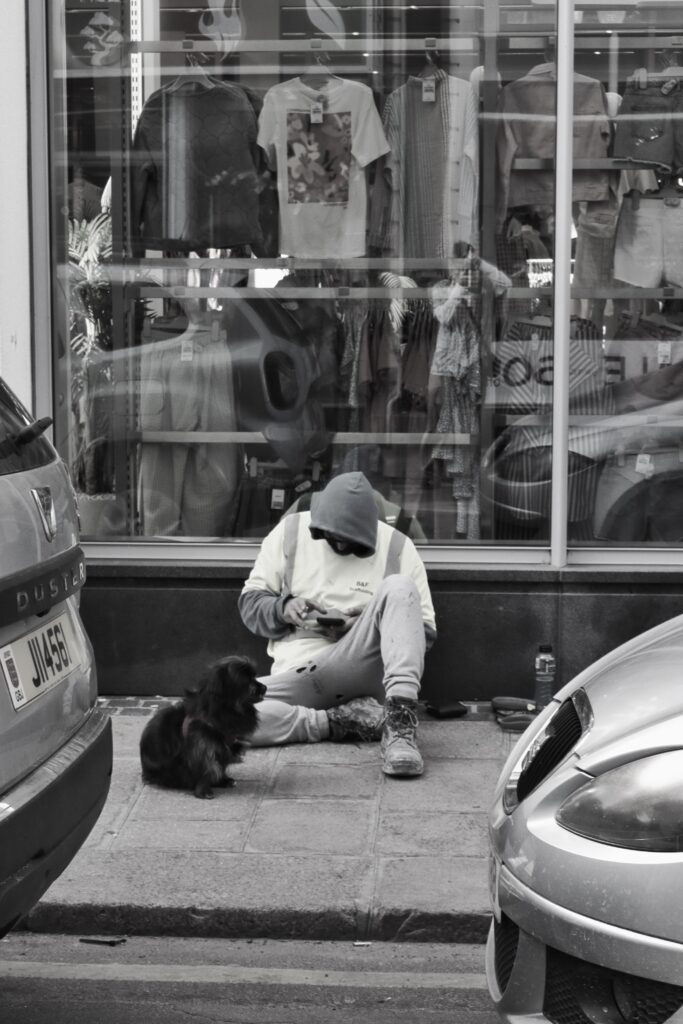
Manifesto – These images fit inside to the Candid category.
Editing:
Little editing was done to these as with my camera, it has pre-built in filters, with this one being the ‘Toy’ filter. Other minor adjustments came with cropping.
After:

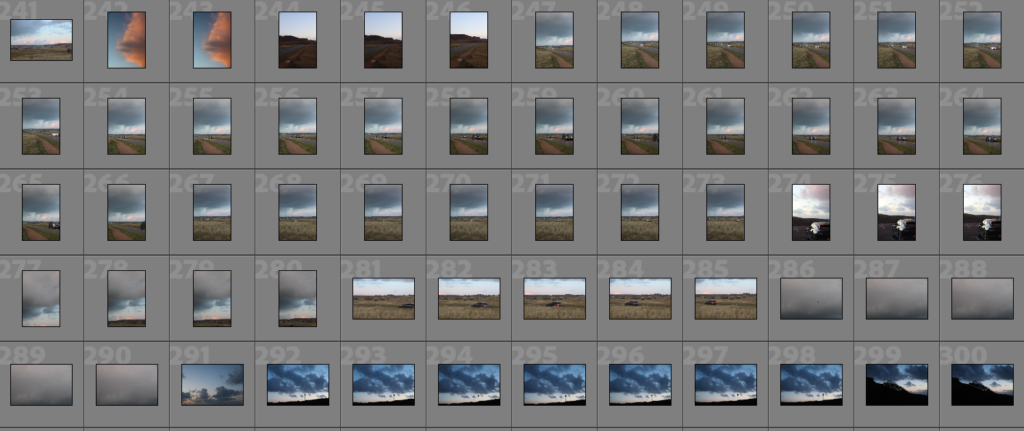
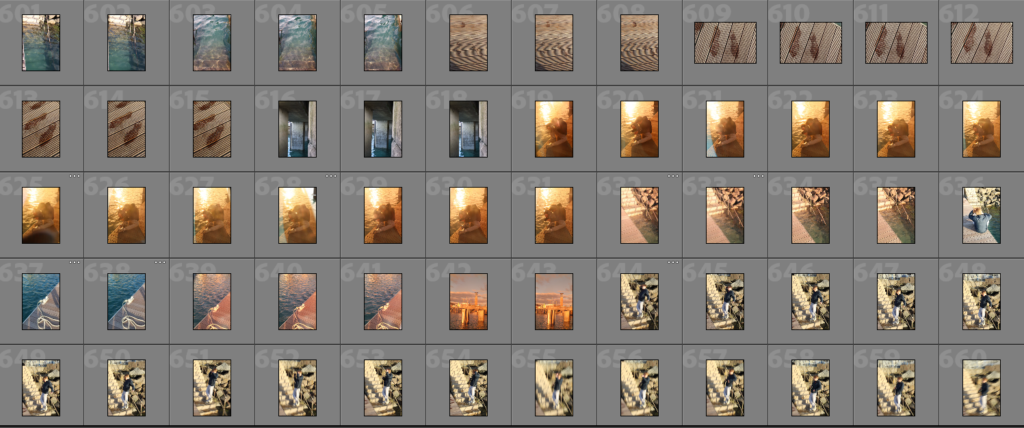
Photoshoot Plemont:
Manifesto:
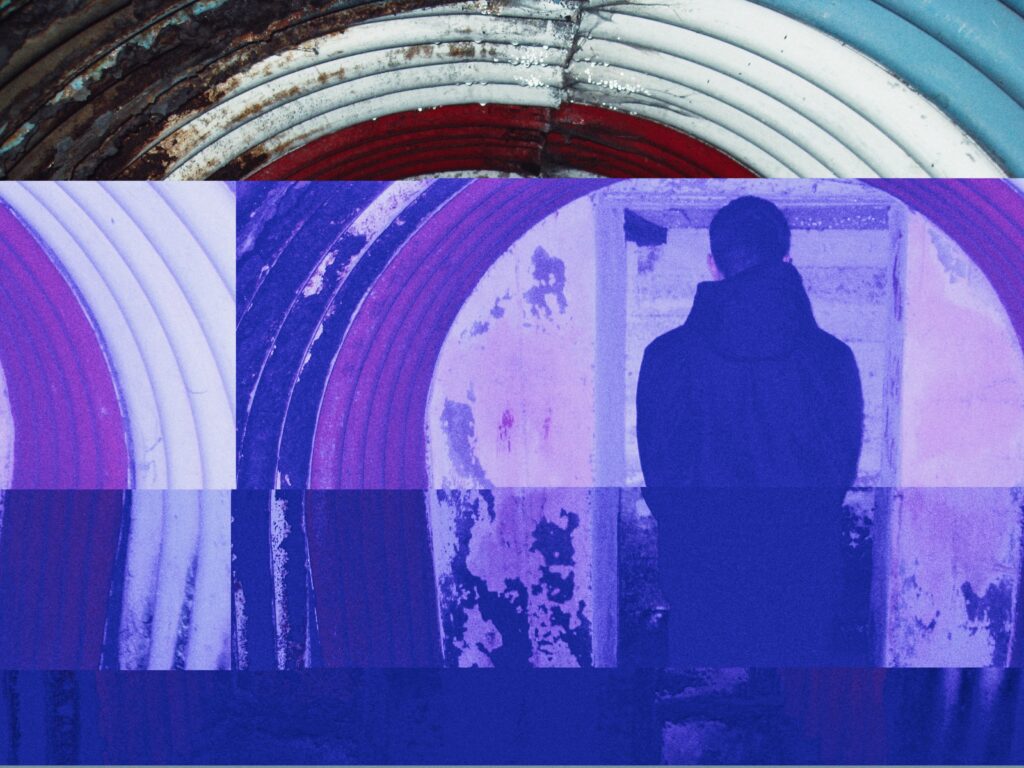
With these images having been unintentionally glitched, they created a unique distorted image which mixed with the grainy texture of the vintage digital camera I took them on. This shoot is apart of the Candid category.
Before:
Editing:
Through Snap-seed, I added onto the glitched effects through altering their white balance and temperature making them more rich in colour.
After:

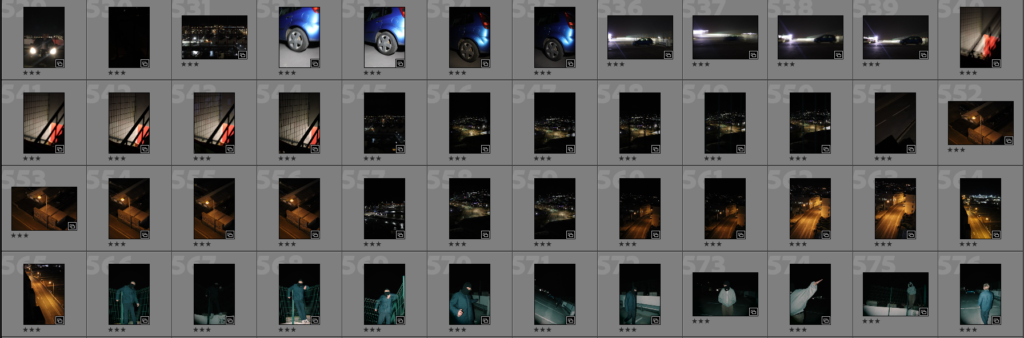
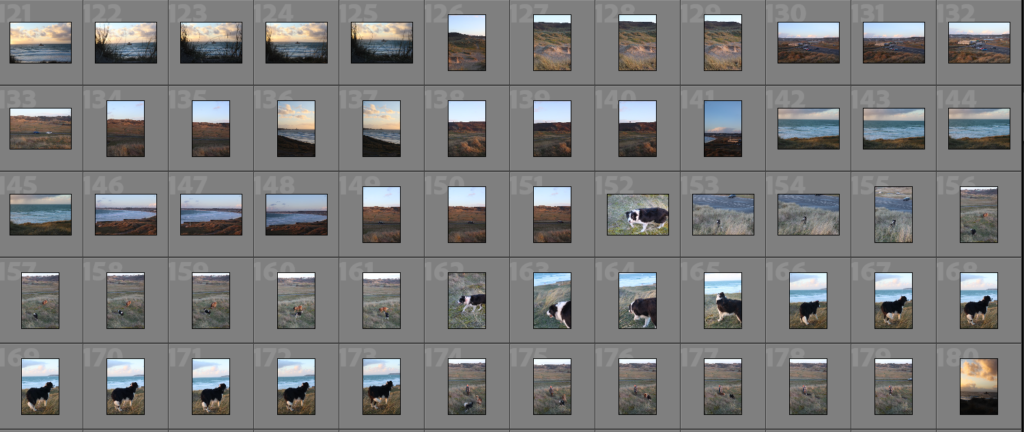
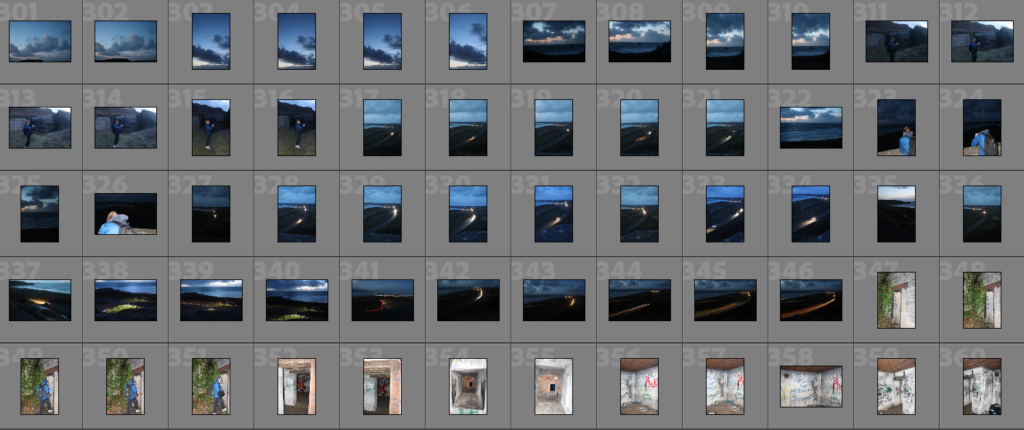
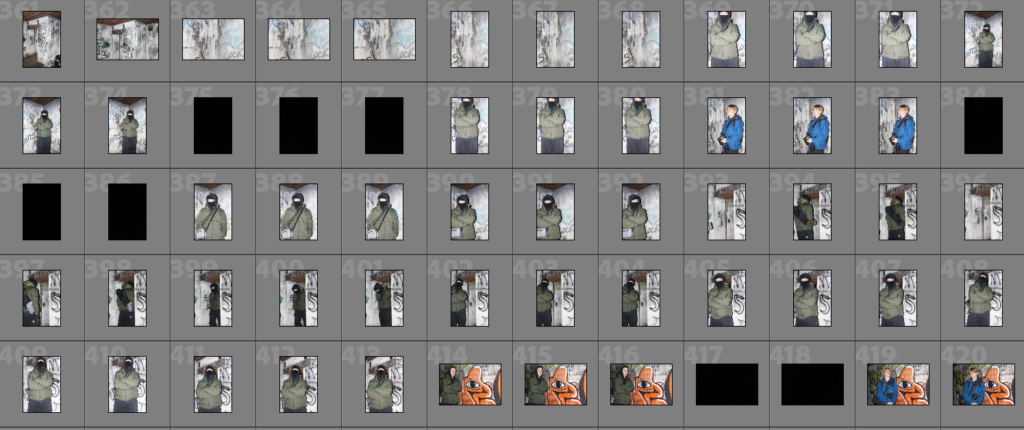
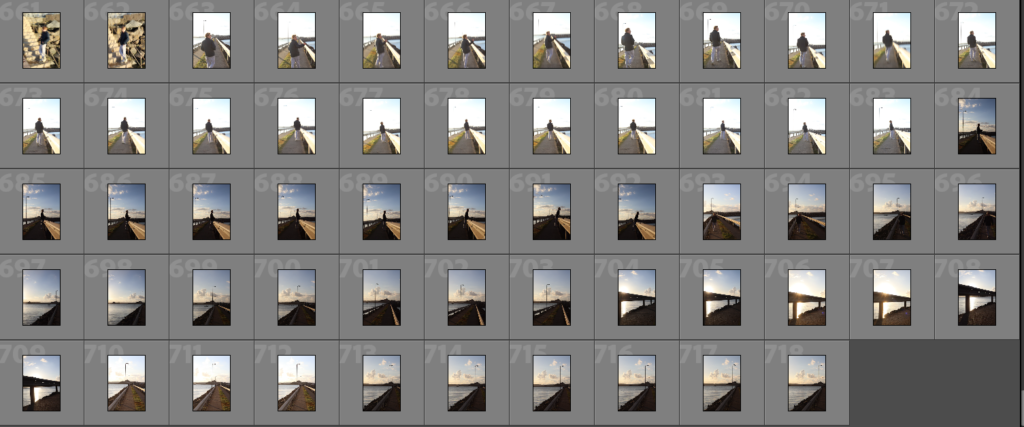
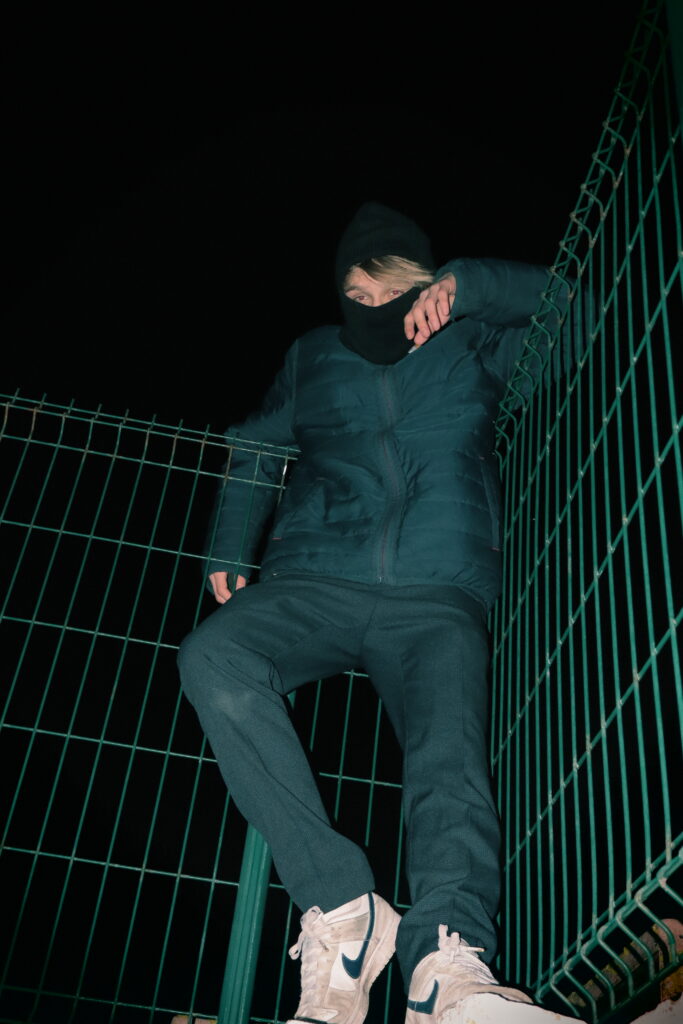
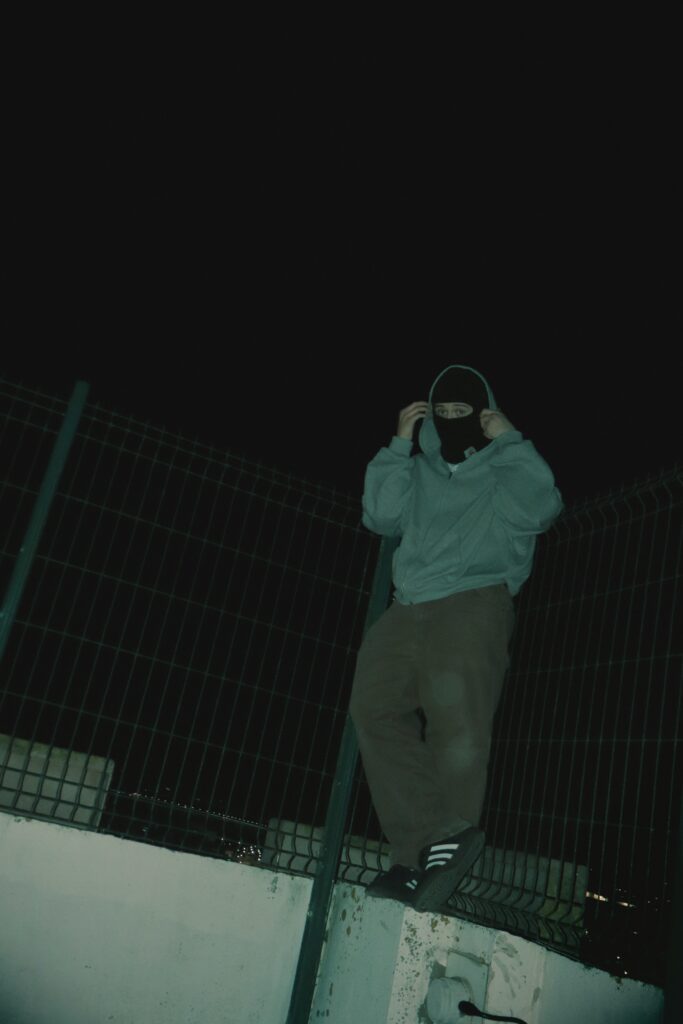
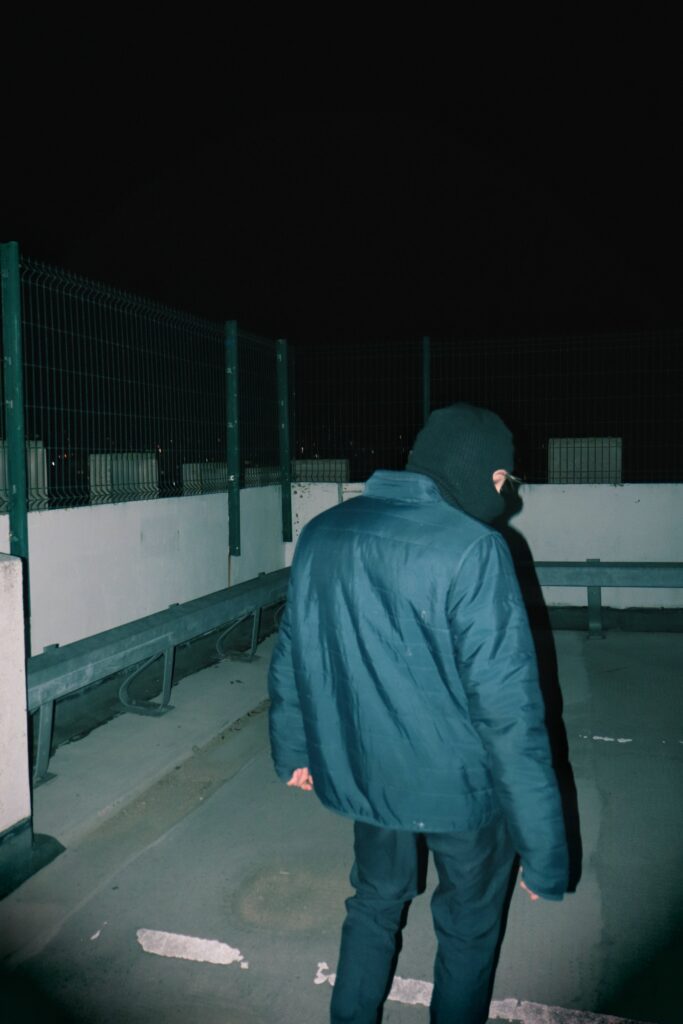
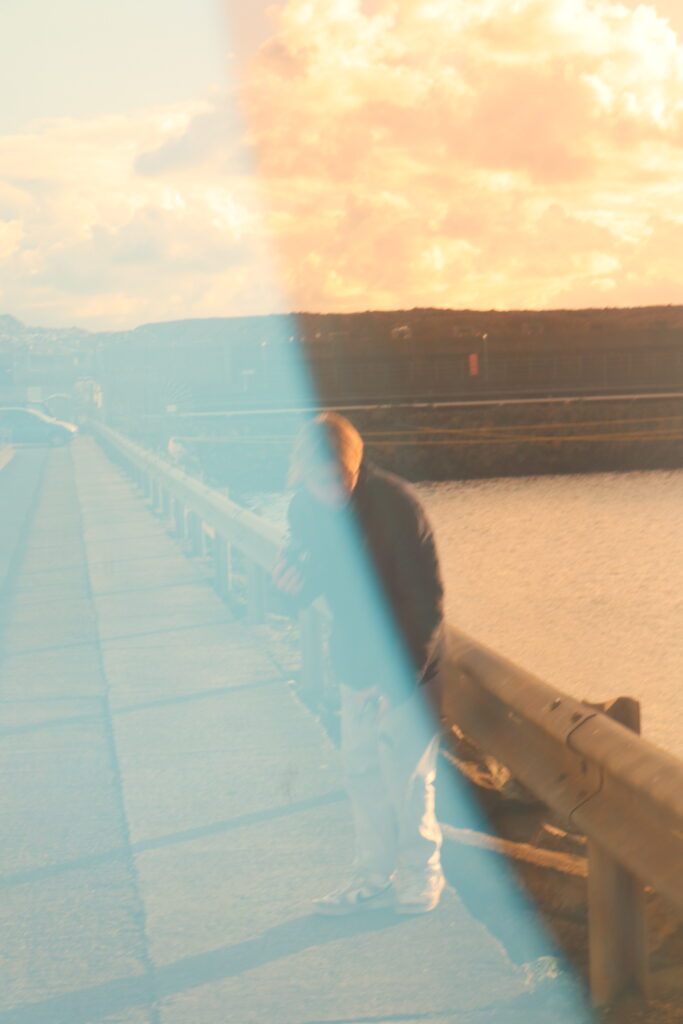
Photoshoot St Ouens + Sunrise:
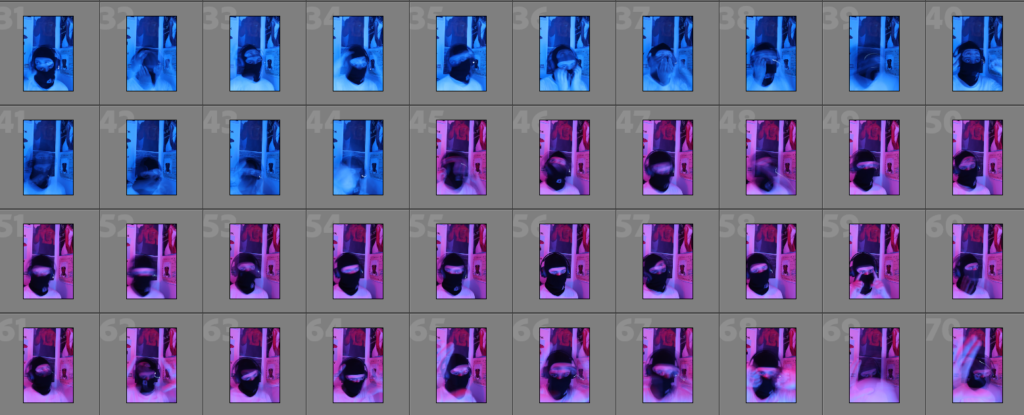
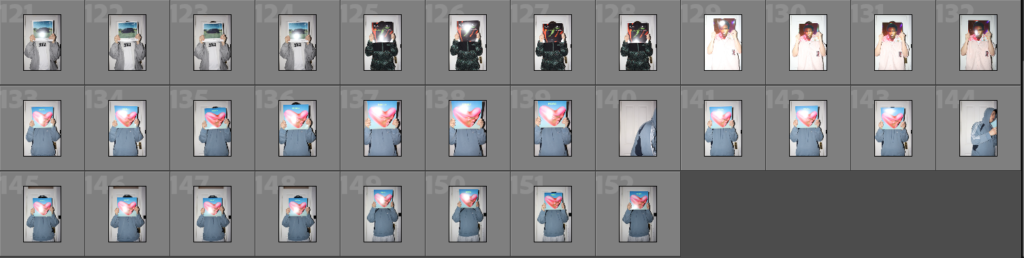
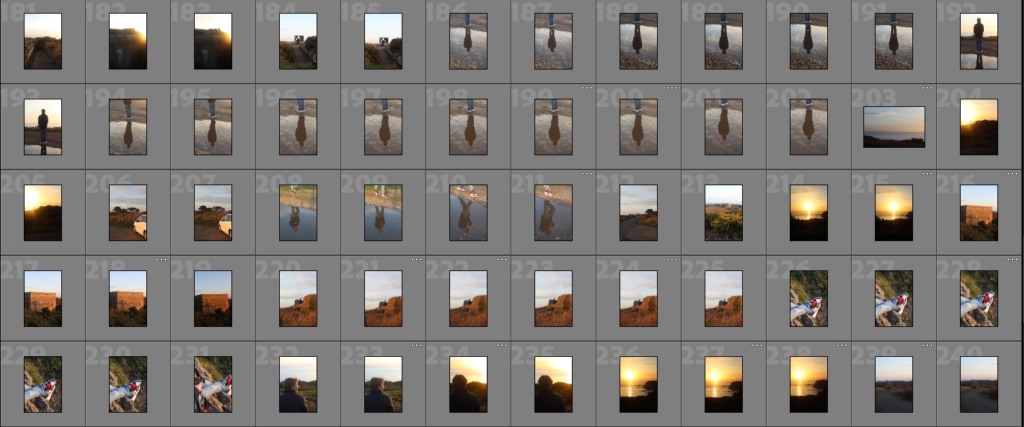
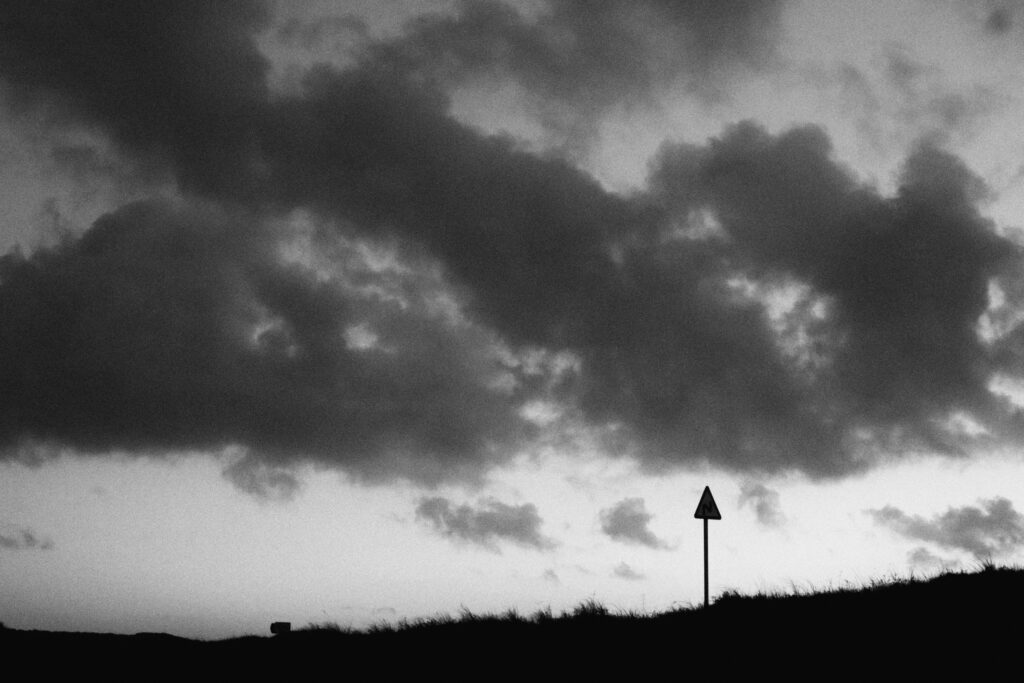
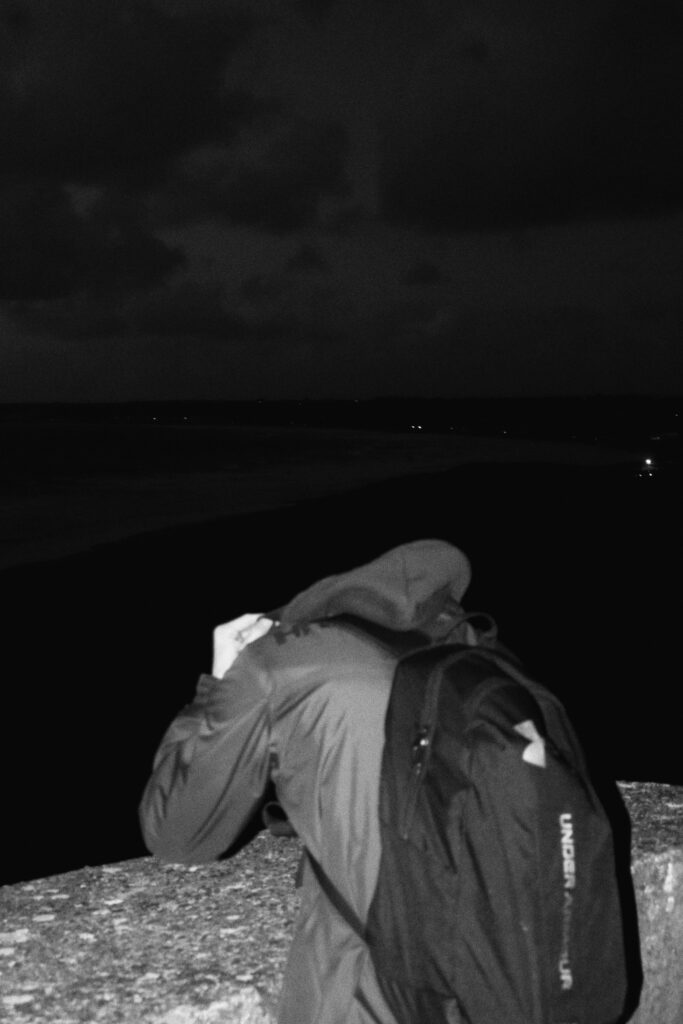
Manifesto:
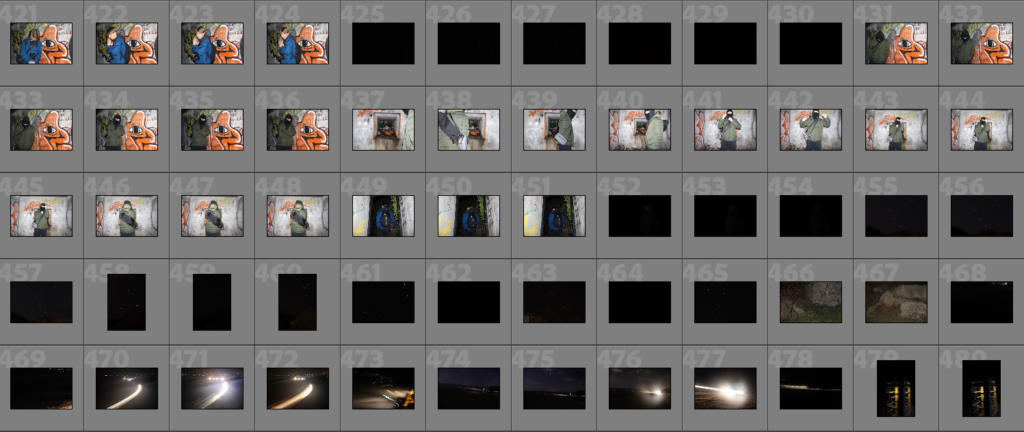
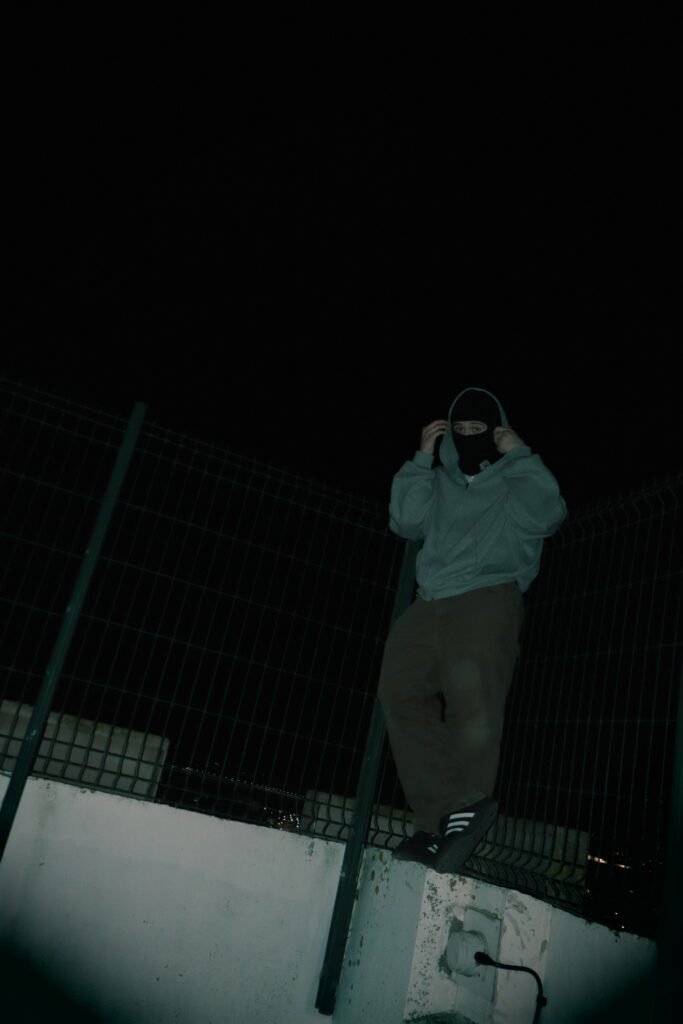
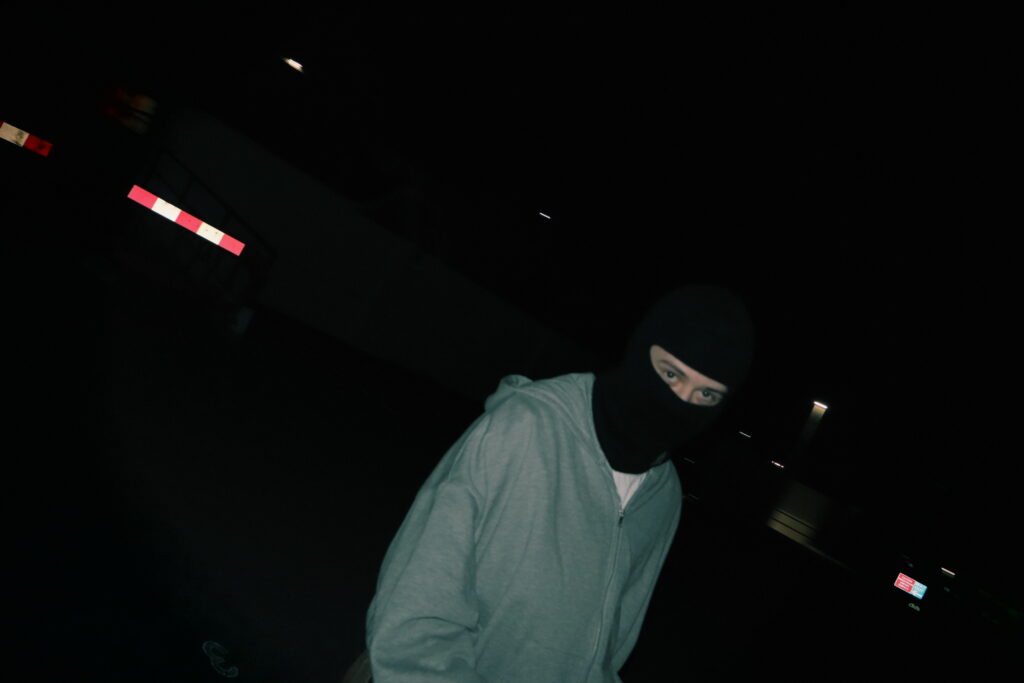
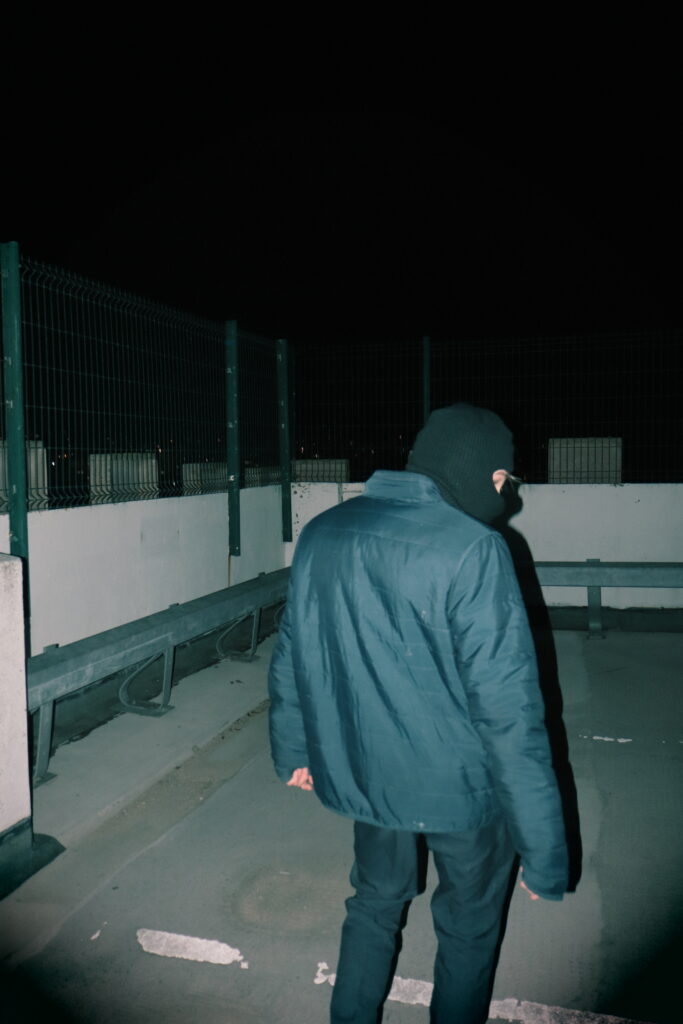
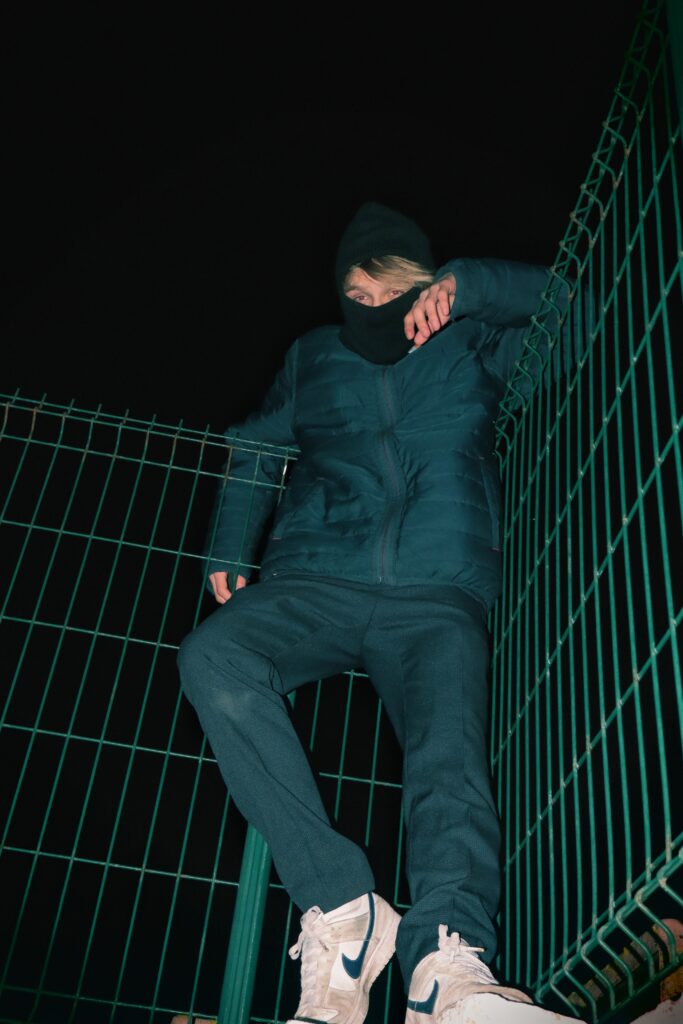
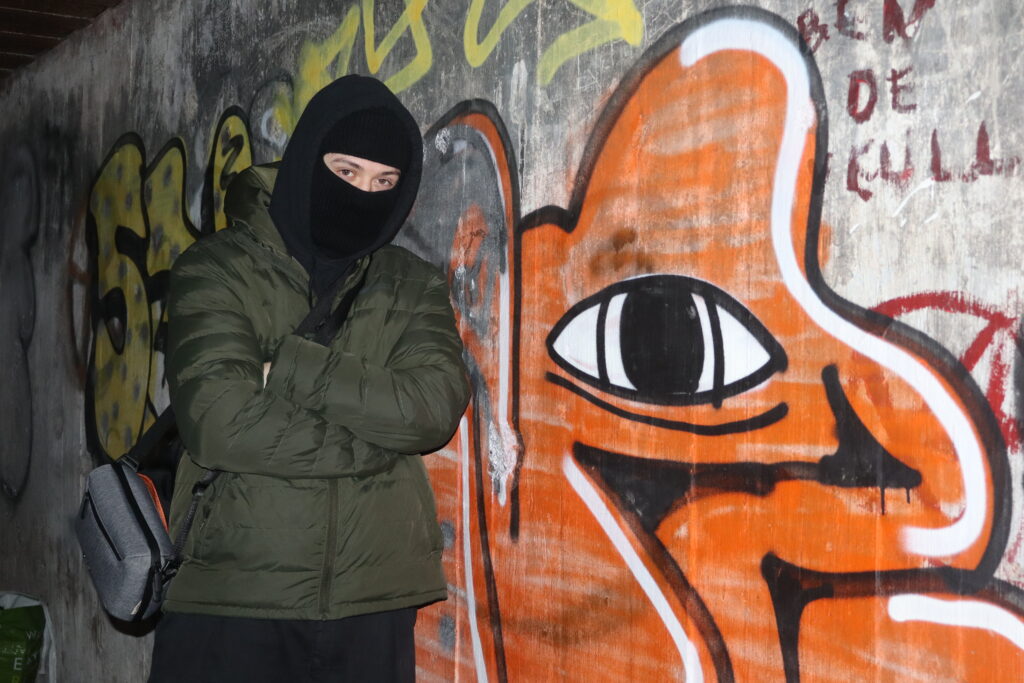
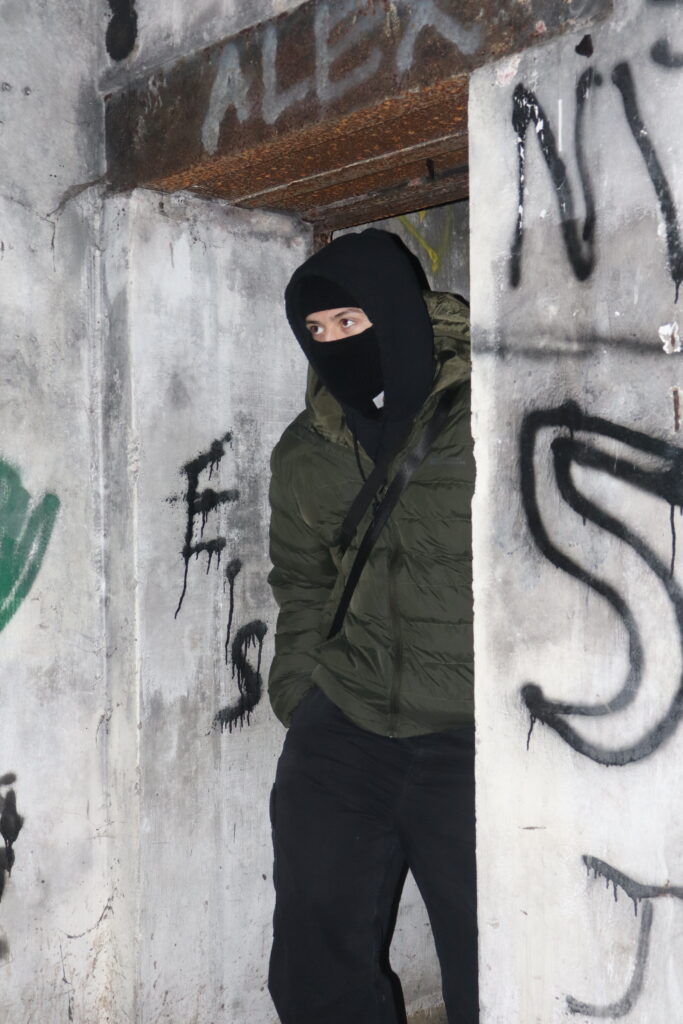
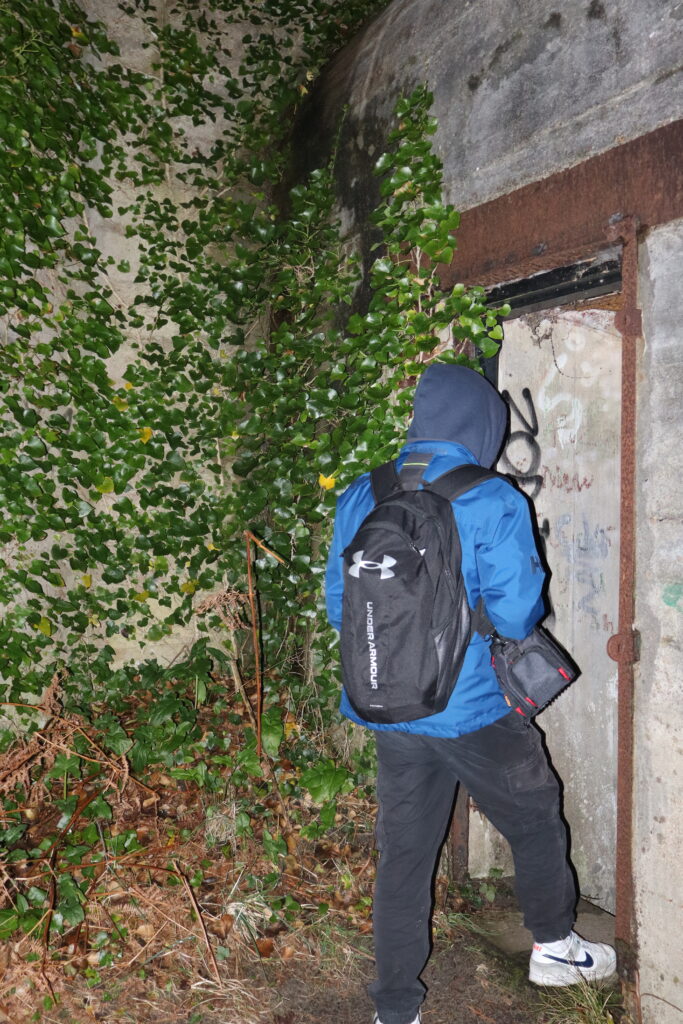
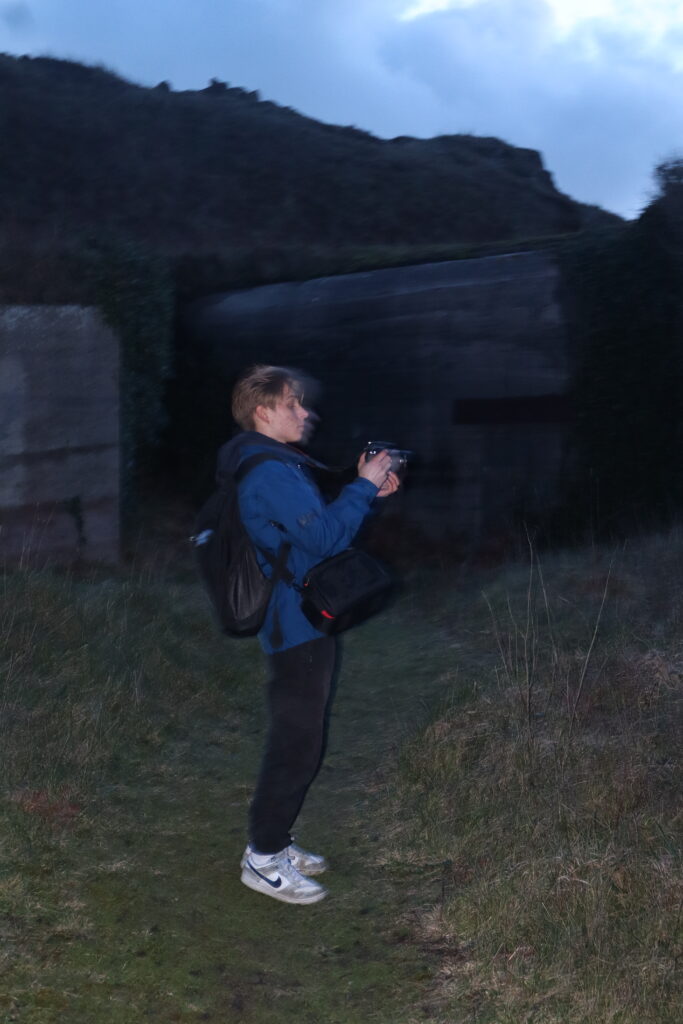
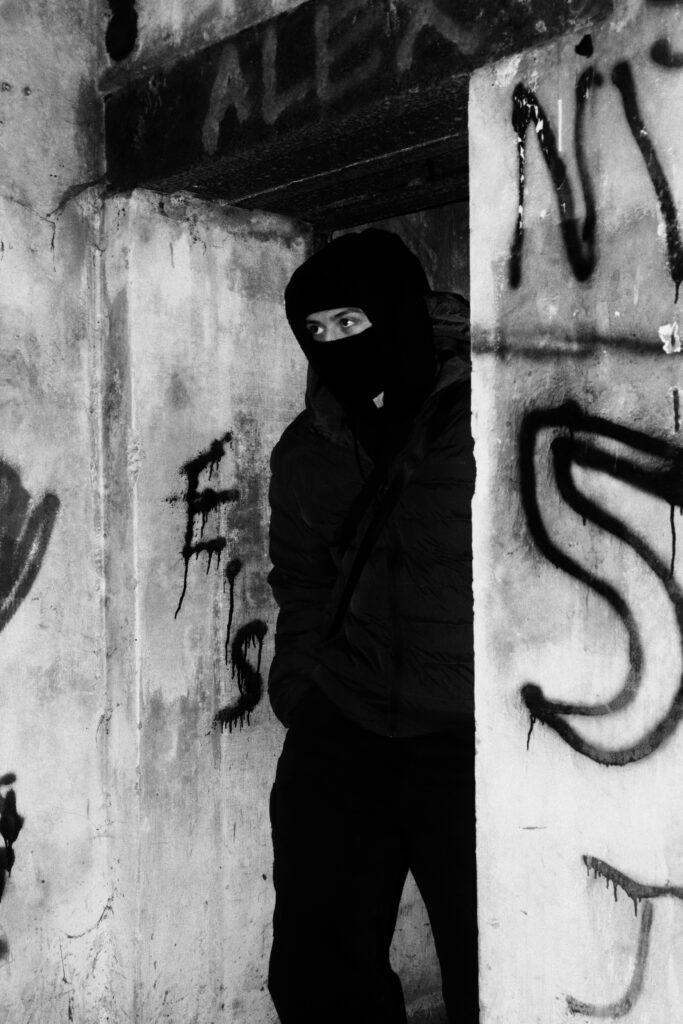
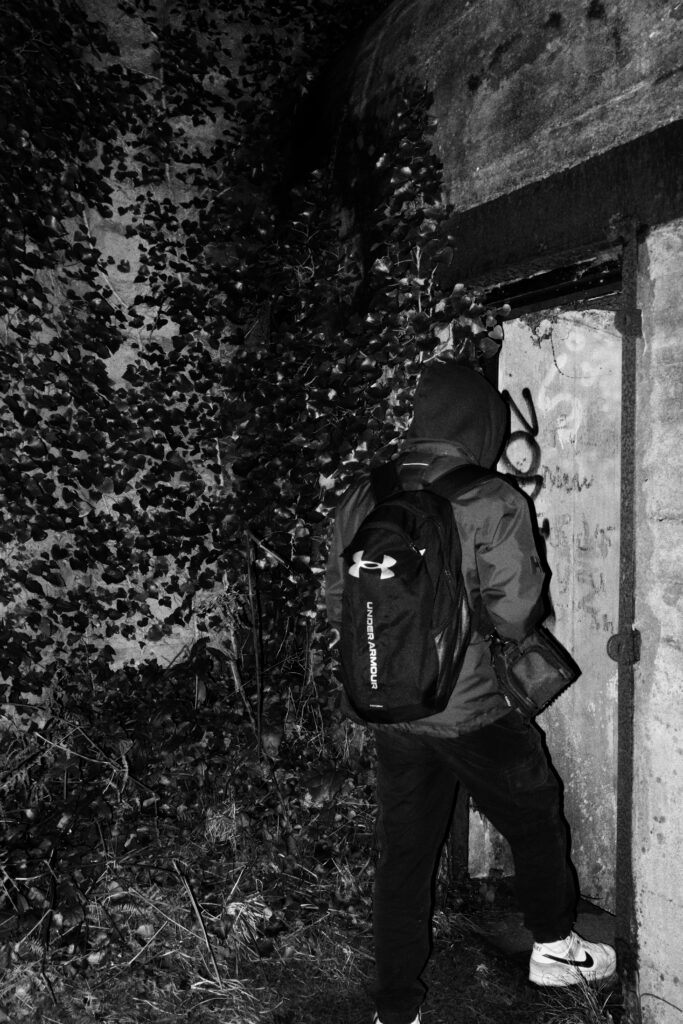
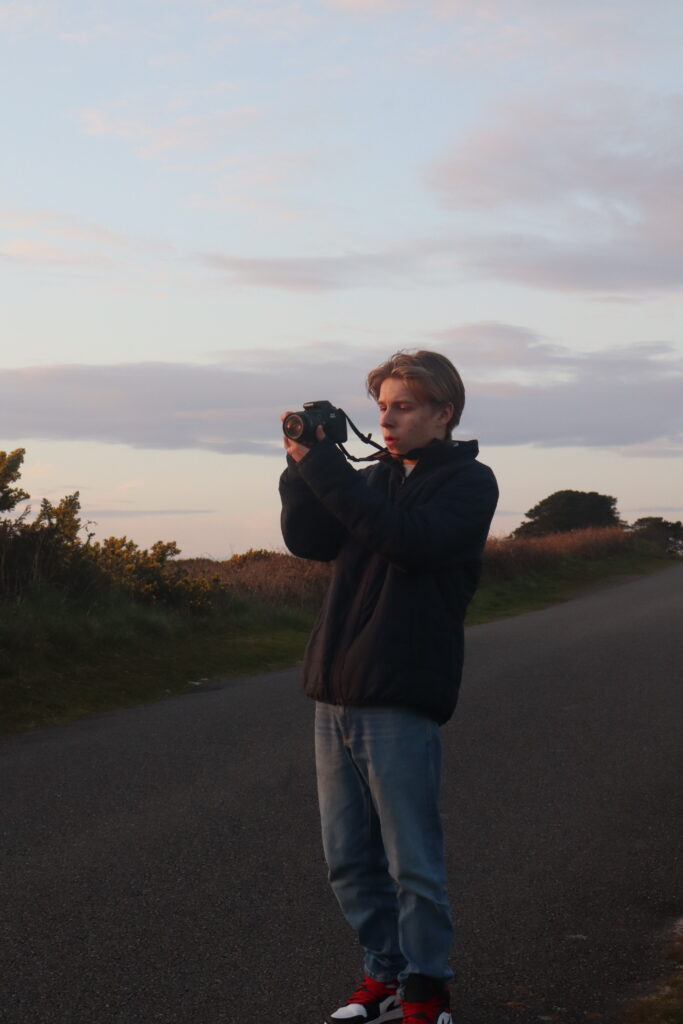
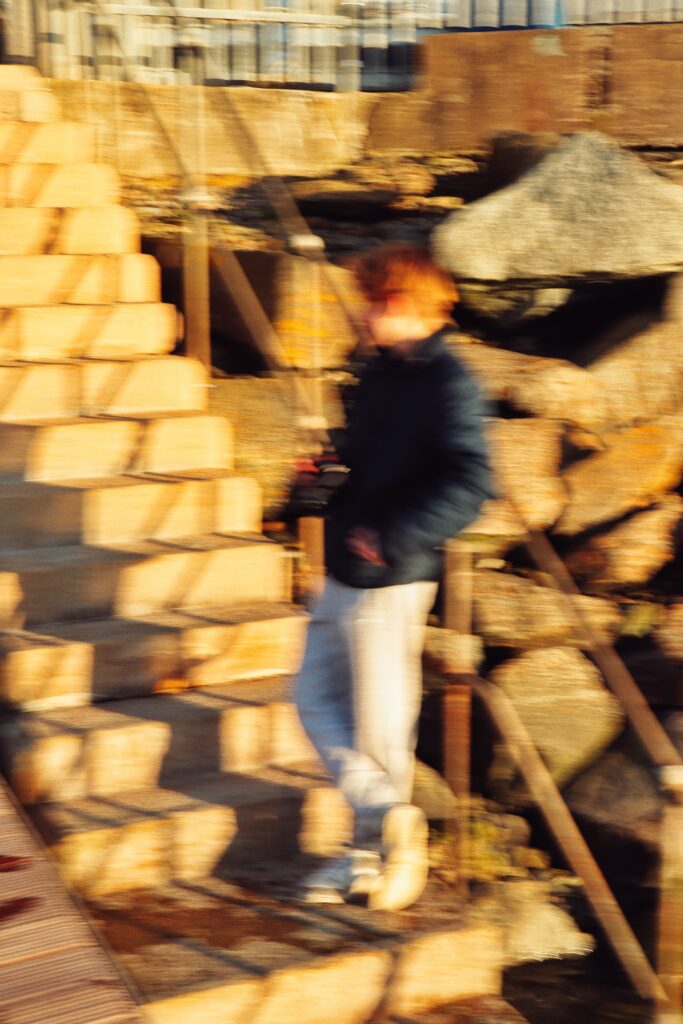
For this shoot, I wanted to continue with the same theme of fashion with the balaclava and merge that with depictions of youth culture. Within this I did it at a variety of locations at St Ouens Bay. Using a Shutter speed varying from between 30″ – 1/200 for images within this shoot I aimed to try and create a variety of image types with both long and short exposures. This shoot applies to both Blurred and Candid categories.
Black and white images:
Before:

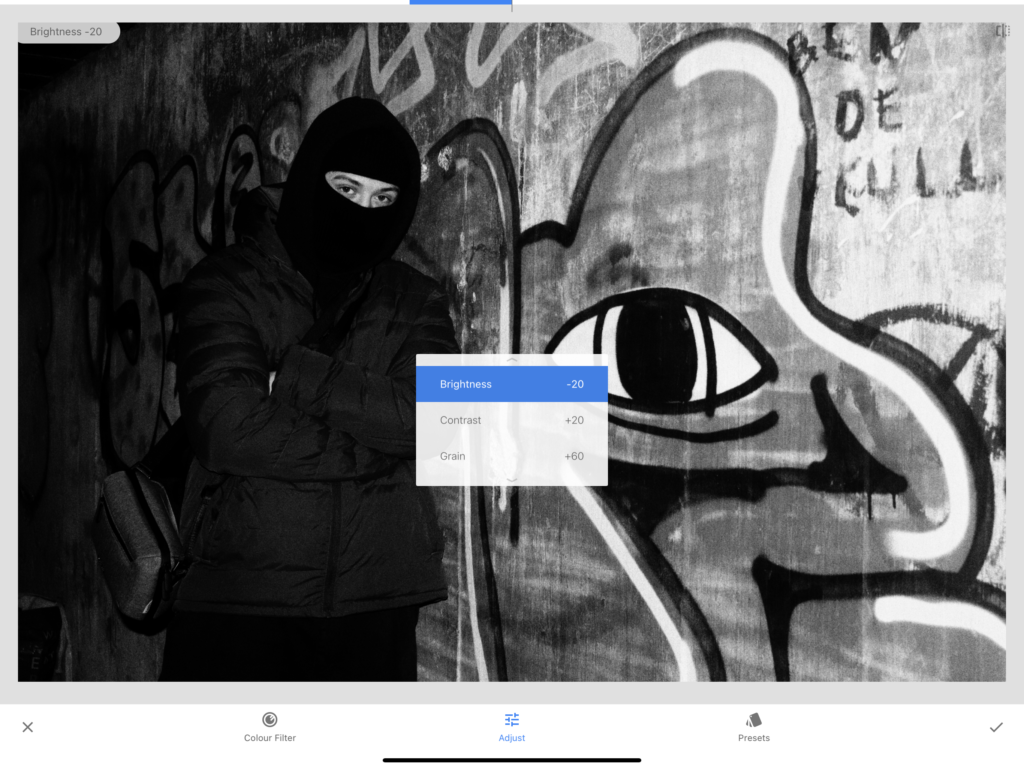
Editing:
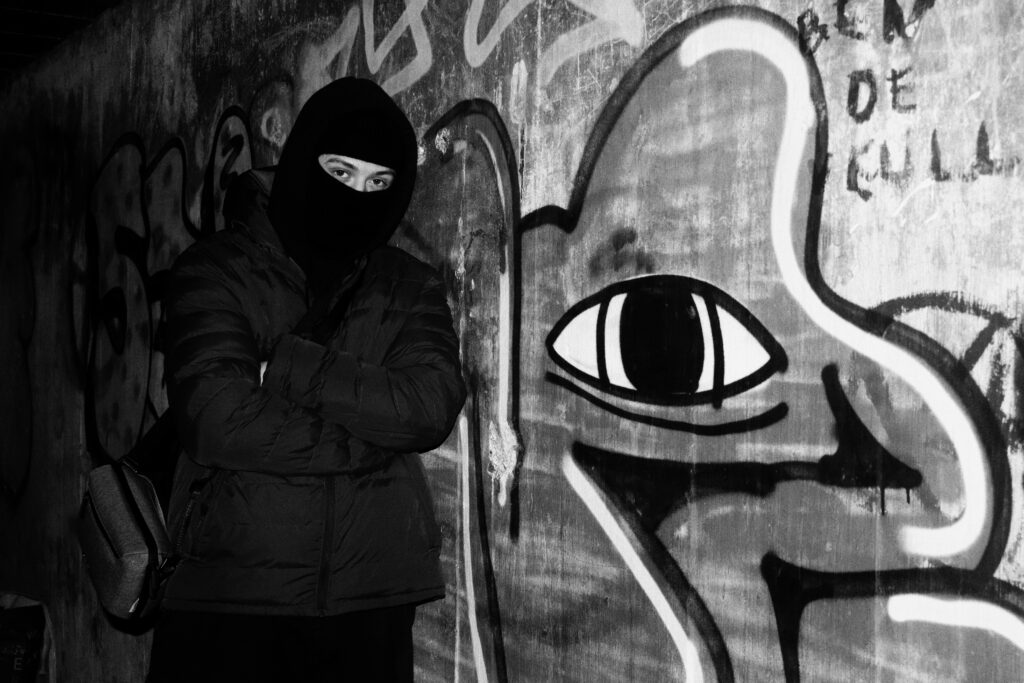
For these images, I made a it so that the camera flash was still prevalent despite being converted into black and white. To do so I made the image portions of the image less brighter and increased the contrast to create that shadowy depth that can be found with flash photos.
After:


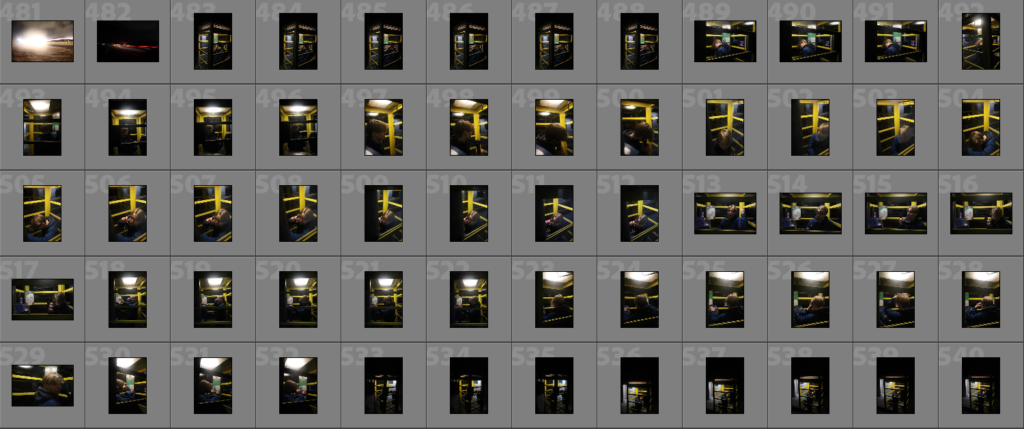
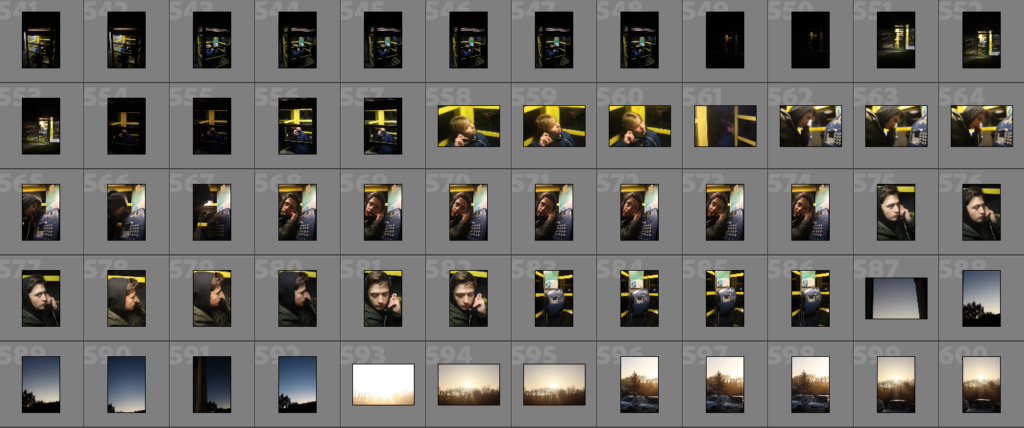
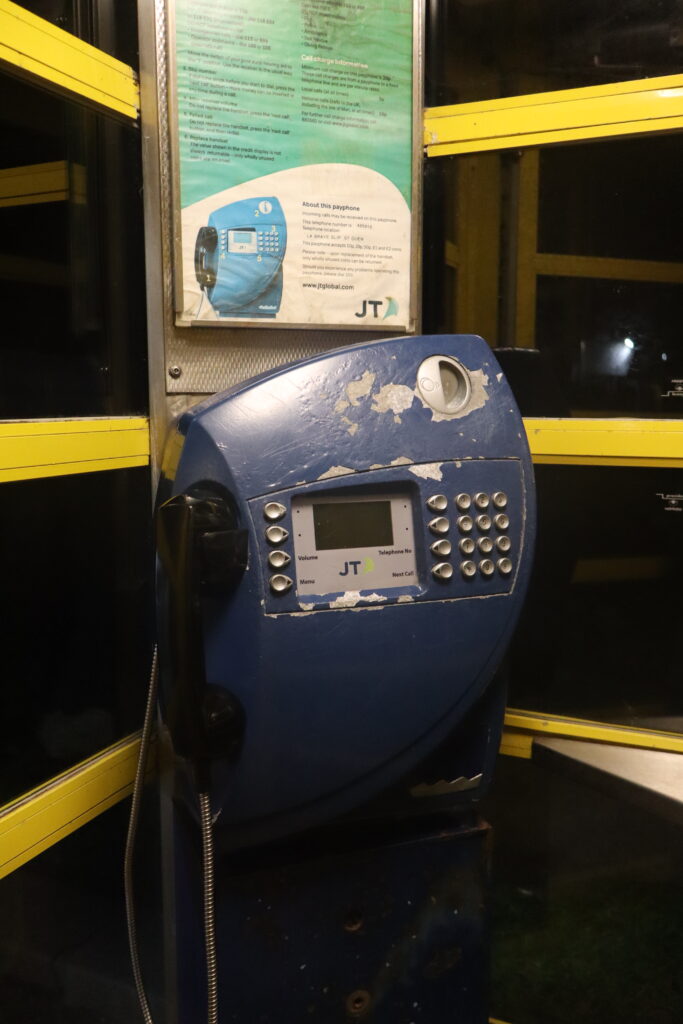
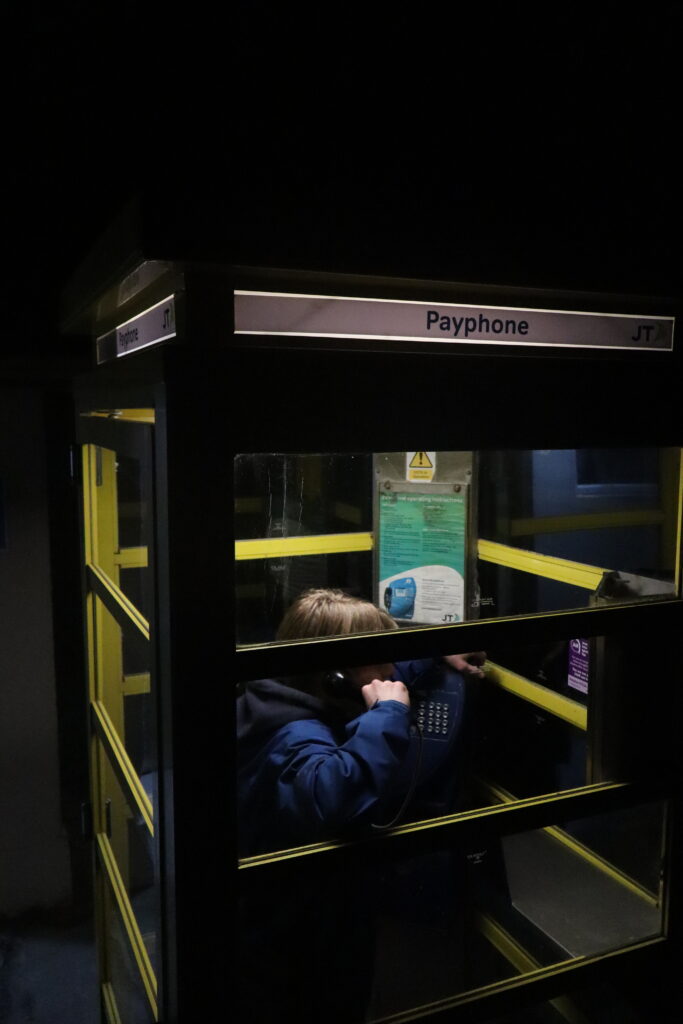
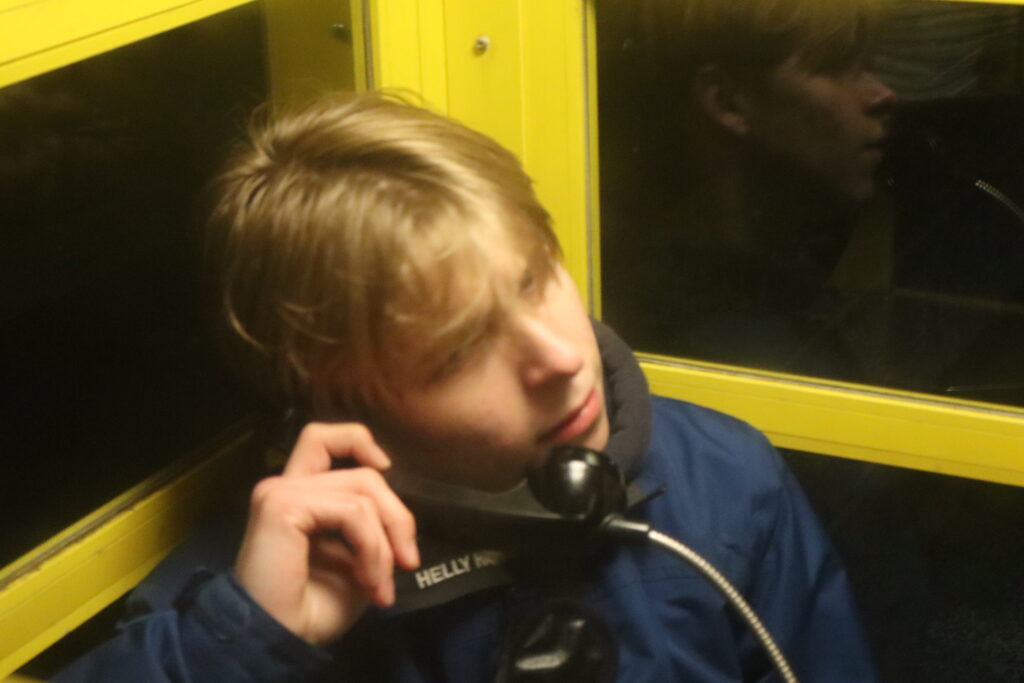
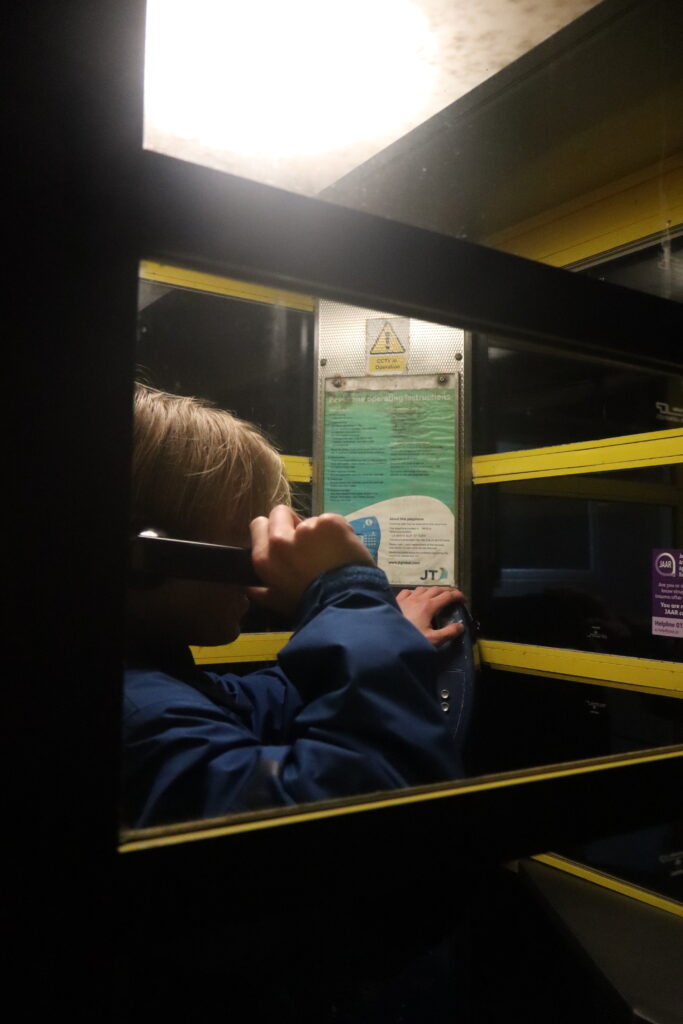
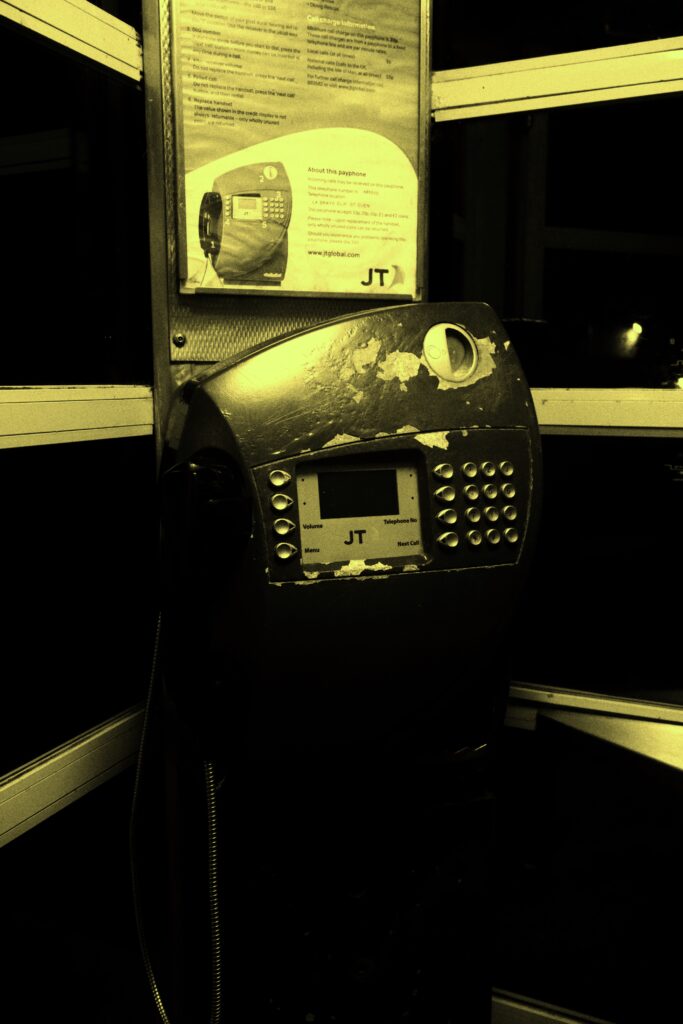
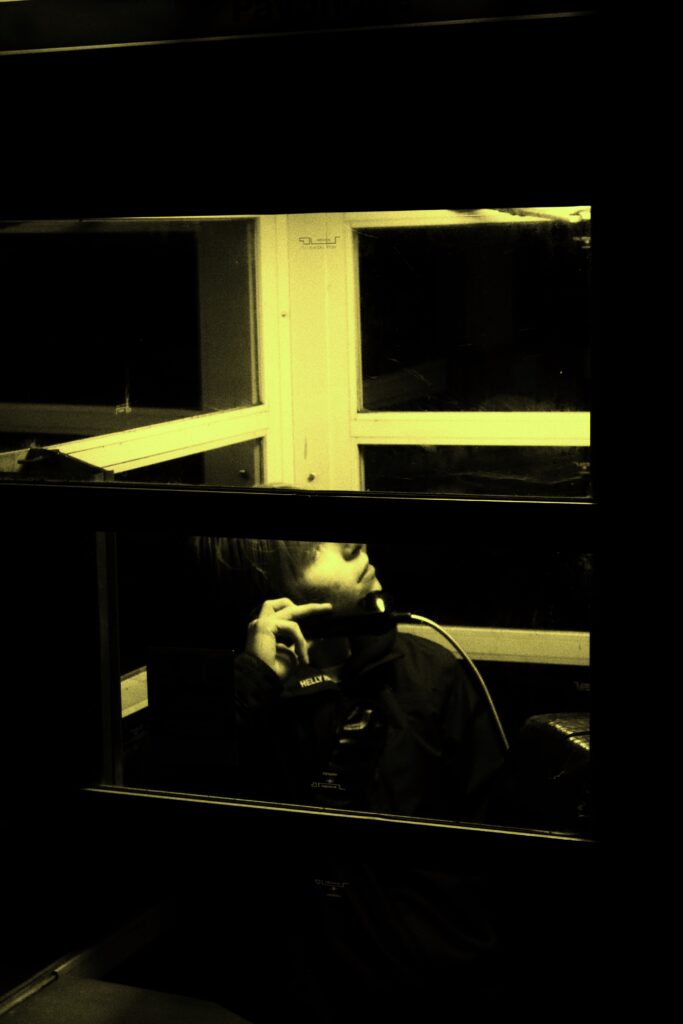
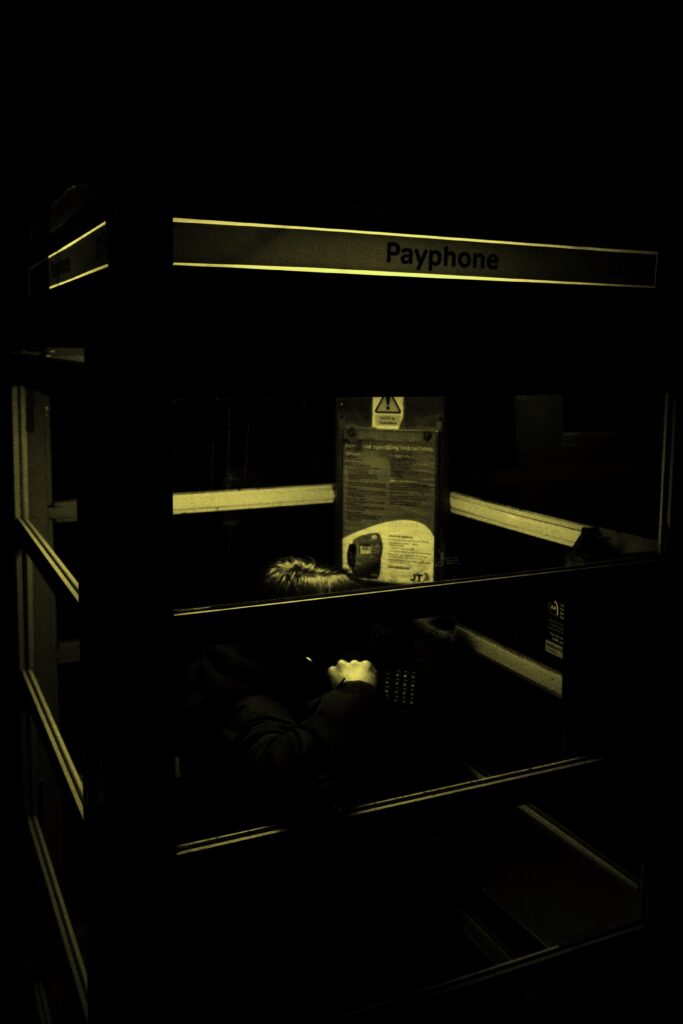
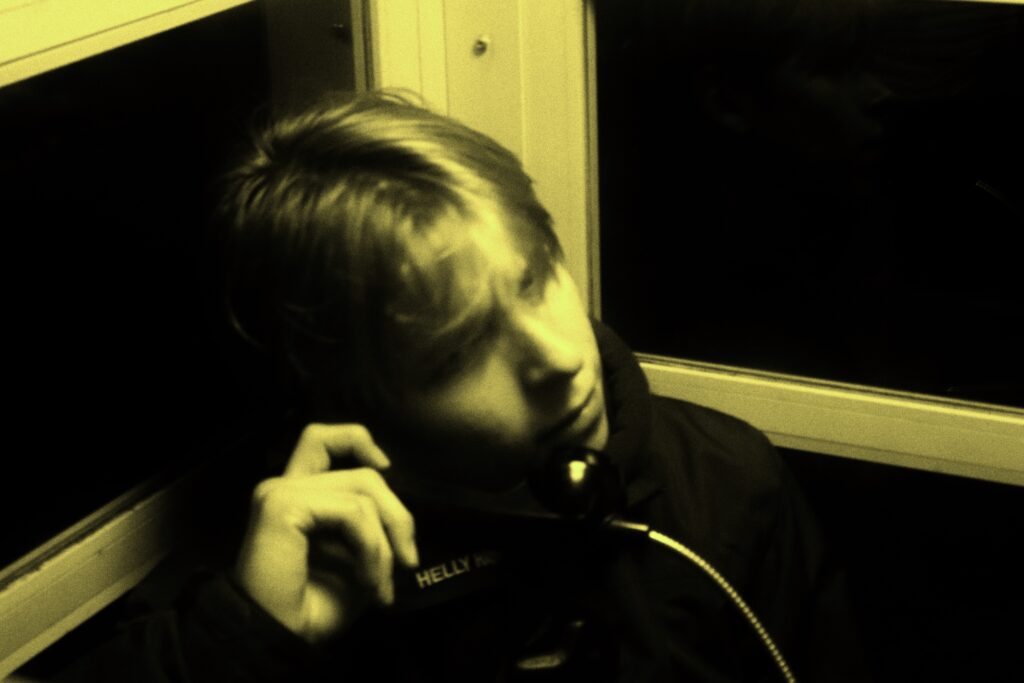
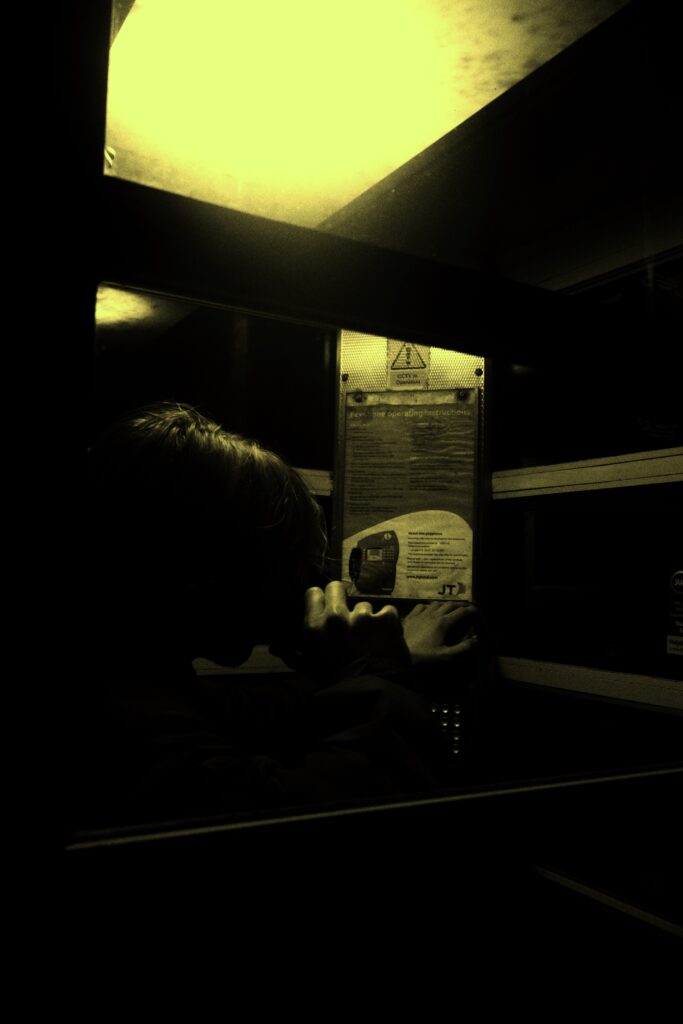
Telephone box:
Before:


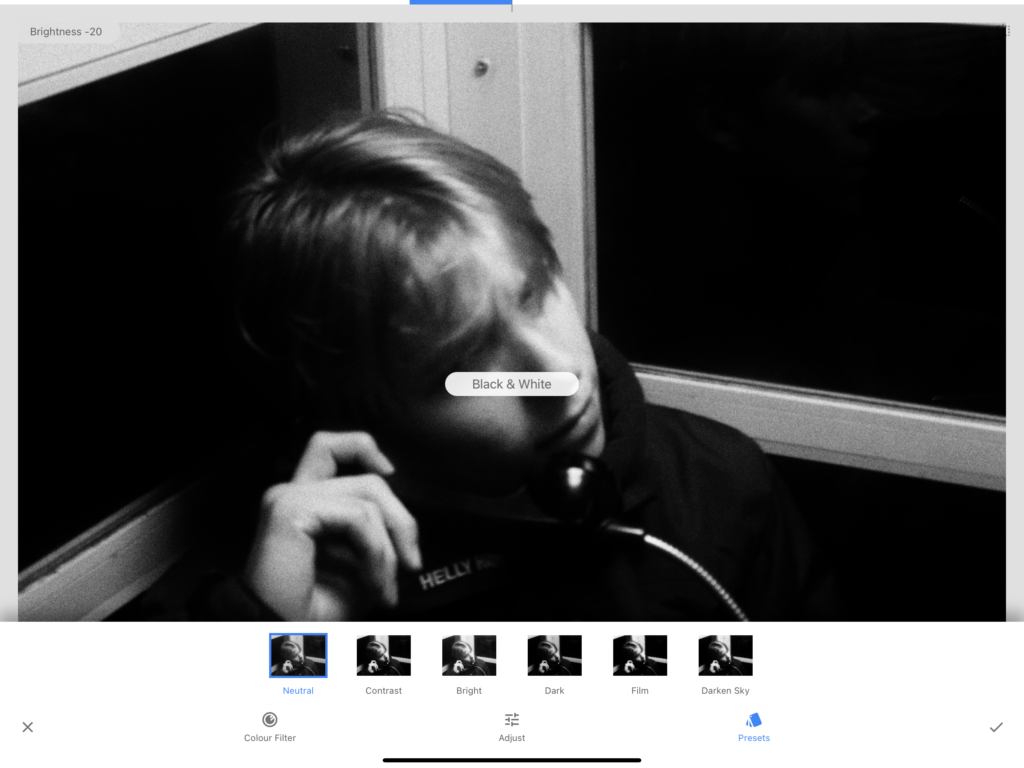
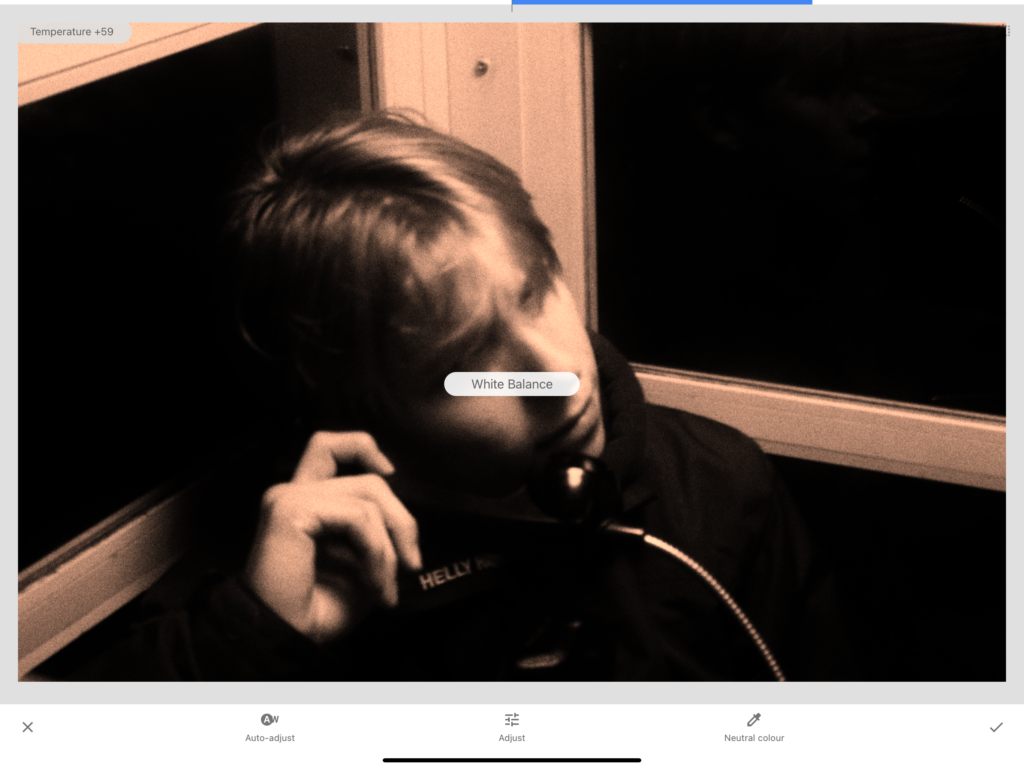
Editing:
Adjusting the image to have a more warm and vintage grainy look, I did this through he basic settings.
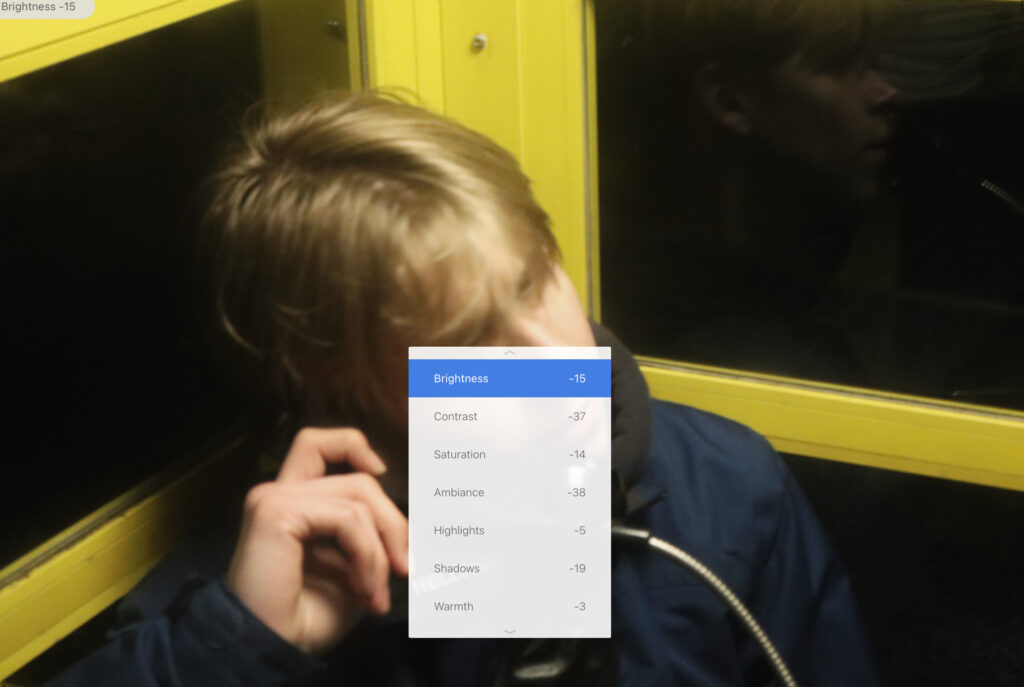
From that, I was then able to convert it into black and white with some grain and then adjust its tint and temperature through the white balance to recreate the yellow of the original photograph.

After:

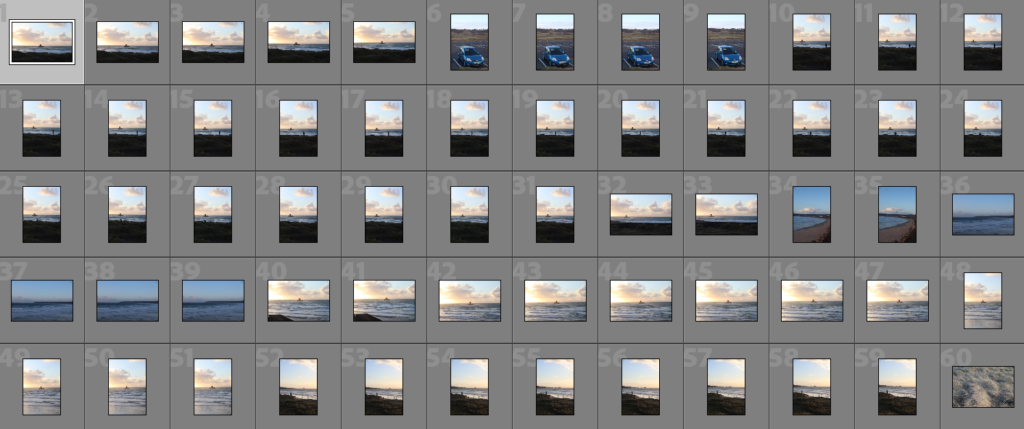
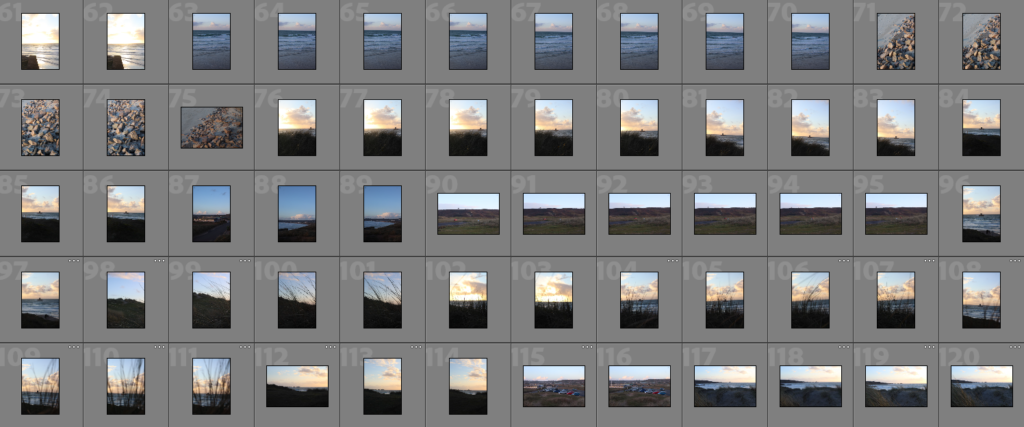
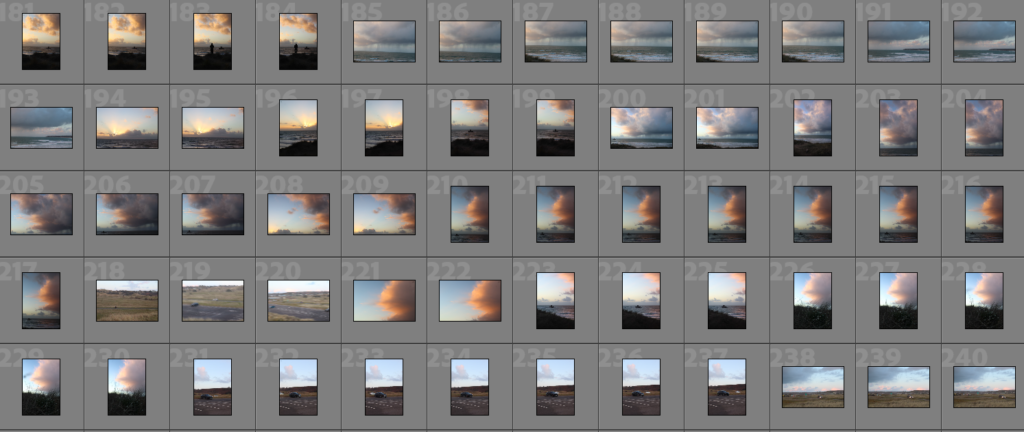
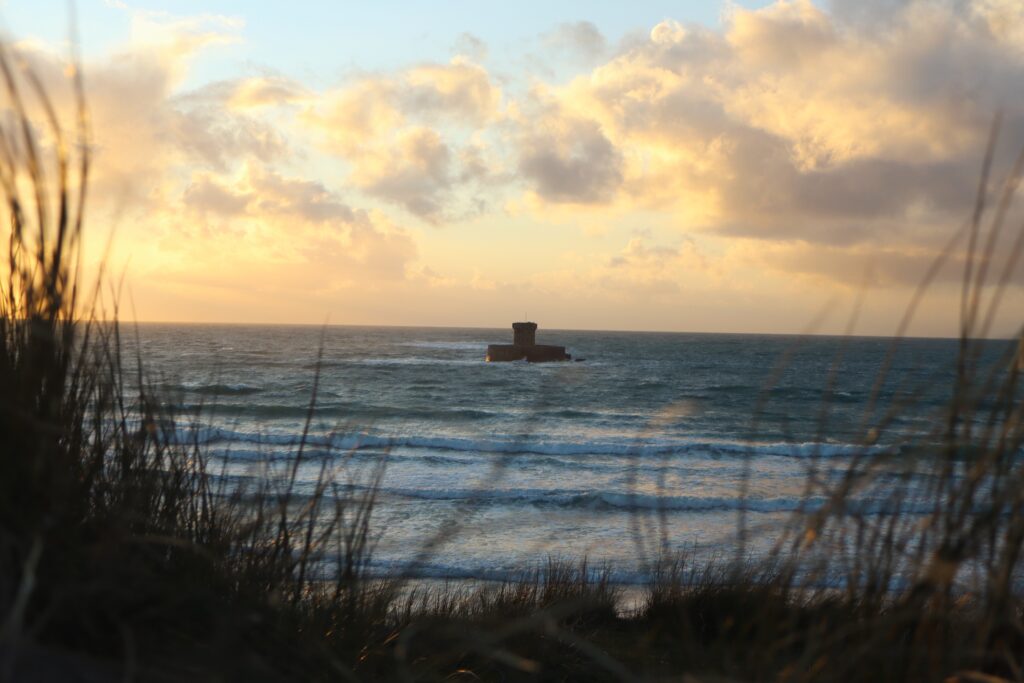
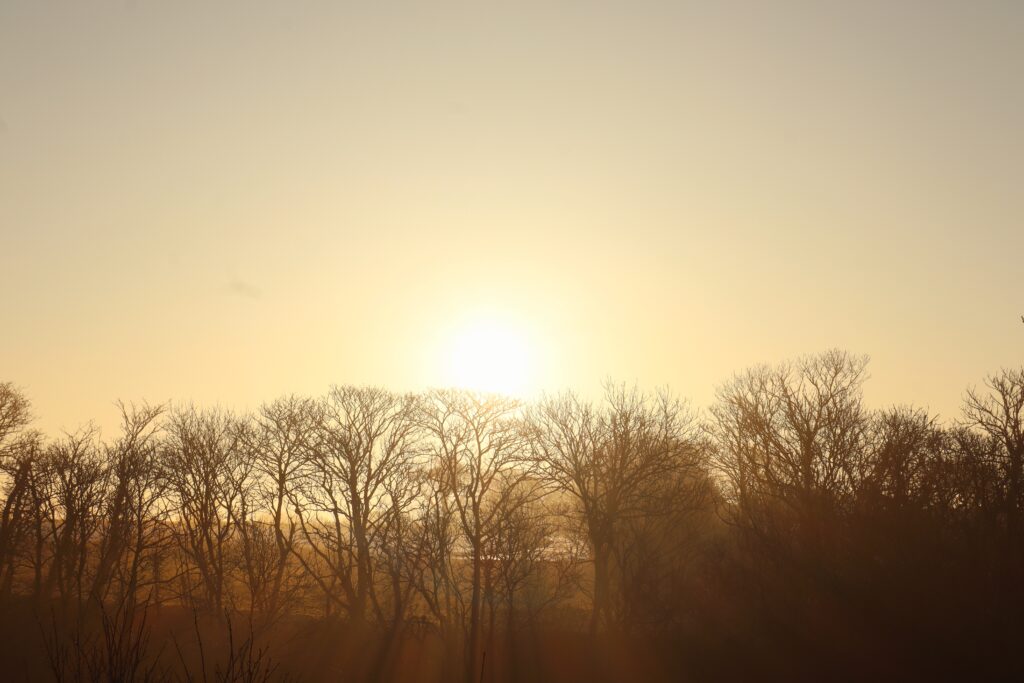
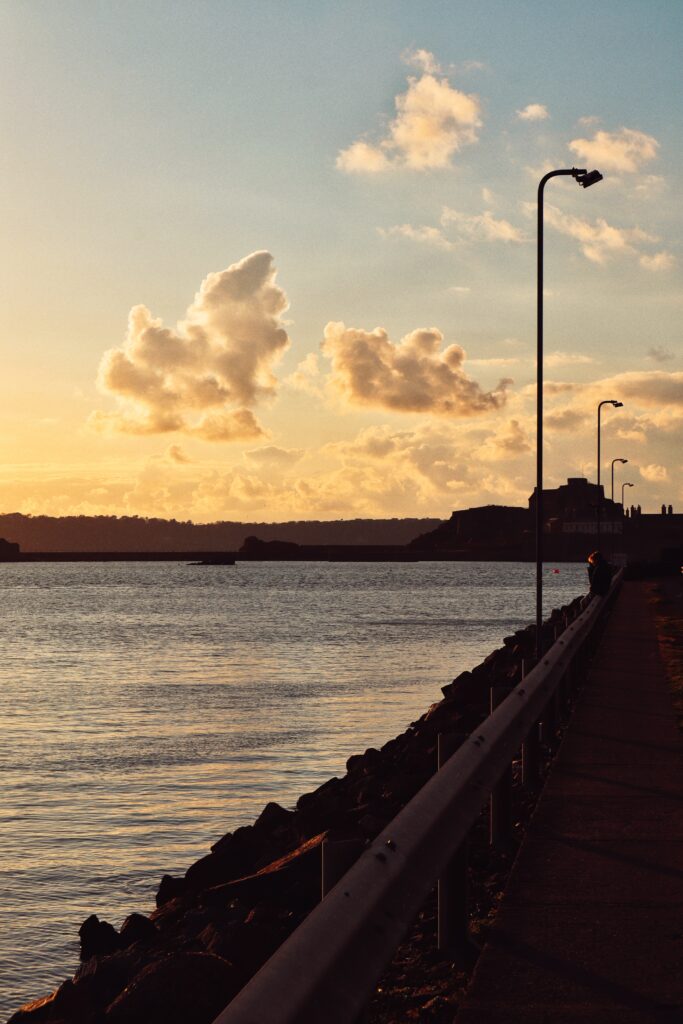
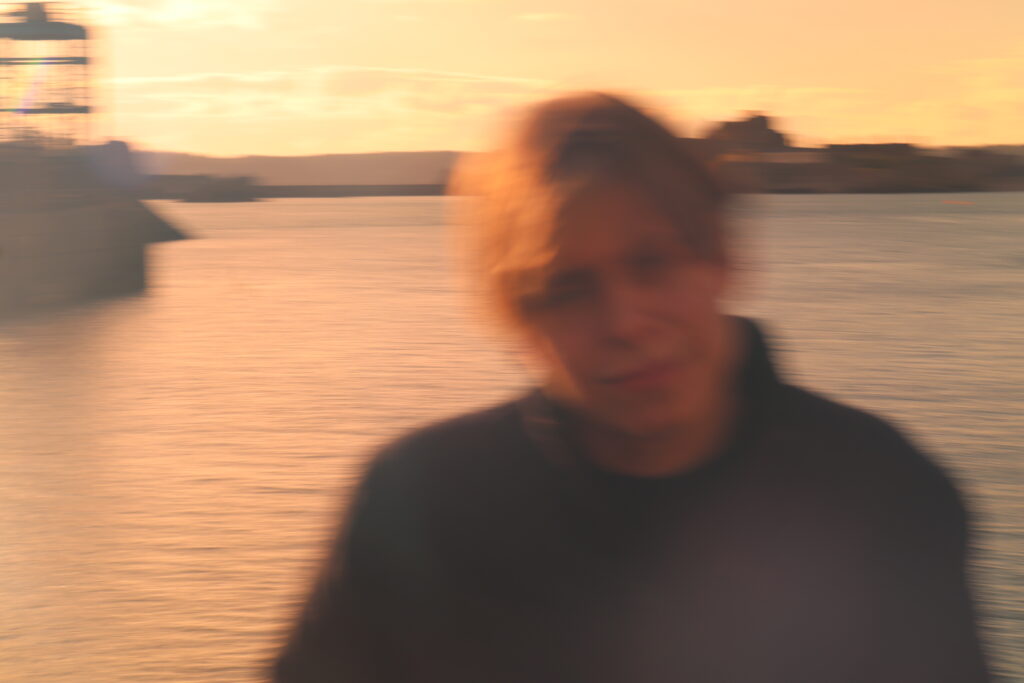
+ Sunrise/set shoot:
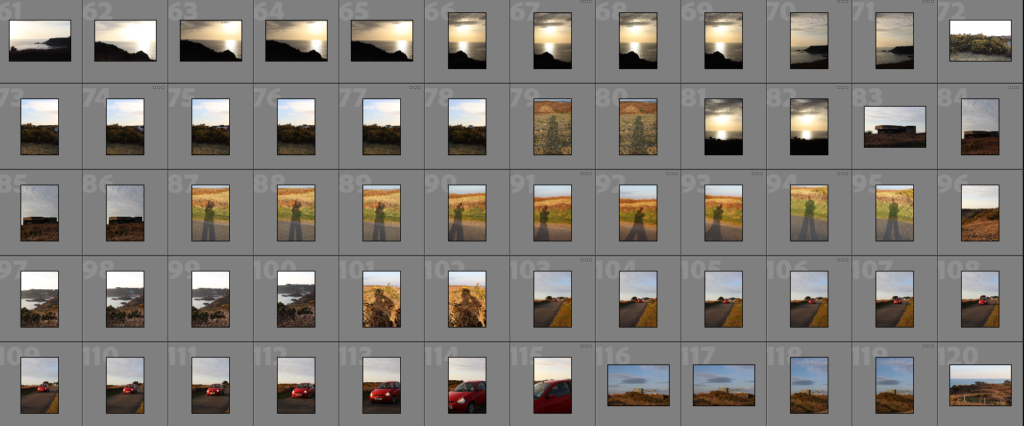
Manifesto:
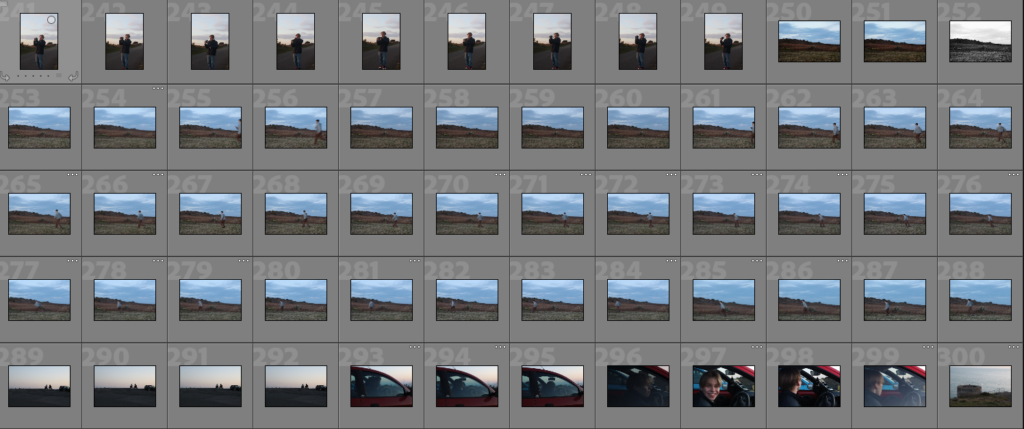
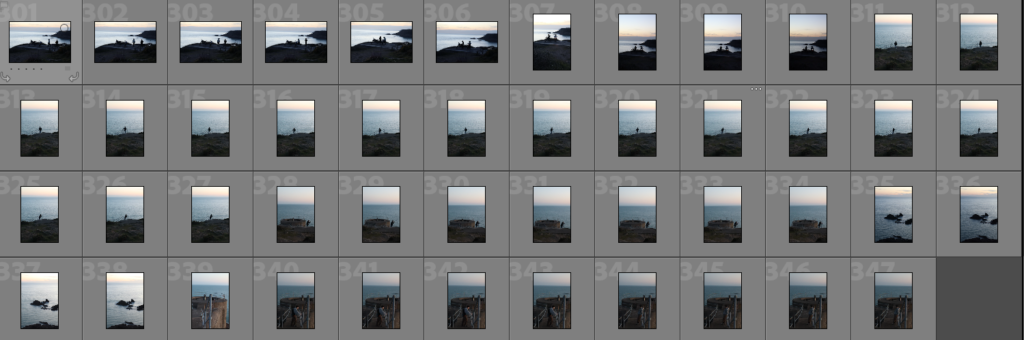
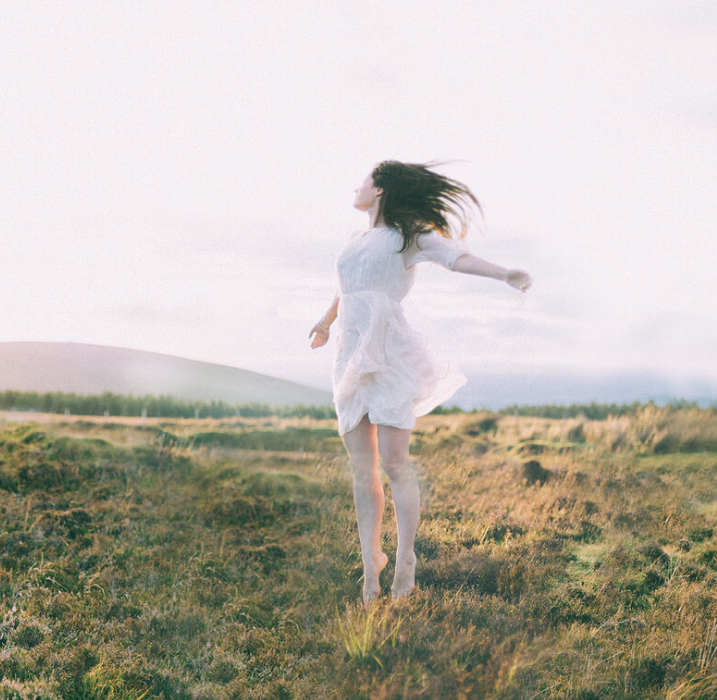
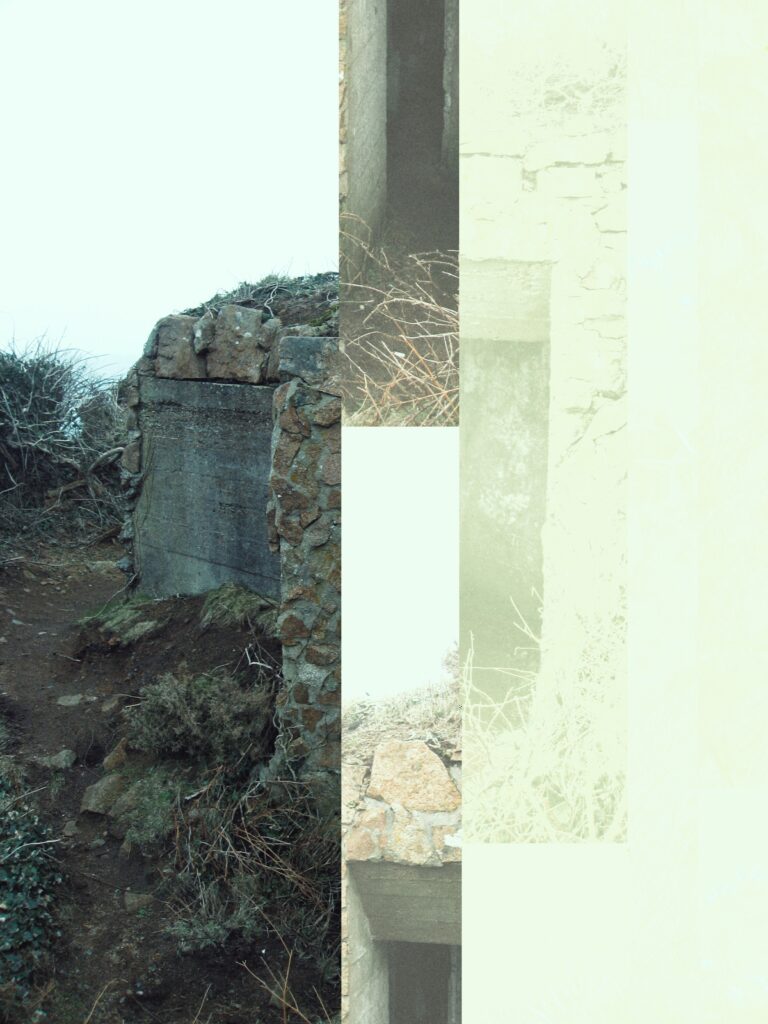
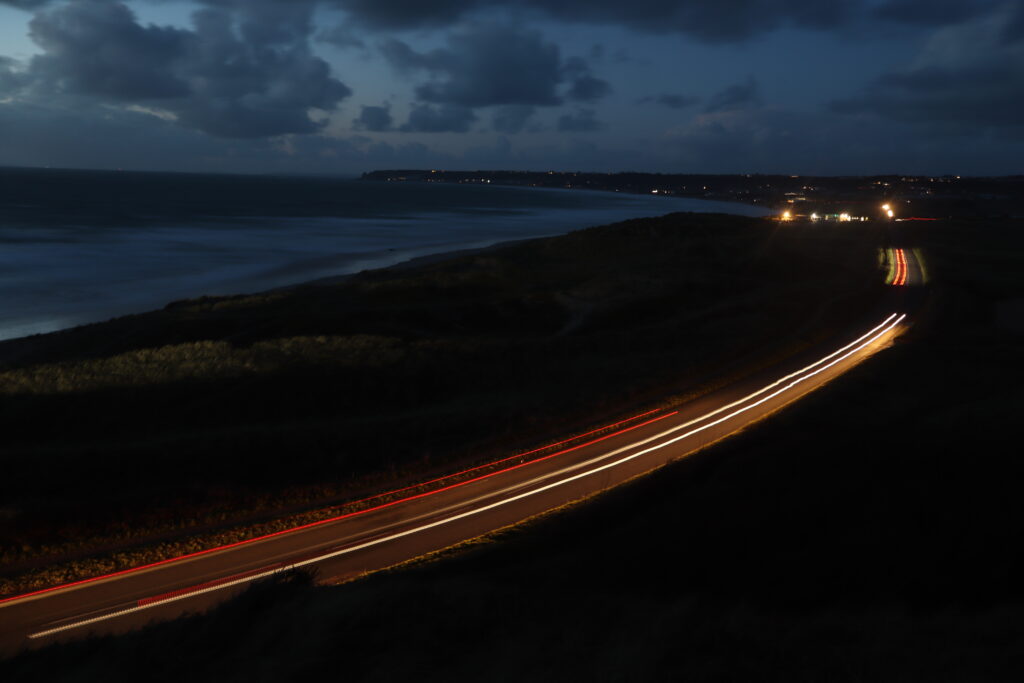
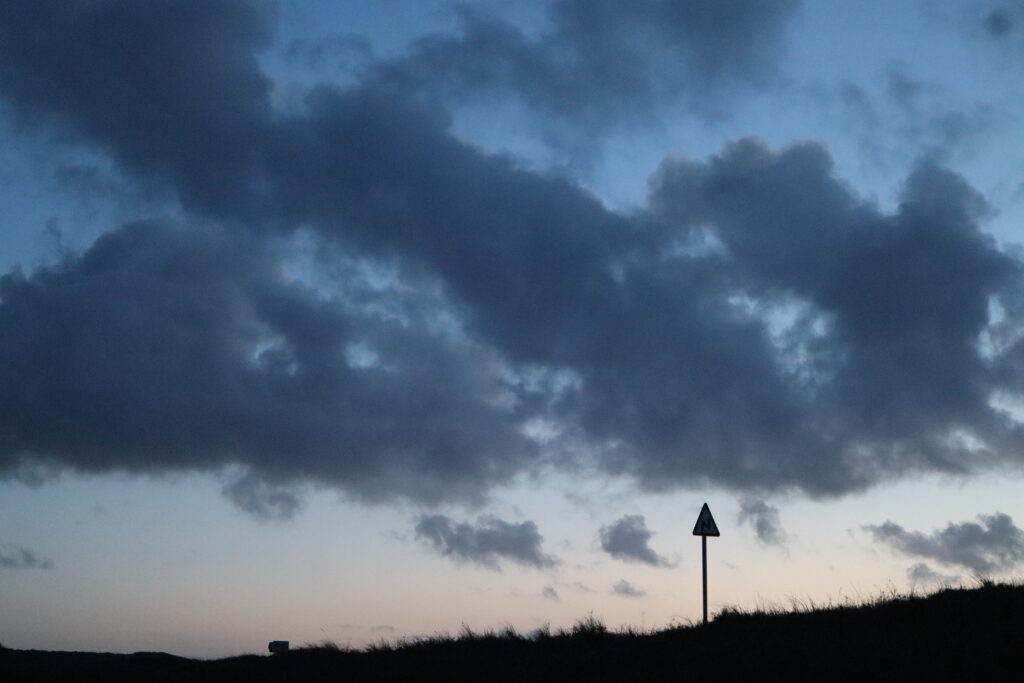
This small additional shoot counts towards the Candid category due to it falling under the social realist style of images I am inspired by. These images are collected from across my shoots where I would additionally get some photographs of the suns rise and fall.
Before:
Editing:
After:
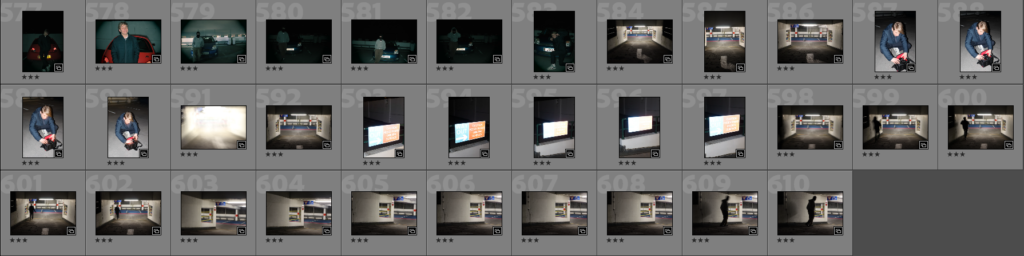
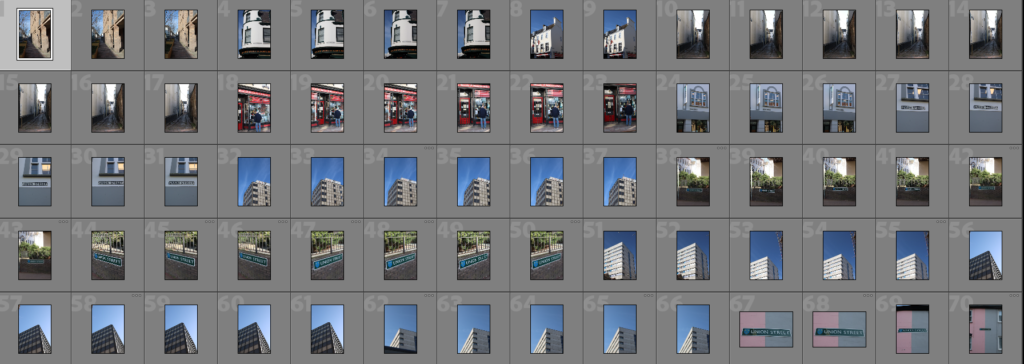
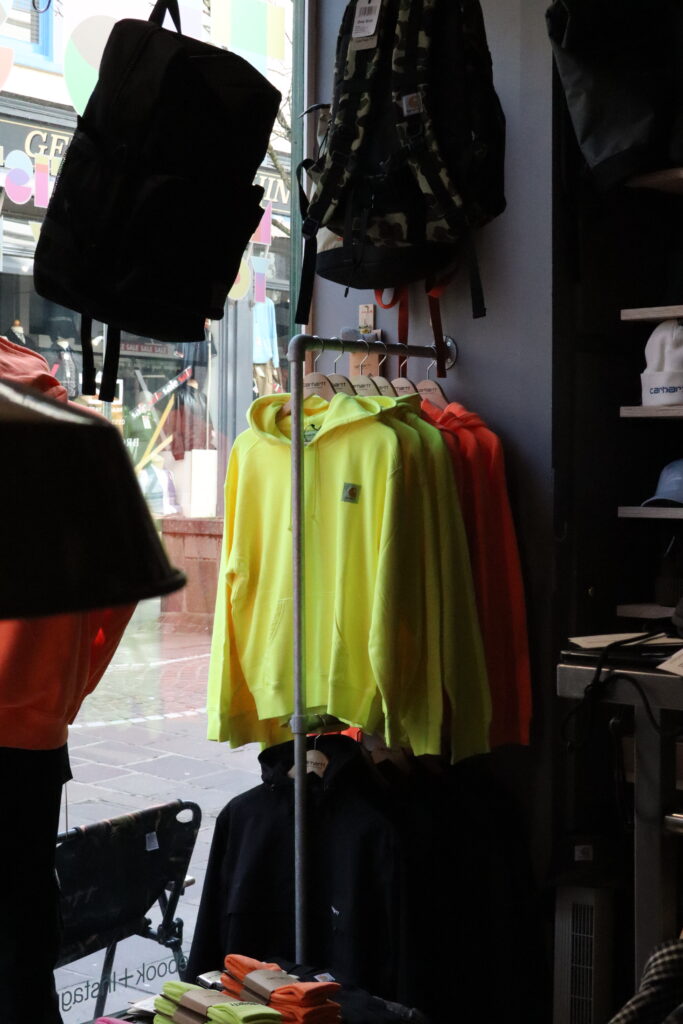
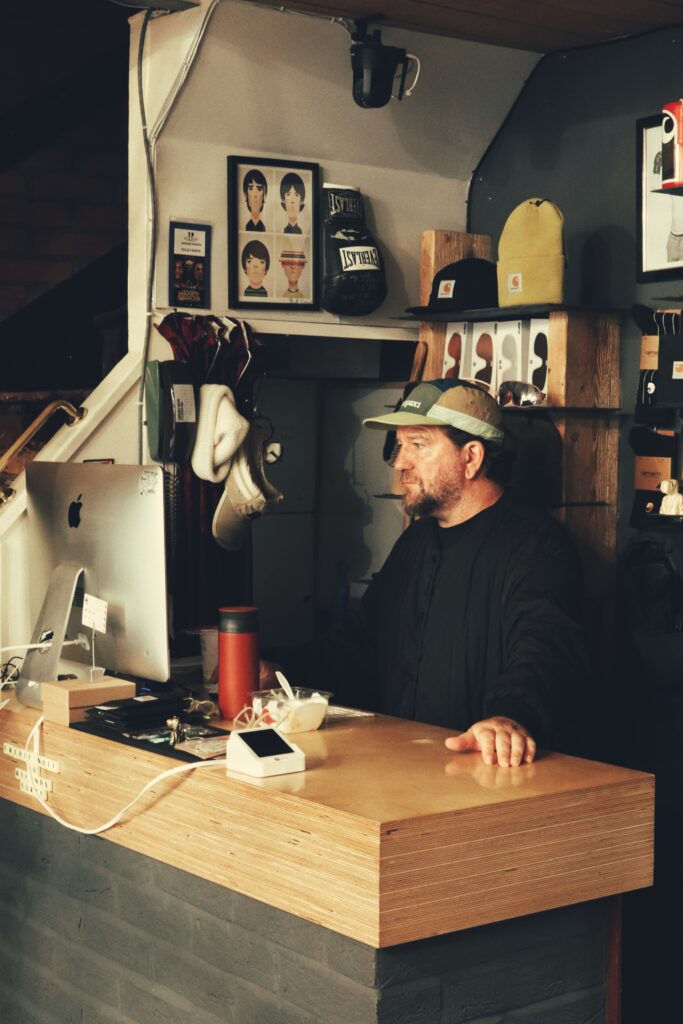
Photoshoot Town:
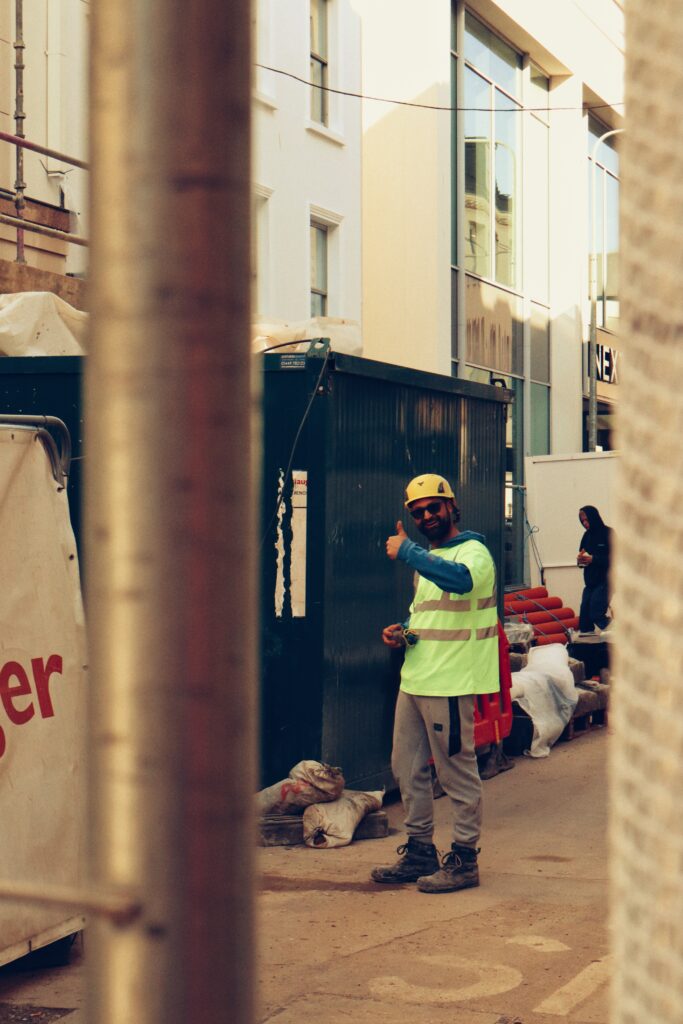
Manifesto:
With this photoshoot being a large one around town, I edited a lot of images that were in the same style with the same settings to simplify the process and to create a matching aesthetic between images. This shoot is primarily in the Candid category with some Blurred category images.
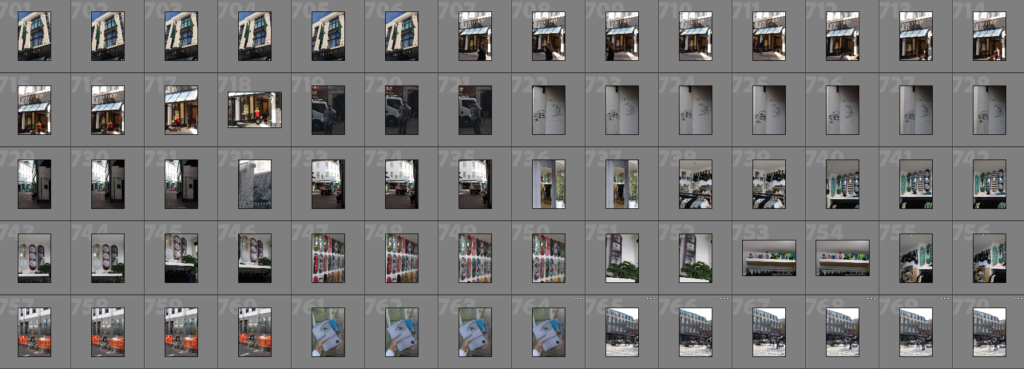
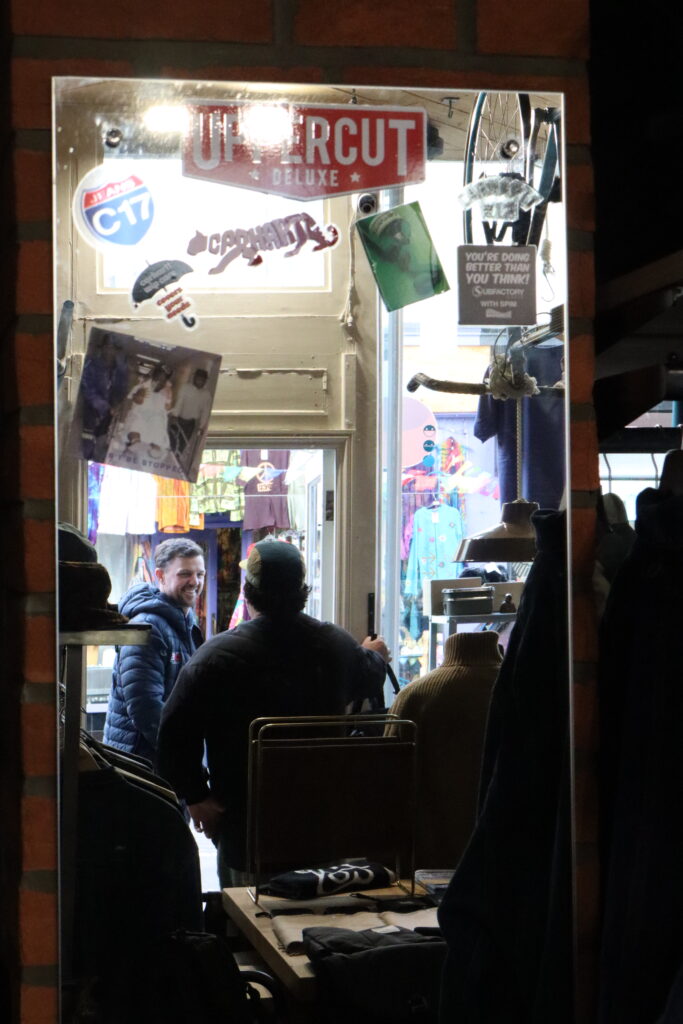
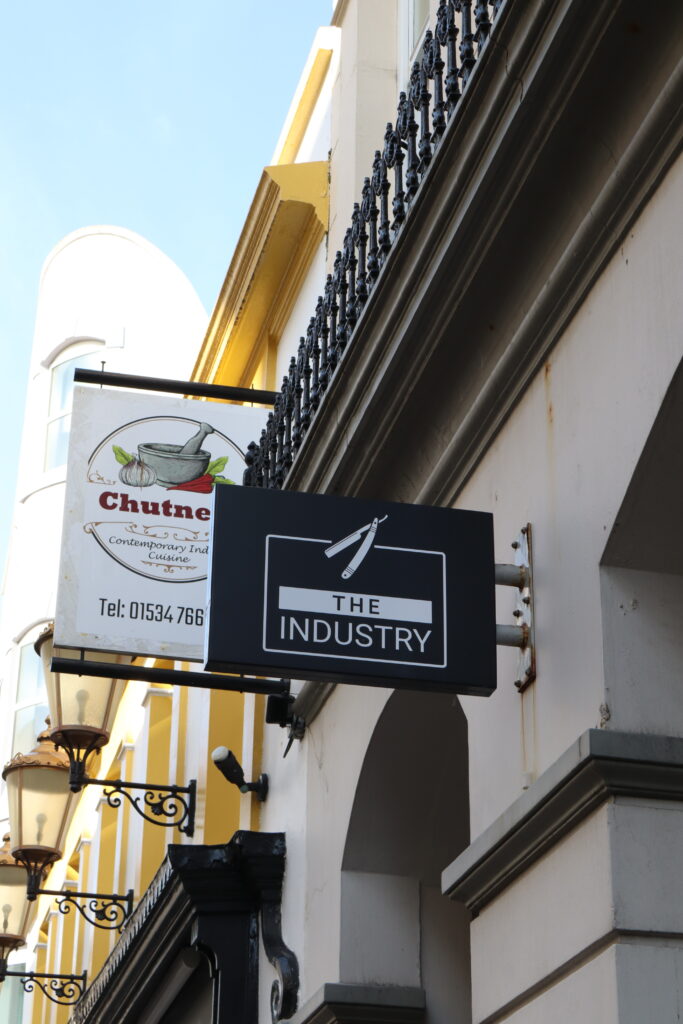
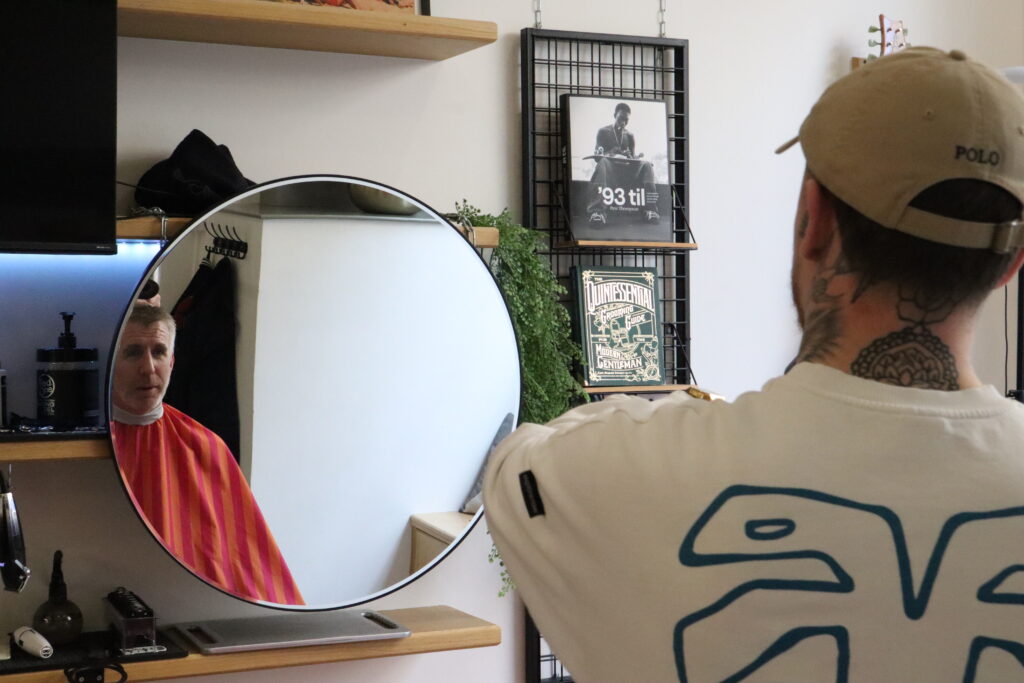
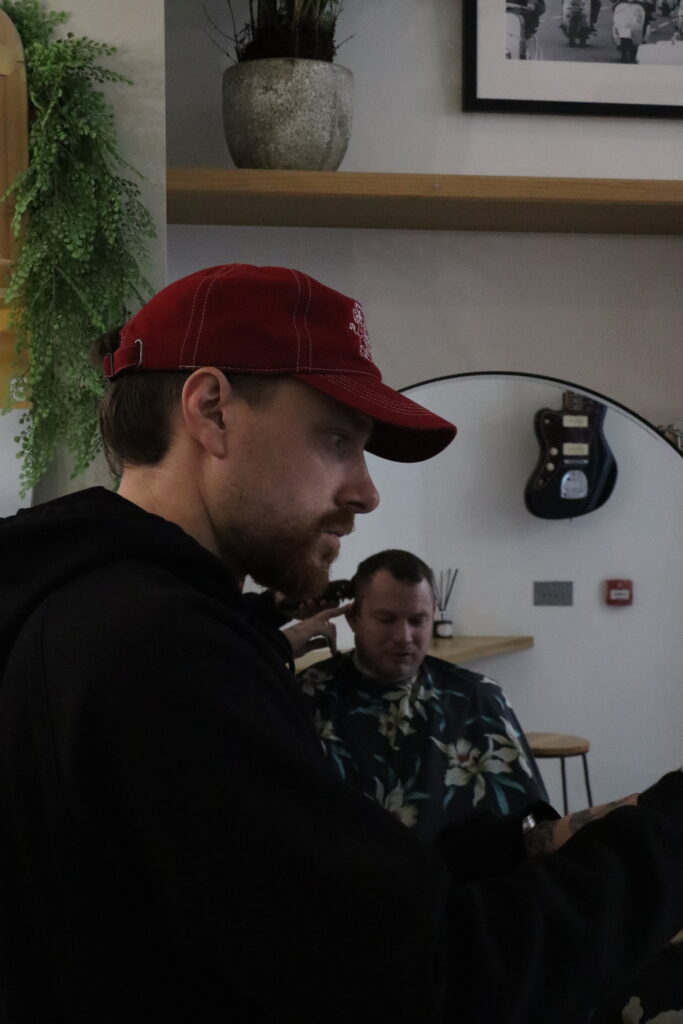
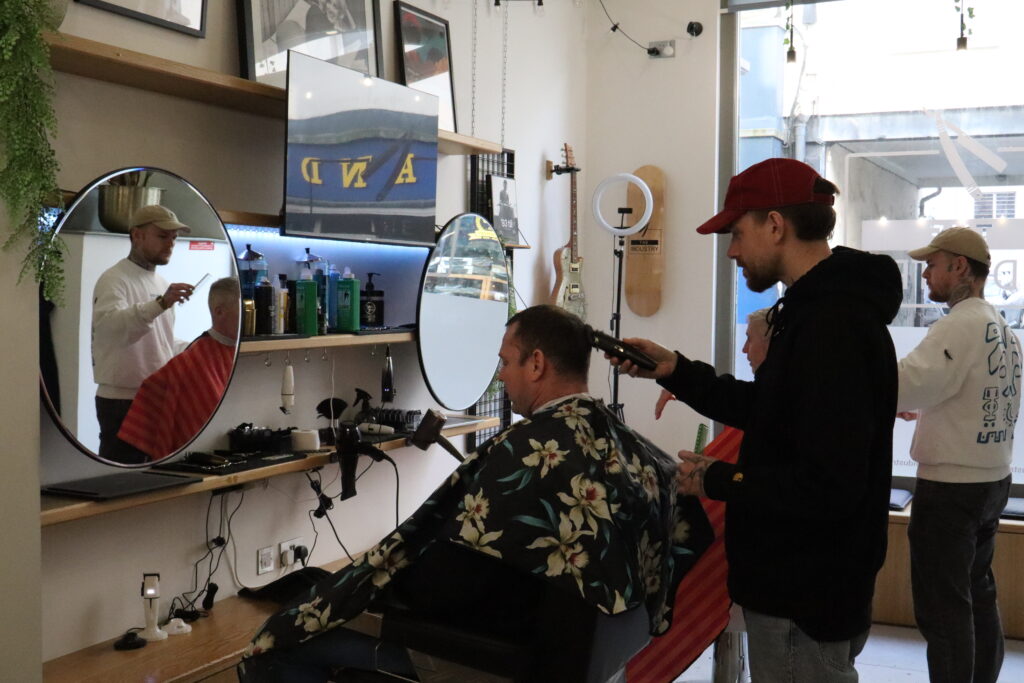
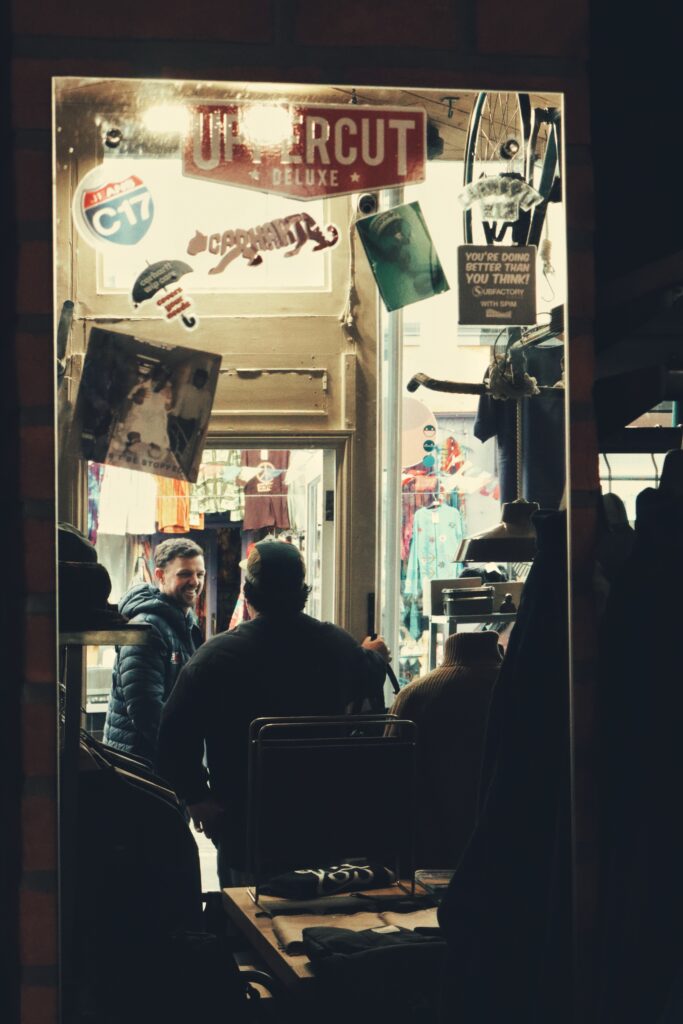
Businesses:
Before:

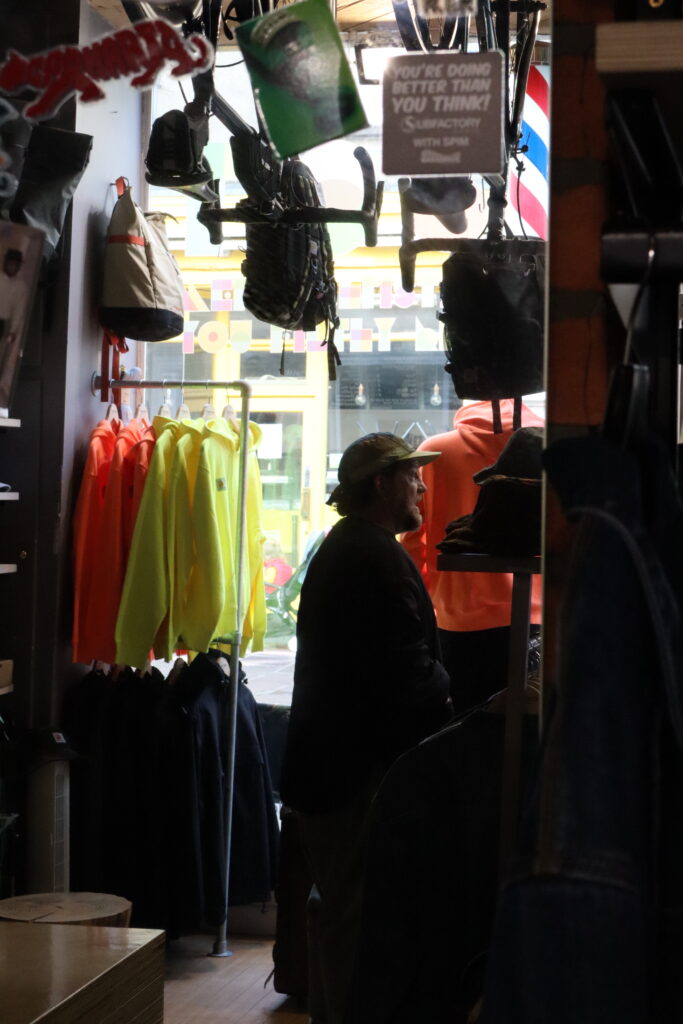

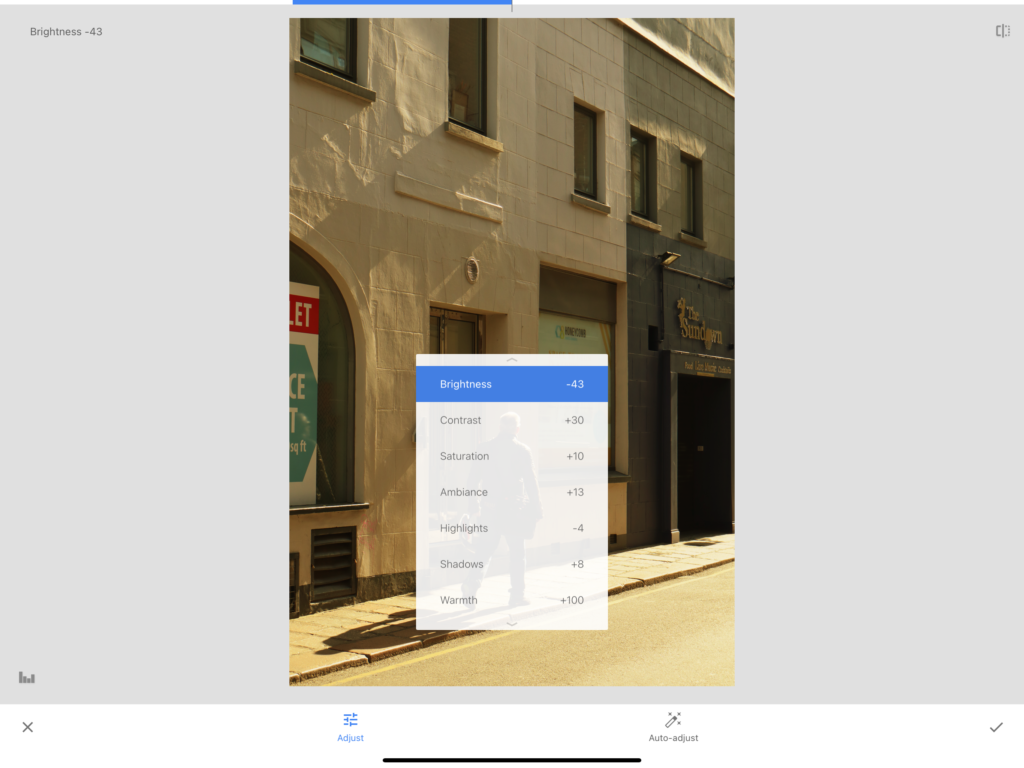
Editing:
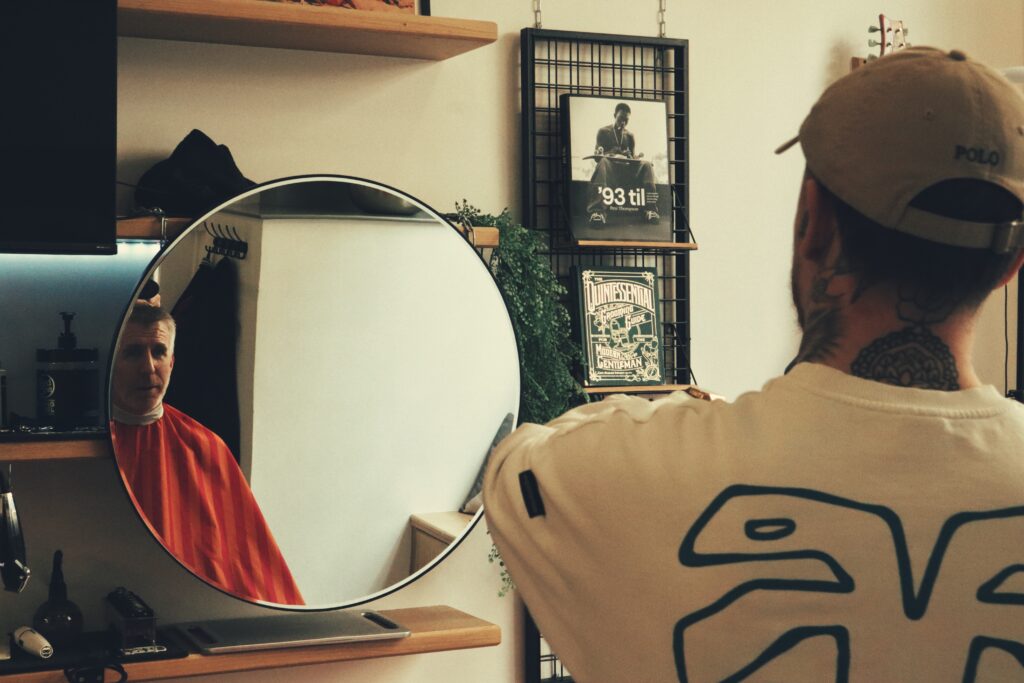
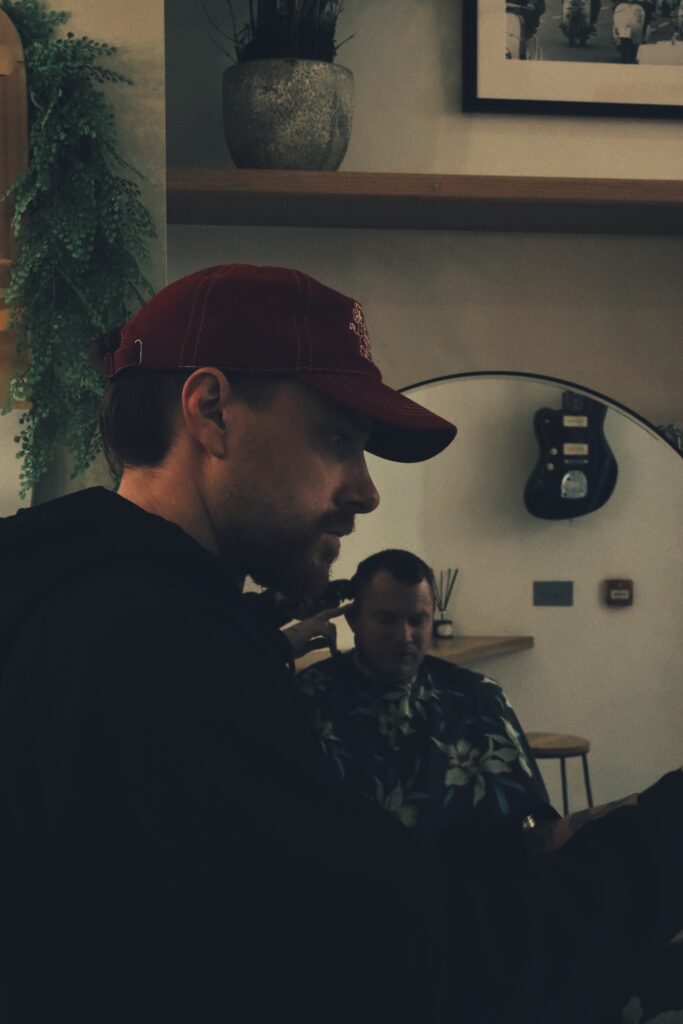
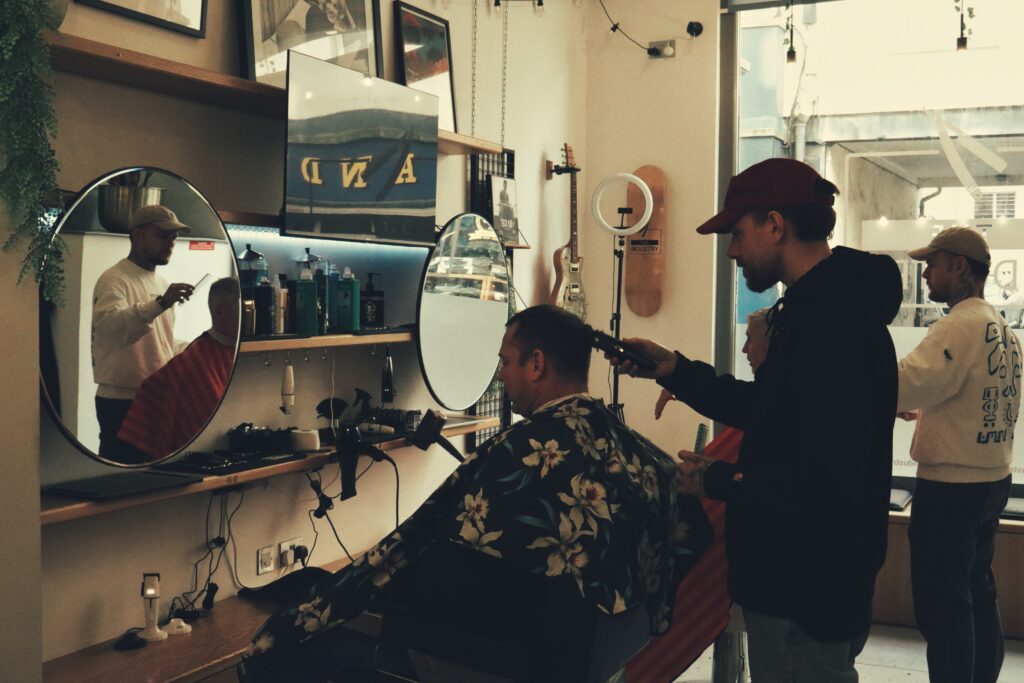
Adjusting the base layers of the image, I was able to add more depth to the subjects within the composition such as the mirror, barber and background objects. Making the image warmer, this was to create a soft blend to the lighter colours such as beige and white but also to add some contrast to darker colours such as the bookshelf and mirror.
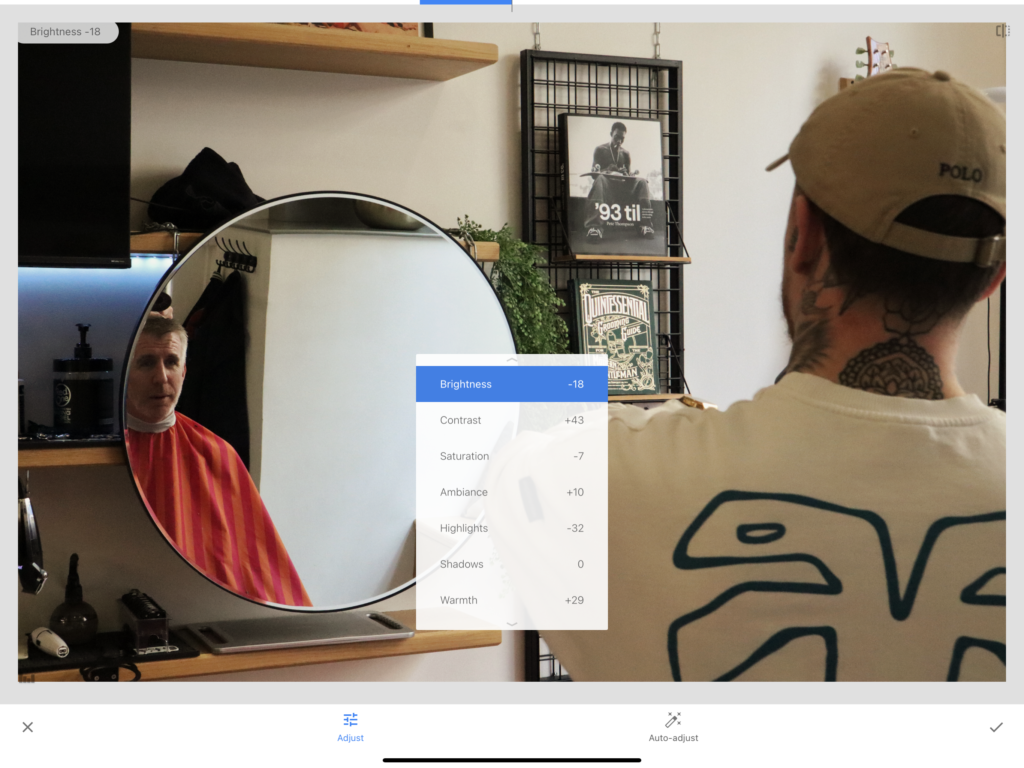
After this, I then added a grain filter to add a vintage aesthetic to the image. This I found worked well to outline the barber in the foreground too from the background.
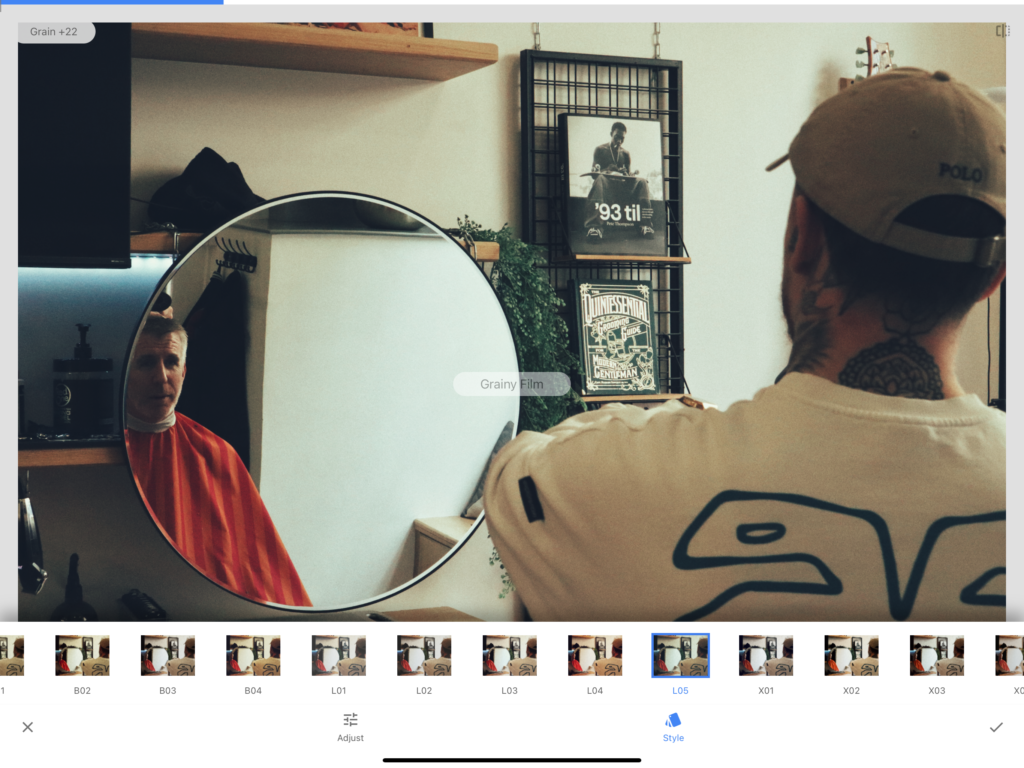
Adding some more warmth through the white balance, I feel this added to it again to create outlines of the subjects.
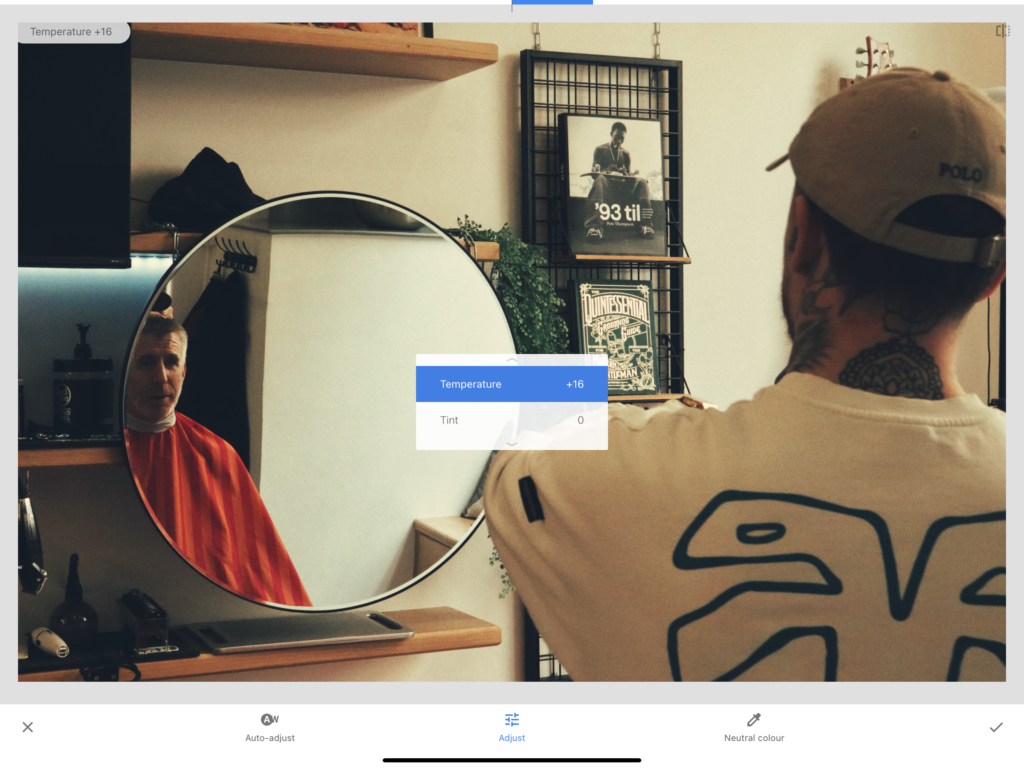
with other images taken within the same lighting conditions, as well as me wanting to create them to fit the same style, I then applied this to some other photos.
After:
As a result they turned out like this:

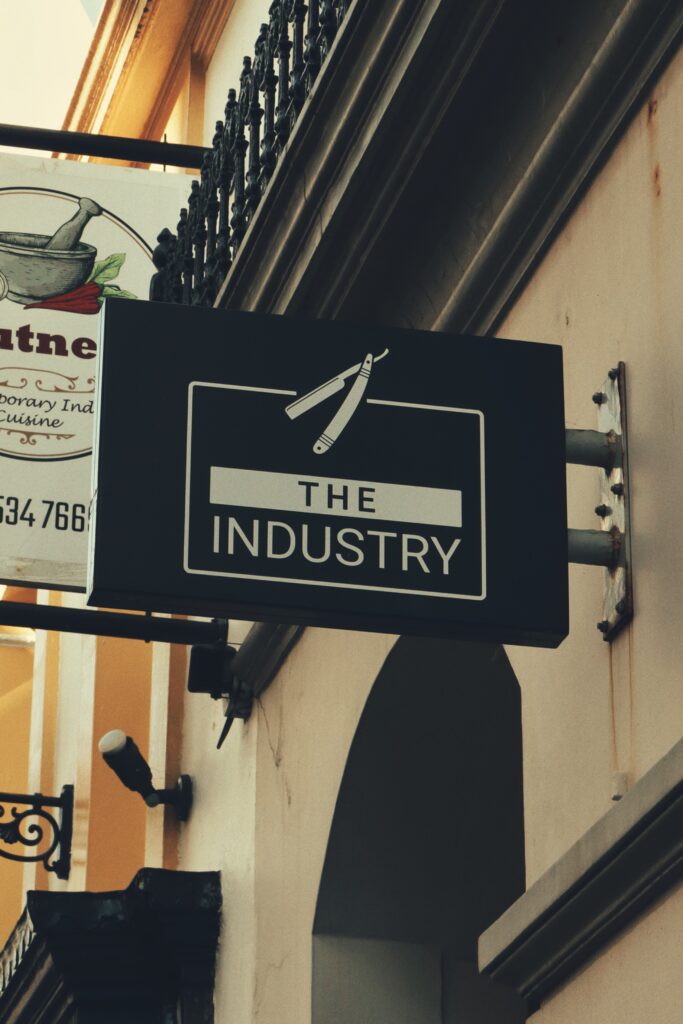

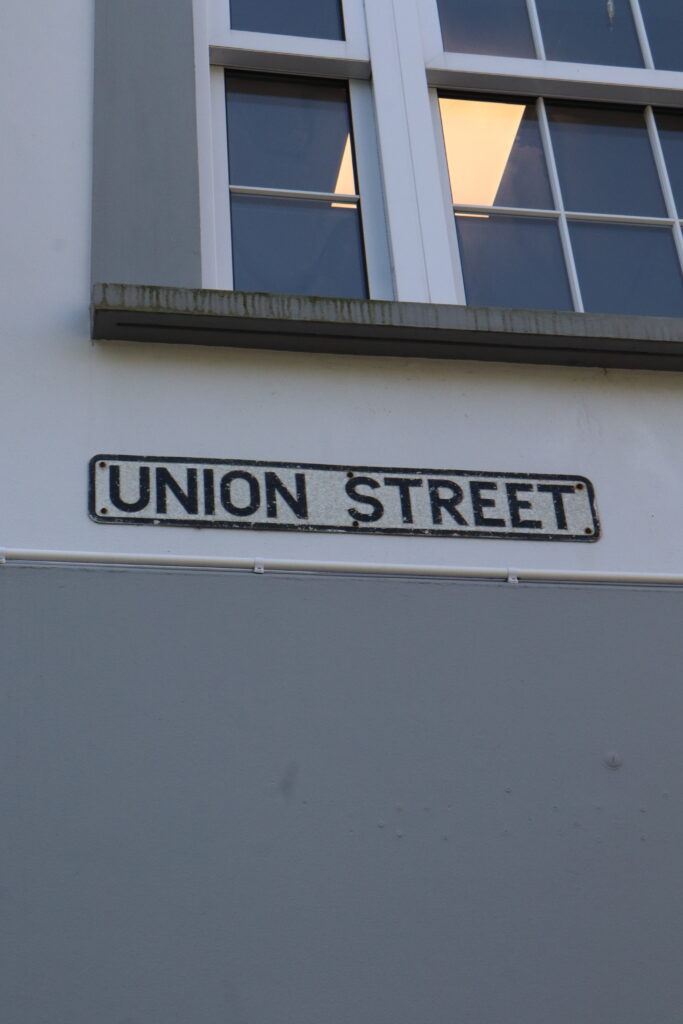
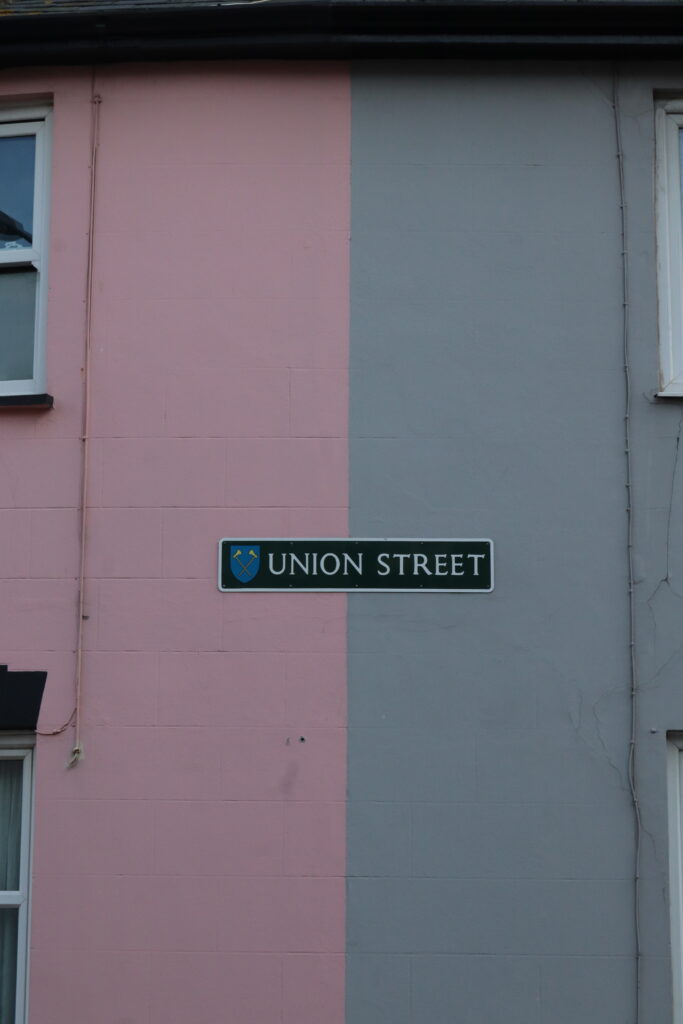
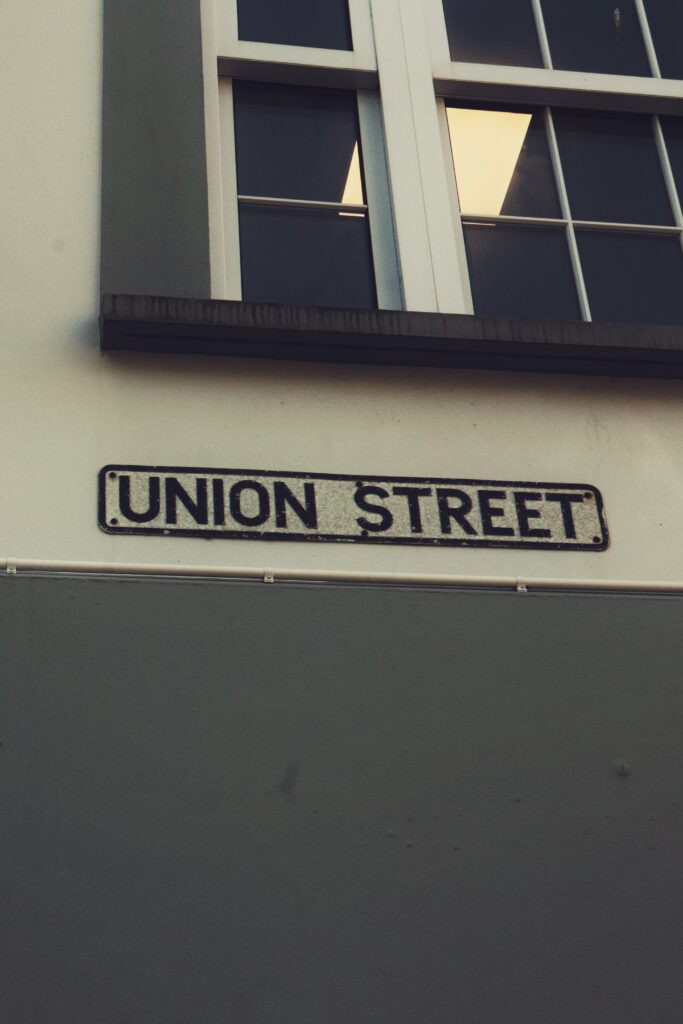
Union street:
Before:
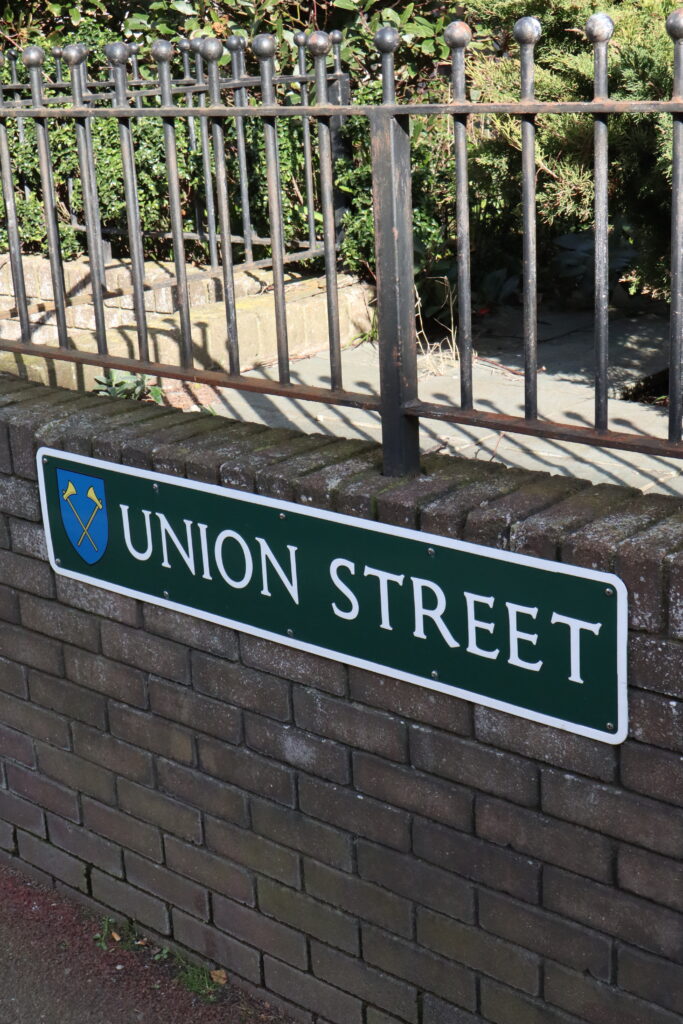
Editing:
With the project centred around union, i thought I’d include some Union street images in my project. Due to the image being fairly oversaturated I aimed to distort the brightness to make it have that old digital camera effect.
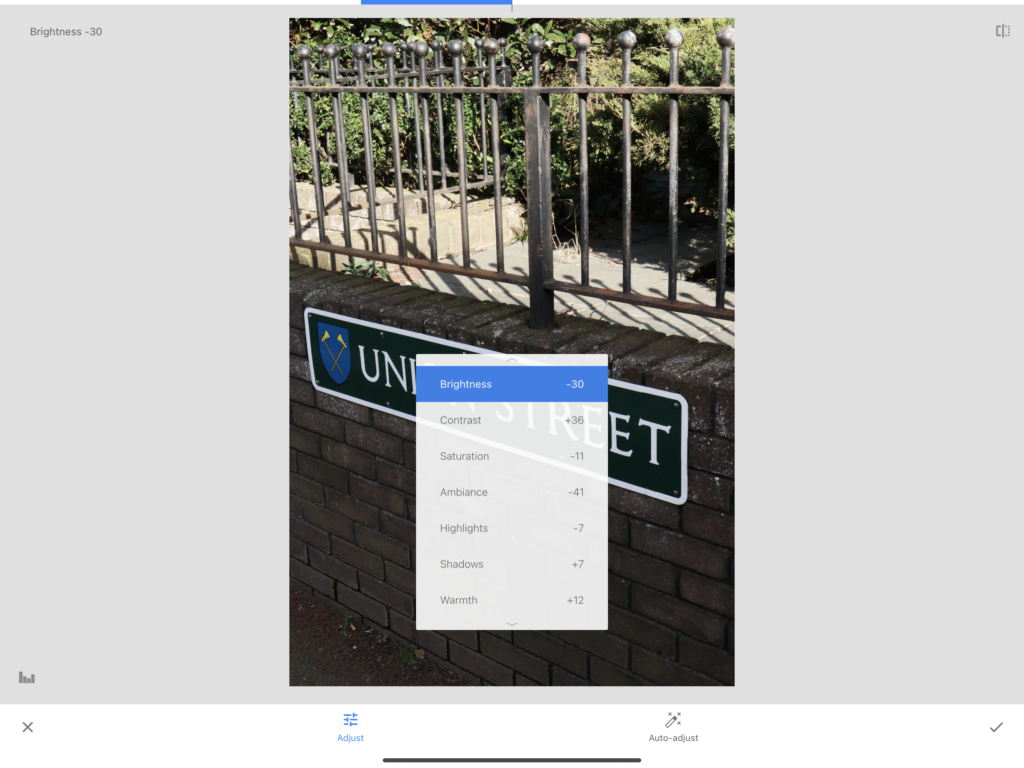
adding a warmer temperature through white balance this was to create a more richer nostalgia aesthetic.
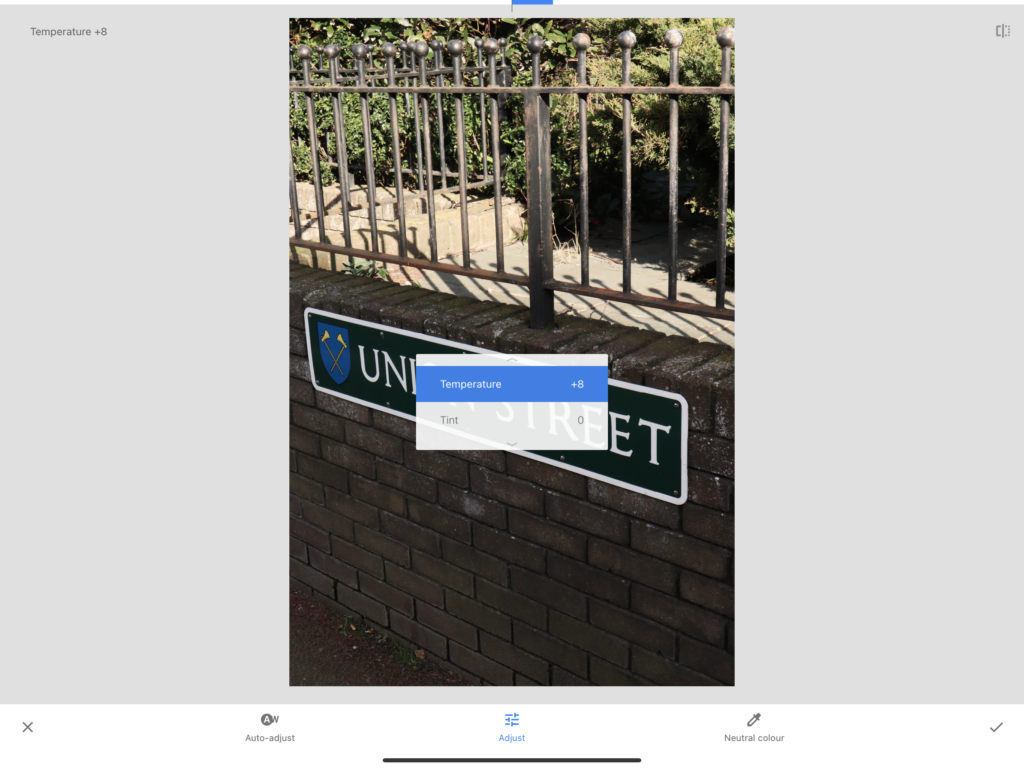
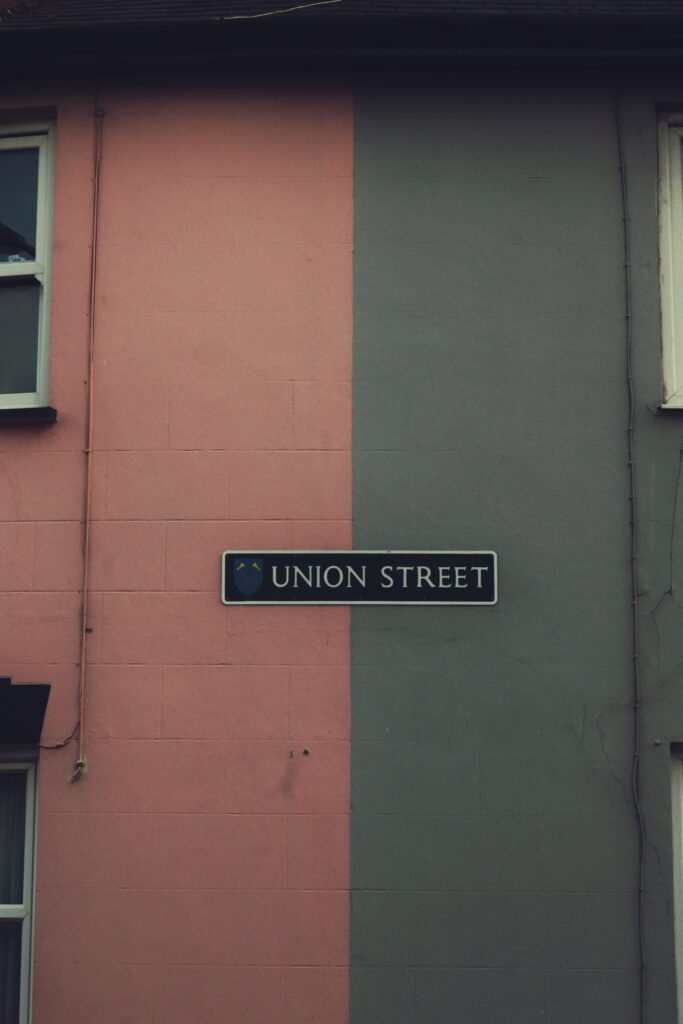
From this I then applied these settings to the other Union Street signs I photographed.
After:

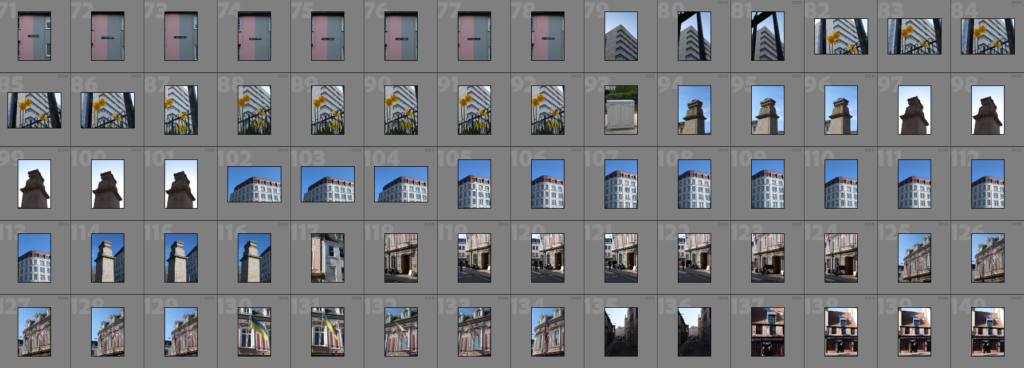
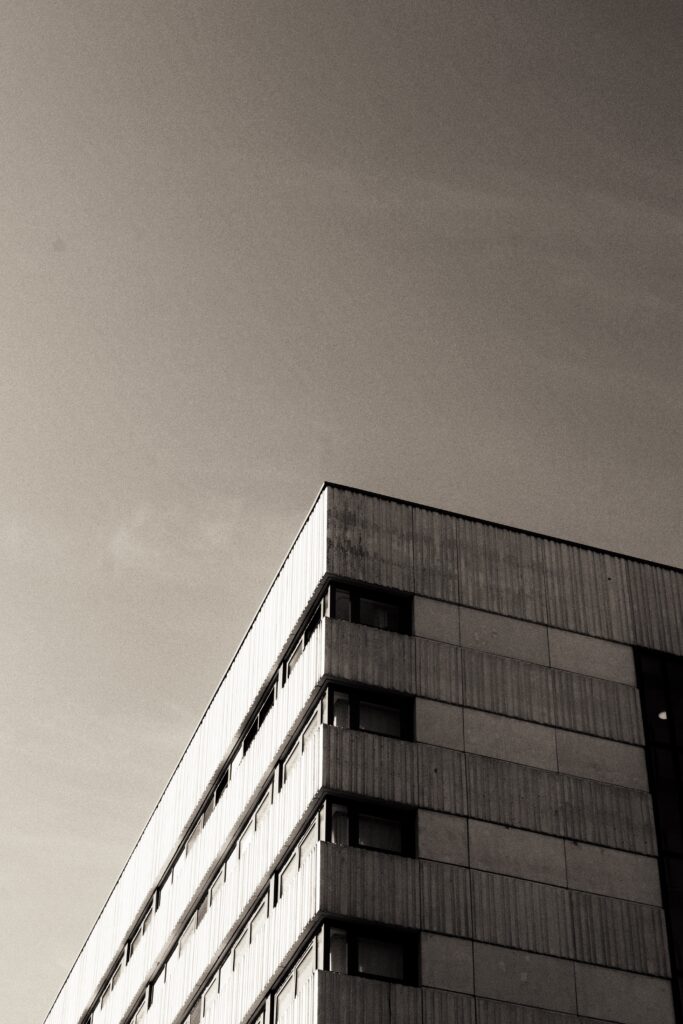
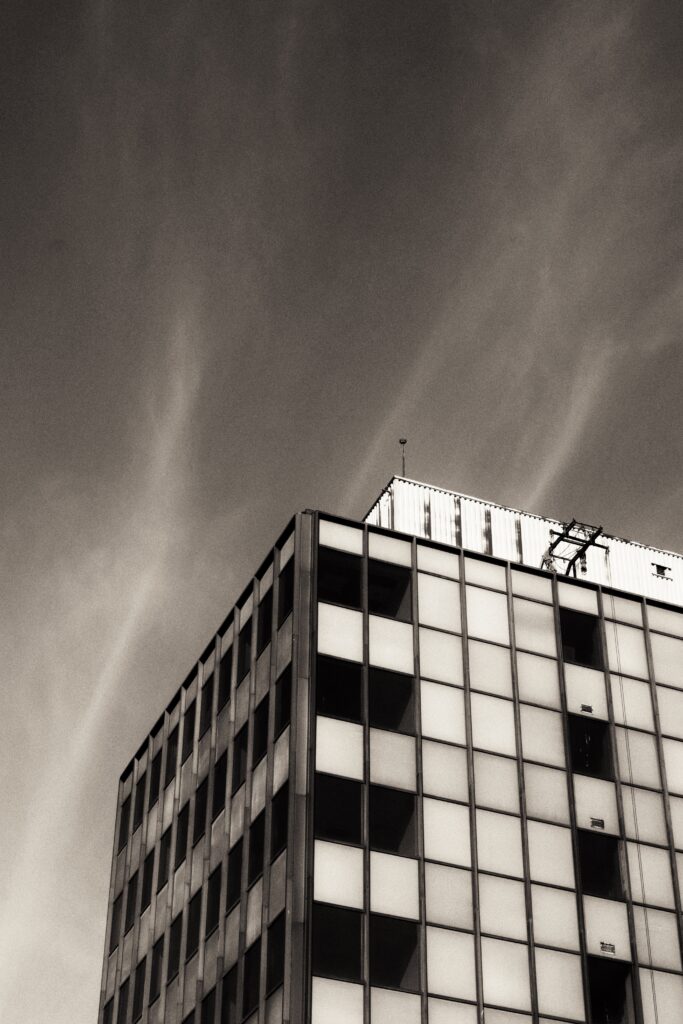
Buildings:
Before:
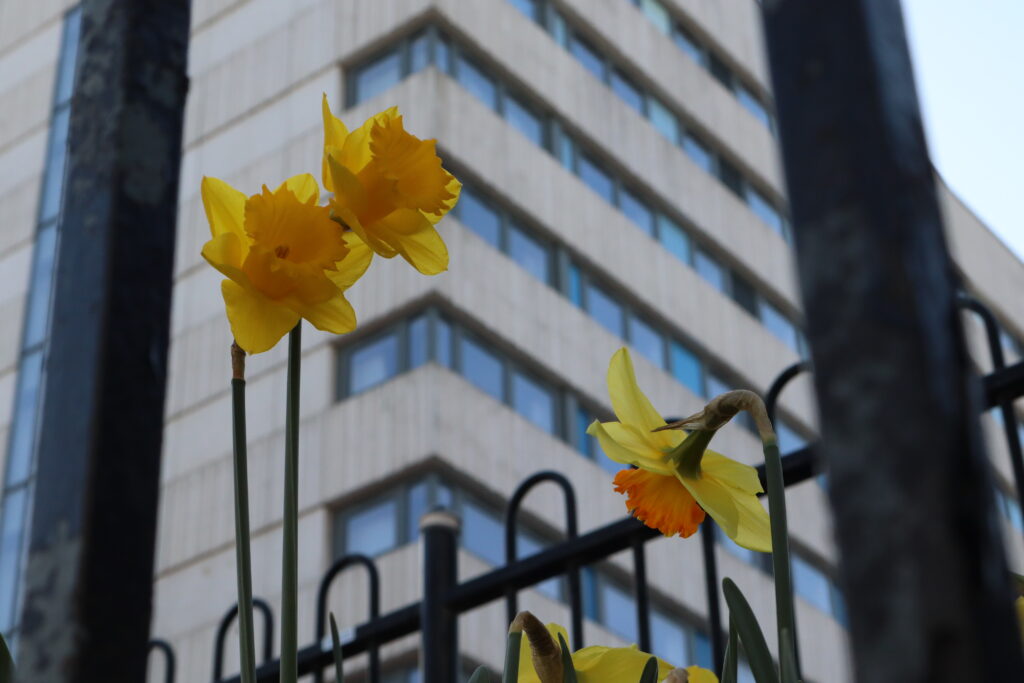
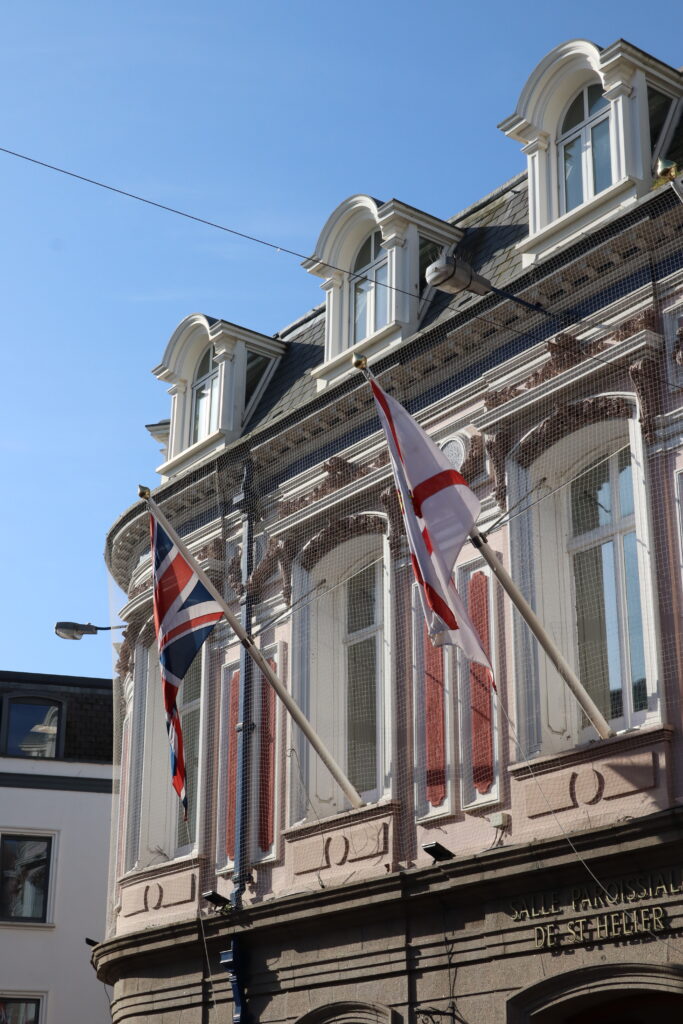
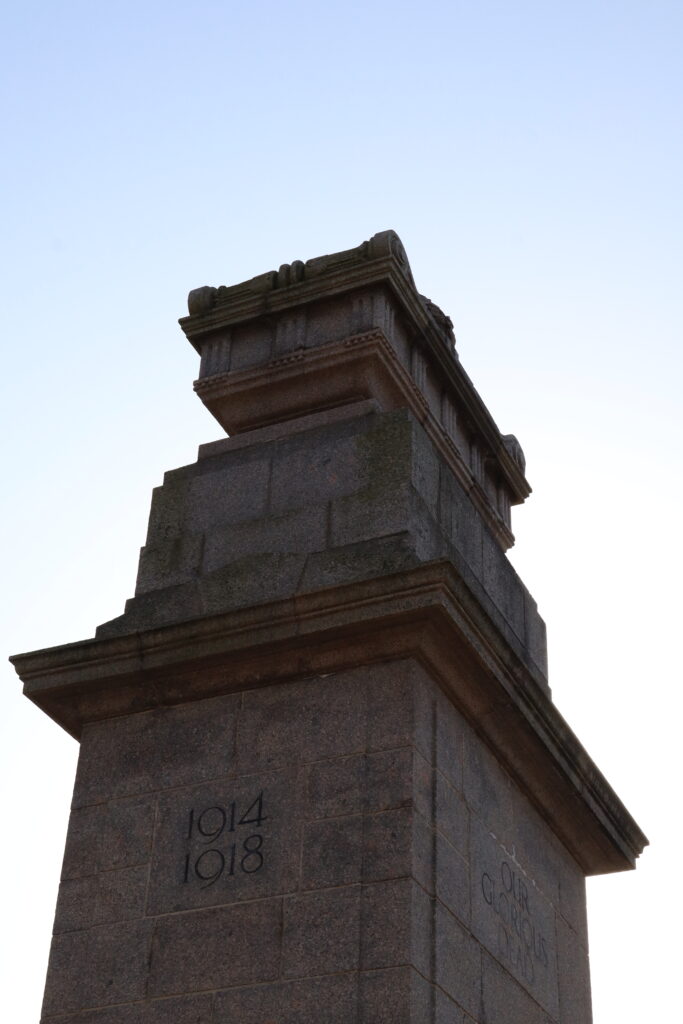
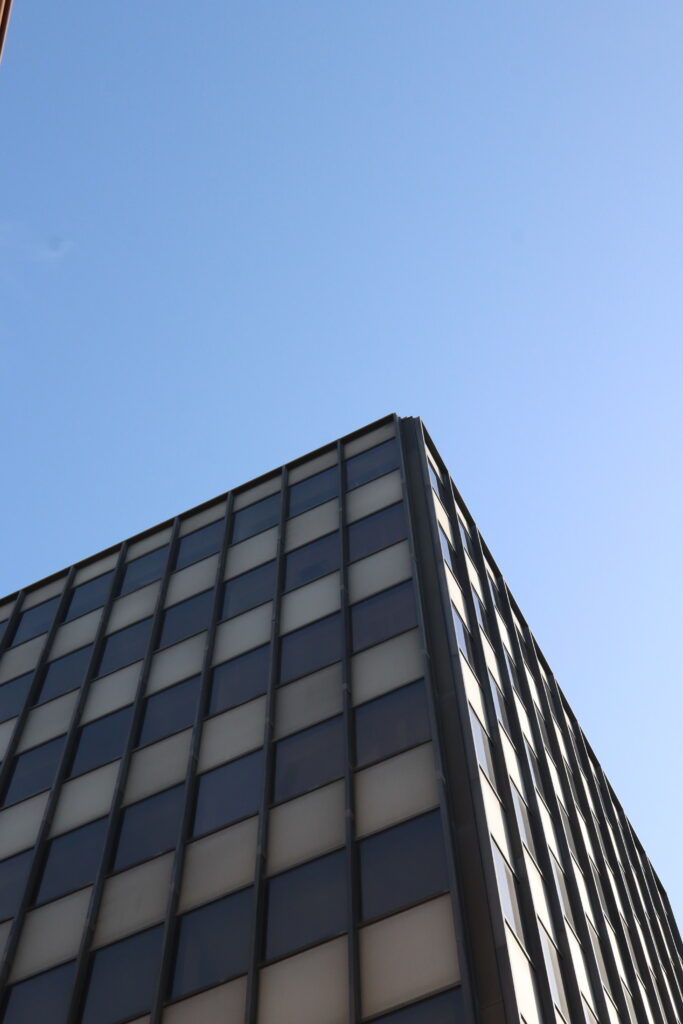
Editing:
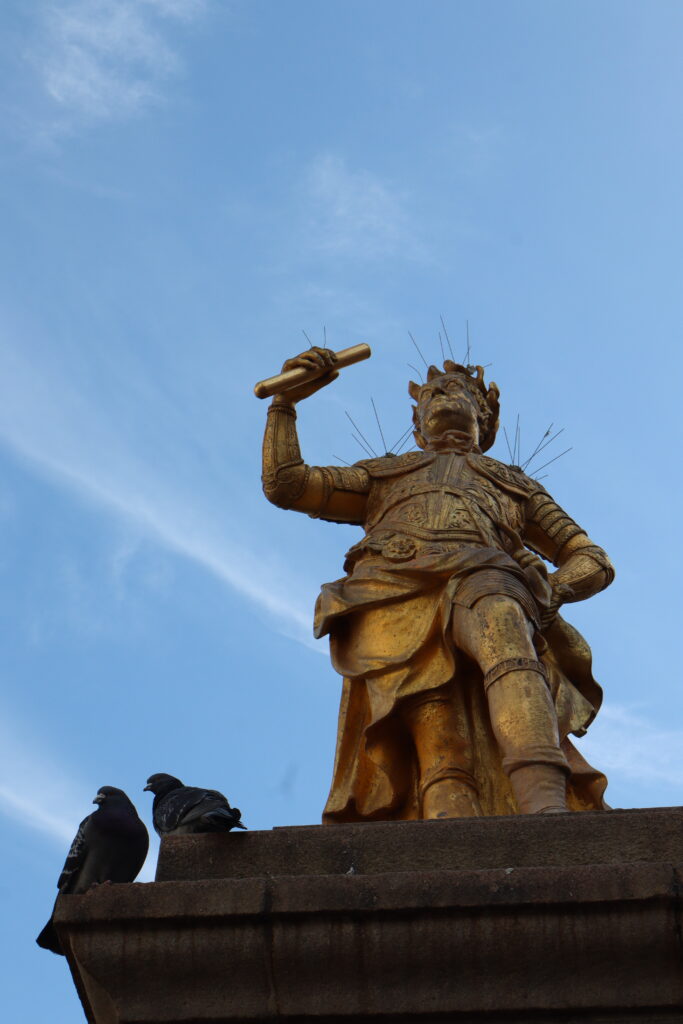
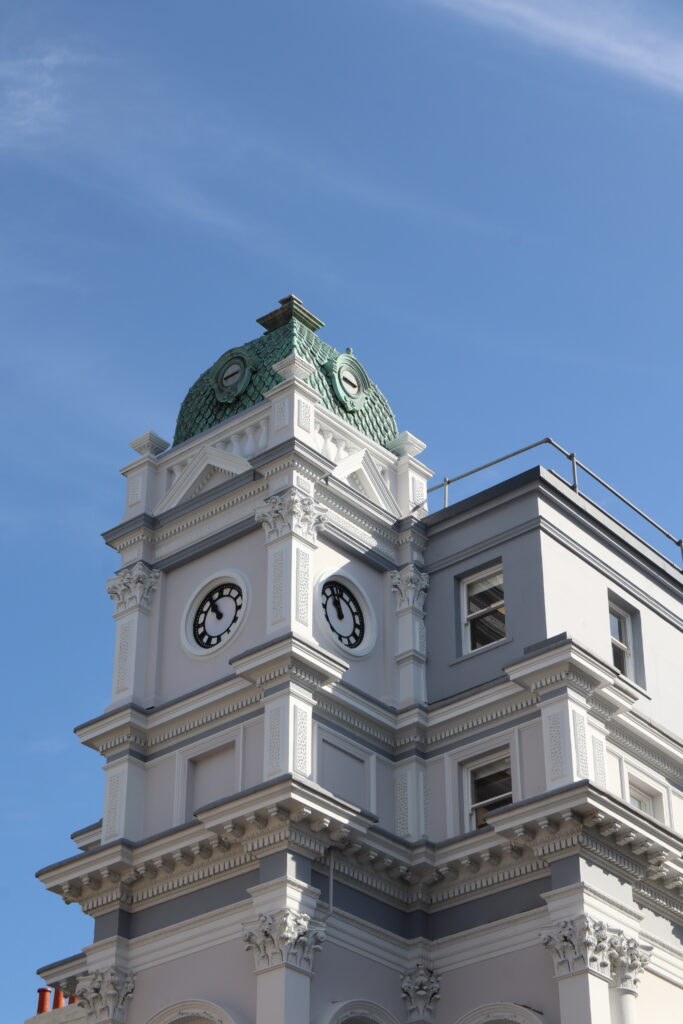
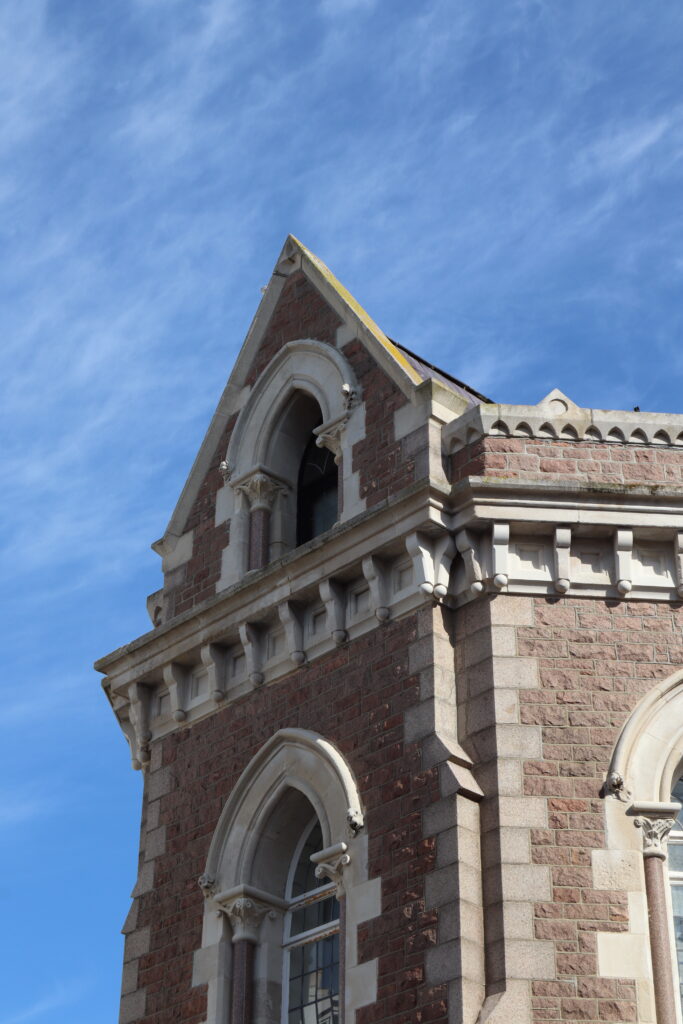
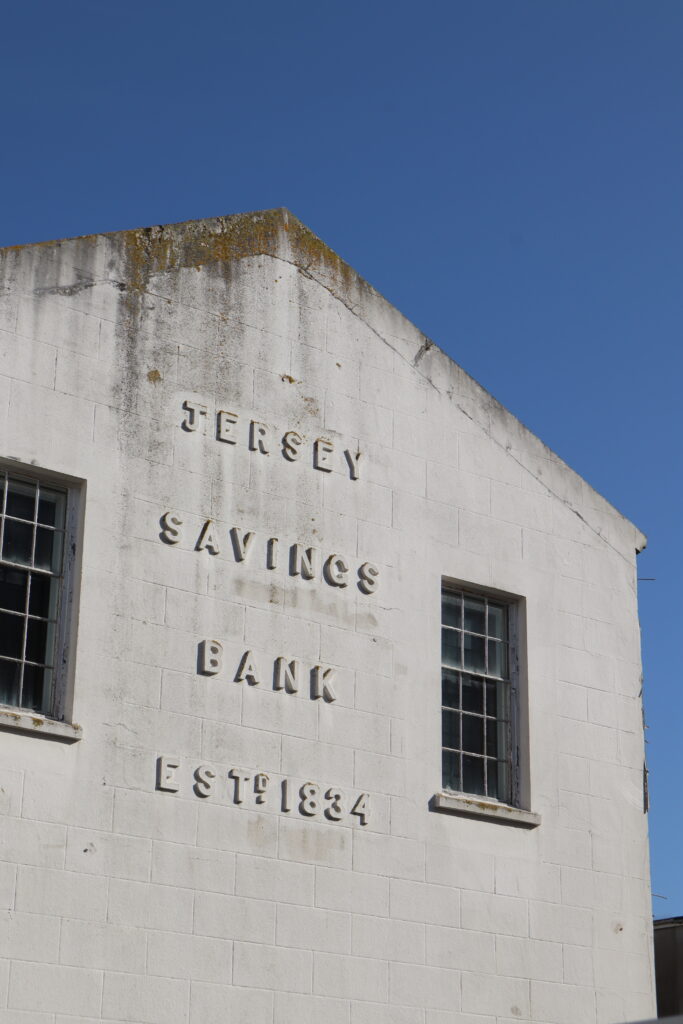
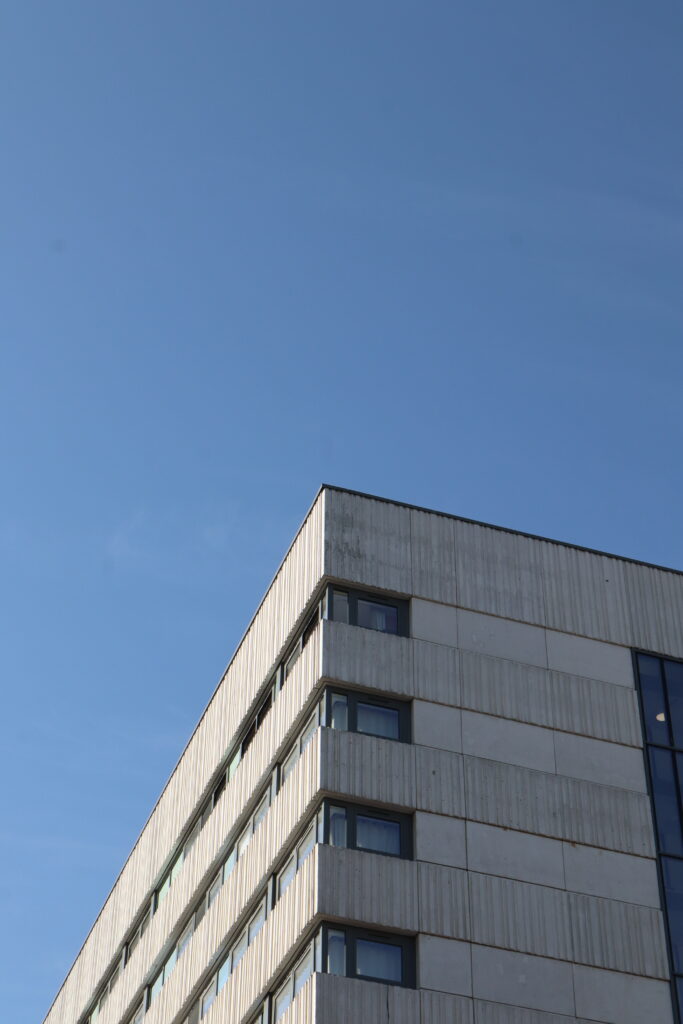
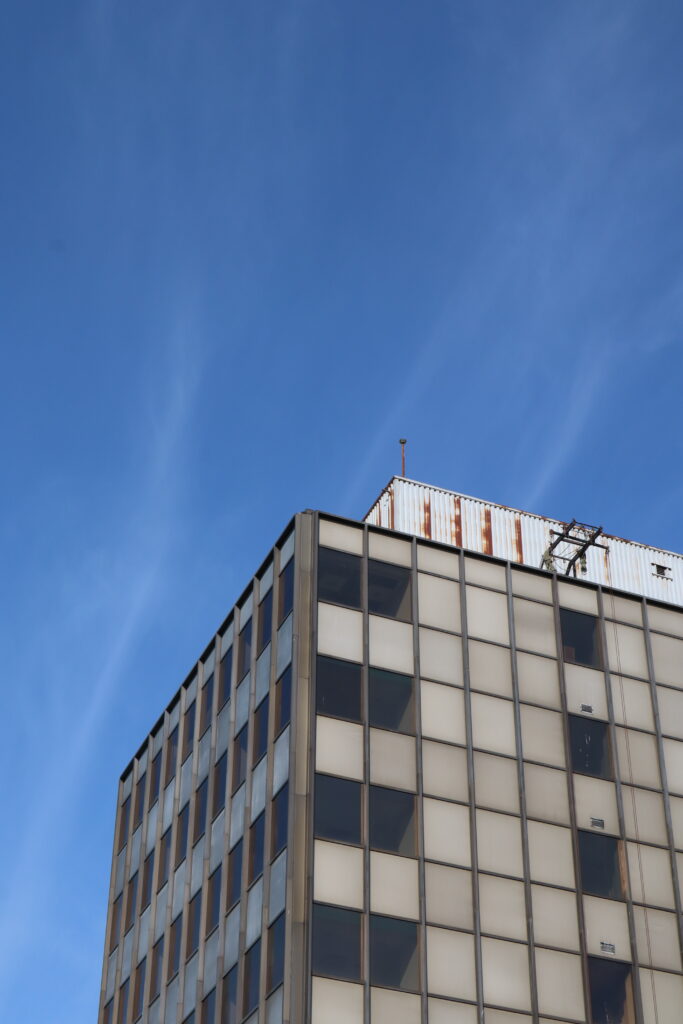
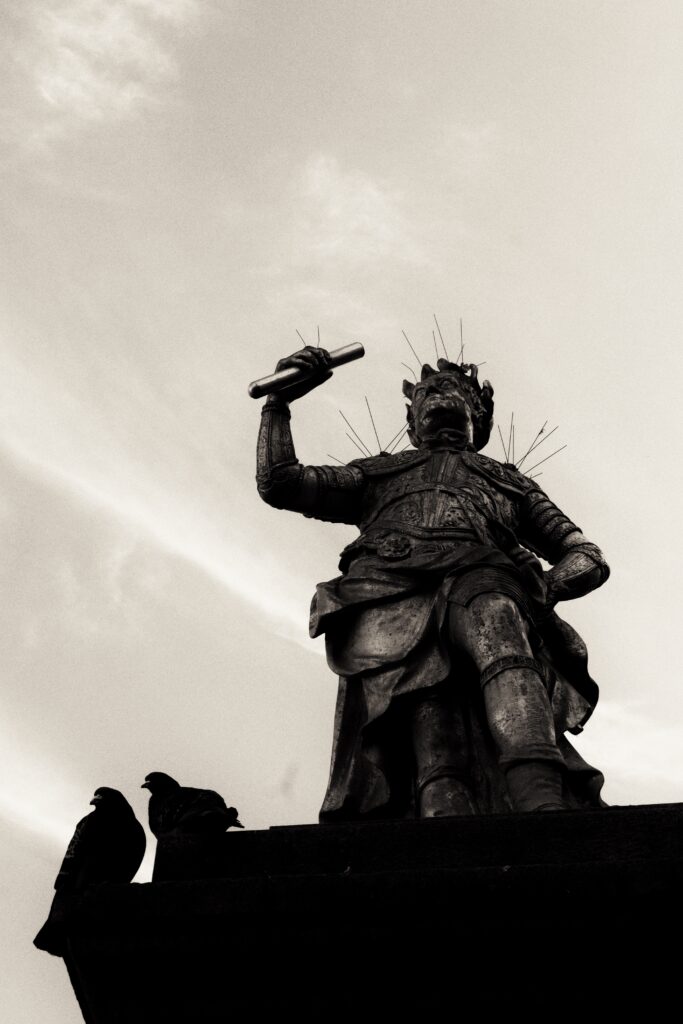
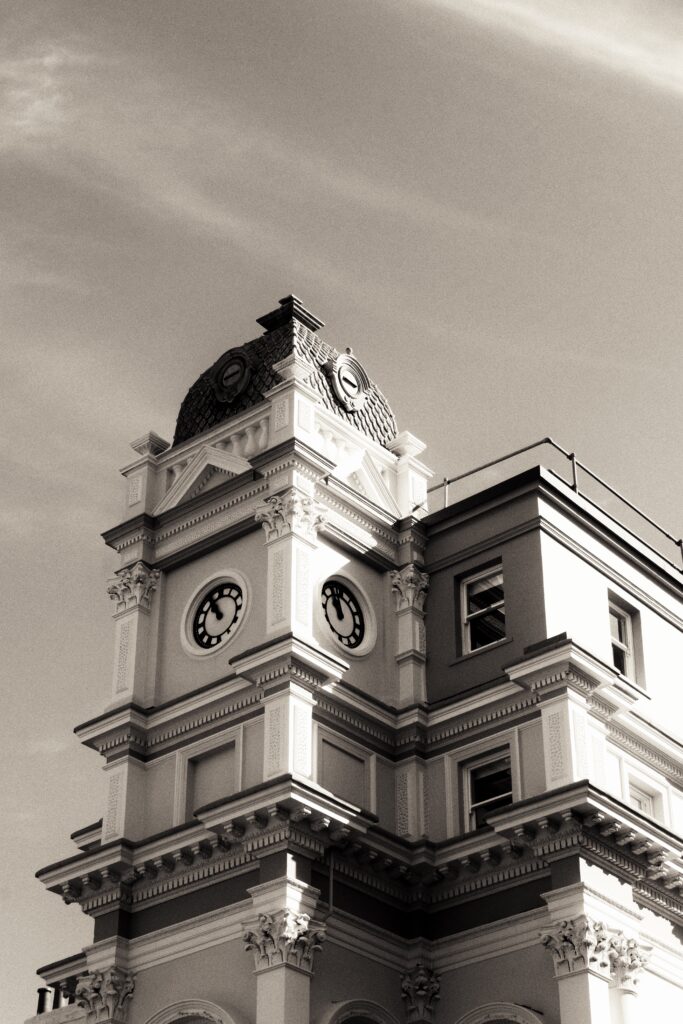
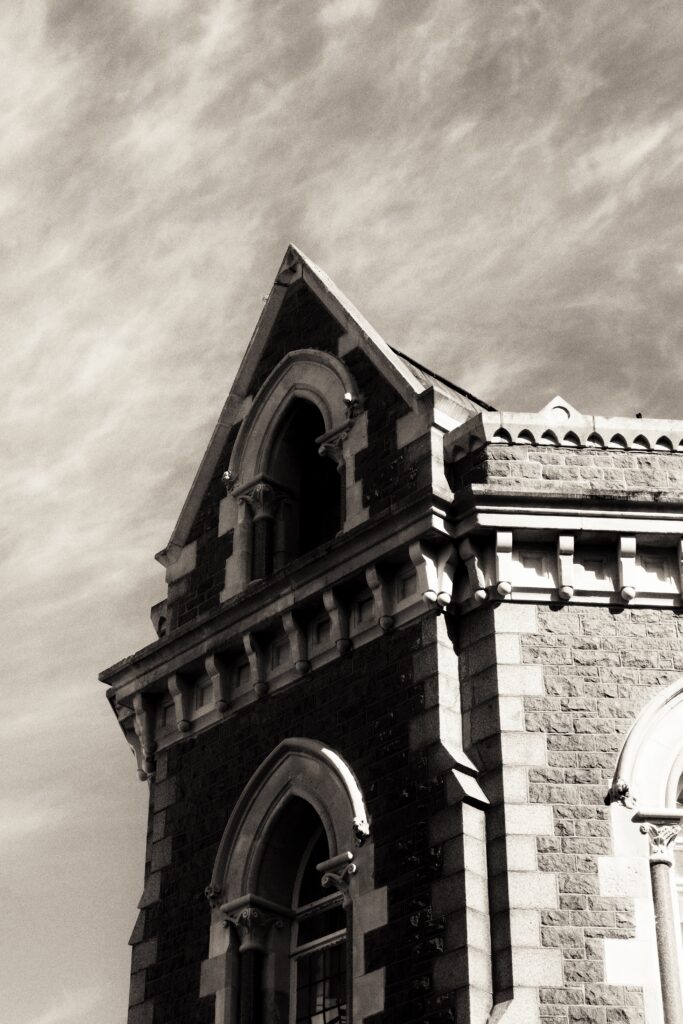
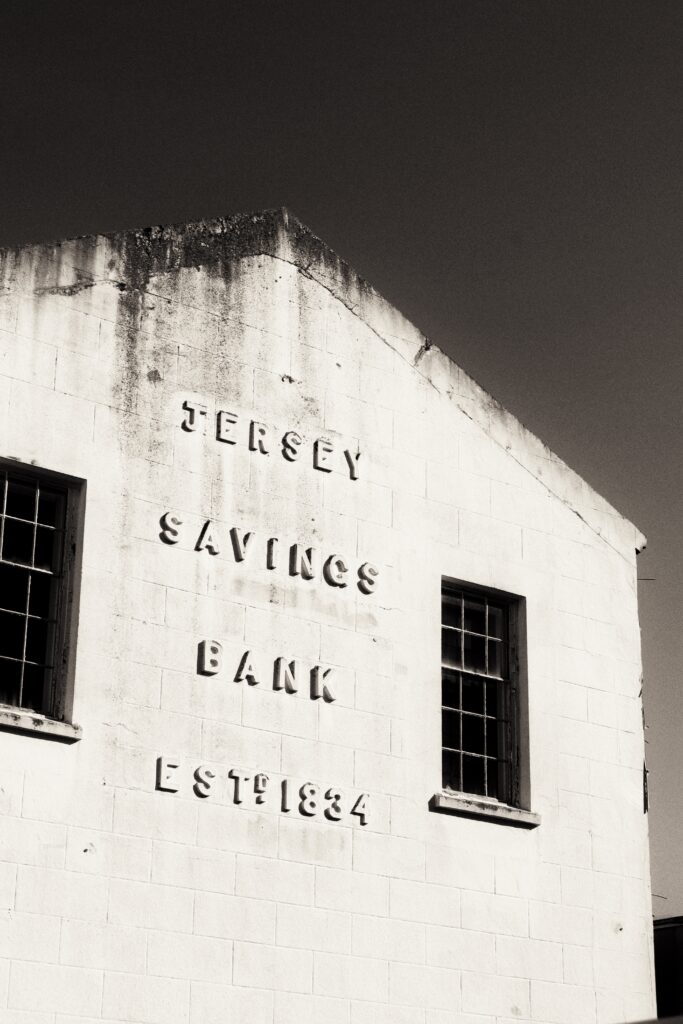
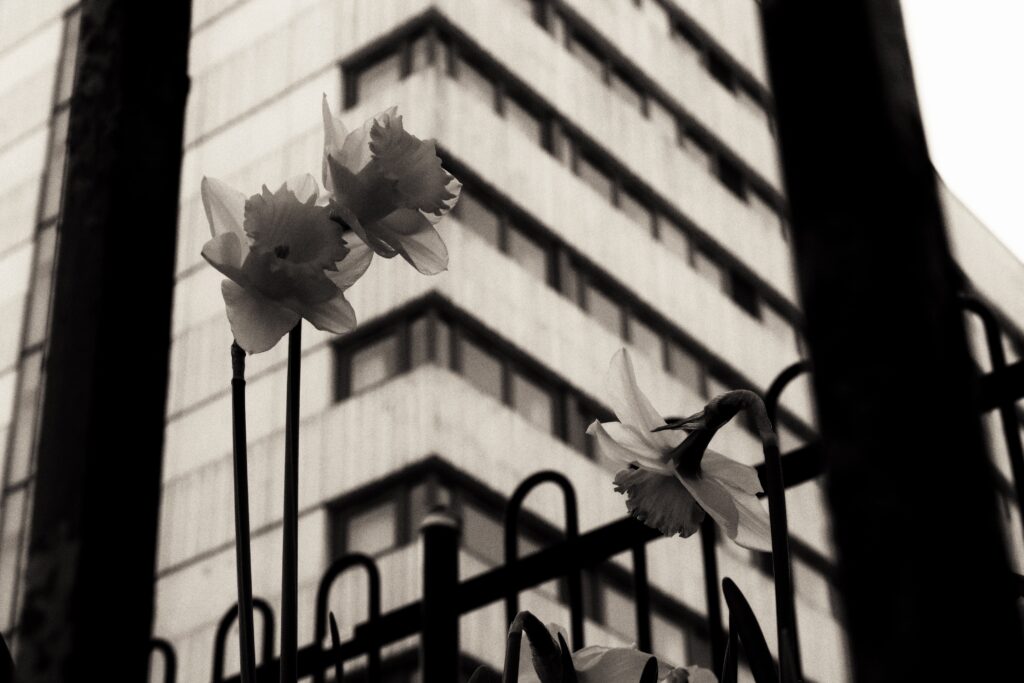
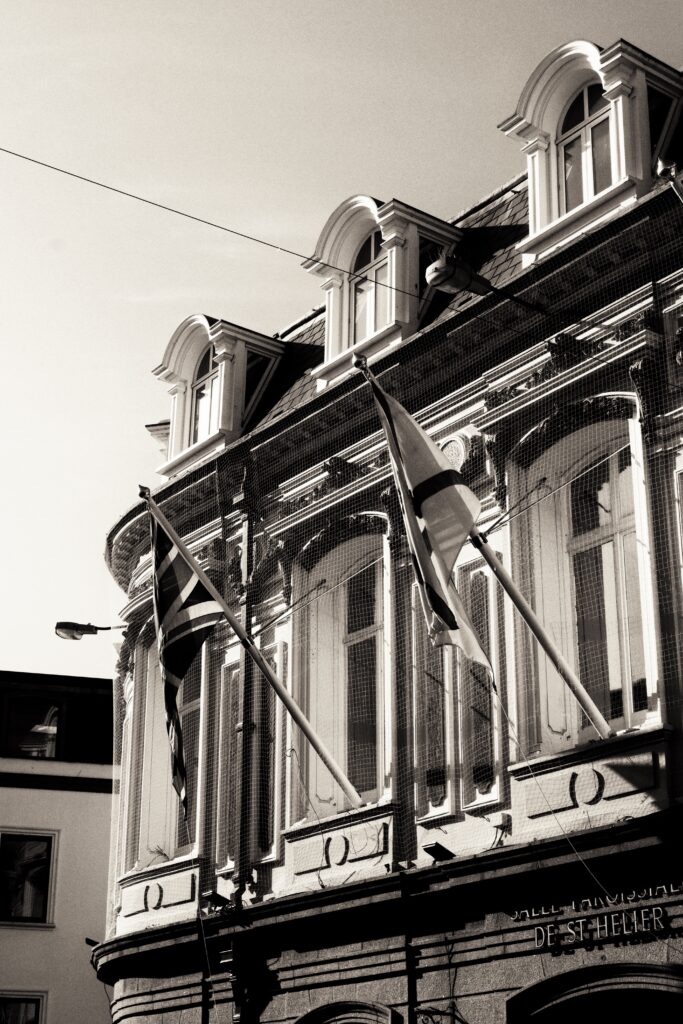
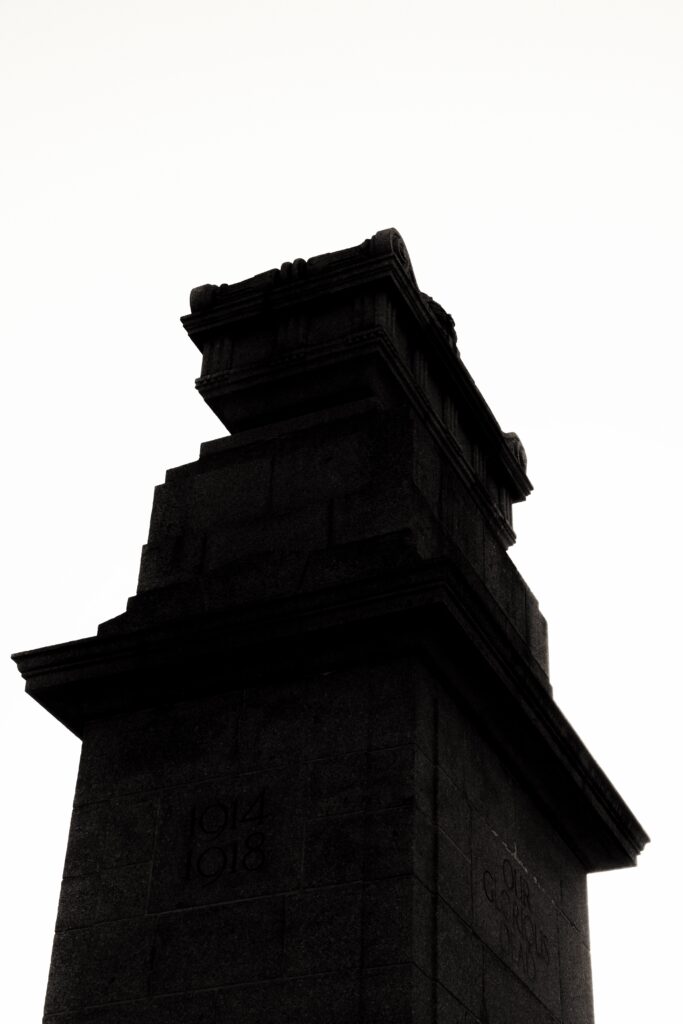
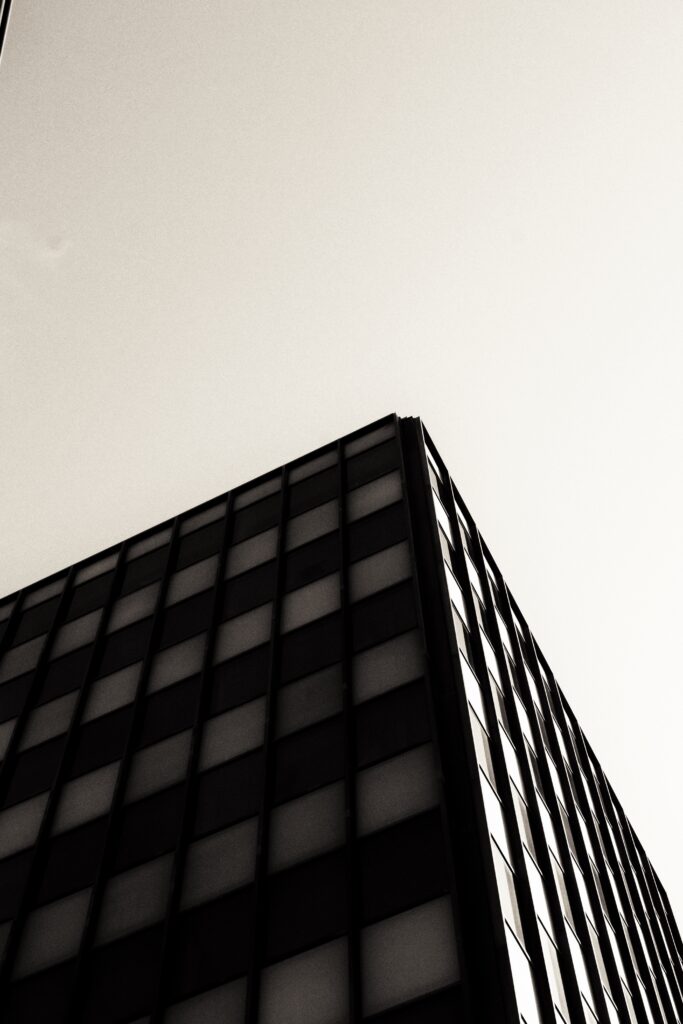
With these images all being of buildings and monuments around town, framed in the same way, I applied the same edits across them.
Adjusting the images with the base settings I was then able to add a vintage film filter which added grain and low saturation the images.
after:
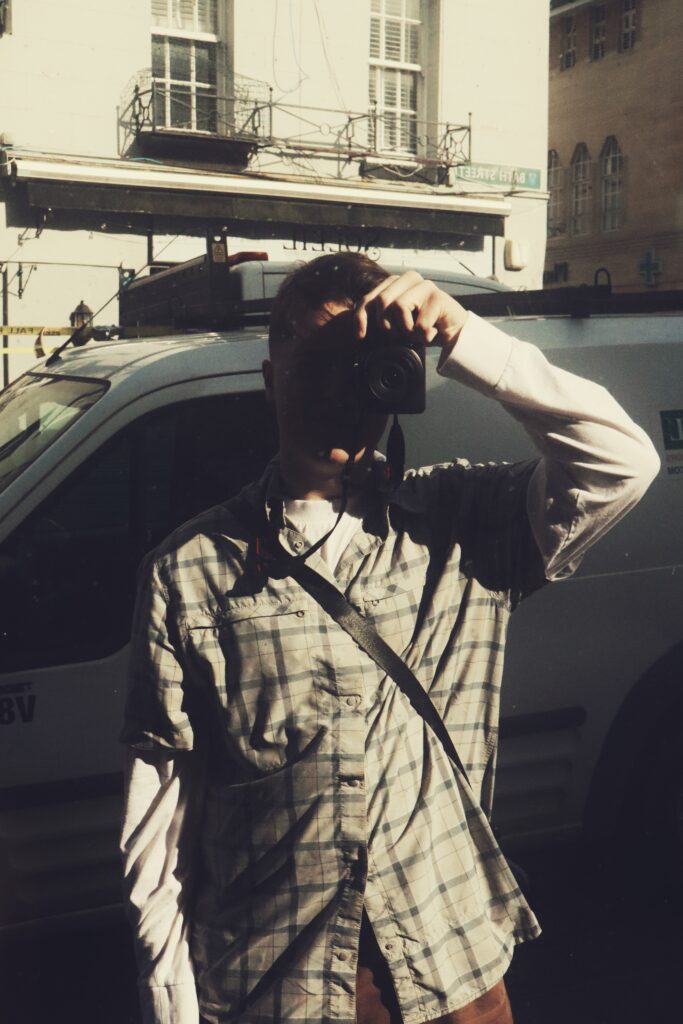
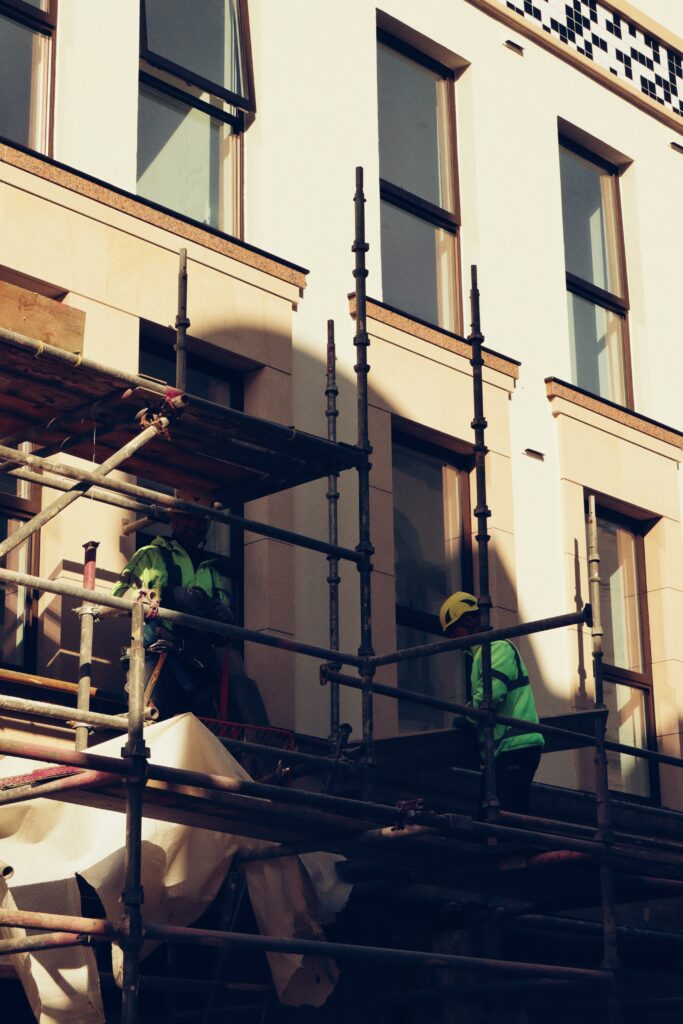
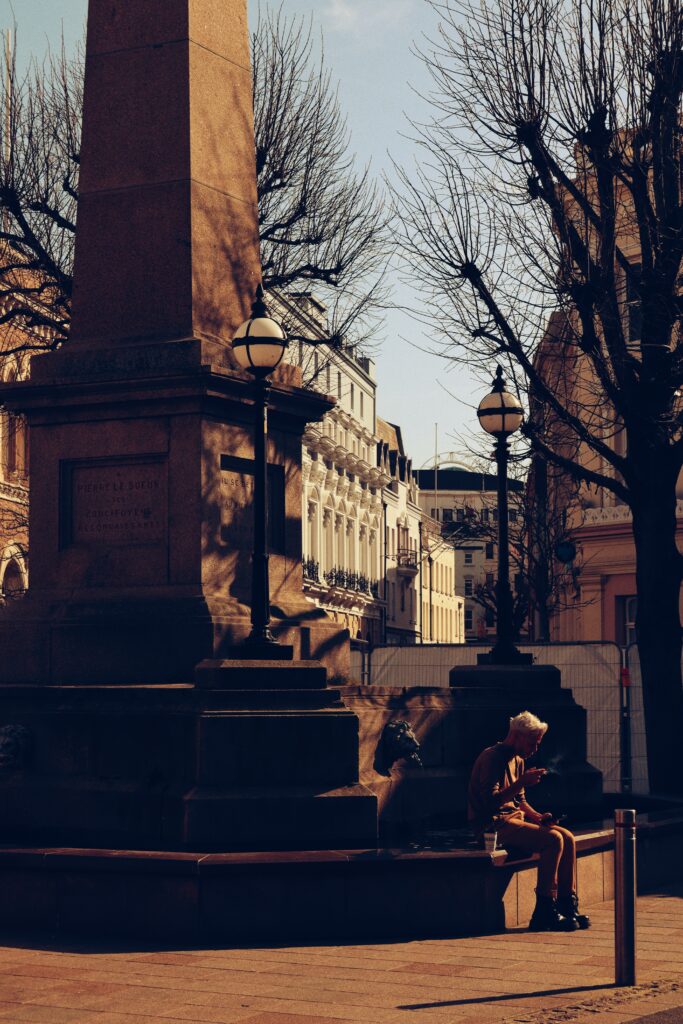
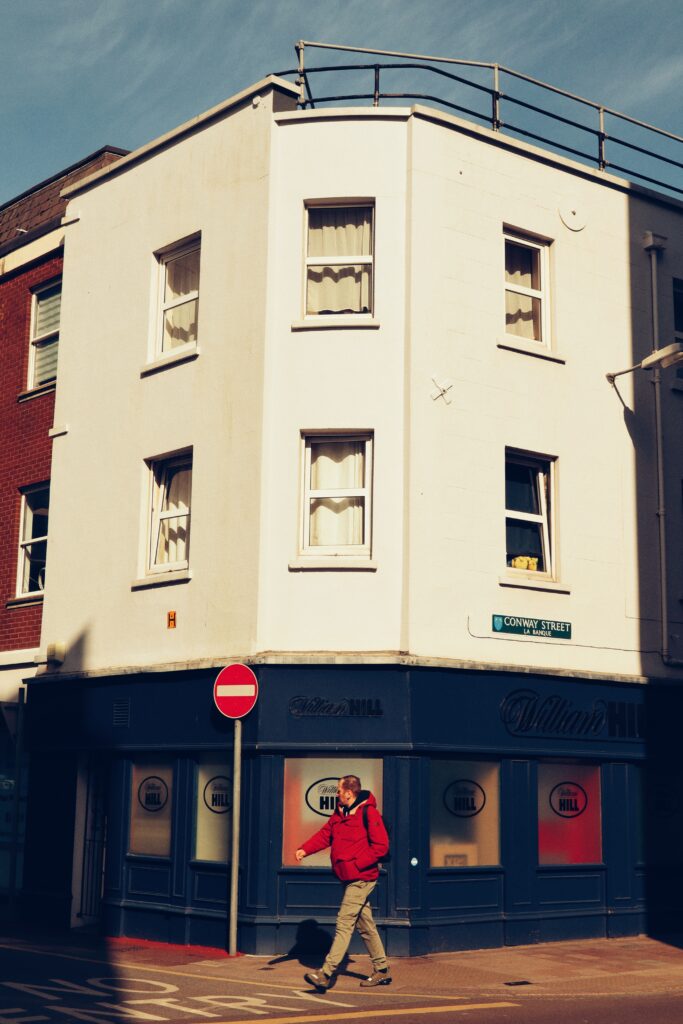
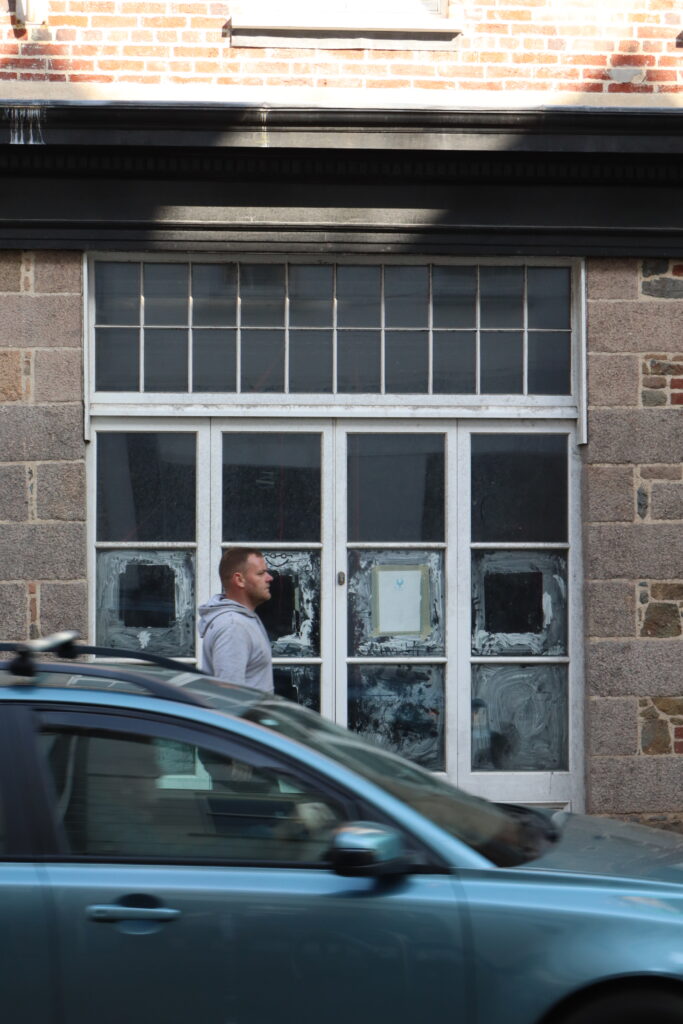
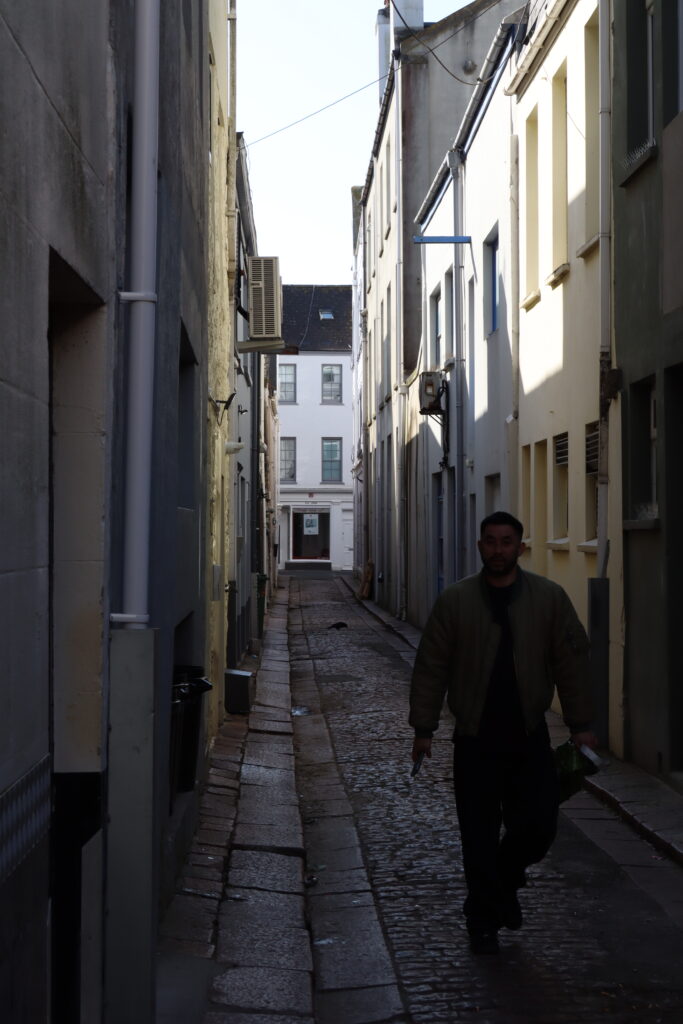
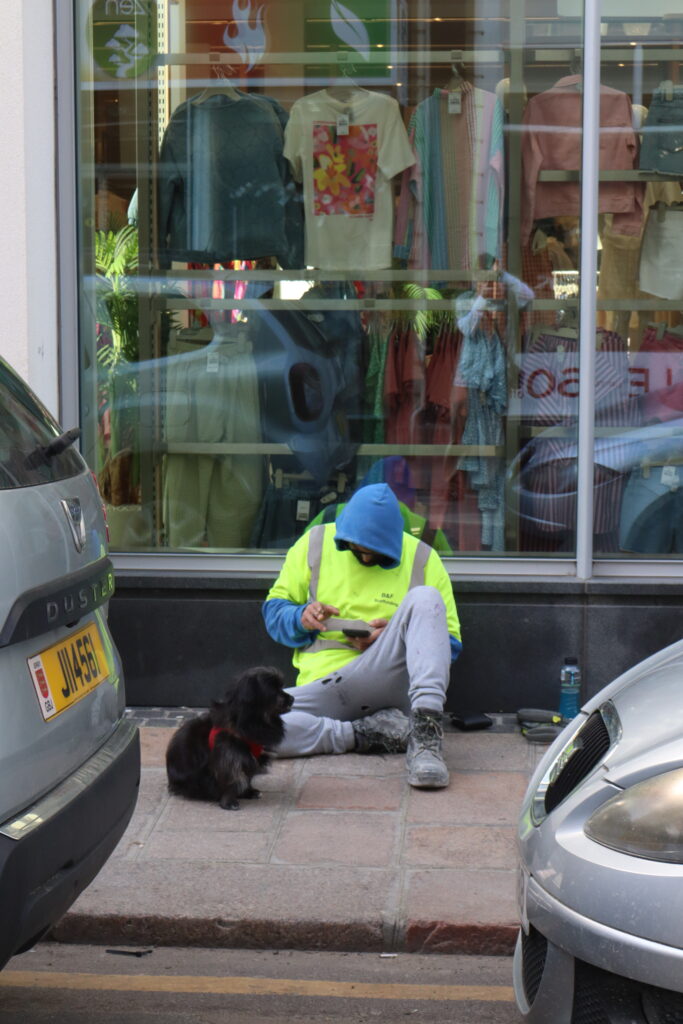
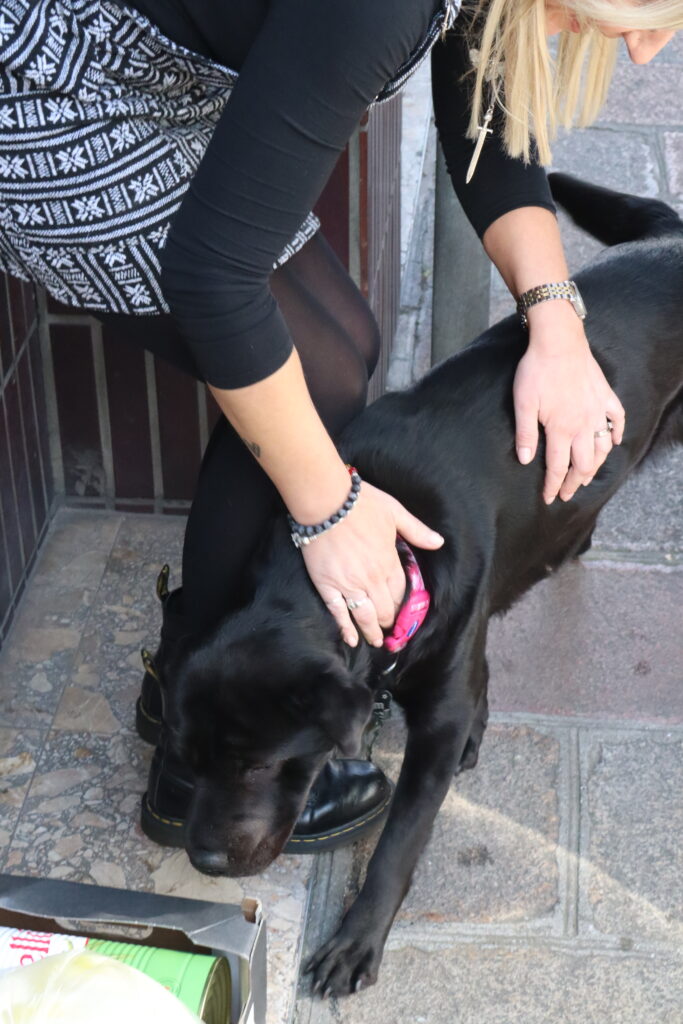
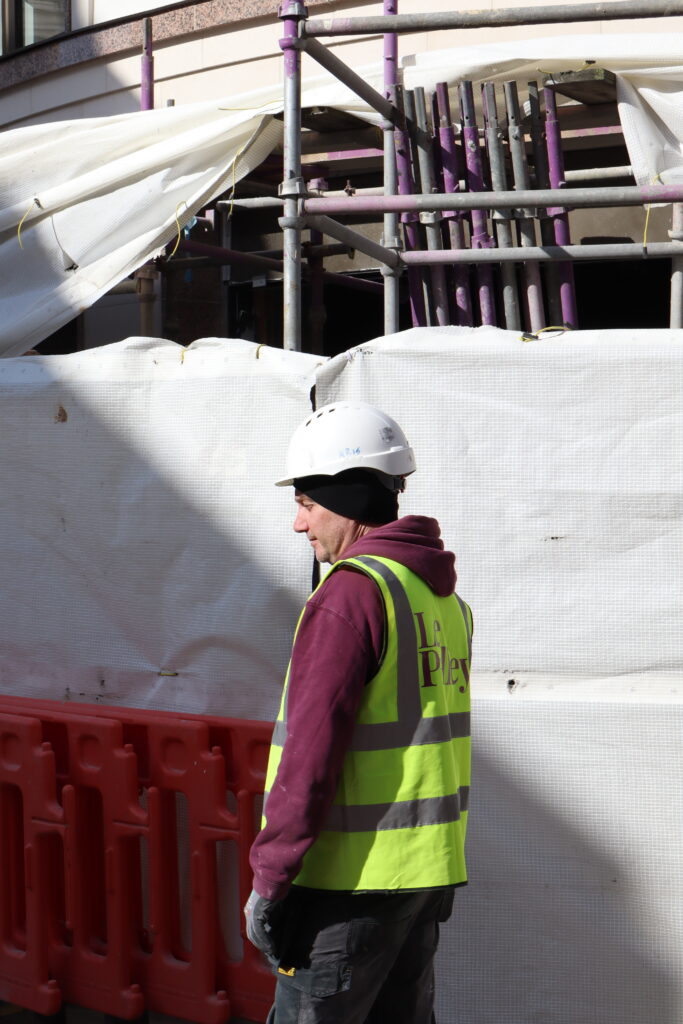
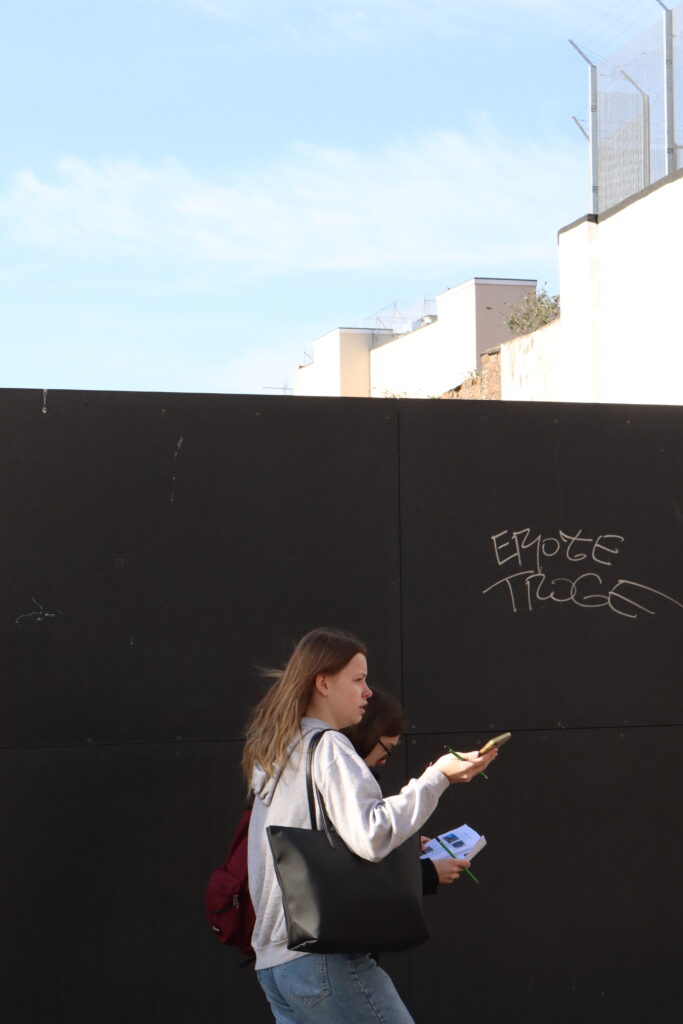
People around town:
Before:
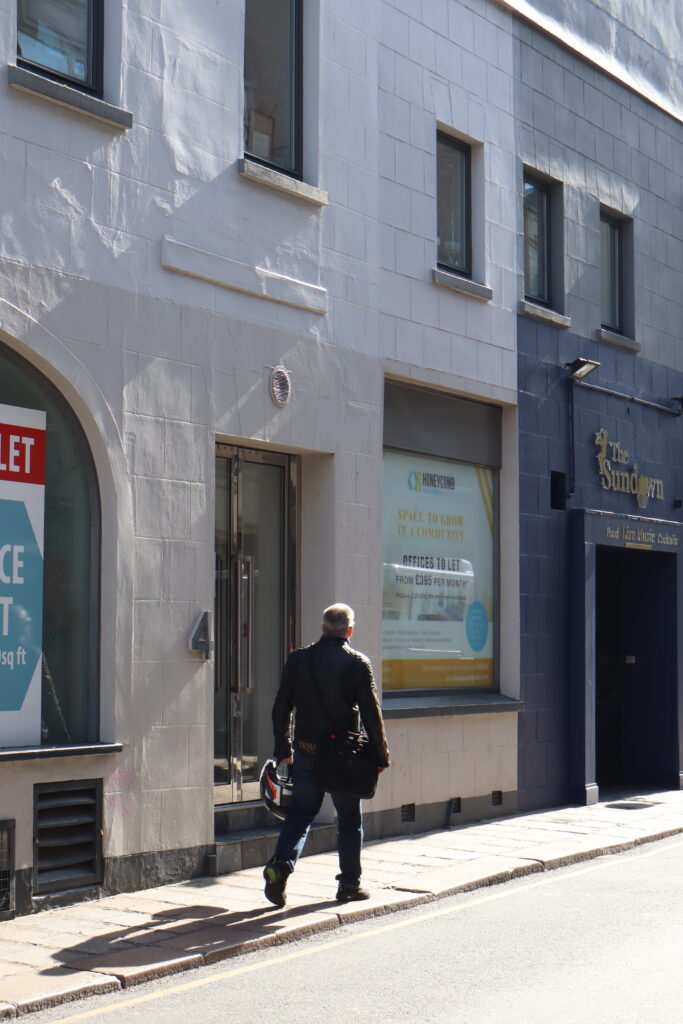
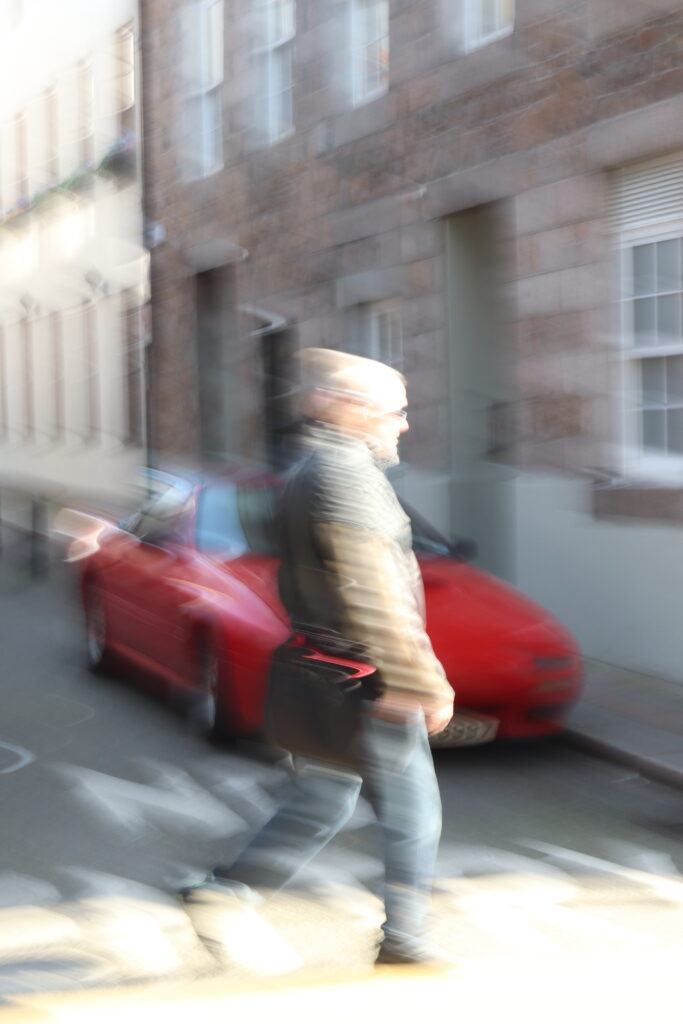
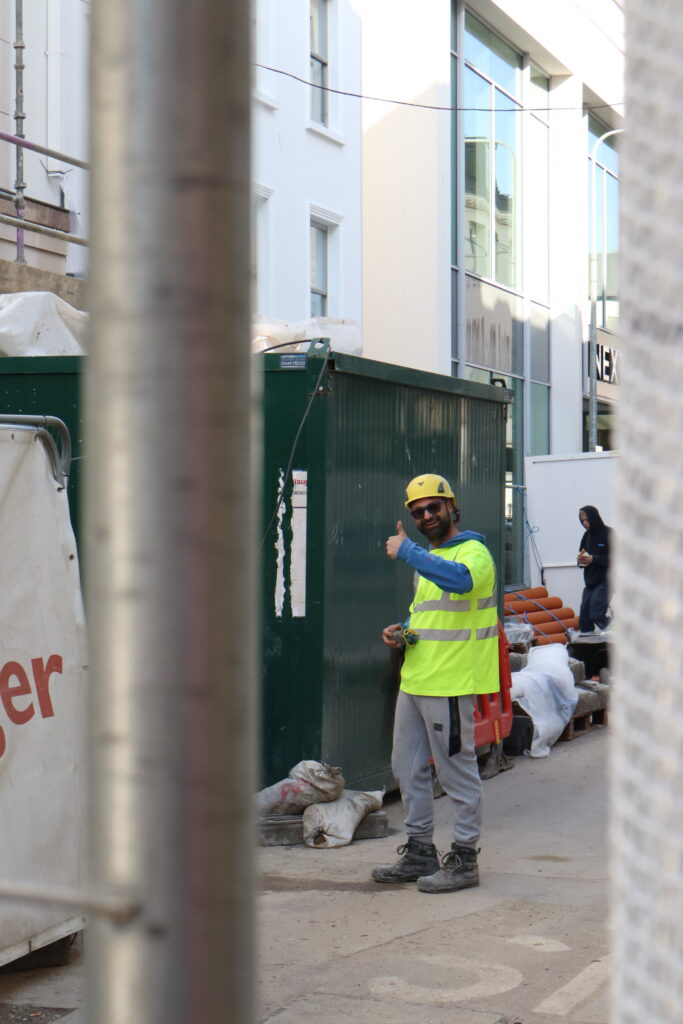
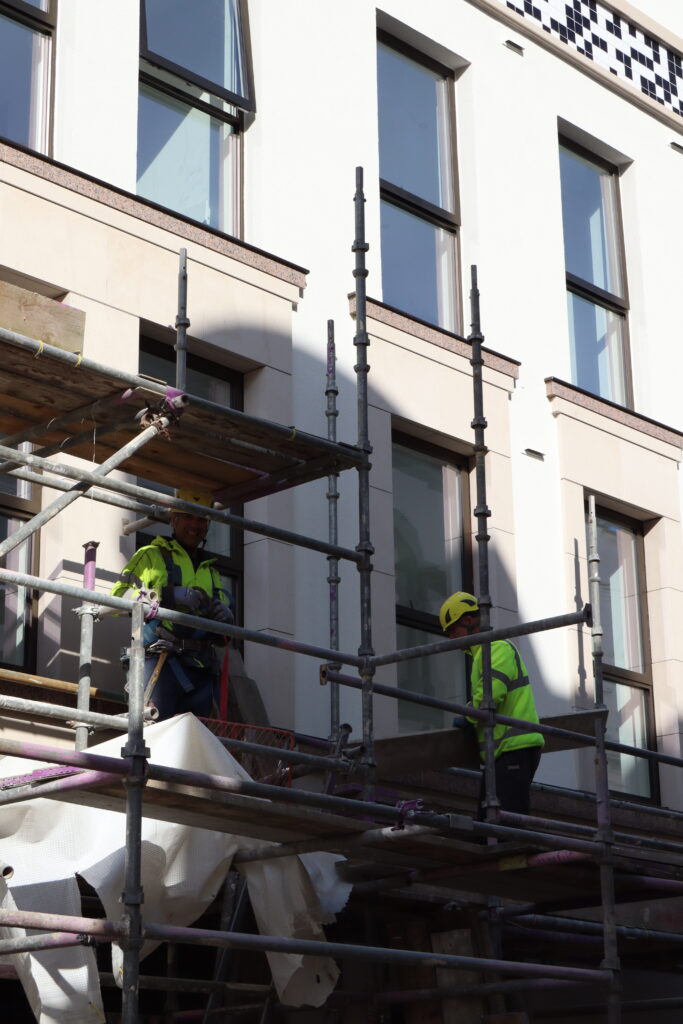
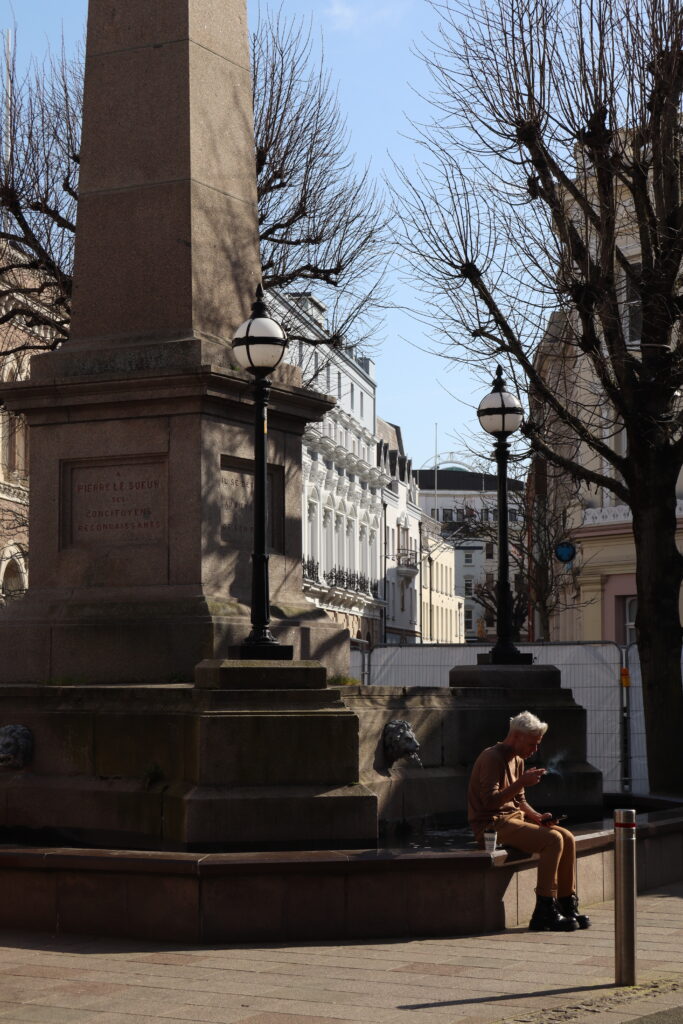
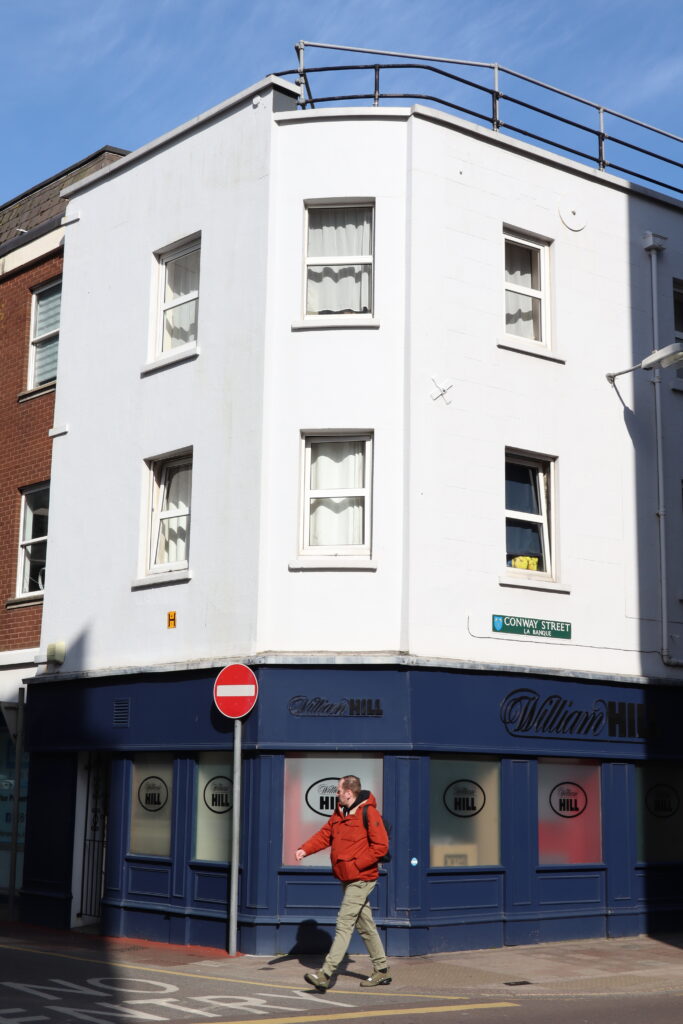
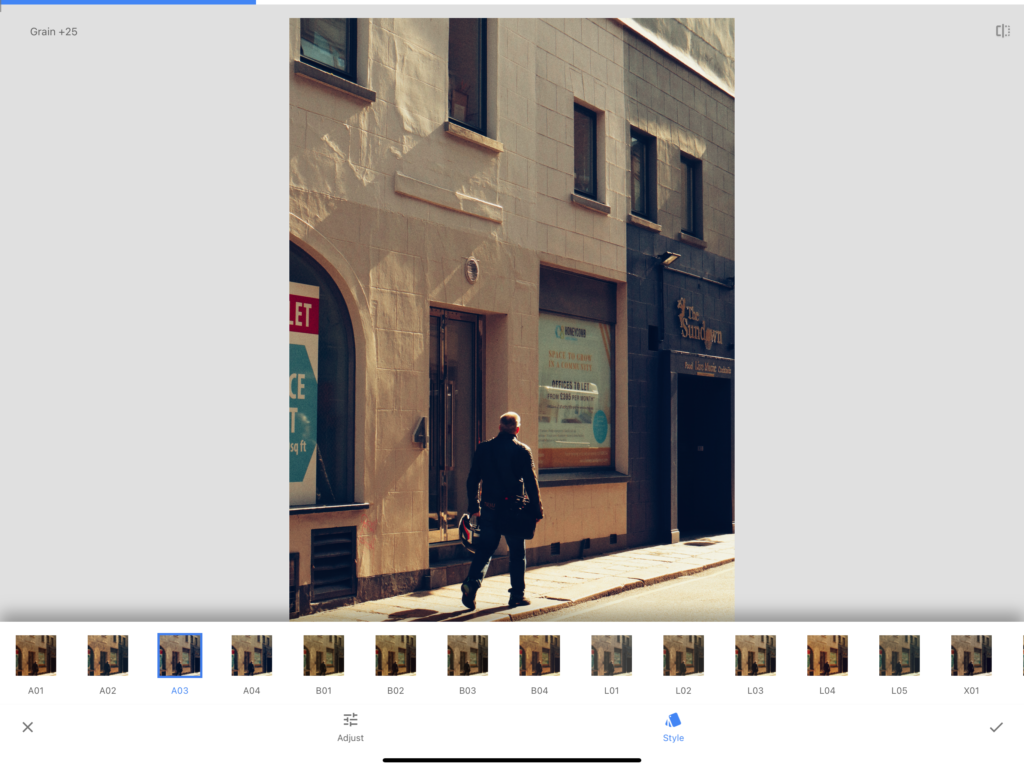
Editing:
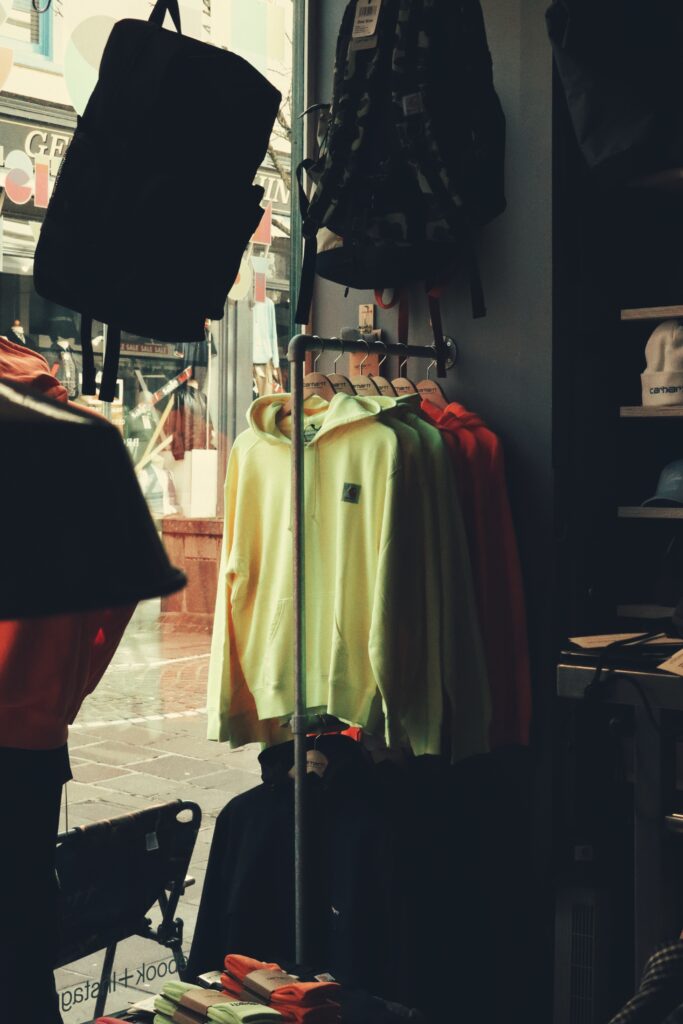
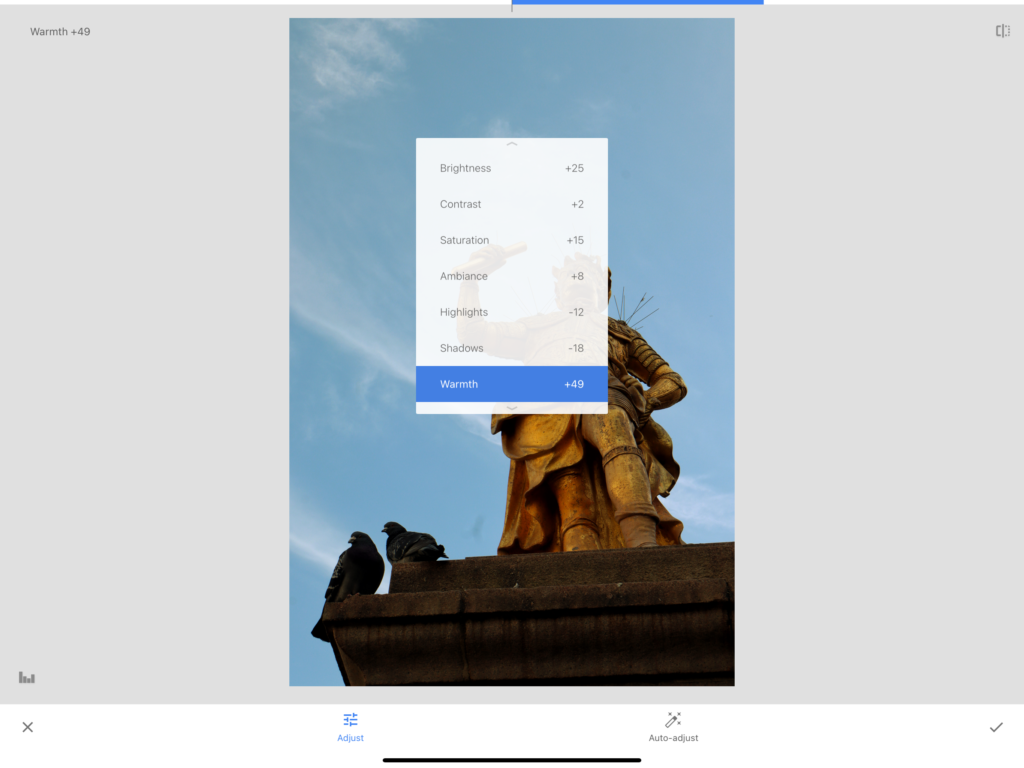
For these Images I applied the following settings to create a more warmer overall appearance.
By then applying a grain filter, This helped to create a stronger contrast between the silhouettes of the subjects in the images against the strong sources of natural sunlight which produced shadows to further add some depth to the image.
After:

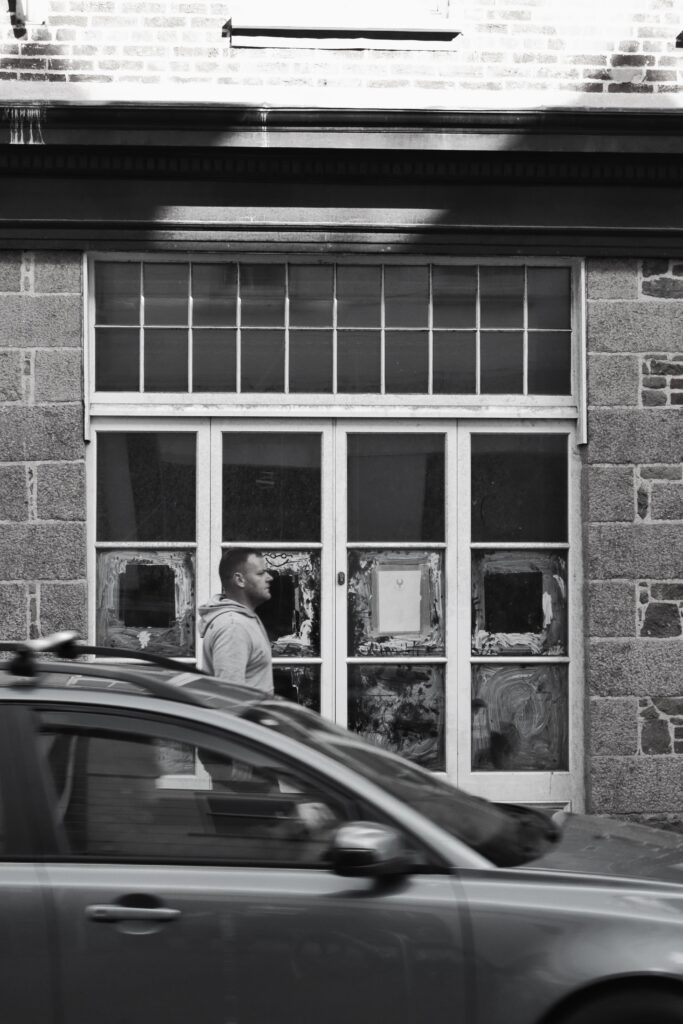
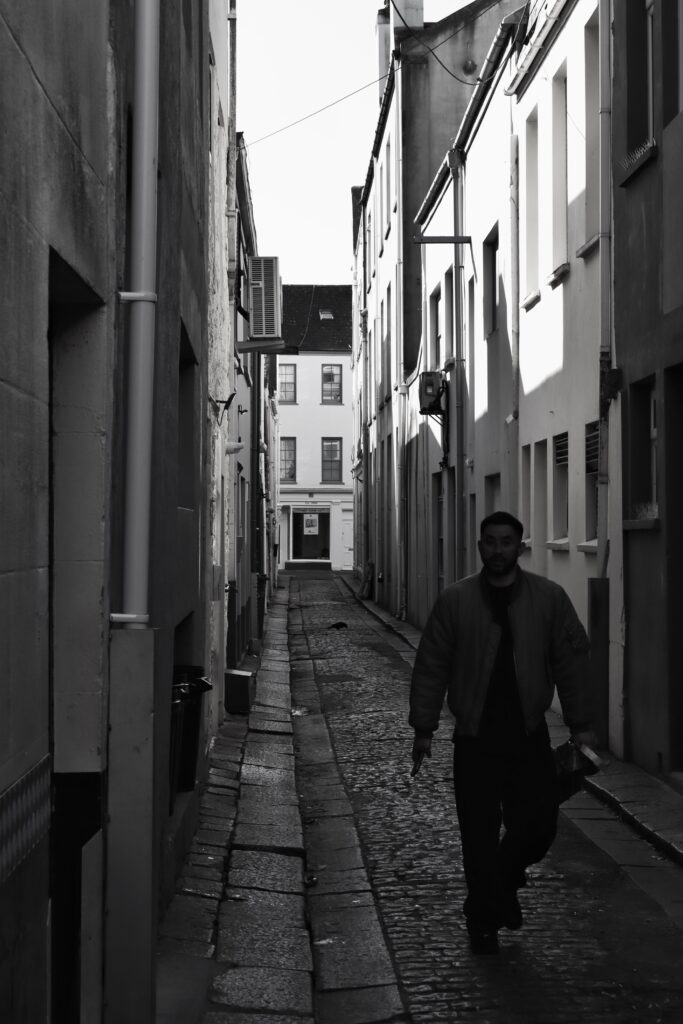
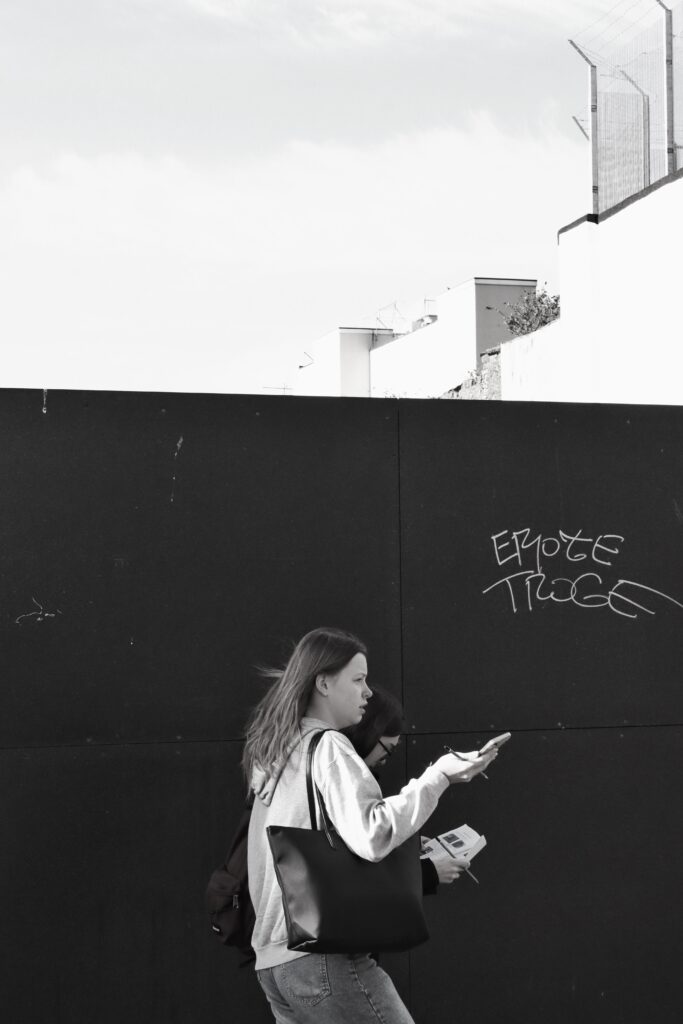
Black and white images of people around town:
Before:
Editing:
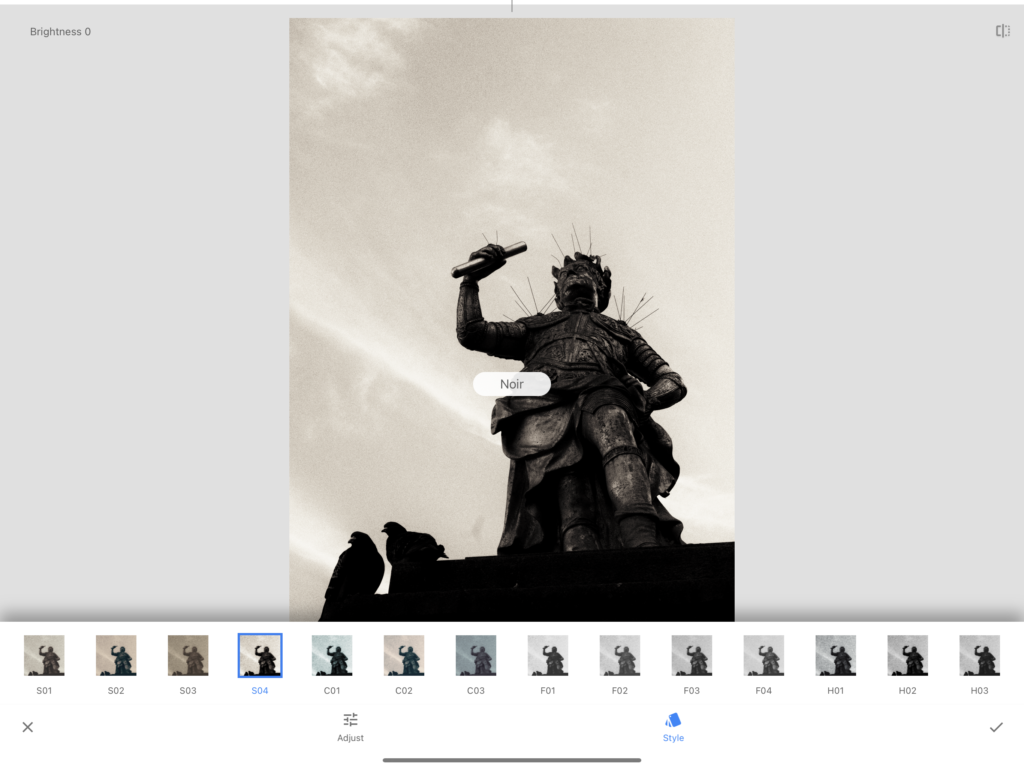
For these Images I applied the following settings to create more of a tonal contrast between the dark and light areas within the images. With a lot of natural light and shadows being casted within the images, I aimed to heighten their presence through the contrast and ambiance.
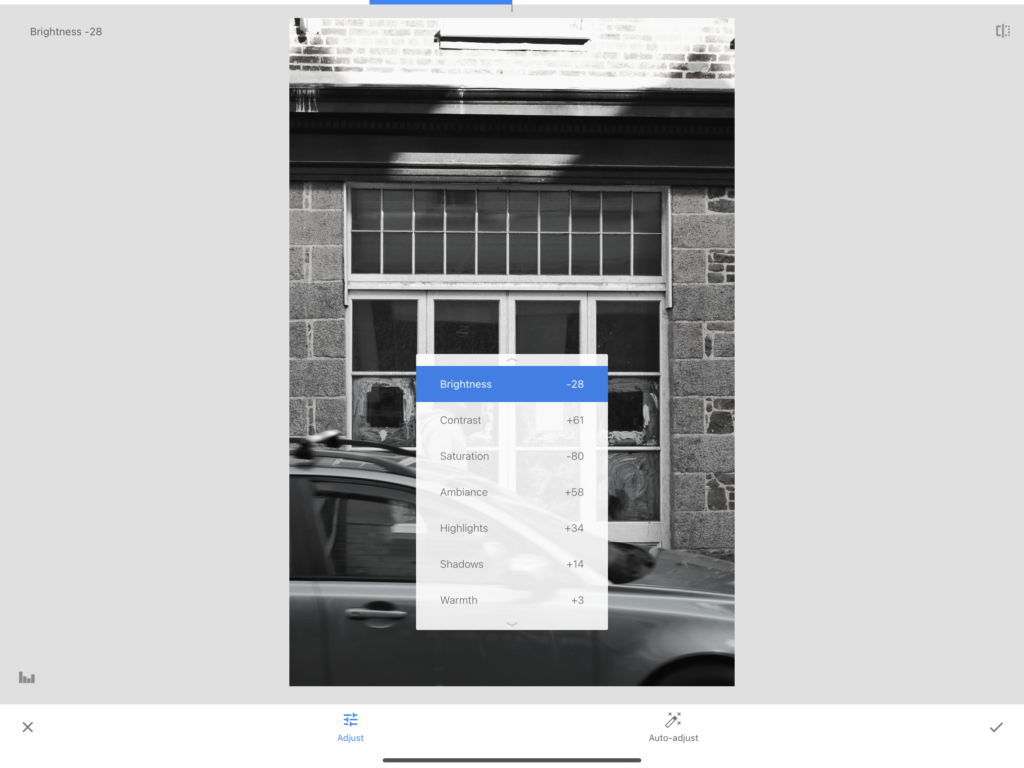
After:

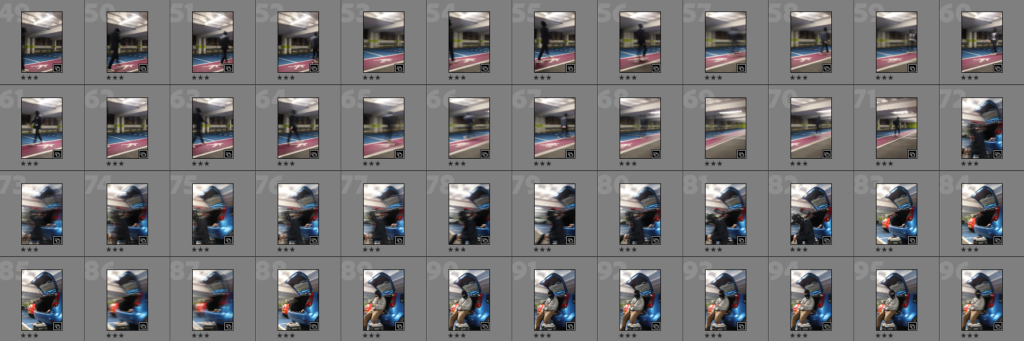
Photoshoot Noirmont:
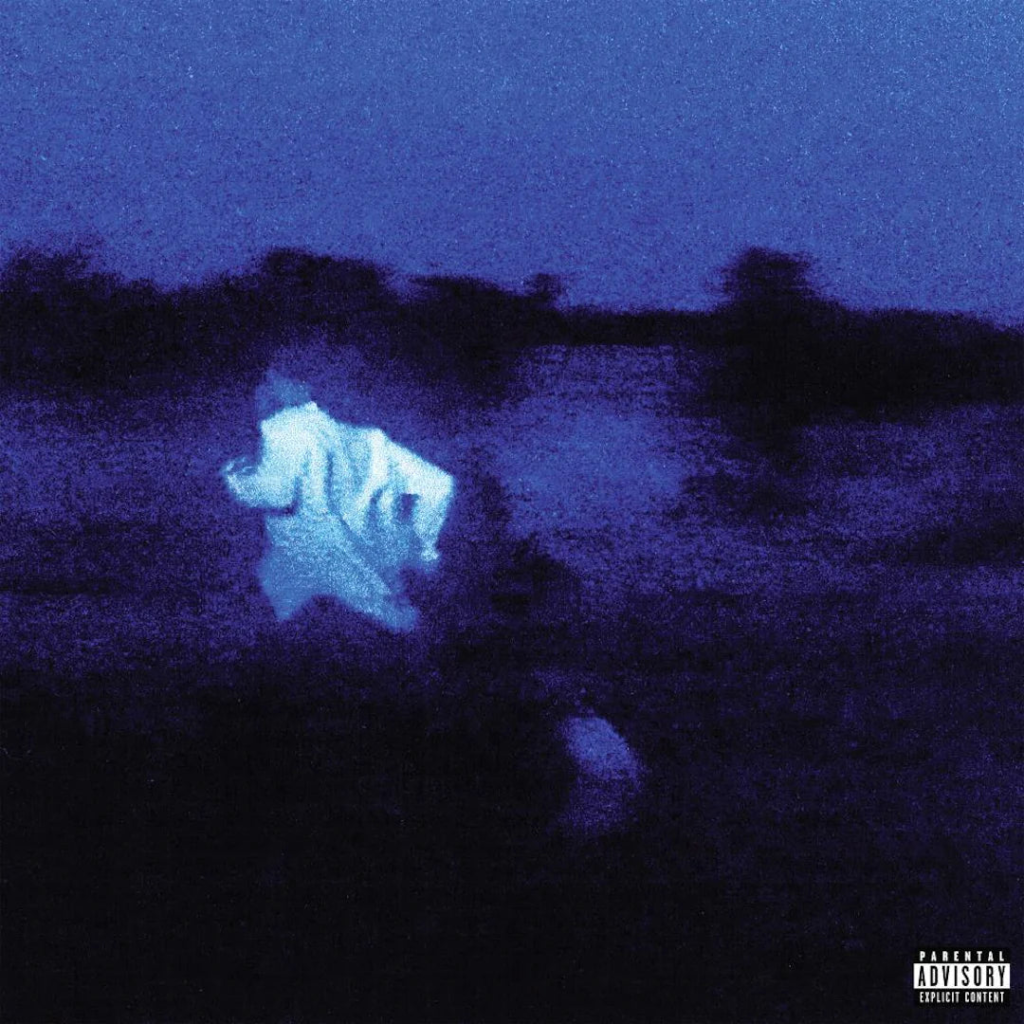
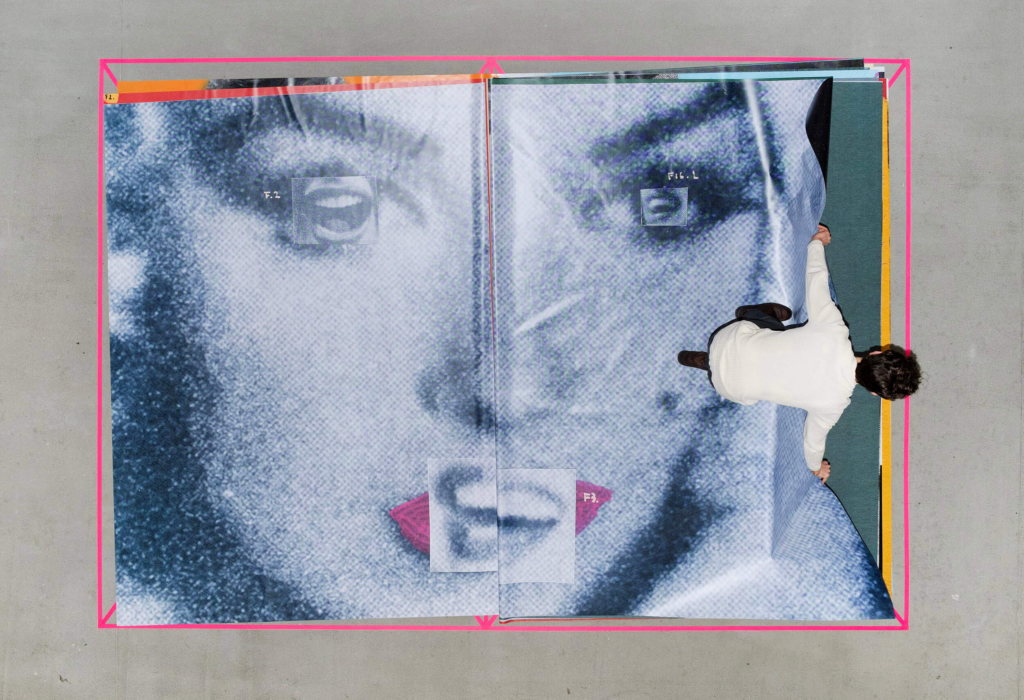
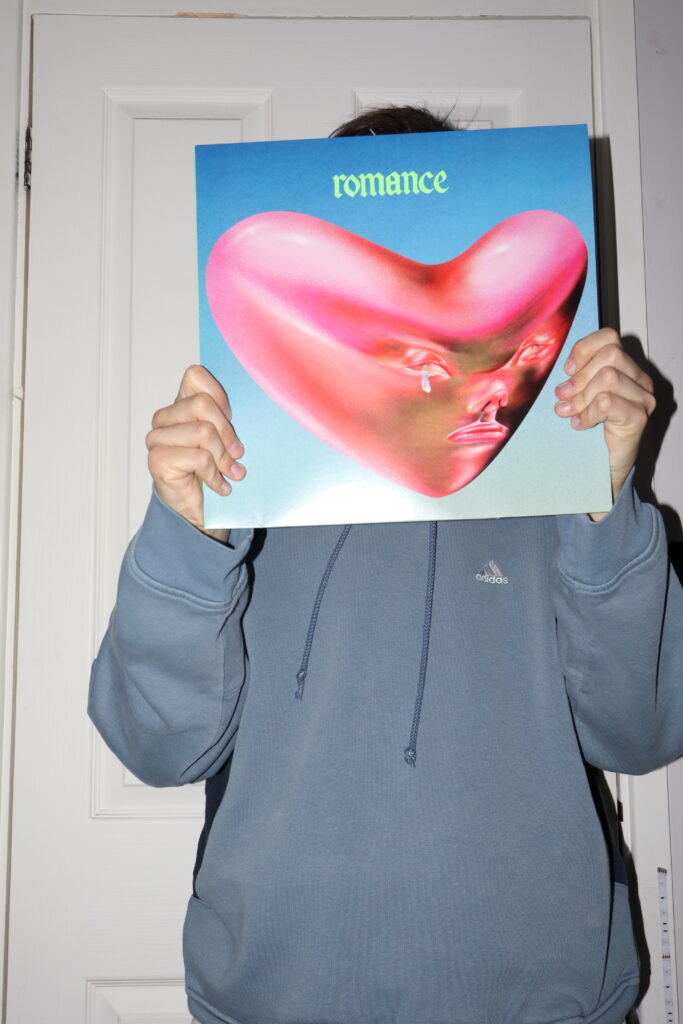
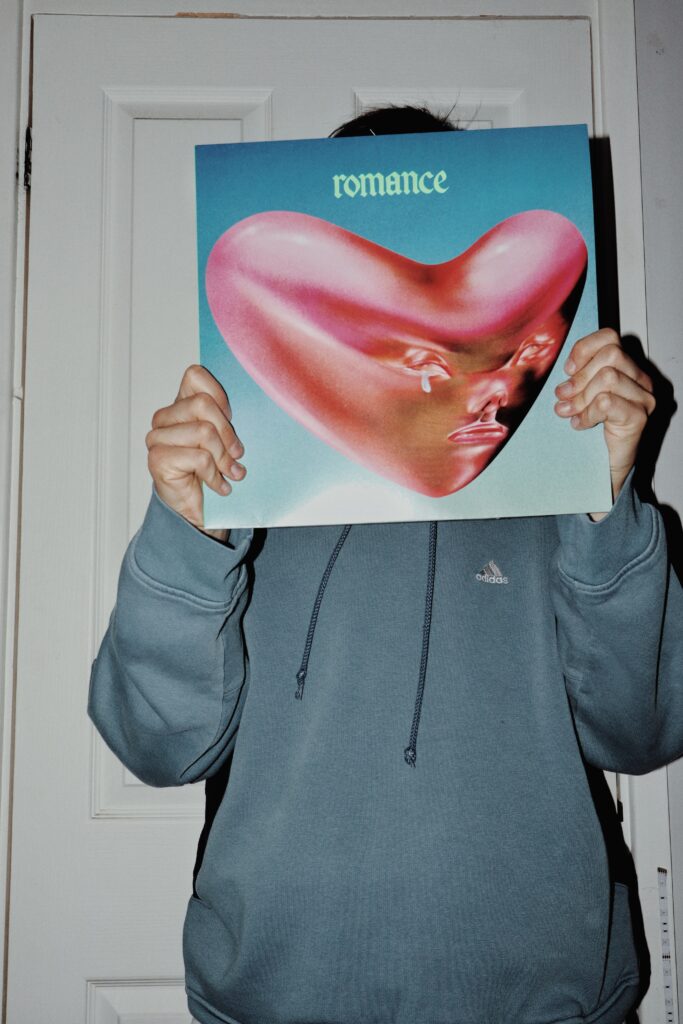
Album cover recreation –
Manifesto:
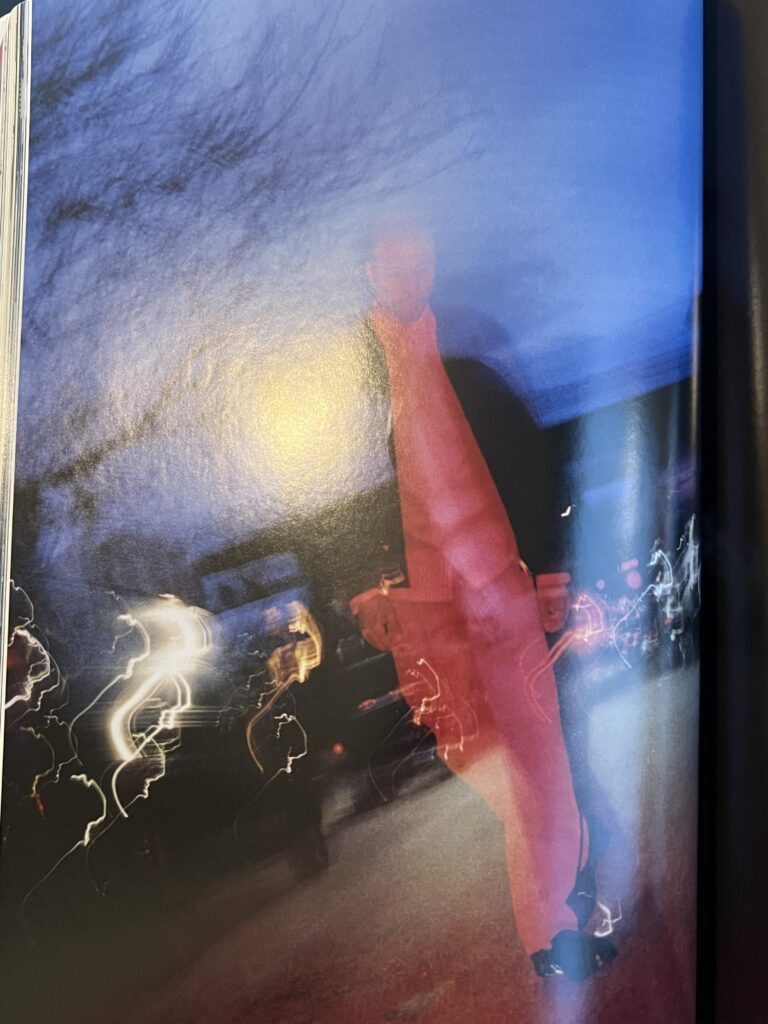
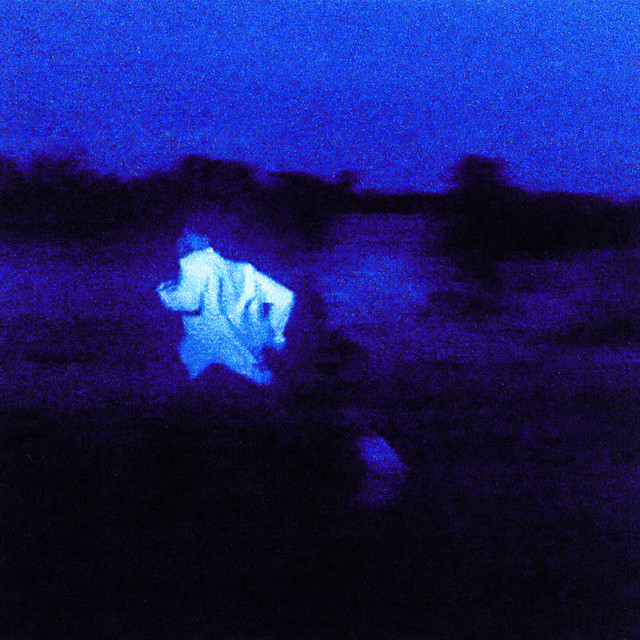
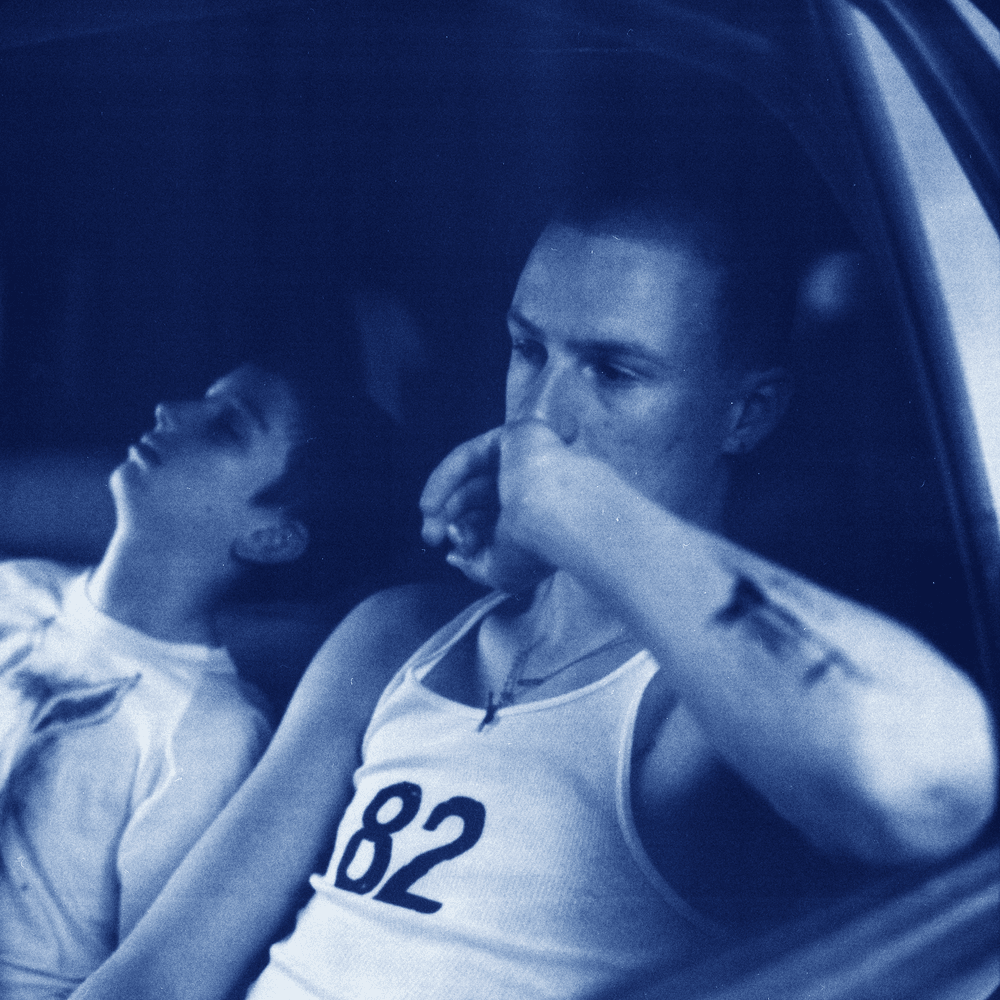
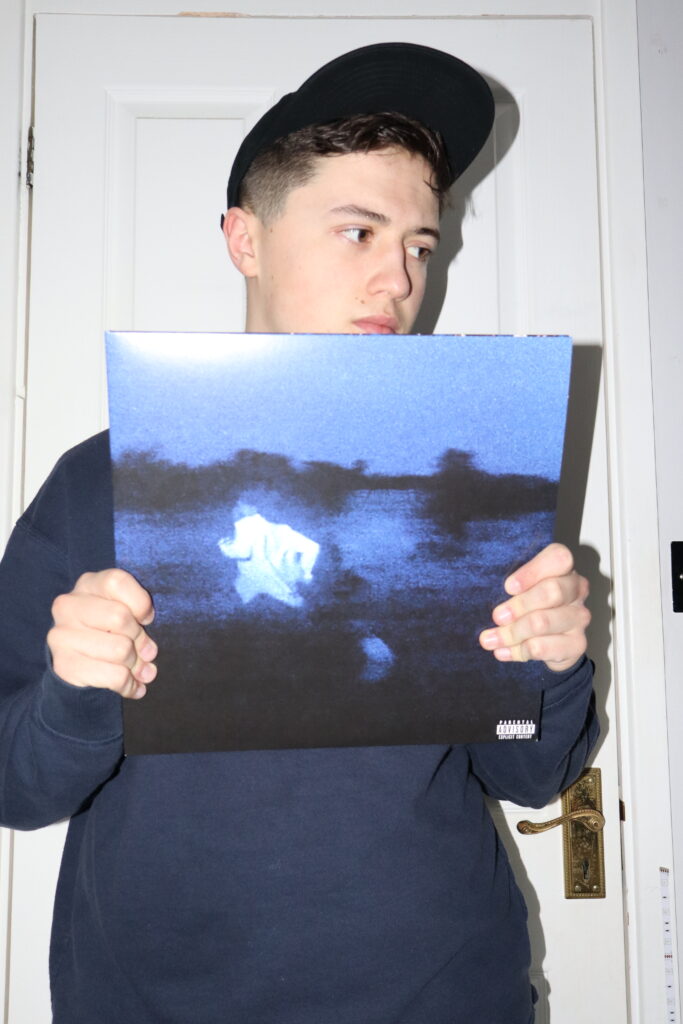
With this photoshoot, my attempts were to create the ‘Never Enough’ Album cover by Daniel Caesar. With the original inspiration being a blurry photograph made with a long shutter-speed on what I believe to be a vintage digital camera, this image falls into the category of Blurred. For this image in particular, I set my camera’s shutter-speed to around 1/30.
Inspiration Image:
Before:
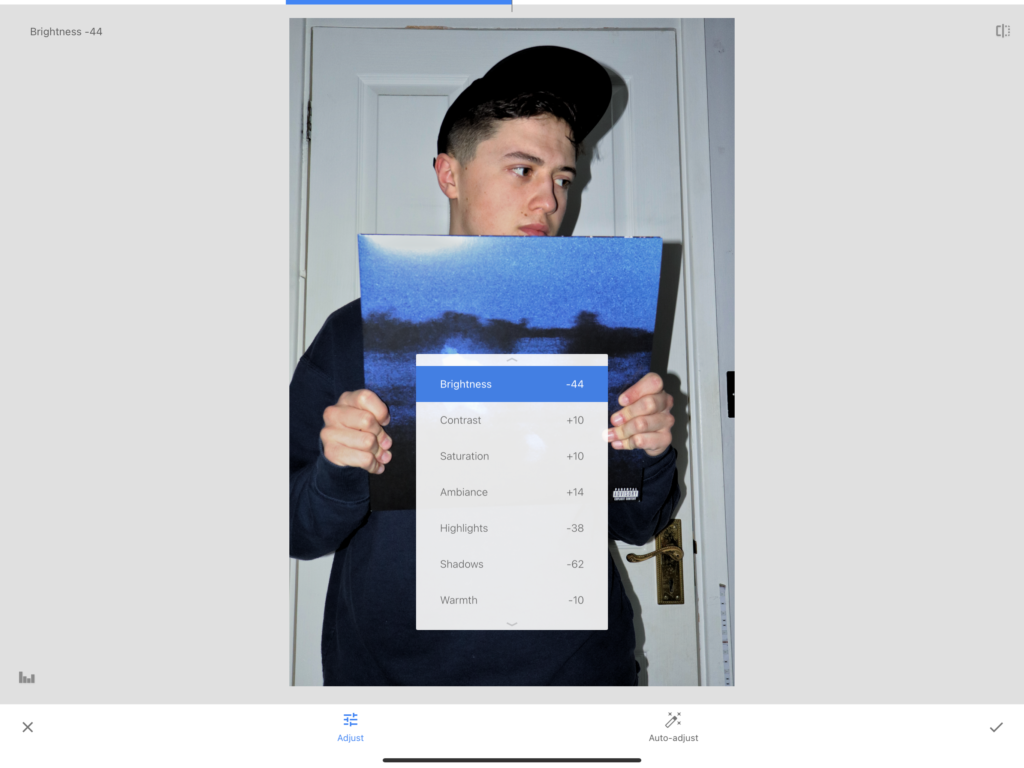
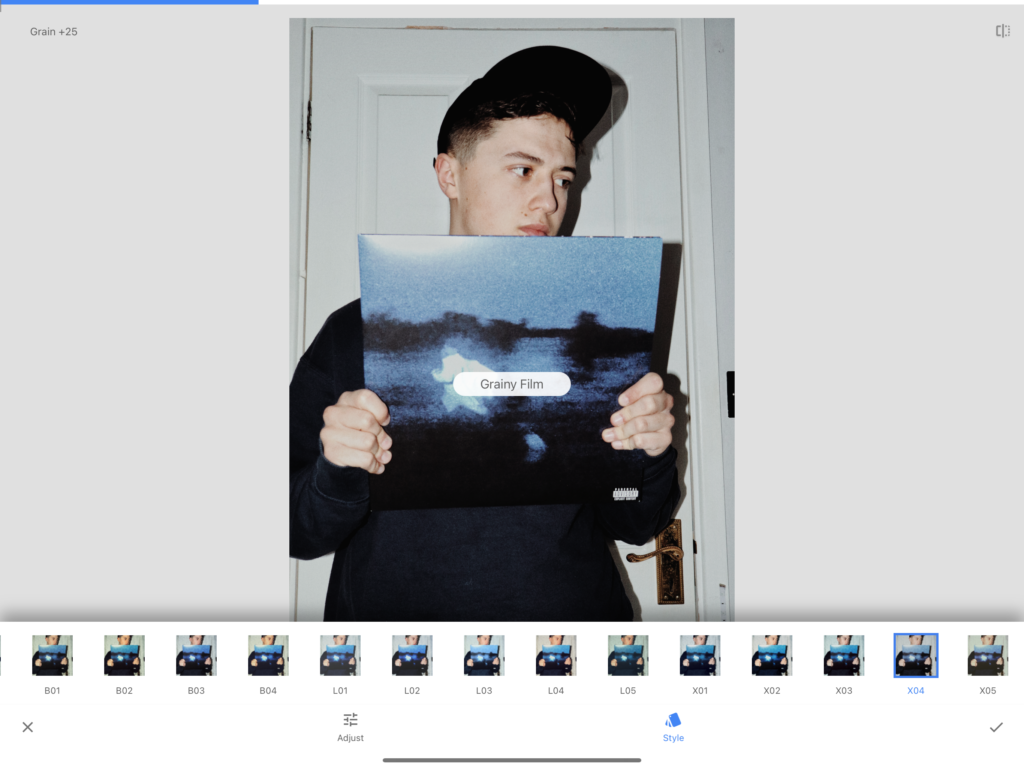
Editing:
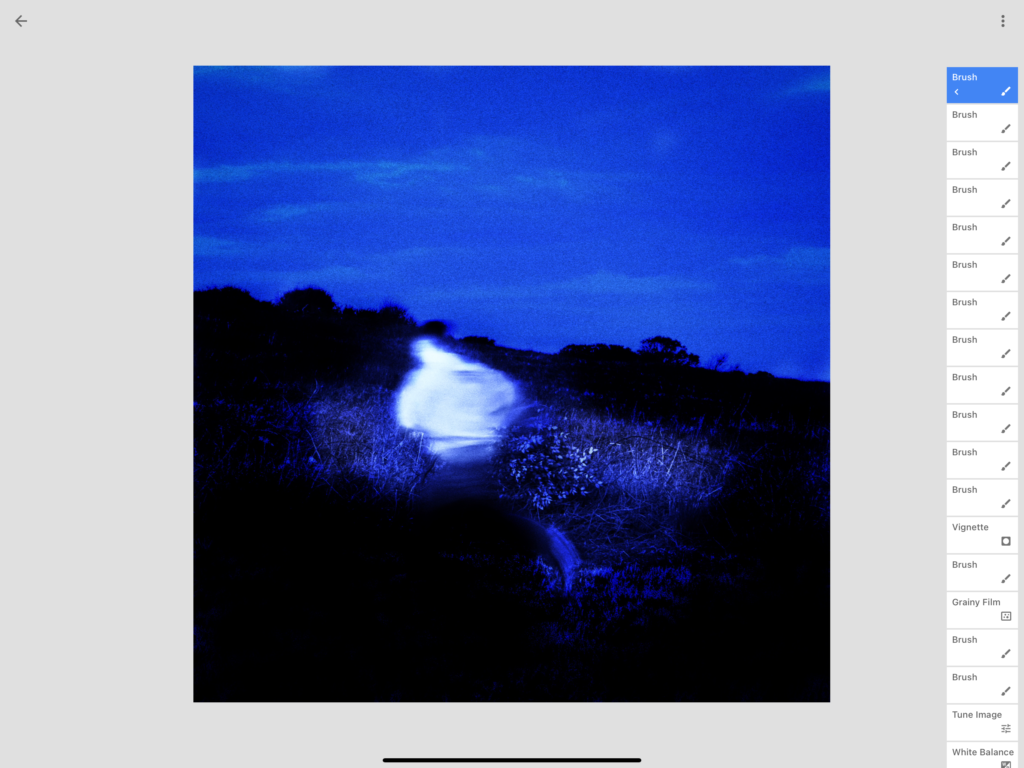
With this image in particular requiring a lot of editing to match the original, once I had made the initial edits, I had to repeatedly darken it through an exposure brush to replicate the original image.
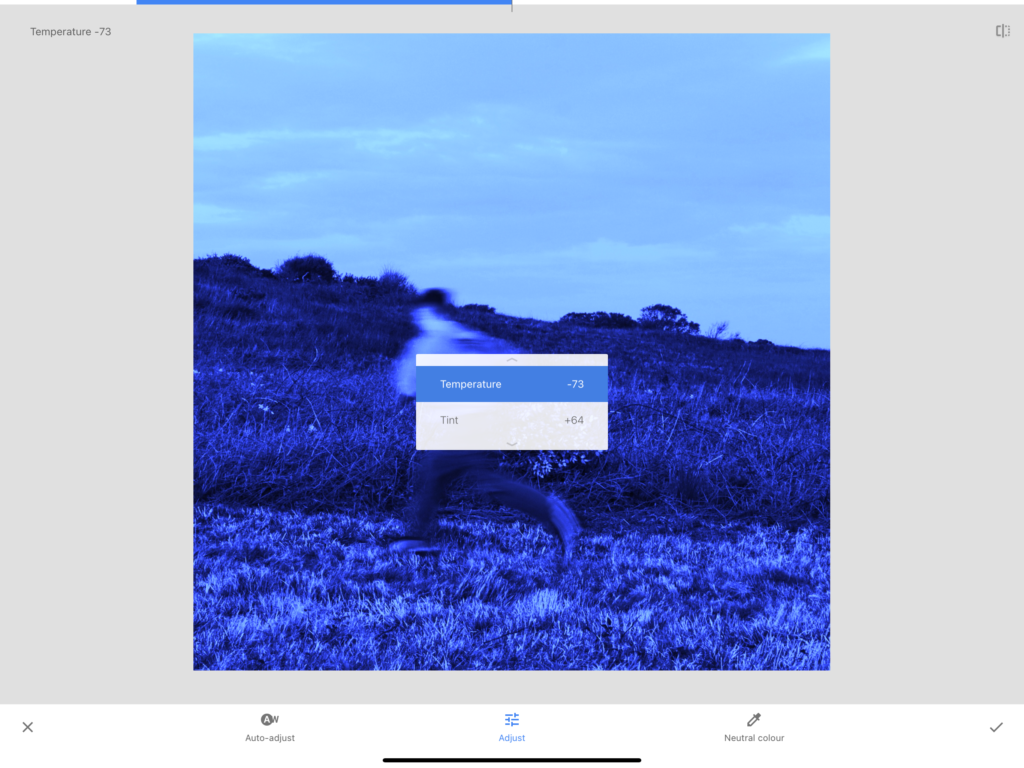
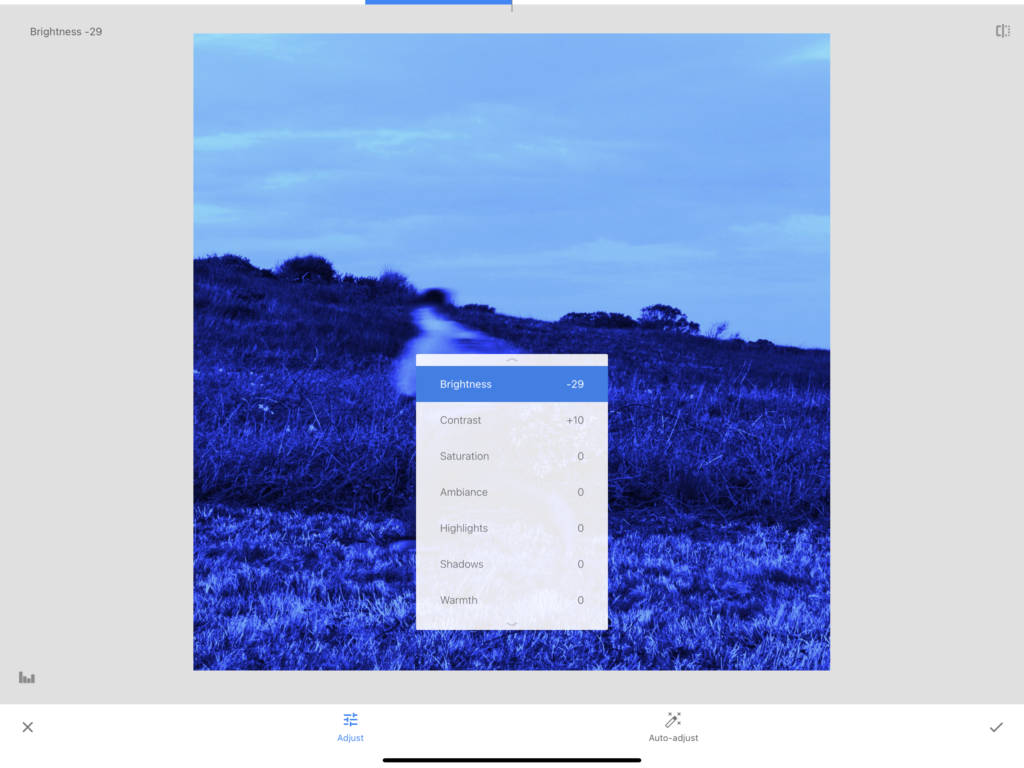
Here was when I repeatedly used the exposure brush to darken certain areas ensuring to keep it as accurate to the inspiration image.

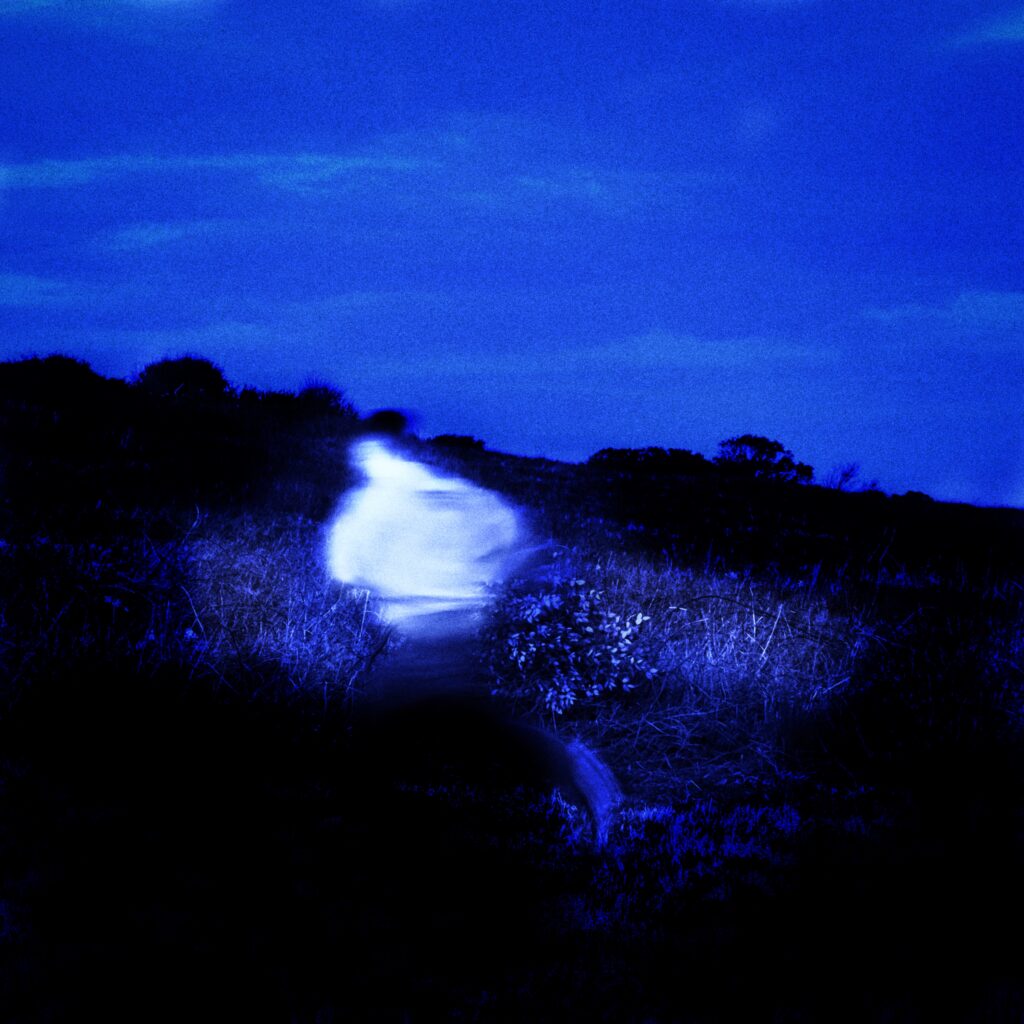
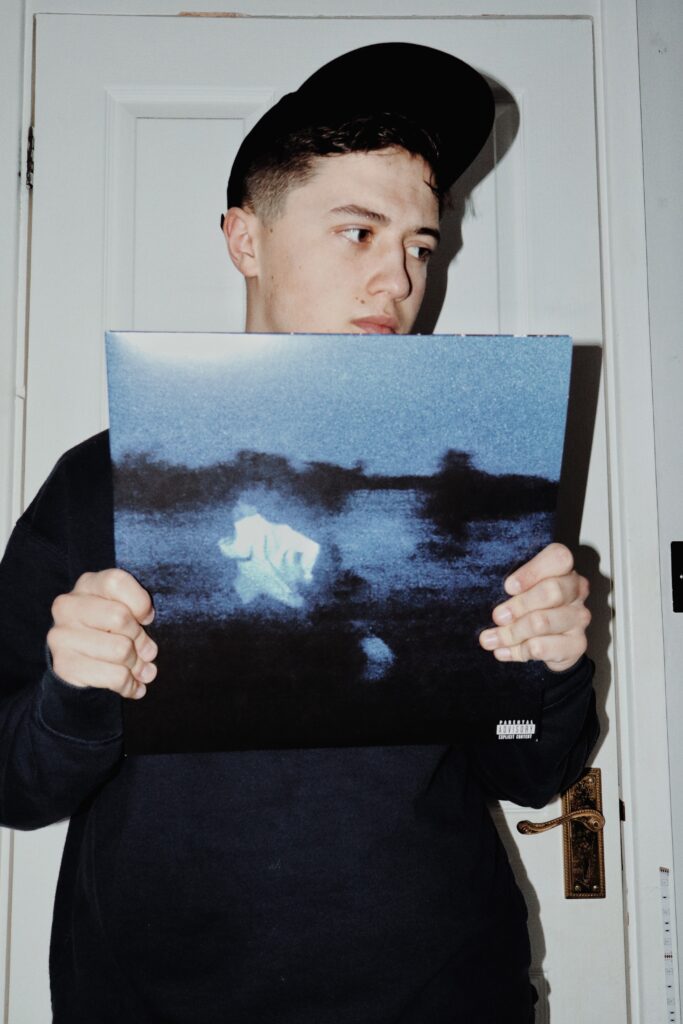
After:
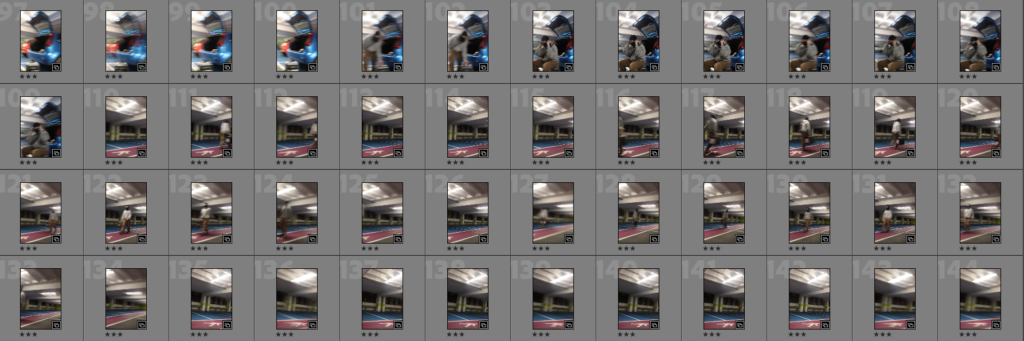
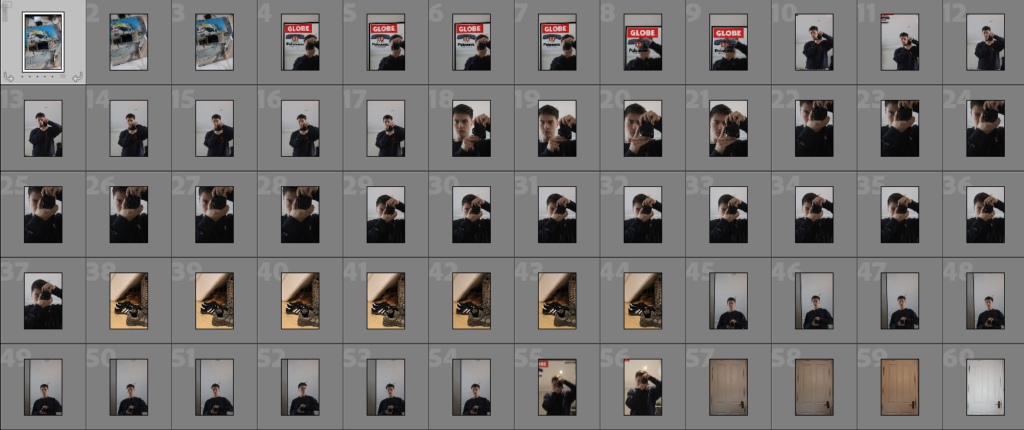
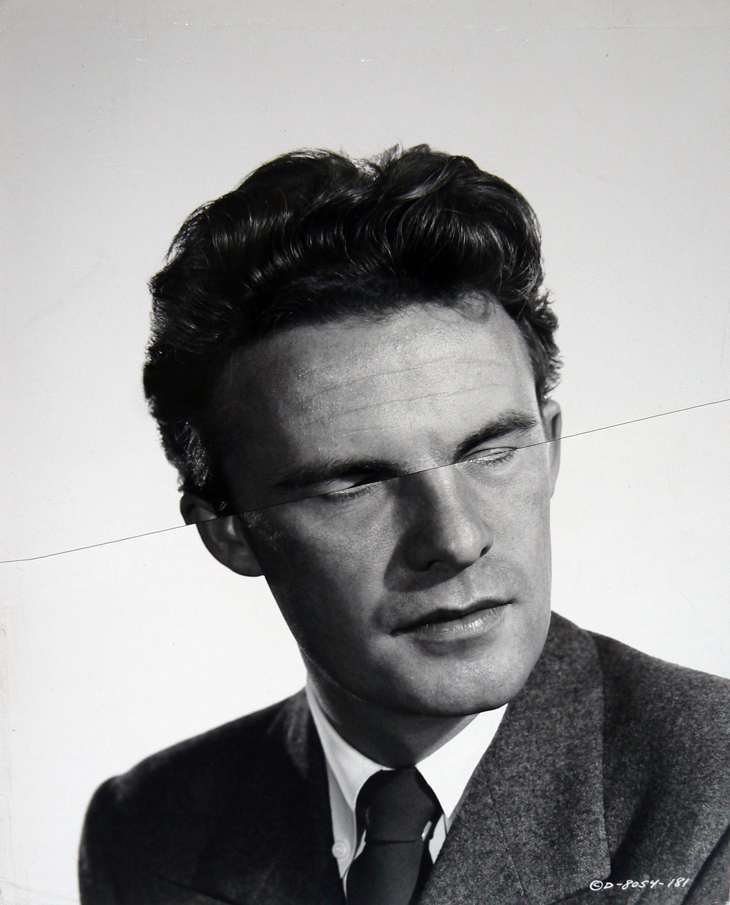
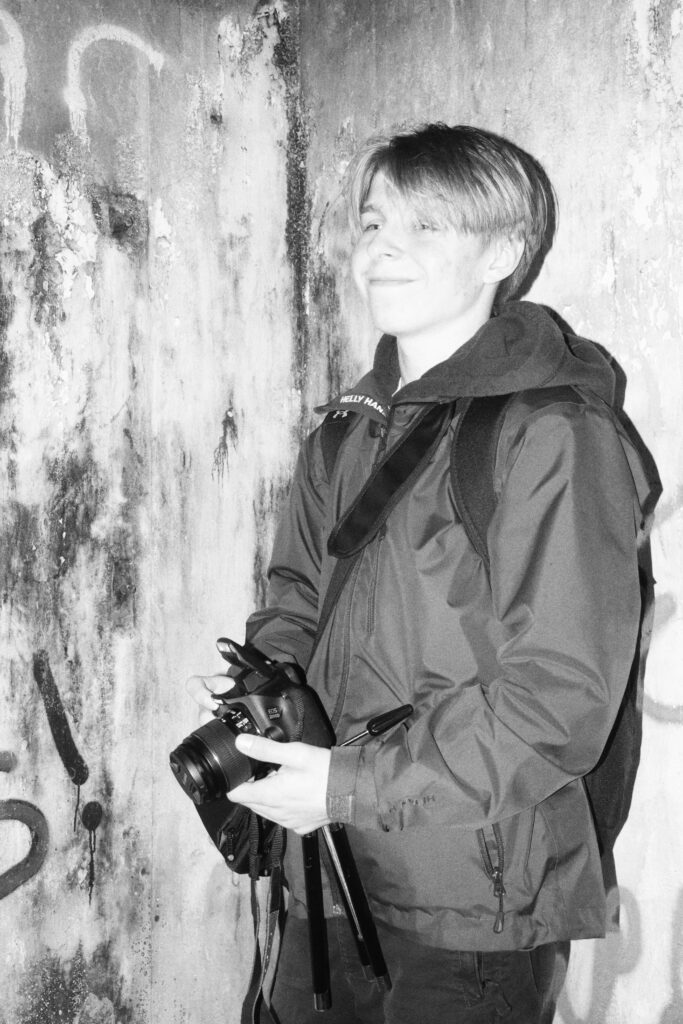
David + self portrait:
Manifesto:
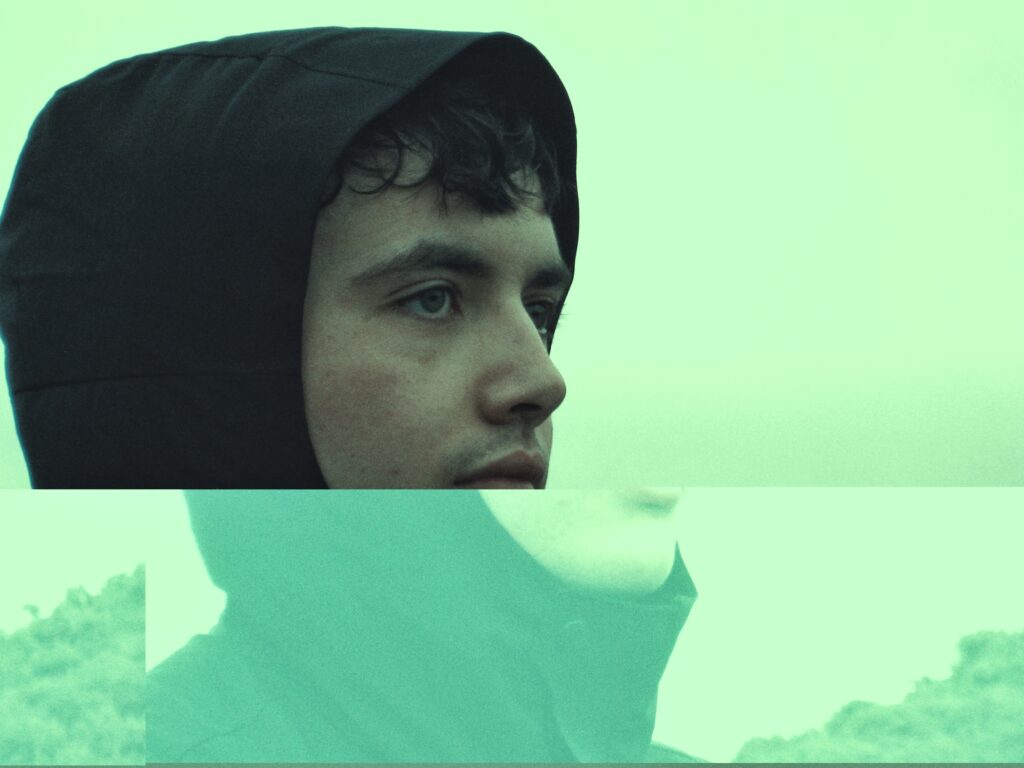
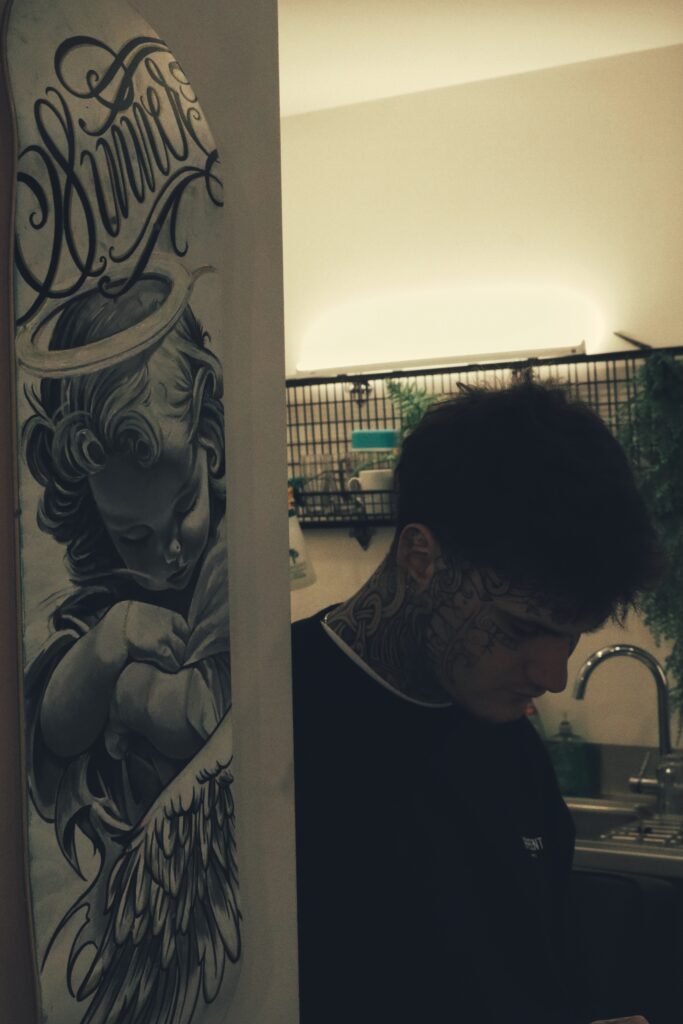
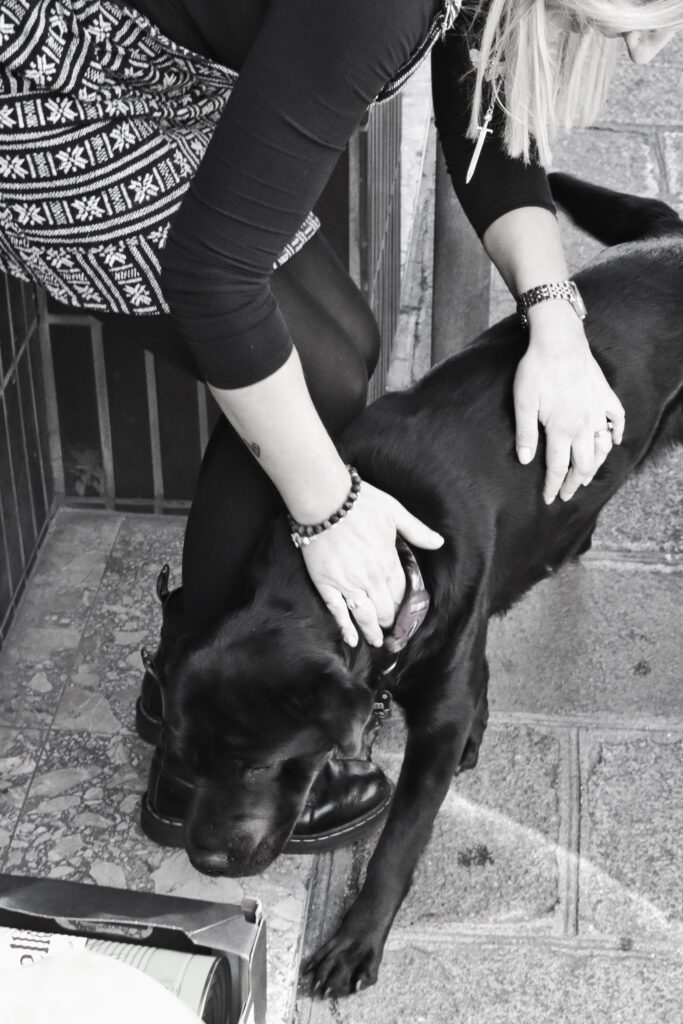
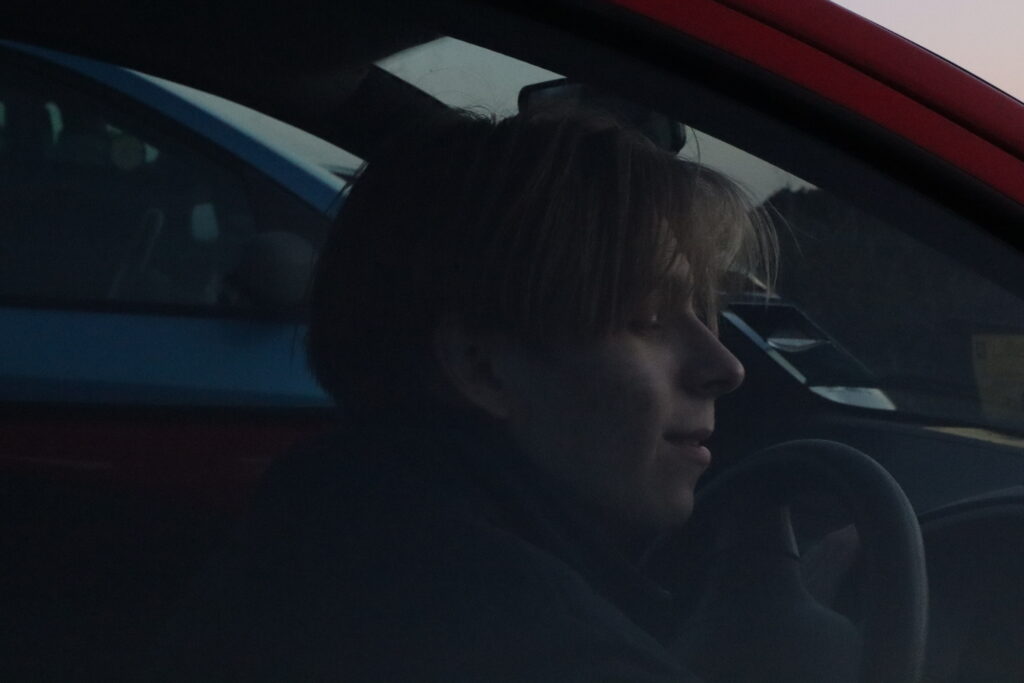
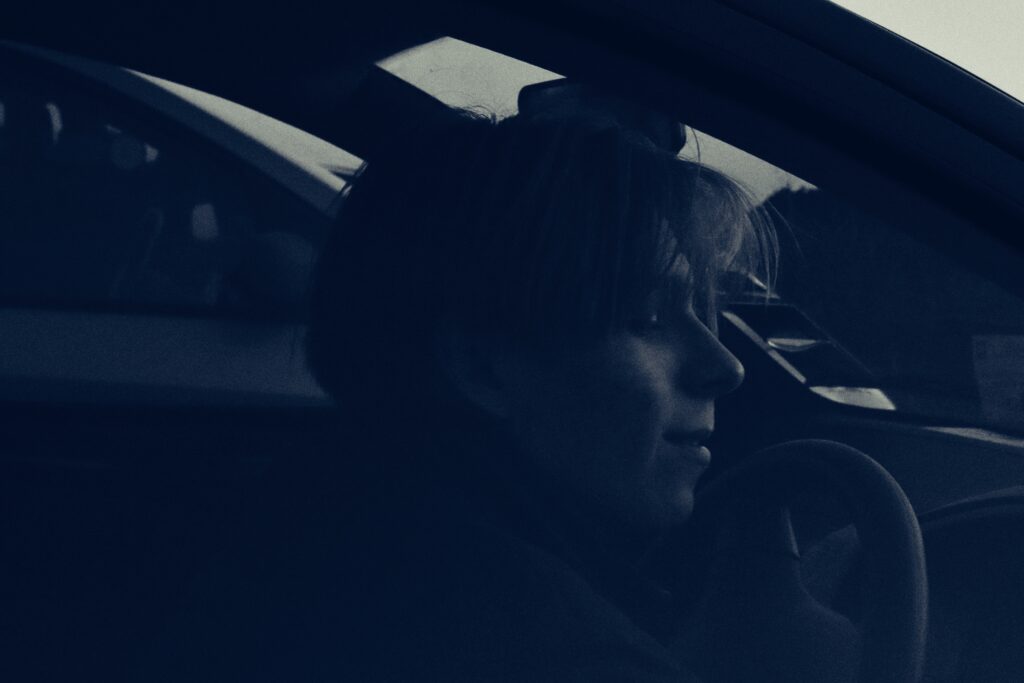
These images are classed as Candid. For these images, I wanted to replicate this image aesthetic of another musician, Malcolm Todd. Although not attempting to recreate his album cover, I did like the colour, texture and tone of his work.
Before:
Editing:
After:
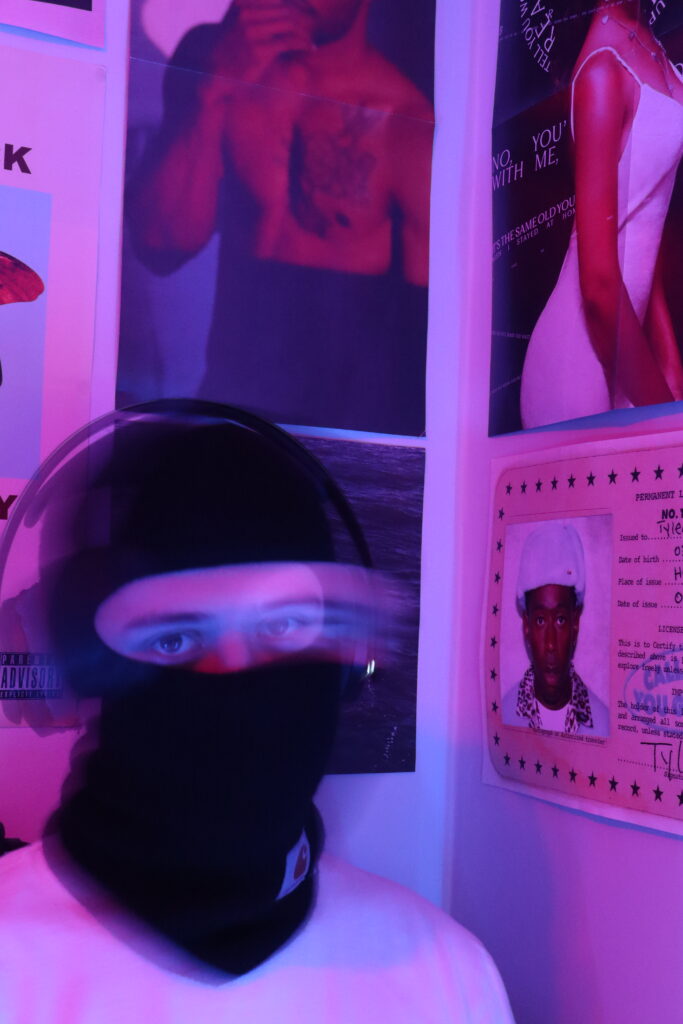
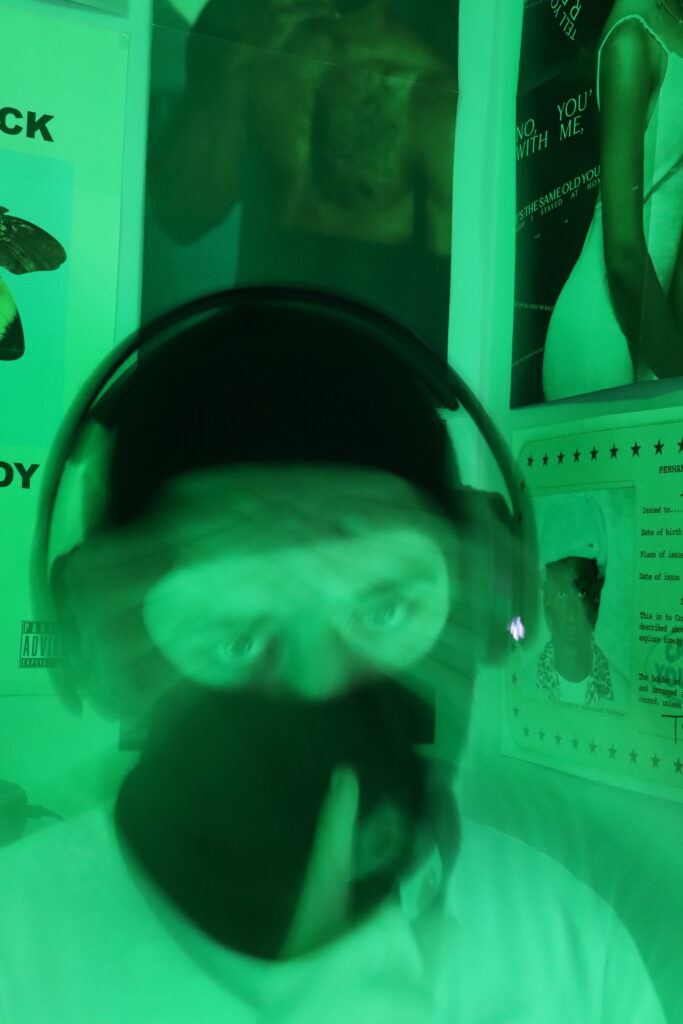
Photoshoot Room 2:
Manifesto:
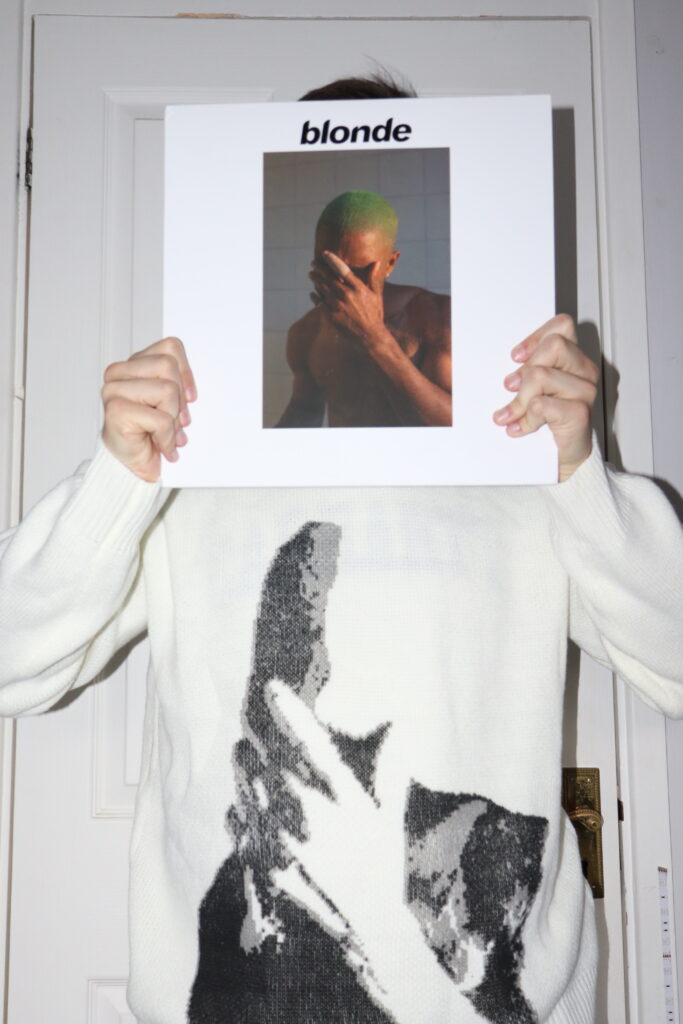
These images fall into the category of Candid. Taken in my room, I wanted to create a bright and contrasting atmosphere within these images, so in order to do this I relied on my camera flash instead of my room light, this shoot is to focus on how music can represent identity and unite people through what they enjoy.
Before:
Editing:

After:

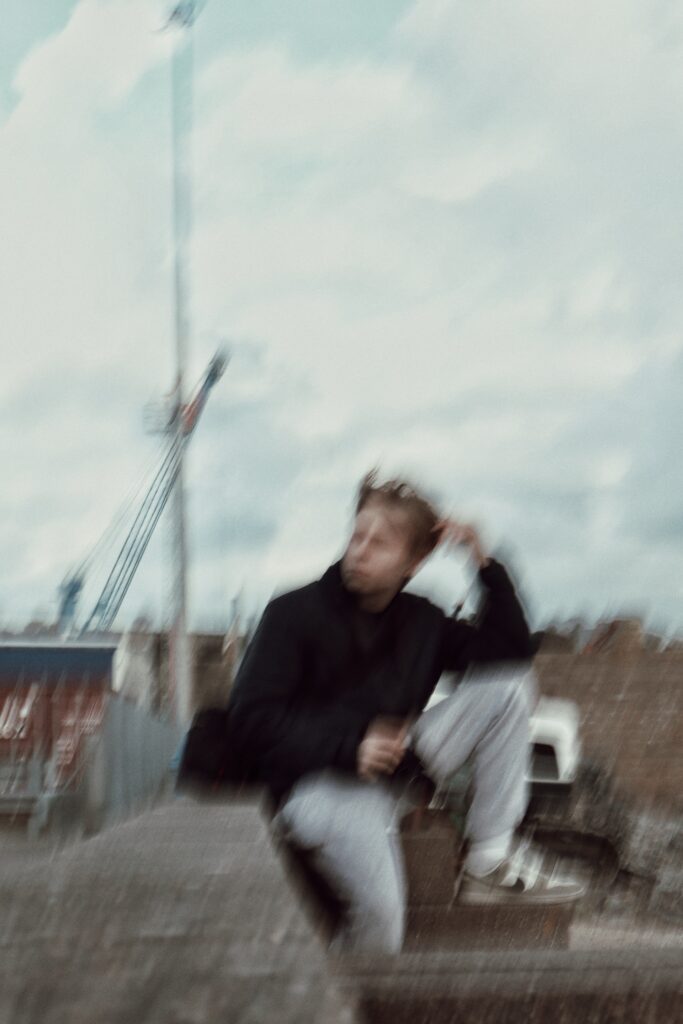
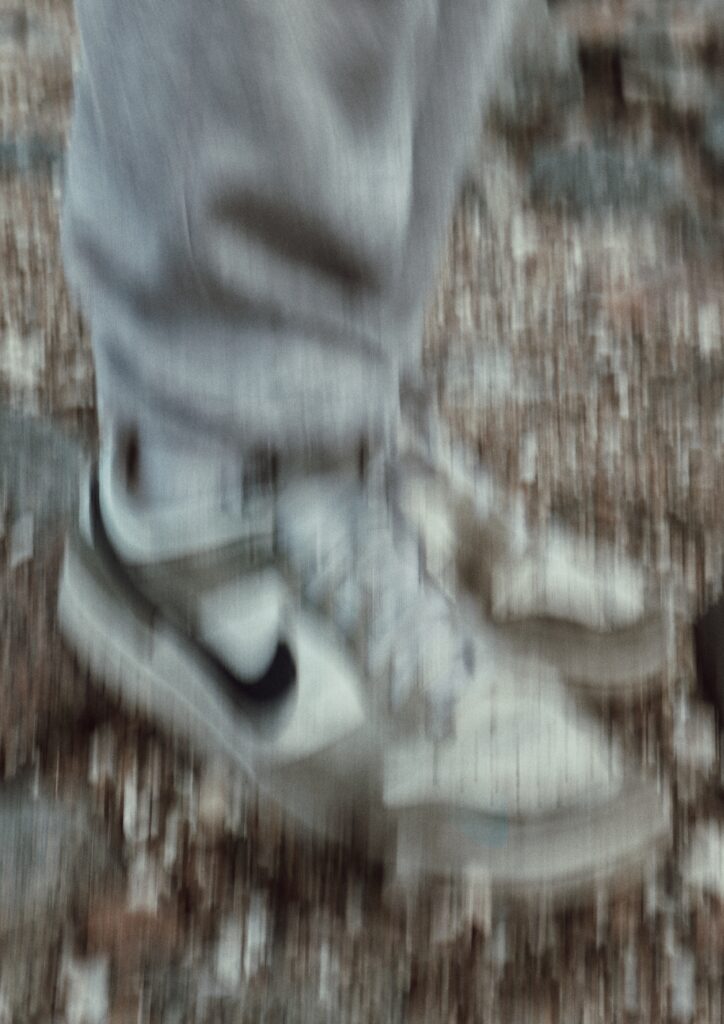
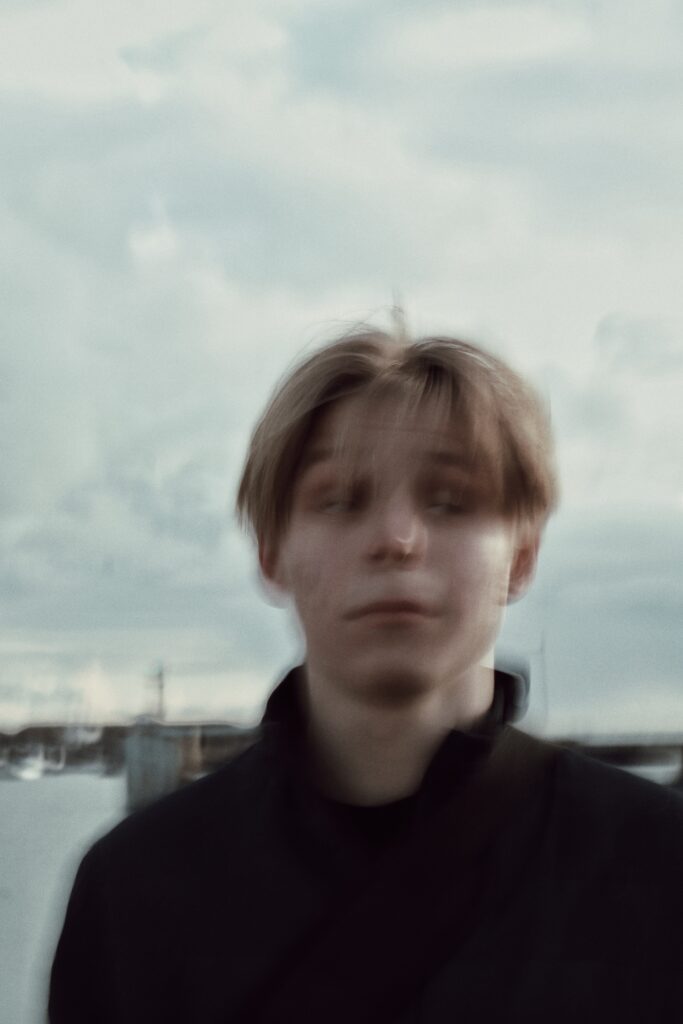
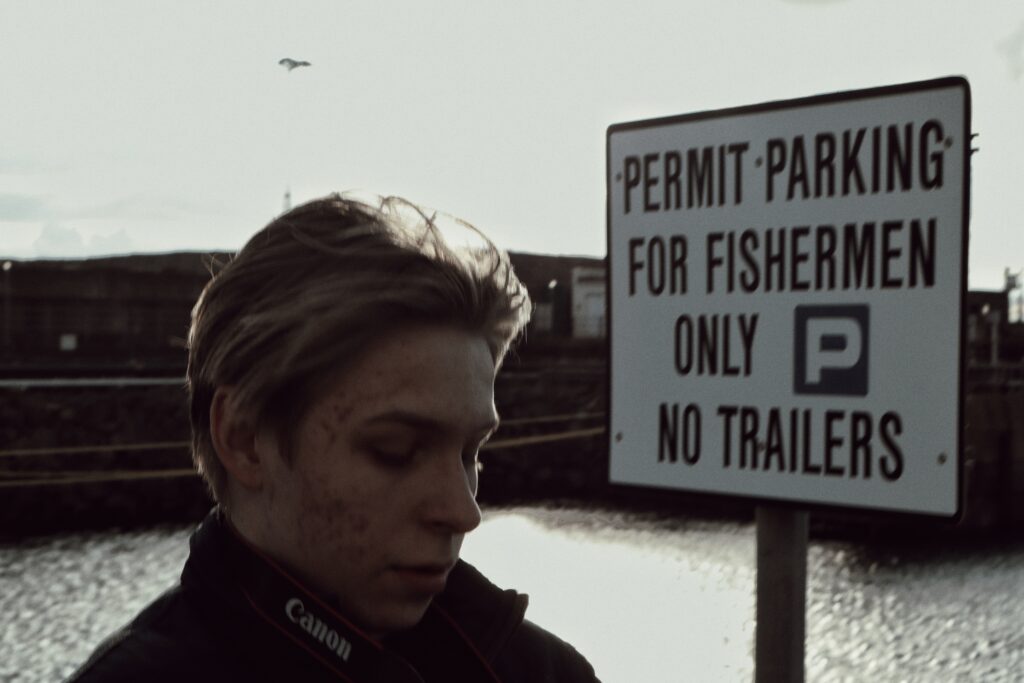
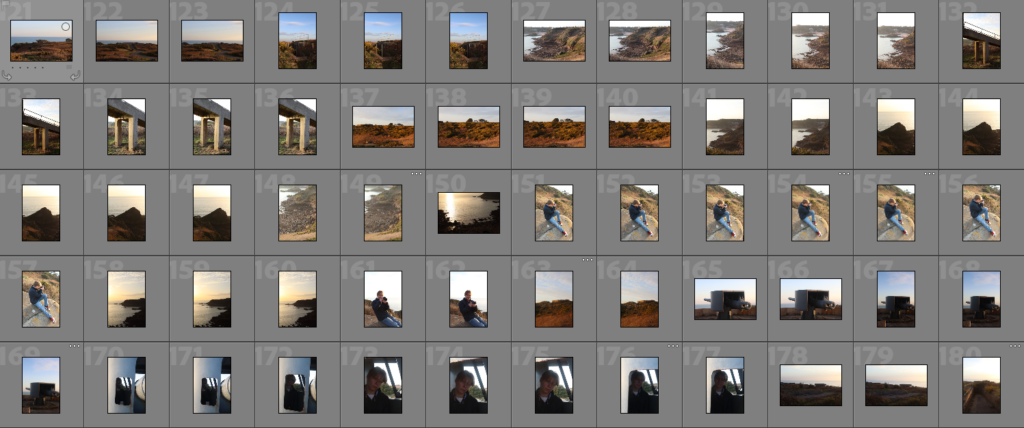
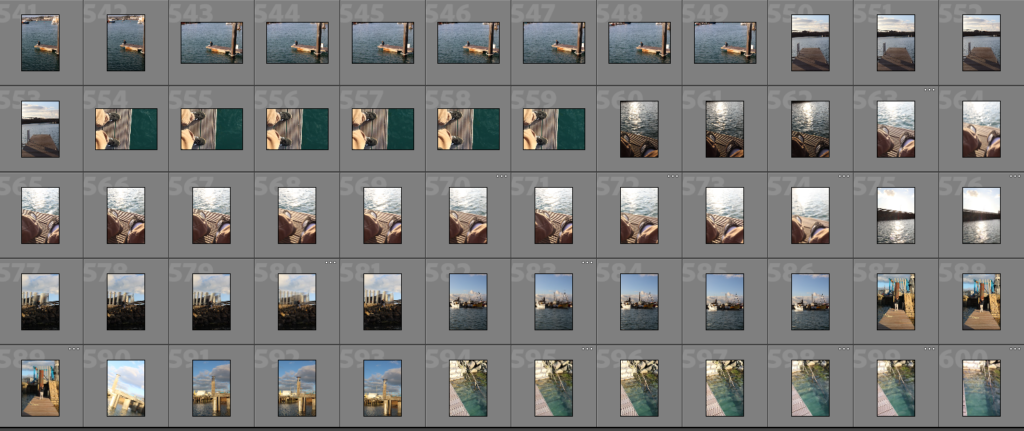
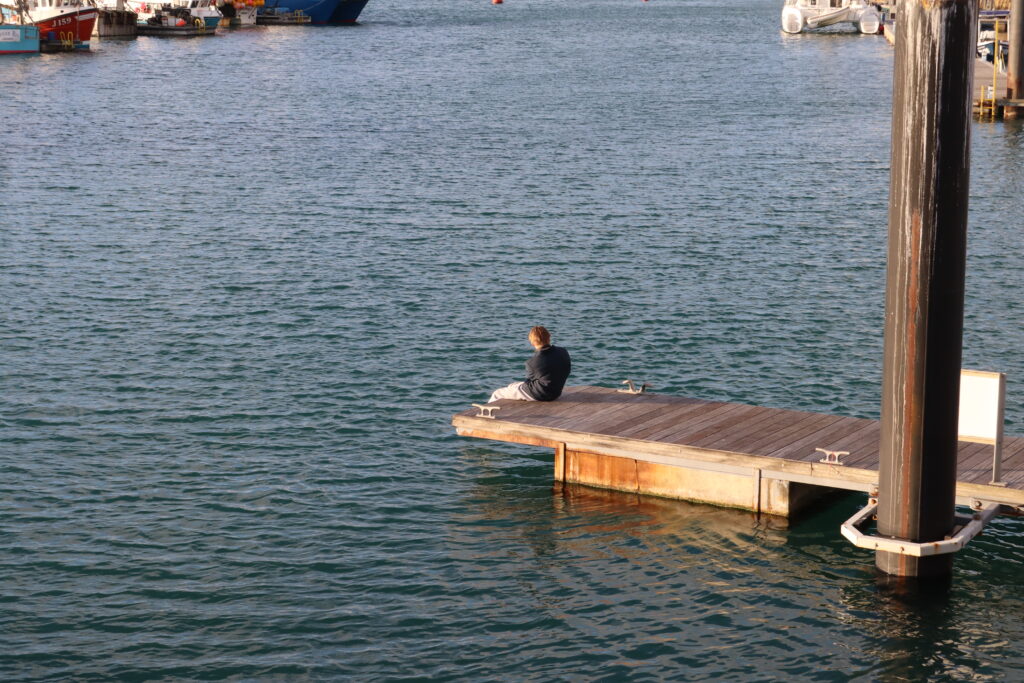
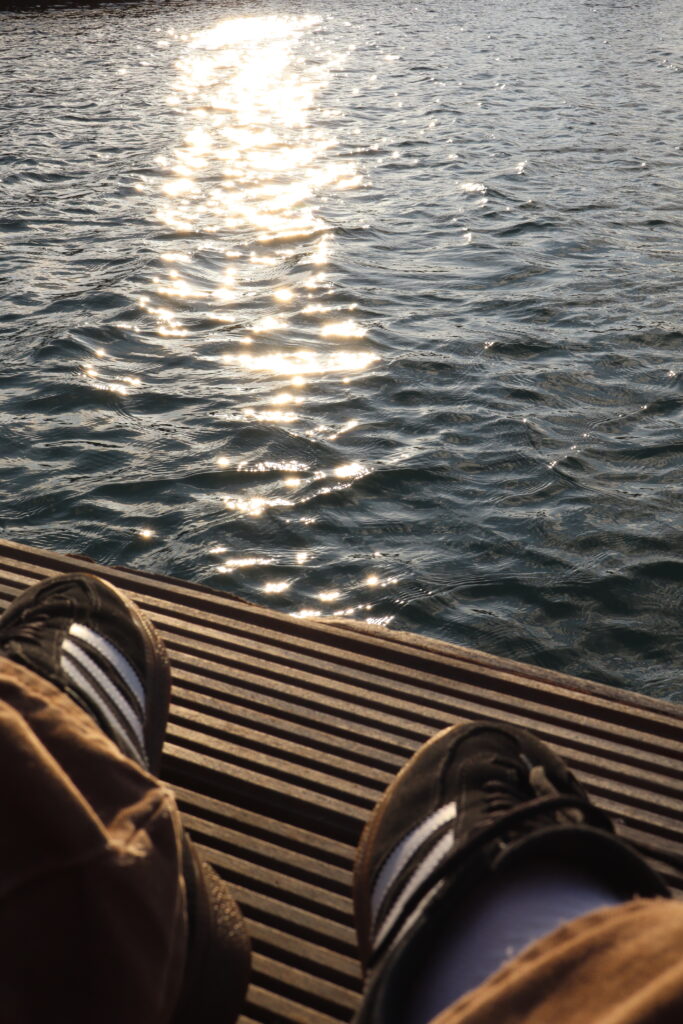
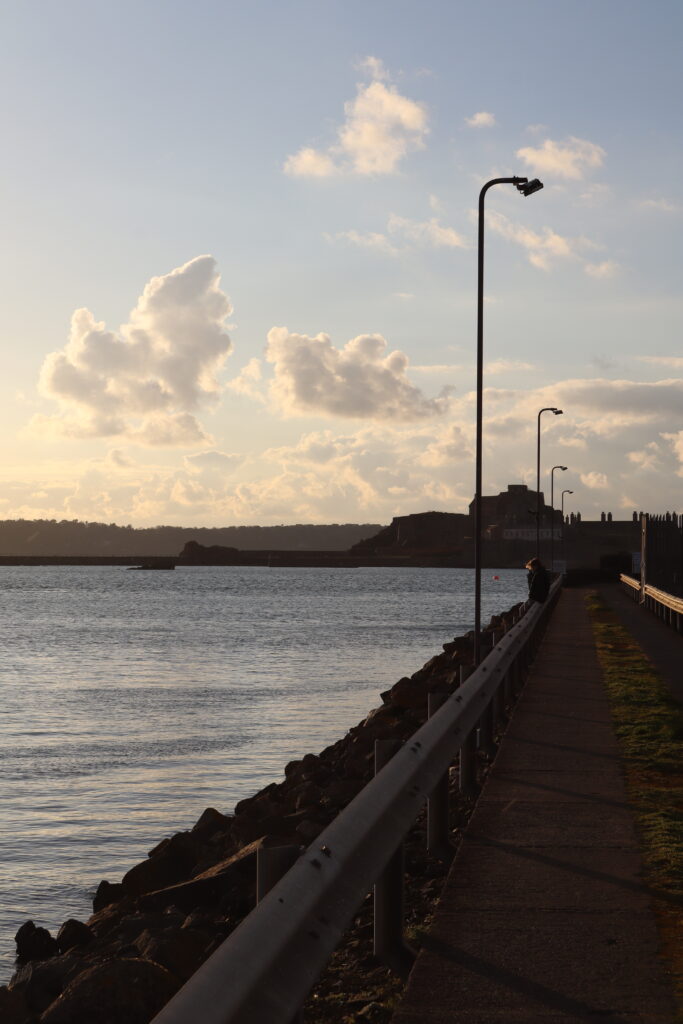
Photoshoot Harbour:
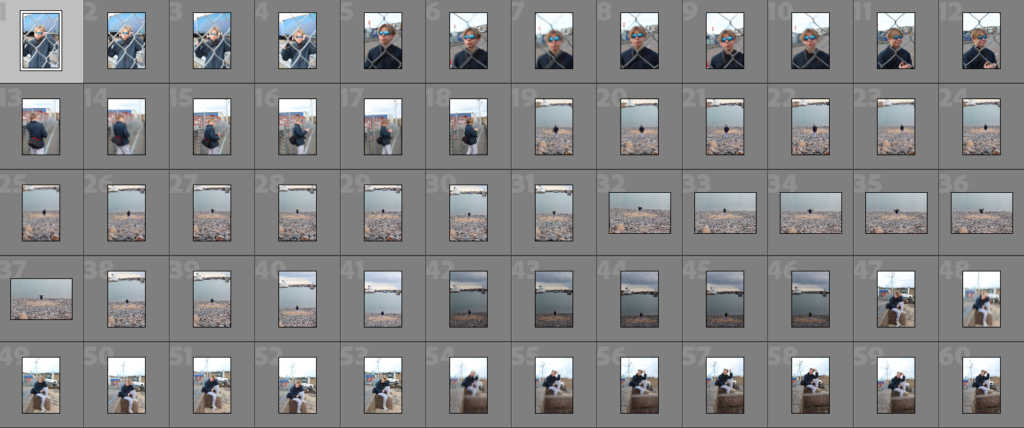
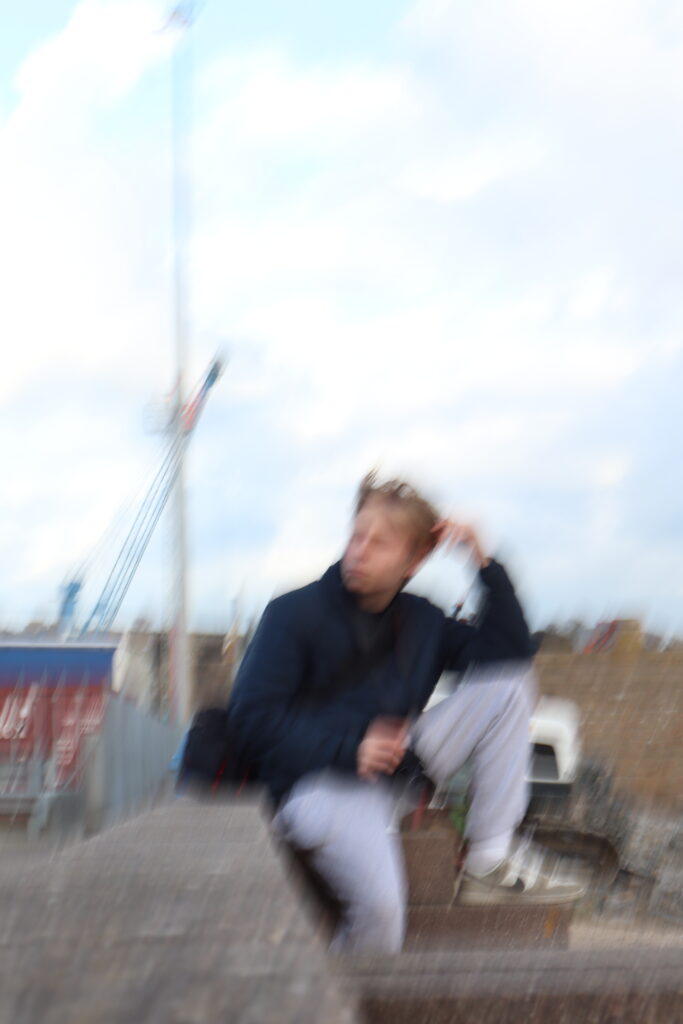
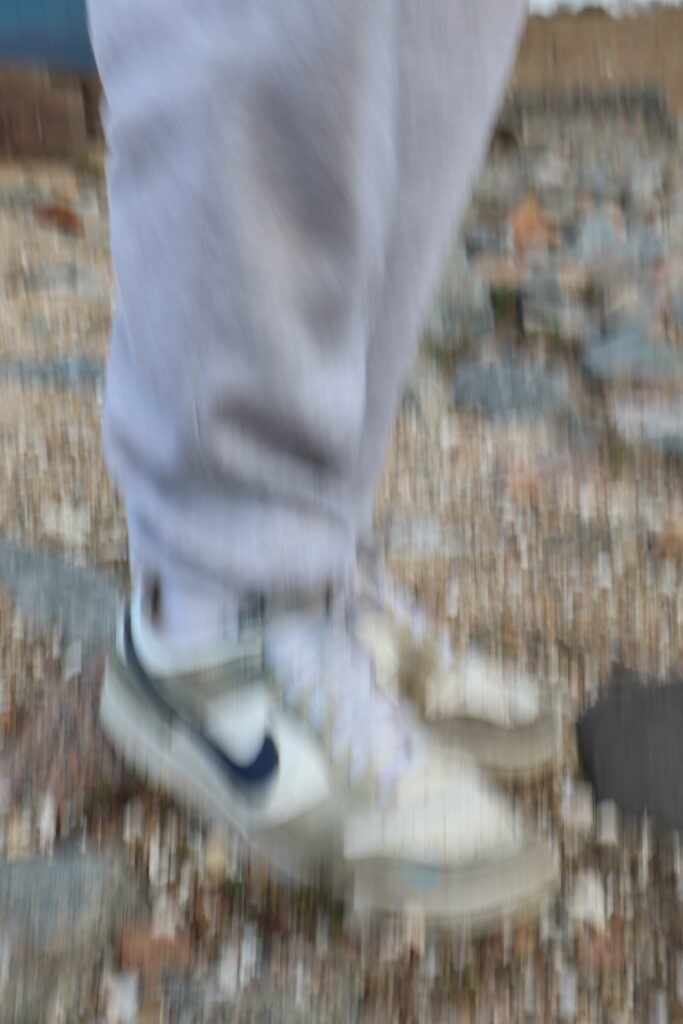
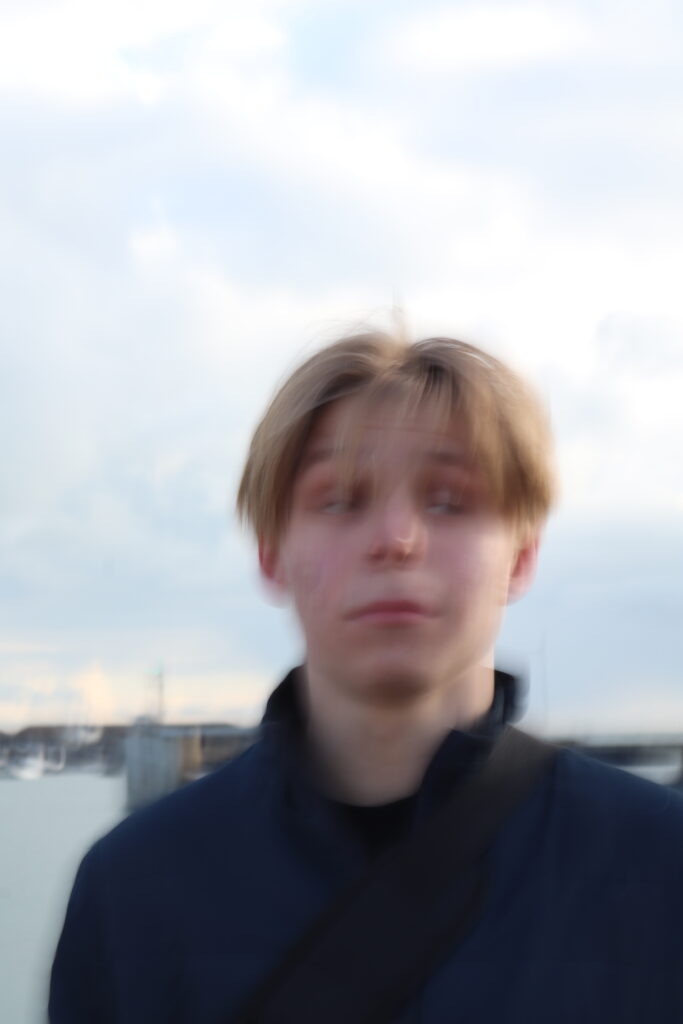
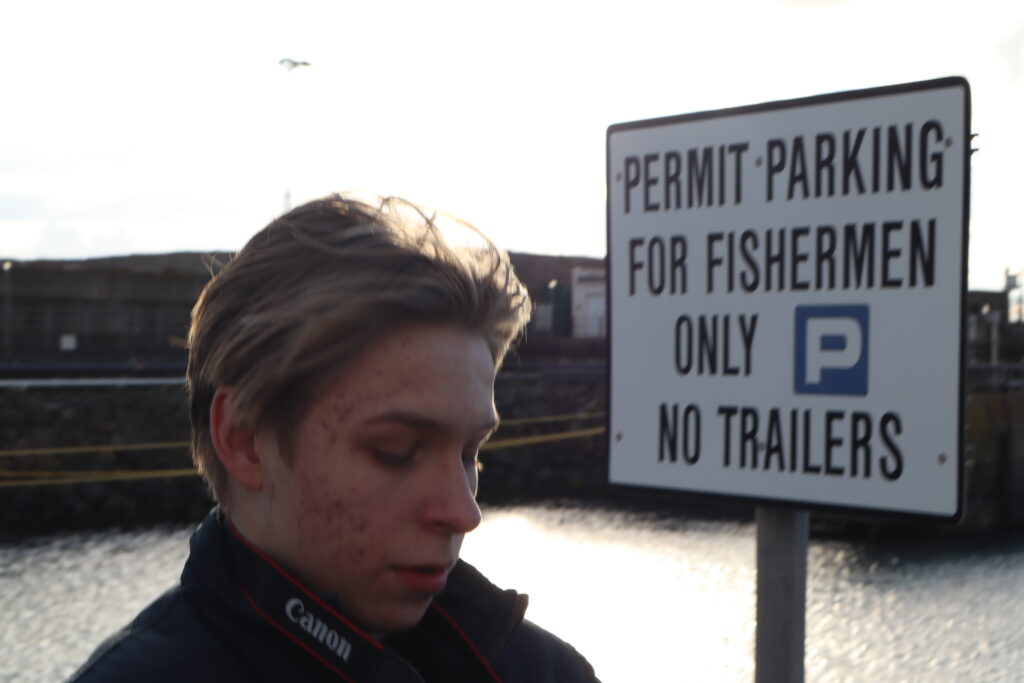
Manifesto:
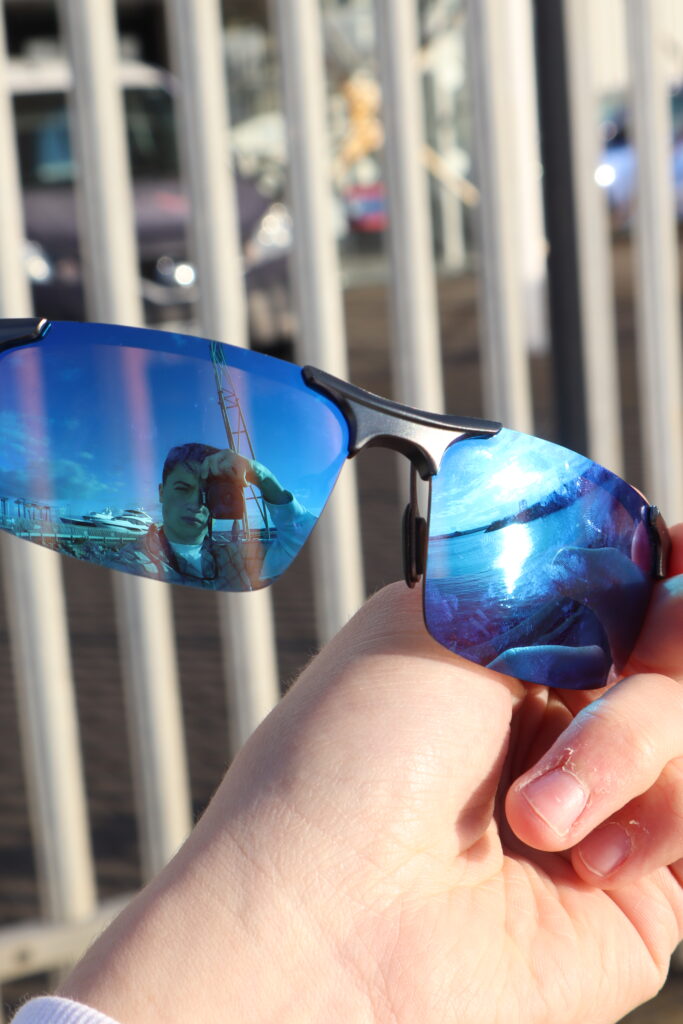
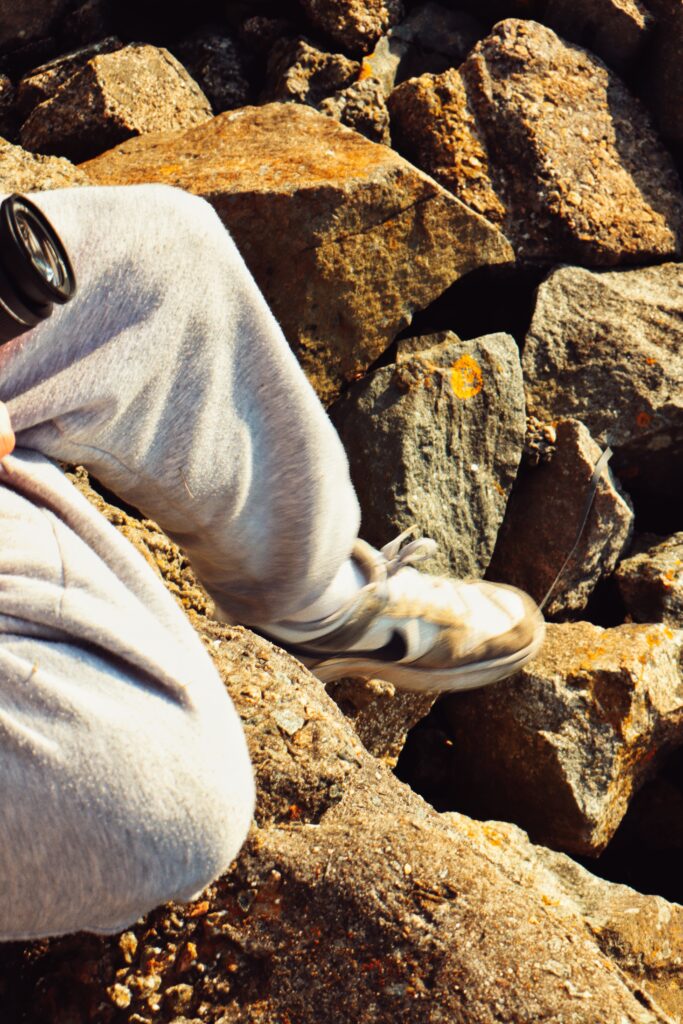
These images fall into both categories of Candid and Blurred. For these images I wanted to incorporate some more blurred images, However i did make use of some candid photographs to contribute to other parts of my project such as landscapes and self-portraits to reflect identity. These images were taken on a shutter-speed ranging from 1/30 and 1/50 to 1/200 to 1/250.
Warmer toned images:
Before:
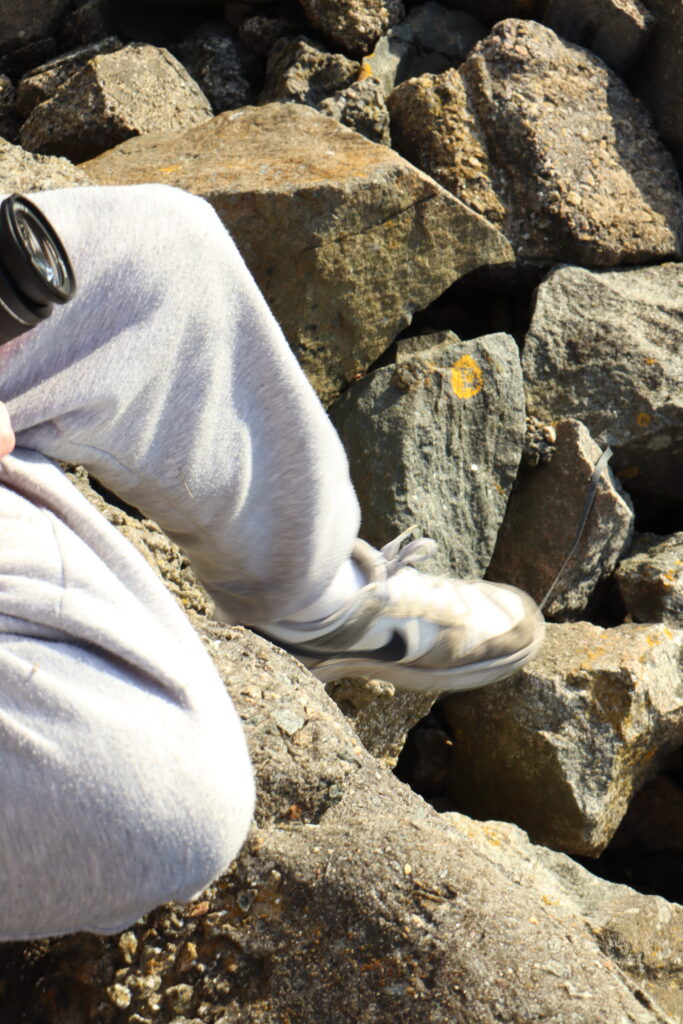
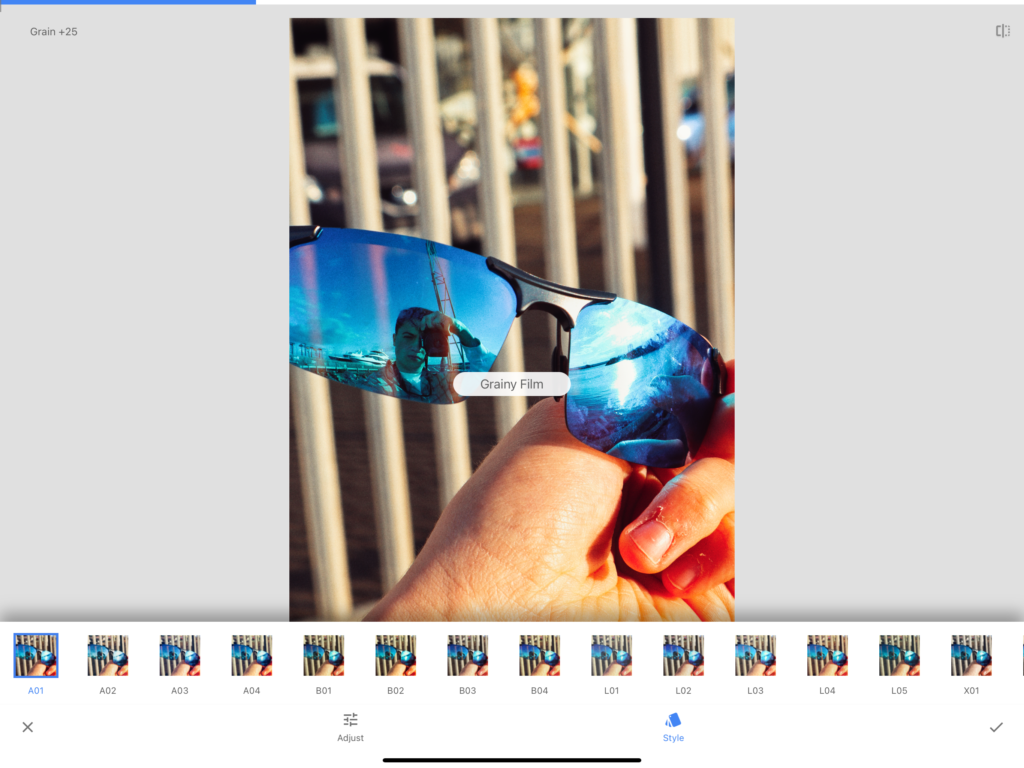
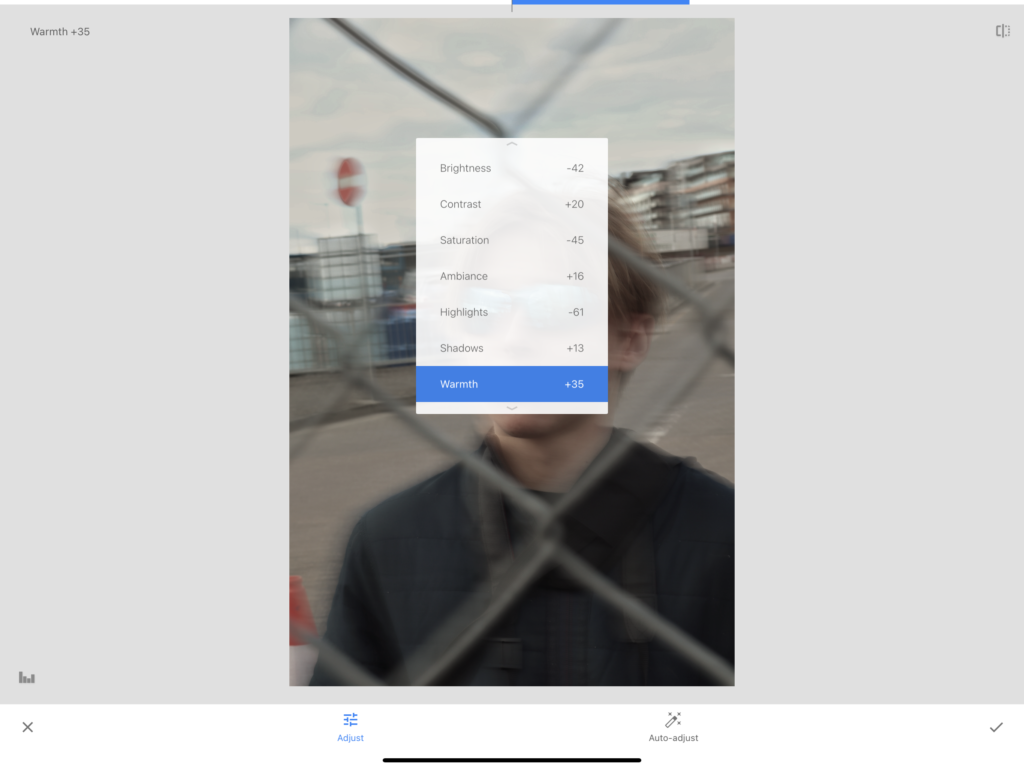
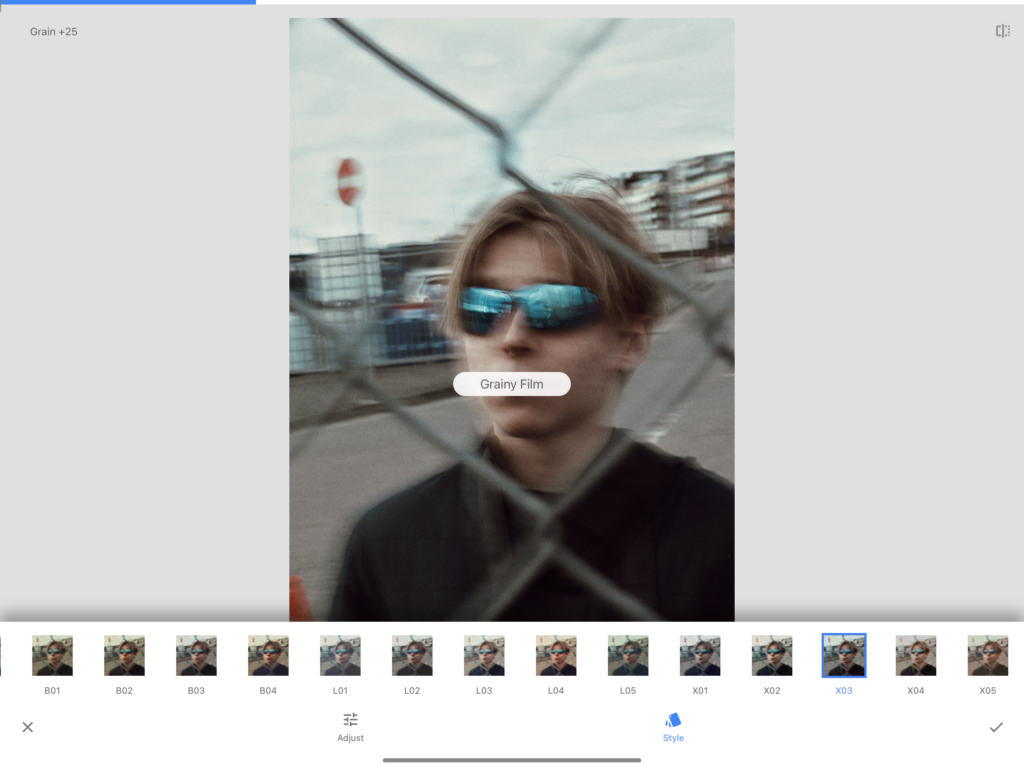
Editing:
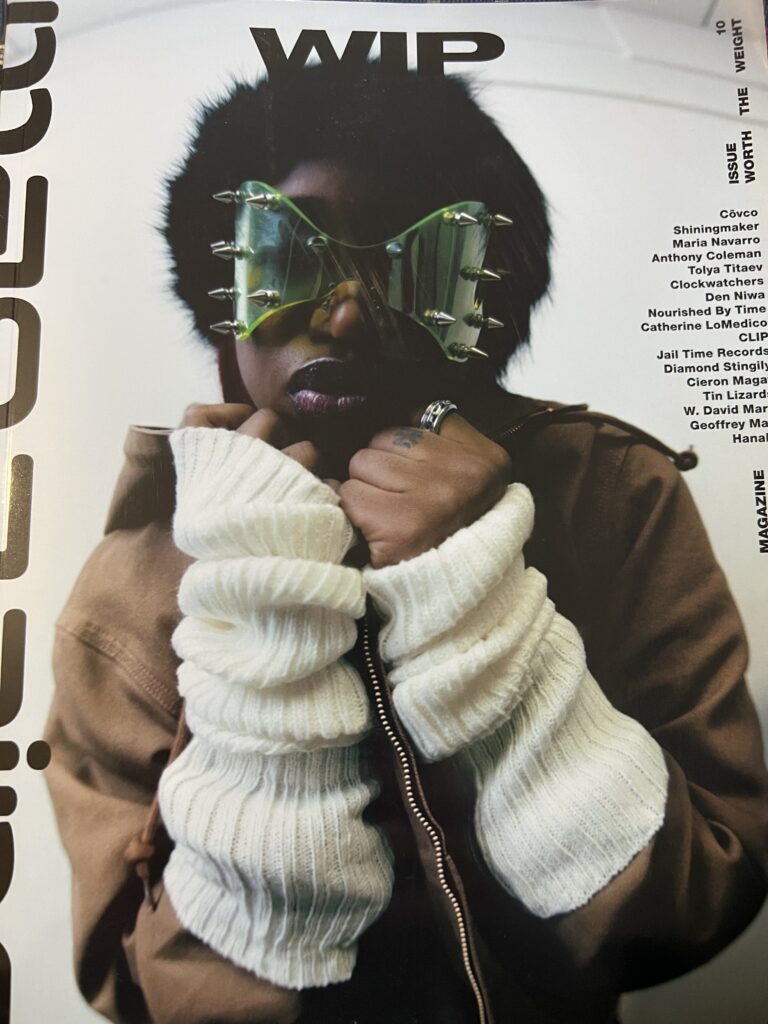
For these images I wanted to bring more of a focus into the reflection of the sunglasses so I aimed to achieve this through the following settings to bring darken it some more. By increasing the warmth too, this was to add more vibrancy to the rest of the images I applied these settings to.
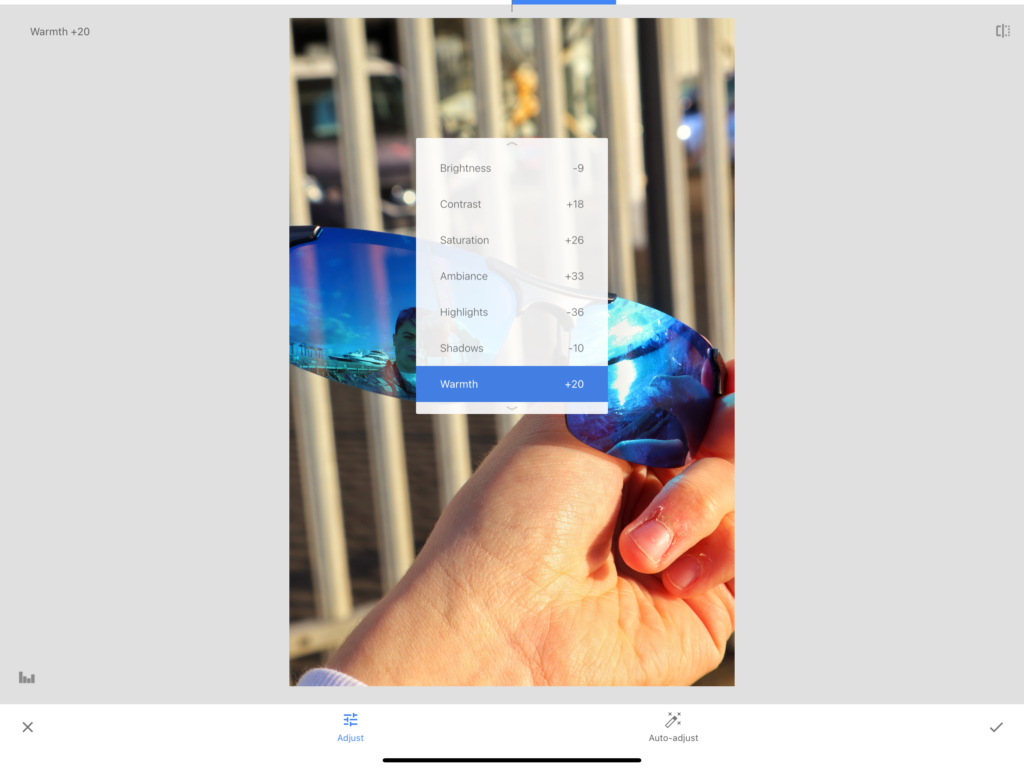
Adding a grain filter too, this was to hopefully add some sharpness to define out my reflection more whilst also creating a vintage aesthetic.
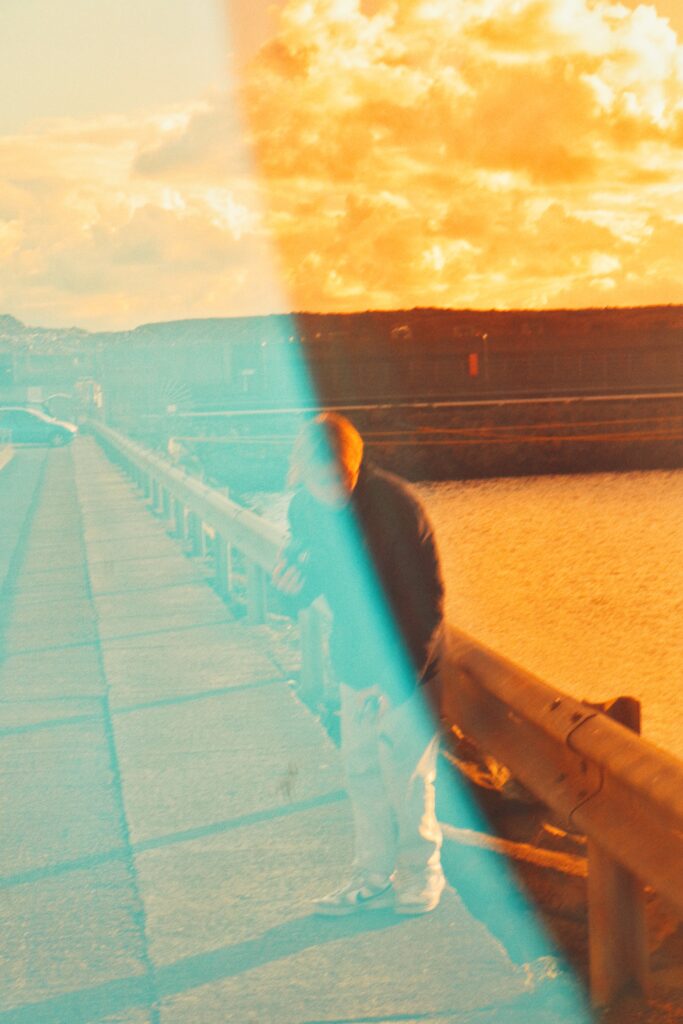
After:


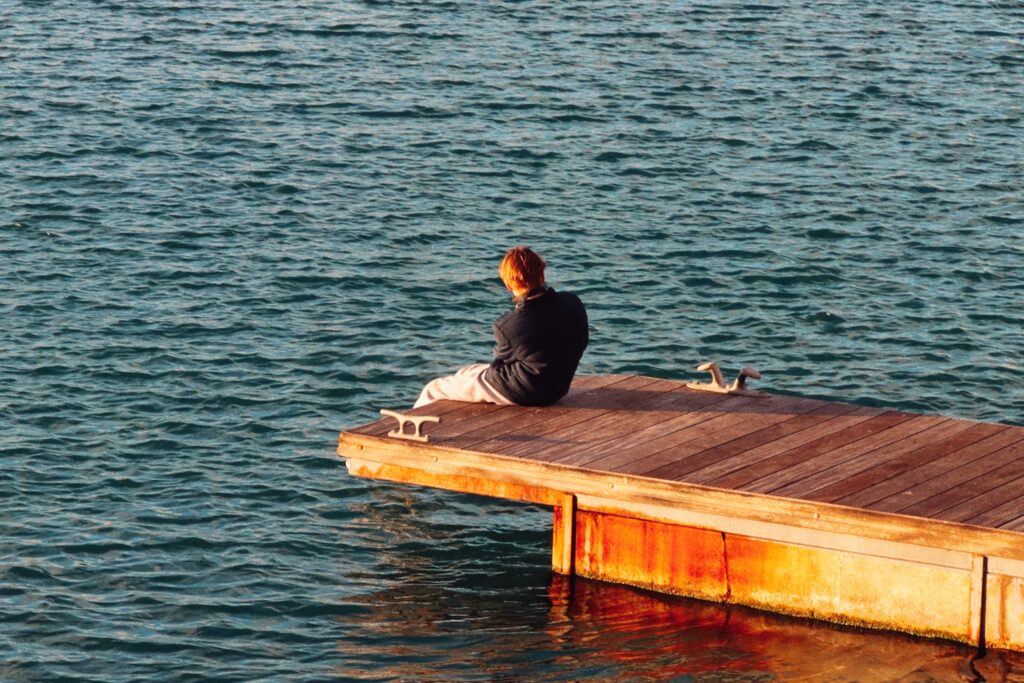
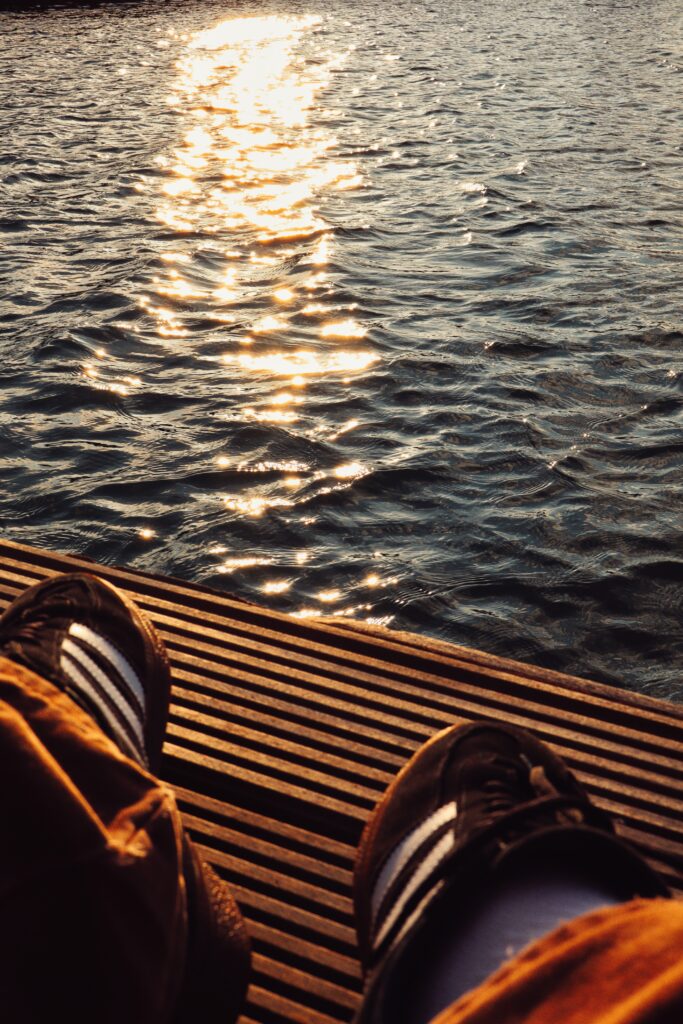

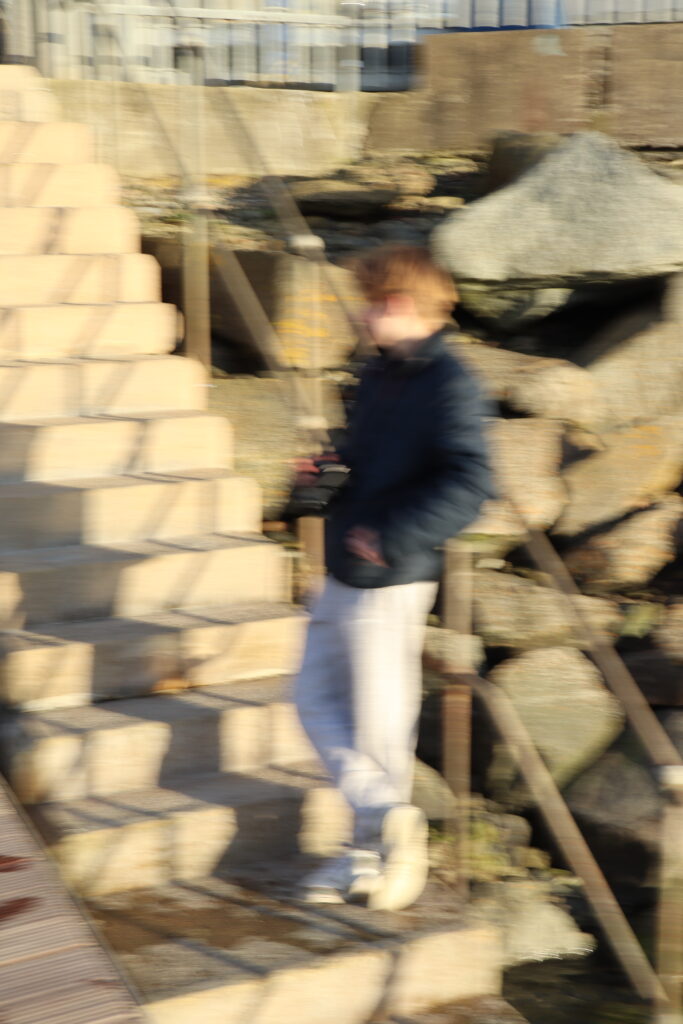
Colder toned images:
Before:

Editing:
Through these settings, the aim was to try and create images that had a cold, distorted texture. To achieve this I used contrast and saturation to bring out the images colour.
By then adding a grain filter which contained highlights of blue this was to give the images a cooler toned aesthetic.
After: