
To create my virtual gallery, i had to go on to my documents. I then went to Radio > Departments > Photography > Students > YEAR 13 EXAM 2025 > Gallery Mock ups. This was to get my background.
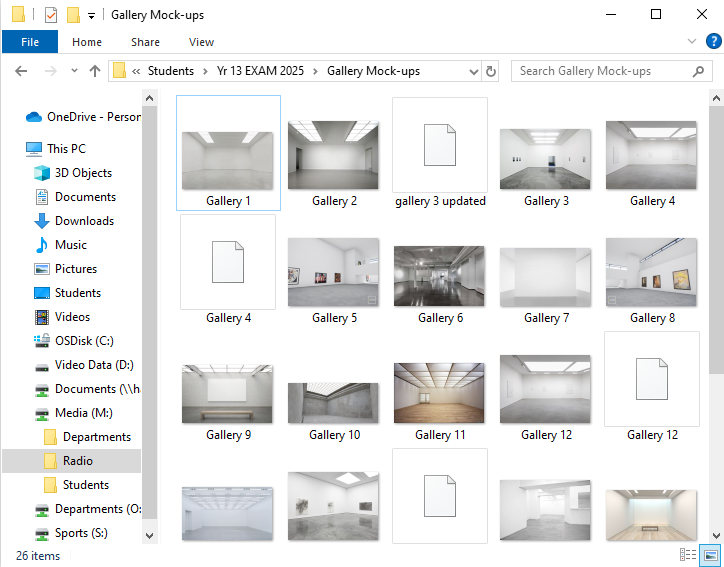
I then picked my gallery wall, and opened it up in to photoshop. (for example)…
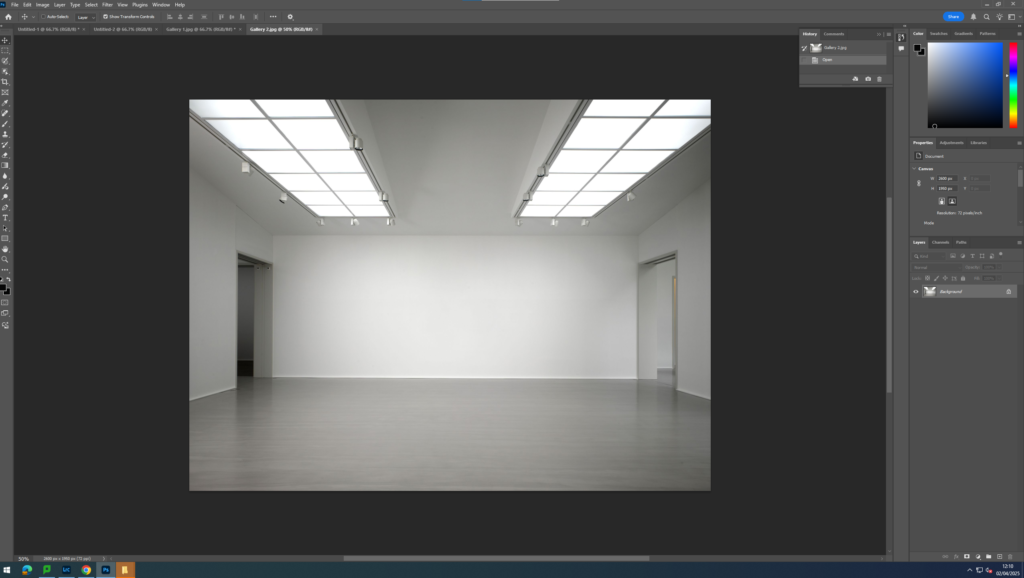
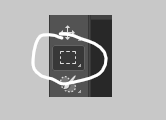
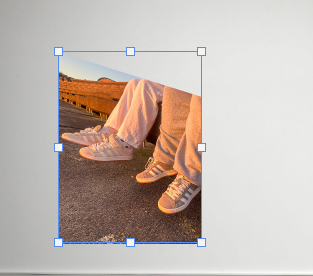
I then used the select tool to draw boxes on to my wall.
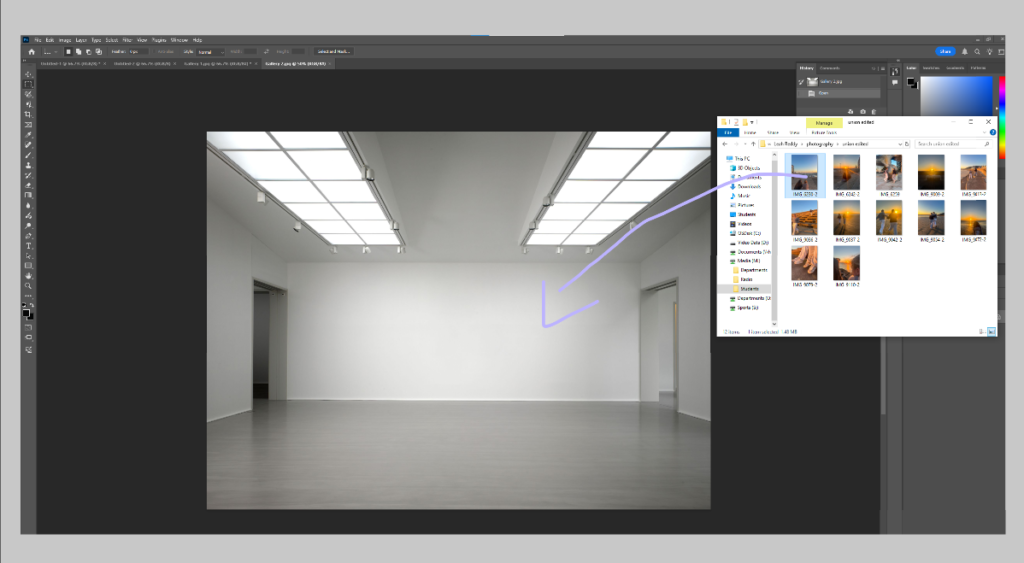
This allows images to be pulled on to the background without losing your image behind the background. After drawing my first box, I dragged an image over. To do this, you must have documents open and in the folder you want. You then left click and hold down with the mouse then drag on to your background.
When the image went on to the background, I adjusted the size to what I wanted. However, I couldn’t just have a picture against the wall/background. To make my pictures on the wall look a bit more realistic, I added a drop shadow and outer glow. To do this, I right clicked on my image..
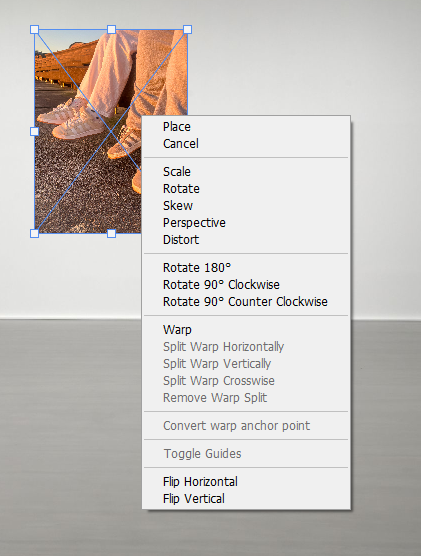
I then pressed Skew to tilt my images, so they fit to the wall to the way the wall goes.
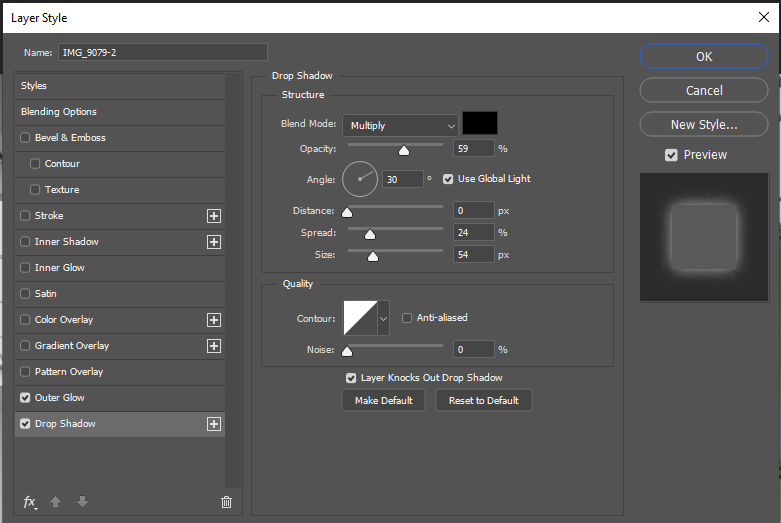
The image shouldn’t look flat, it should look like it goes down a bit from the top to create a realistic approach. Then I added the drop shadow and outer glow. To do this i right clicked the layer the picture was on, and pressed blending options.
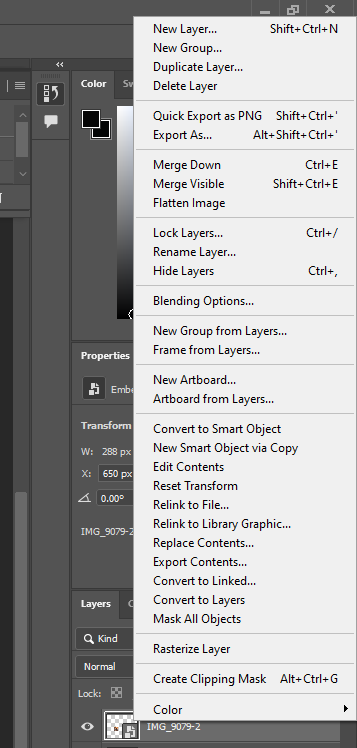
Once I clicked blending options, I was able to pick whatever effect I wanted for my image. I picked drop shadow and outer glow to make it look like the image is slightly raised away from the wall and has a shadow.
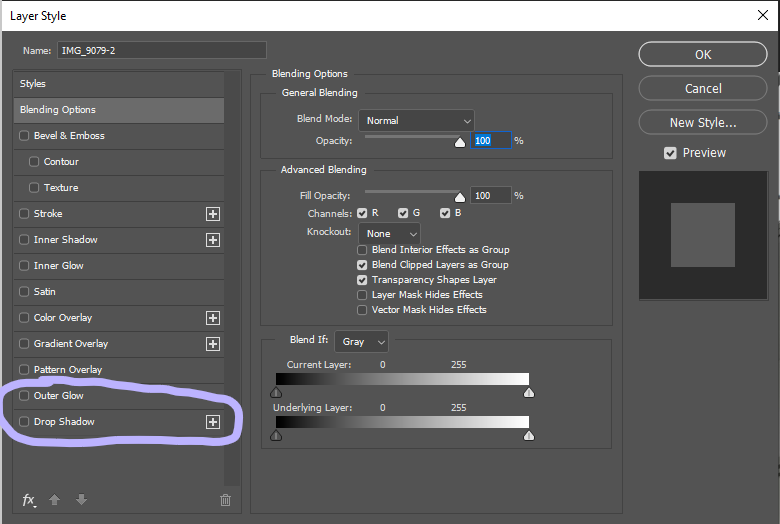
When picking what layer style I wanted, I saw that you could adjust these styles to the way you want it.
I then did this same process on each image, all around my gallery. I was then left with my finished product.
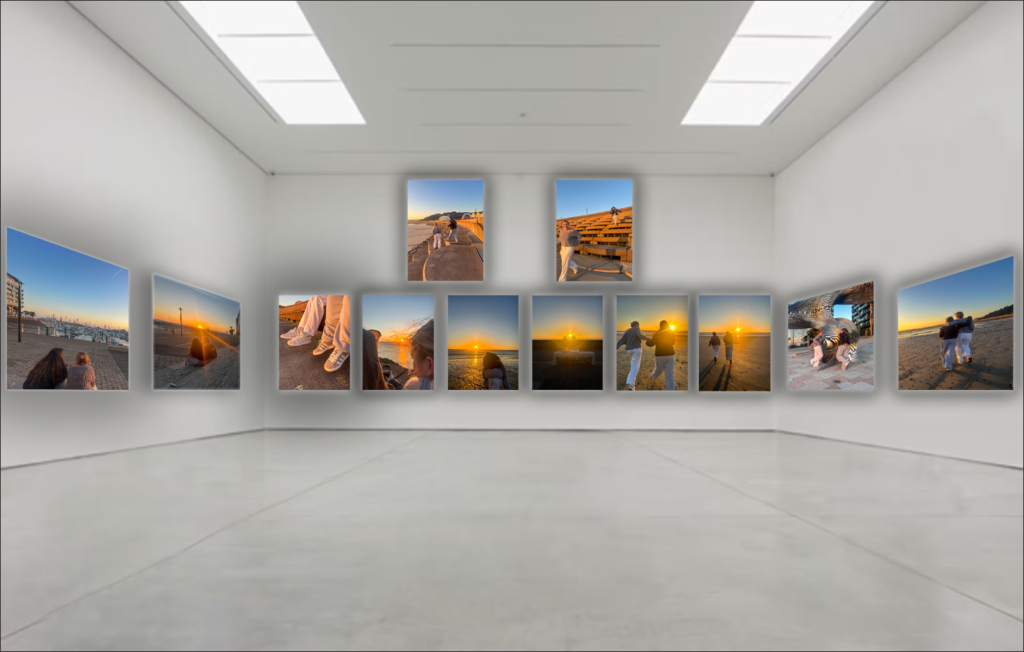
I think my virtual gallery turned out well as I managed to upload the background and then manage to make the pictures look realistic by creating shadows and depth. I think to make it better is use less pictures so it doesn’t look as busy.