photobook final layout and evaluation- eddy

front and back cover:
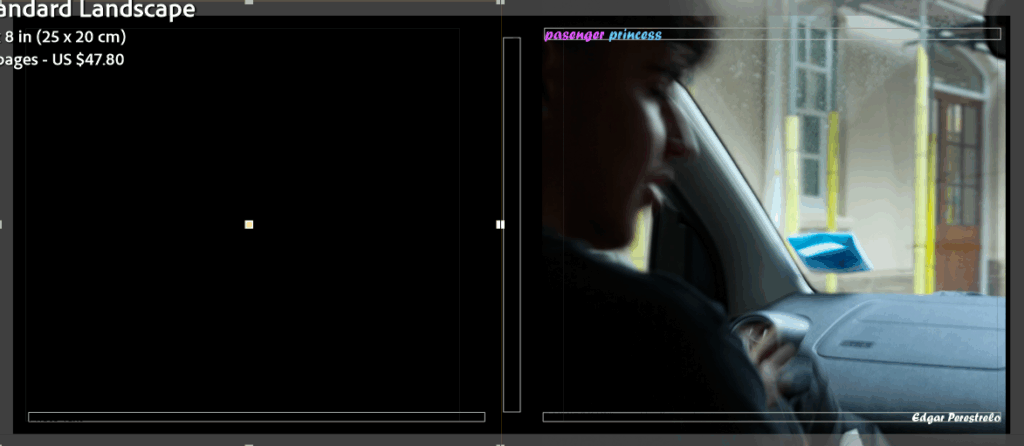
the reason why I decided to make this my front cover is because the title is a contradiction to the image on the cover as “passenger princess” a term that is used when a women gets in the passenger seat of a car which in this case the roles are reversed a man is in the passenger seat and a women is driving. and the colour of text also adds meaning to the image as the pink signifies that a passenger is usually the women then the blue for princess because its a male in the passenger seat.
this page is simply there to set a tone for the book and what to expect/what idea its going to present throughout it.

pages 2 and 3:
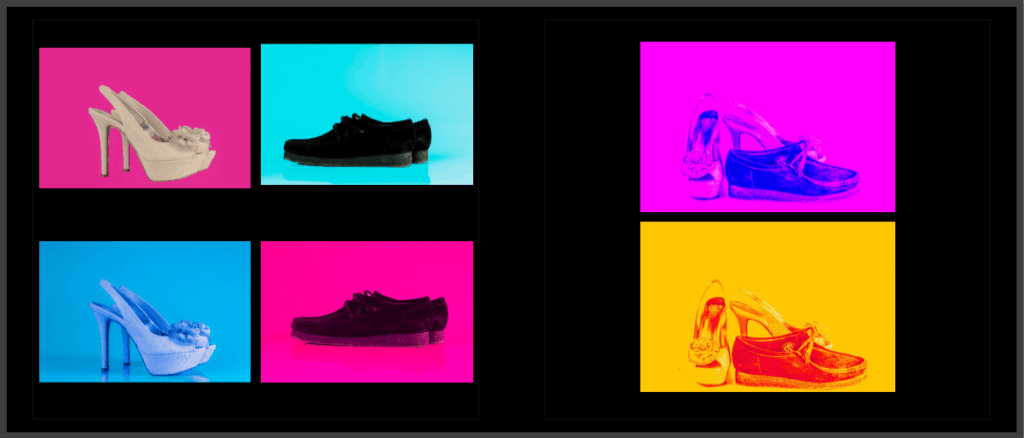
for page 2 and three I wanted to create two complete different types of atmospheres for the heels and the loafers by putting them into different types if colour schemes to represent the two different genders. for page 3 I wanted to make some unique images that still fit my idea these where based around pop art that I experimented with.

pages 4 and 5:
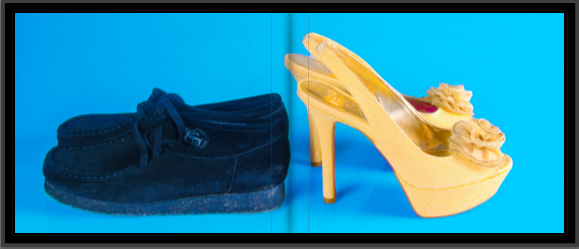
this image I decided would have been good to have a double spread because it kind of spoke on its own and didn’t really need any other image around it to give it more meaning.

pages 6 and 7:
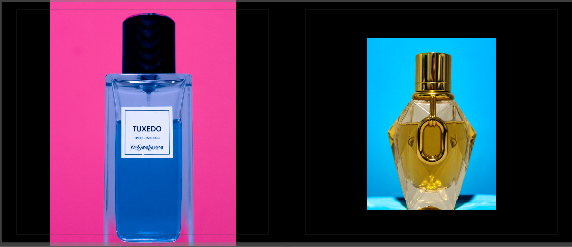
for these two pages i wanted to do something similar for what i did with the footwear earlier but instead of completely making the objects stuck to one gender I wanted to show they could represent both with having contrasting colours in both images as its a fragrance and a perfume which you now see a lot of people using scents that is meant for the opposite gender.

pages 8 and 9:
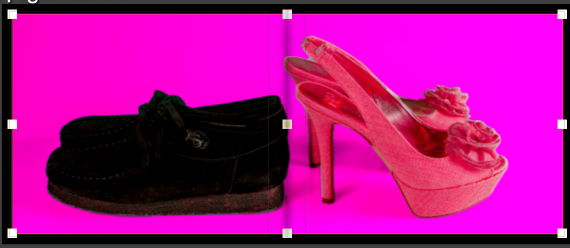
for this page I wanted to make another version of the image from page 4 and 5 to create a contrast between the two images to show that they can be looked at in two different perspectives and not just in one. (doesn’t have to be seen as just only one gender can use loafers or heels).

pages 10 and 11:
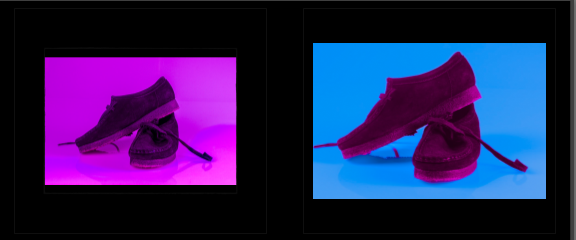
this page was to show the difference between what society should be like vs what its actually like, with the image on the left representing what it should be like as the whole image is pink with the idea behind that being any person can where that without being looked at funny. where as the image in the right is the sad reality we live in it doesn’t who you are you will always be laughed at for something you use as long as its associated to the opposite gender 1000% of time

pages 12 and 13:
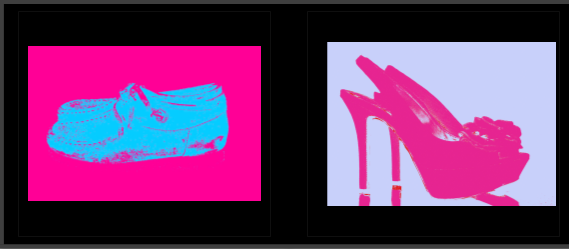
for these two pages i wanted to create images that really represented pop art as it was an idea that sparked from artist reference as Hassan Hajjaj used inspiration from pop art and pop culture for his most of his projects. not only that I think its another contrast to the art style as it was invented decades ago where these stereotypes that I’m touching upon would have been looked down upon and people wouldn’t even dare speak about it. which makes me wonder what would the general reaction be so my work.

pages 14 and 15:
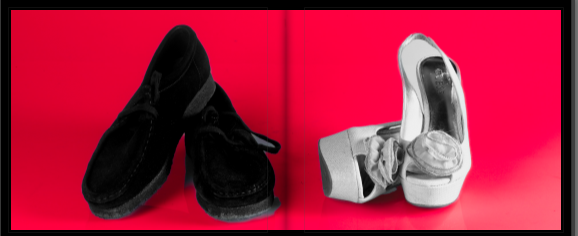
this image was is supposed to signify what people really think of the idea that I’m trying to portray as most people that are apart of these stereotypes do experience a lot of stuff they shouldn’t hence the only colour of the image being red with the footwear being black, grey and white.

pages 16 and 17:
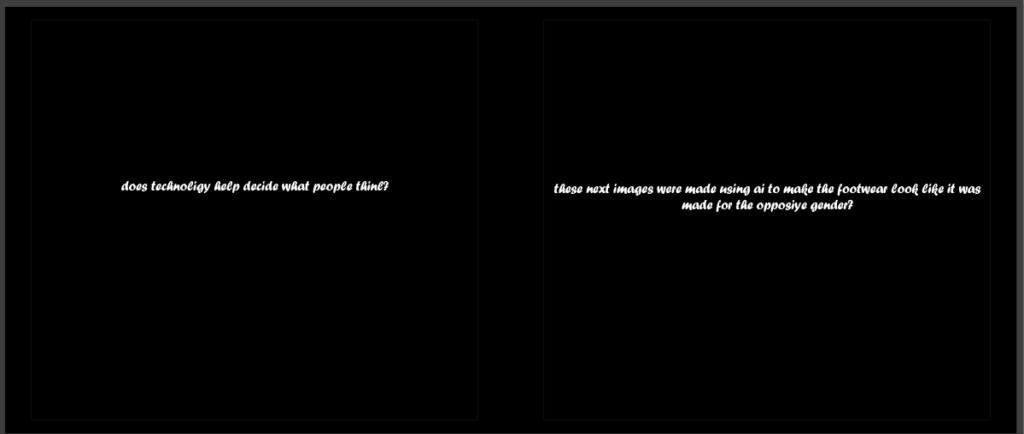
these pages where used to ask a question to reader and help them understand what the next few pictures were going to be based on. with the question being “does technology help decide what people believe in”. and the second page saying “these next few images were made using AI to help make objects look like they were made for the opposite gender” with the use pf AI obviously being the reference for technology.

pages 18 and 19:
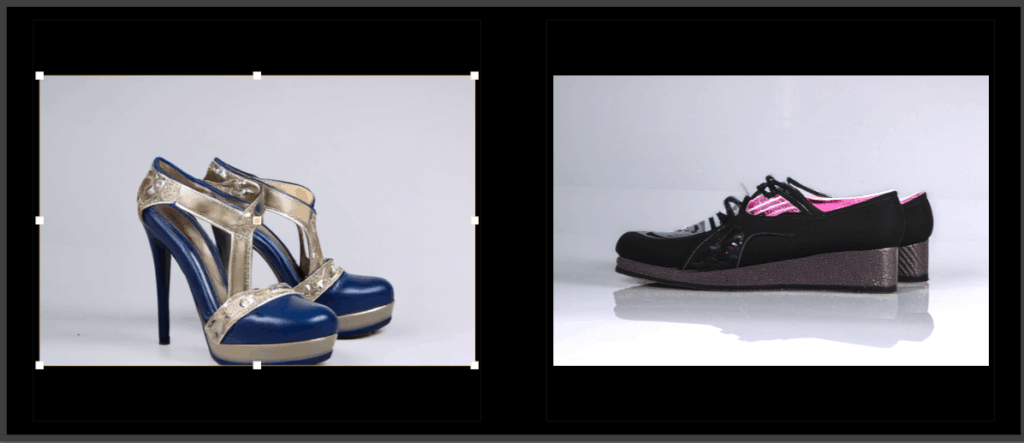
this page consists of the images that got chat gpt to edit using images that I took a picture of. the reason why I did this was to touch upon other ideas to why people may believe in these sort of stereotypes as they are seen as normal because even technology says so.

pages 20 and 21:
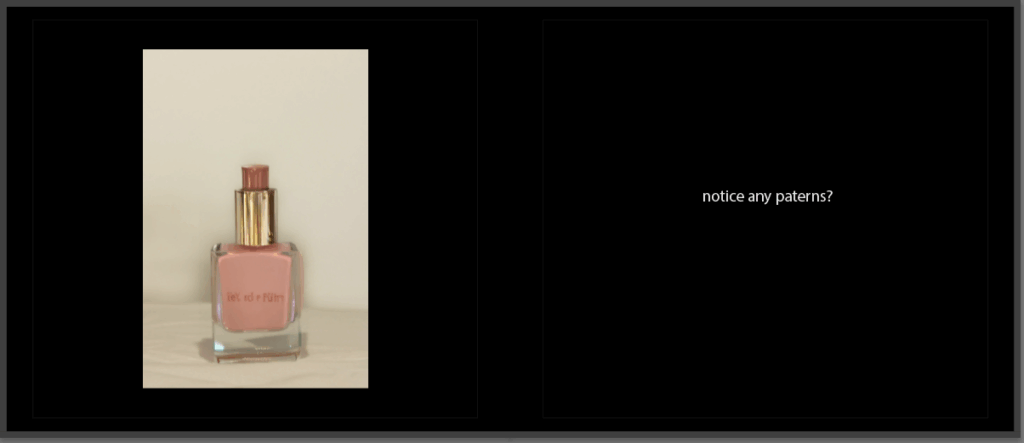
page 20 is practically the same reasoning behind the previous page and the page 21 is asking a the reader a question with fairly obvious answer YES the pattern of the common thought that these objects are practically gender locked and no one else should or can use them.

page 22
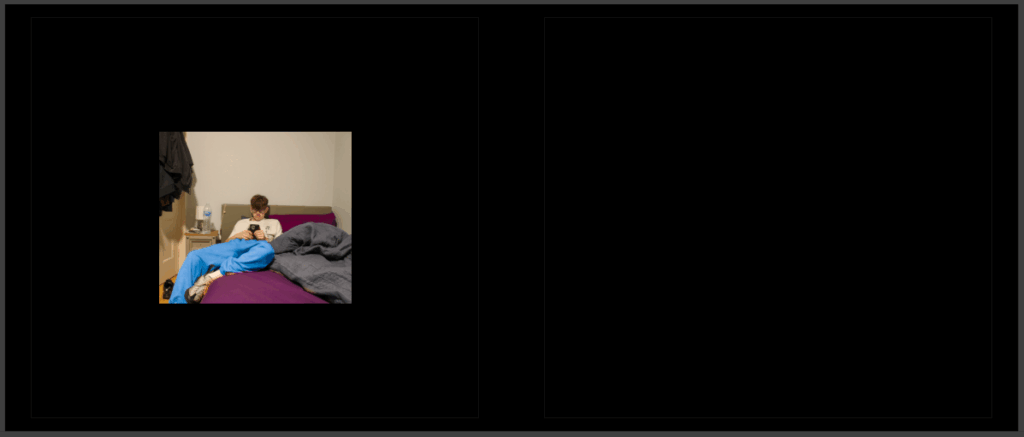
for this page i wanted to put an image of a friend with clothes that had a contrast to the bed cover that is purple to show that its normal for boys to have this colour of cover without being called “gay” or anything else that most people would say.

overall opinions and what I could have done to elevate my project:

I believe to make my photobook better I could have taken more images as it would have helped me layout my book a lot more efficiently and a lot less confusing to the average person going through the book. it also would have made the book a lot more appealing as it would have had more content in the book to actually look at, it also would have helped with explaining what why book is trying to tell people. However I still think my book has a story that you can see through from start to finish with just objects and it does portray the idea I’m trying to show people the entire way through

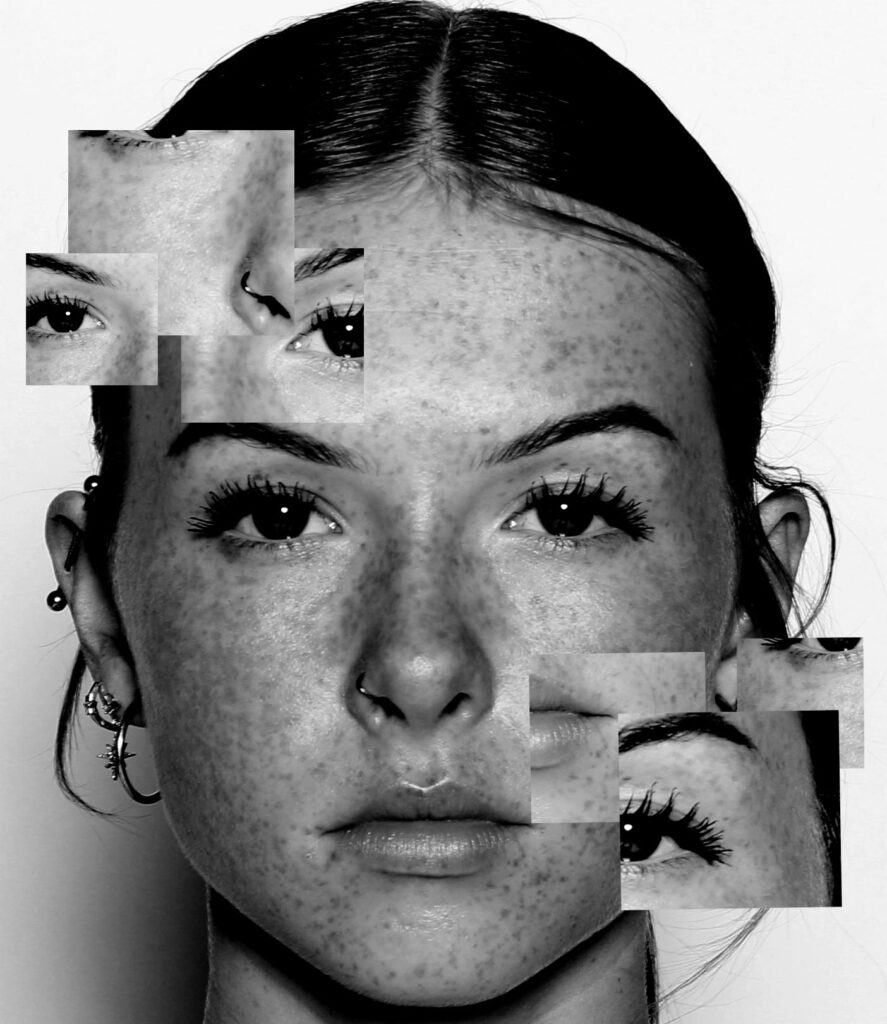
Experimentation

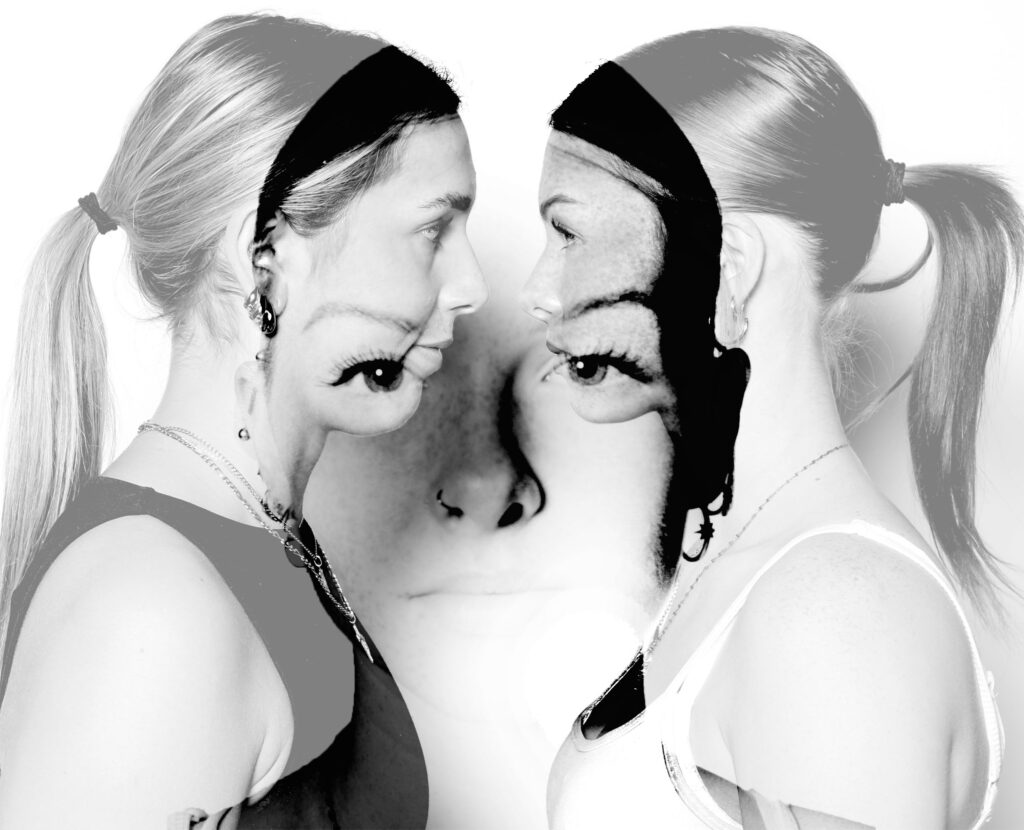
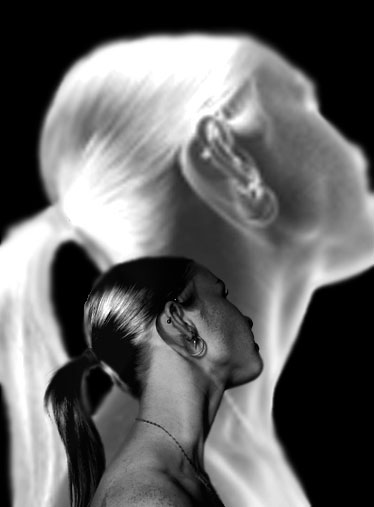
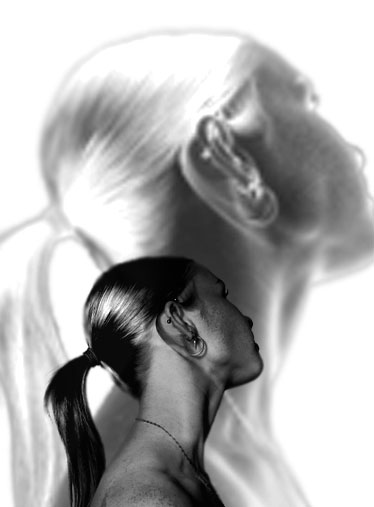
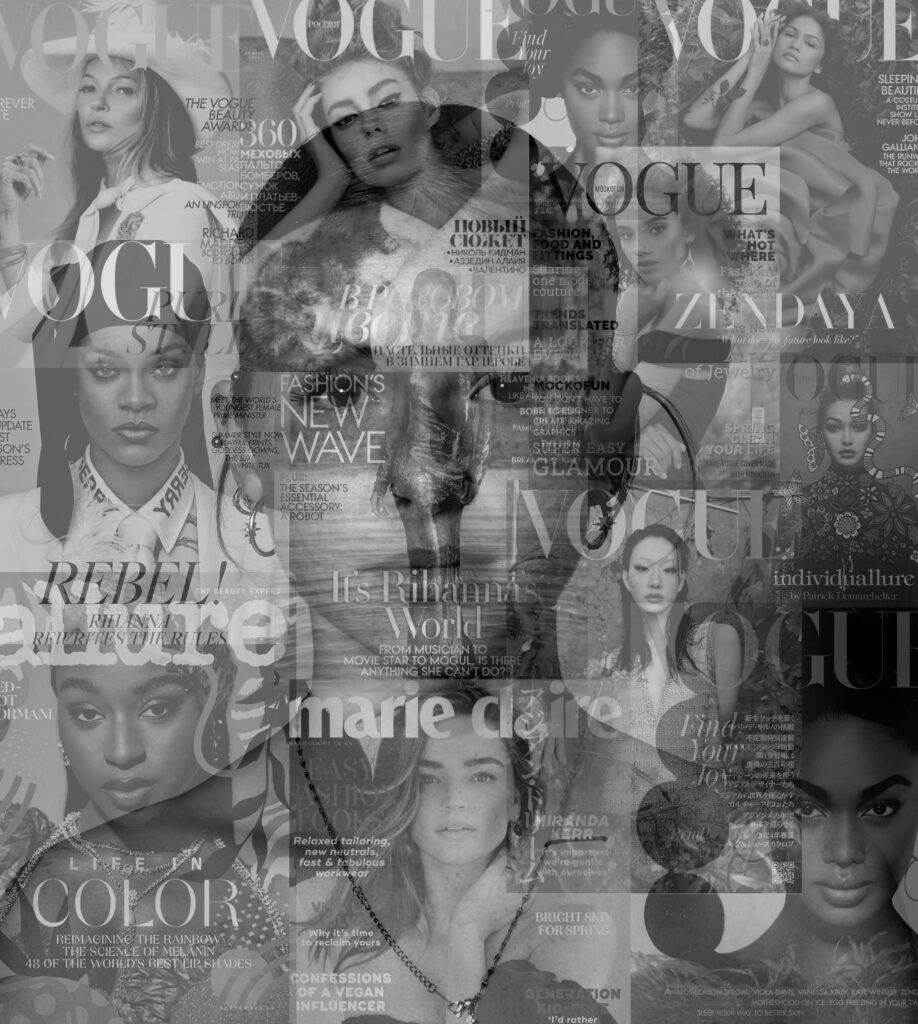
When creating my images on photoshop, I experimented different ways on how to create a sense of union when doing so :

These were the images I experimented with that I decided against using for my final images. I like how all of these images turned out however felt as though they weren’t as strong as my other images. I

UNION: Photoshoot #3 – Streetwear, Fashion

Initial Contact Sheets

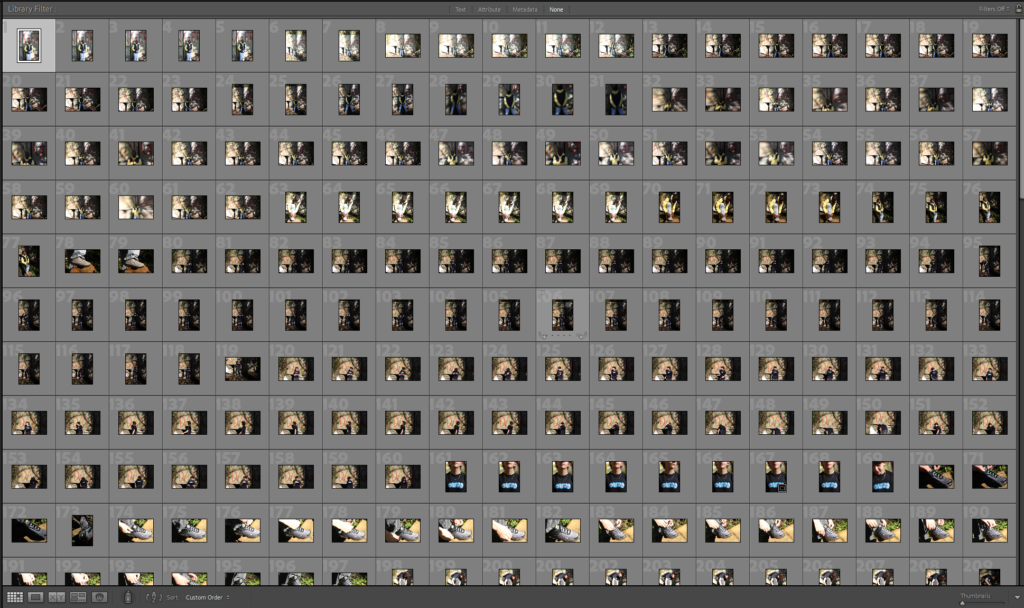
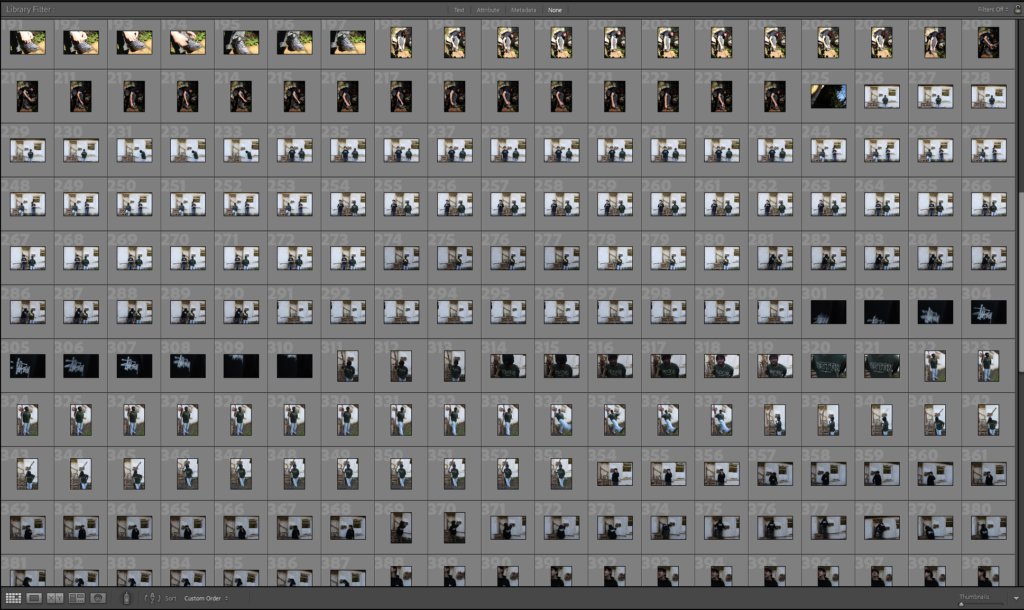
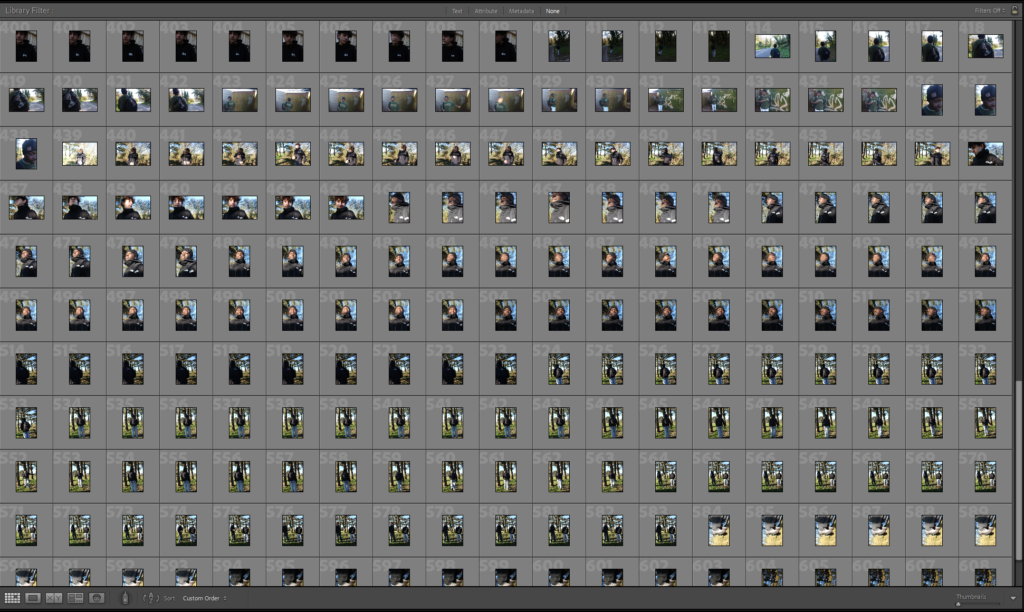
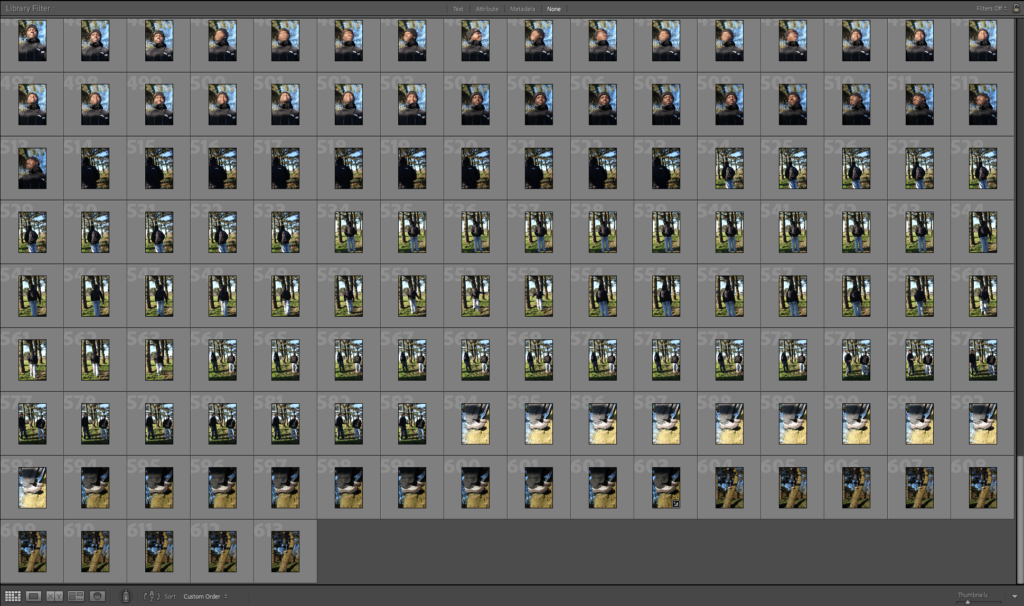
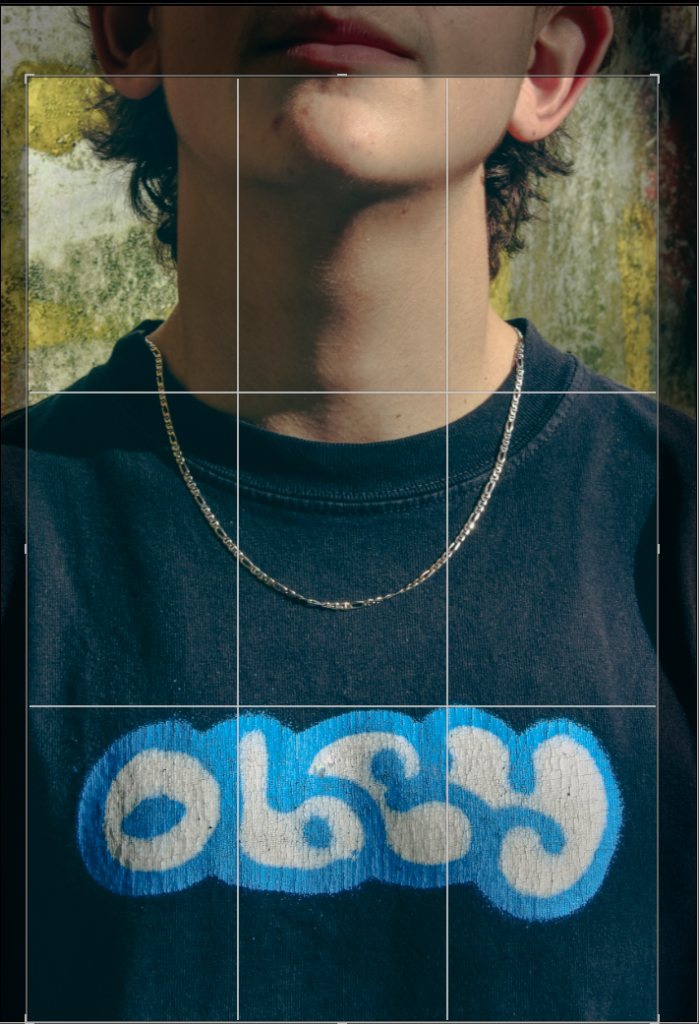
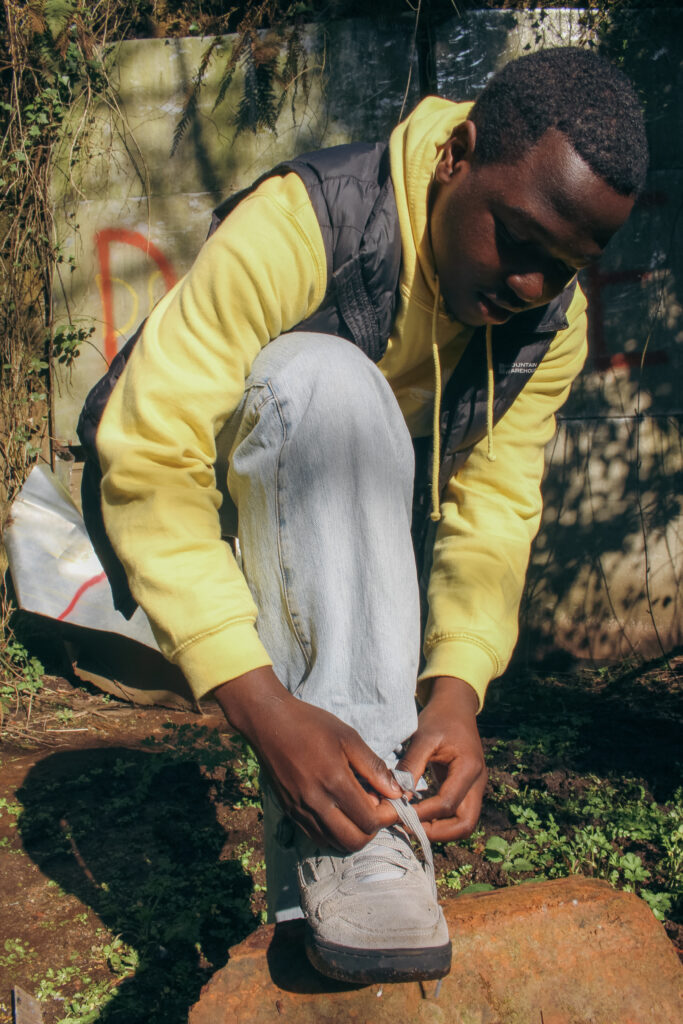
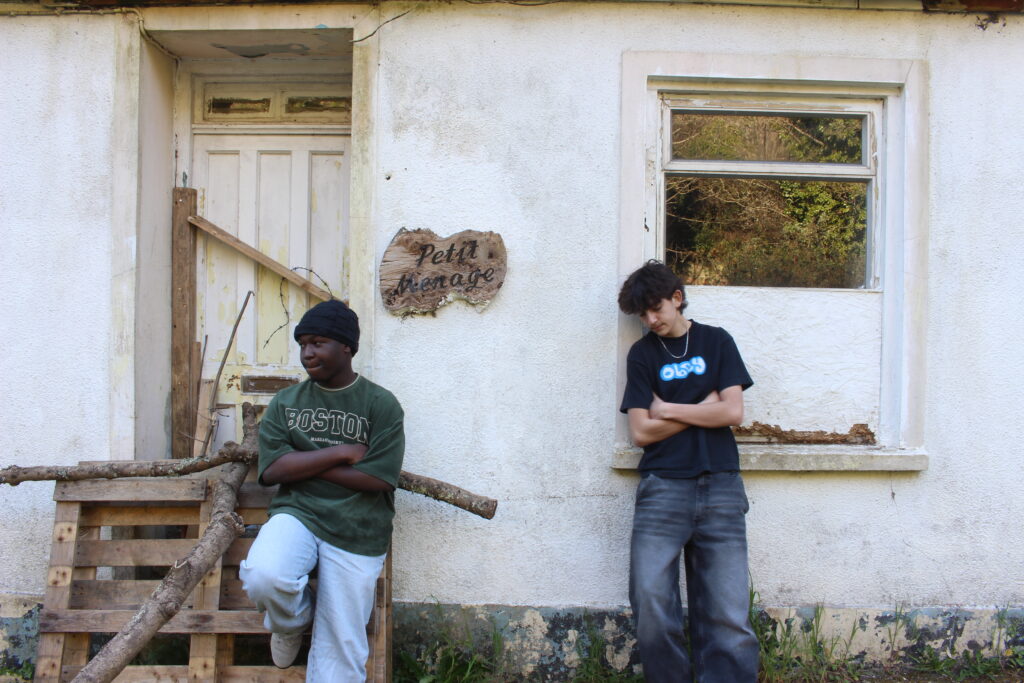
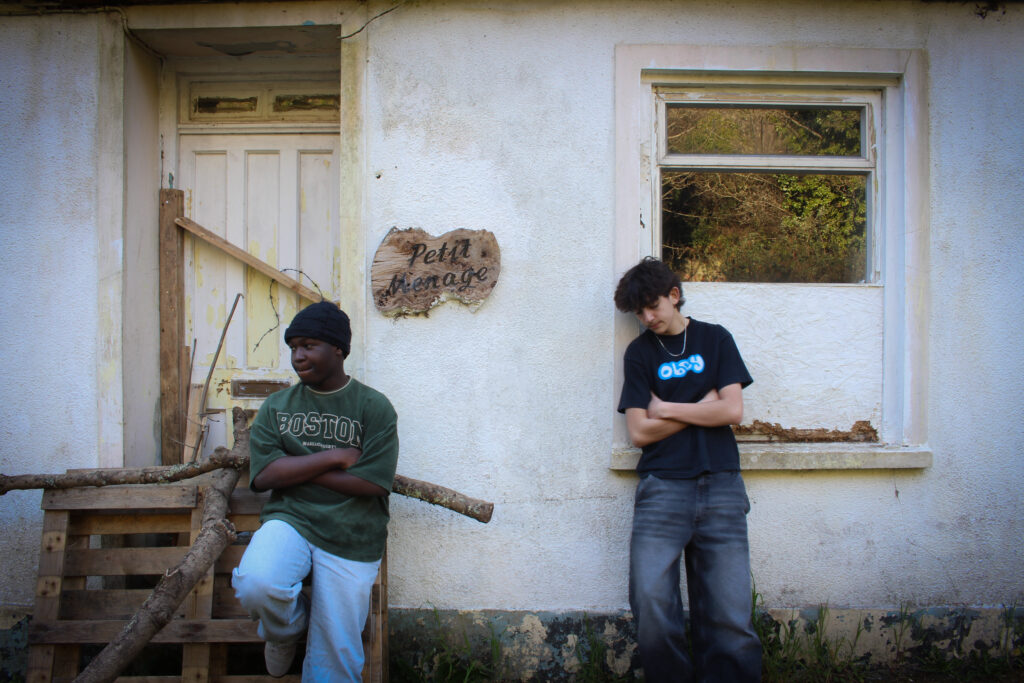
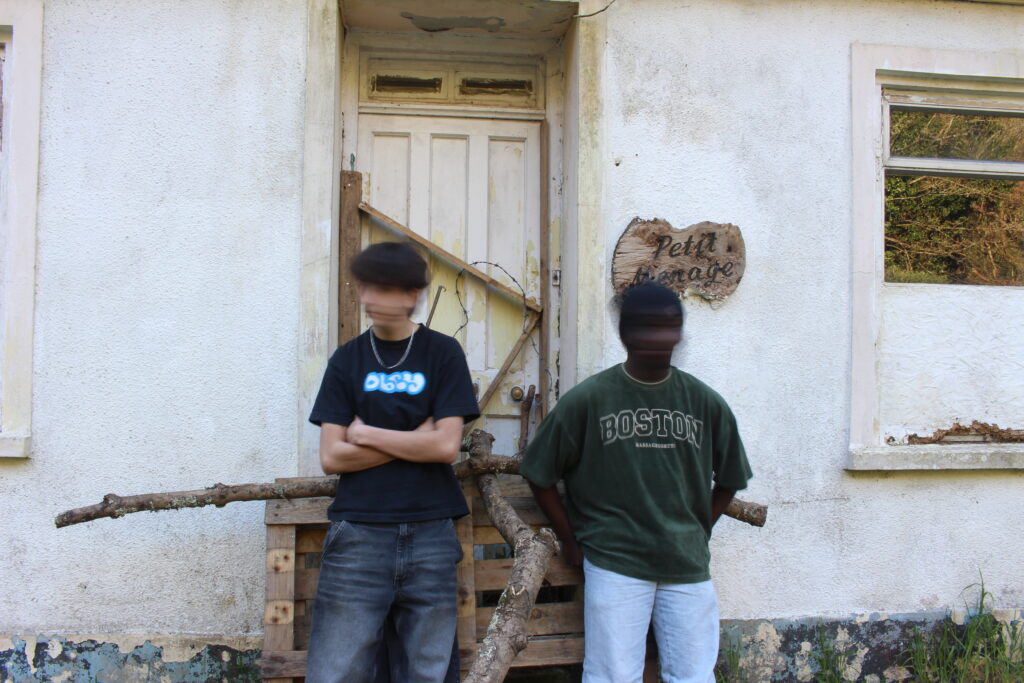
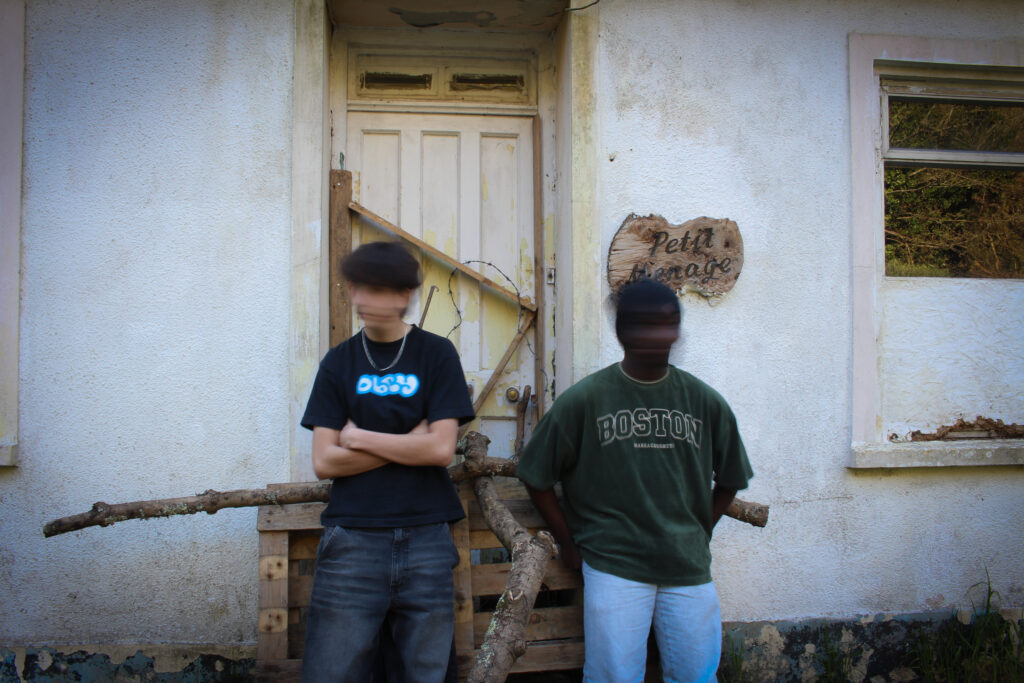
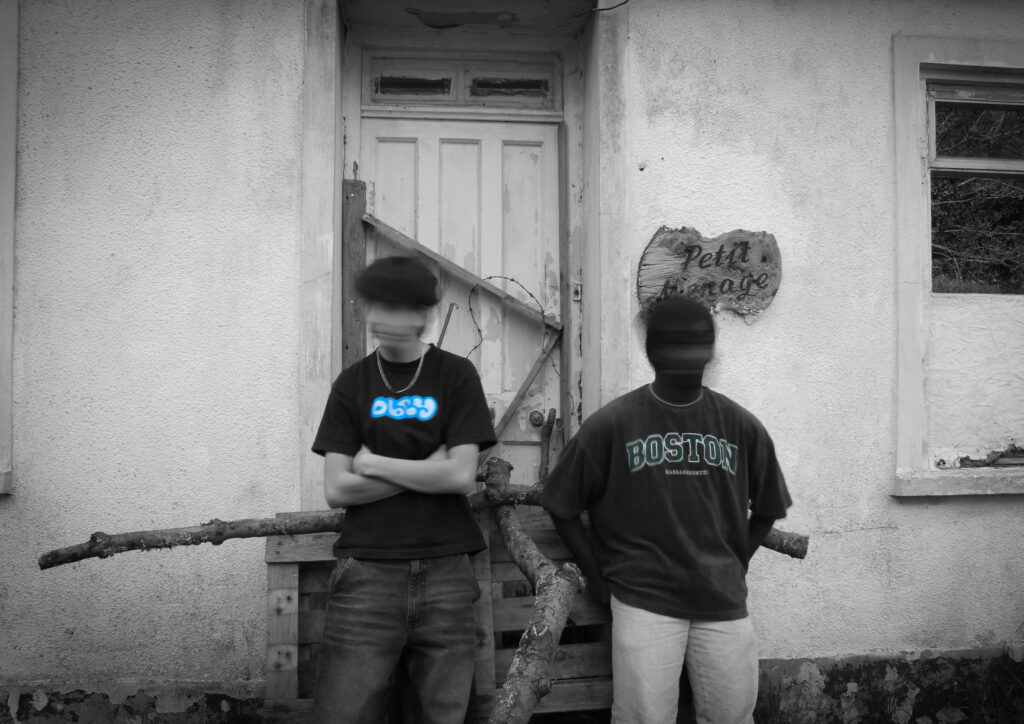
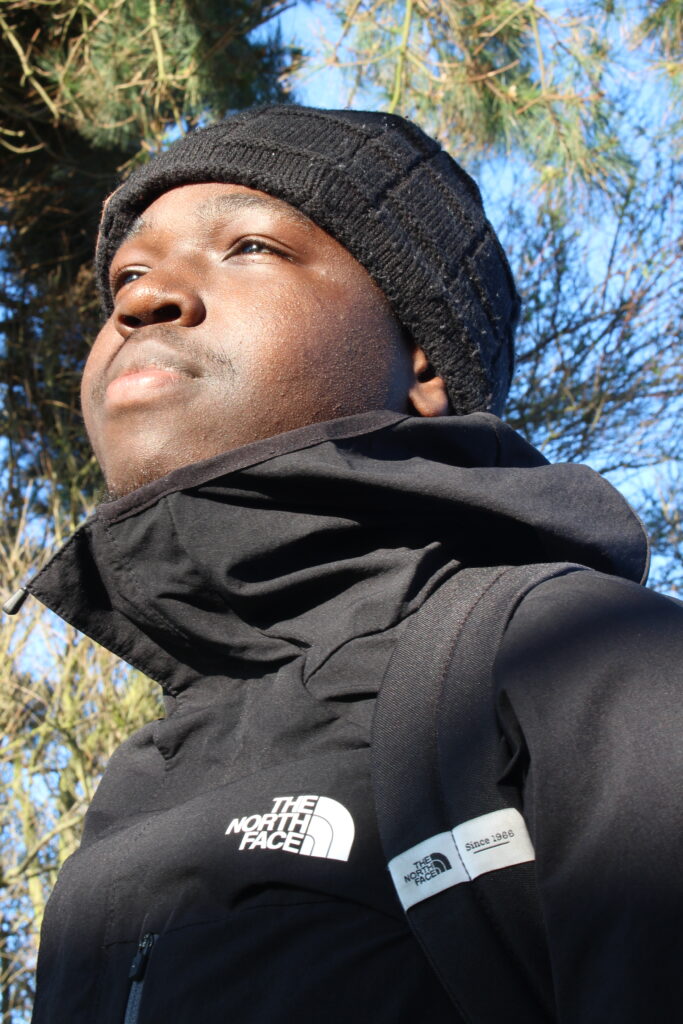
For this photoshoot, I went to 2 different locations. I went to a spot up in St Lawrence which I knew had abandoned buildings and abandoned tunnels, I thought that these two features of the location is great and links to Jamel Shabazz’s approach as there is graffiti and abandoned scenery being used in the background. As well as the spot in St Lawrence, I also went to Les Quennevais. I wanted to put my own twist on this photoshoot and do it differently to Jamel Shabazz, my aim for this photoshoot was to capture two different models wearing different brands, and emphasizing the brands in the images. For this photoshoot I used a tripod as I was in some of the photographs and I took 635 images in total.

Selection Of Best Images

Photo 1 – Unedited

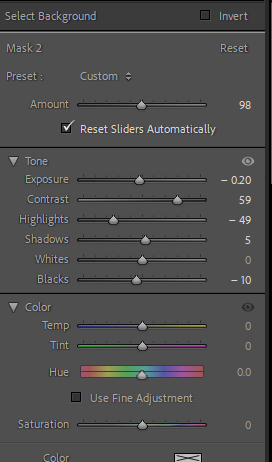
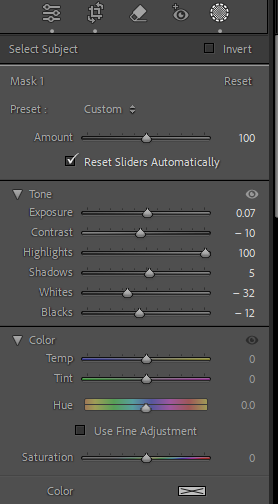
Photo 1 – Lightroom Adjustments

Photo 1 – Photoshop Manipulation

Photo 1 – Final Photo

Photo 2 – Unedited

Photo 3 – Lightroom Adjustments

Photo 3

Photo 4 Unedited

Photo 4 – Adjustments In Lightroom

Photo 5 – Unedited

Photo 5 – Adjustments In Lightroom

Photo 6 – Unedited

Photo 6 – Adjustments In Lightroom

Photo 7 – Unedited

Photo 7 – Edited In Lightroom

Photo 8 – Unedited

Photo 8 – Lightroom Adjustments

Photo 8 – Final Photo

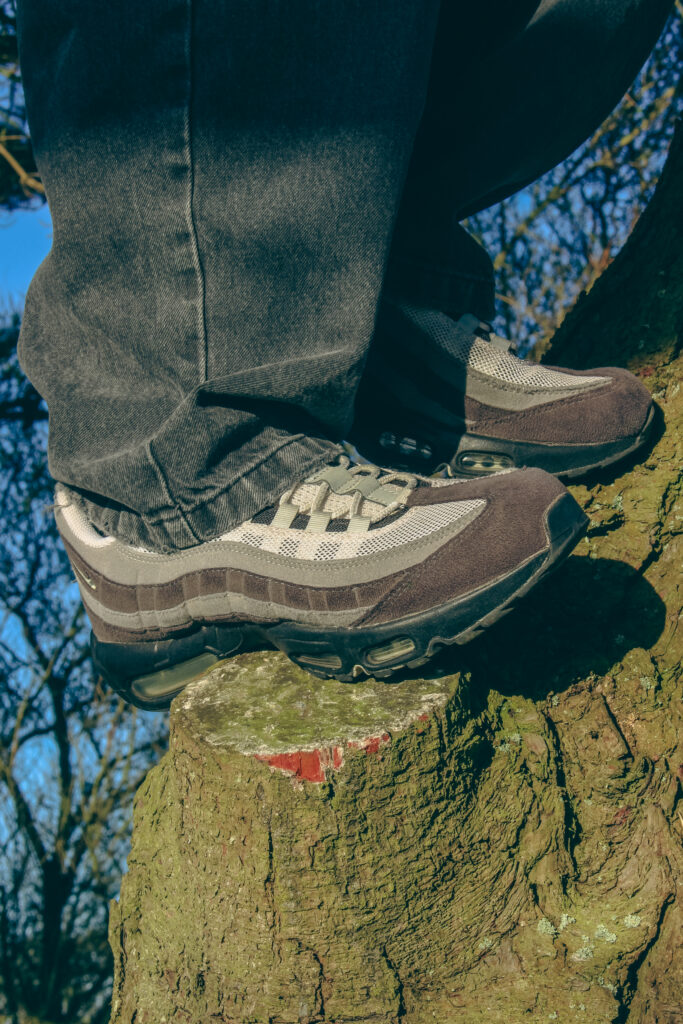
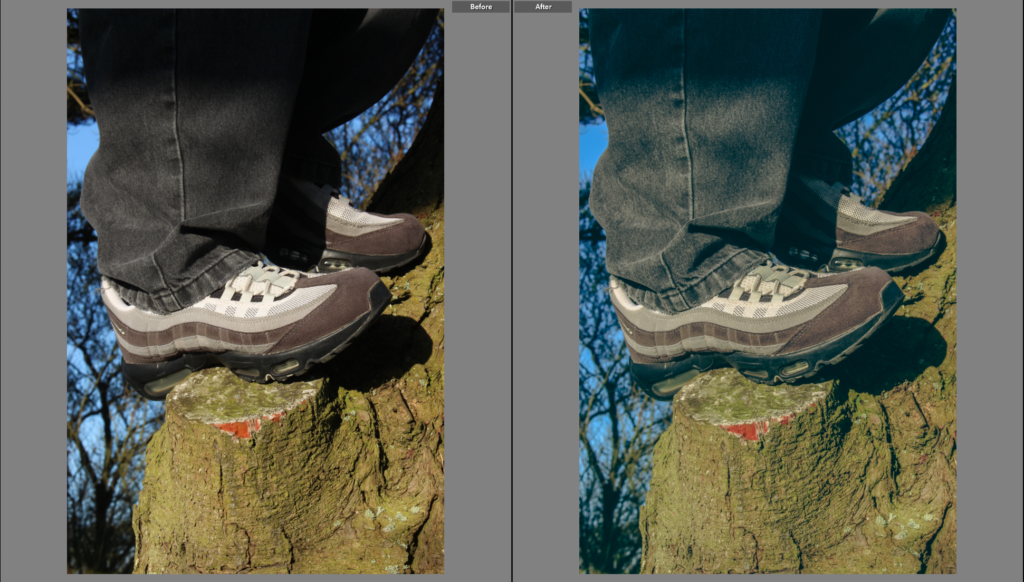
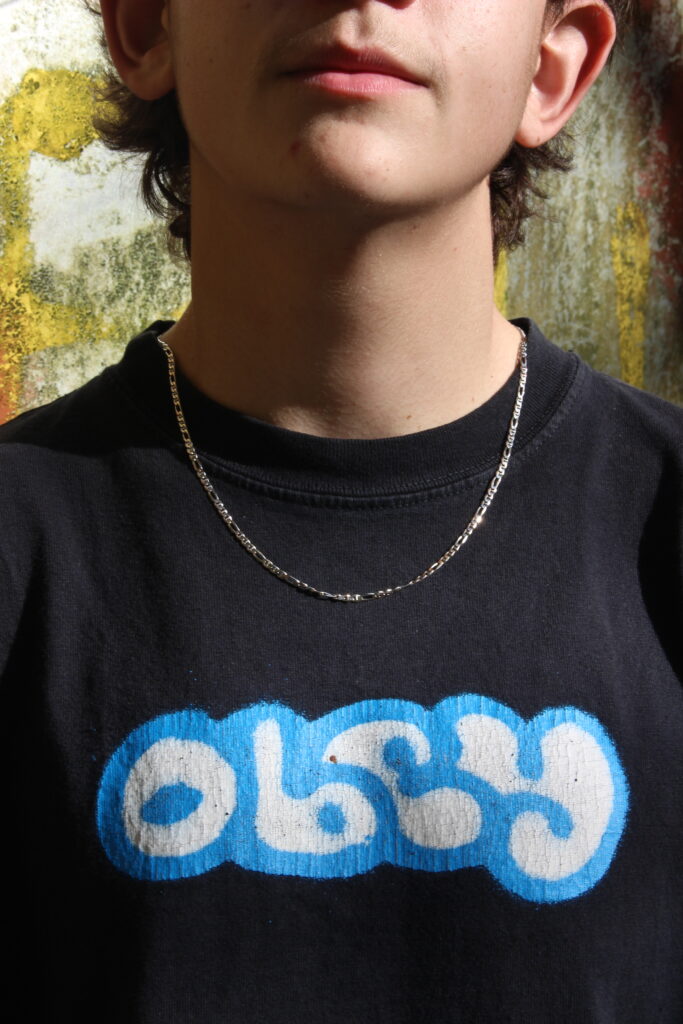
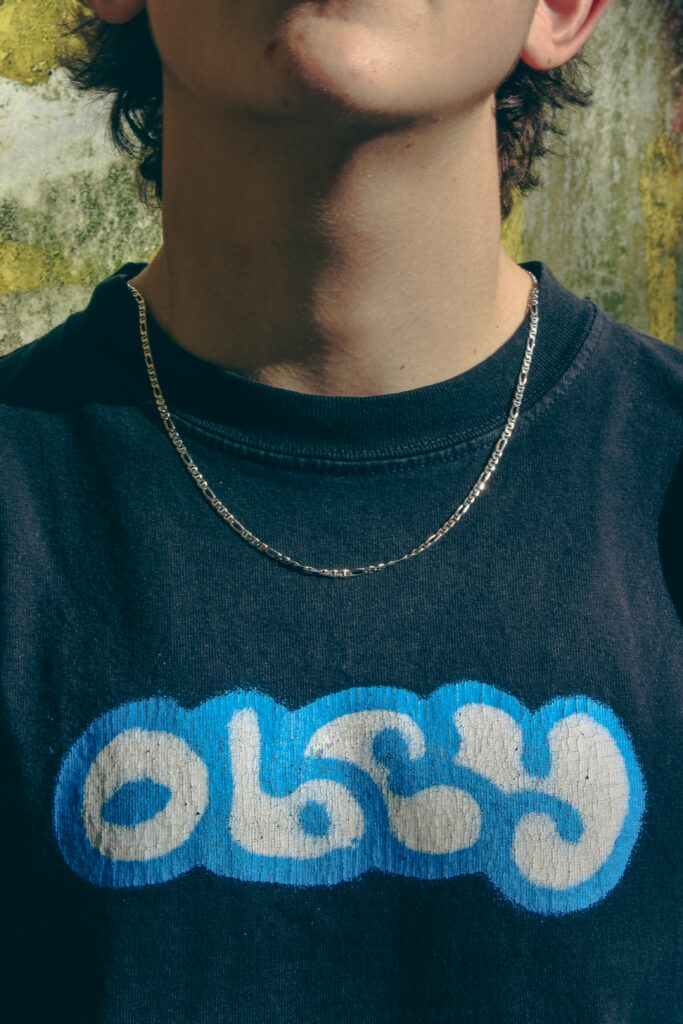
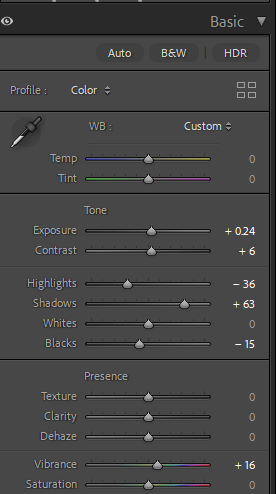
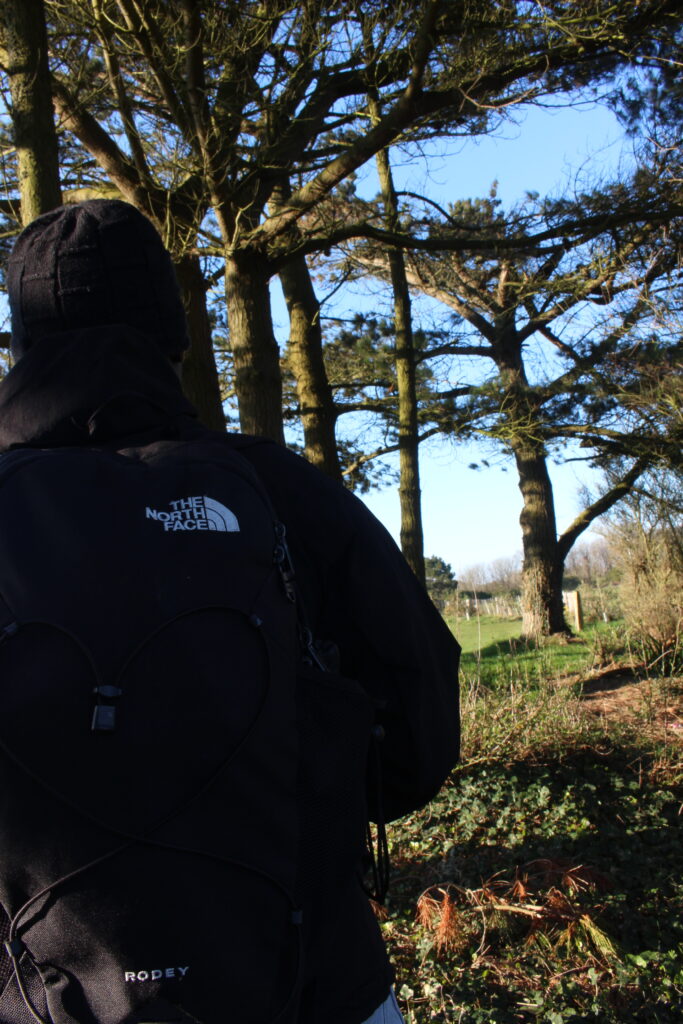
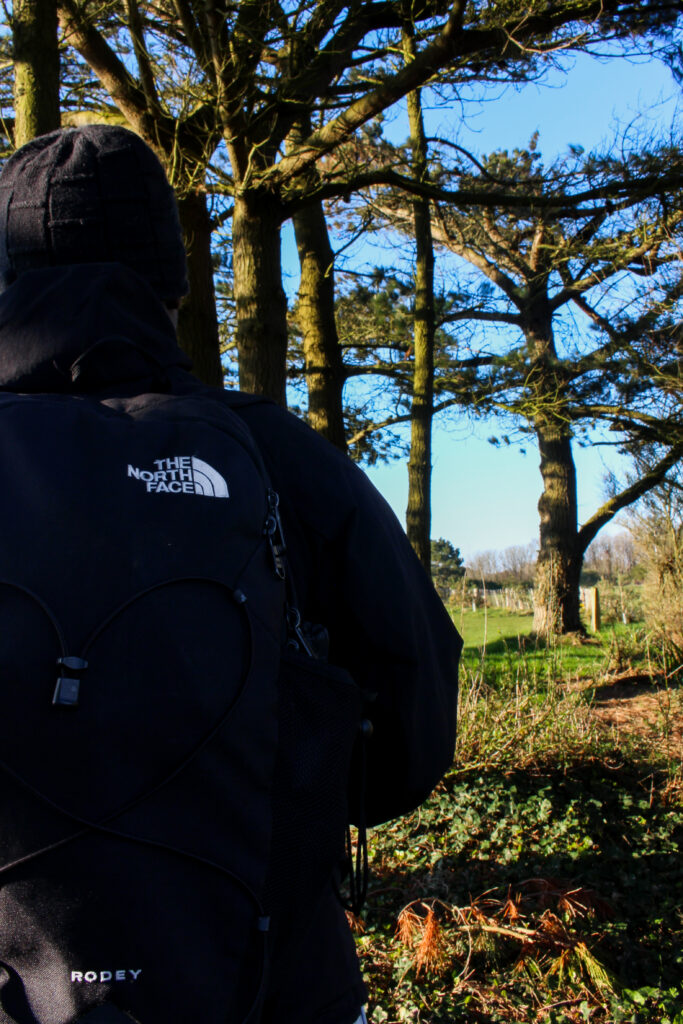
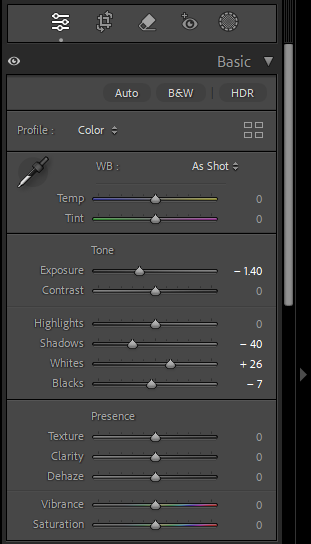
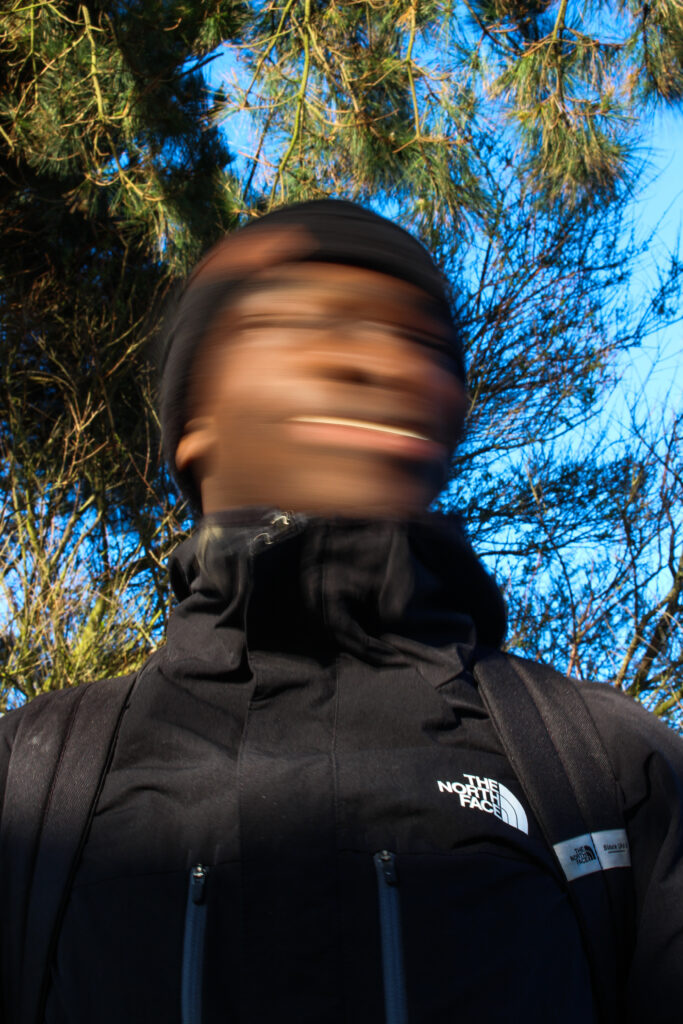
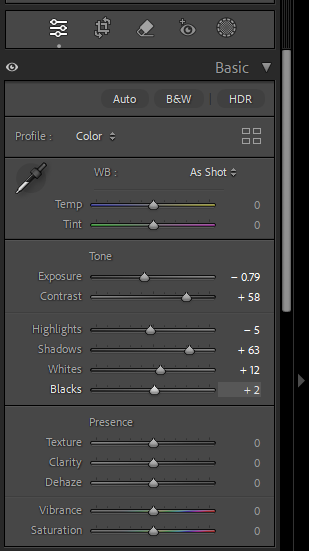
For most of these photographs, the editing process was roughly around the same for each one. I increased the vibrance in most of the photos to get the retro / film camera look which Jamel Shabazz has in most of his images. The photos were taken on ISO 100, to get the most amount of detail and for the photographs to be fully in focus, the lighting used was natural lighting – no artificial lighting was used as the sunlight was more than enough on that day. On some of the photographs you can see that there is a motion blur of both the models heads, this was able to be done with the use of a long shutter speed, a longer shutter speed meant that the exposure time was longer and the models would shake their heads to achieve the motion blur. There are lots of colour in these photos which makes it stand out and makes my photos similar to Jamel Shabazz’s images. The purpose of this photoshoot was to capture modern day streetwear in the appropriate street way and then compare it with the cultural fashion photoshoots I have done previously.

photoshoot 4

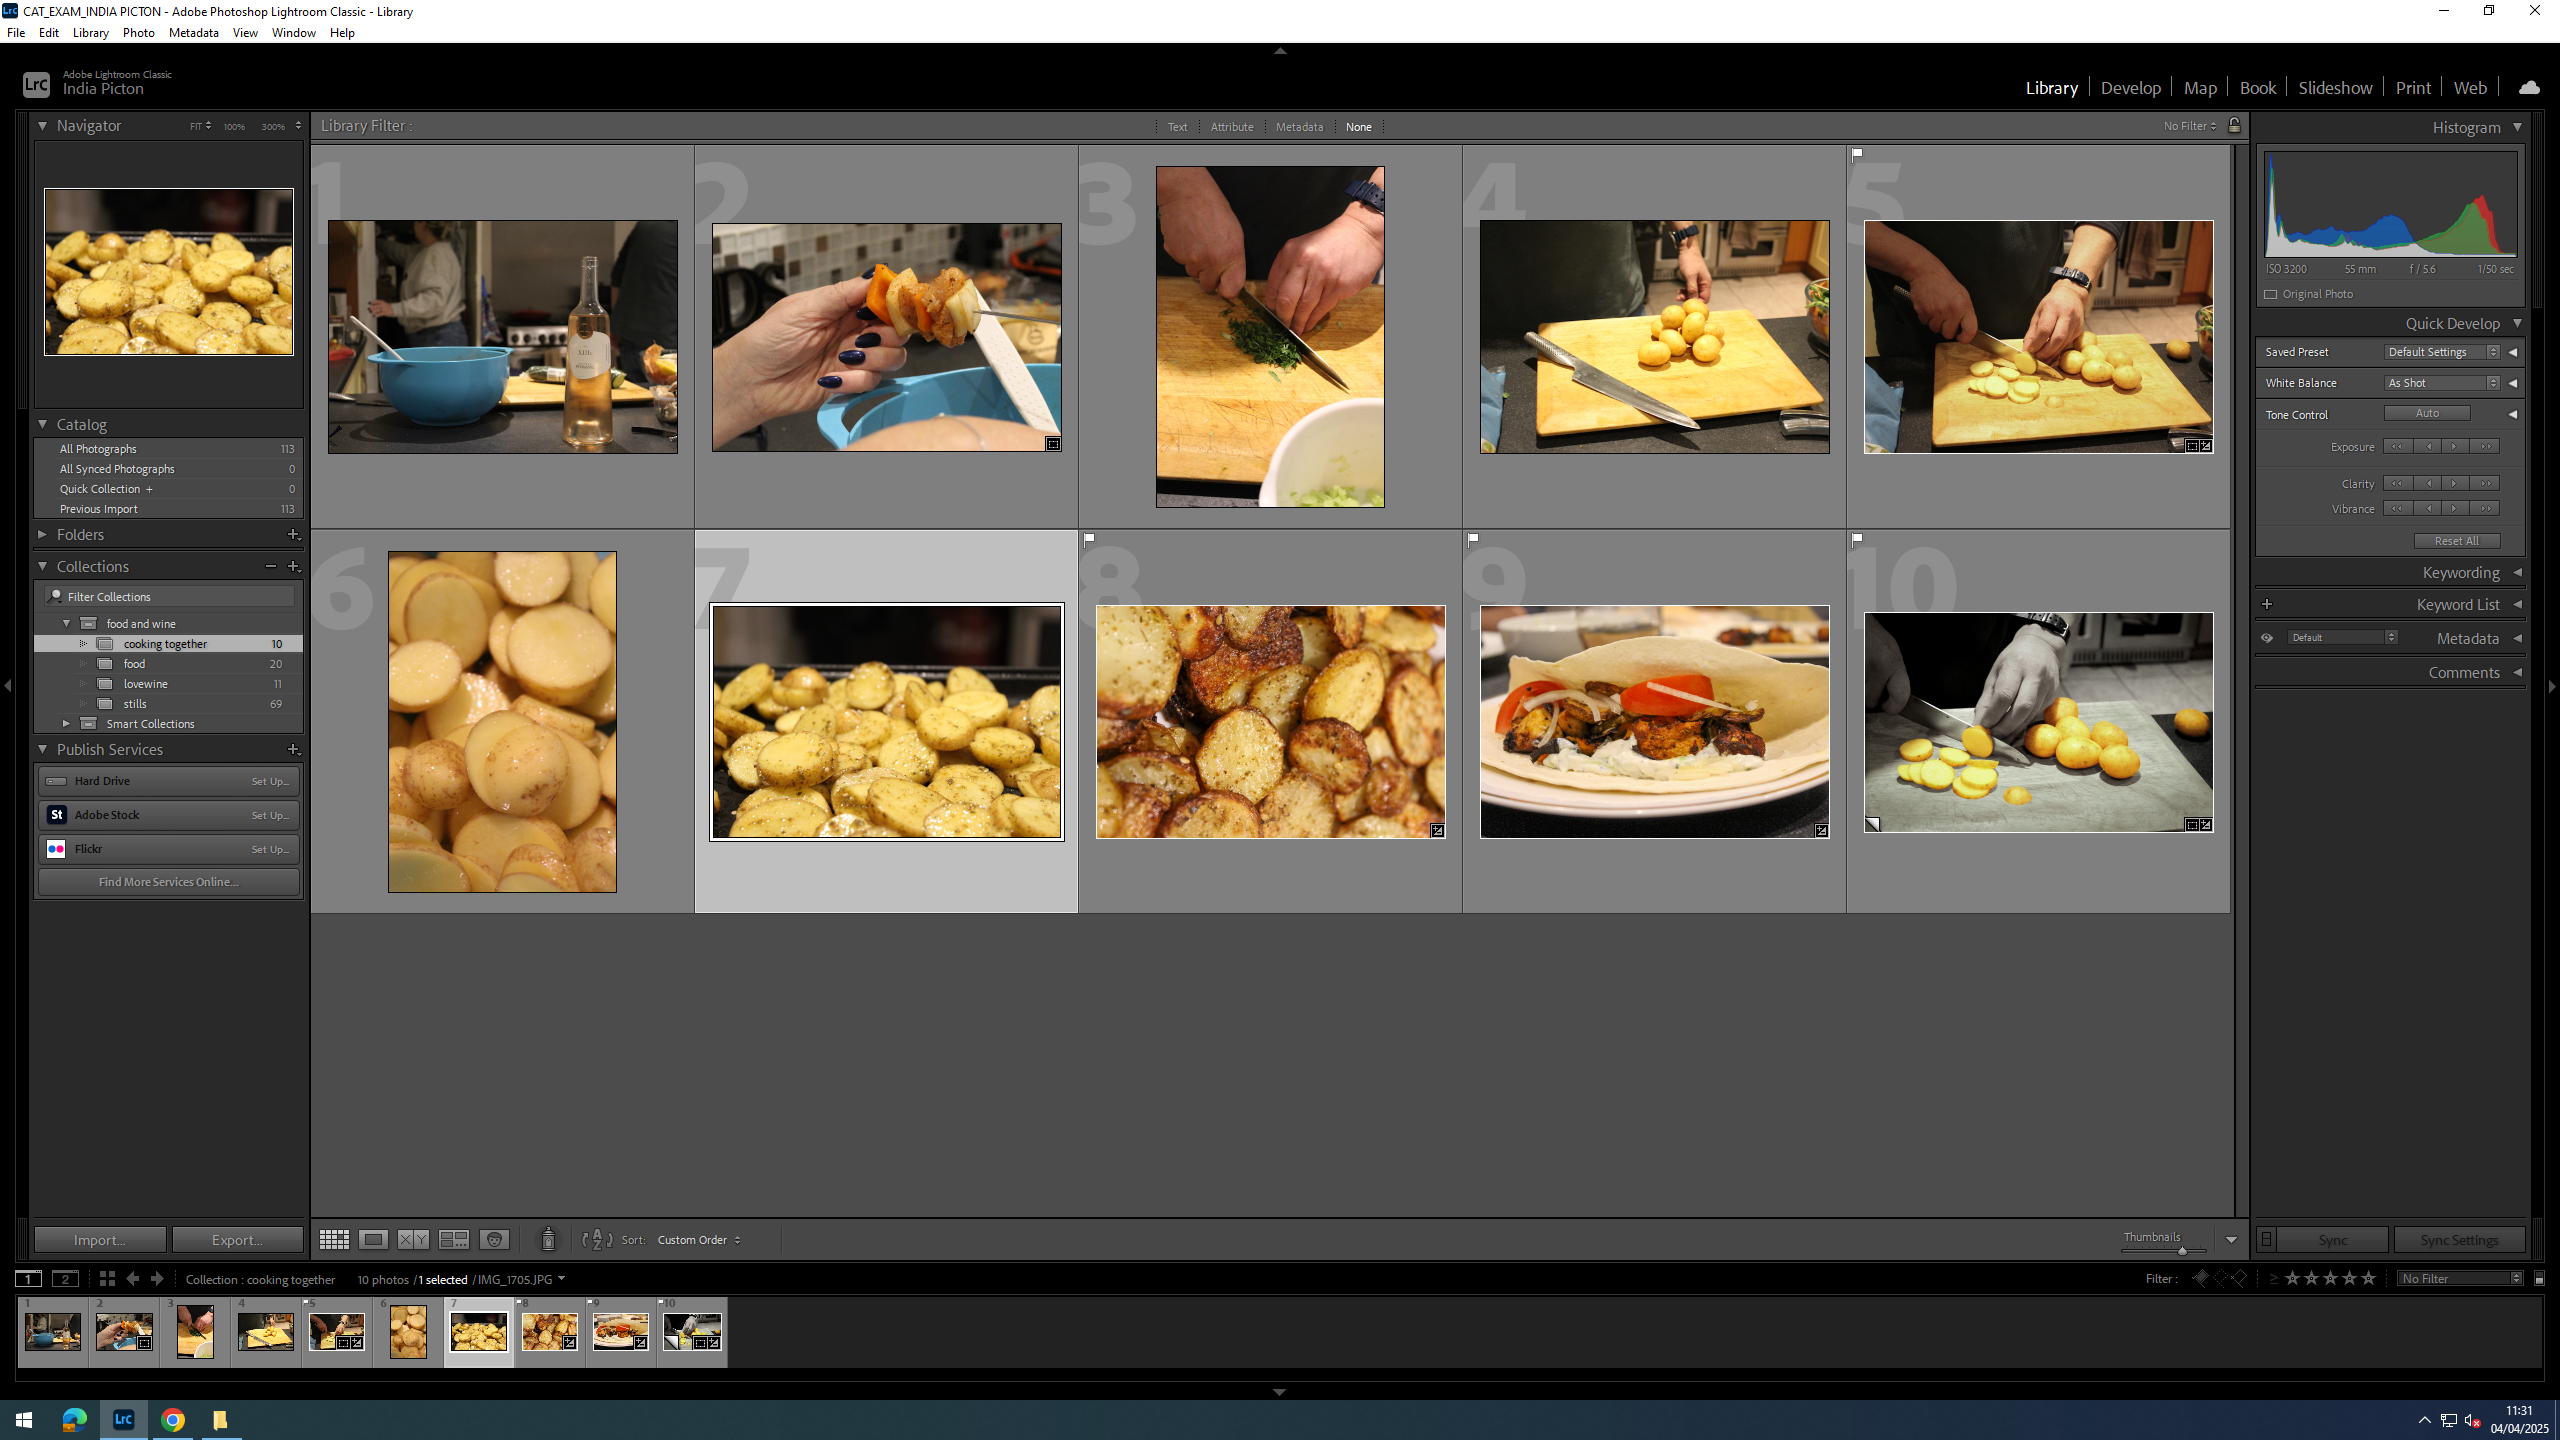
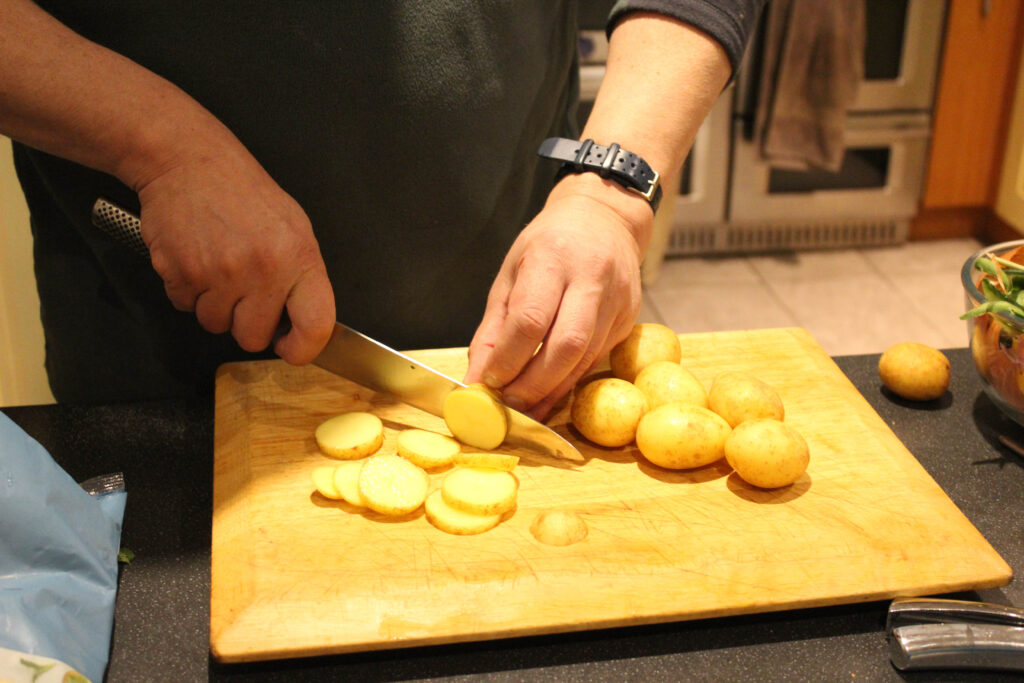
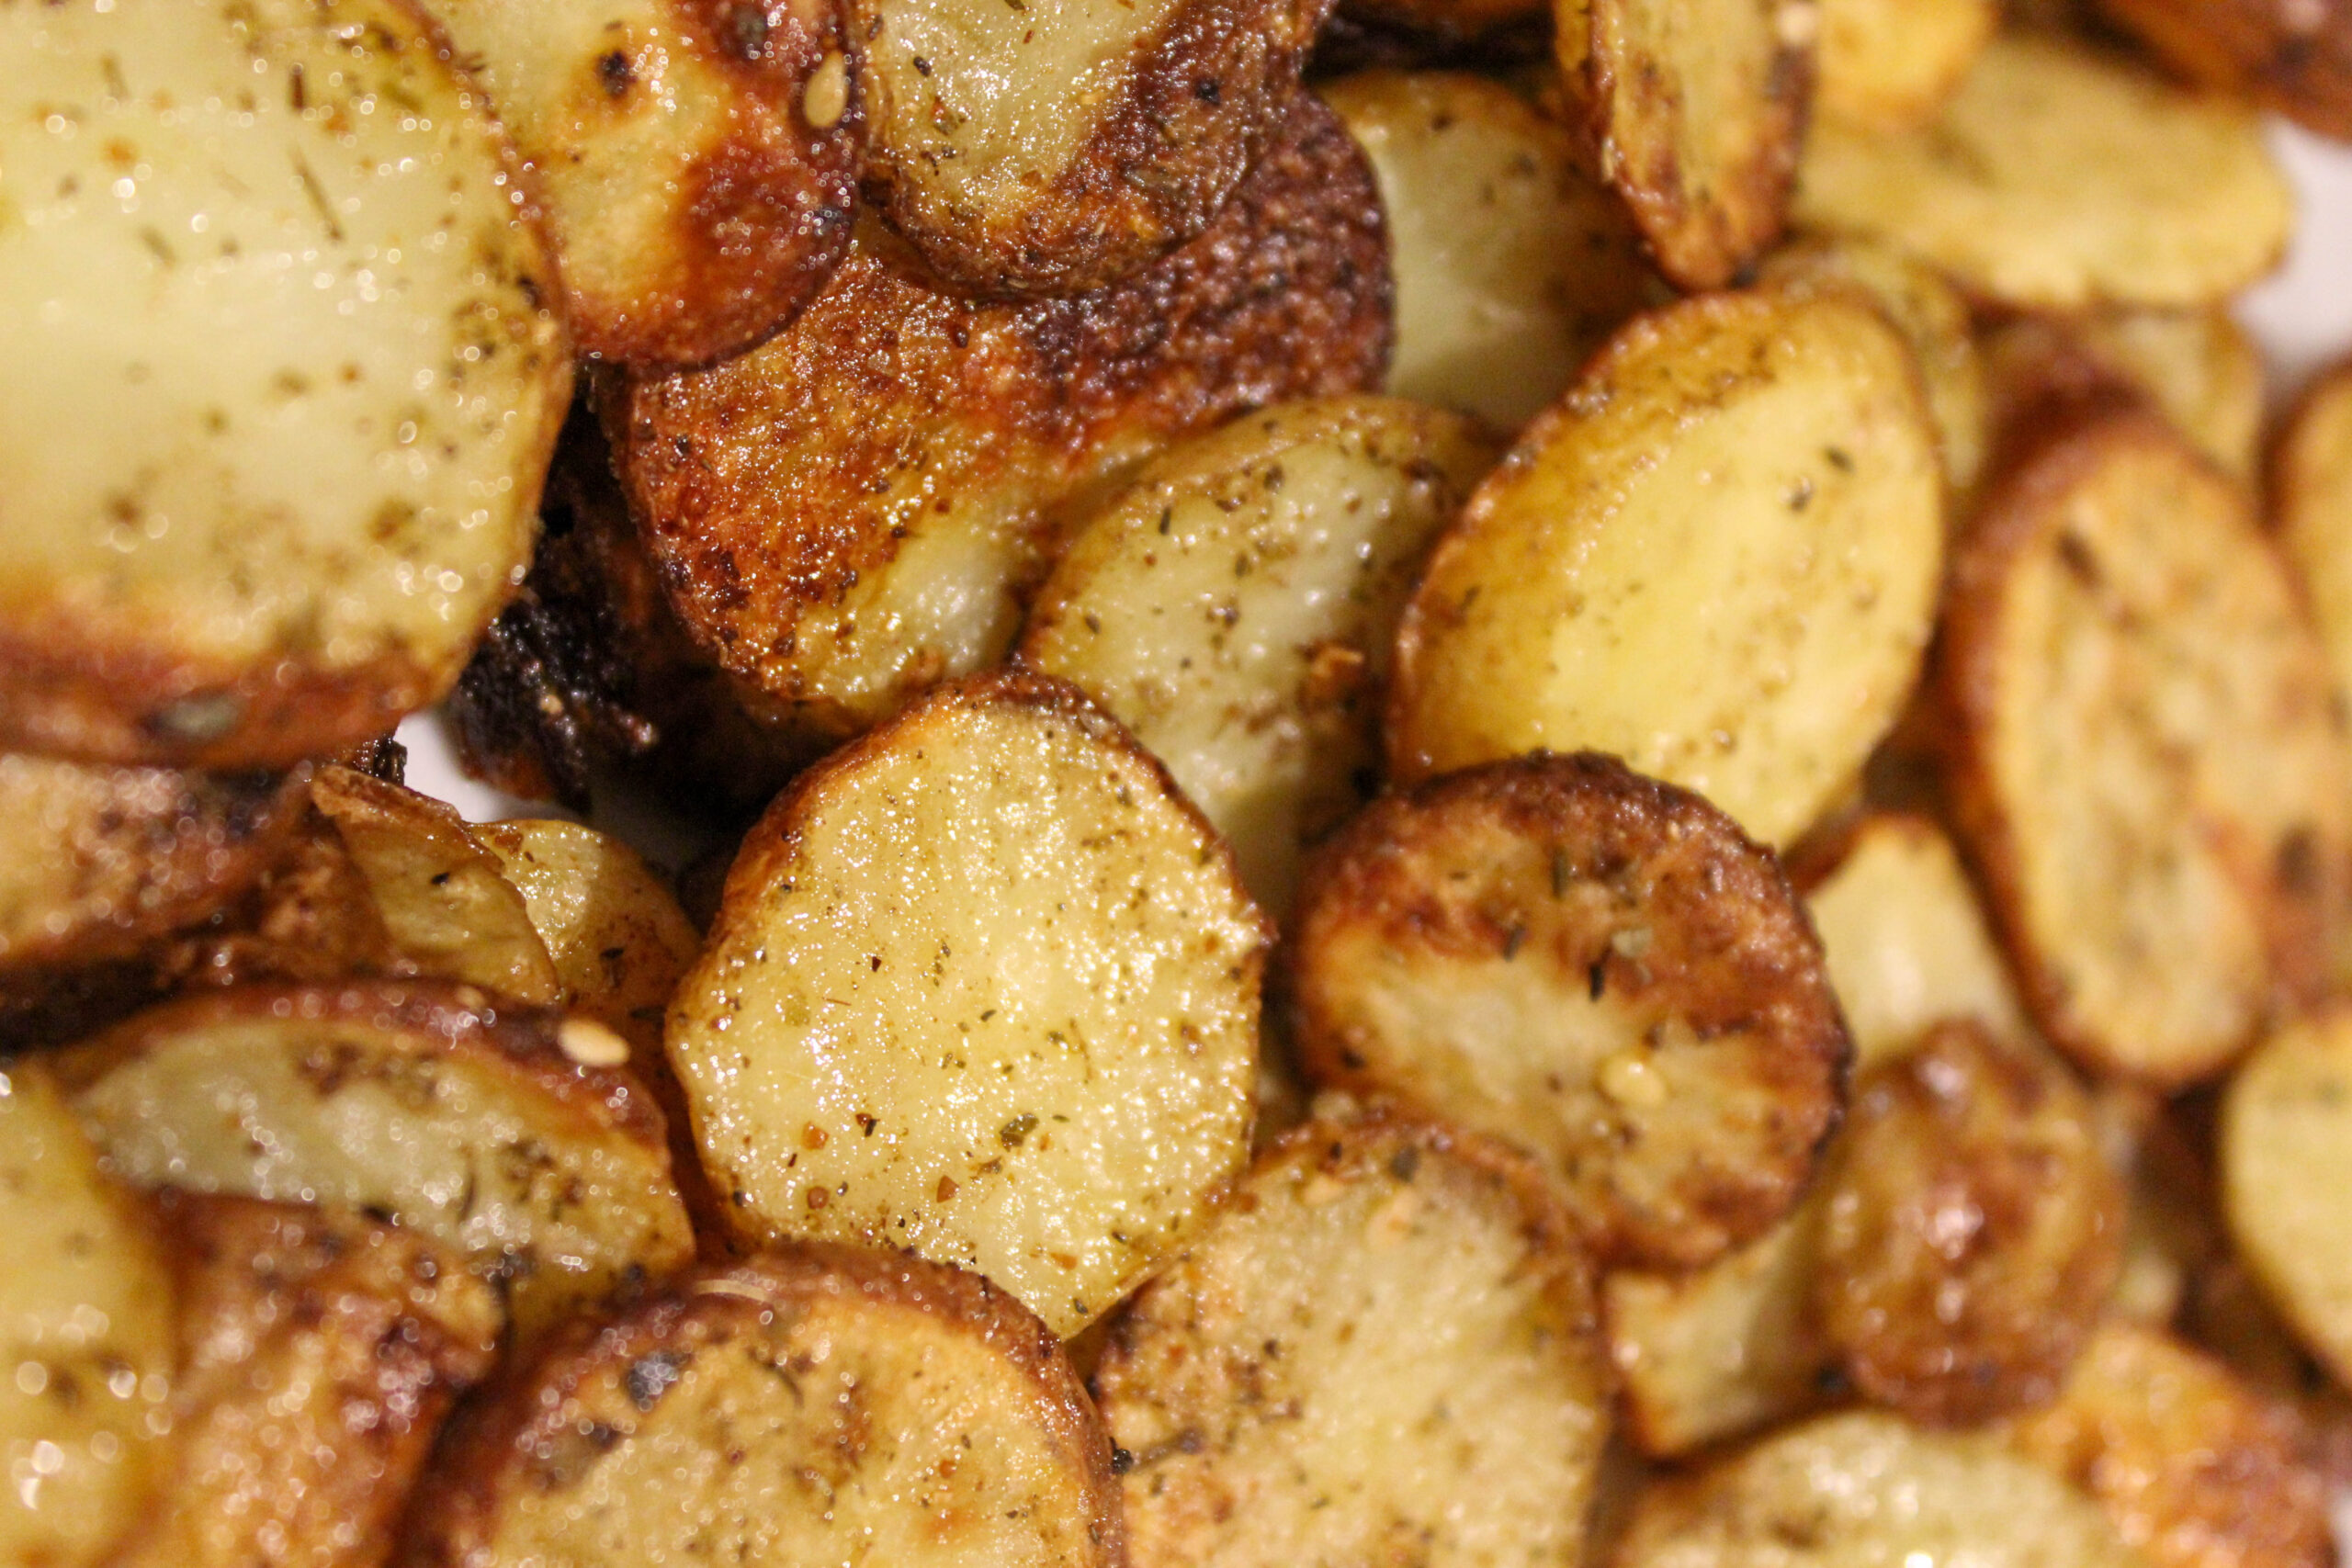
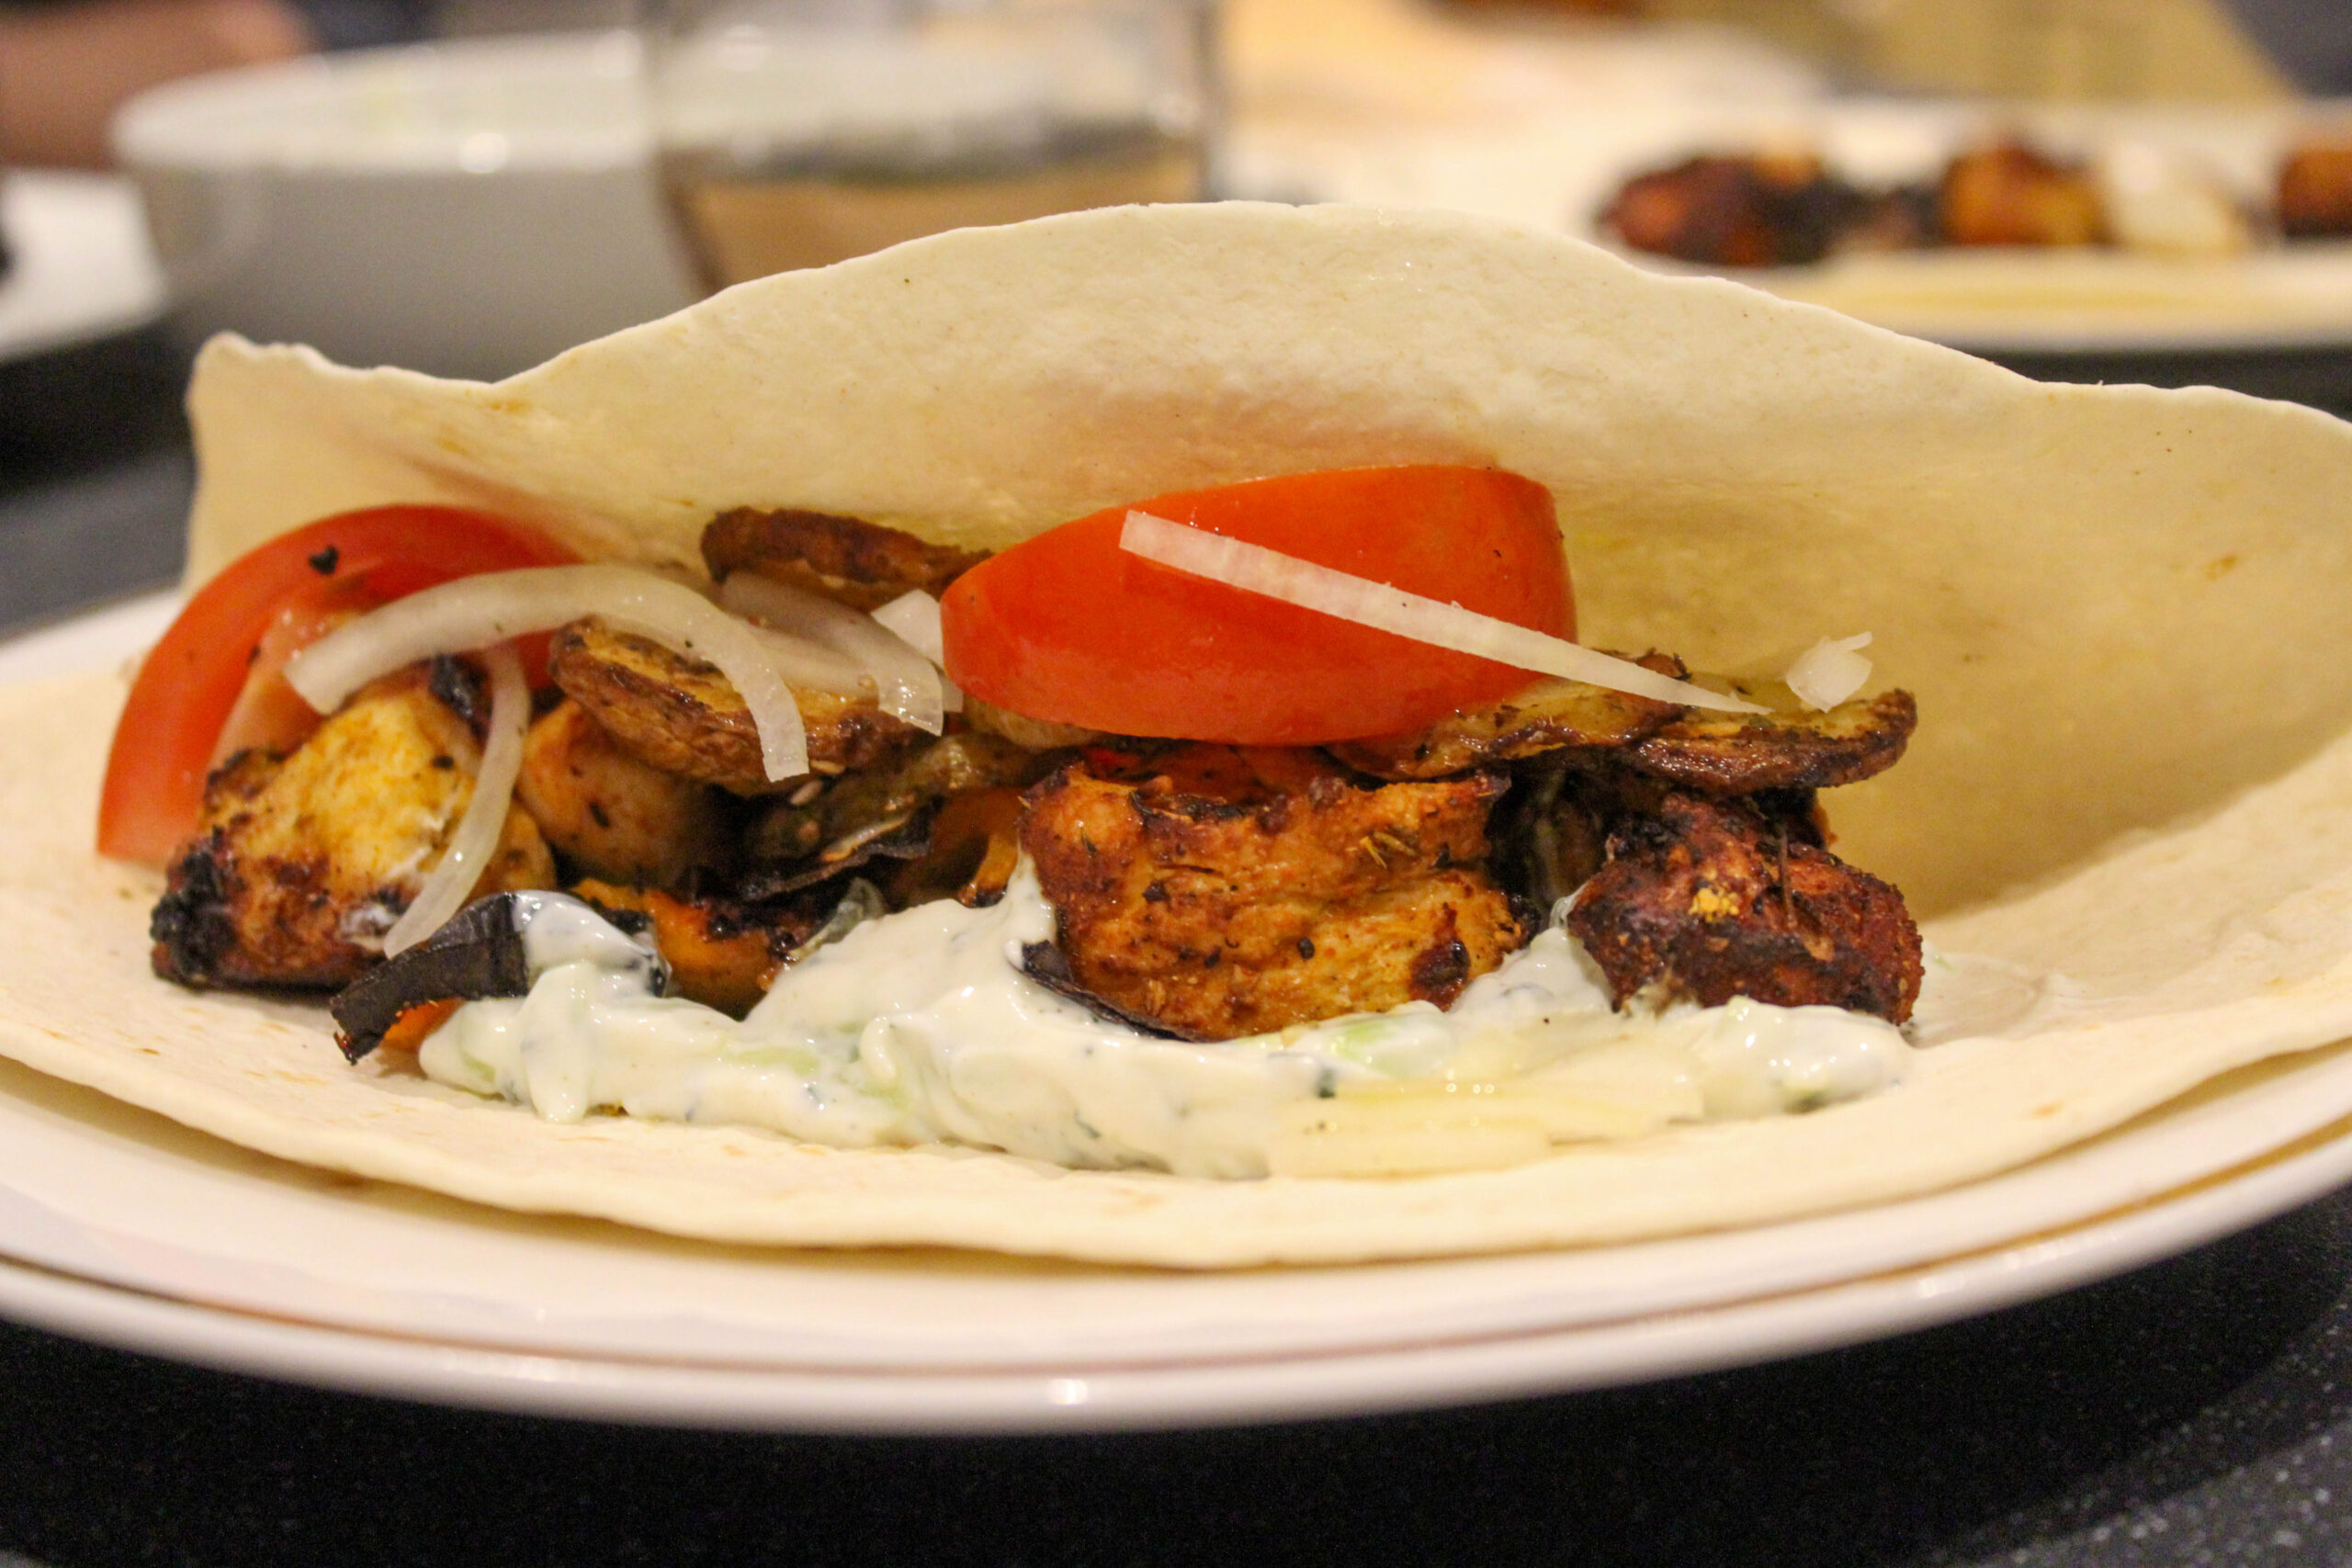
For this shoot I wanted to capture the teamwork and fun that goes into the prep of a meal.

Contact Sheet

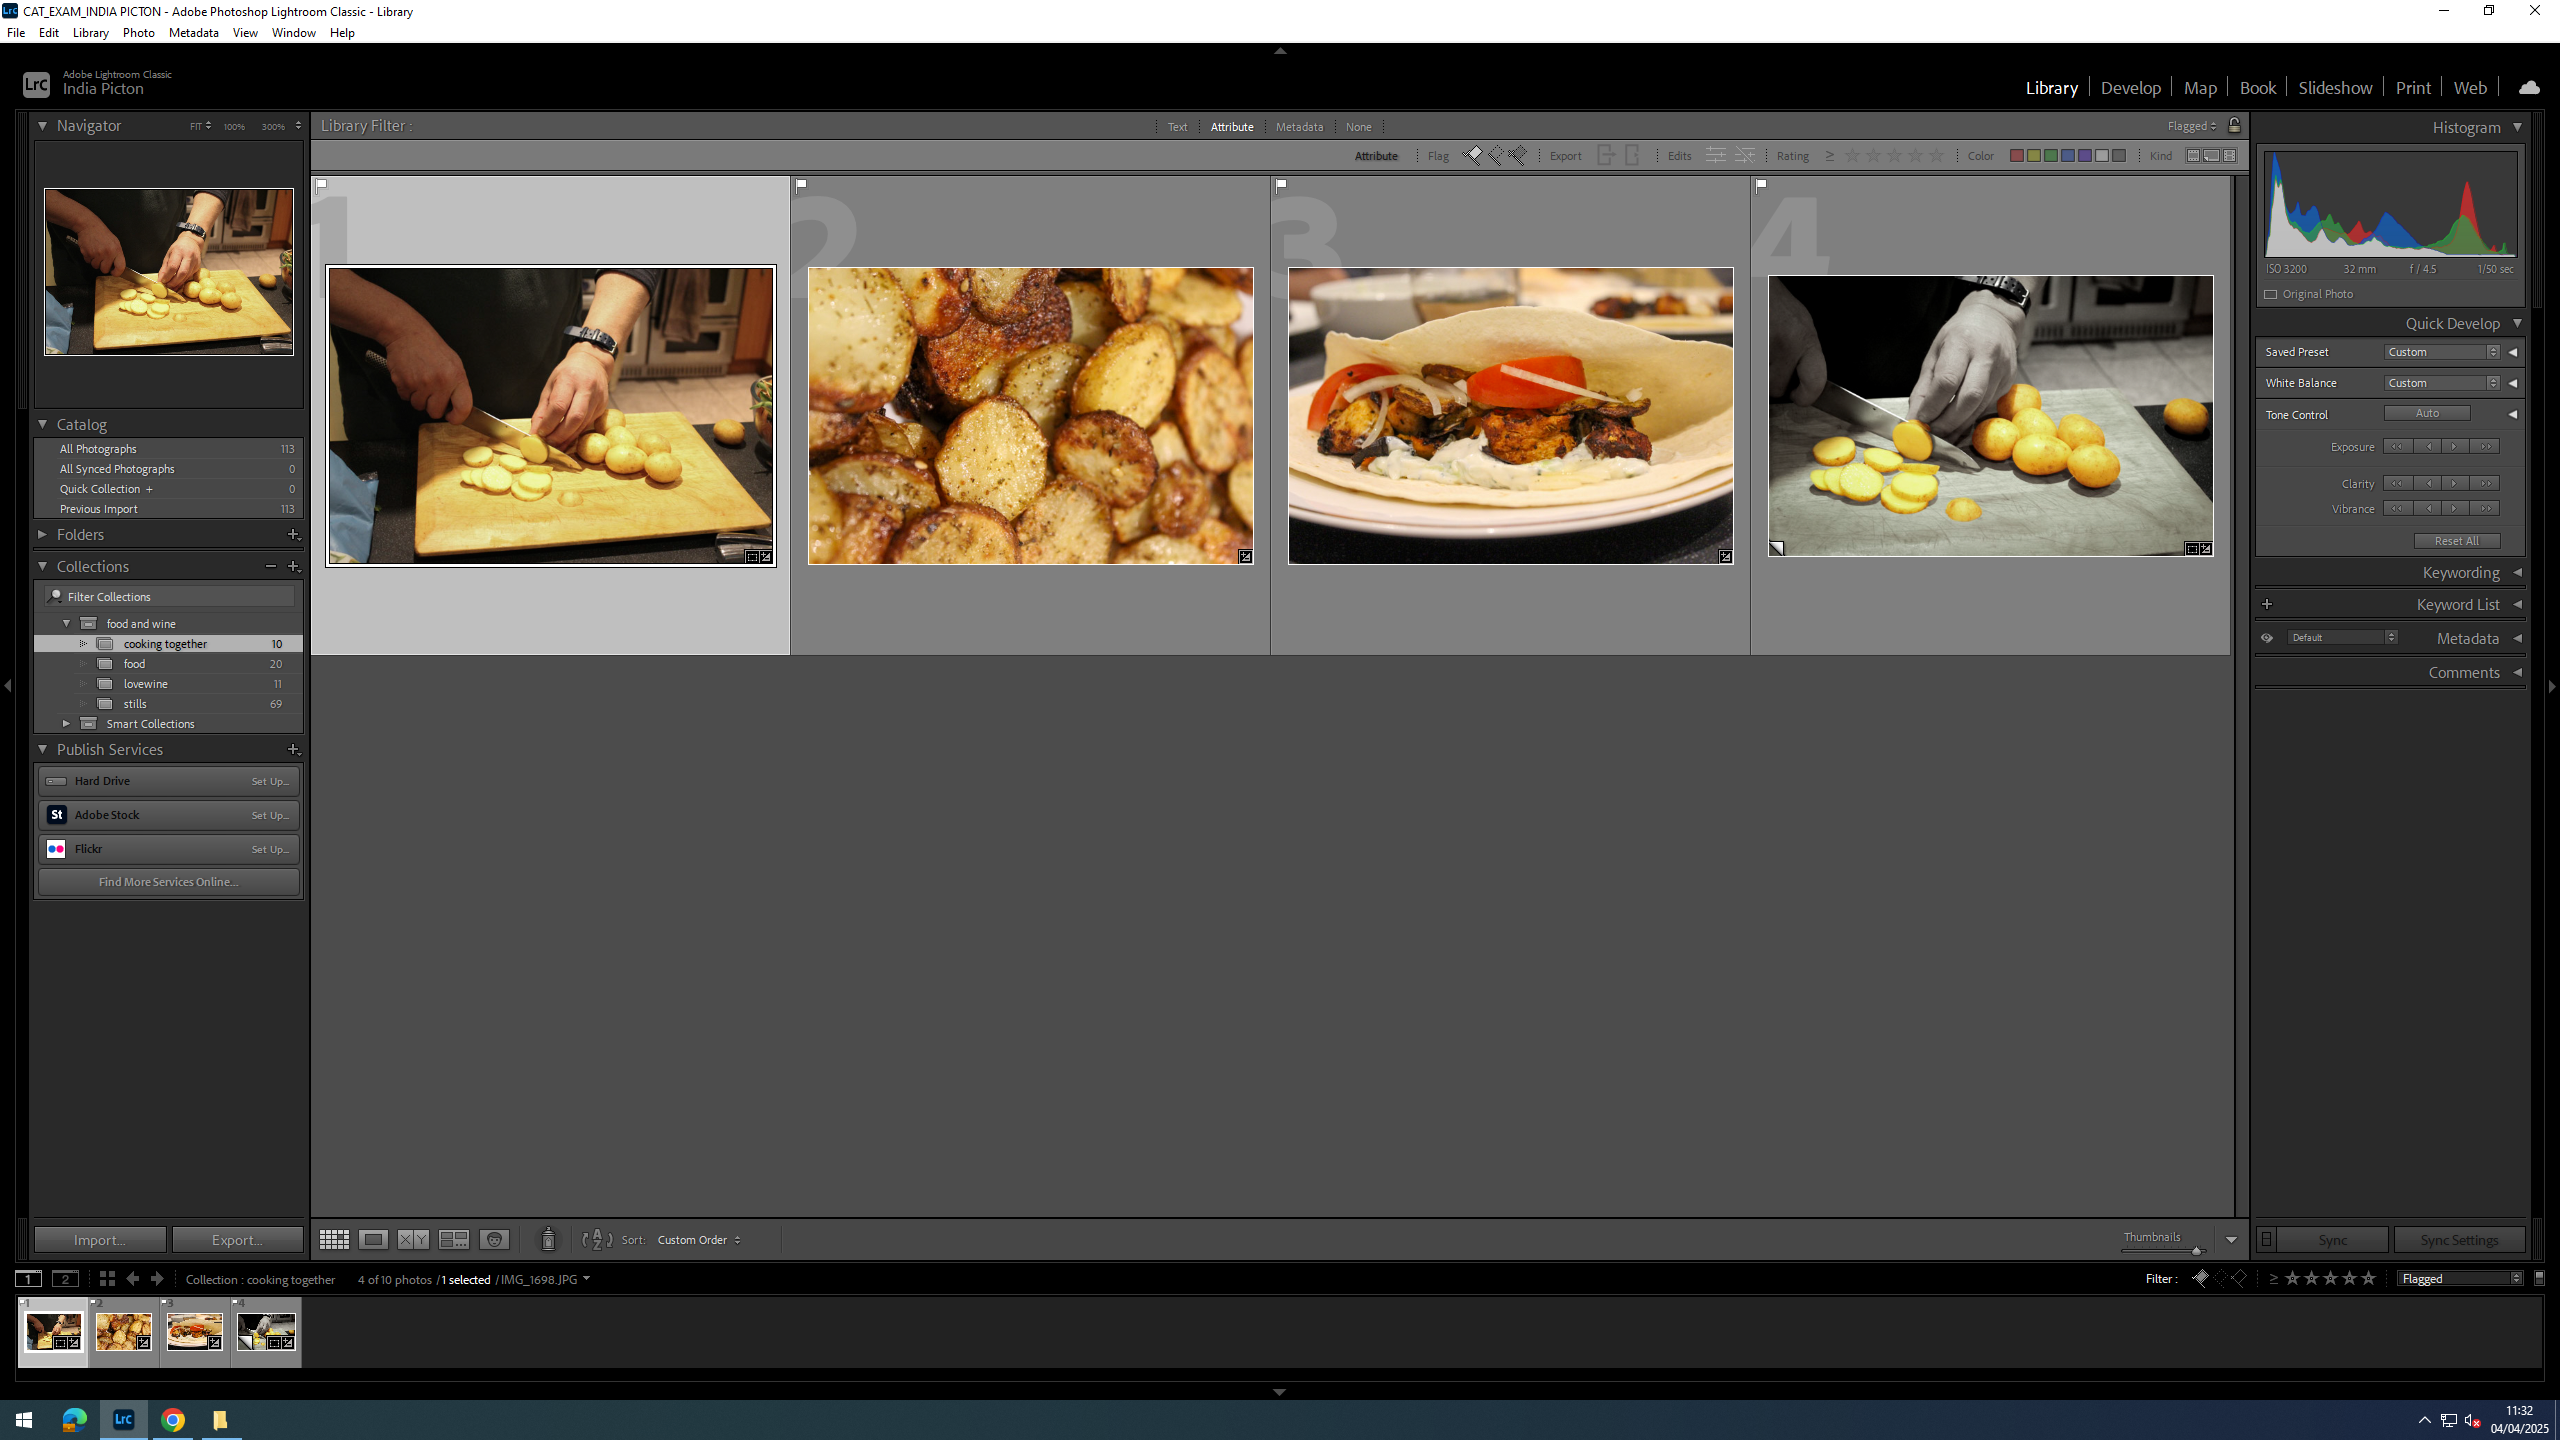
For this shoot I only got so many images as I was taking in-between helping cook dinner. I ended up with 10 photos of which I liked 4.

Editing

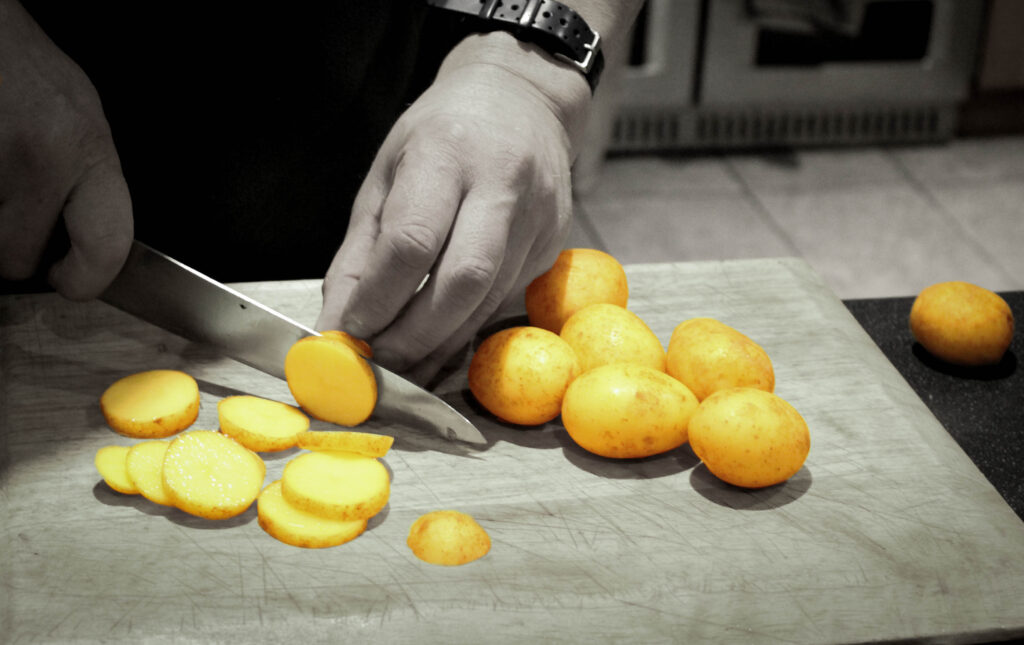
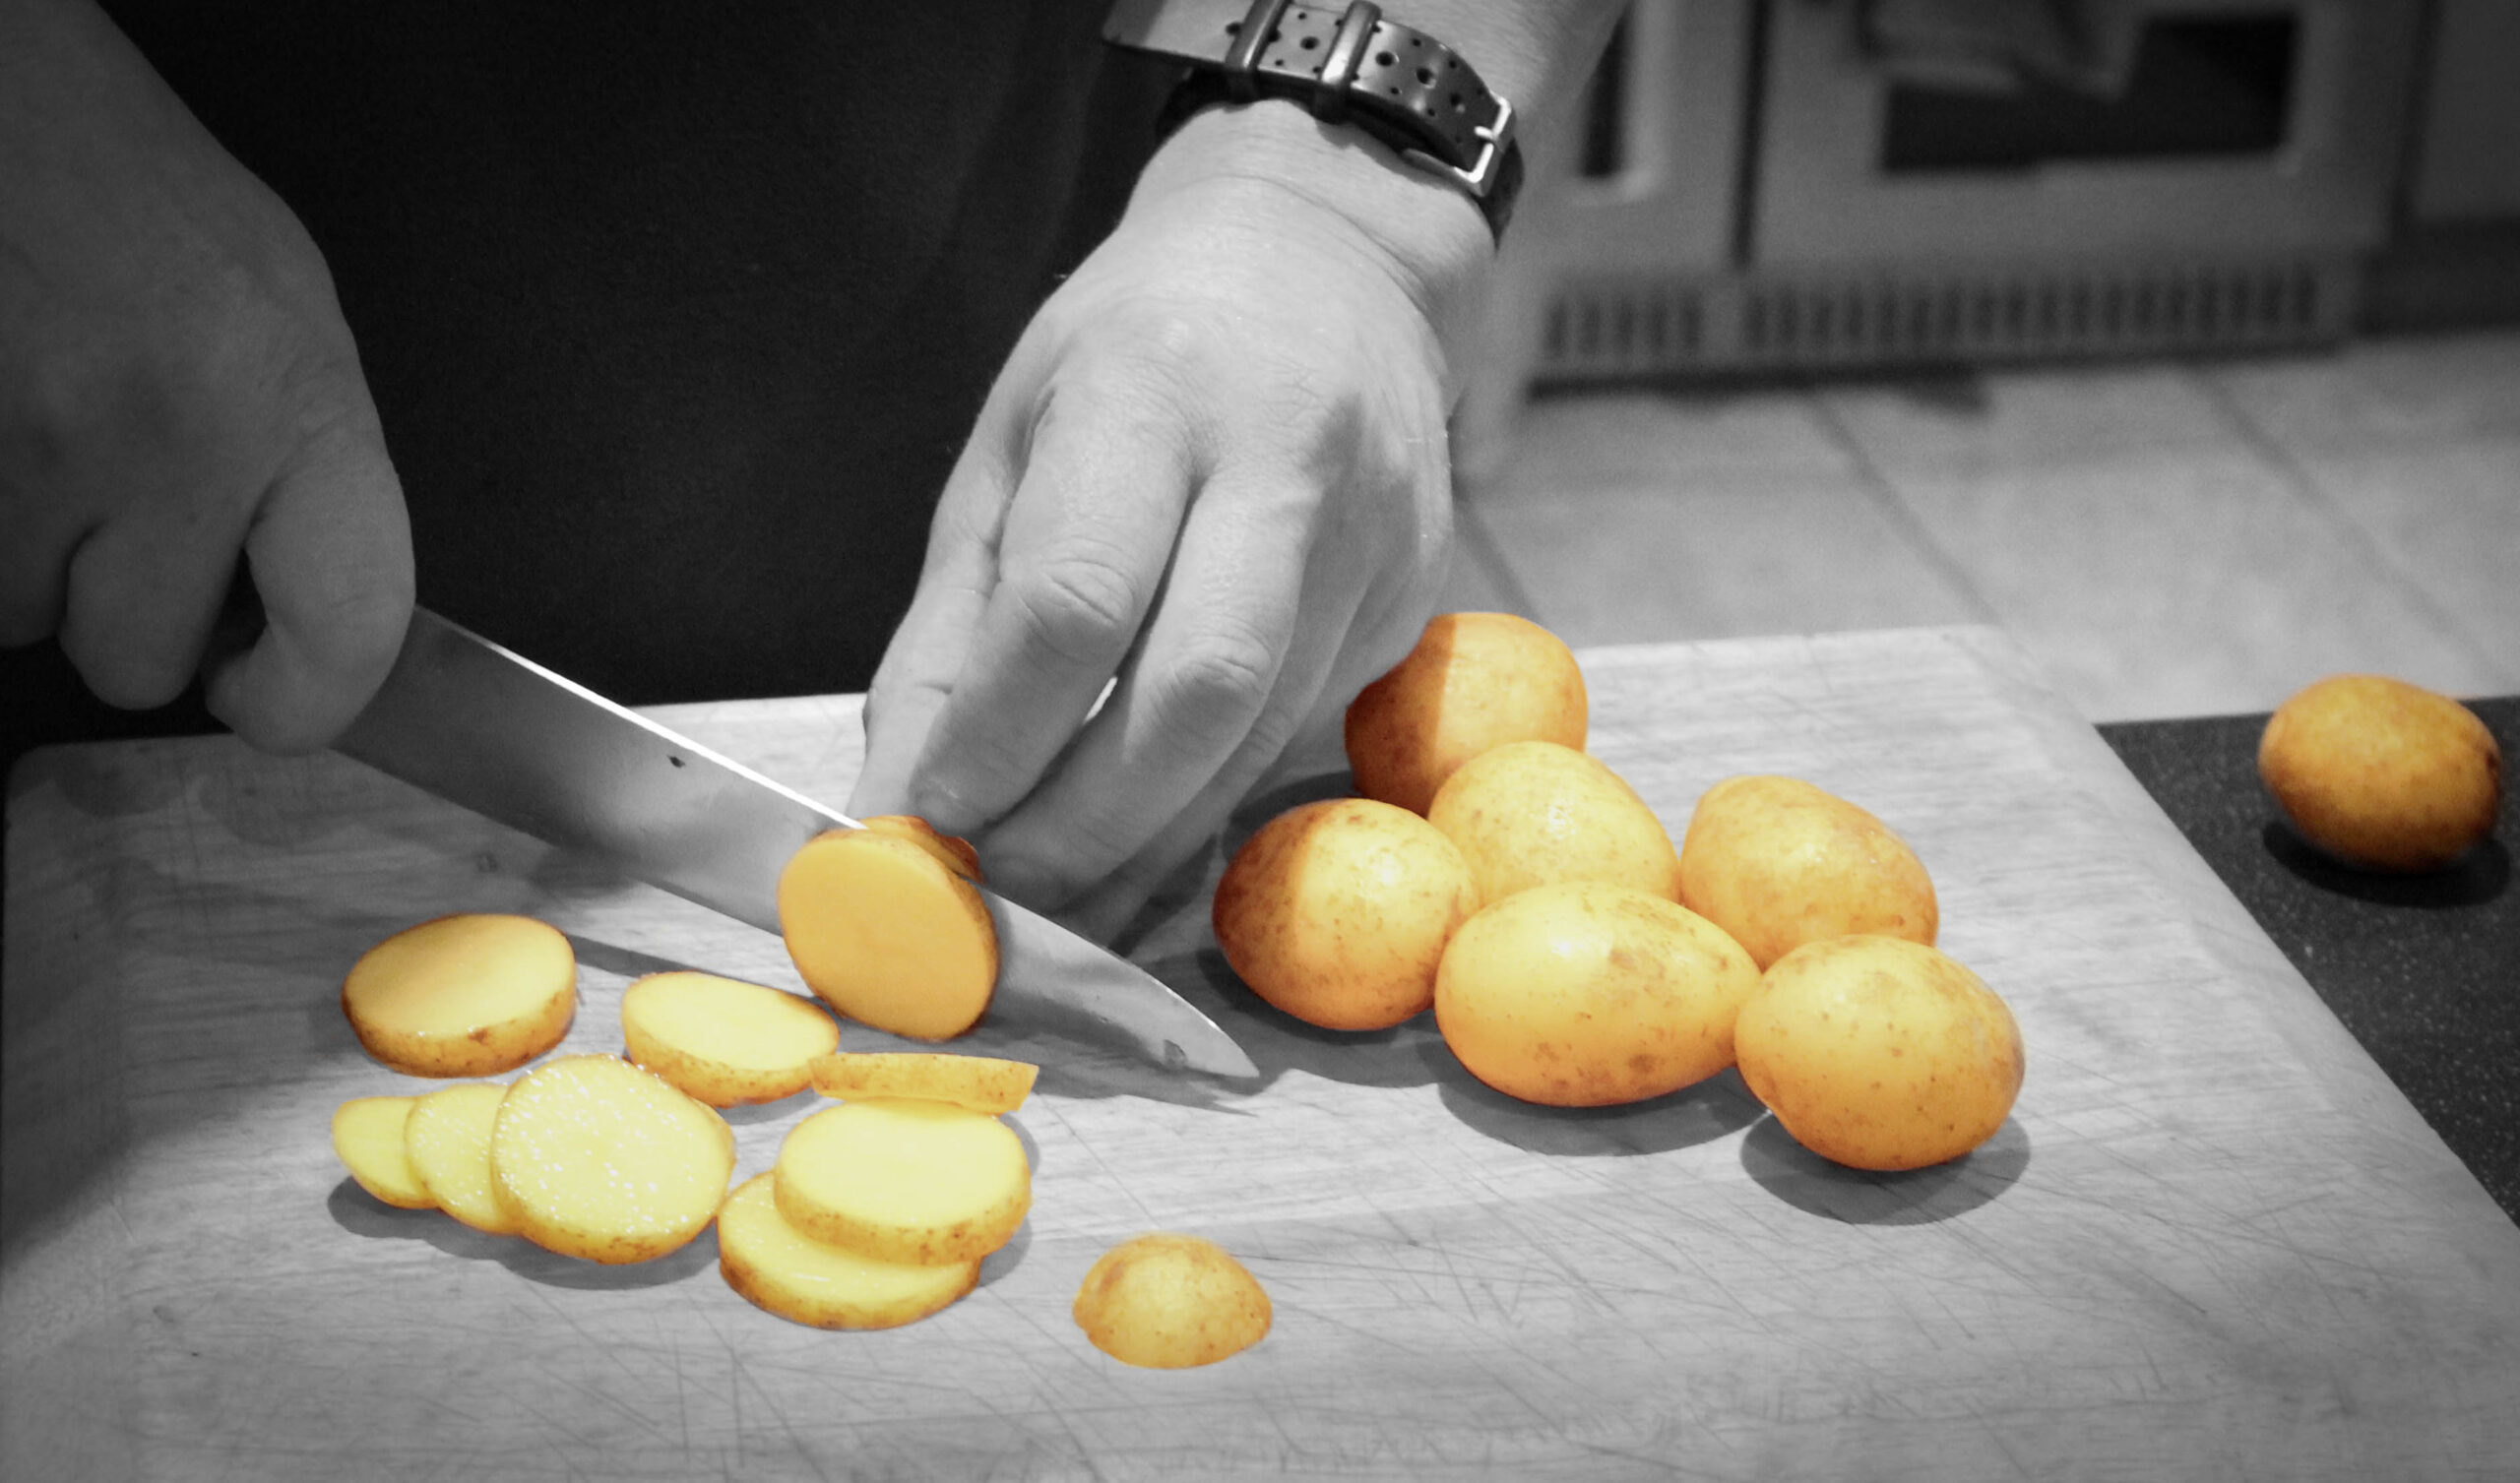
For this image, I cropped in in the potato’s and knife then isolated the potato’s so they were the only ones in colour and everything else is black and white. This not only added depth and tone to the images but cleared up the background and removed some of the chaotic nature of the oven and the mess on the table.

Finals

The isolated potato’s in this image, bring a warmth the the black and with background, standing out to show that a warm meal will always bring people together. The blurred background creates a depth of field that leave the issues of the present to themselves and away from the table, focusing on being fed.

Evaluation

For this shoot, though I did get some nice images, I am not overly pleased with the way it came out. I would of liked to maybe repeat the shoot again with different meals and maybe get some portraits as well.

Photoshoot 2

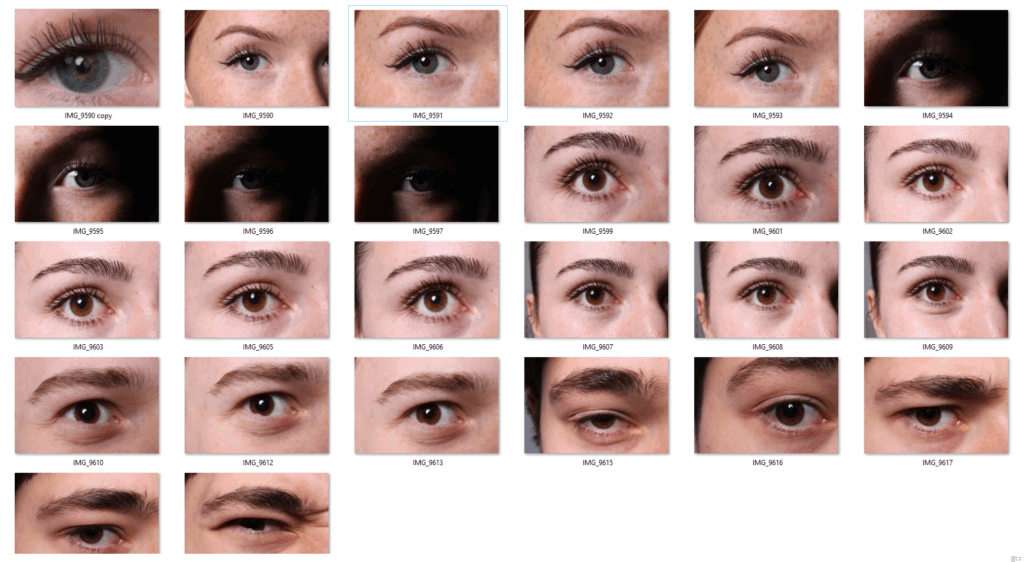
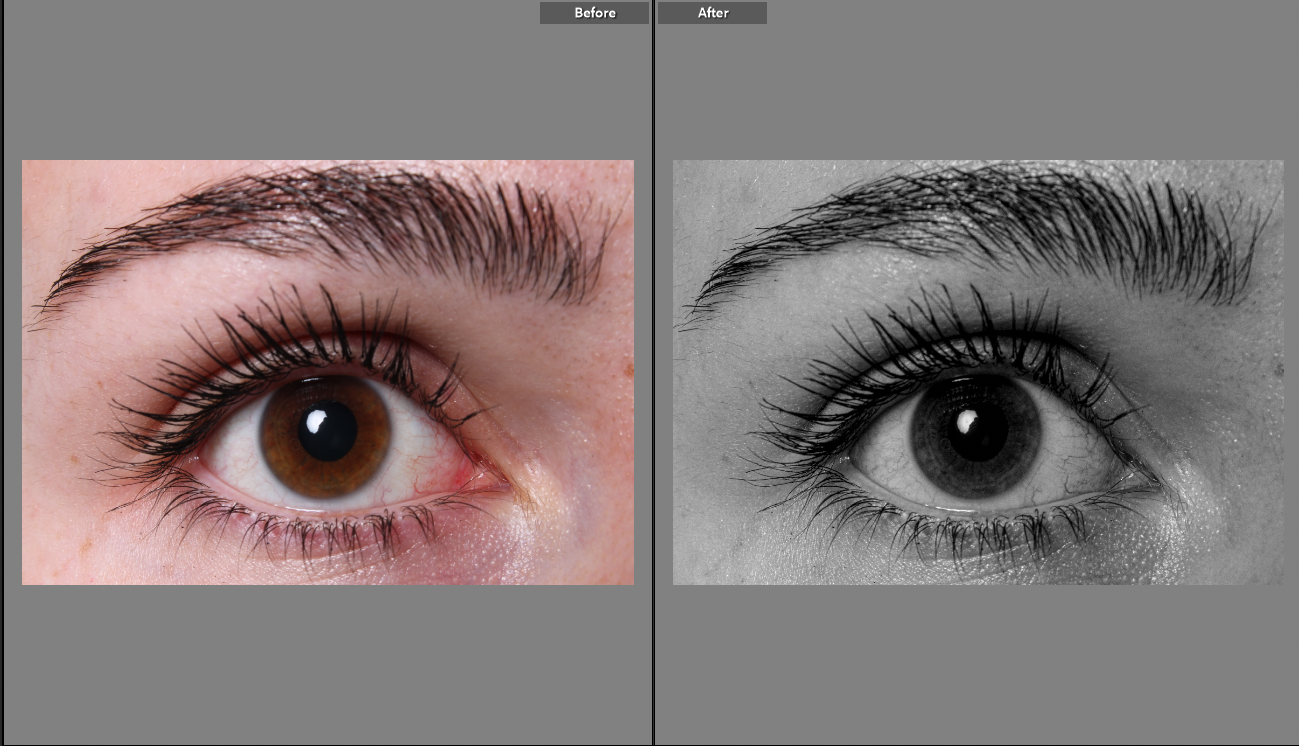
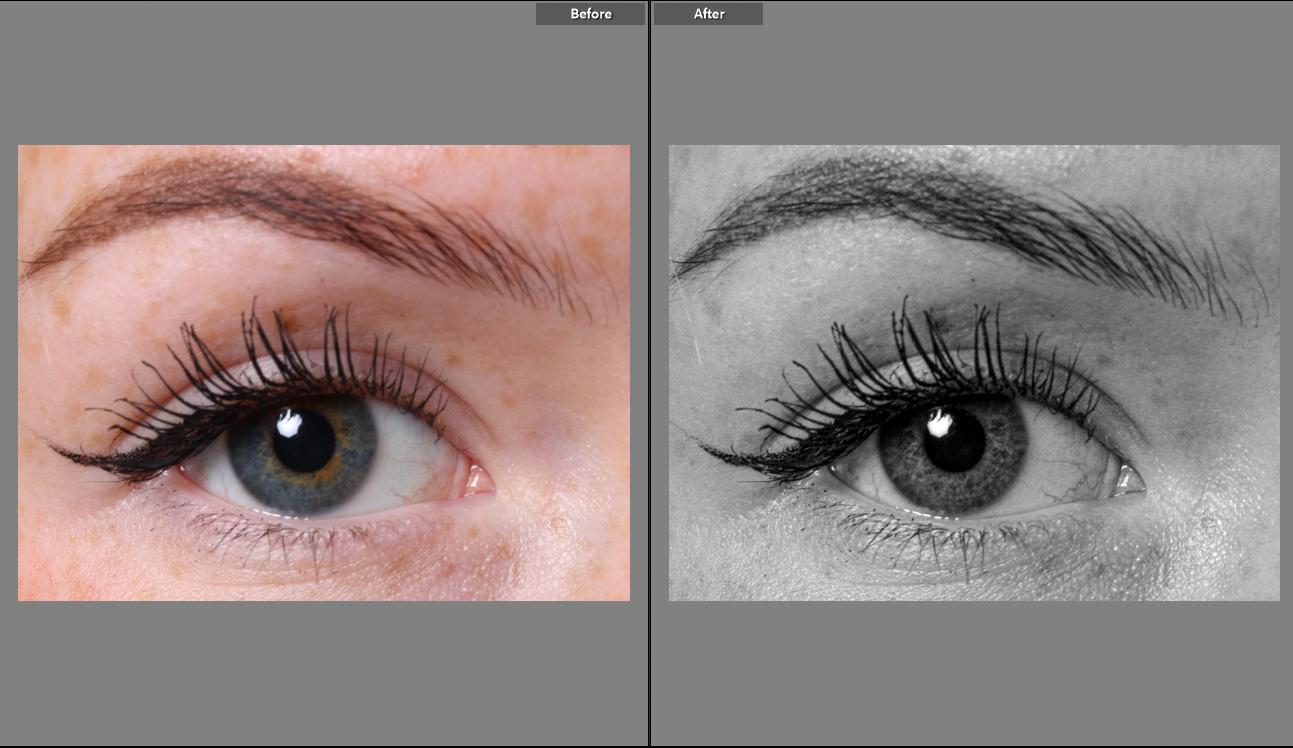
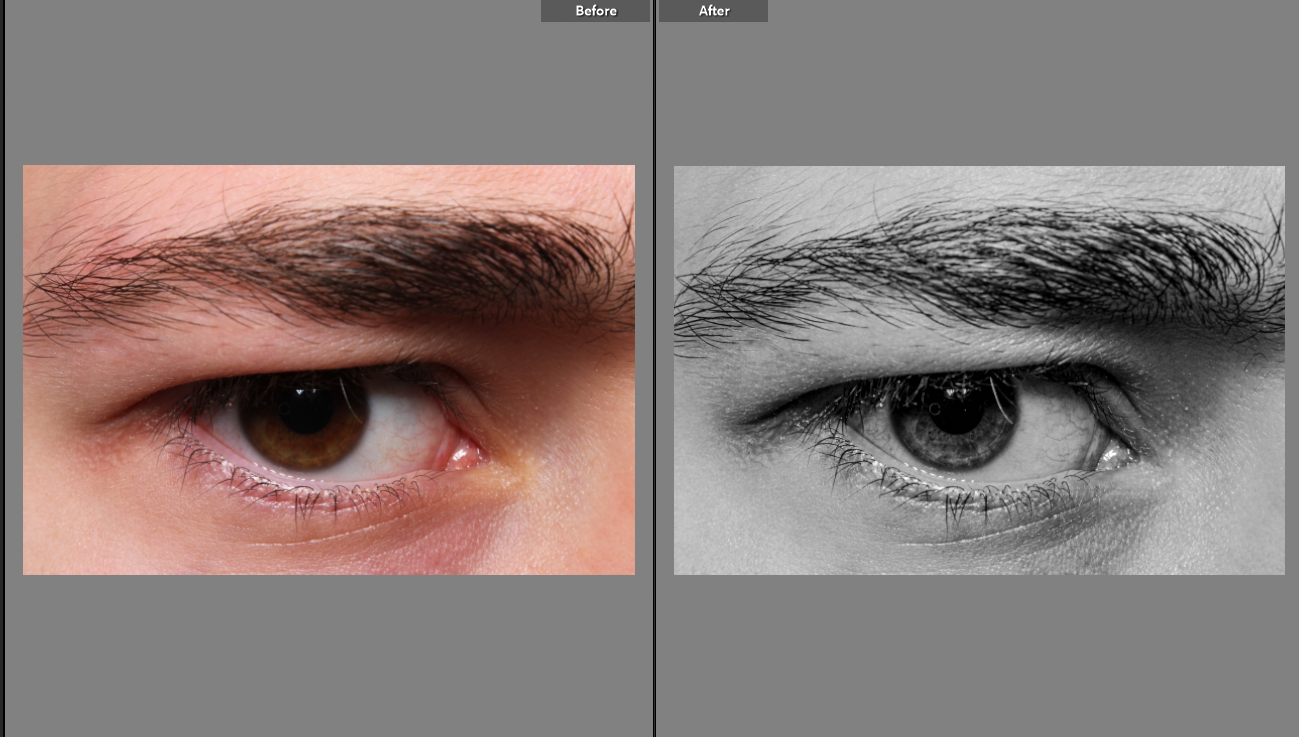
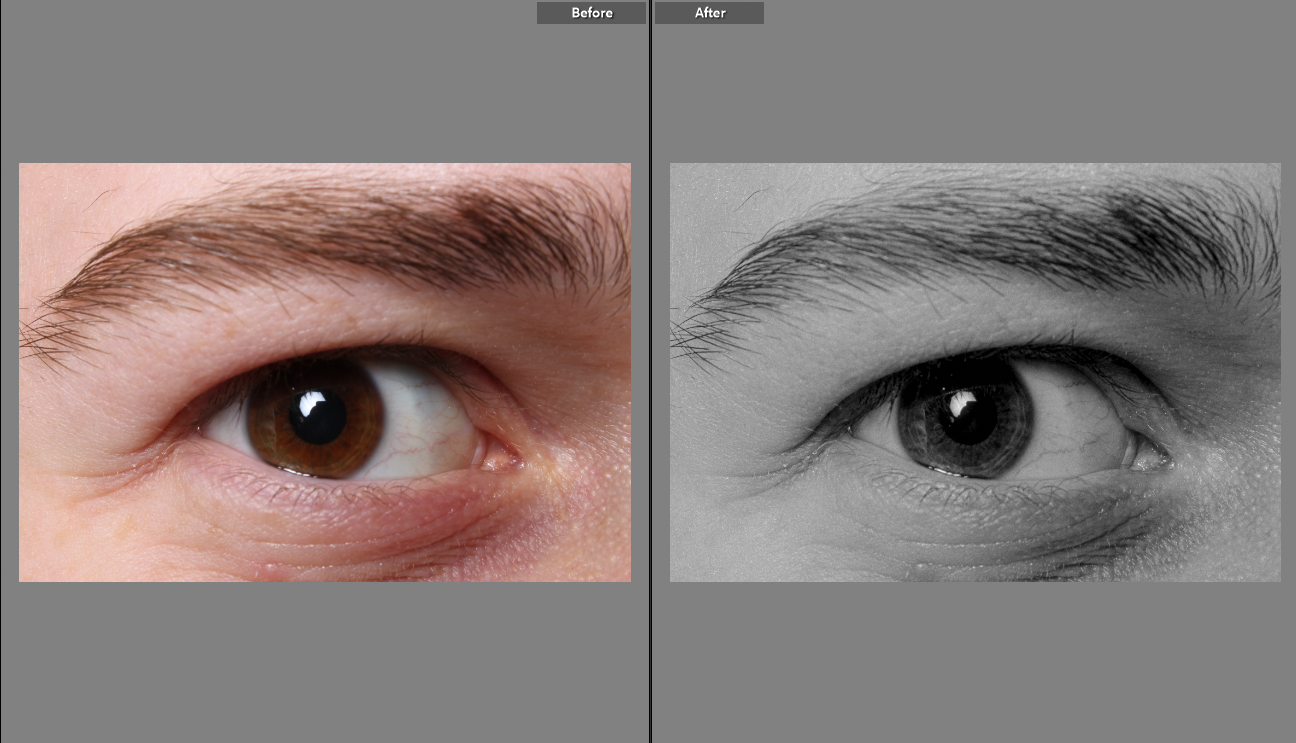
For this photoshoot, I went into the studio with others to take pictures of their eyes. I used the studio lighting and placed it directly in front of the eyes to enable me to get every detail in the image. When instructing the people in the images, I told them to keep their eyes wide open to allow me to get a clear shot of their eyes. I took pictures of girls and boys eyes as I feel like they are very different however are classed as the same which creates a sense of union for my project. When taking my images I made sure to be at a straight angle in line with the eyes to get the best and most effective images which I think went really well. I really like how my images turned out and I think it matches Man Rays image of the eye he captured.

Before and After

What Went Well

I think that these images went really well, this is because I feel as though I was able to capture a lot of detail within the eyes and it portrays a feeling of union by having a collective of eyes being presented together. I also like the way that I have edited them to be black and white because of the way that it portrays a sense of loneliness when the images are displayed on their own. In the first image the eye is looking up, I feel as though this really relates to the idea of sadness and it correlates to Man Rays idea of union.

UNION: Photoshoot #2 – Cultural Fashion – Studio Self Portraits

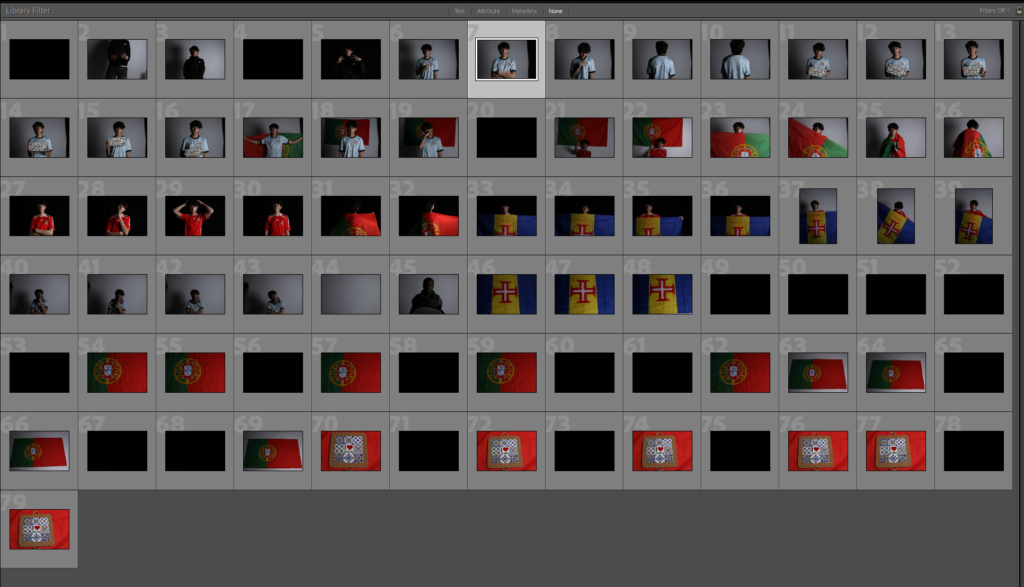
Initial Contact Sheet

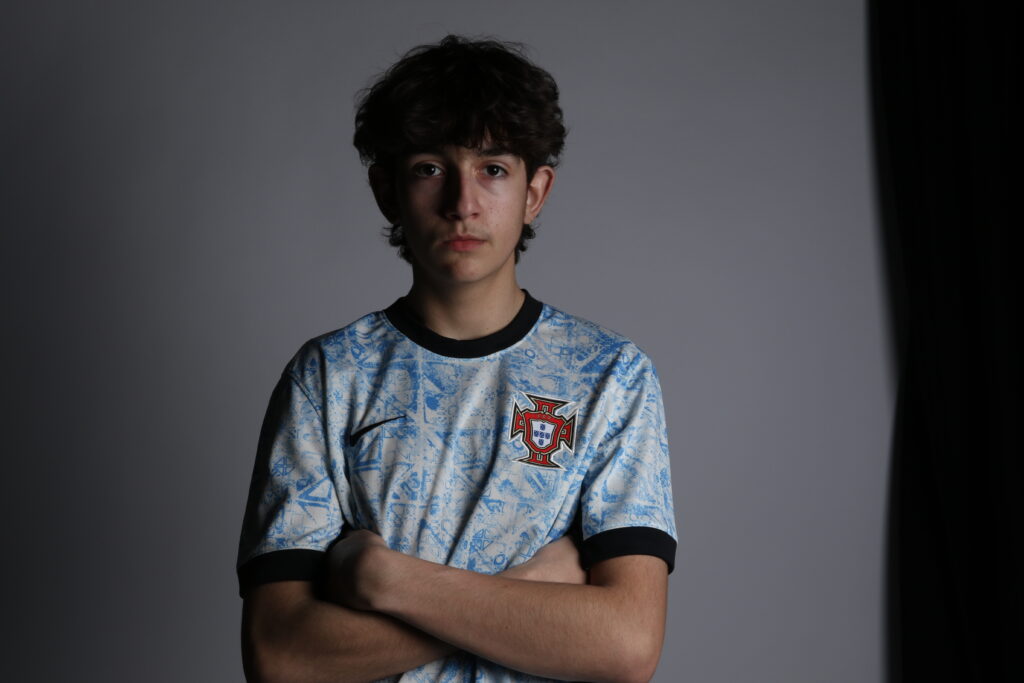
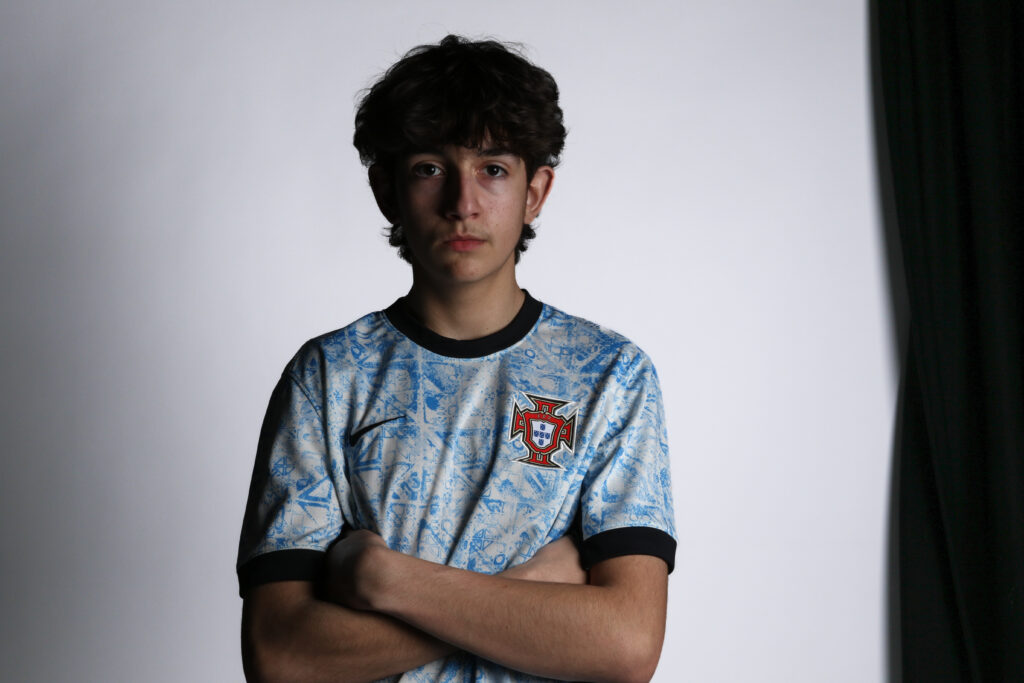
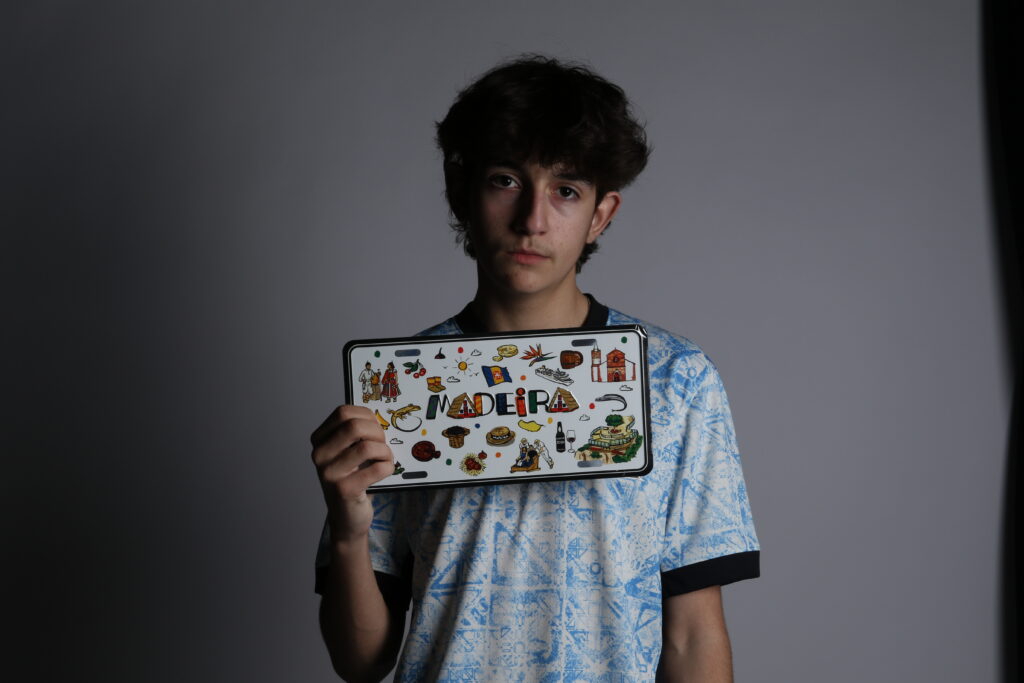
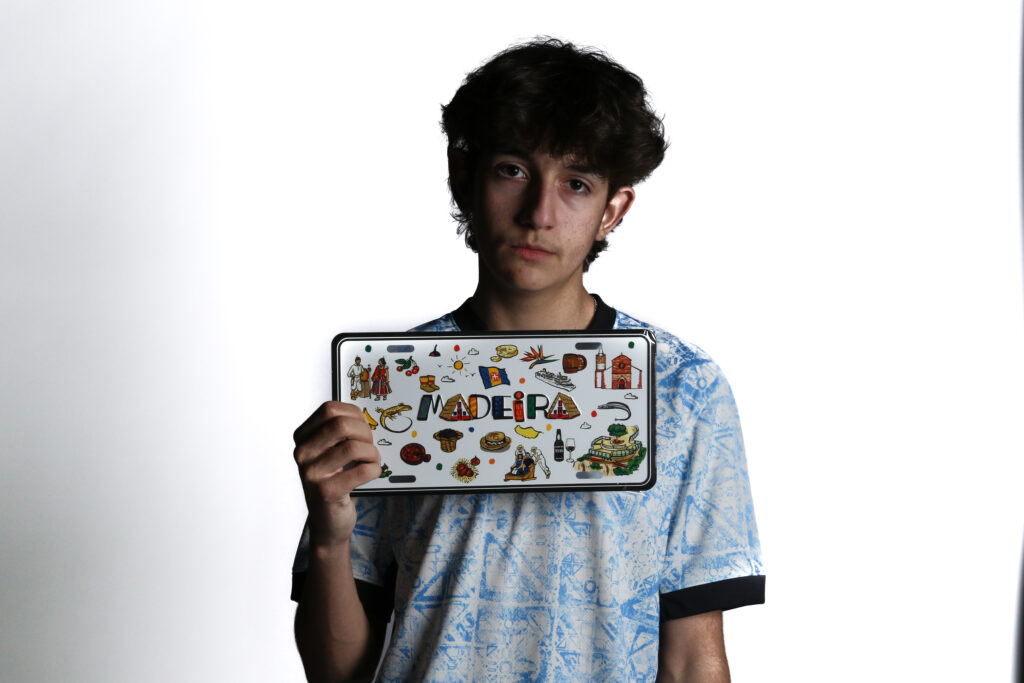
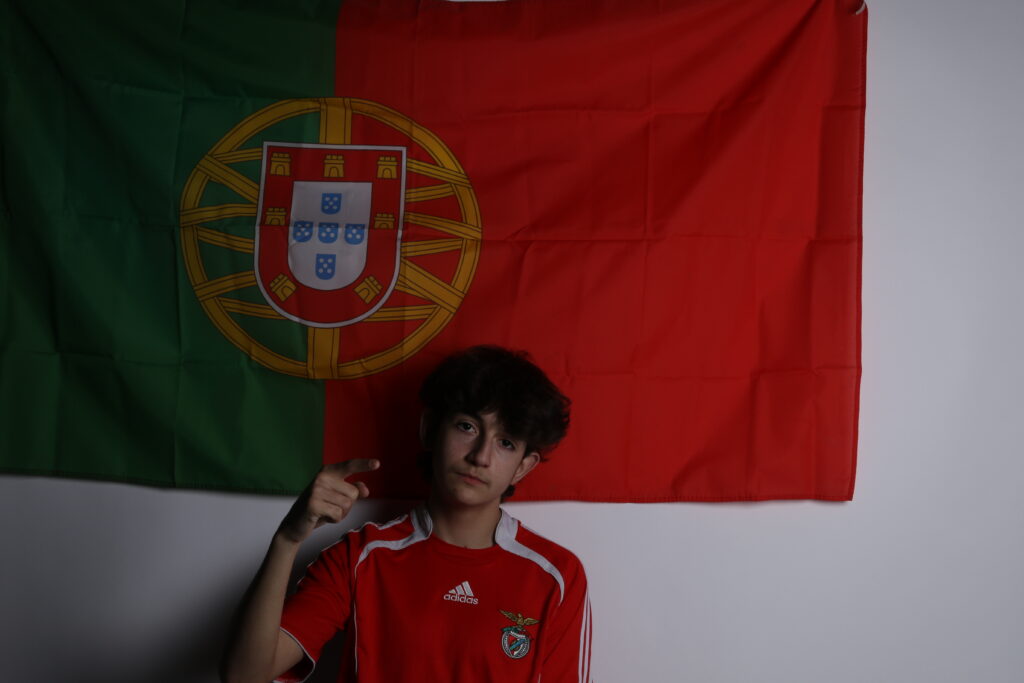
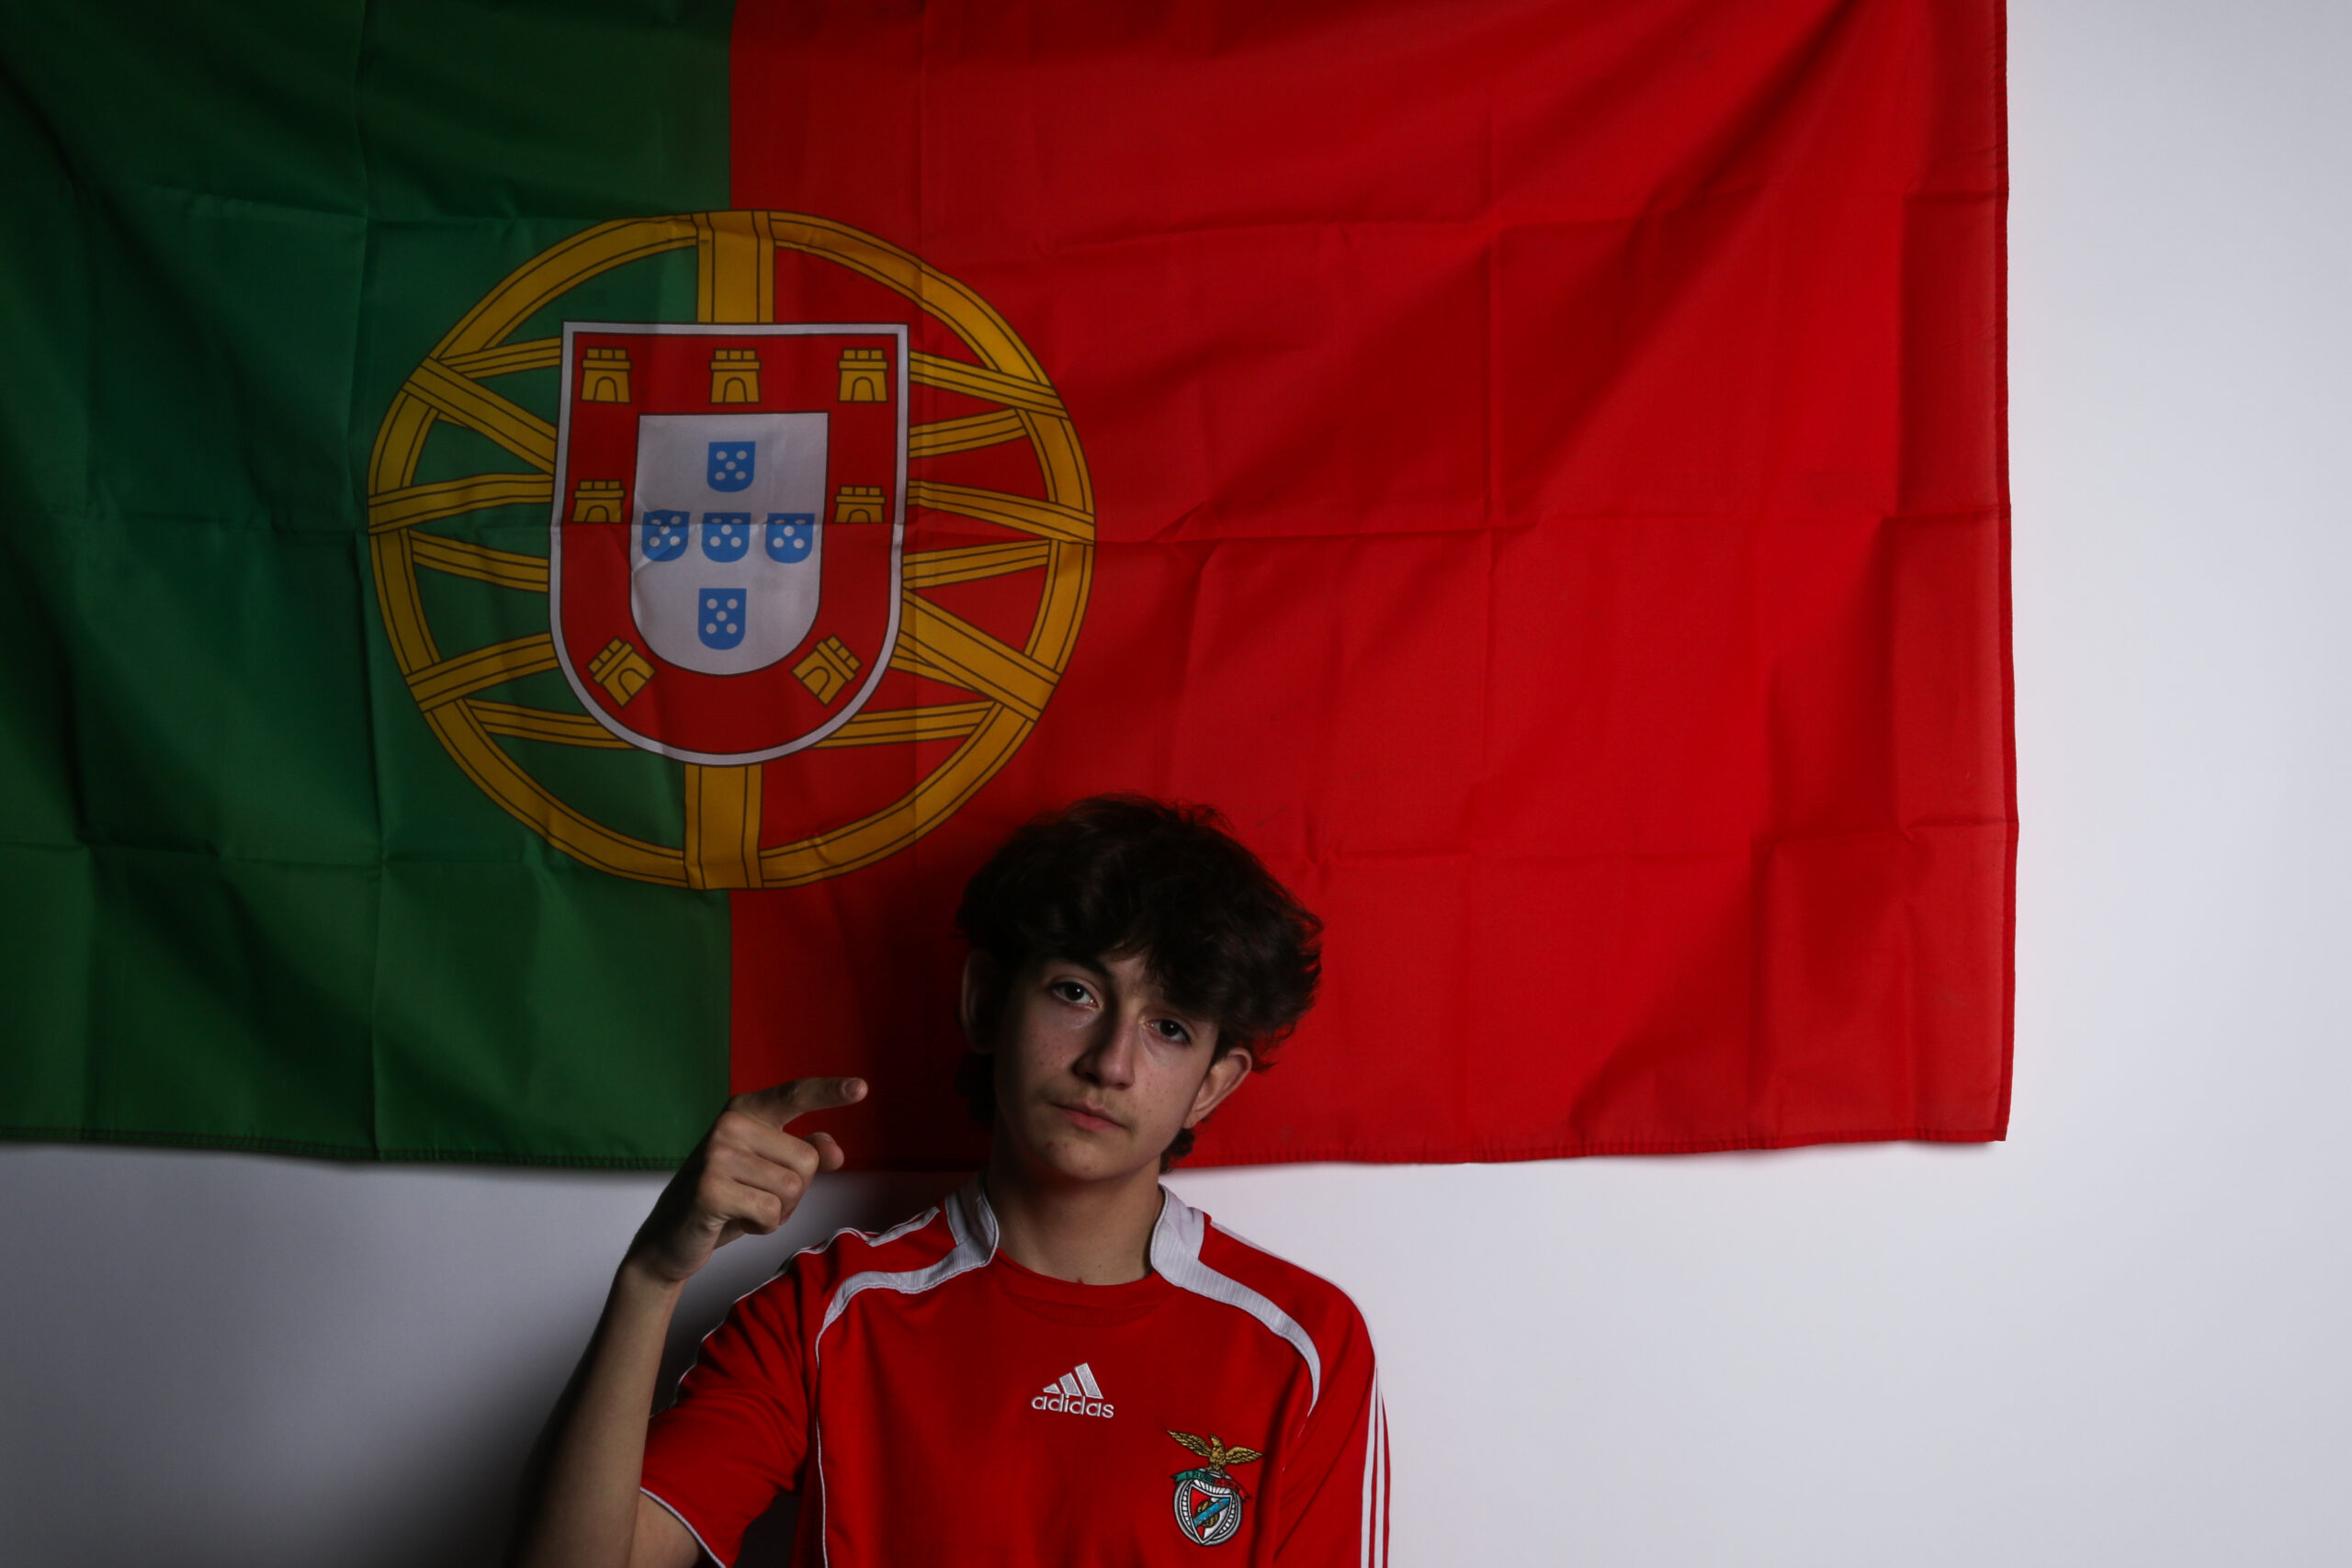
For this Photoshoot, I did the same as the first photoshoot however, this photoshoot was done by myself and no one else. I used a tripod to set the composition up exactrly how i wanted it and then put on the timer setting on the camera so that i had enough time to click the shutter release and get into frame. Overall I took 79 photographs in this photoshoot and I took these portraits with different clothing which represents my background which is Portuguese / madeira.

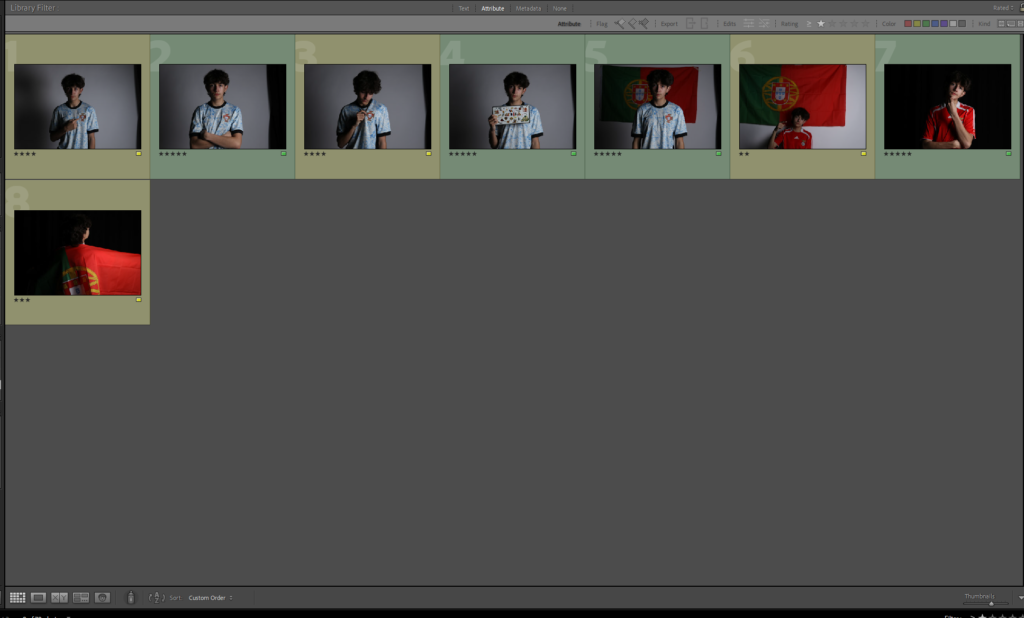
Selection Of Photographs

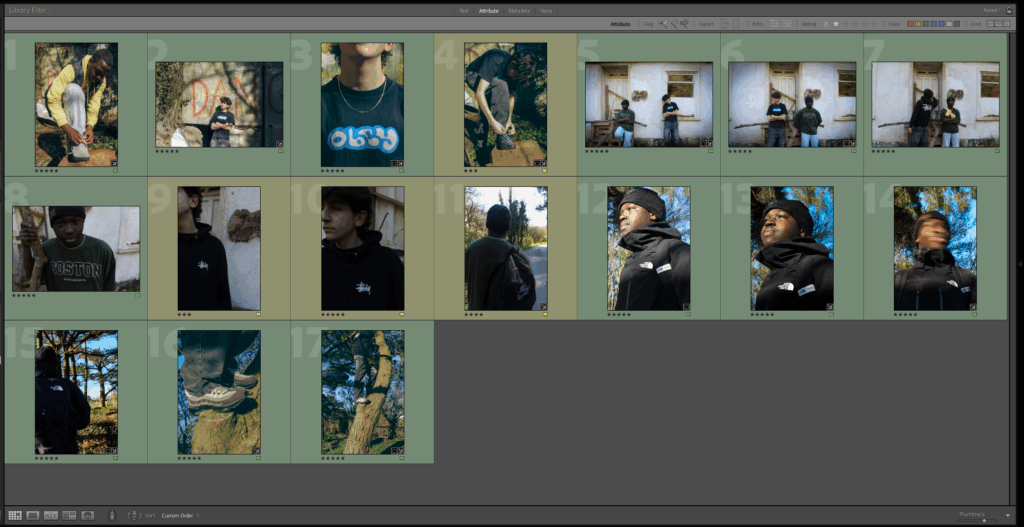
When selecting which images are stronger than others in the photoshoot, I mainly focused on choosing the images which had a clear use of a professional lighting technique for example, Rembrandt lighting, Butterfly lighting and Chiaroscuro. Displayed in the screenshot above, I have selected the raw images I will be using to edit, the photographs highlighted in green are the ones which I find are the best in terms of composition, symmetry and lighting. The images highlighted in yellow are images which are not as strong as the ones highlighted in green however, can still be used to create interesting edits.

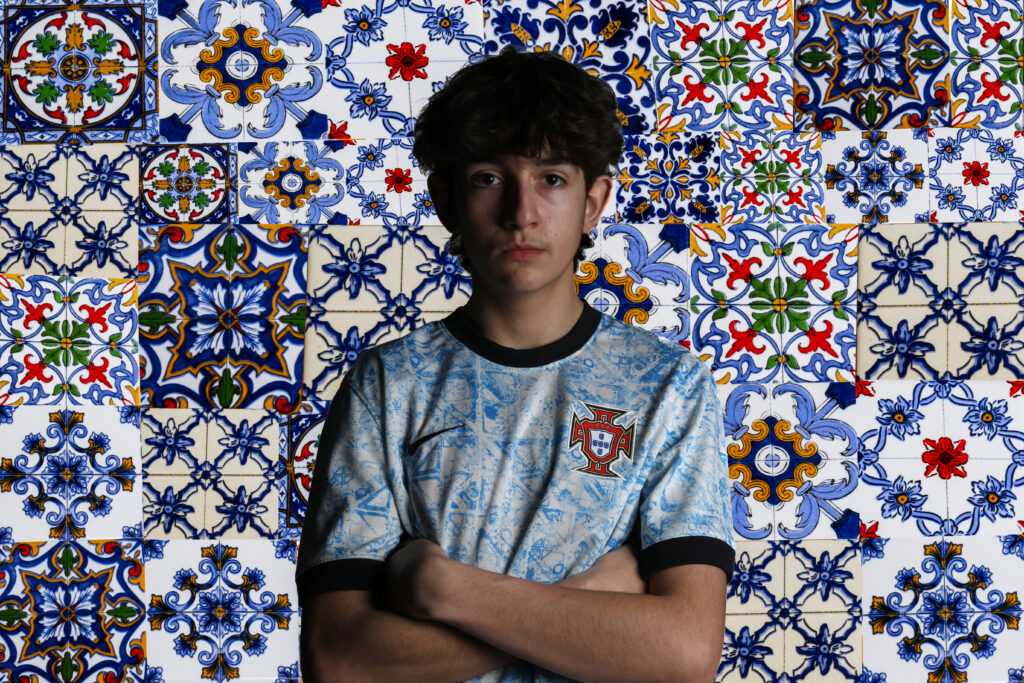
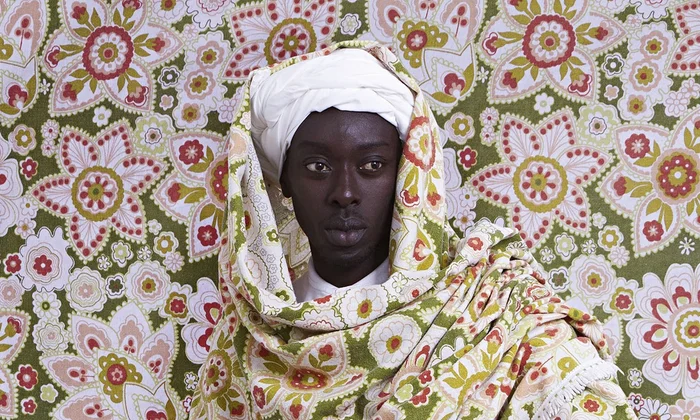
These Studio Portraits on their own are quite boring and lack meaning to them therefore, I am going to manipulate them using Photoshop and Lightroom to add these images below into the background. The inspiration behind this editing idea came from Hassan Hajjaj, in his photos the foreground will usually be someone from a specific culture wearing cultural, bold clothing and the background is colourful and usually cultural related, whether its a mural, a pattern etc. However Hassan Hajjaj already takes the photo of the model with the background in the same shot, I am taking a different approach as I did not have the possibilities to create a set with the background already in place, I am going to edit the background into the studio portraits.

Experimentation + Development

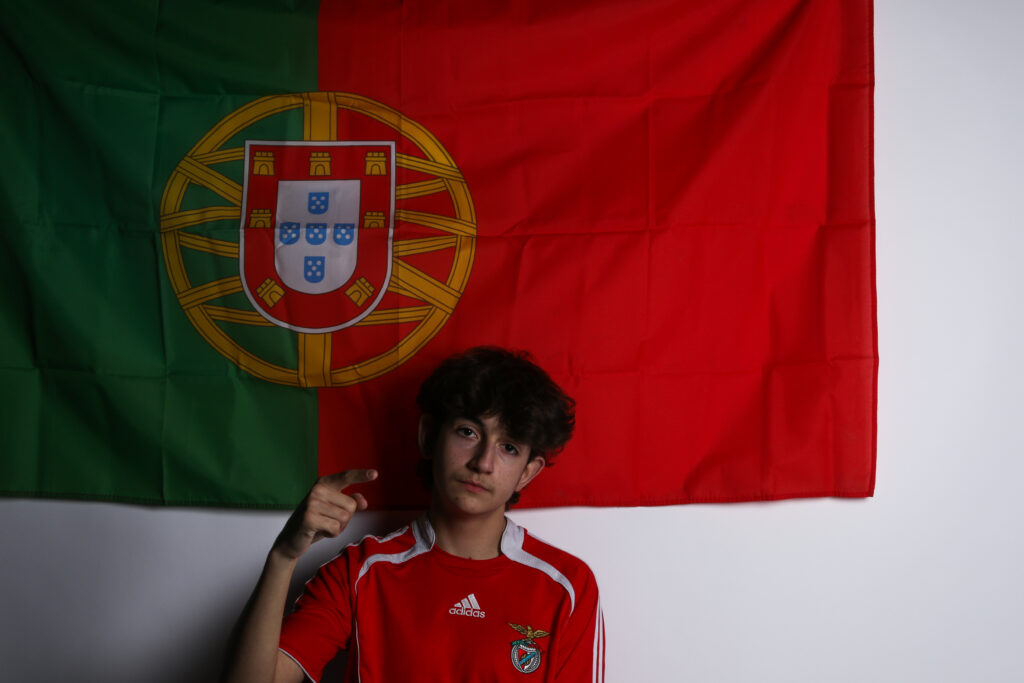
Photo 1 – Original Image

Photo 1 – After Lightroom Adjustments

Photo 1 – Photoshop

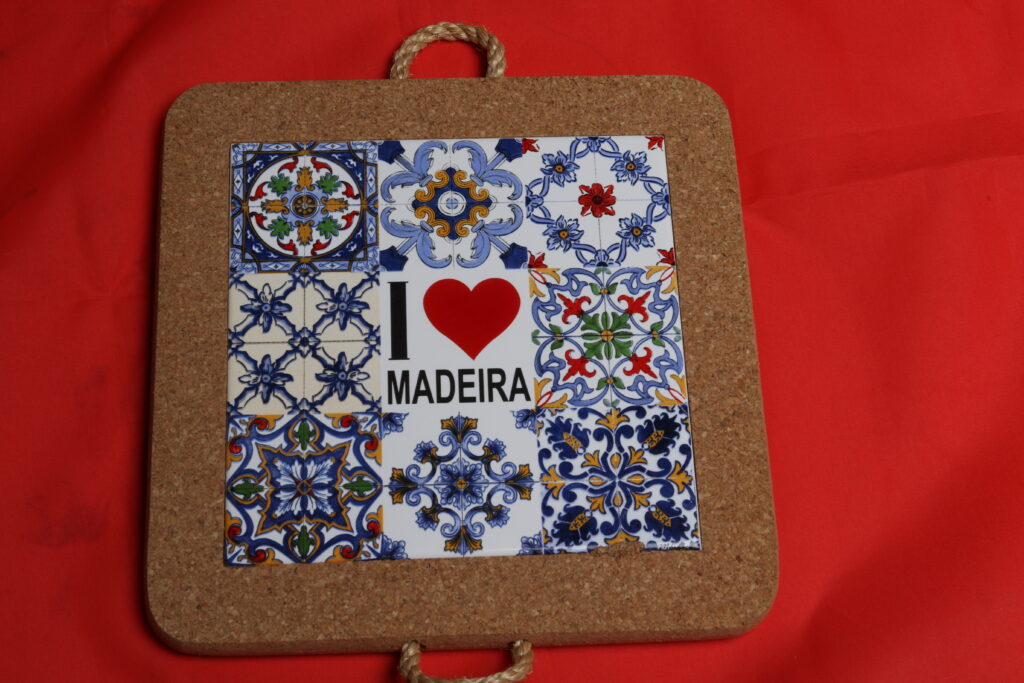
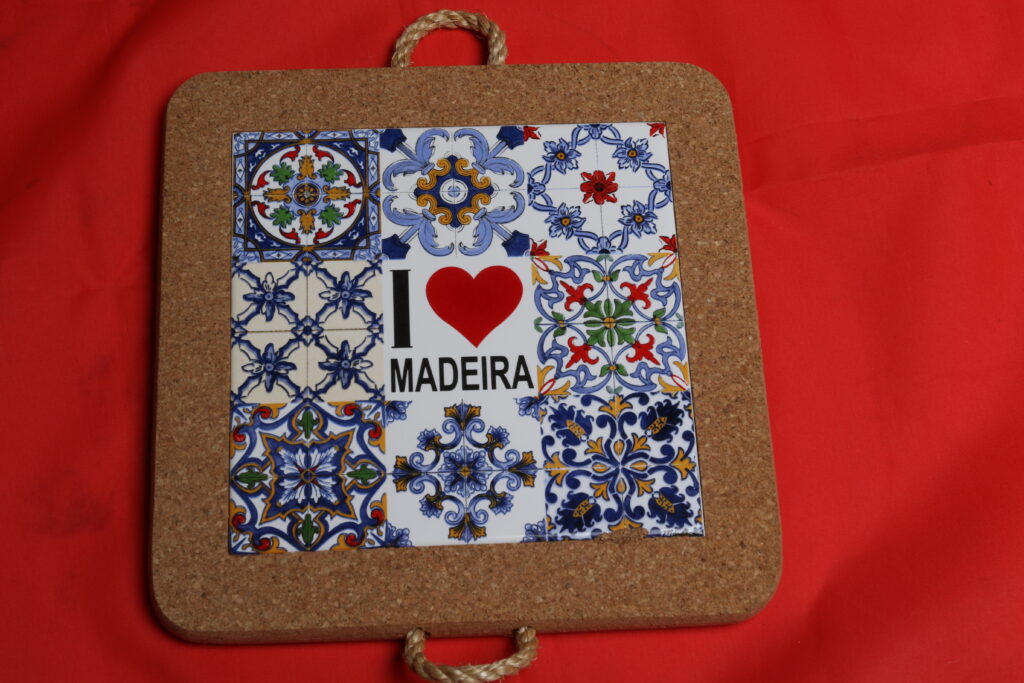
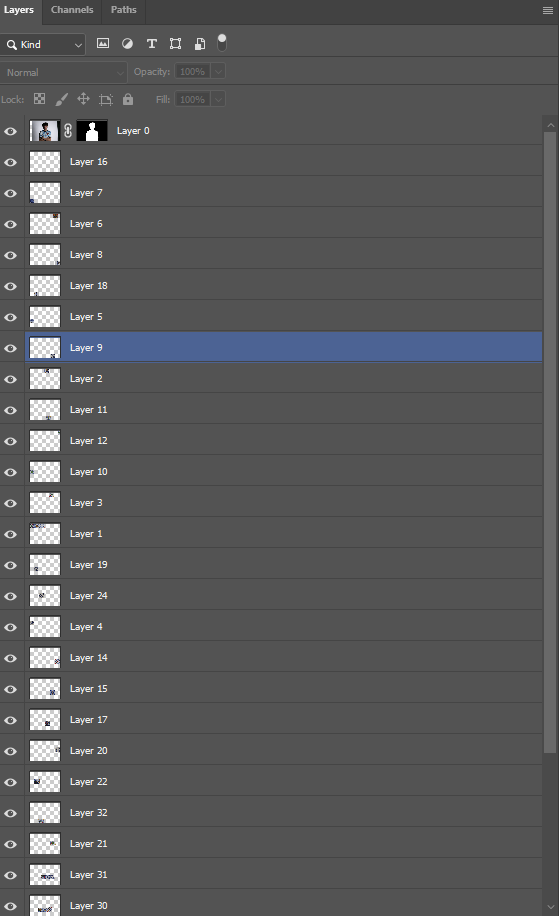
Using the Polygonal Lasso Tool, I cut out each tile separately off of this image, once I had done that, I dragged all of the cut out tiles onto the studio portrait file.

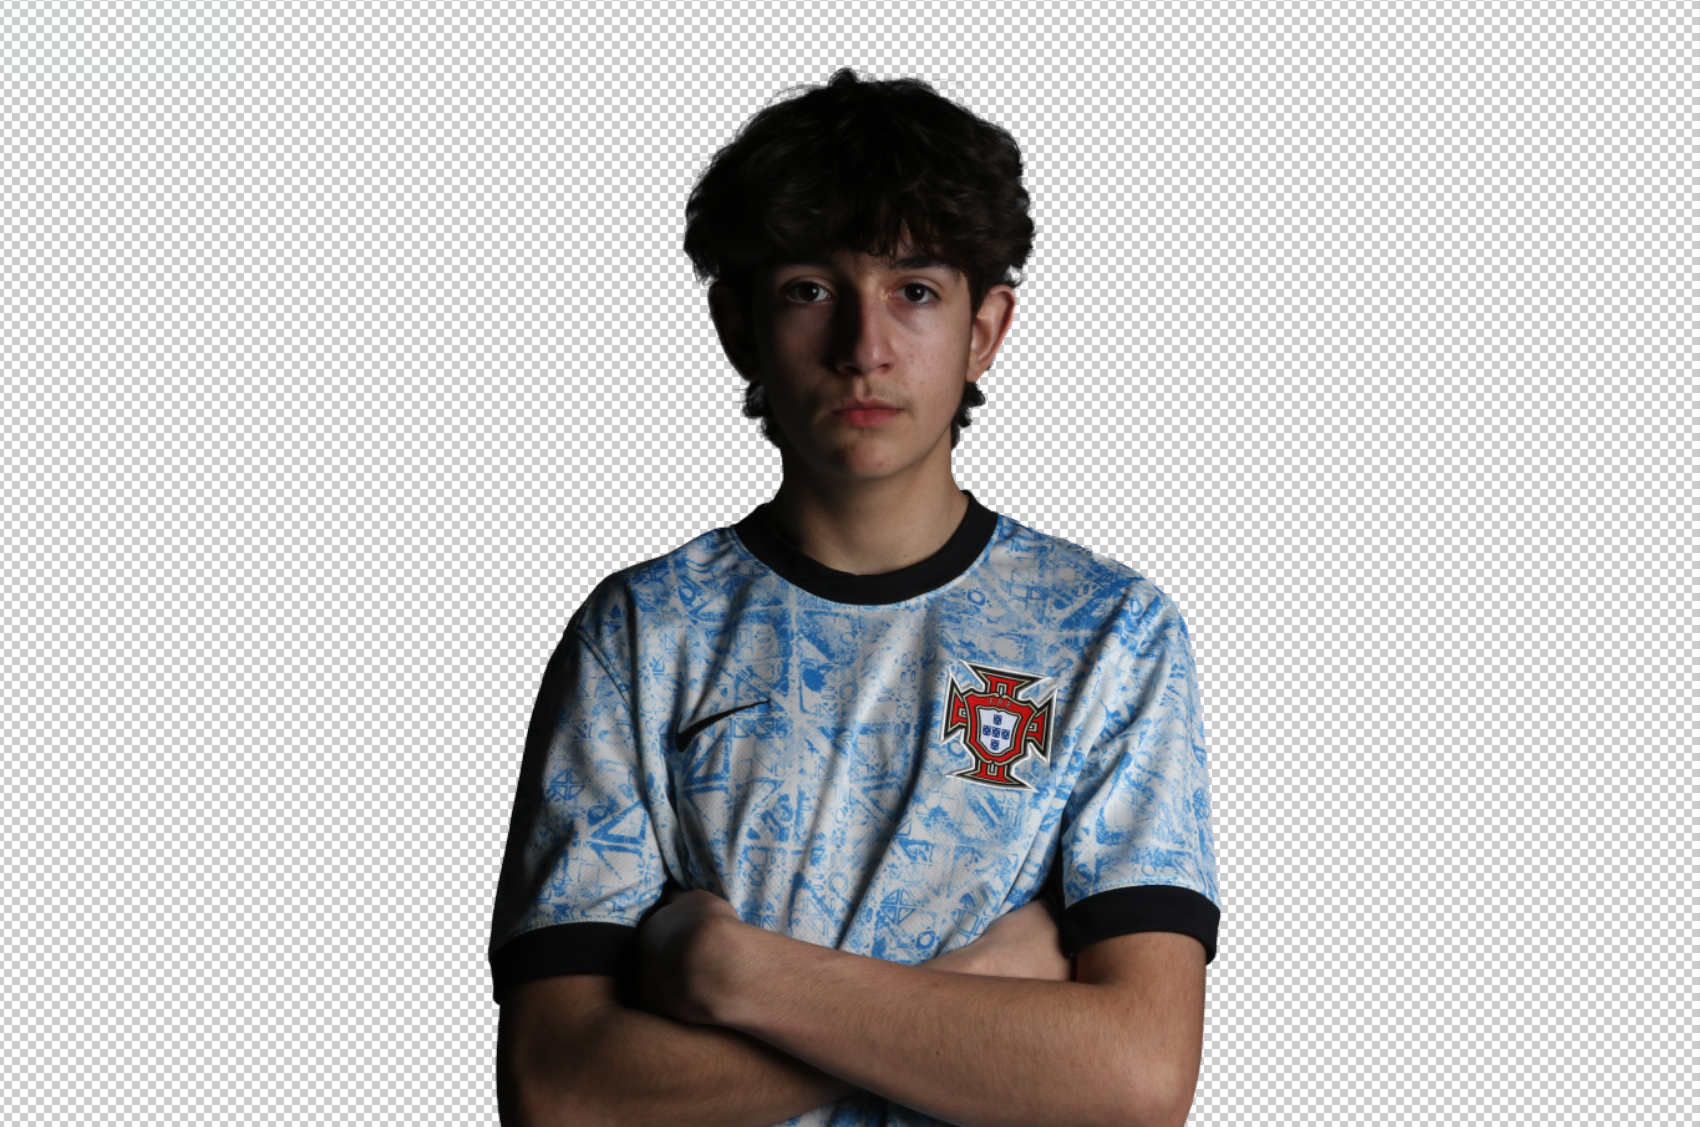
My next step was to make myself ( the model) be in the foreground, in front of all the tiles, to do this I used the quick selection tool selecting around myself and then using layer via copy to make myself a PNG. Once this was done, all I needed to do was place all the tiles which were layered behind me in a organized line / order.

Photo 1 – Final Form

Photo 2 – Original Image

Photo 2 – Lightroom Adjustments

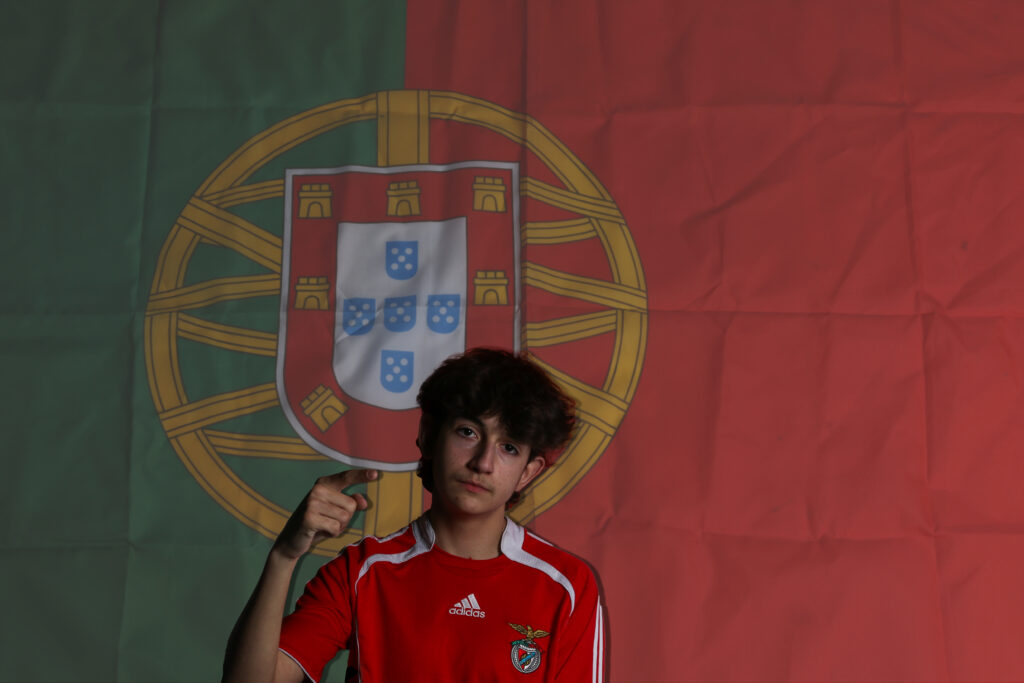
Photo 2 – Photoshop Manipulation

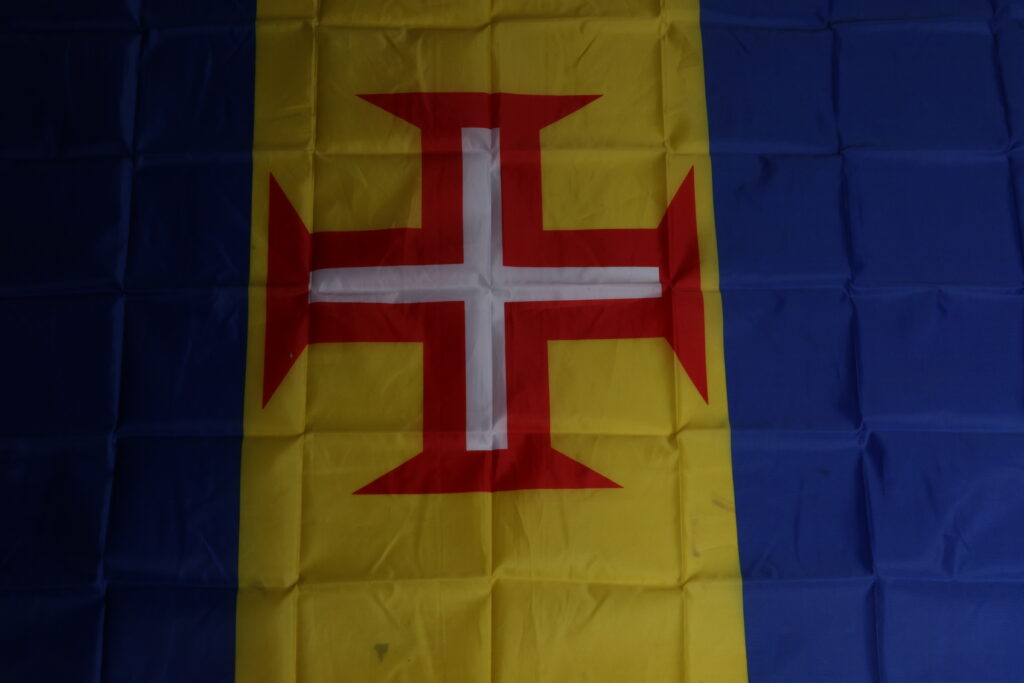
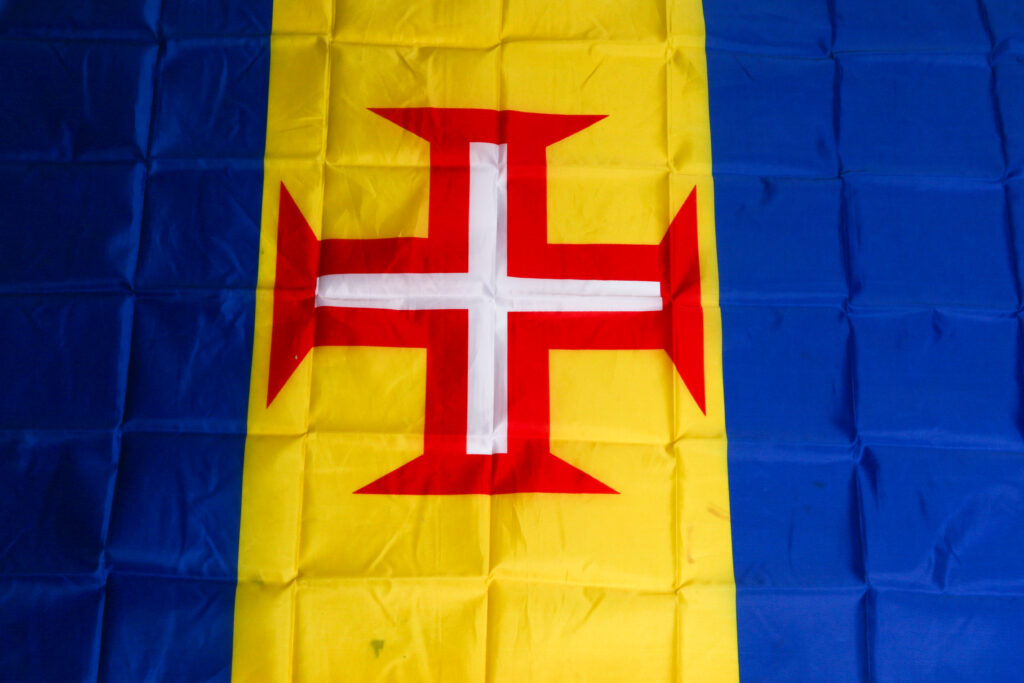
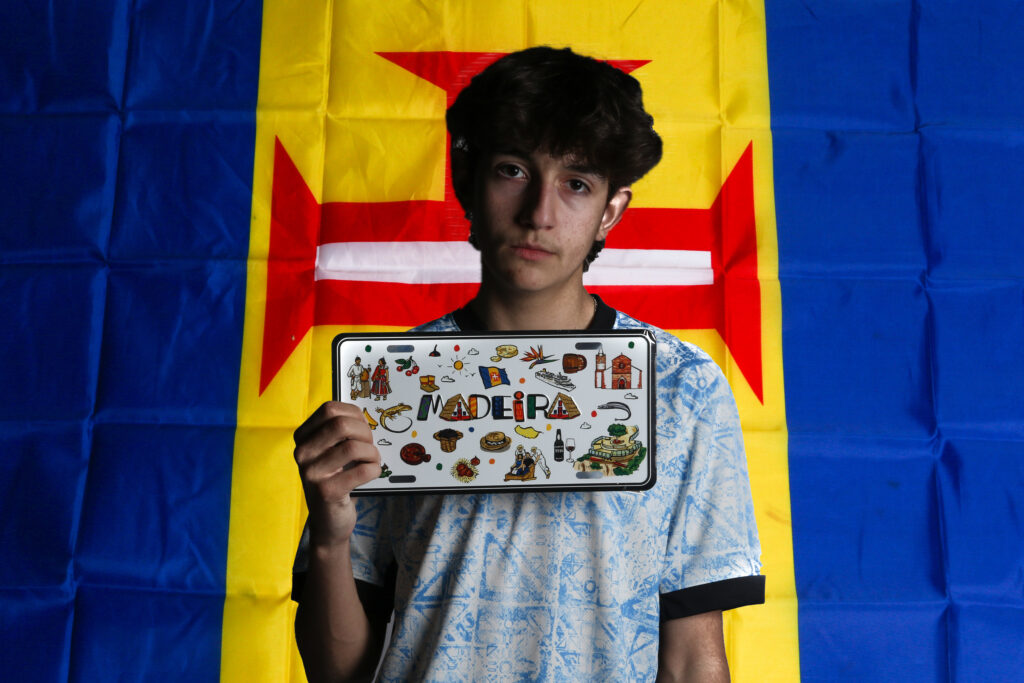
I put these two images into photoshop removed the background of the studio portrait using the quick selection tool and Layer via copy. Once the background was removed on the self portrait, I then dragged the madeira flag onto the same page but placed behind the subject. I chose to use the madeira flag in this edit because it worked well with the madeira sign I am holding up in the portrait.

Photo 2 – Final Image

Photo 3 – Original Image

Photo 3 – Lightroom Adjustments

Photo 3 – Photoshop Manipulation

Photo 3 – Final Image

Final 3 Images

UNION: Photoshoot #1 – Cultural Fashion – Studio Portraits

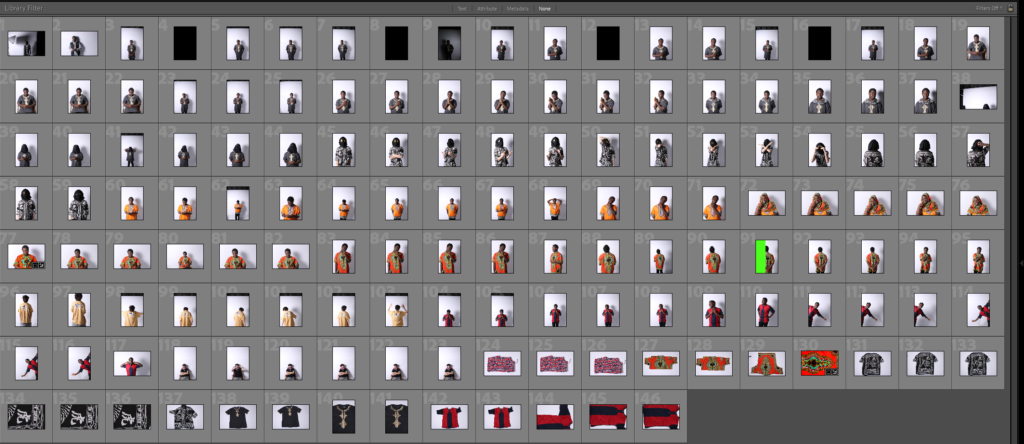
Contact Sheet

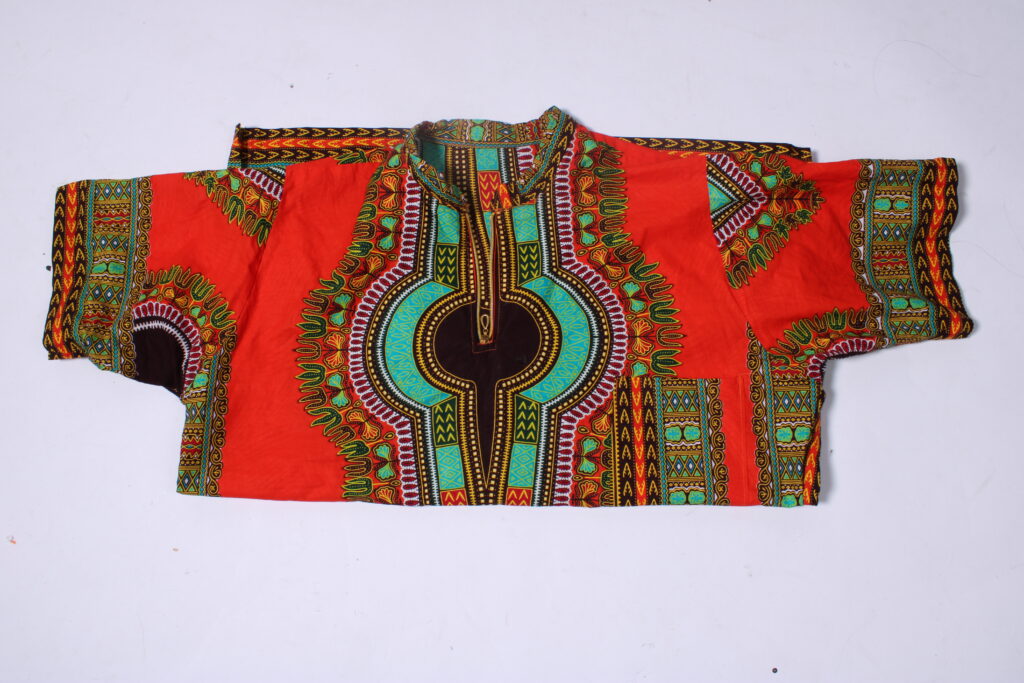
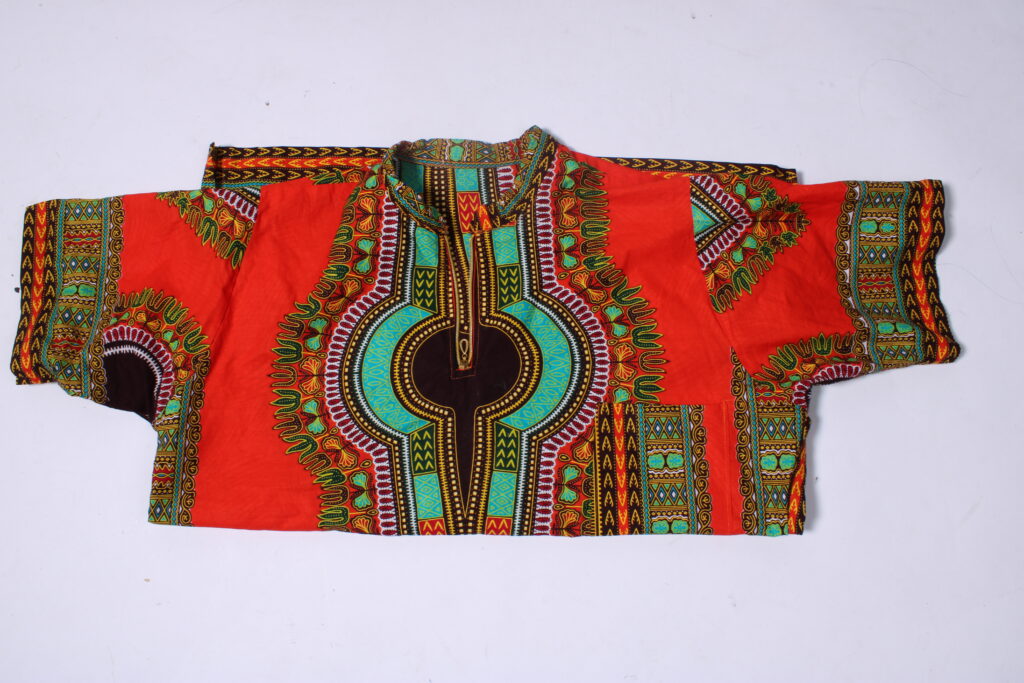
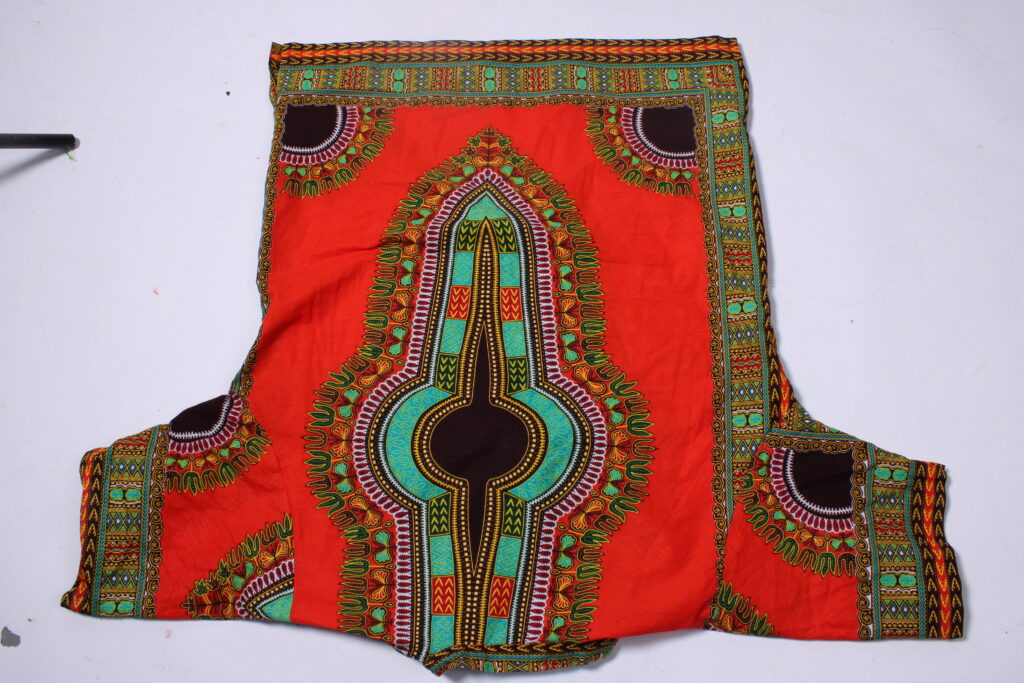
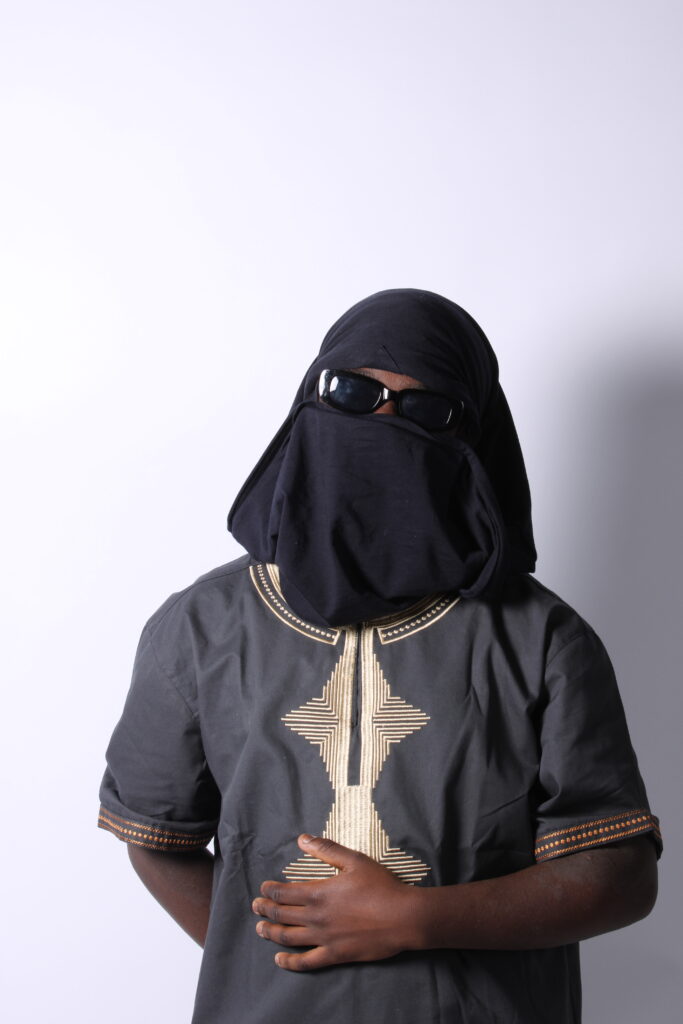
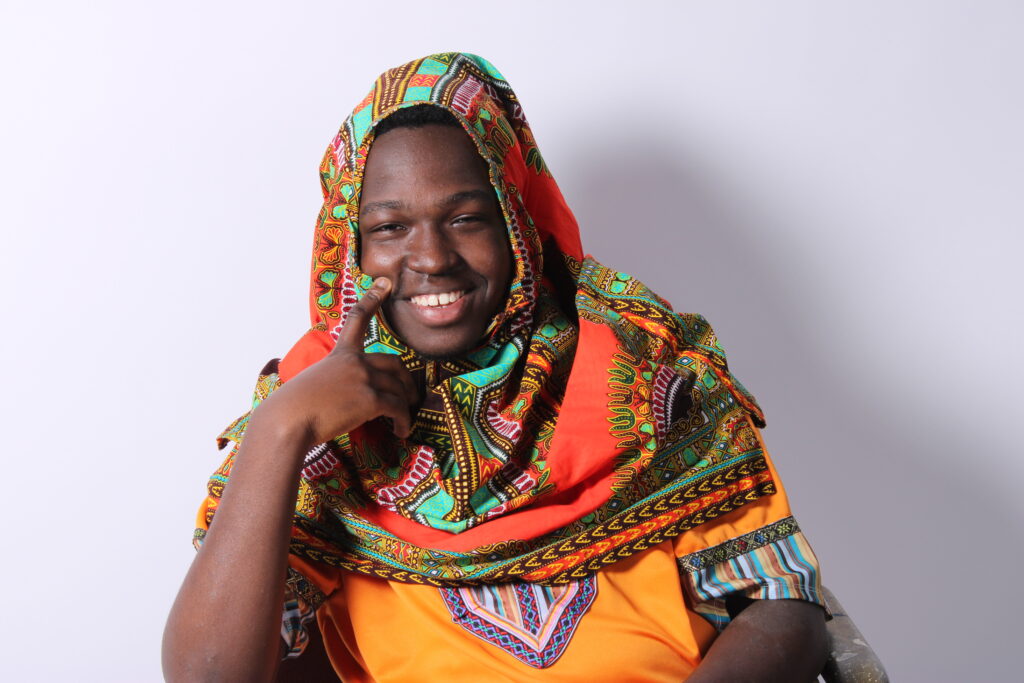
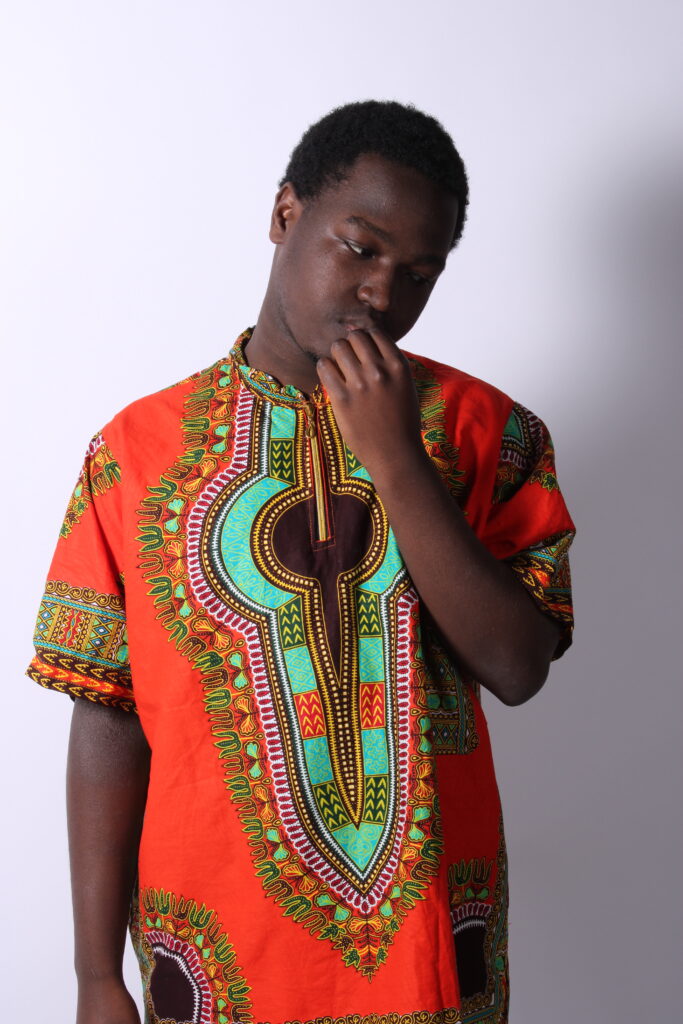
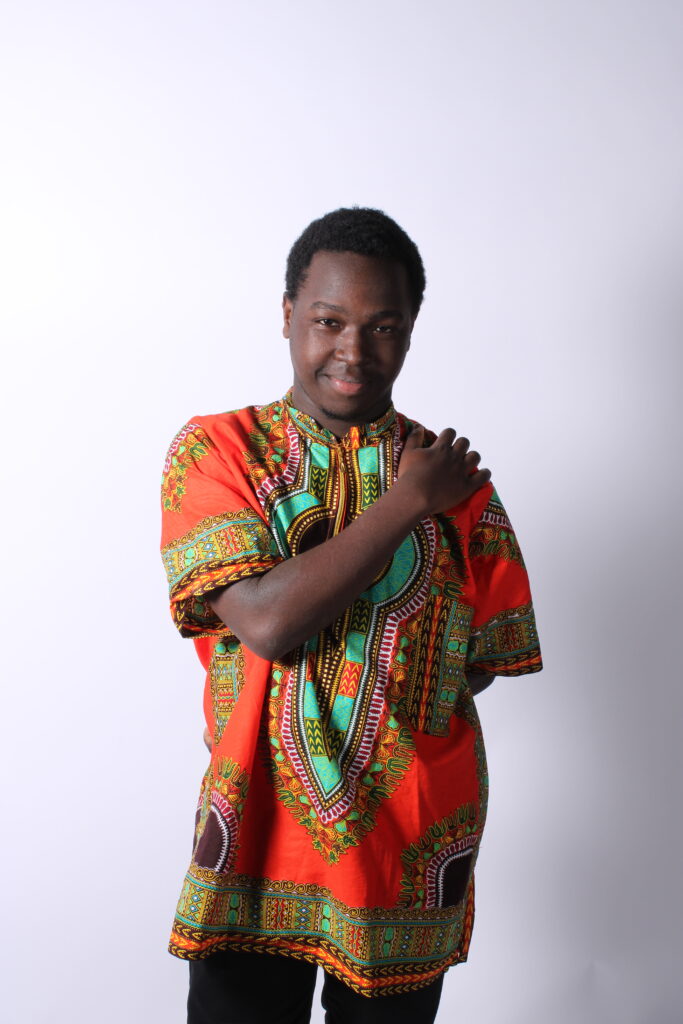
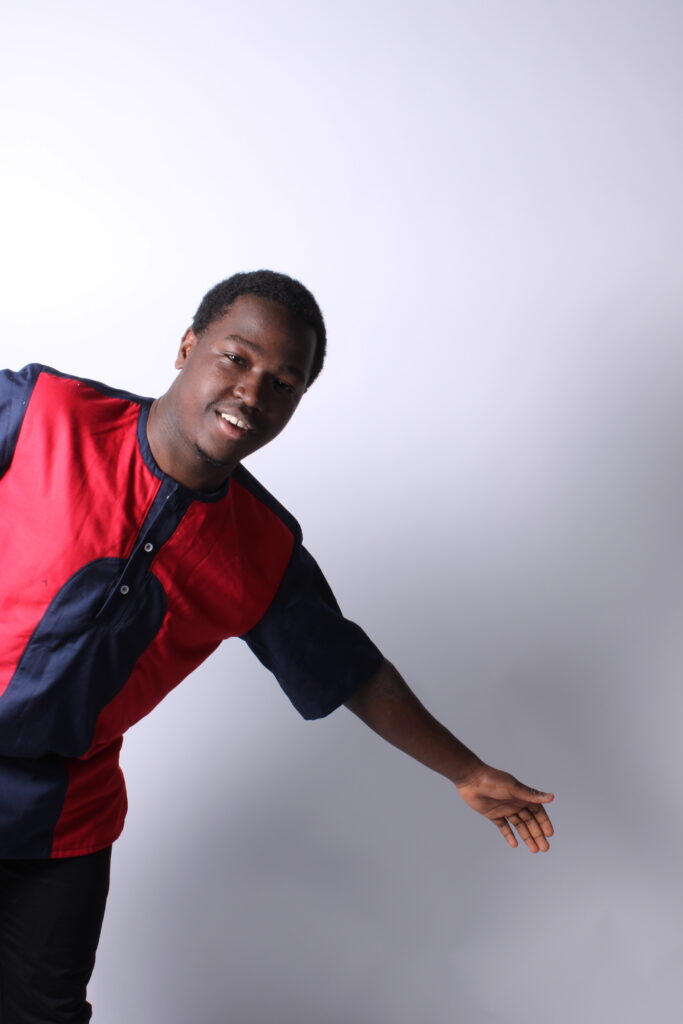
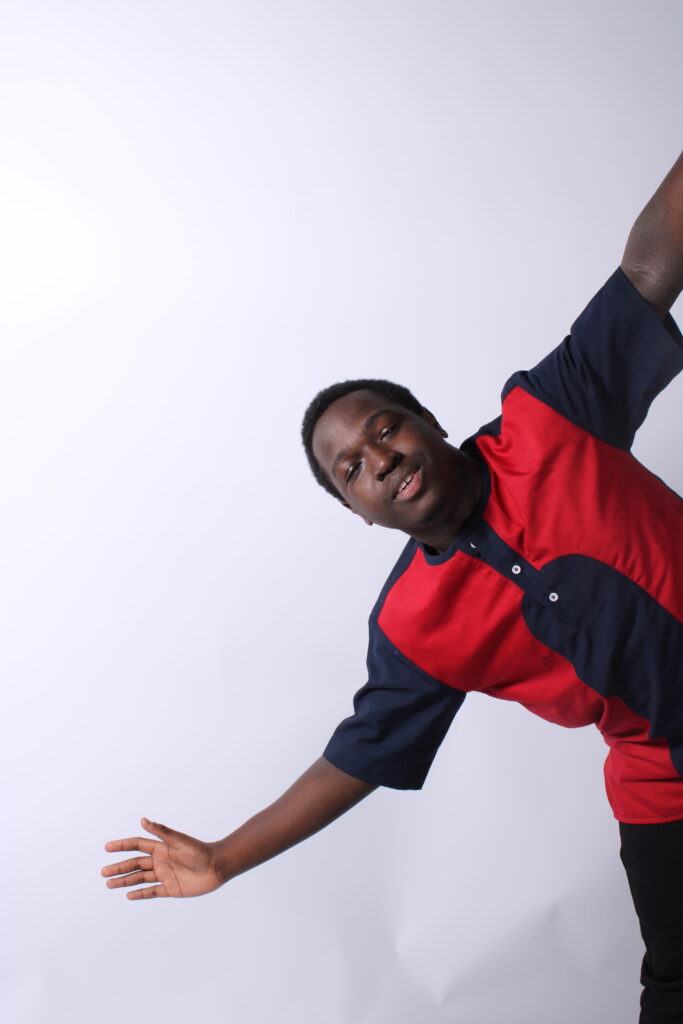
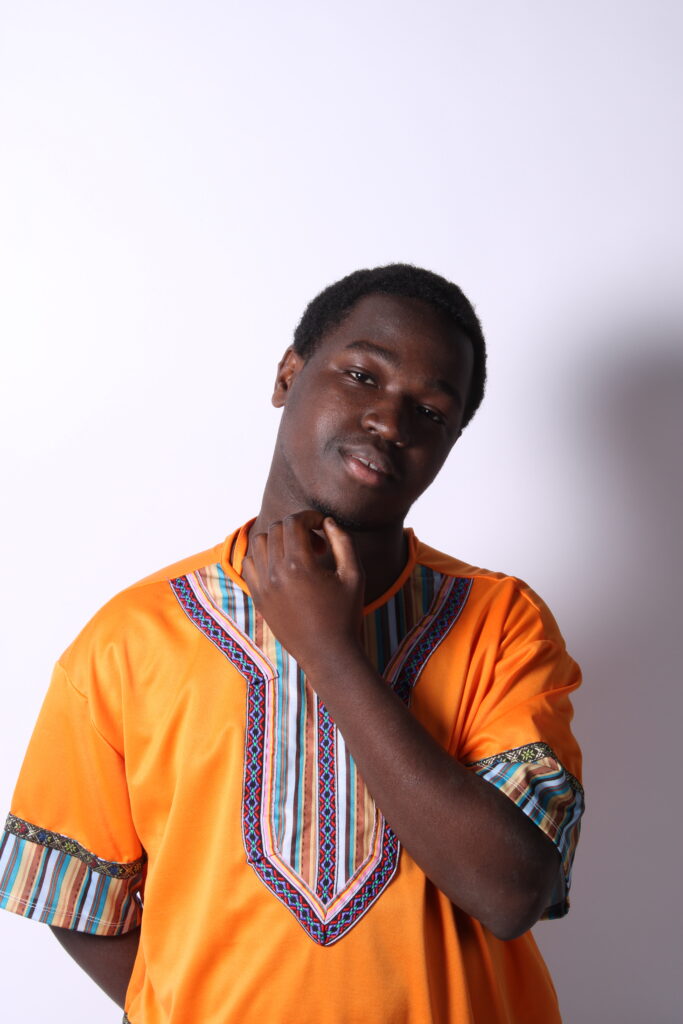
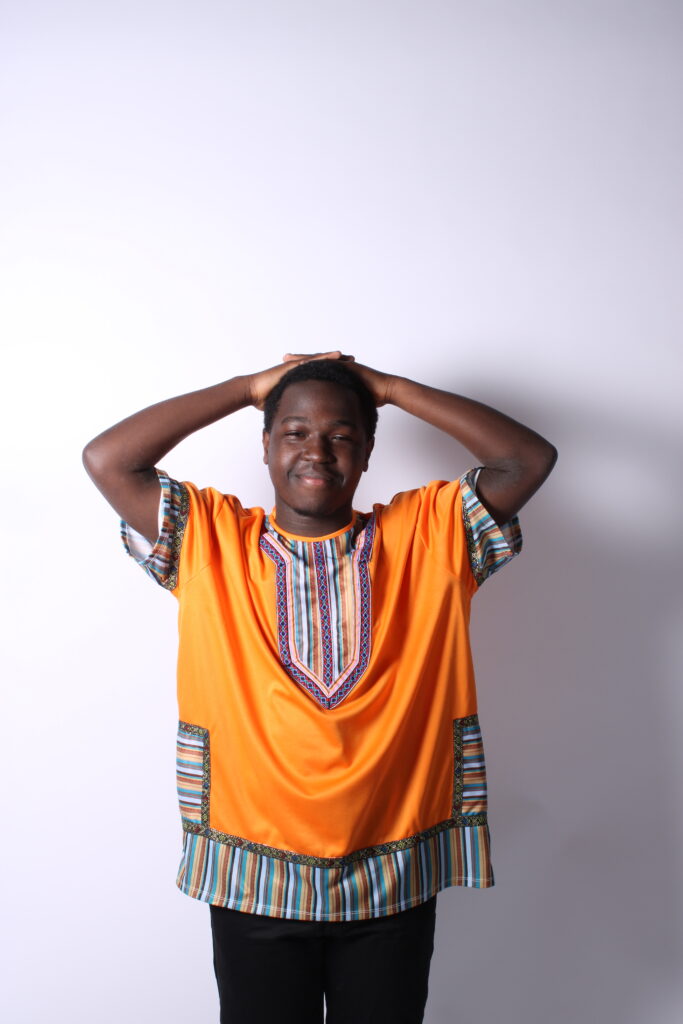
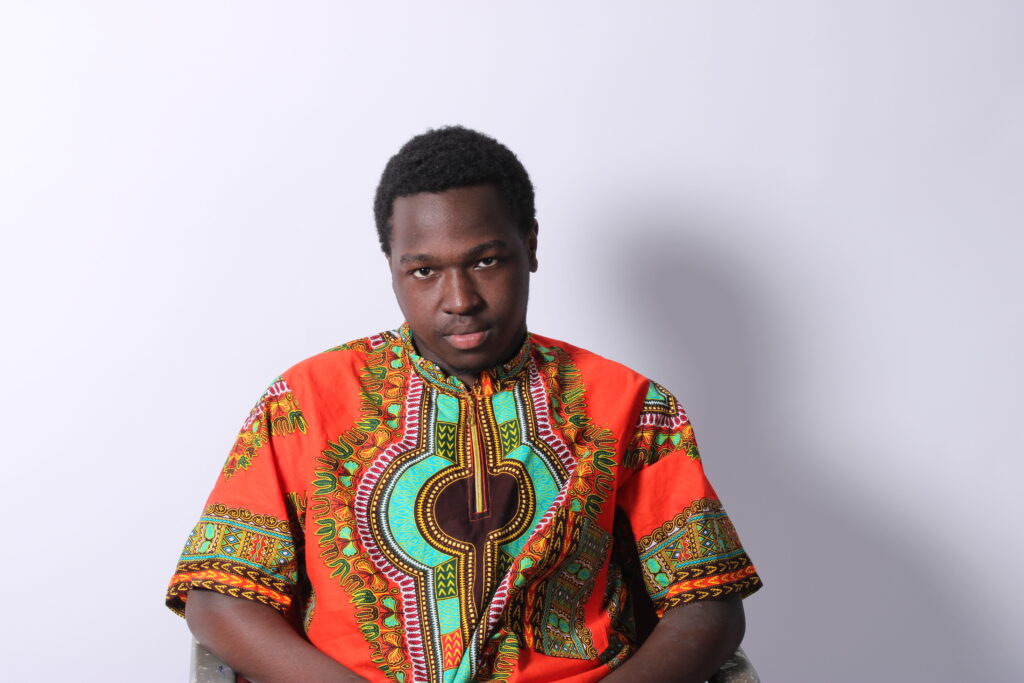
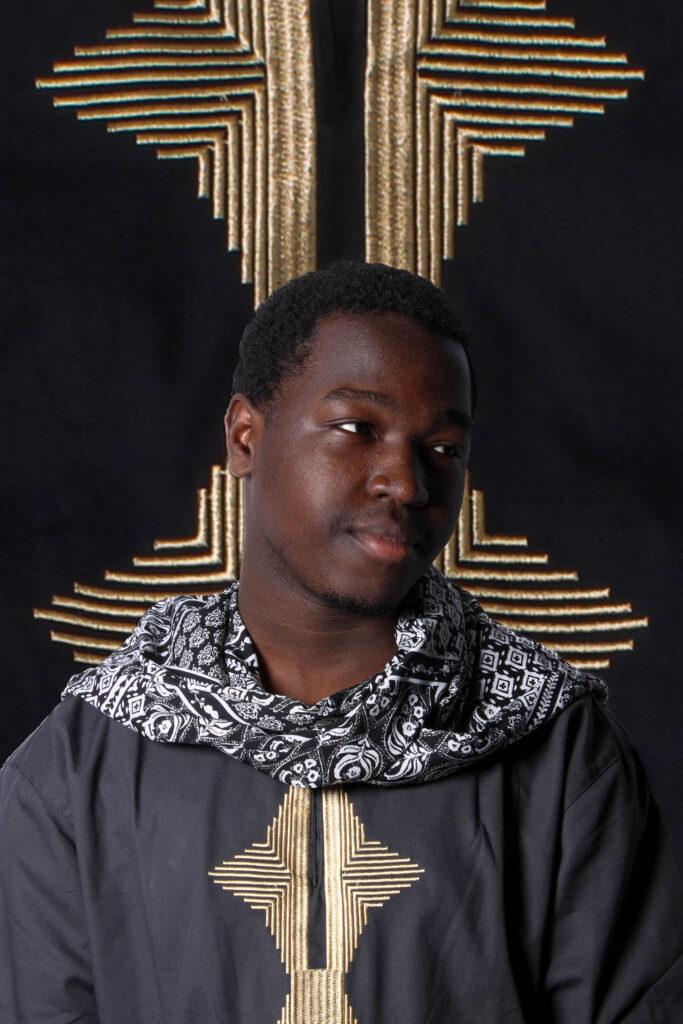
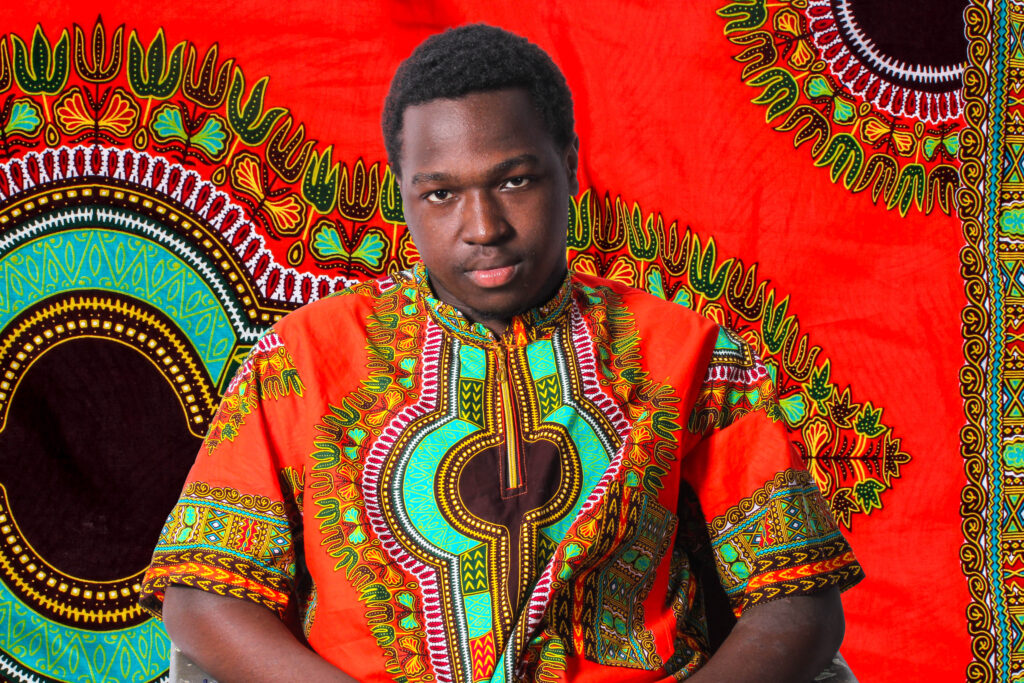
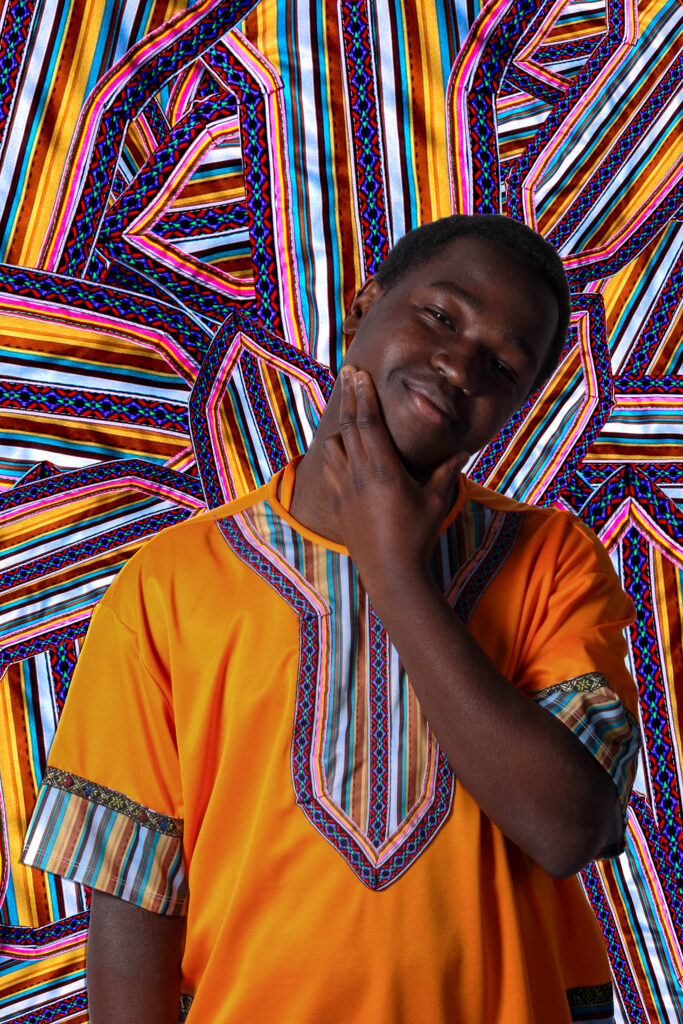
For this photoshoot I did exactly what I had intended on doing, my first photoshoot was planned to be inspired by Omar Victor Diopp and Hassan Hajjaj. To take similar images to these two artists / photographers, I decided to use a model who is from Kenya and I got him to bring some of his own cultural clothing which resonates with him and shows off the Kenyan traditional culture. For this photoshoot I used a studio with artificial lighting and captured 146 images of the model wearing different pieces of clothing.

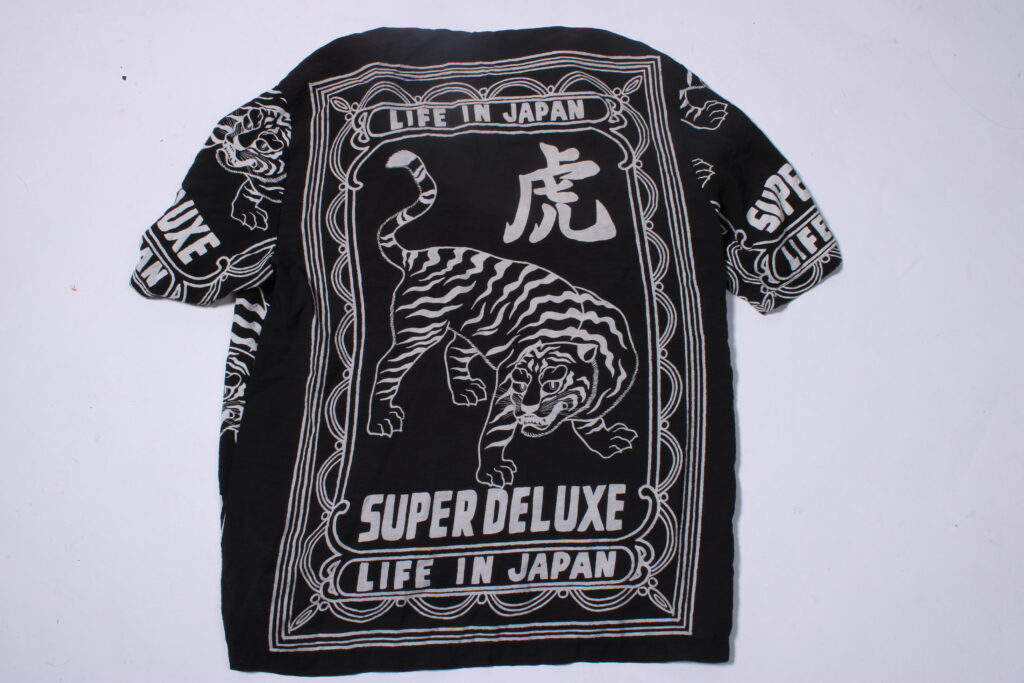
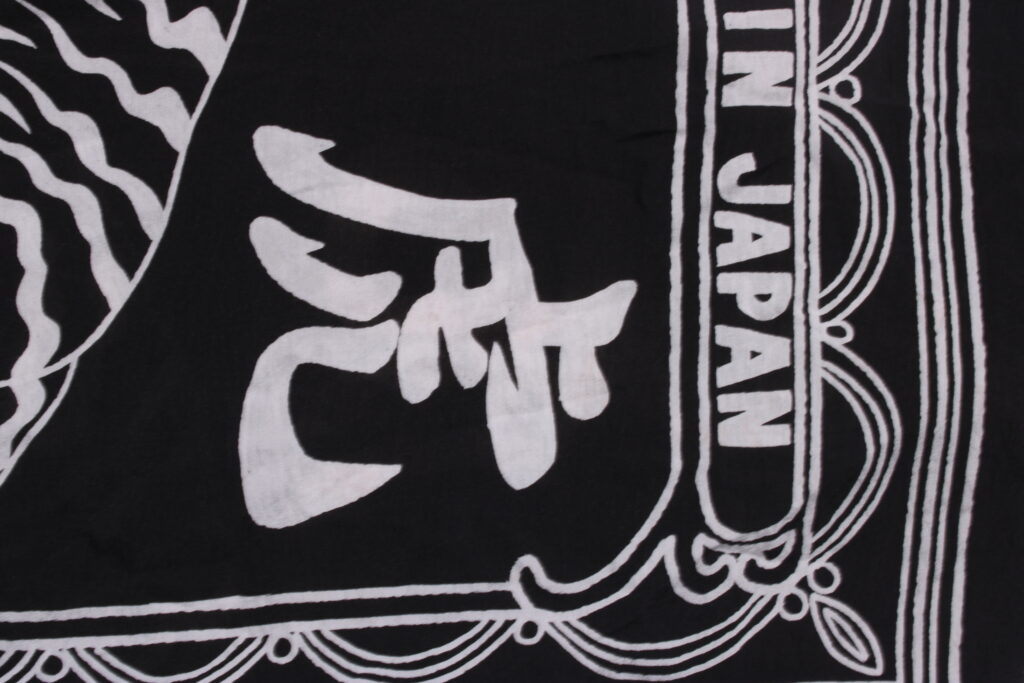
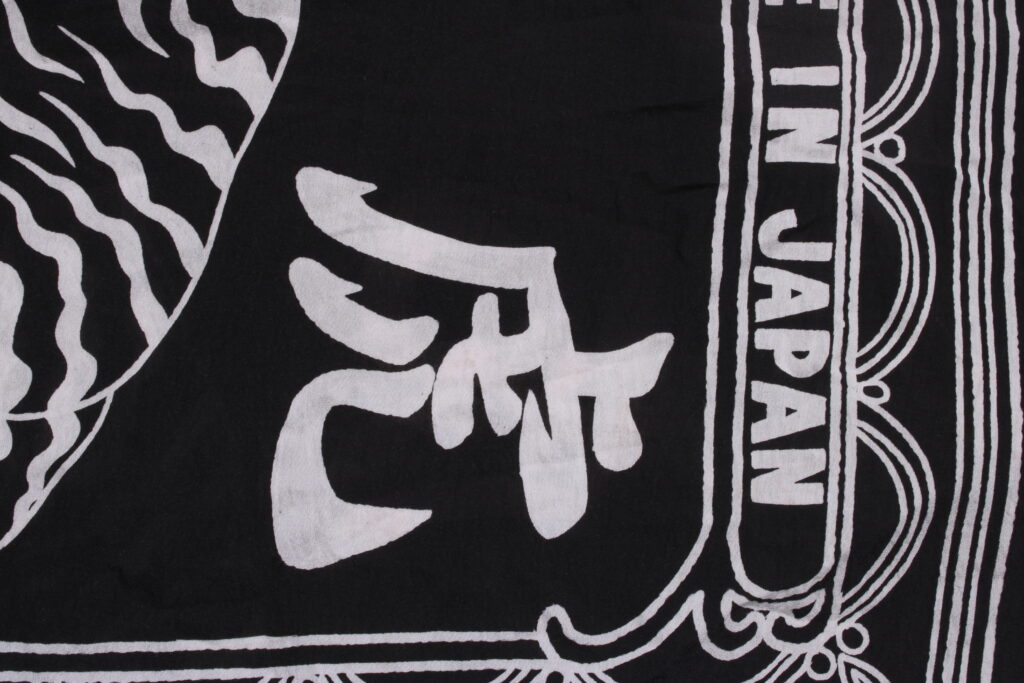
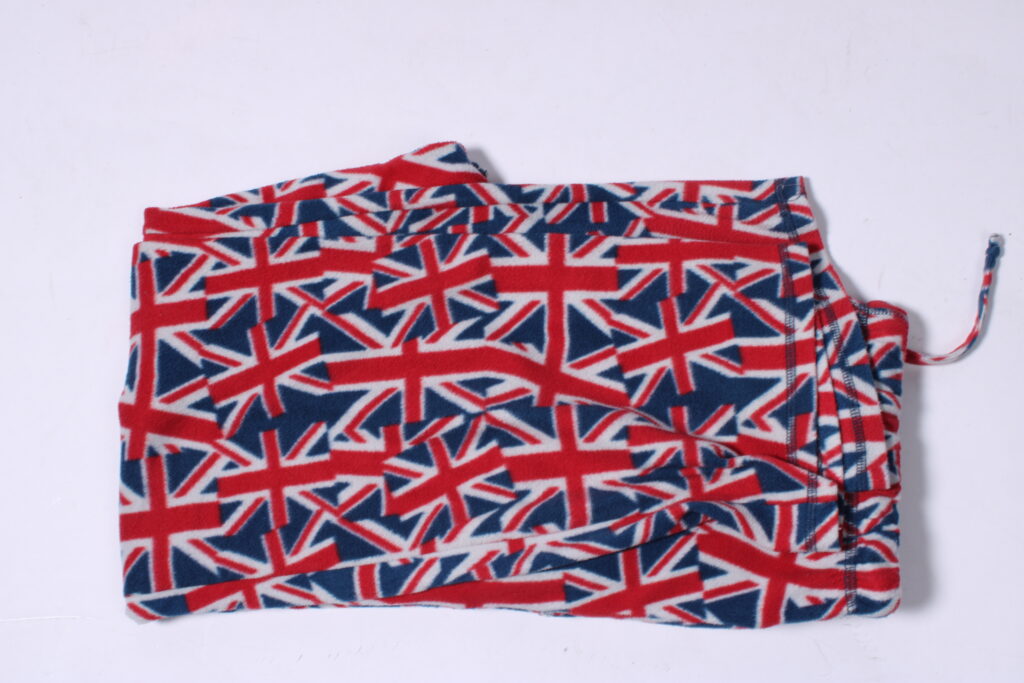
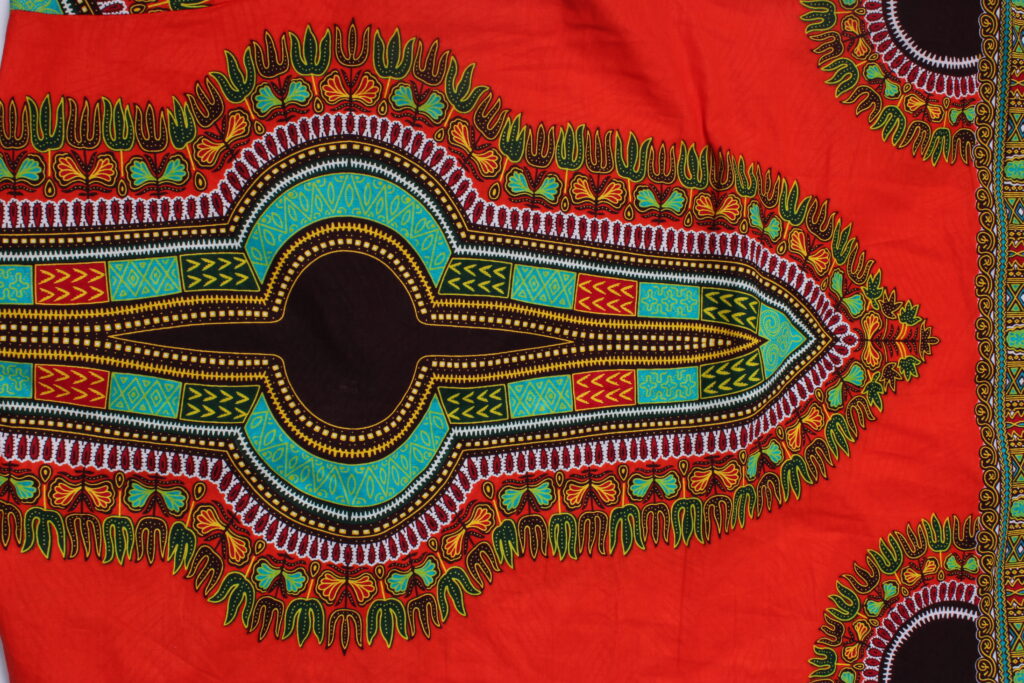
Clothing / Patterns used

Original Studio Portraits

Photo Selection Process

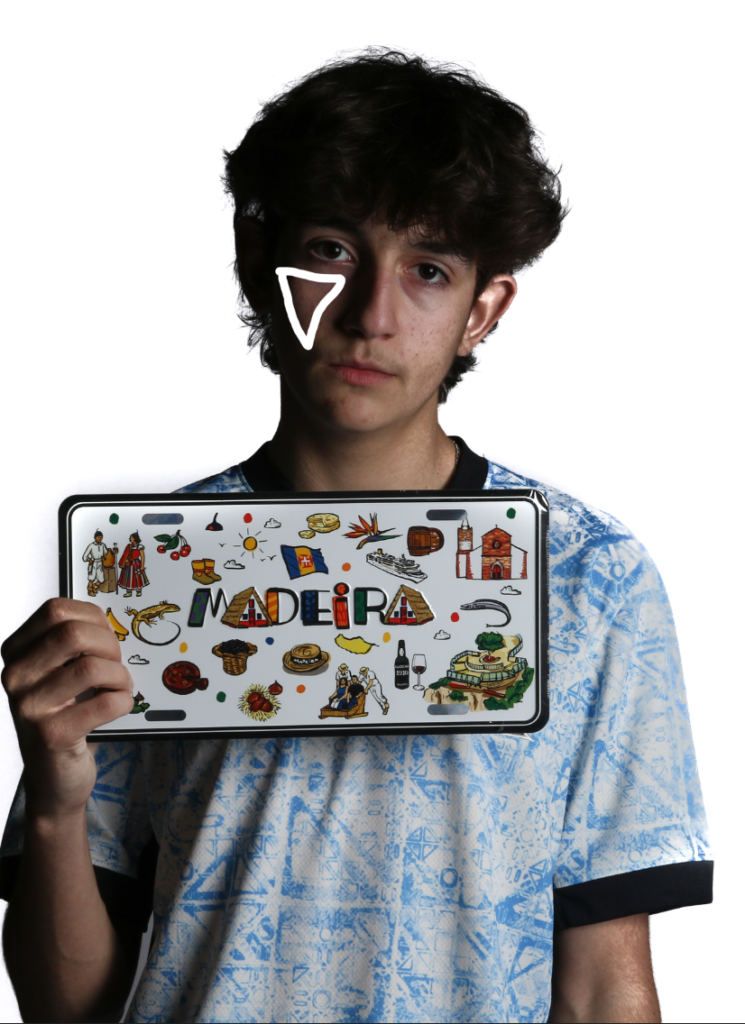
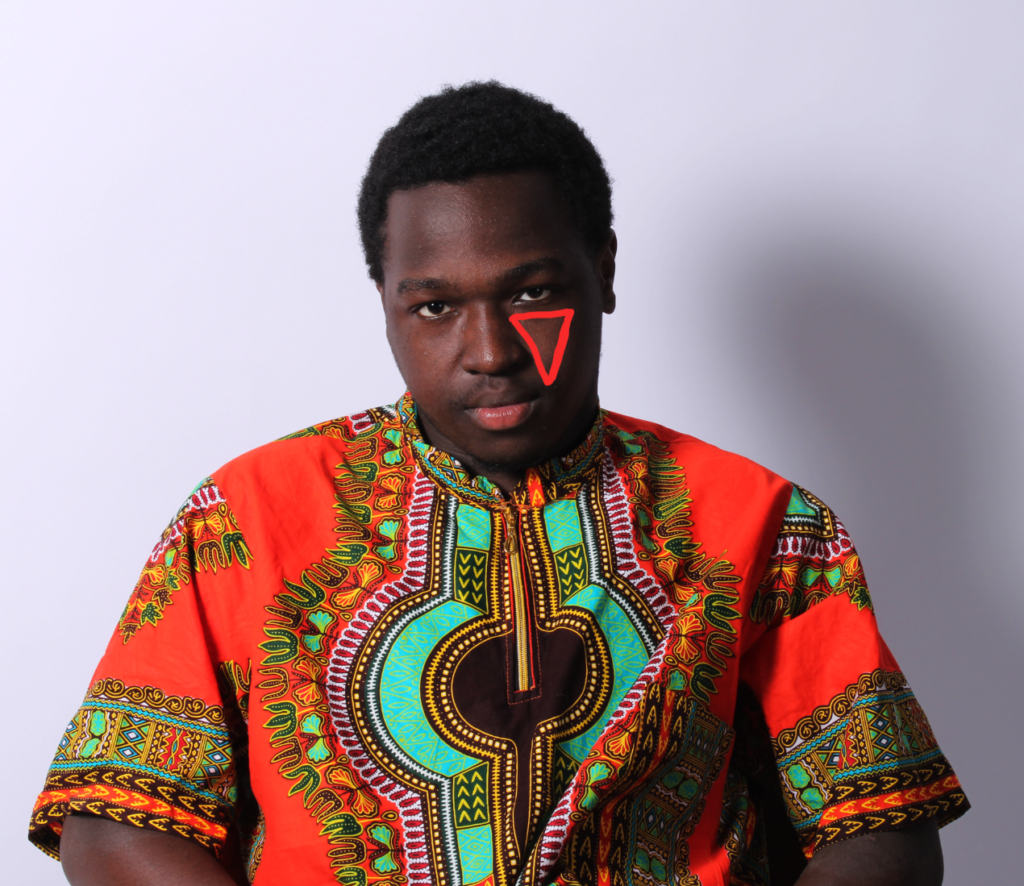
Photo #1 – Raw Form – Rembrandt Lighting

The technique used for this studio portrait specifically is soft Rembrandt Lighting, this is seen by the triangular shape created on his face, below his eye as highlighted in the image above. To achieve this look I had the main studio light placed in front of the model on the left hand side pointing towards him and a reflector on the right hand side of him, with the camera placed centrally.

Experimentation & Development

Photo #1 Experimentation

Photo #2 Experimentation

Photo #3 Experimentation

Photo #4 Experimentation

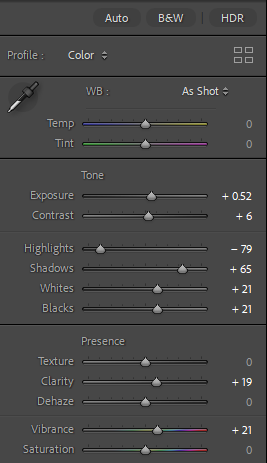
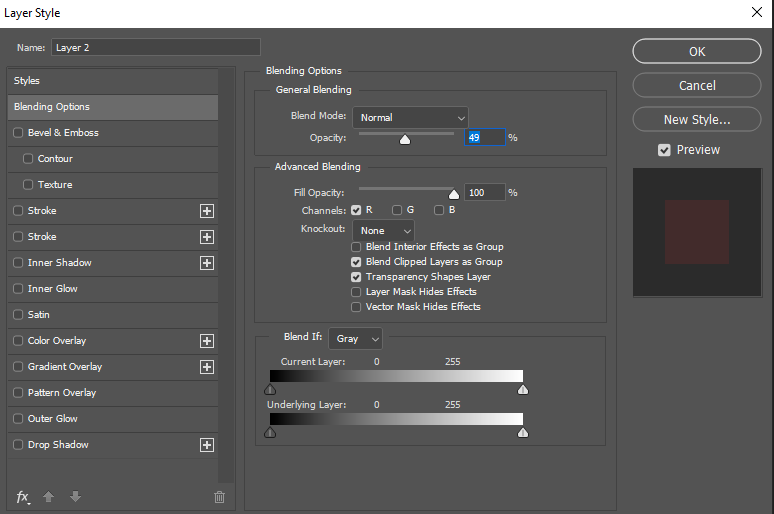
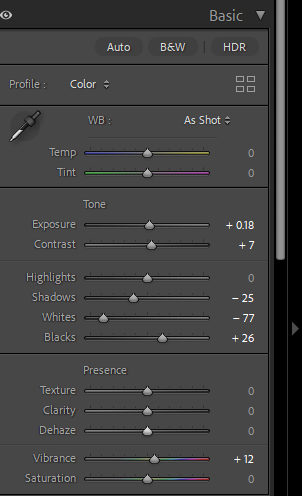
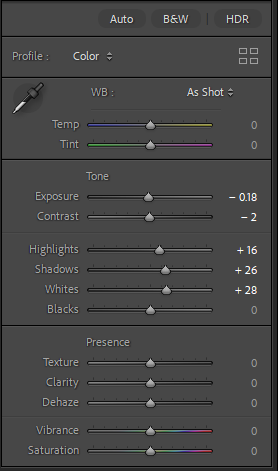
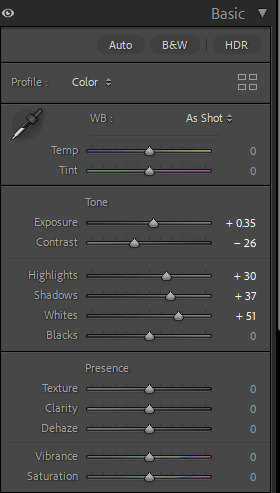
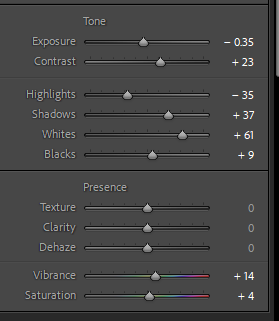
Initially, I did all the basic editing in Lightroom Classic. The screenshot below shows roughly what most adjustments were made to most images, I used these settings as a preset as I thought it was working the best and then I would alter it slightly for different photos if I did not think it worked too well. I increased the vibrancy and the saturation for most of them to highlight the clothing and make it stand out.

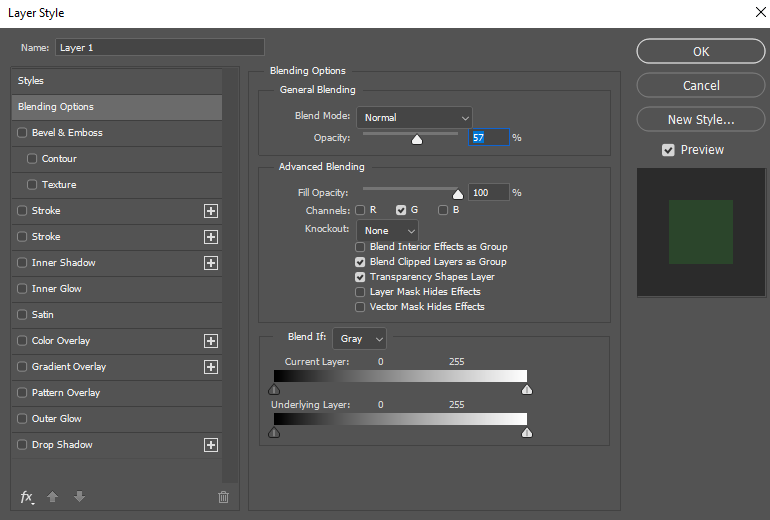
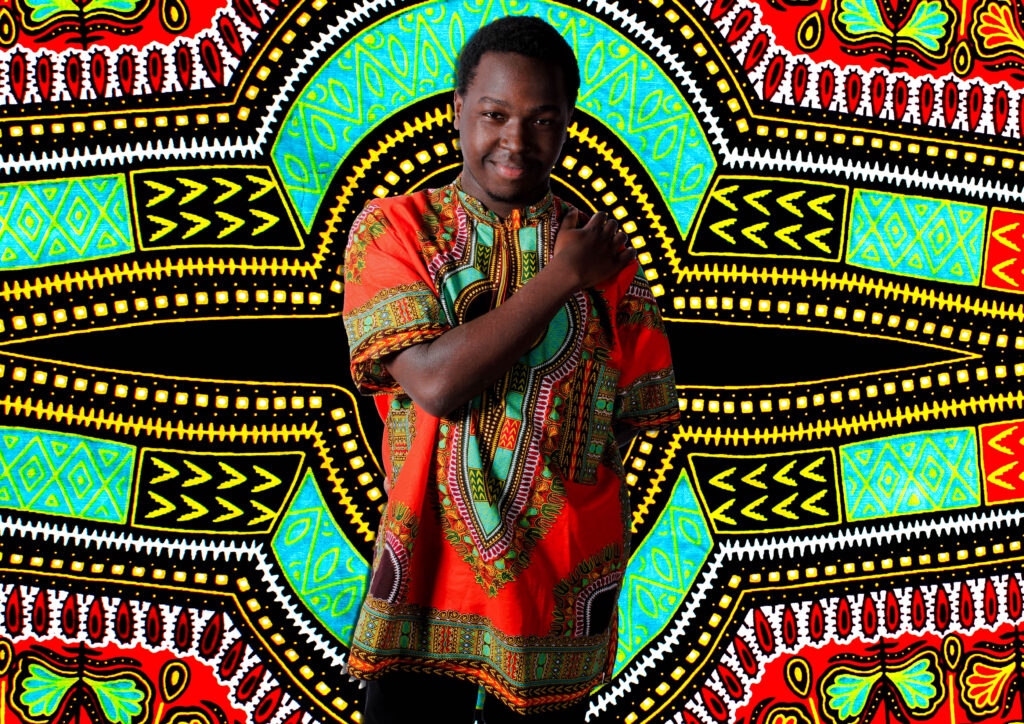
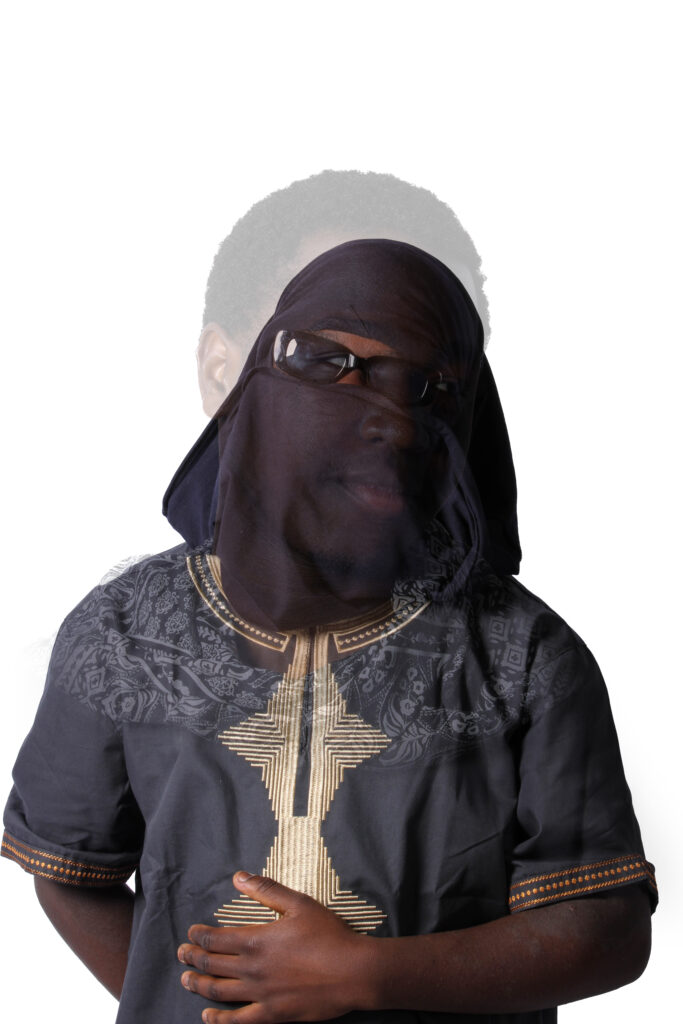
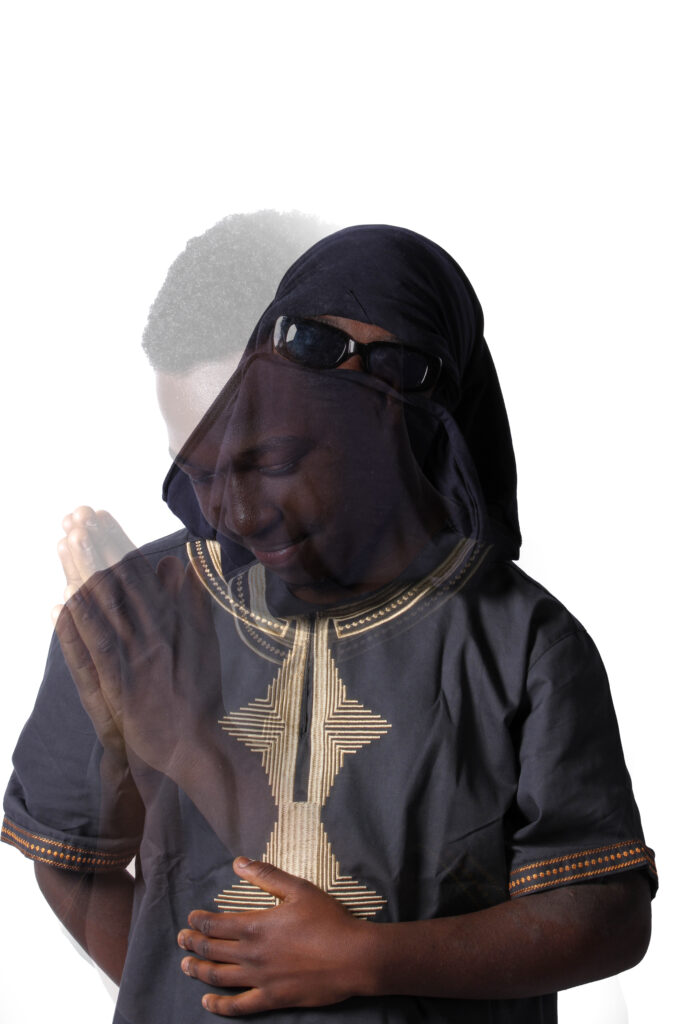
For these 5 experimentations, I used the clothing photos which is shown at the beginning of this blog post and I selected key areas of the clothing using the quick selection tool, once I had selected the key patterns or parts I wanted from the clothing and did layer via copy. After I had the pattern as a separate layer, I then put the selected studio portrait which had its background removed and the pattern into the same document in photoshop. Using the layers tab I put the pattern in the background and the model in the foreground resizing both layers to make it look perfect. Finally, to finish off the process I did some slight changes and added drop shadows and effects to ensure that the foreground blends well with the background.

This experimentation was quite complex and required me to have some photoshop knowledge however, in my opinion these final outcomes came out great and they link perfectly to my artist inspiration (Omar Victor Diopp and Hassan Hajjaj.)

Photo #5 Experimentation – Double Exposure

Photo #6 Experimentation – Double Exposure

Photograph #7 Experimentation – Hassan Hajjaj Inspired

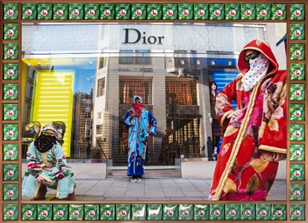
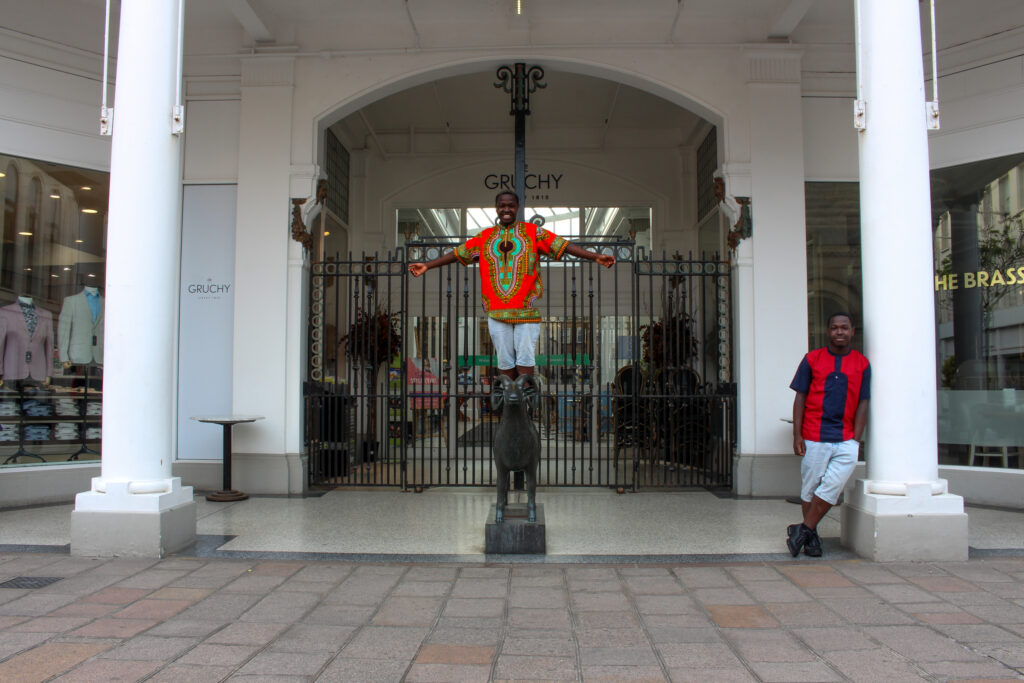
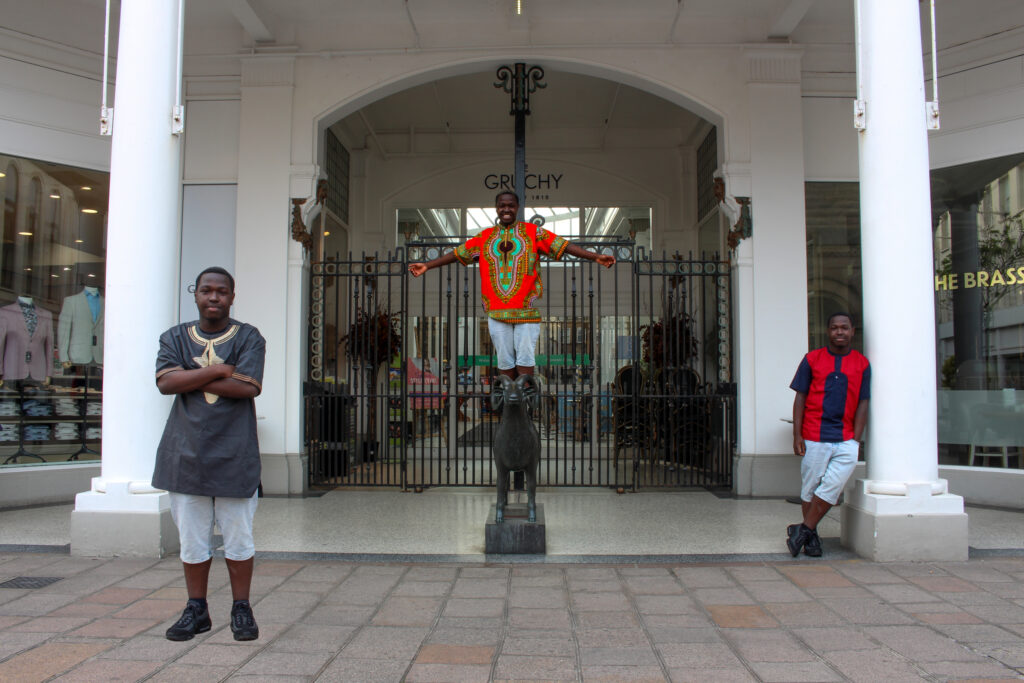
For this experimentation, I tried to recreate a famous image which Hassan Hajjaj captures, the photo taken by Hassan Hajjaj consists of models in a mix of traditional clothing and modern clothing outside Dior, a high demand designer brand. To recreate the image I had to take 3 different photos with a tripod in the same place but the model moving spots in the frame, as well as changing shirts for each one. I told the model to keep his shorts on as Jorts are a modern trend which is extremely popular in current time. I did this to replicate the mix of traditional clothing with modern / popular culture just like Hassan Hajjaj. The editing process was simple, just like the other images I had to select the model and layer via copy him and then just drag each layer onto the same document, then doing slight adjustments to ensure the model fits in with the background and any shadows or etc are not clashing with the image.

Final Images – Hassan Hajjaj & Omar Victor Diop Inspired

UNION: Photoshoot #1 Plan

For my first photoshoot I am going to focus on the cultural aspect rather than the street wear. Diving into how traditional clothing can show off identity, unity and heritage, I will do this by bringing various different outfits to a studio and use the professional lighting to capture the model in cultural clothing.

Creating the Photobook

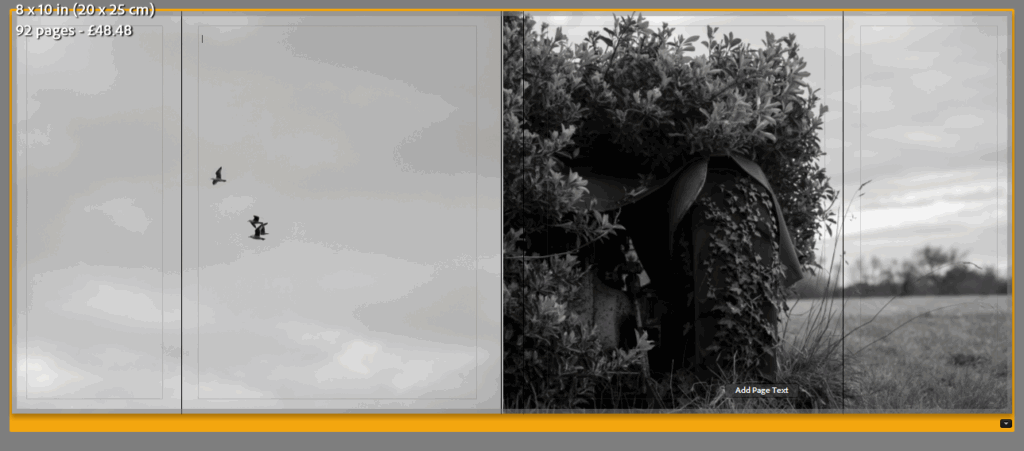
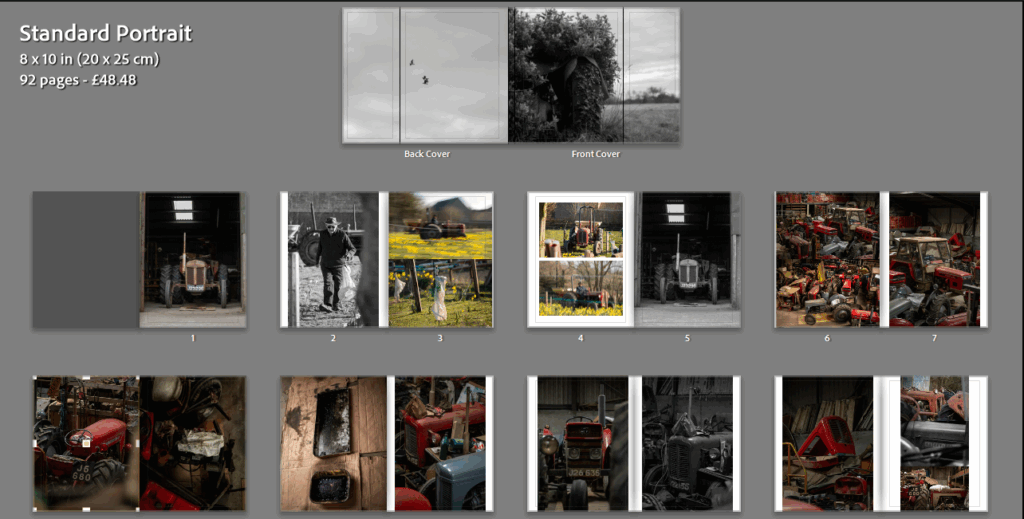
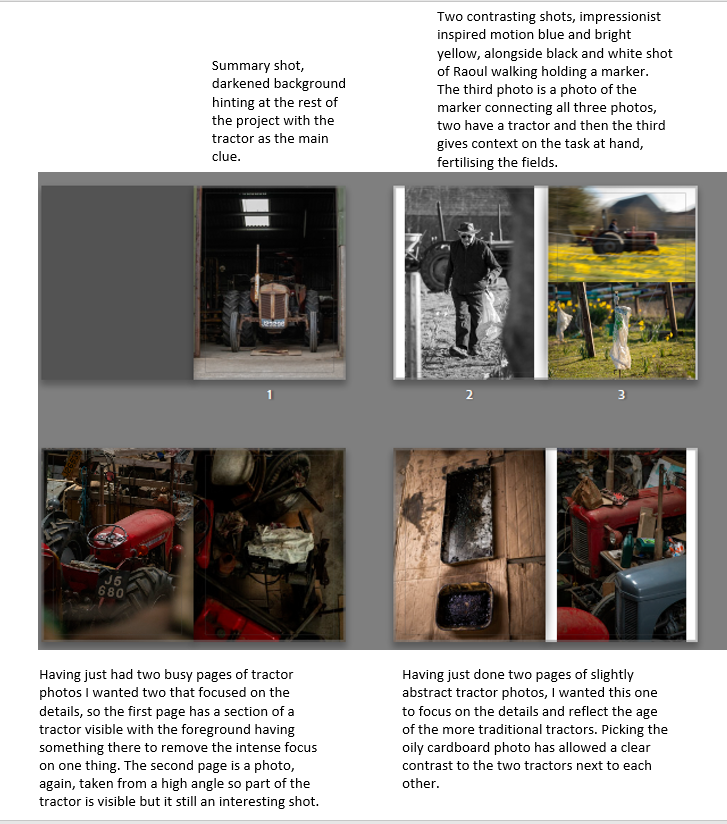
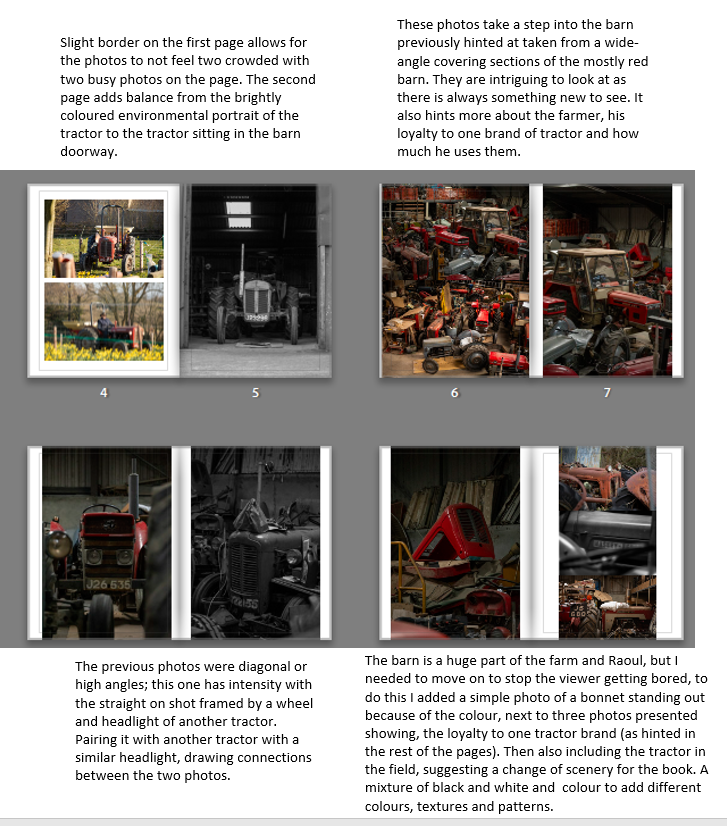
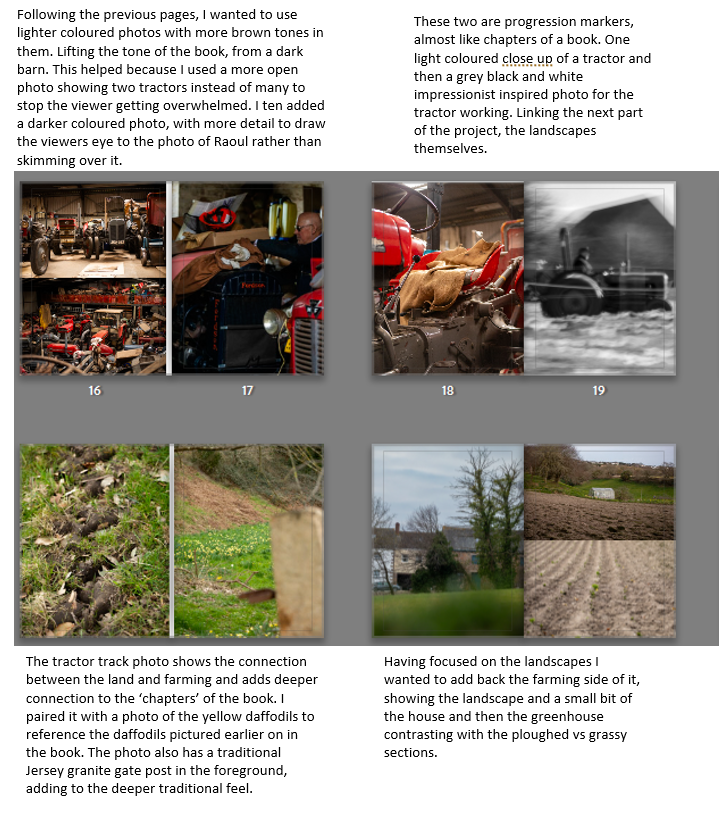
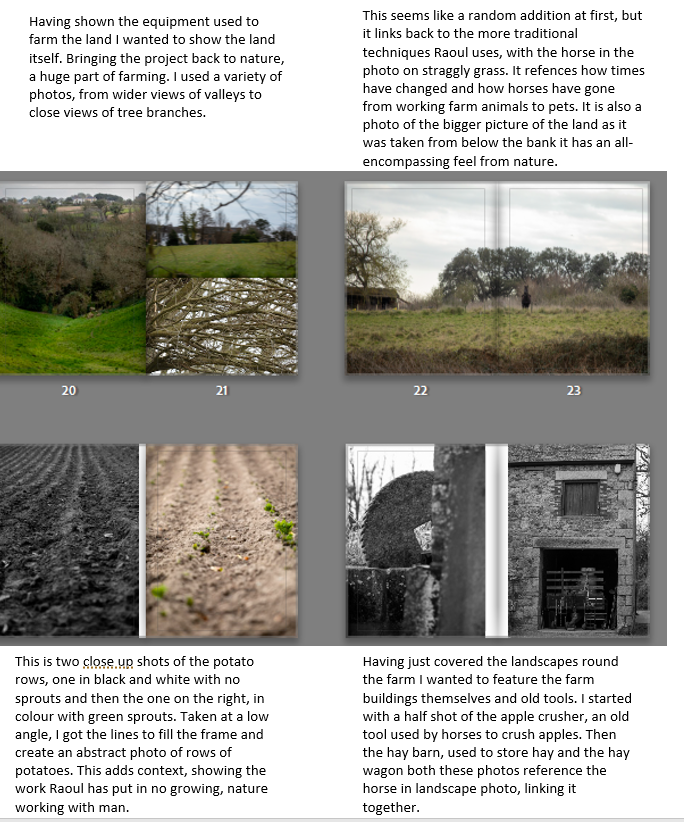
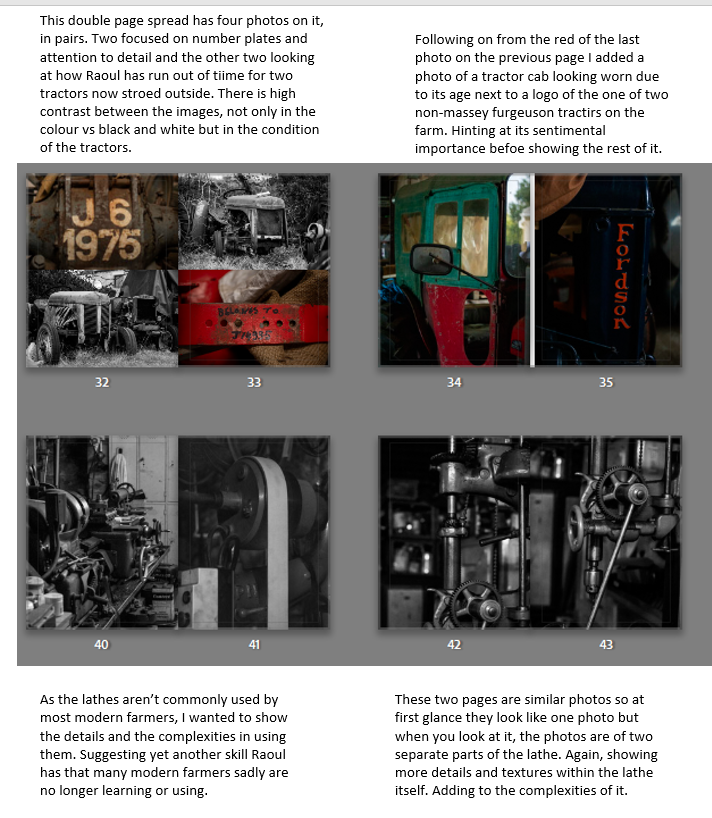
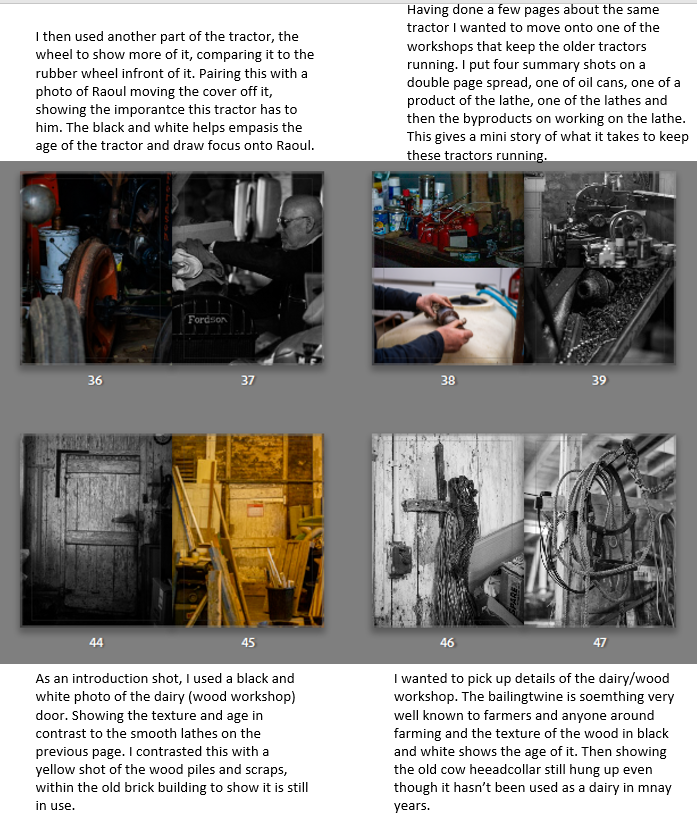
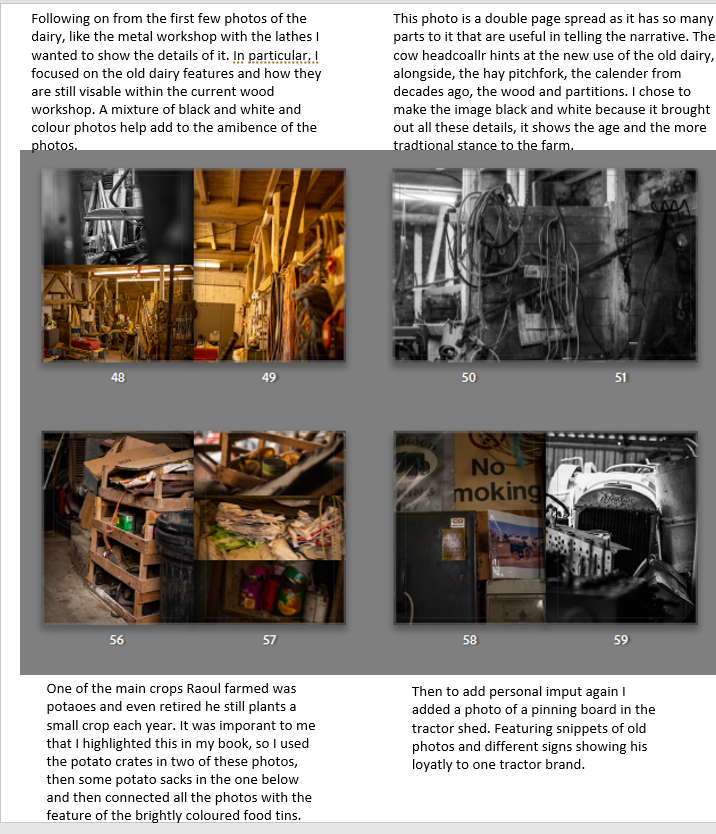
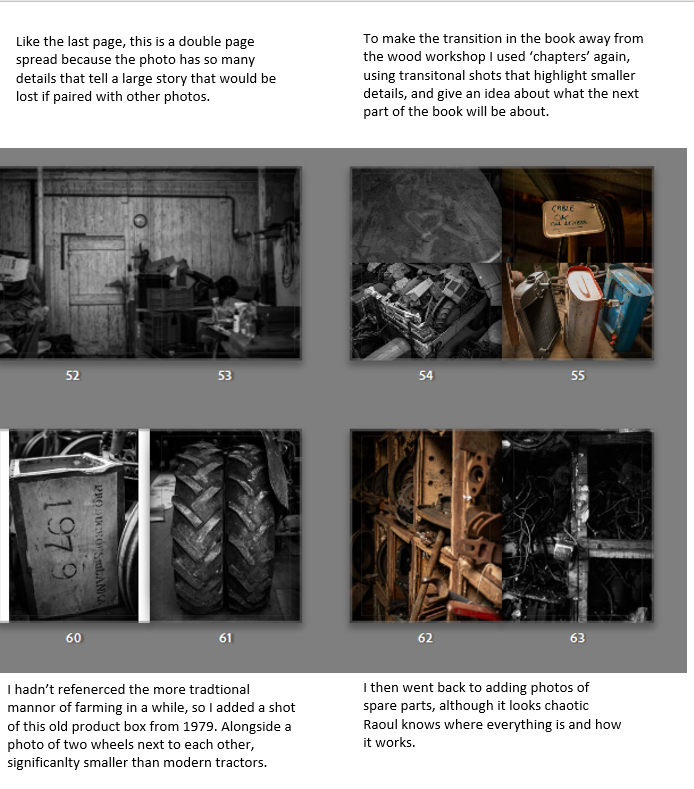
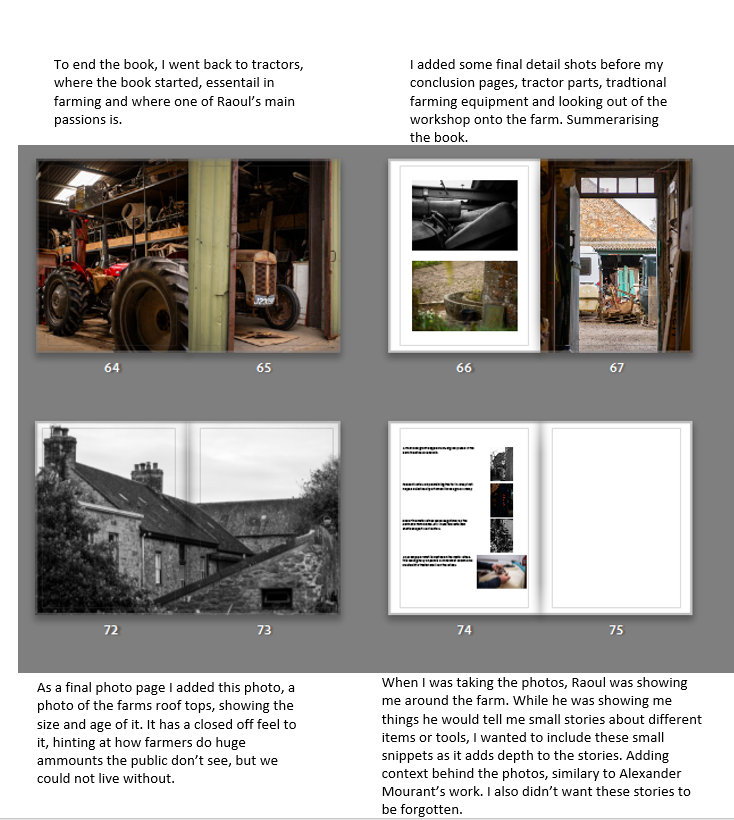
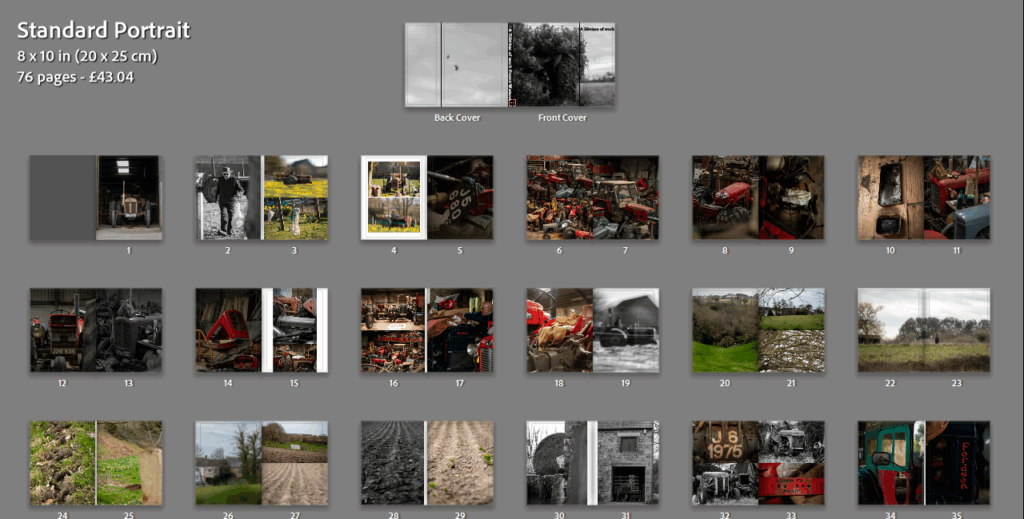
The cover and back cover, I wanted to use black and white photos as I felt it had the traditional, but powerful feel to them I want the book to have. The cover looks like a hedge in a field until you look closer and realise it is a tractor that is over grown with a hedge and over plants. However it still has a cover on as an attempt to protect it as it is loved but just no time to look after it well. This hints at the life of a farmer, trying to look after everything but running out of time so doing his best. I also like that it is clearly an older tractor hinting at the more traditional techniques the farmer uses, that will be featured throughout the book. The back cover is very simple, a black and white photo of birds flying, I like the simplicity. It hints at how at the end of the day farming is just trying to work with nature and explore the freedom it has, to bring new life and get rid of old while still having a direction. I haven’t put a title or author name on the book yet.

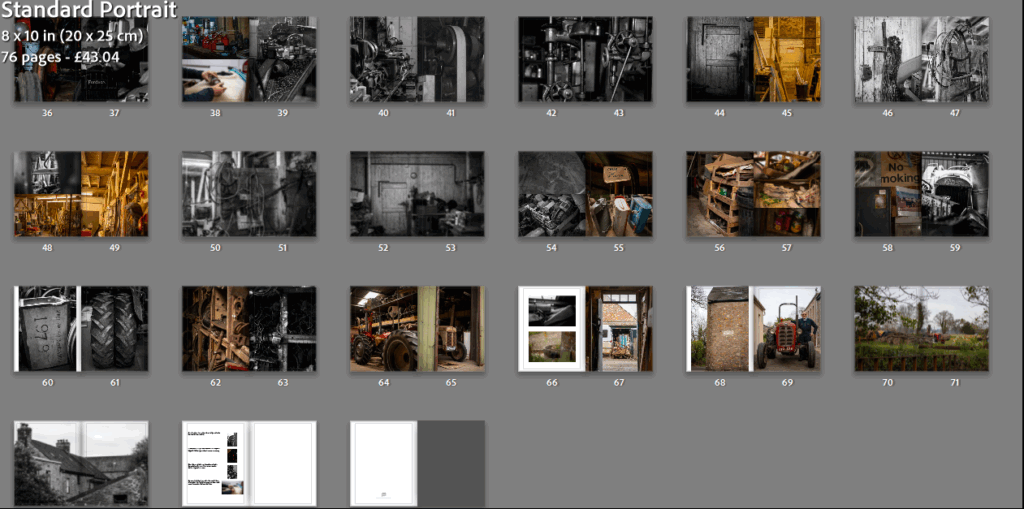
Final Pages

Summary

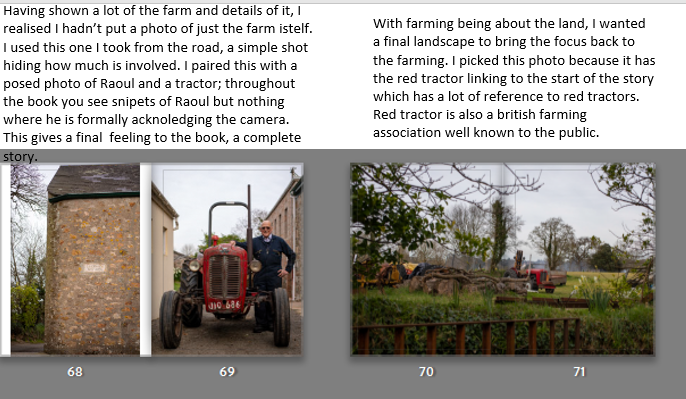
Overall, when creating the book I looked to place corresponding colours together, mini stories, metaphors and additions to the bigger picture. I linked certain things throughout the book, like the colour red and the organised chaos that is this farm. While still keeping to my original theme of farming, especially in a more traditional manor. A true union of the land and man. Many of my pages are full with the photo, some however require white boarders to add breathing room in the book. Stopping it getting too busy and overwhelming the viewer. It is an important story to be telling, the long hours and lifetime of dedication to still have just as much work tomorrow. I hope the book captures this, introducing the viewer into the story through familiar scenes, farming then showing the reality of it, workshops full of tools to get the tractors to run before they can go near a field.
Man Ray

The second artist I am going to be looking at is Man Ray.

Man Ray (Emmanuel Radnitsky) was born on August 27th, 1890 in Philadelphia, Pennsylvania . His parents were Russian Jewish immigrants who moved to America looking to start a better life for themselves and their future family. His father worked as a tailor which meant that Emmanuel grew up around fabrics, patterns and elements of designs this meant that he was surrounded by creativity which sparked his love for design. His family changed their name to “Ray” to allow them to escape the Anti- Semitic prejudice. Emmanuel then changed his first name to “Man” which showed his masculinity through his identity. When Ray was still a child his parents moved to New York where he started to find his love for art in which his parents supported, however they still expected him to pursue a career in something practical which made it hard for him to balance his work ethic and his passion of photography. He went to an art school briefly through his teenage years but then discovered that he preferred to teach himself and experiment in different ways on how to produce artwork. He was inspired by modernist art and this is where he could observe and get ideas for his own work. In 1920, Ray oved to Paris where he was able to pursue his love for art and this is where he became a key figure in surrealist art. In 1940, due to WW2, he moved back to America and lived in Hollywood, but unfortunately he never felt at home there and was able to move back to Paris in the 1950’s where he lived for the rest of his life.
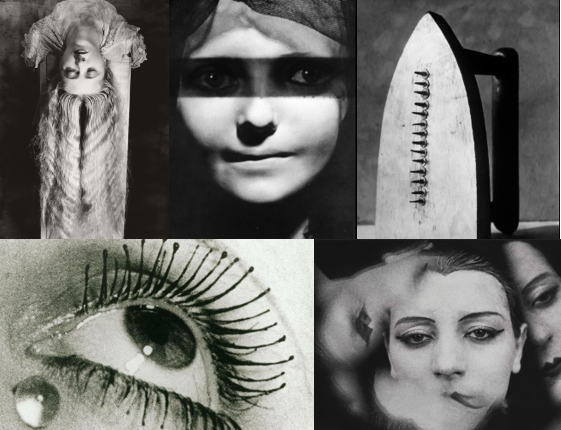
Man Rays artwork relates to the idea of union in many different ways. The first way that his art work relates to union is because he was the first artist to blur the lines of photography, painting and sculpture. He was able to create a dream-like compositions without a camera that were a light of union. Another way he was able to link in union with his work was by merging the idea of bodies and objects creating sensuality and psychological depth. Man Ray was interesting in collaborating with other artists such as Marcel Duchamp, Kiki De Montparnasse and Lee Miller, these partnerships united these artists together to create effective artwork which essentially then created a union through the artists coming together.
Image Analysis

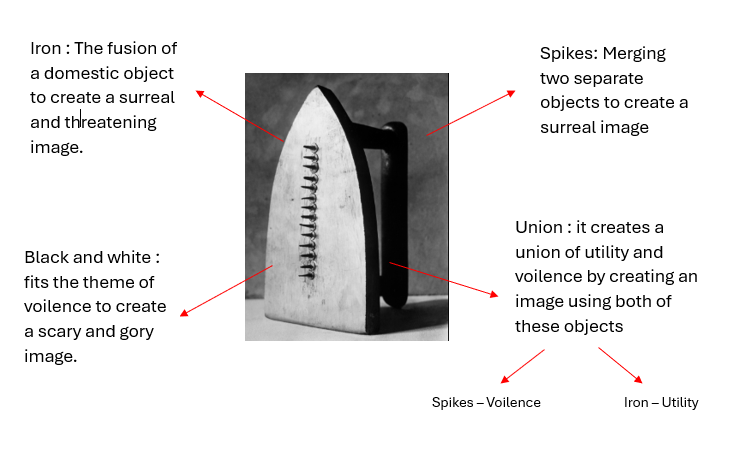
I really like this image produced by Man Ray and it is my favourite. I like this image because it relates to the theme of union by merging two objects together to create one image. He has merged a violent tool (spikes) with a utility tool (iron). However both of these objects could be used violently as the iron is also dangerous. I like the way he has created a threatening image using these objects to portray a sense of surrealism and to make the viewer feel uneasy by the idea of the deadly objects. I also like how he has made this image black and white because it correlates to the gory image and adds to the mysterious sense of scariness.

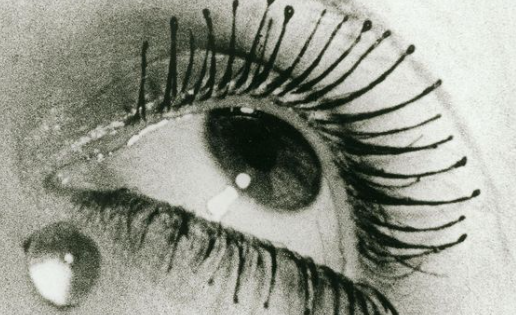
I am inspired by this image taken by Man Ray, this is because I feel as though it relates to the idea of union. Eyes create the idea of union because they come as a pair and it portrays a sense of togetherness. This images only has one eye which creates a sense of loneliness as it has been taken apart from the other half. I like the expression that this eye gives because it shows a sense of sadness which could be from the feelings of loneliness and isolation from everything else. The tear next to the eye adds sufficient meaning to the photograph and a sense of solemnness because of the way it has dropped down from the eye. The image being in black and white could signify the idea of sadness because there are no bright colours or any colour at all. Therefore, this could make the viewer feel sorry for the person in the picture and create a sense of empathy towards the person in the image.
When I am creating my own images, I am going to take pictures of eyes like this. I am inspired by this image because I can relate it to the idea of union and I feel as though it would be a good way to edit the image. I am going to make my images of the eyes black and white to also create a sense of sadness because of the individuality of the eye without its “other half”. I am going to aim to take pictures of lots of different eyes and edit them together to create my own surreal image that portrays the idea of union. I feel as though having an image of one eye has a adverse affect on the meaning of union which I feel will be extremely powerful to create.