Further Experimenting

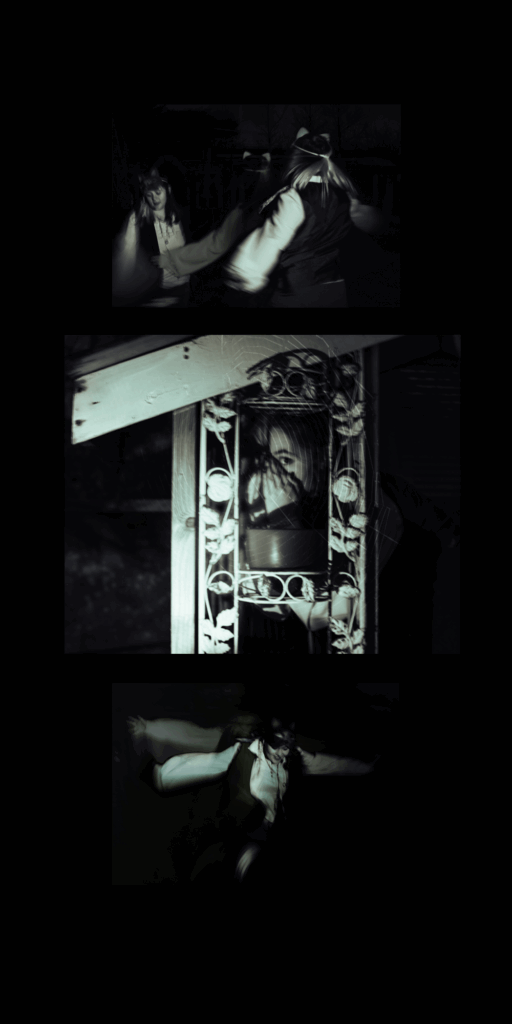
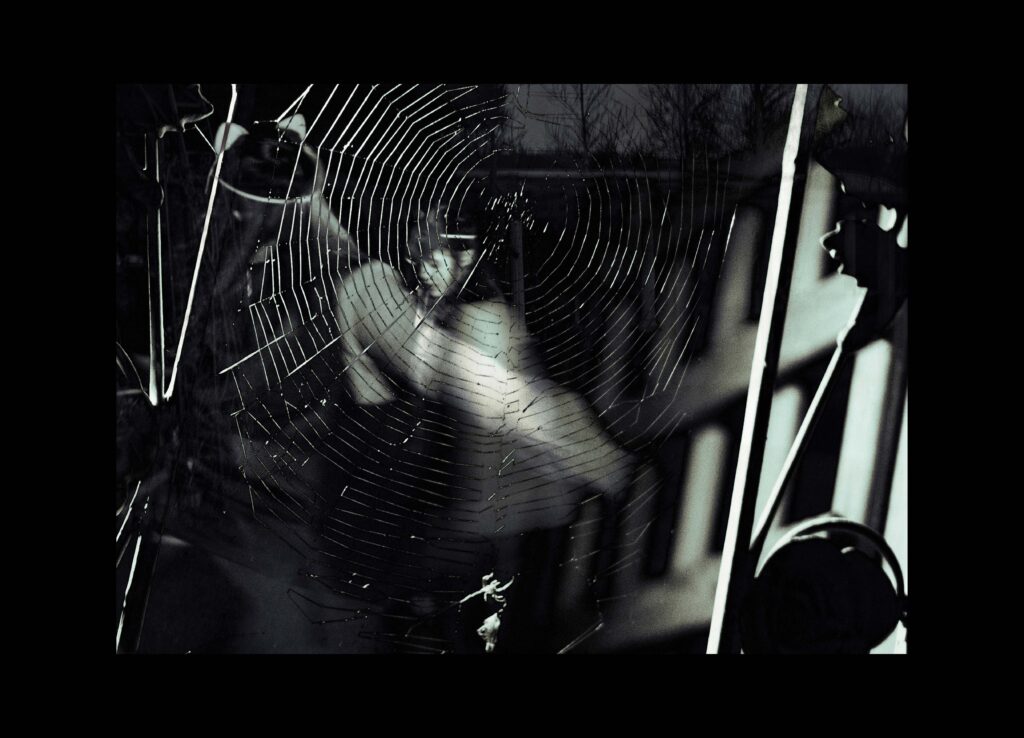
Here I will be experimenting using photoshop to create more ‘surrealist’ work. I will be trying to unite the real and imaginary through photography.

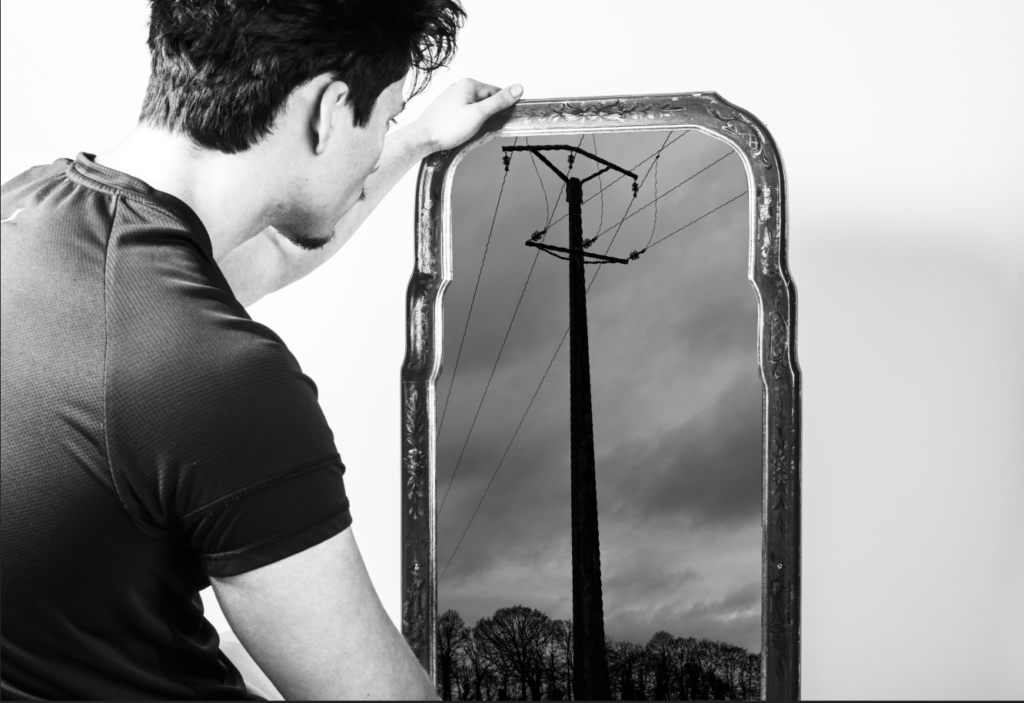
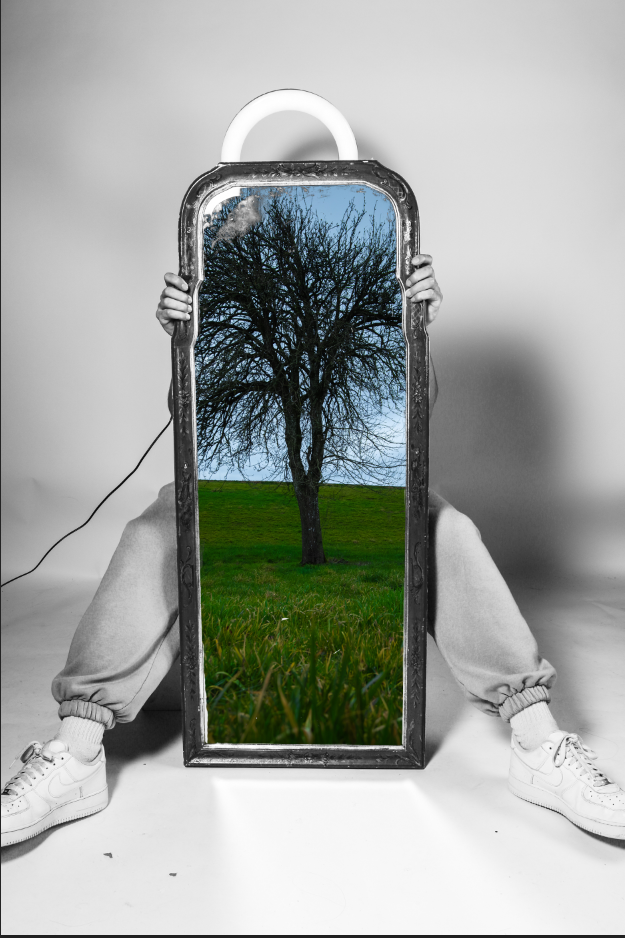
Above I tried to put together 2 sets of images a took. A studio Image which resembles an Image I found online (look at previous blog post), and a photo that I took from my France photoshoot. I used a tree as looks correct compositionally, as it looks like the ‘soul’ of the human. This links very closely to surrealism as the image is both imaginary and real at the same time.

To edit, I created multiple different layers. The first layer is the studio image with the mirror cut out:

Then I cut out the highlights in the mirror, so hopefully the imperfections in the mirror can stay (like smudges and dust) using colour select tool in photoshop, making it look more believable:

Then I put this all together with this image:

I tried a black and white version

However, I will now try use a mirror texture instead as I think it will look better, I will also try creating a green shadow to make it seem like this tree is actually there.

Here I tried made the reflection layer a ‘divide’. I think this makes it look better. I also removed the wire
Here I tried adding a green shadow at the bottom but I don’t think it looks right.

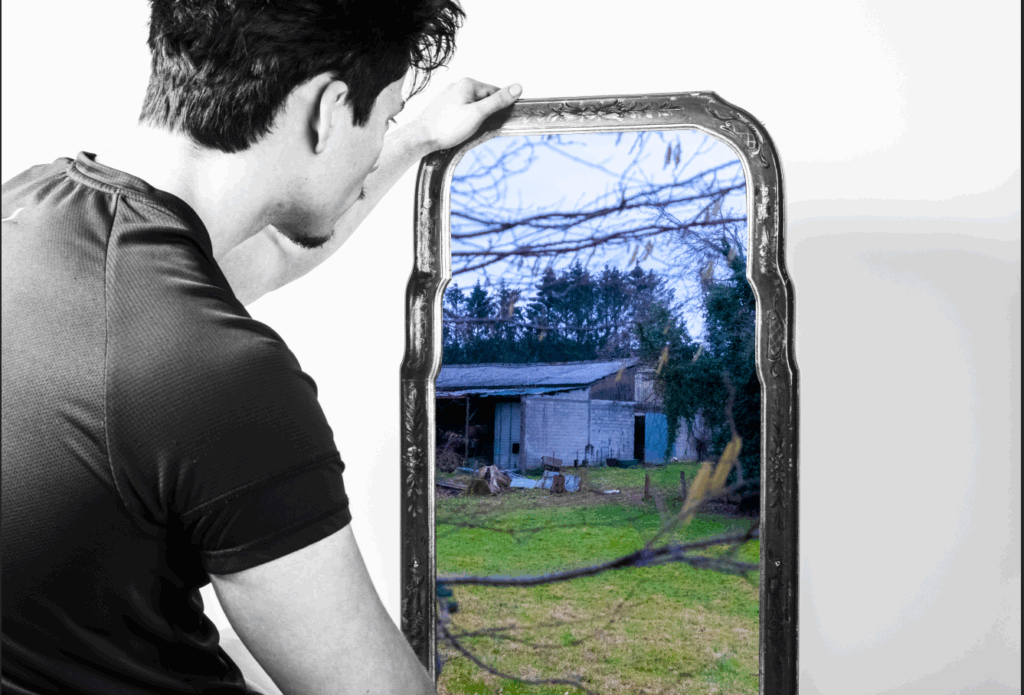
For this image above I did the same method of cutting out the mirror and placing the landscape photo behind the foreground layer. But I tried the ripped filter on photoshop to create some sort of distortion through the mirror. It sort of worked.

Here I did the same thing but with a different image and in colour

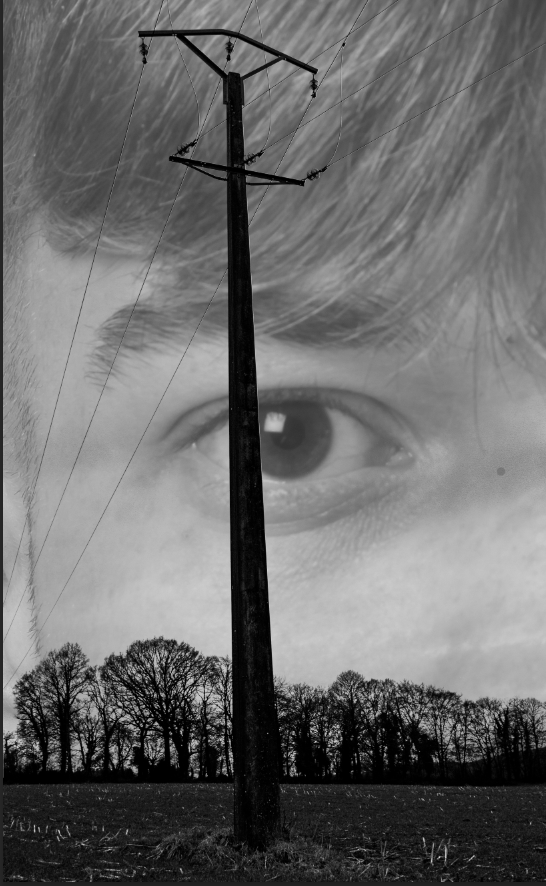
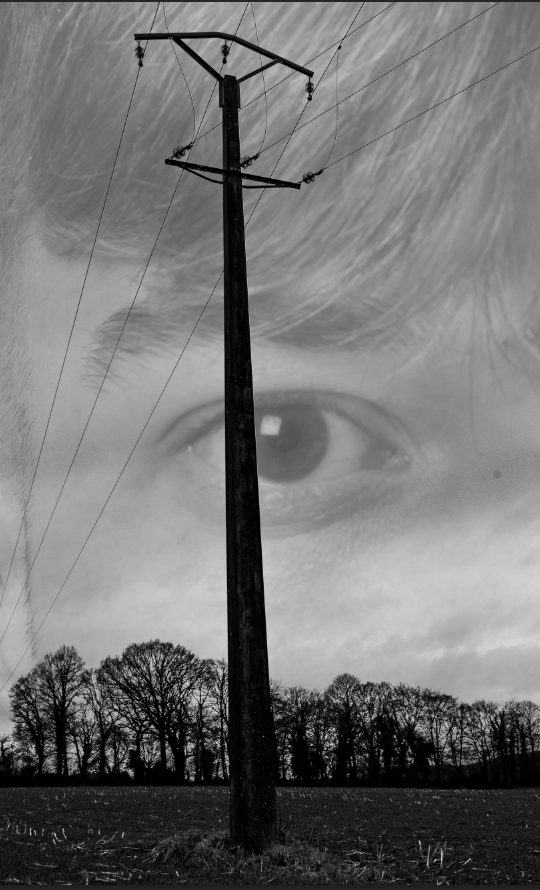
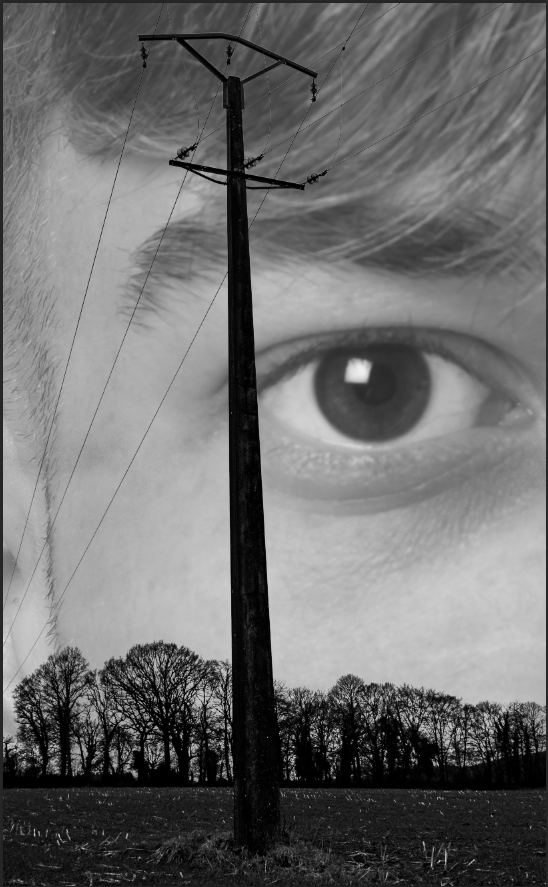
For the image above, I used a similar technique from above by using the colour select tool and selecting the shadows on the environment photo. I then deleted the selected parts but on the face layer instead, This is to keep the face behind the trees and electricity poles, making it look like it comes from the sky. I have done this as this image becomes very surreal with these edits.

slightly decreased the opacity of the face as I think it looks better.

Here I tried moving the eye to the left as I think the pole in front of the eye takes away the power the eye has over this image. I also used the dodge tool to make the eye brighter, standing it out more.

Observatory Time: The Lovers, 1936 by Man Ray (top section) – my inspiration to these images
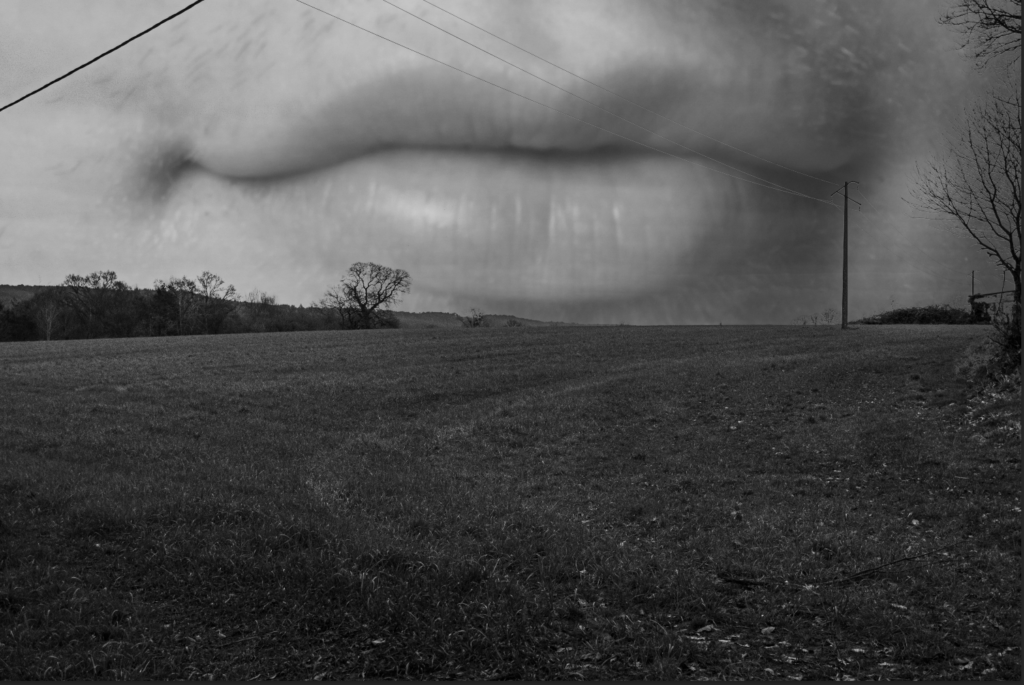
Ive done the same method again but with the lips

Images like Alexander Mourant (Aomori)

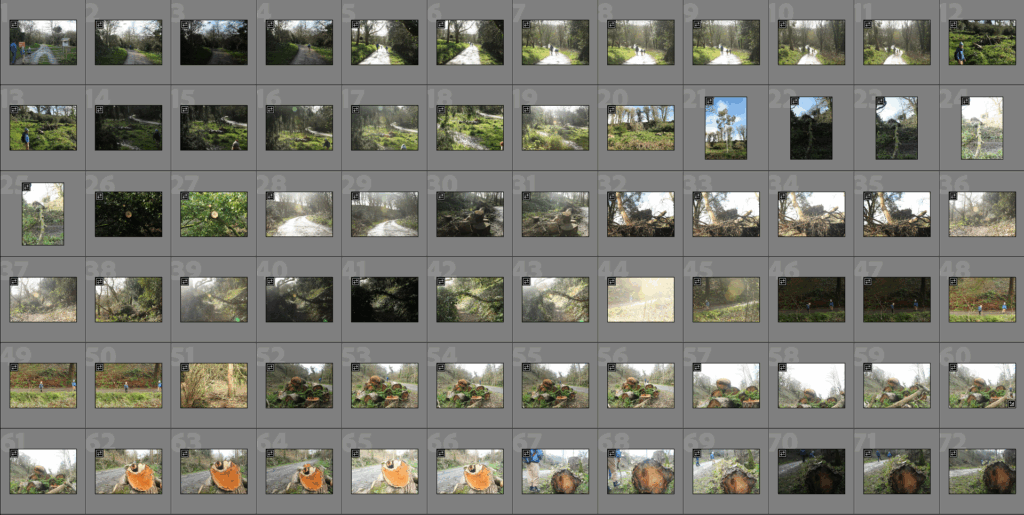
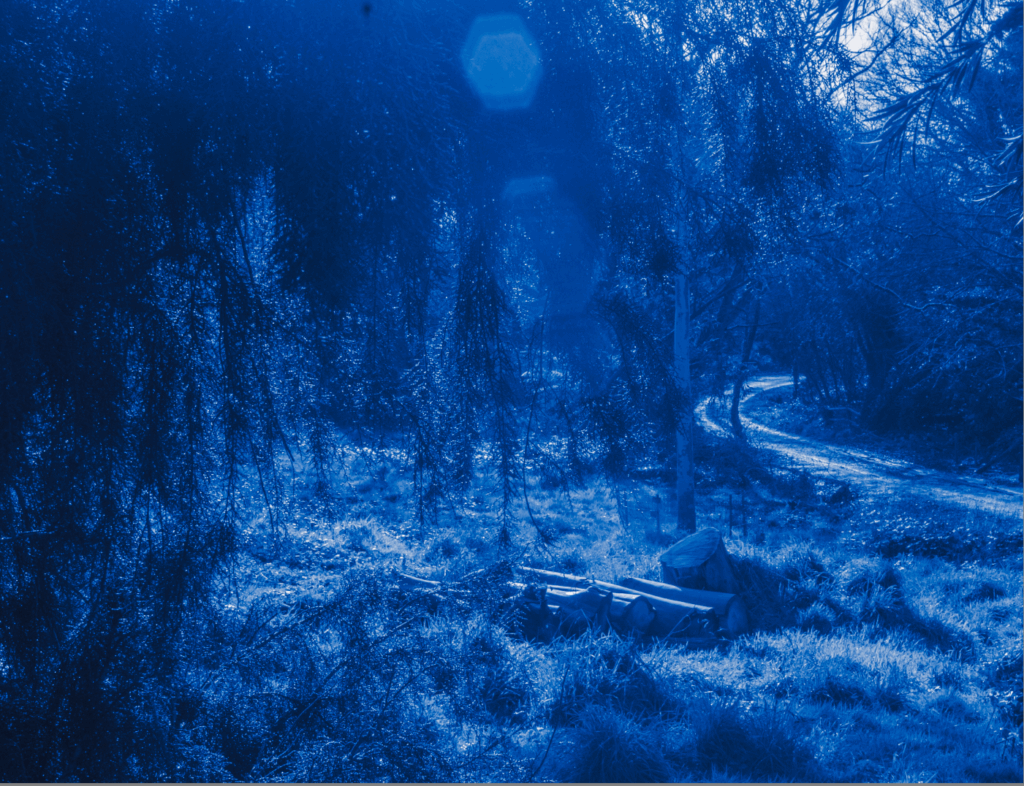
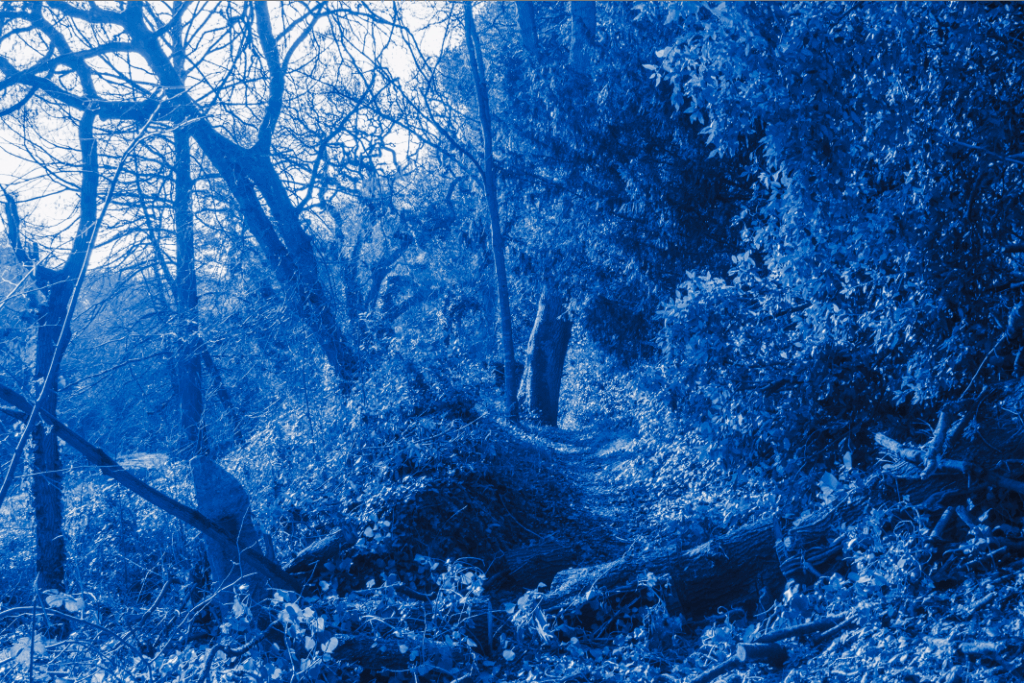
Above are a few photos I took a few months ago and I think will work well to create similar images to Alexander Mourant. I took these photos after a storm that happened in late 2024 in Jersey.

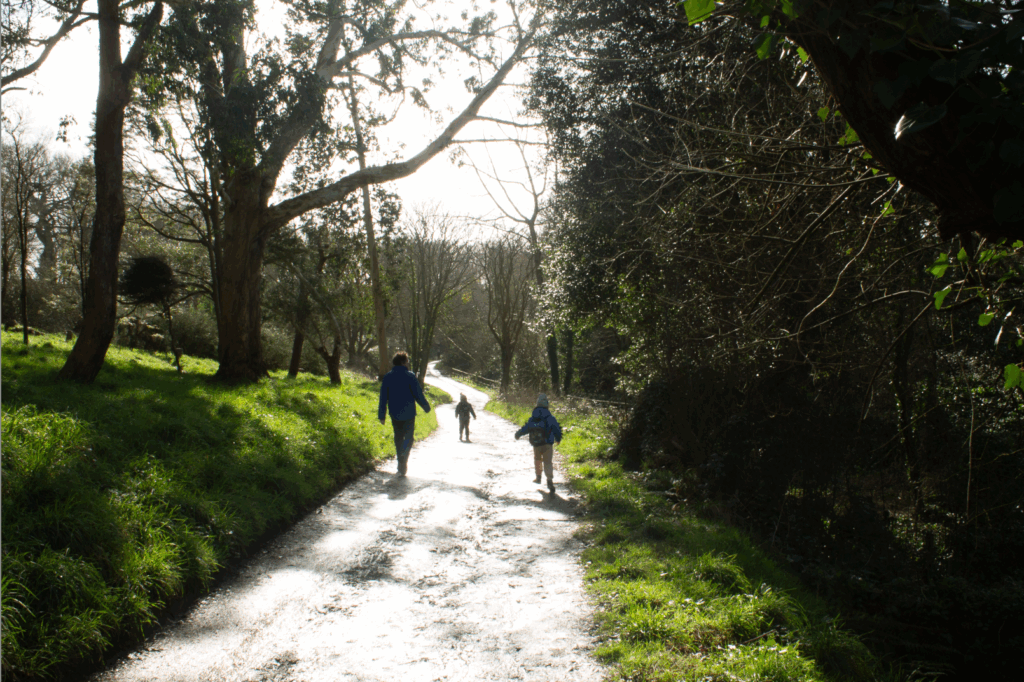
original image

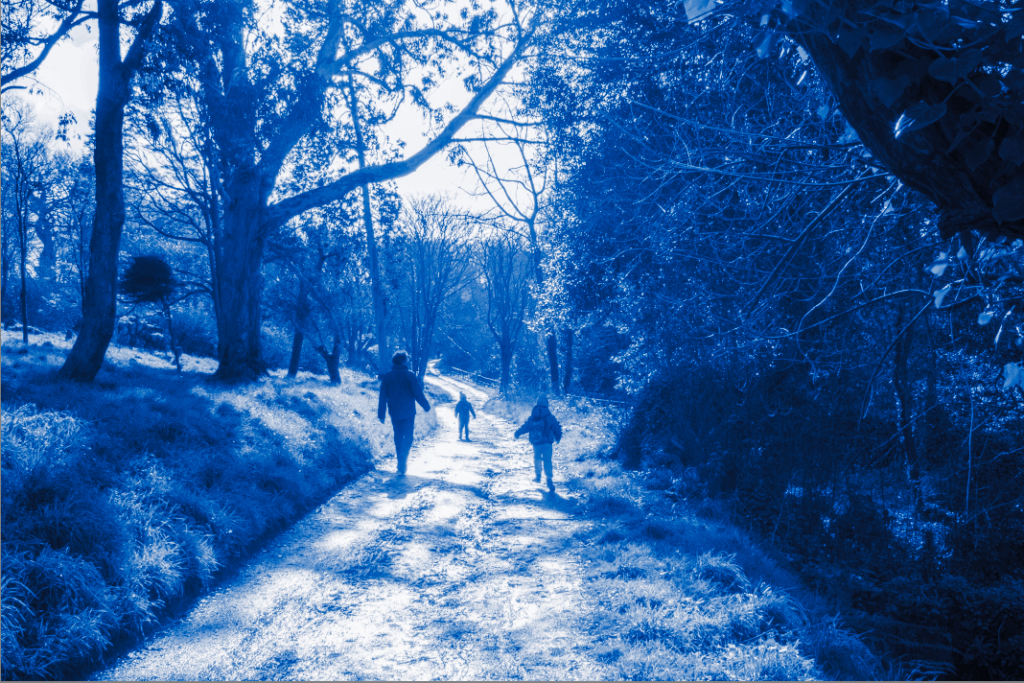
Here is my first image, which I edited after playing around with the mid tones and the tone curve for a while until I got something that I liked. I chose this Image as its got kids running around and the light reflecting off the dirt road makes it very ‘dreamy’ looking. There are many other reasons why blue adds to this ‘dreamy’ looks which I’ve explained in my Alex Mourant blog post.

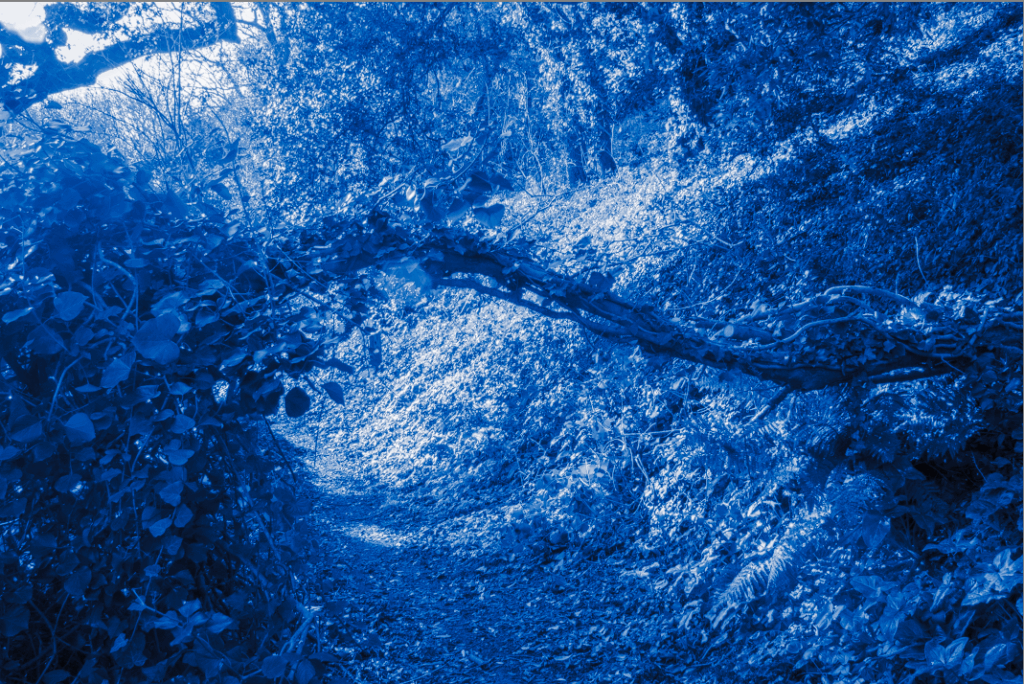
copy of edit above but with a different photo
Slightly increased the shadows as it was a darker image

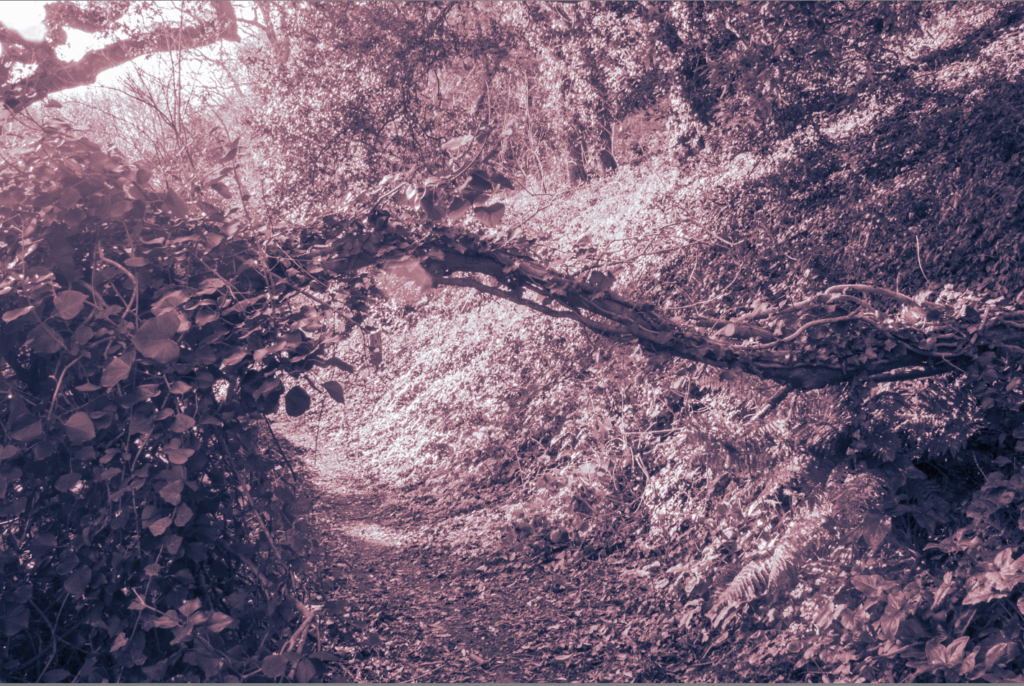
Here I tried it using the other end of the colour wheel (Brown/Red). It gives a very different emotion to the blue images from above. This emotion can be interpreted differently depending on the viewer and how they process this colour.

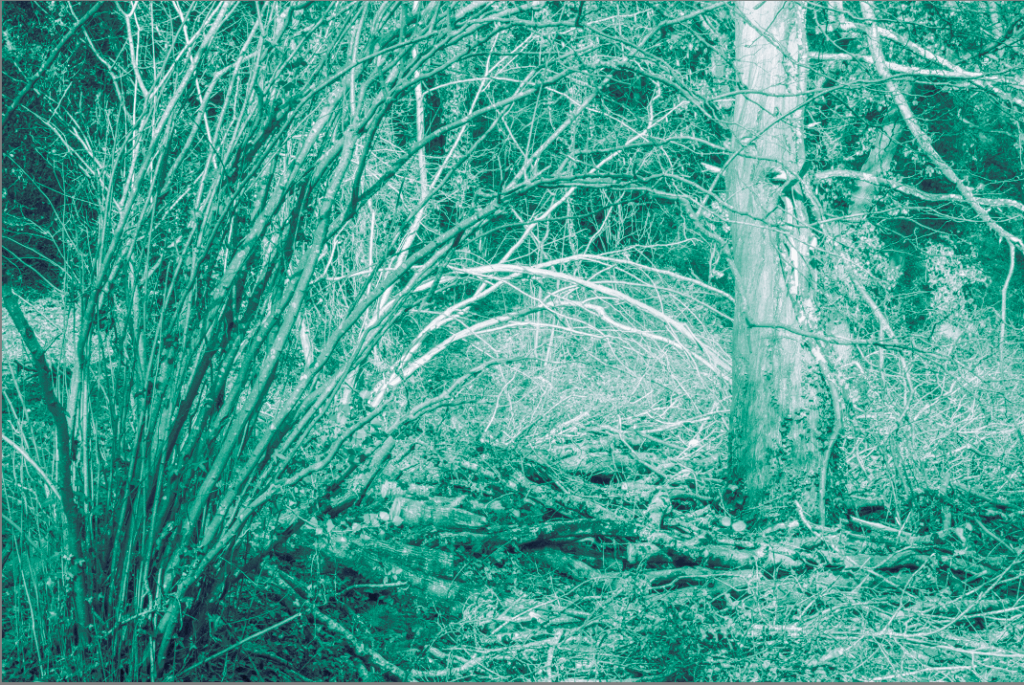
This is a green version

Progression – Selecting and Editing Final Images

Union: Blended British

‘Blended British’ is what my union theme will be called. This is because,

Image 1 – Reflecting Heritage

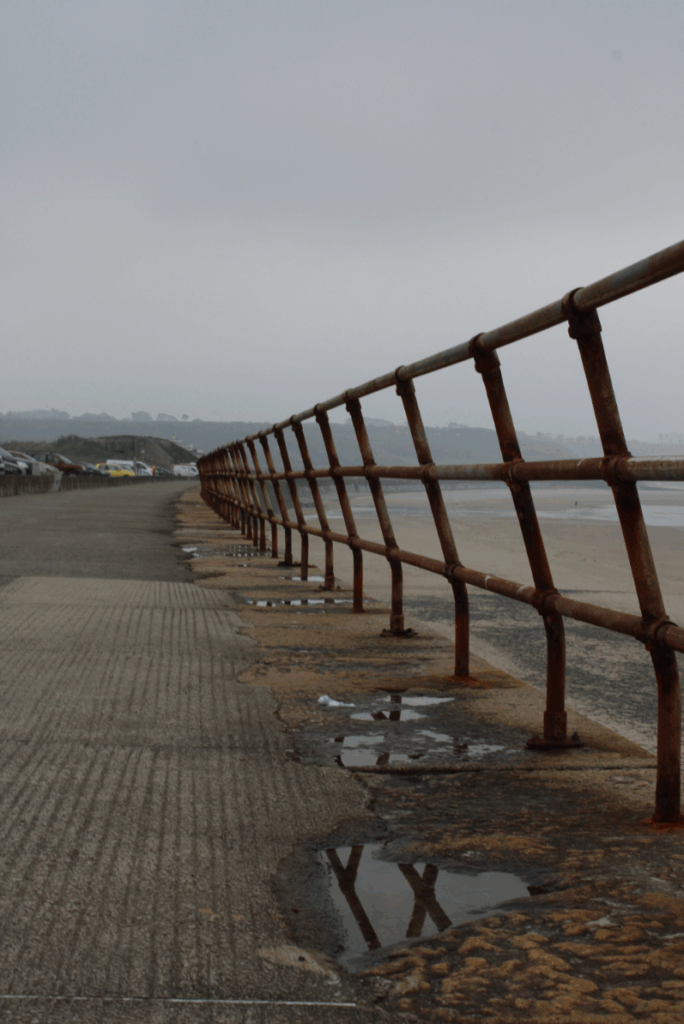
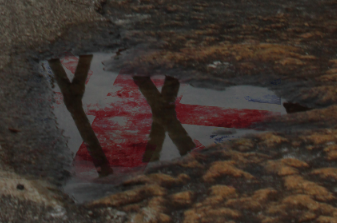
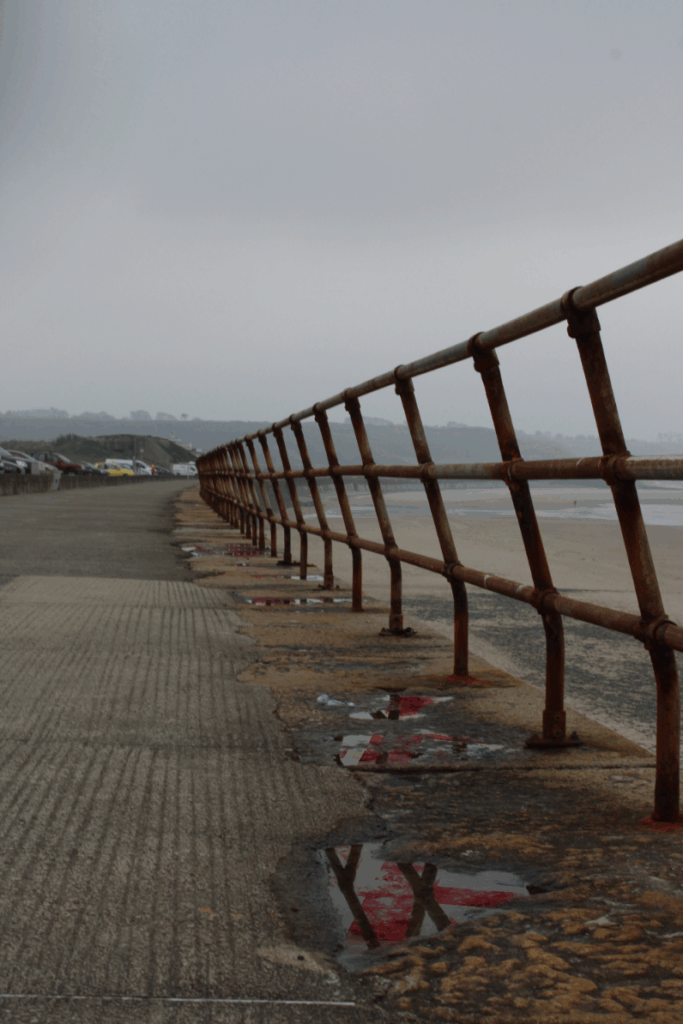
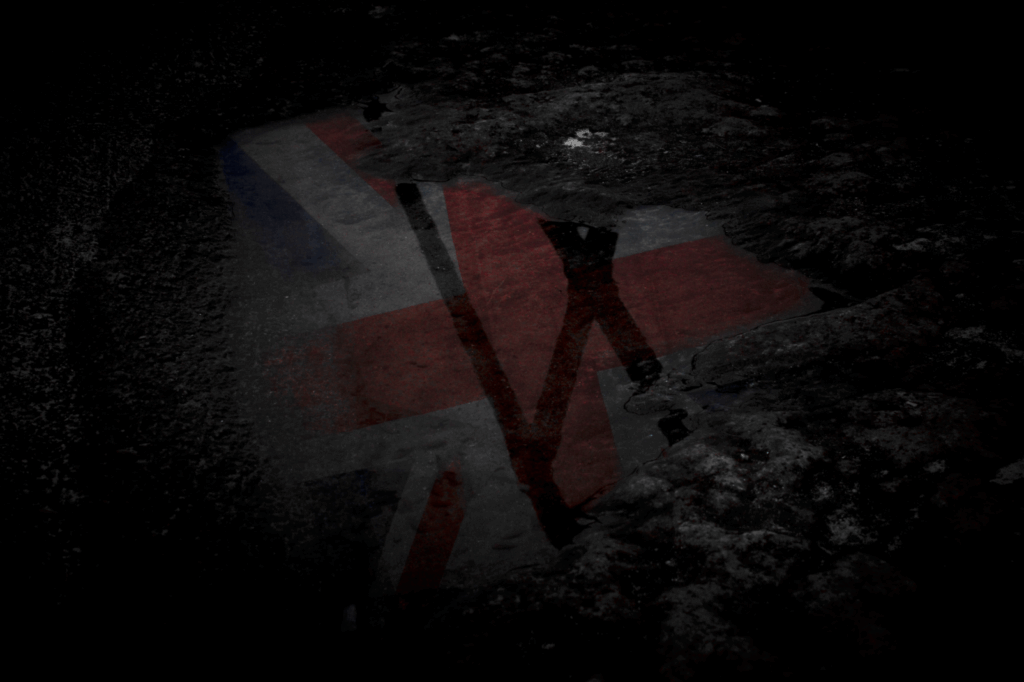
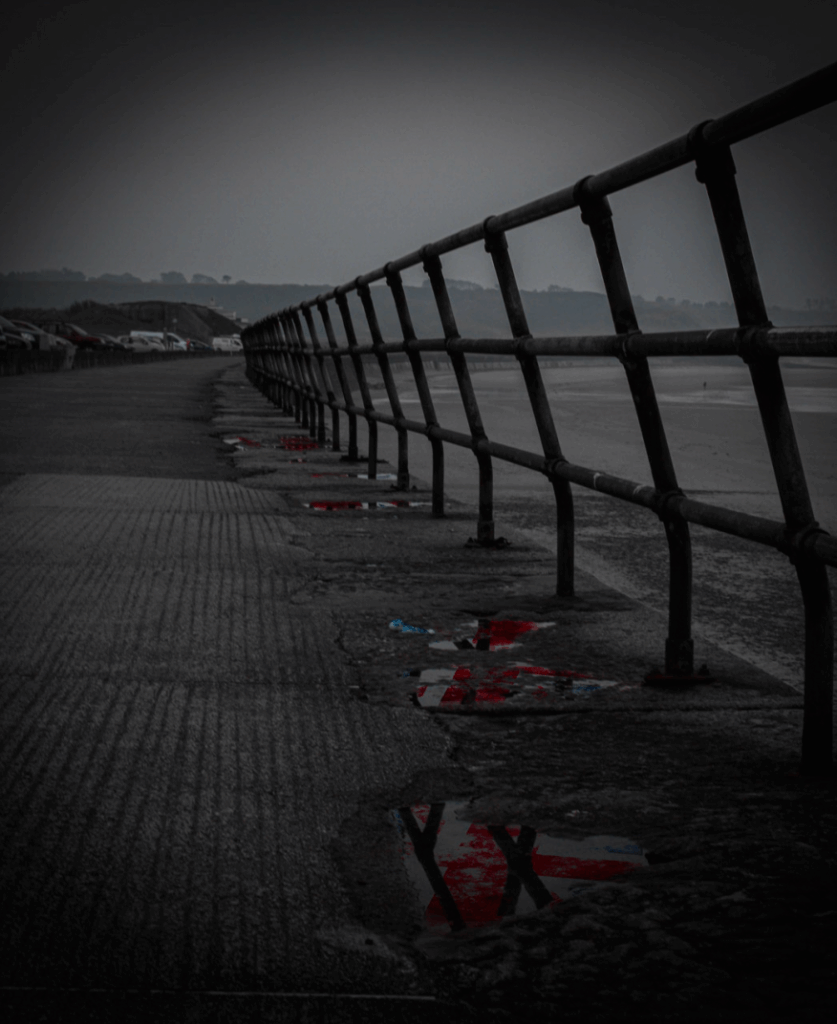
I started using this photograph I took whilst walking along St Ouen’s 5 mile road. I chose this image because I liked all of the different reflections on the ground in the puddles and I can add my ideas on top of this. Also, it is very moody, damp, misty and cloudy which matches the image perfectly to the puddles and especially due to British weather is commonly not so great, it matches my theme perfectly.

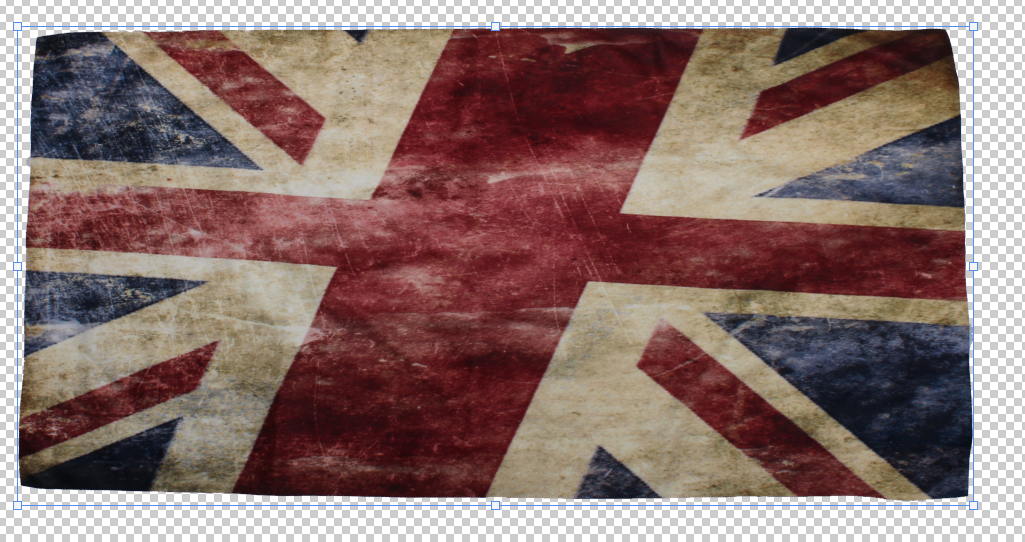
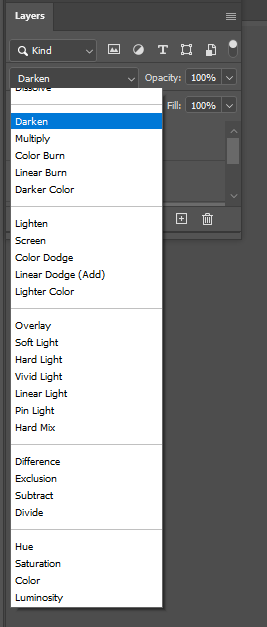
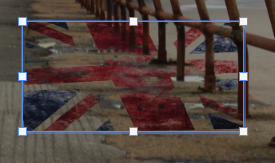
I started editing it by cutting out this photograph of a Union Jack flag I took which already had this grainy, tea-stain look to it. I then made positioned this layer on top of the first puddle and chose the ‘Darken’ Layer filter.

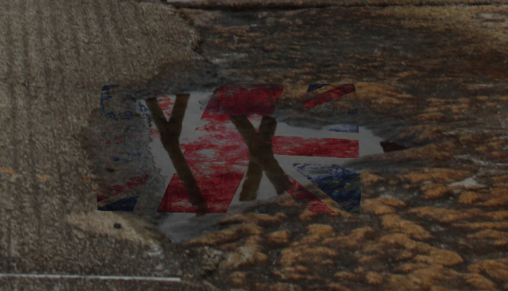
This allowed my image of the flag to be transparent whilst still letting in the darker sides of the flag through and still in colour which was perfect for my puddle reflection and resulted in this.

I next used the rubber tool with 20% opacity and rubbed out all of the edges around the flag that was on top of the rock/ground because I only wanted the flag to be in the puddle, resulting in this.

I then decided to do this for most of the other puddles in the background following back, which is what I did next, repeating the same steps.

Then removing all of the parts of the flag which were on top of the rocks and not in the puddle using 20% opacity on the rubber tool.

Finally, I did it once more by using one flag image but spreading it over 3/4 smaller puddles to really spread the flag. Repeating the same steps.

Removing the outside parts of the flag once again until only the flag inside of the puddle is showing, resulting in this.

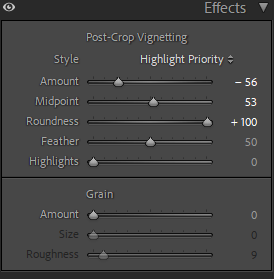
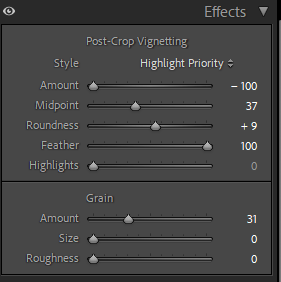
This is the final result of the edited flags inside of the puddles, but I will add a Vignette around the image using Lightroom.

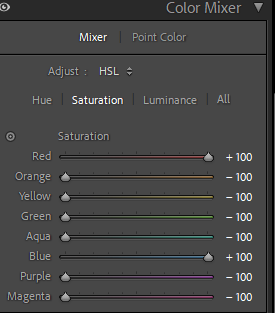
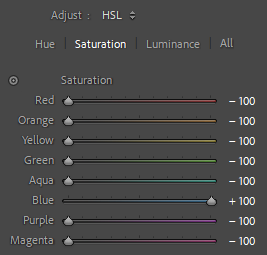
I also cropped the top of this image because I wanted the focus more on the puddles and rails not the sky, and also edited the image to make all of the colours that aren’t red or blue, in black & white to create isolation and more focus points for the viewer on to the puddles.

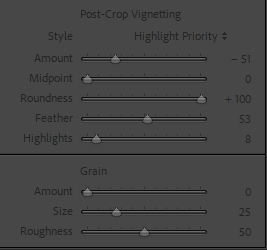
These are the effects I used to create the Vignette around my final image resulting in this.

This is my final image which I really like and I love how it’s in black and white with only the flag colours showing through, the rail on the right also adds sadness and because it looks like it goes on forever it draws the attention back to the puddles.

Image 2 – Past

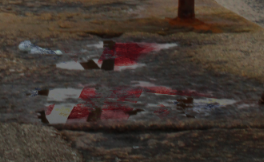
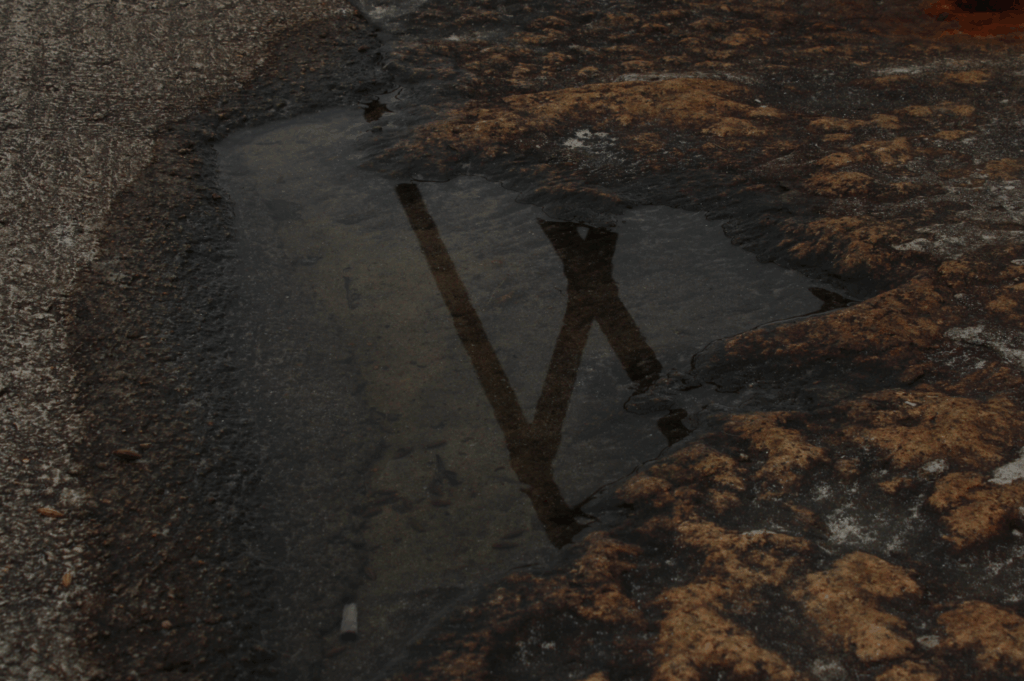
For my second photograph I will be editing, I am going for a similar theme to the first image but instead of multiple puddles, its just one singular one with a flag inside of it.

I chose this puddle image to edit with because I love the rocky ground around it and how the puddle creeps up to the gravel ground. Also, it already has a reflection of a rail inside of it, but I will be keeping this in and overlaying my flag edit on top of it.

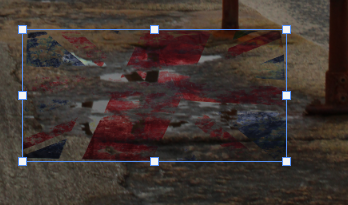
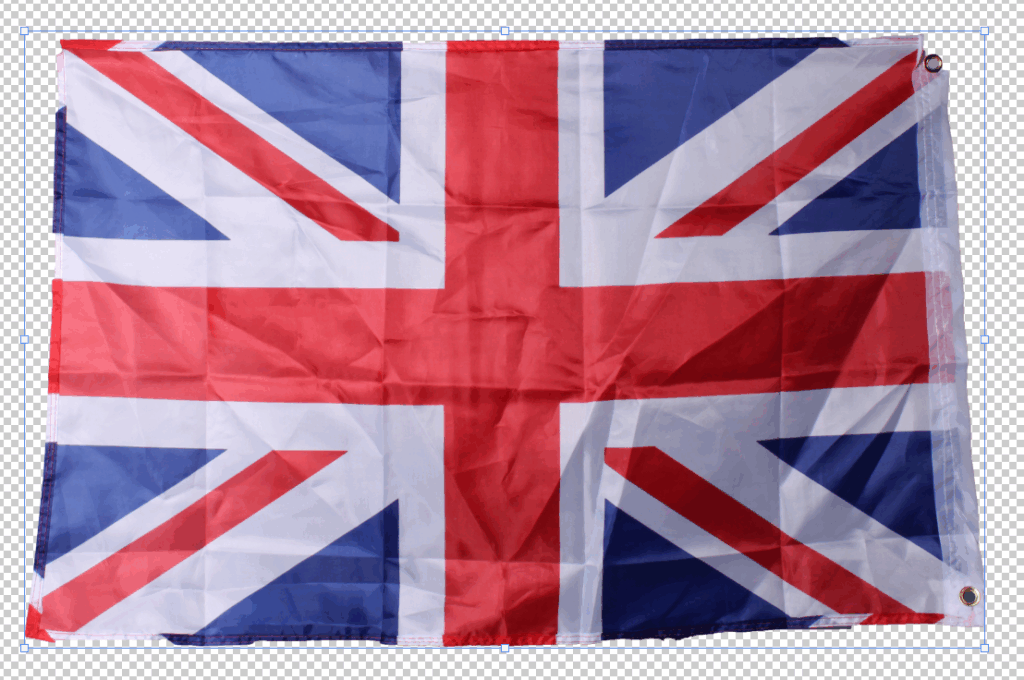
I started by cutting out this image of a flag I took in the studio. I didn’t iron the flag on purpose so that the crinkles on the flag acts as ripples in the water from the puddle.

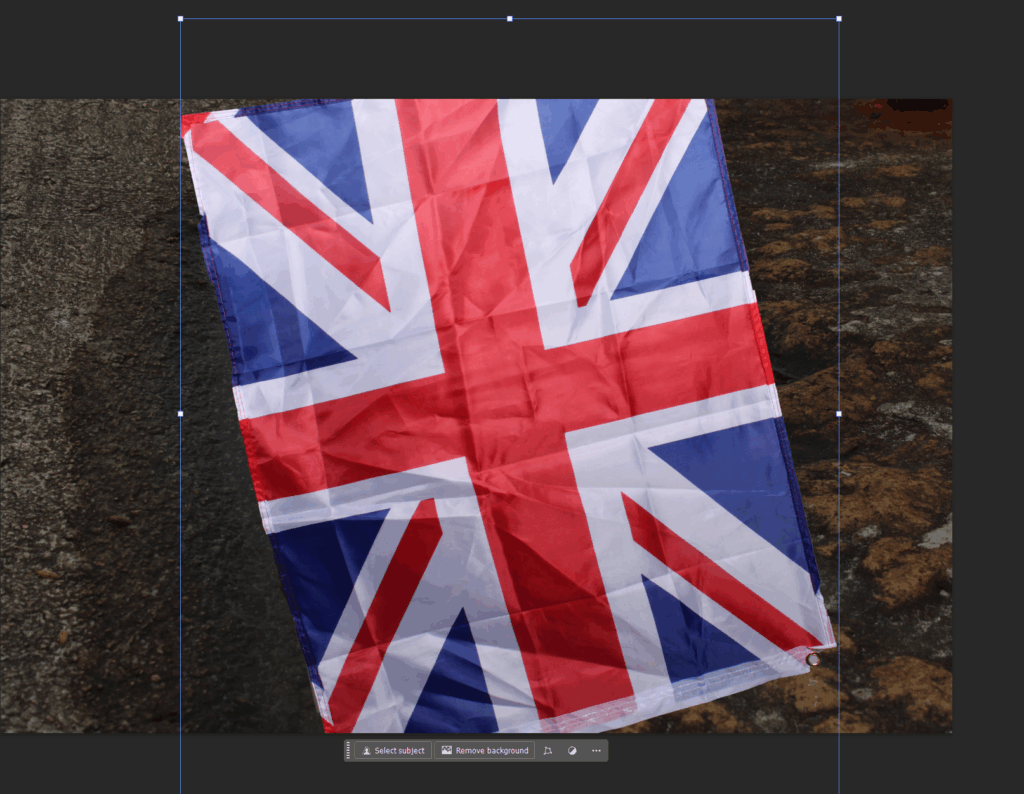
I positioned the flag where I wanted it over the puddle and using photoshop, I selected the ‘overlay’ layer filter which made it look like this.

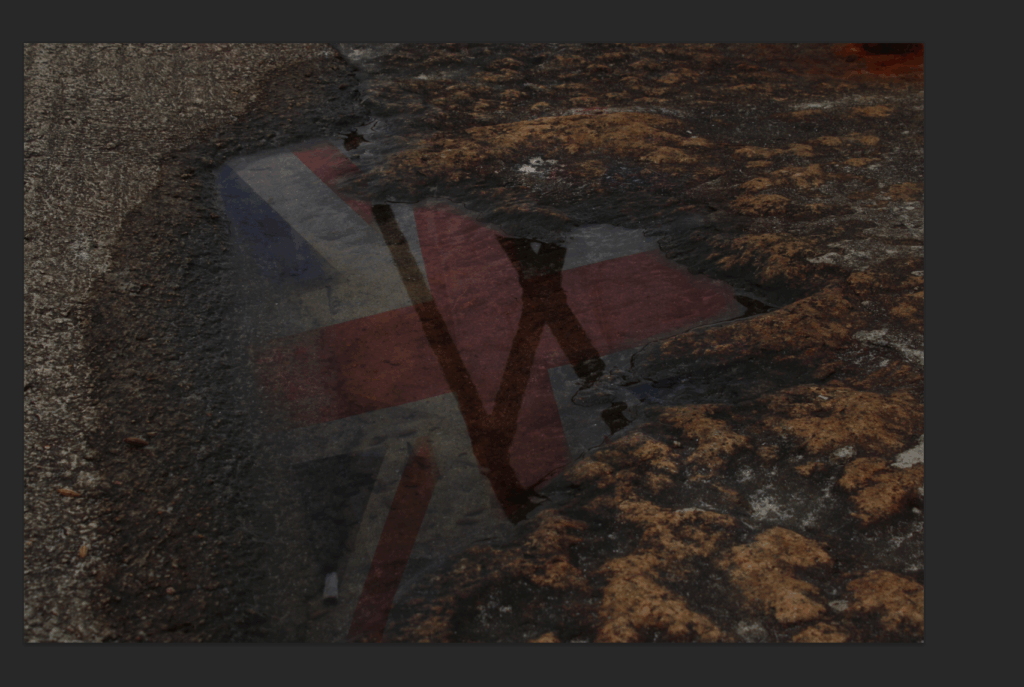
I chose this layer filter because it helped it give the transparent and puddle/reflection look once again. But then, I cut out all of the edges again from the flag using the rubber tool with 50% opacity, for the big parts of the flag that are only on the rocks, and 20% opacity for the smaller parts that are just touching the edges of the rocks/ground to create the look that the flag is inside of the puddle reflecting the Union Jack flag.

This is how the image resulted after I cut out the edges of the flag and also I lowered the opacity of the flag to 40% from 100% to make the transparent look feel and look more real.

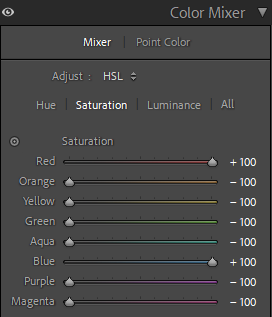
I then did the same editing with the erase of colours apart from blue/red using these effects.

Plus, I added the vignette around this image again so that all of my final images will be correlating the same idea and will look more presentable, with my final photograph turning out like this.

I like this image because it has the same black and white theme as the first image, but it only involves one puddle in it with the singular Union Jack flag. This helps the viewer reflect on how wherever they go in England/Scotland/Wales, they will always see a Union Jack flag as even by looking in a Puddle, they will remember where they are from.

Image 3 – The Inn

For my third image, I decided to edit this photograph I took outside of a Jersey generic looking Pub which the British is widely known for.

I liked the photograph as it was, which I did by using these camera settings which made the pub sign, in-focus, whilst keeping the lightbulbs around it in blur.

But, I wanted to keep the theme of mainly using mainly red and blue, but also white as well, (the Union Jack colours). So, for this image, I decided to only make it in Blue so that I have some images in both red and blue, and some only in one colour.

I started by using the colour mix tools on Lightroom, with only keeping blue, in colour, whilst the rest in black and white.

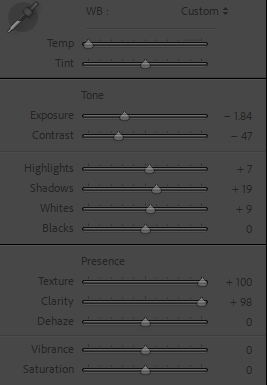
Then, I edited the temperature and tint on the image allowing the whole image to be in blue, and also changed the exposure, contrast, highlights, shadows, whites, texture, clarity and also a vignette again around the final image, to give it a grainy, dark, gloomy feel/look to the image which is exactly what I envisioned of when you think of when you think of a generic English pub.

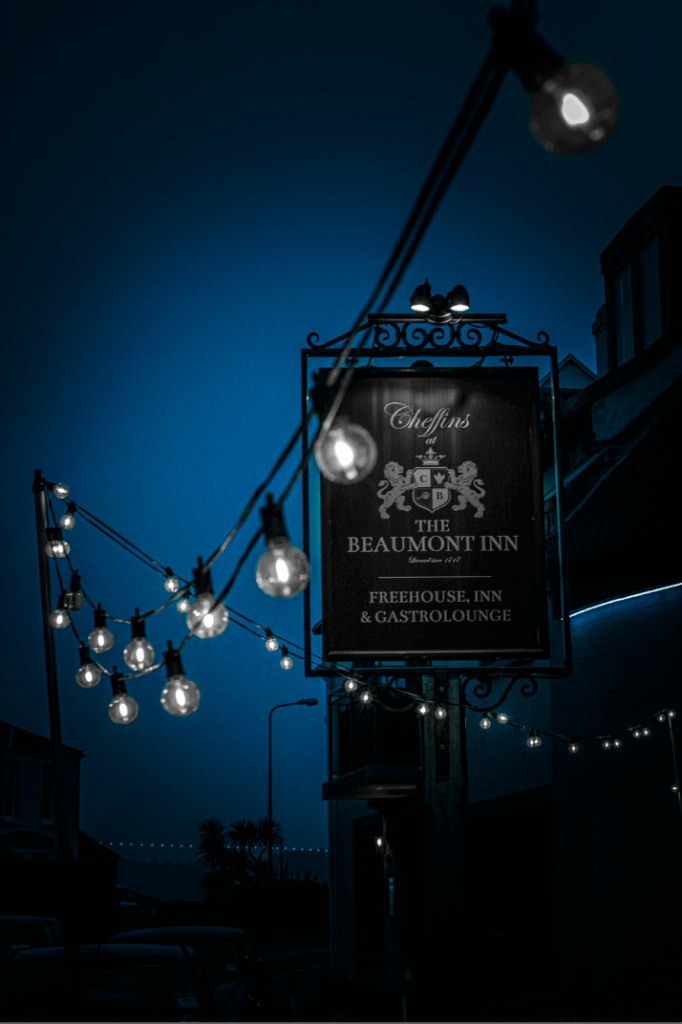
I also added the vignette around the final image again to keep the same theme for each image and to help the gloomy view and attract the viewers eyes to the middle of the image. Resulting in this.

This is the final image which gives off a cold, generic British pub especially because I manipulated the image to have the background and lights in blue, with everything else black and white, the grey light bulbs and sign with the black vignette really helps portray this gloomy, dark pub too.
Photobook ~ Final layout and Evaluation

Final Layout

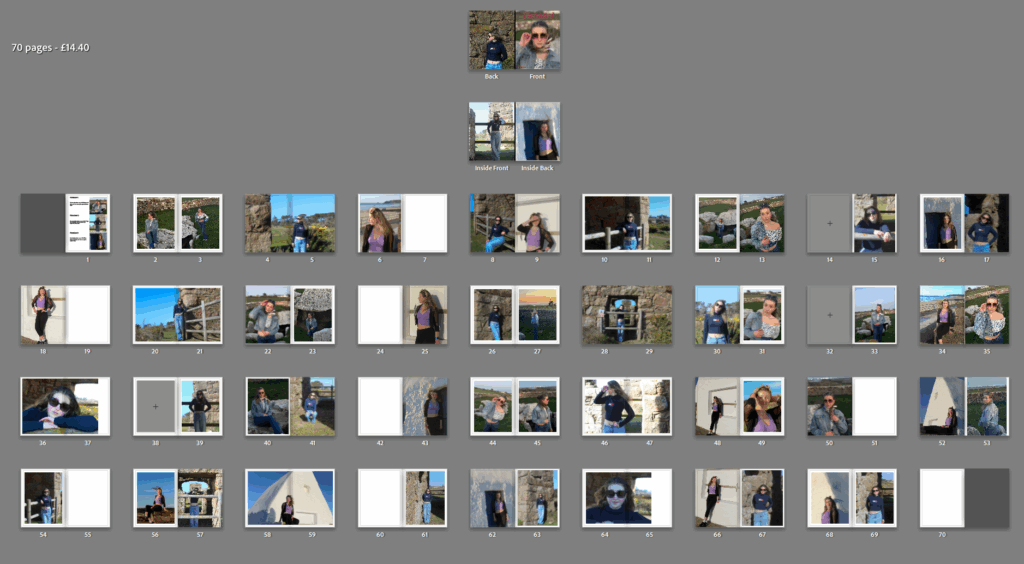
This is my final layout for my magazine from all of my different photoshoots.

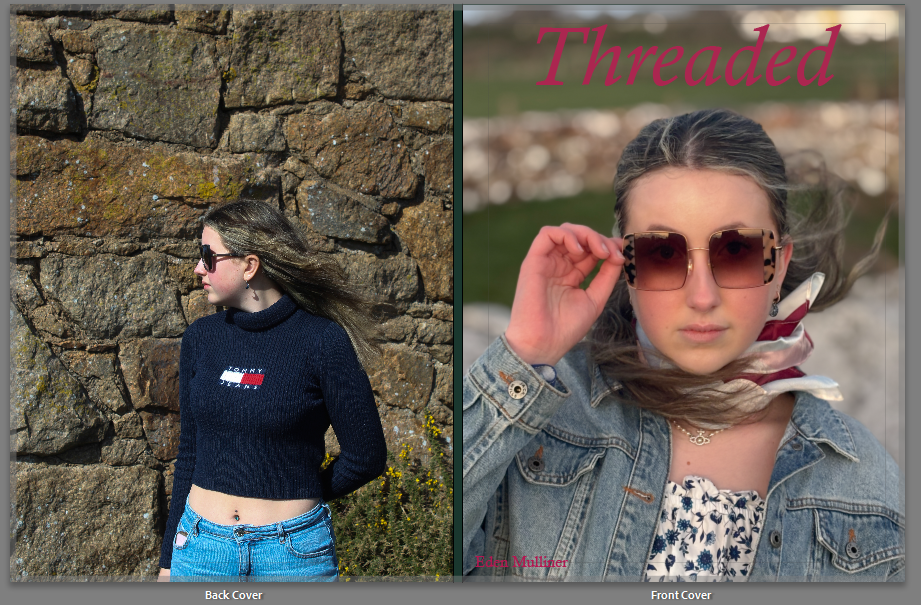
This is my front and back cover of my magazine and I chose this image as the front cover because its strong and bold and looks powerful for the front cover.

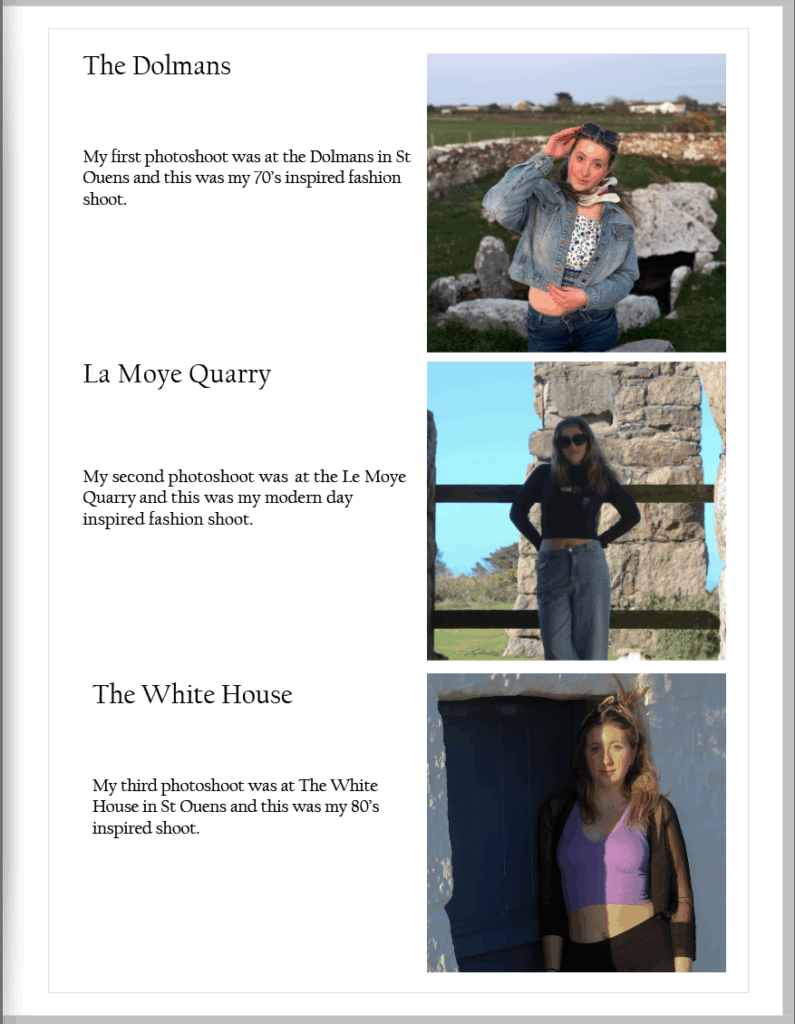
This is my Index page for my magazine, where I have described my three photoshoots and what era of fashion they are and the location they were taken at.

Evaluation

Overall I’m very pleased with how my photobook turned out and I think the placement of all the images makes them all stand out and compliment each other, making the images loom really strong. I also put some of my best images on double page spreads to showcase them in the magazine.

Magazine plan + research

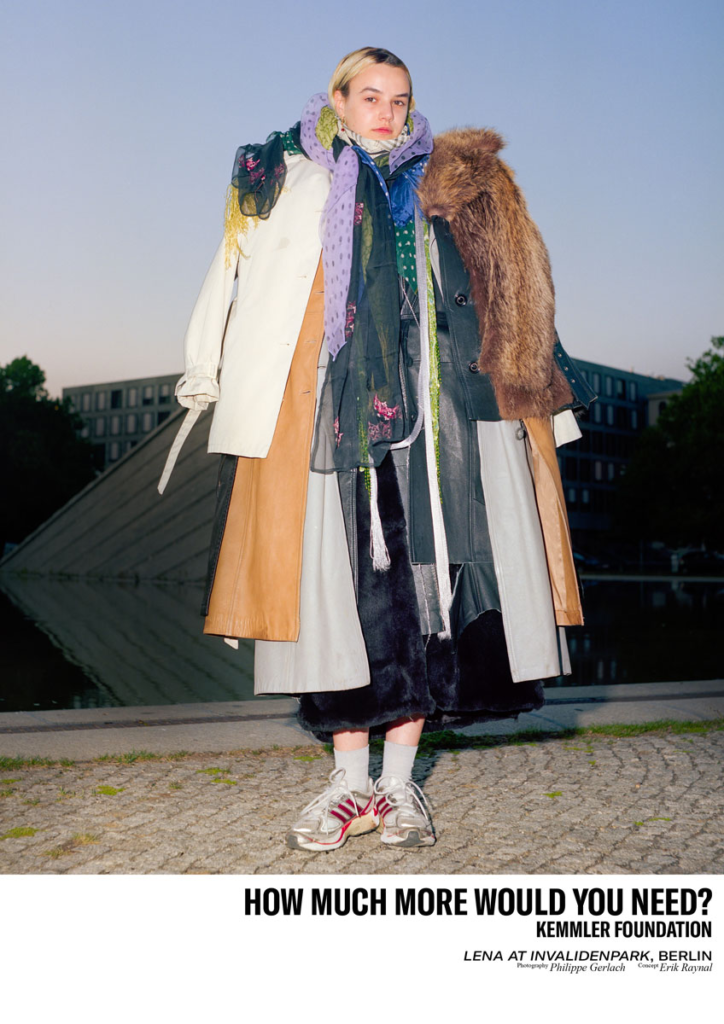
Philippe Gerlach is the photographer I am going to take inspiration from when creating photos for my magazine as he created a magazine like image in his involvement in ‘how much more would you need?’. I will use the same concept as him by layering clothing to look dramatic and over the top. I am planning to not include any writing within my magazine however I will include some on the front cover. I don’t want to include any inside it as I want the main focus to be on my images which I have created.

Prints: presentation mock-ups

Presentation 1: x1 A4 image, x2 A5 images – photos mounted on foam board, which will be mounted on a black background.

Presentation 2: x1 A3 image – photo mounted on foam board, which will be mounted on a black background.

Presentation 3: x1 A3 image – photo mounted on foam board.

Presentation 4: x1 A3 image – photo mounted on foam board.

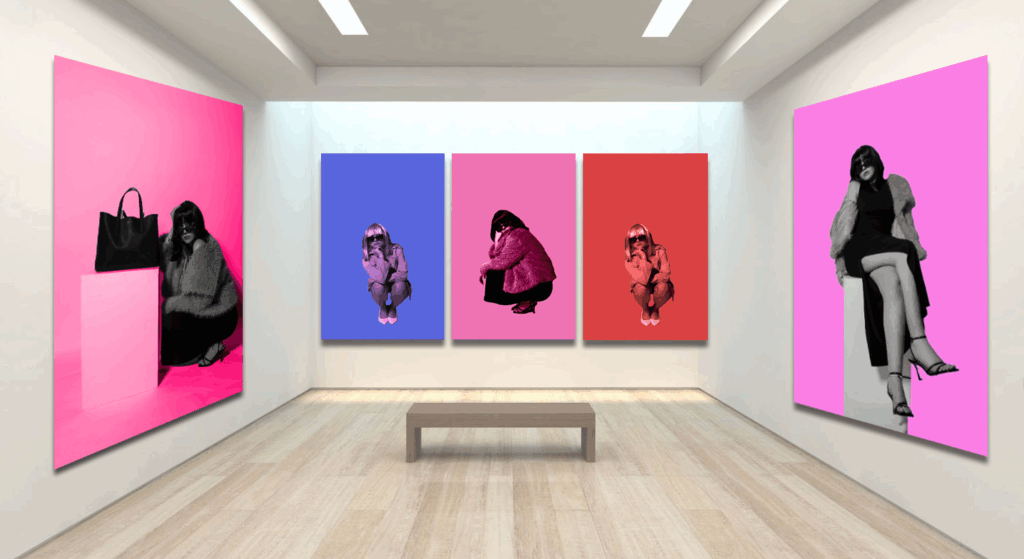
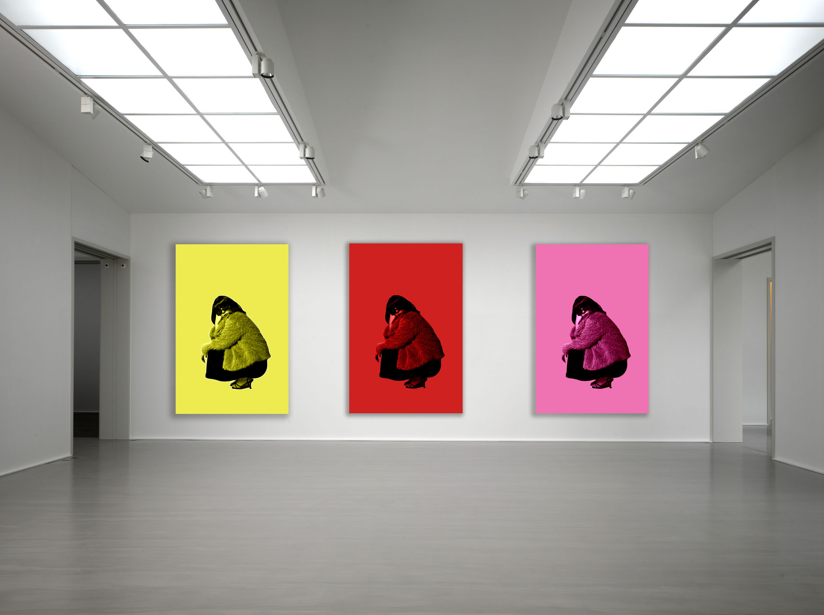
Virtual Gallery’s

First gallery:

Second gallery:

Third gallery:

Fourth gallery:

Photobook ~ Concept, Narrative and Design

Concept

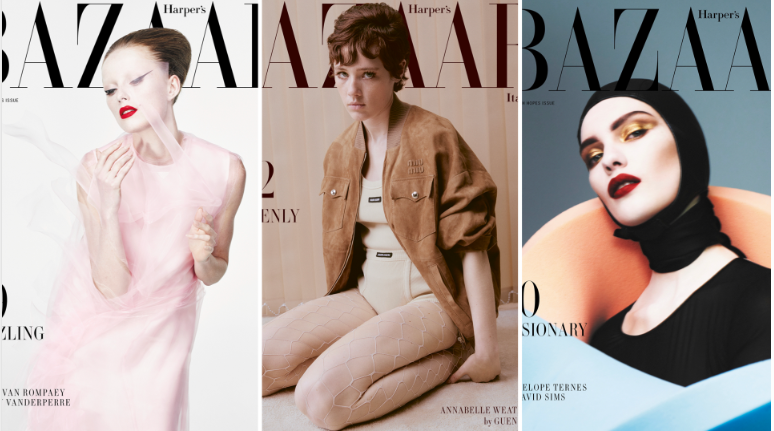
The concept for my photobook is to do a magazine in a similar style to how David Sims did advertising photos for the the Bazaar magazine and for other famous brands.

Narrative

The narrative of my photobook is to combine historic tourist attractions in jersey with three eras of fashion, and showcase this within my book. The three eras of fashion I have done is 70’s, 80’s and modern day fashion.

Design

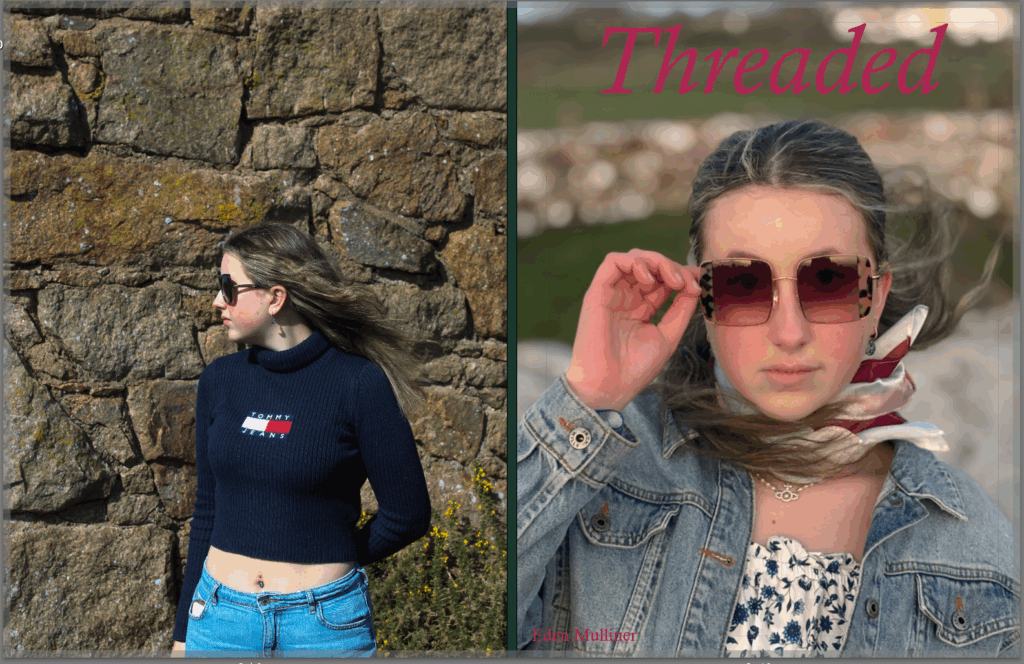
The design of my photobook is suppose to look like a fashion magazine from Vogue or from Bazar. I have added a large title and a full page image to the front cover to make the magazine look aesthetic and interesting as soon as you look at it.

I have also changed the colour of the title to a dark reddish colour to contrast against the dark green colour of the spine and so that it also stands out against the dark background of the image on the front cover.

Virtual galleries and evaluation

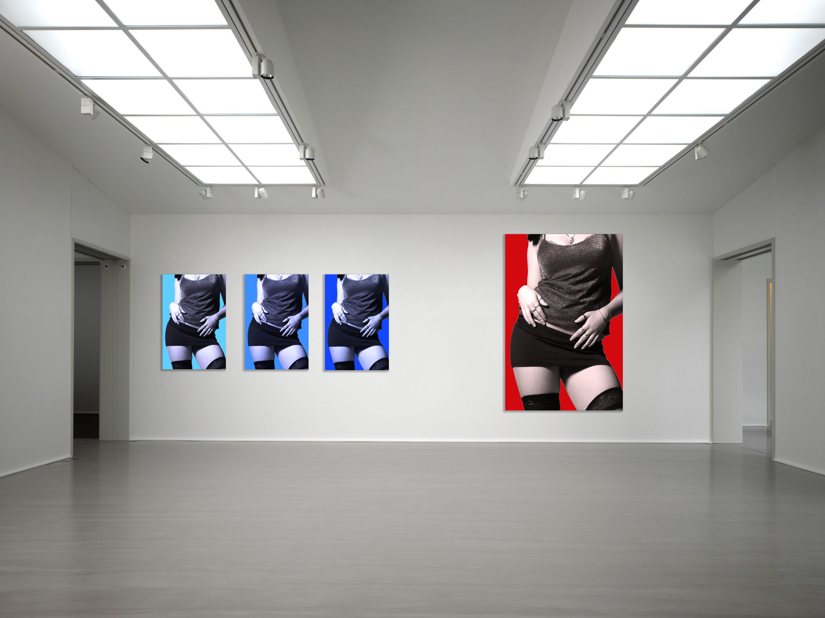
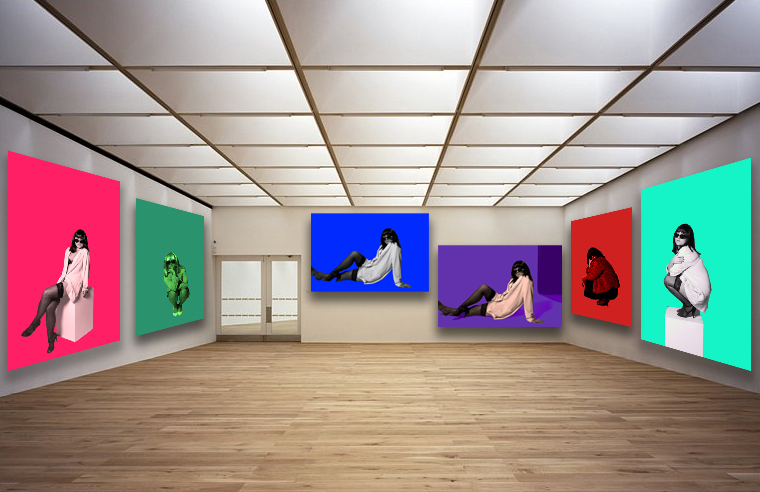
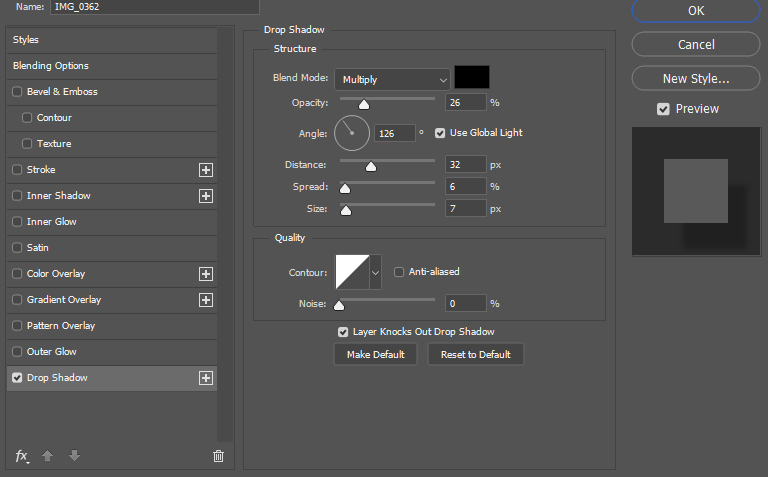
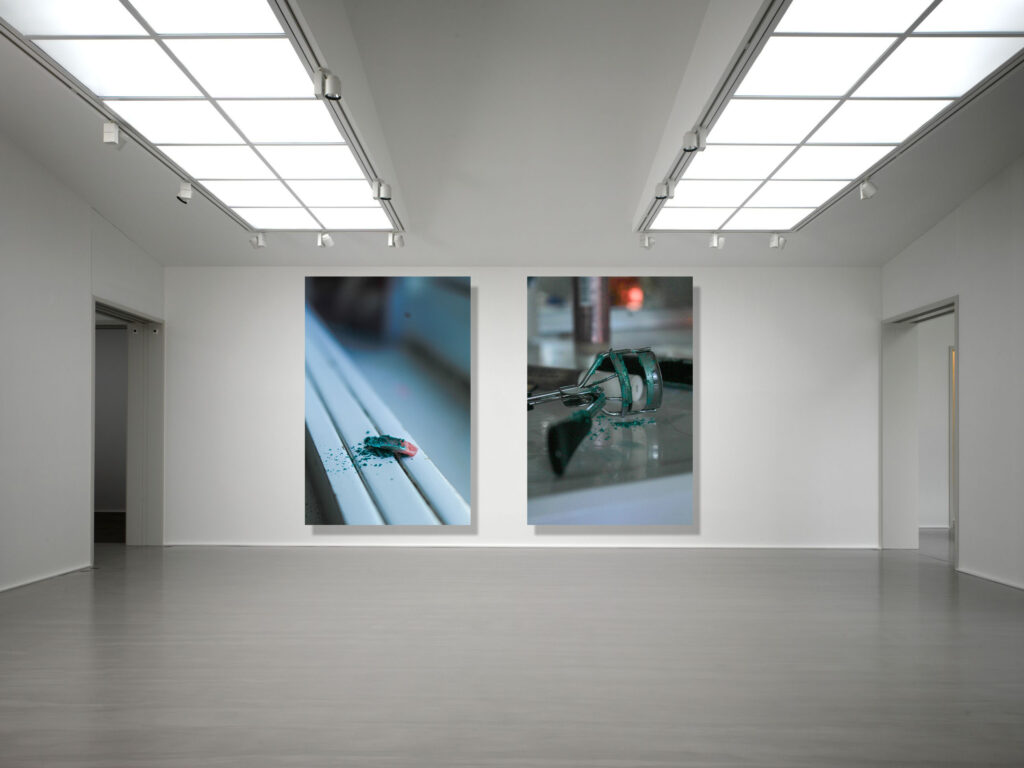
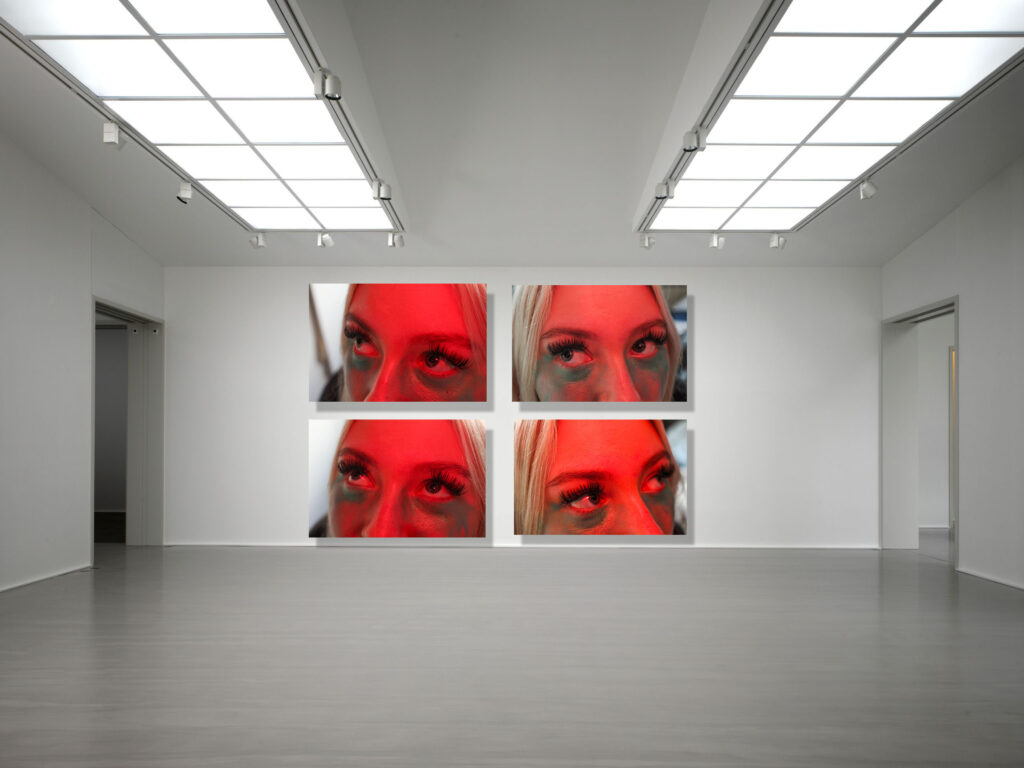
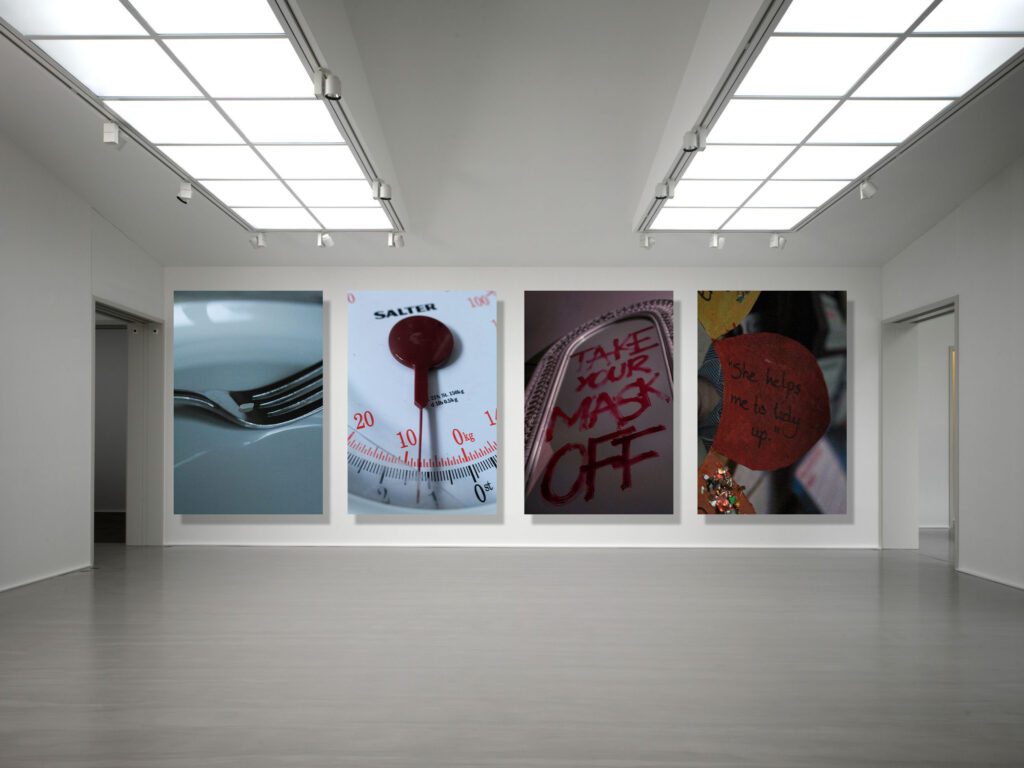
I create some virtual galleries using Photoshop in order to document some of my best images. I added a drop shadow to each of the images so that they would appear to be hanging off the wall instead of looking flat.

Gallery 1:

These two images have clear reference to Hannah Altman’s ‘And Everything Nice’ through its use of glitter to represent the pain that the pressures of the beauty standard apply to women and girls across the world. I feel that these two images have specifically been successful because of the short depth of field that I have applied, differing my work from Altman’s, as it hones in the viewers focus onto the real concept behind the image instead of appearing to just be revolved around beauty itself rather than the actual pressures. I also feel that these images are clear references to Altman’s work because of the randomised pattern of the glitter as I tapped it onto these objects using a brush. This makes it look more natural like Altman’s work, as if the viewer wouldn’t feel suspicious of this looking strange or out of place. However, I did use different objects to what Altman used such as a razor because this didn’t require too much setting up, meaning that my images would have looked too similar otherwise.

These two images share similar components in their aesthetic and composition. Here, I have shot from an angle horizontal to both of the objects to make the perspective more dynamic rather than risking the images employing the ‘dean-pan’ aesthetic, for example, as I want this portion of my study to be specific and stern rather than more documentary-style. Additionally, both of the images have echoes of each other, while the glitter is an obvious link between not just these images but the entire photoshoot, but they both share the main colour of white in the composition whilst using a relatively low-exposure to ensure that the viewer doesn’t think that the images have an alternative, happier meaning.

Gallery 2:

For this gallery, I created a grid of four images of the same subject looking in different directions as I think that this works very nicely, as if each image contains an individual person looking at the others. This was inspired by Hannah Altman again from her self-portrait with glitter underneath her eyes, where the glitter is delicately placed in representation of tears from trying to fit into the beauty standard.

As this image from her work is quite notable in being one of the more popular images from her project, my images differ from the nature of the glitter. In Altman’s image, the glitter is cautiously placed however I have overexaggerated the glitter on my subject as I feel that it makes her show more anguish as its spread out carelessly, as if she has gripped her face out of despair. Also, Altman’s images employ natural lighting, however I wanted to juxtapose the colour of the blue glitter (being able to represent the stereotype that only boys should wear blue) with a red to symbolise anger from the subject towards the issues that I am targeting. This is why I used the flash on the camera, however I covered it with my hand in order to make her face red without editing to look more truthful, and also to create this ghostly effect in the background that creeps over the side of her face.

Whilst Altman appears to have meant for this image to be interpreted as distress over the beauty standard, I feel that my work is more applicable to the inverse of the male gaze, where my subject is taking back this term and coining it as her own to reduce the discomfort she feels and sending it back to these people. I think that this is a powerful extension of Altman’s work as her eyes dart around in an intimidating way, rather than being intimidated.

Gallery 3:

This was really helpful as it allowed me to begin thinking about how I want my prints to be laid out when I mount them up. This also means that I can start thinking about my sequencing in my photobook as I can look at which images compliment each other and the ones that don’t have any relation to each other.

I specifically like my third gallery because I feel that the narrative is linked quite smoothly as each image has a high relevance to feminism. I also really like the way I have laid this out because each image has an aspect of the last within it, for example shades of red become echoed as well as the introduction of new tones which enriches the flow of them too. The third image within the gallery is inspired by Barbara Kruger, where I have written similar phrases to her ironic insults towards magazine and media outlets pushing the beauty standard. Whilst I have created edits similar to her on Photoshop, I really like this method as it is a more direct approach, blocking a girls negative thoughts about her reflection, whilst also being more modern and relative to society now as Kruger’s work was heavily influenced by the 80s beauty standard and ideologies about women. By doing this, I can still make a greater reference to Kruger’s work whilst not being too explicit.
Evaluation

Overall, I feel that my study into Feminism in relation to the theme of Union has been highly successful and I feel that I have create a clear link between the two through adding a personal touch through my experimentation, being a generational connection between the women in my family, in order to show that this movement has real-life relevancy and the issues that it hones in on don’t have individual effects but collectively impact society on a whole.

Within this investigation, I have been extremely experimental due to one of my artist inspirations being Barbara Kruger. At the beginning, I shot images of Greek statues and then developed this into using archived images of myself when I was younger, then leading this into my wider family members such as my gran and my mum. This allowed me to really develop my ideas in a structured way as in the beginning, my work was very similar to Kruger’s in terms of aesthetic. However, I wanted to make it more personal and more of a reference rather than a similar image with text as Kruger’s work is notorious for using these direct statements with bold red text. As my ideas began to grow, I began to write accusatory and almost angry statements on mirrors using red lipstick in capitals, using some of Kruger’s phrases whilst using this to come up with my own. I think this was very effective because it allowed me to move away from the typical black and white grainy images that I had been producing and create something more relevant to modern society, as the work that I found myself inspired by was revolved around the beauty standards of the 80s whereas it has changed now. This led me to be able to create some experimental pieces of Photoshop that I really liked, however I didn’t end up using them all as they didn’t fit properly with the sequence or the overall tone of the book.

However, I think that I could’ve pushed this even further into the modern beauty standards that we uphold now and target the aesthetics of magazines and media put into circulation. I had planned to try and create some experiments that looked into how social media is used to further perpetuate unrealistic goals for women, for example looking into how Instagram is a place filled with photoshopped images that can’t be distinguished amongst the unedited ones. However, I couldn’t really come up with any ideas on how to execute this, so if I carried this out again I would really like to be able to create a more socially relevant interpretation of Kruger’s work to today’s standards.

With my investigation into Hannah Altman’s work, I feel that I was really able to develop my ideas and take some really creative images. I began by creating similar images to Altman’s ‘And Everything Nice’ where I tapped blue glitter onto different cosmetic tools such as tweezers or eyelash curlers, trying to find other tools that she had not incorporated into this body of work. These images were really successful where I was able to use a short depth of field to make the viewer solely focus on the item that I had manipulated and how the glitter was representing the pain of conforming to these set standards. However, I feel that I could have made these images more interesting, for example using different colours of glitter or I could have extended this into shooting a subject applying a cosmetic product that had been replaced with glitter.

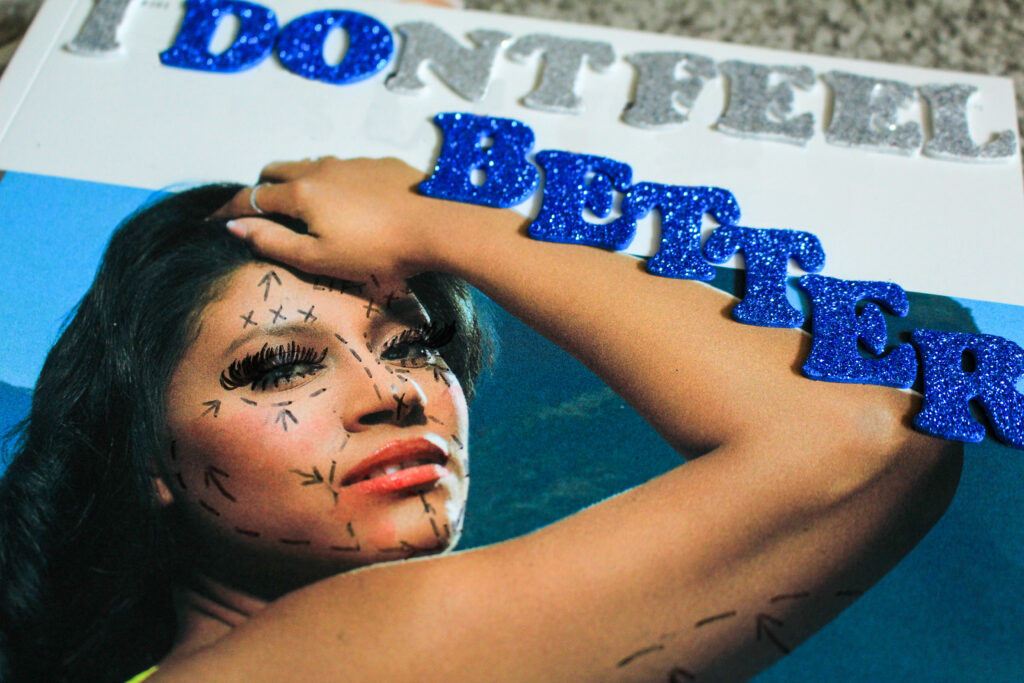
However, this enabled me to start thinking about other ways I could add glitter into my images and I actually was inspired by the way Kruger uses text, which is why I then began changing the name of magazines using glitter letter stickers and editing the real name from the background. I wanted to do this to show the true intentions behind these magazines underneath the actual cover name. This then led me to start drawing on the models on the front covers and creating plastic surgery markings. I was really happy with this idea and found it to be very interesting as my intention was to act as if I was taking away all of the airbrush and filters to show the viewer how unobtainable it is to reach these standards even though they appear real. However, if I repeated this I would incorporate generative Ai into this to try and get a digitised look as I feel that this may have looked better in comparison to pen on the magazine.

Whilst I am really happy with my outcomes, if I repeated this topic I would definitely include more portraiture into my work as I feel that I could have gotten more experimental and showed physical union rather than it being more symbolic. However, I feel that I have done this in a very subjective way and I think that the images are still open to interpretation and can evoke strong emotion in the viewer due to its theme. I would also have liked to include some landscape images that could have symbolised anger and distress as this is such a sensitive topic, for example a thunderstorm could show rage in a broader way.

Photobook: concept, narrative and design

I wanted to create a photobook for my project revolved around Feminism as this allows the viewer to physically manoeuvre the images themselves instead of just looking at the visual elements. My book I produced during my personal study about my brother was quite successful so I wanted to create one again, as both of these topics are quite important matters which I feel makes a photobook more appropriate as it seems to be more professional-looking in my opinion.

The narrative and concept:

My photobook revolves around the topic of Feminism and the modern issues we have that this movement tries to tackle in society. The theme of my images is predominantly looking into eating disorders, spiking, the pressures of the beauty standard, media and magazine aesthetics and trying to capture the emotions that these types of issues make young girls and women feel. This leads my images to cross over between subjective and objective, as emotion is not a tangible thing and can be implied through exposure levels for example, however I have still photographed explicit things that directly communicate the message to the viewer.

I have also manipulated and experimented with many archived images that I took from my mum and my gran to show a generational connection in these issues and the change in attitudes towards women from when my gran was a teenager, to my mum, to me.

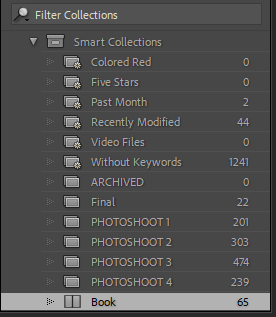
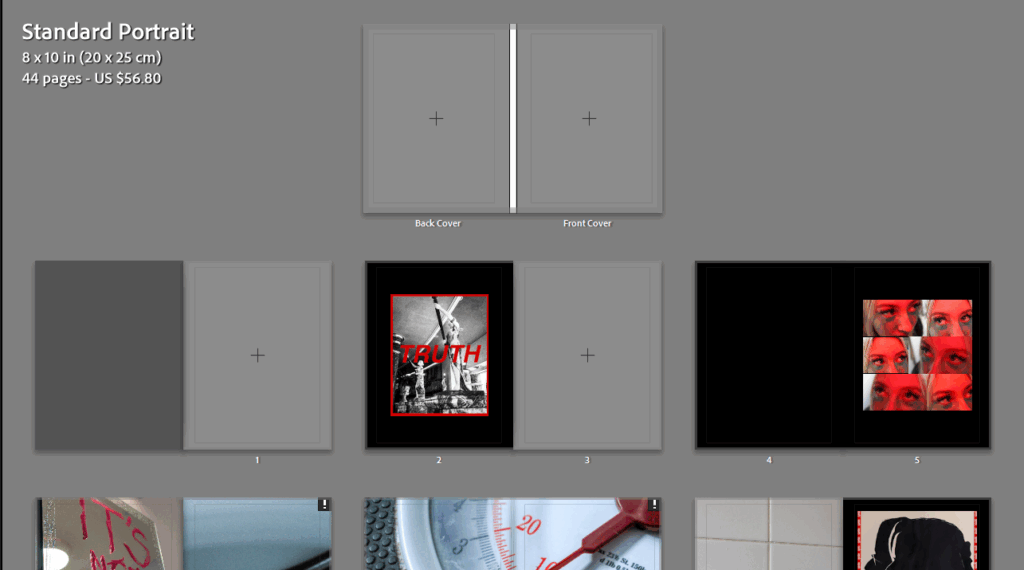
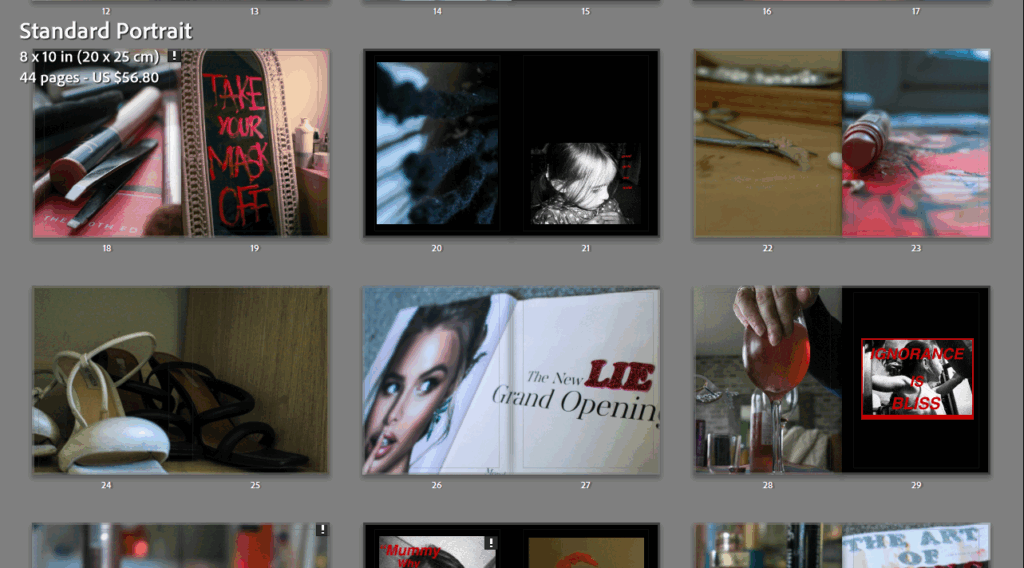
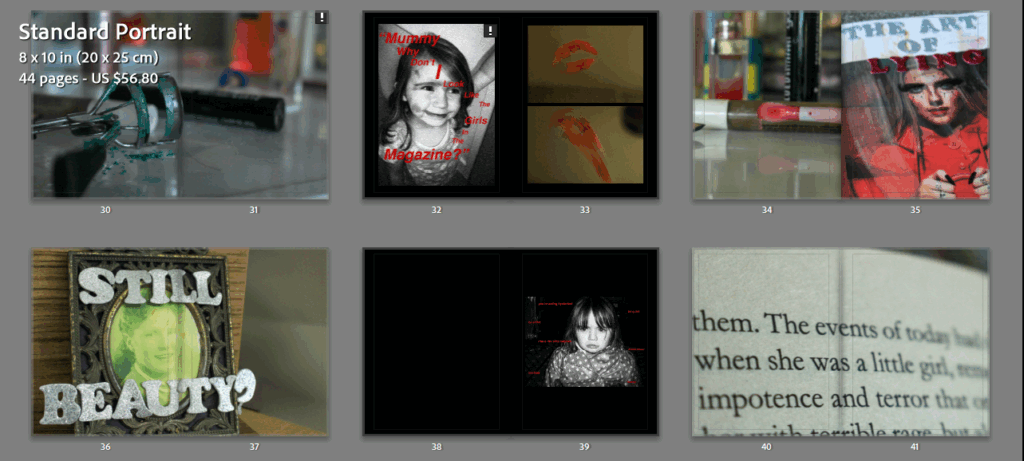
I did this using Blurb in Lightroom, where I initially flagged all of my best images so that it would be easier for me to see my images rather than just having to look through all of them when designing the layout. I then created a saved book so that I could keep this in my Smart Collections to make it more accessible.

I decided to go with a standard portrait book because most of my images are vertical, however I am still able to incorporate my horizontal images as double-page spreads as these are some of my best images so a portrait book allows me to do that easier.

I created my first initial layout before thinking of my front cover or the title as I felt it would be easier to draw this together once I sequenced my images in order to ensure the narrative could be conveyed clearly and effectively. I wanted to be very cautious with my placement of images as this movement covers a lot of heavy topics that have to be represented in a delicate way to suit the theme.

I decided to use a black background on all of my pages as many of my images are inspired by the work of Barbara Kruger, meaning that I can enhance the shade of red that I have replicated to make my images stand out more. As well as this, I find it to be more relevant to the concept of my photobook than white pages for example, as the colour black has negative connotations. This allows me to reinforce the negative meaning behind my images and I can make sure the viewer doesn’t interpret my images in an irrelevant way.

I didn’t want to add any text to the photobook itself, contrasting my last, because many of the images have writing on them already so I didn’t want to drive the viewer’s attention away from this. Additionally, I wanted my images to stand alone and speak for themselves, specifically the images where I have employed a short depth of field or soft focus as I think that this is key in representing how delicate each of these sub-themes are within Feminism.

I decided I was going to make this as a hardcover photobook because I selected this for my last photobook and I really liked the overall aesthetic of it. Additionally, when I was researching different photobooks to deconstruct I found I generally preferred those with a hardcover, for example Rahim Fortune’s I can’t stand to see you cry. I also decided to leave a few blank pages in my photobook to create a serious tone around some of the images as they stand by themselves, making them looking more ominous whilst suggesting there is a deeper meaning.

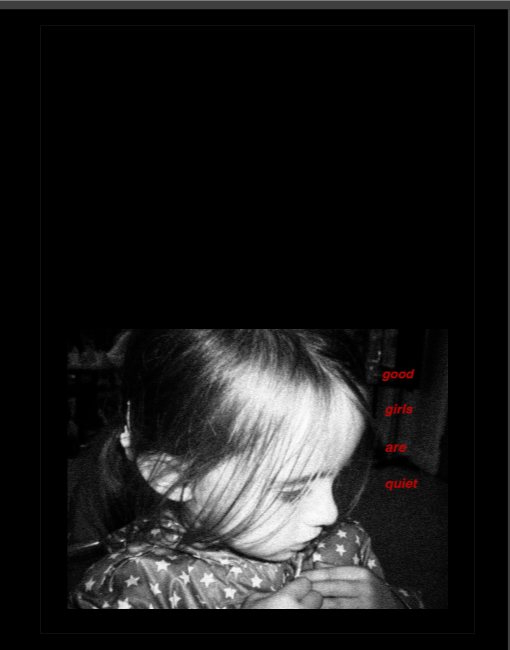
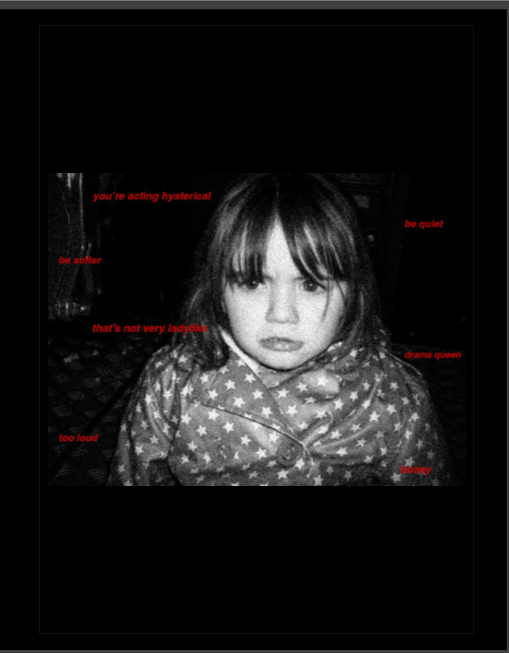
Many of my Barbara Kruger inspired archived images had to be reduced in size due to the resolution varying as these images were already quite old from childhood and had a large amount of editing with the grain feature on Lightroom in order to obtain that ‘hardened’ and almost vintage look that Kruger gave her images. However, this worked quite well in the end as it allowed me to just use them as featuring images, with them having writing on anyway to ensure that the viewer still remained engaged. I had to keep these images small so that the resolution would remain above 120ppi.

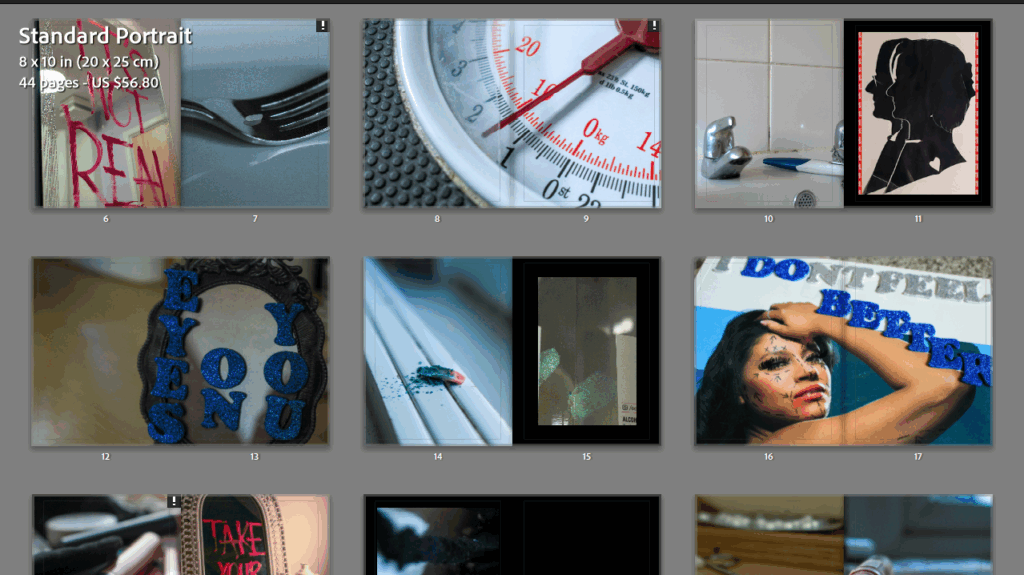
The layout that I typically used for my images were full-bleed pages, whether that may be single or double, because I think that this means the viewer cannot become distracted by the aesthetic of the book itself, but instead the composition of the image as there is nowhere else to look. However, I didn’t want to just do this as it would make the design quite boring, so I played around with many different page layouts as well as swapping around some of the pages with each other to make sure the sequence ran smoothly.

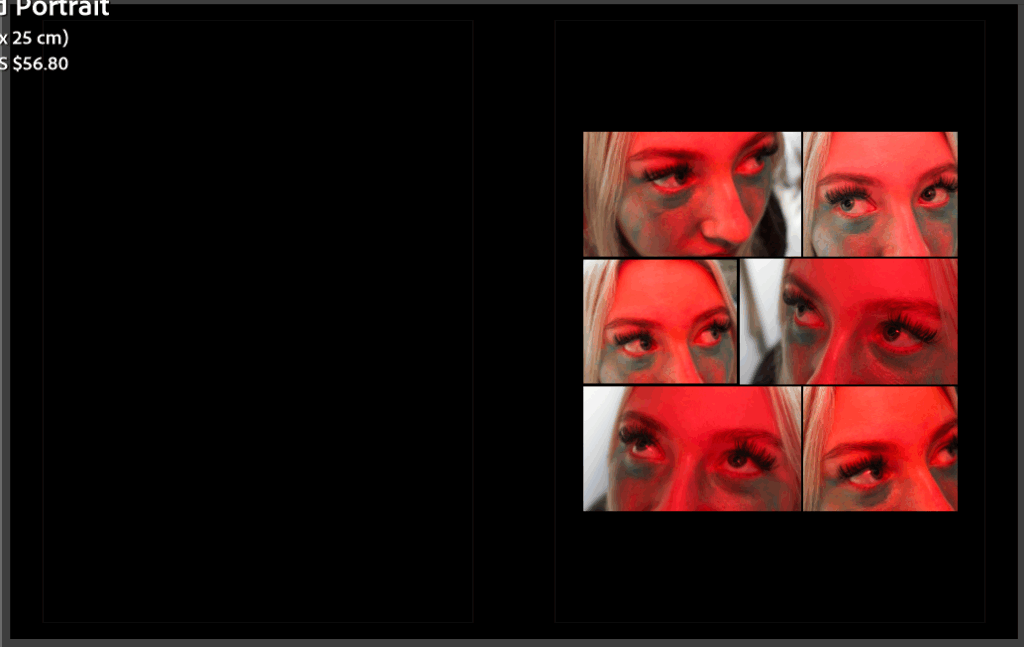
For example, I really liked this as one of my first few pages as it is really unique and uses 6 different images at varying sizes. I used 6 similar images to represent the inverse male gaze, where instead my subject darts her eyes around different directions on the page as if she is searching for her place in society. This was a set of images inspired by Hannah Altman’s And Everything Nice, replicating the glitter under her eyes in representation of tears.

Front and back cover:

I used all of the images I liked inside the photobook so I decided to go back through my photoshoots and try to see which images would be suitable. I specifically went through my fourth photoshoot where I digitised archived images and belongings that were from my mum or gran so I felt that this would give me an opportunity to use them.

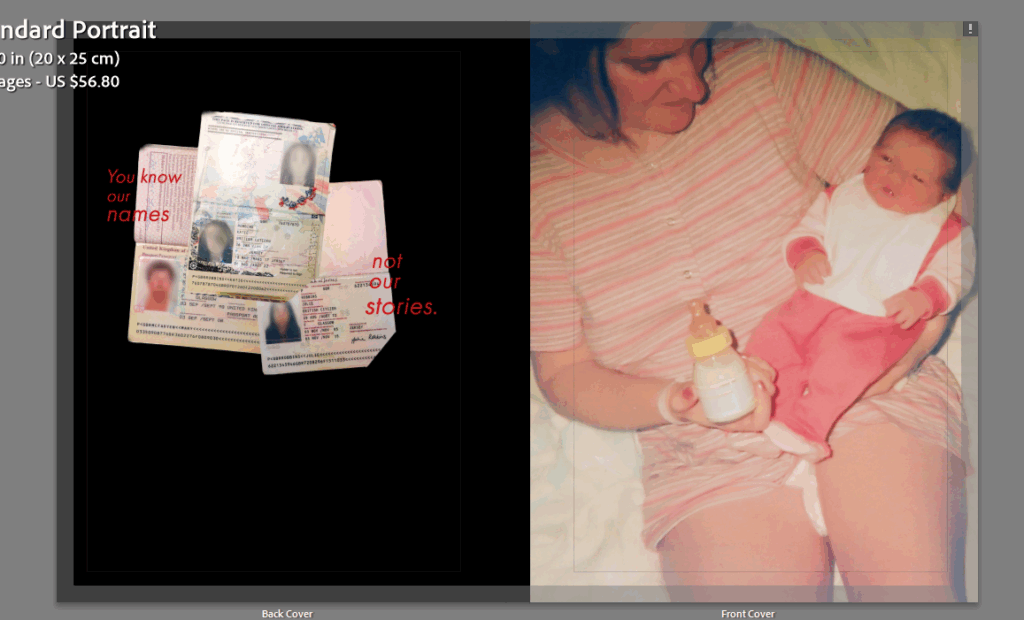
My initial choice was to use these two images, the left being one of my experimentations (blurring out the faces of myself, my mum and my gran on our passports in Photoshop and then layering them to show that this is an issue that is faced by all women) and the right being an image of my mum looking after me when I was younger. I chose this image as both me and my mum are solely wearing pink which is a colour commonly associated with femininity, as well as the image showing a traditional stereotype of a mother looking after a baby.

However, I felt that this looked too much as if the narrative was going to be an internal reflection rather than an exploration of this movement.

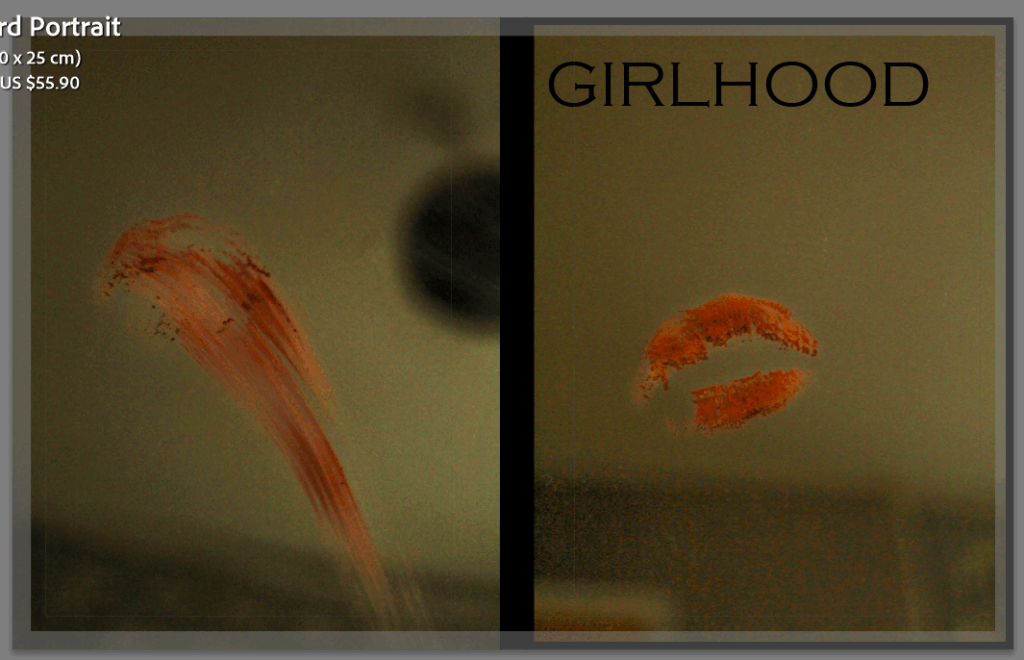
I decided to settle on this one as I like how the back cover has wiped the lipstick away, signalling that the book is complete and has finished. I made the spine of the book remain black and played around with different fonts and titles. Because there is quite a low tone and exposure in thee two images, I feel that this makes the book seem more ominous as the phrase ‘girlhood’ connotes ideas of love and friendship, whilst the background contradicts and juxtaposes this. I used the title girlhood in an ironic way for this reason. I put the title quite big and in bold using the font Copperplate Gothic Light which I think has tied together well with the black spine of the book as it keeps the composition dark and mysterious.

Front Cover Magazine Experimentation-

Using photoshop to design front covers-

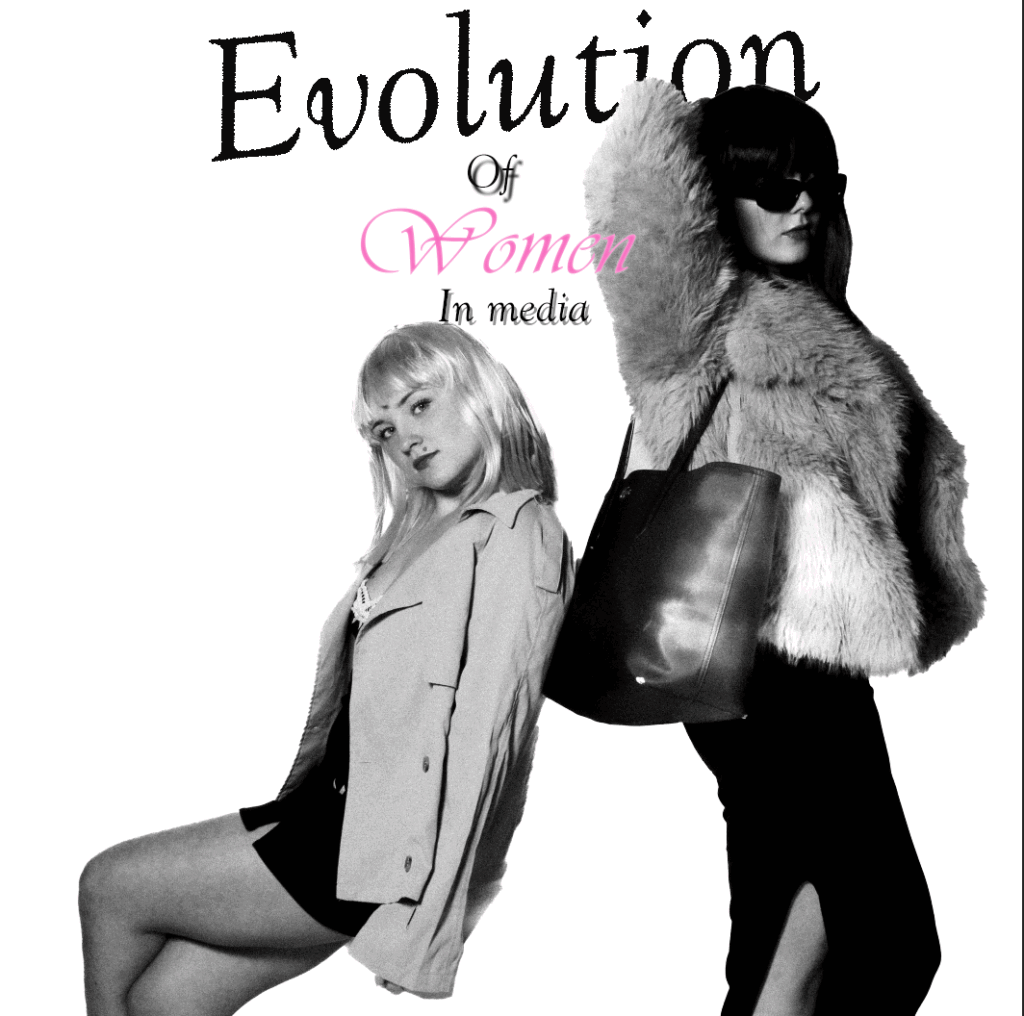
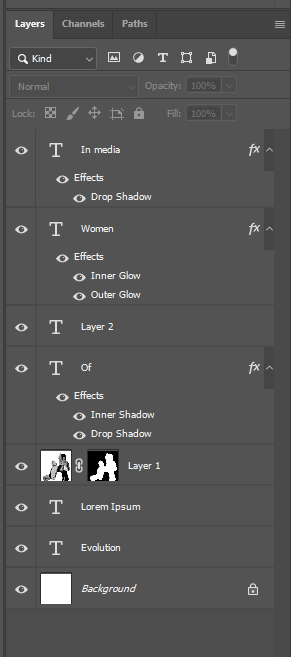
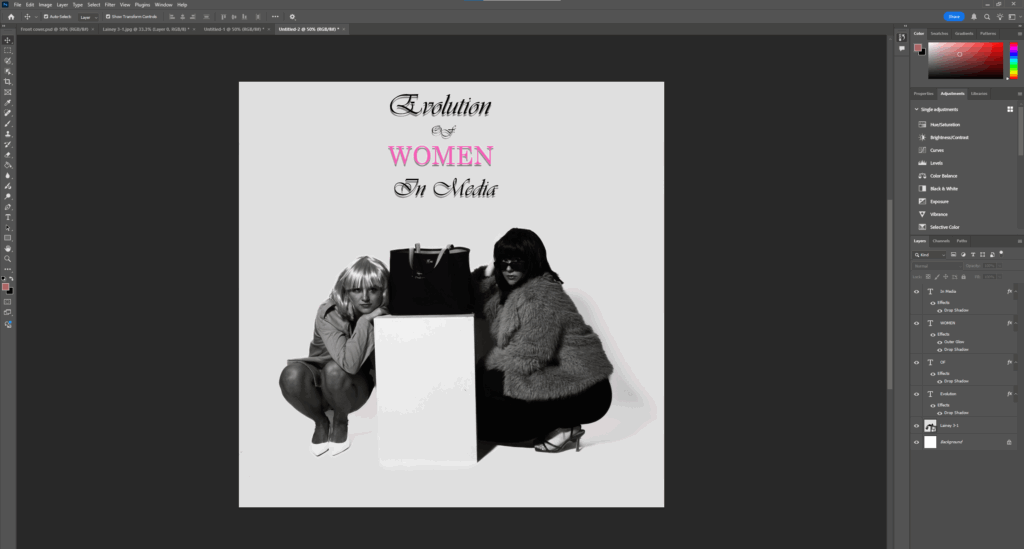
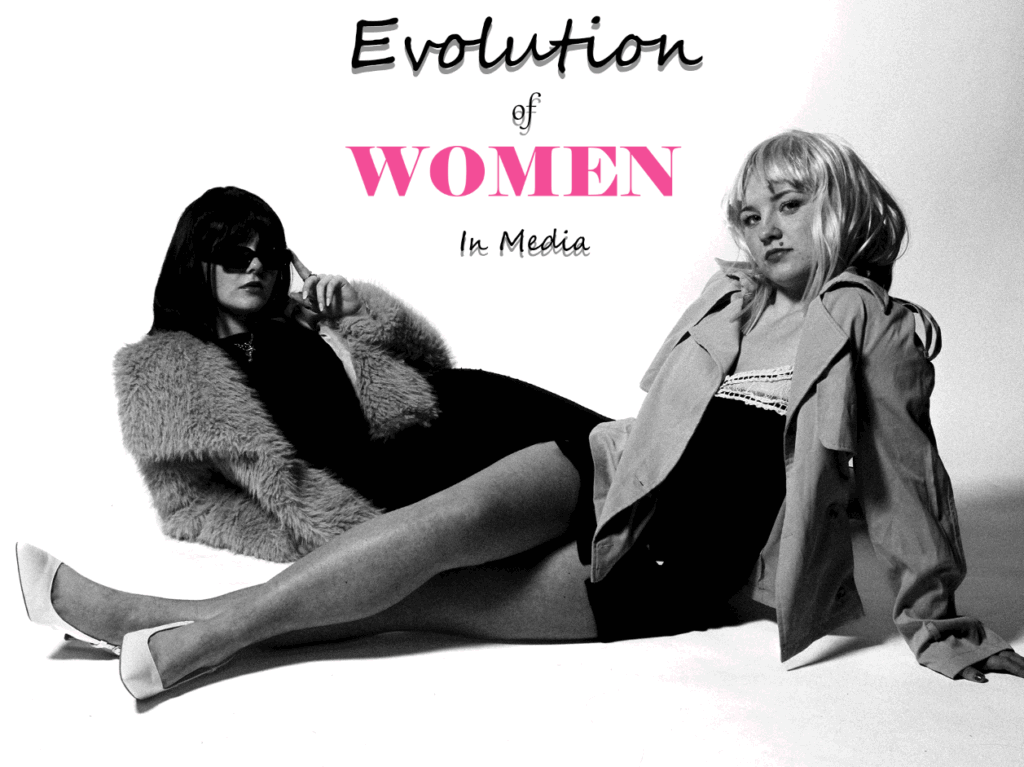
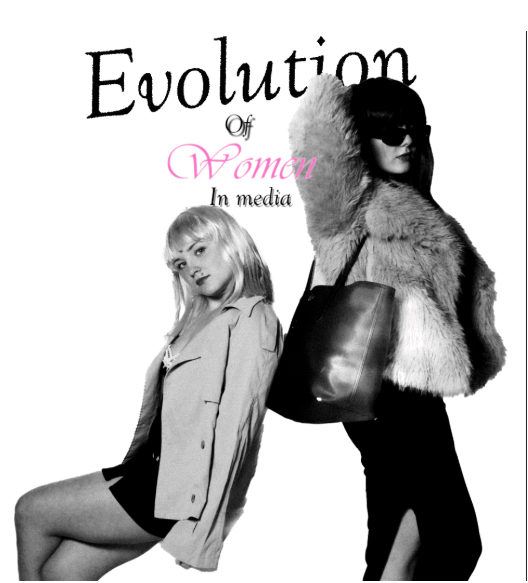
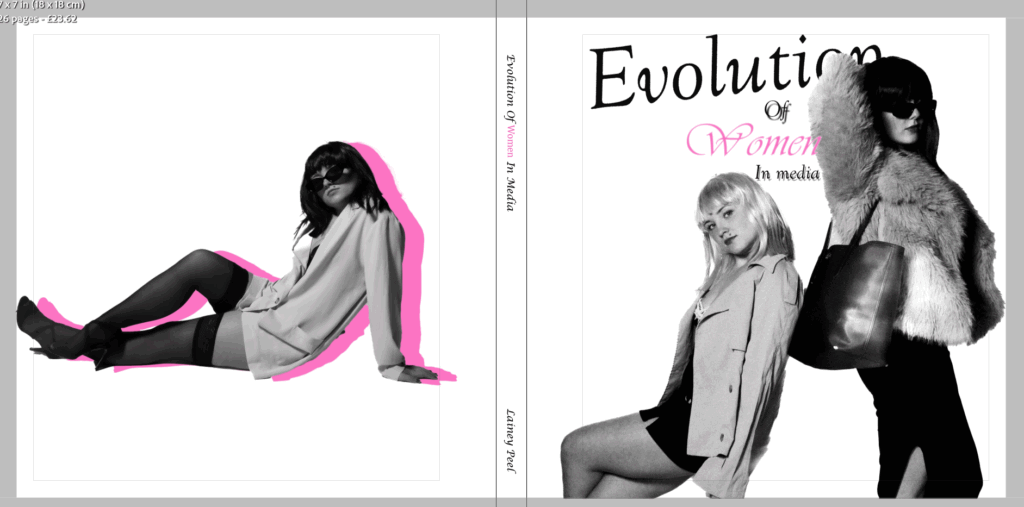
The front cover is important as magazines are always the first impression. I want my front cover to have the two of us included. This is because it links to the theme of union and tells the viewers immediately what my magazine is about. Not only this but it seems more powerful, and fits into the plural phrase of ‘ women’ for my title. I wanted my title to be clear and simple expressing what my book is about. I had many ideas such as – ‘Power in Heels’, ‘The Gaze Reversed’ etc. However, I liked how mine was simple yet straight forward and involved my project surrounding the main stream media and the shift women faced. I wanted my font to be rather feminine and I knew I wanted the word ‘ women’ to be in pink as it would make it stand out vibrantly and straight away express that my book is surrounding the theme of femininity. My favourite experimented version would be the first one as it is my favourite image and the font goes seamlessly behind the subject.

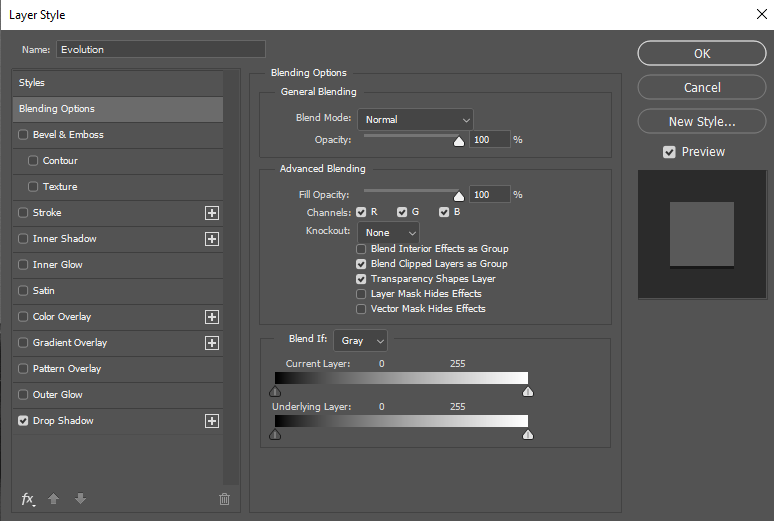
I wanted the word evolution to be bold and noticeable, but the font keeping it clear and eye catching. The font being slightly slanted and going behind the subject adds a little edge to it and professionalism. For the ‘ Of’ and ‘ In Media’ I added a drop shadow to make it look 3D. This is beneficial as inside my book, obtains 3d allusions linking to Yayoi. Therefore it contains a successful link seamlessly. Lastly, I will change this image to be my front cover as it looks rather professional and I like the other effects such as the drop shadows and strokes etc because you cannot do that on Lightroom.

Final Outcome-