Initial Contact Sheet
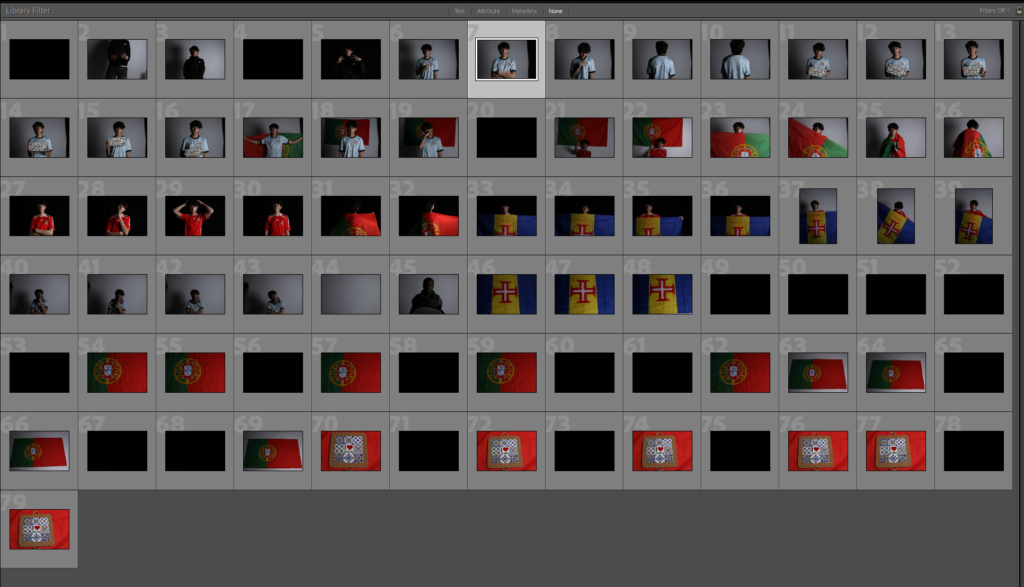
For this Photoshoot, I did the same as the first photoshoot however, this photoshoot was done by myself and no one else. I used a tripod to set the composition up exactrly how i wanted it and then put on the timer setting on the camera so that i had enough time to click the shutter release and get into frame. Overall I took 79 photographs in this photoshoot and I took these portraits with different clothing which represents my background which is Portuguese / madeira.
Selection Of Photographs
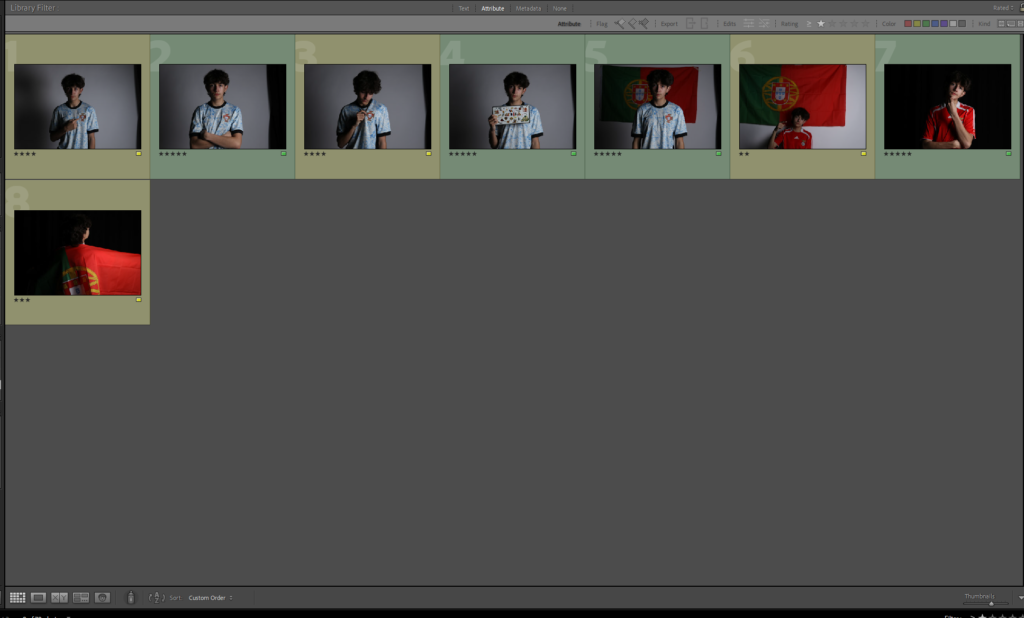
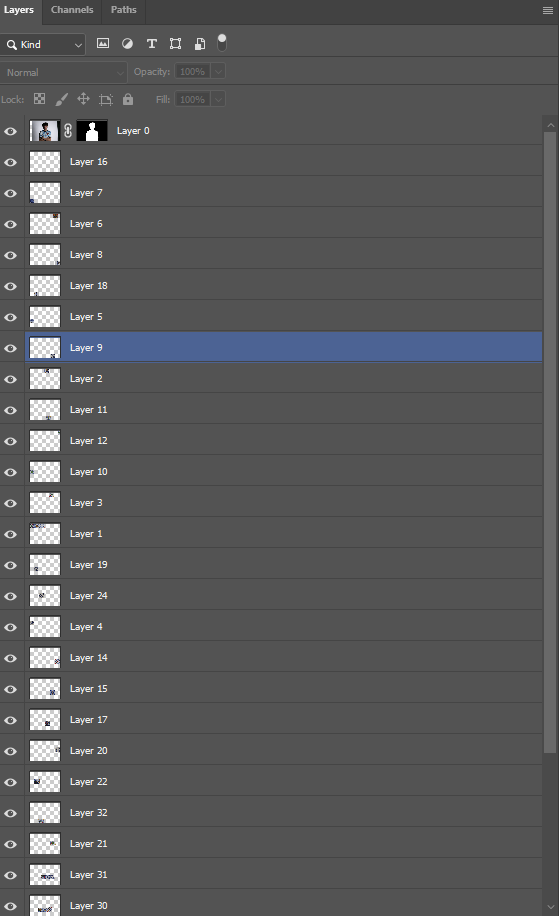
When selecting which images are stronger than others in the photoshoot, I mainly focused on choosing the images which had a clear use of a professional lighting technique for example, Rembrandt lighting, Butterfly lighting and Chiaroscuro. Displayed in the screenshot above, I have selected the raw images I will be using to edit, the photographs highlighted in green are the ones which I find are the best in terms of composition, symmetry and lighting. The images highlighted in yellow are images which are not as strong as the ones highlighted in green however, can still be used to create interesting edits.
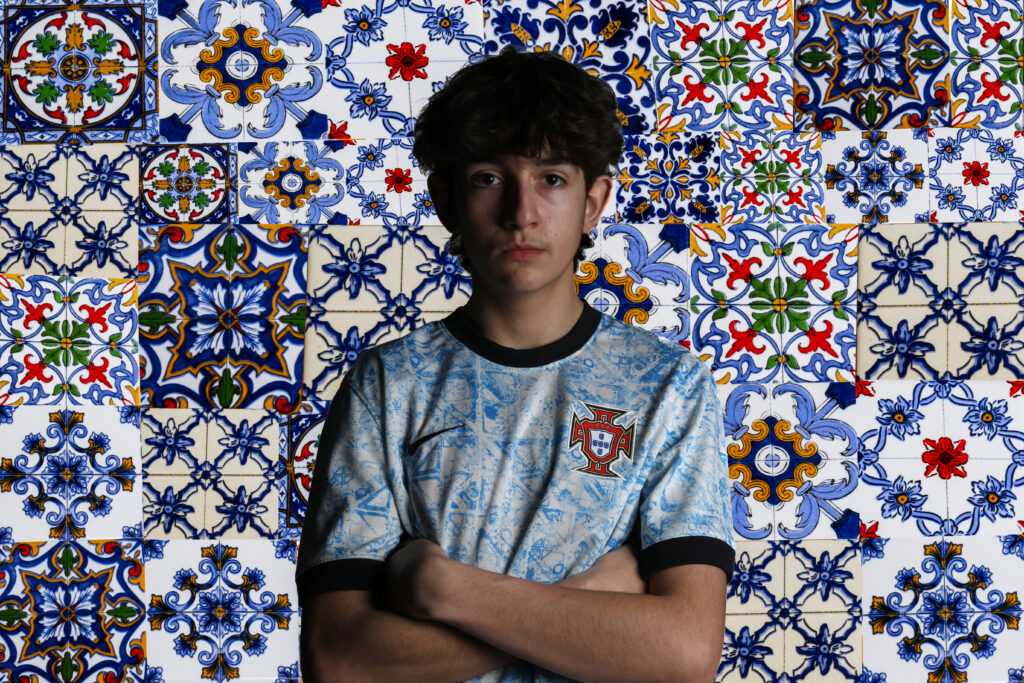
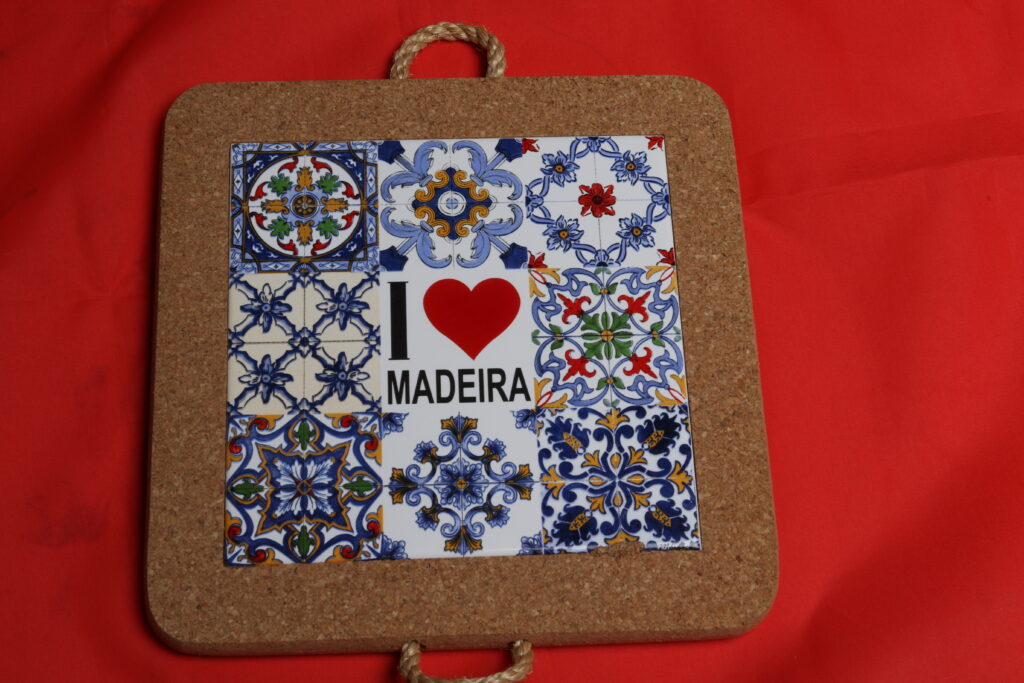
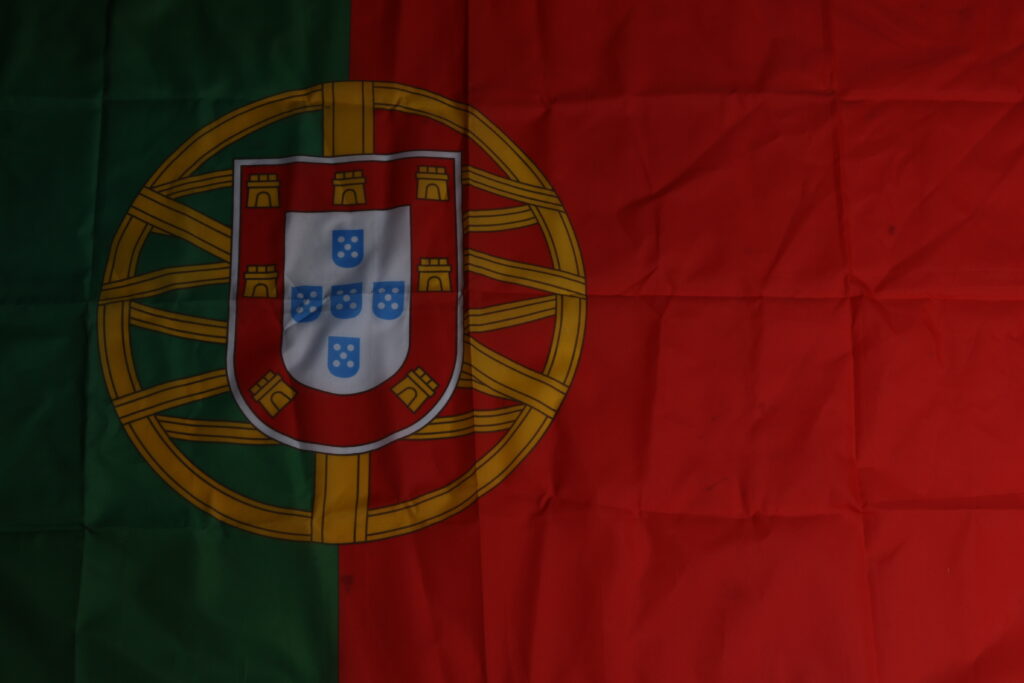
These Studio Portraits on their own are quite boring and lack meaning to them therefore, I am going to manipulate them using Photoshop and Lightroom to add these images below into the background. The inspiration behind this editing idea came from Hassan Hajjaj, in his photos the foreground will usually be someone from a specific culture wearing cultural, bold clothing and the background is colourful and usually cultural related, whether its a mural, a pattern etc. However Hassan Hajjaj already takes the photo of the model with the background in the same shot, I am taking a different approach as I did not have the possibilities to create a set with the background already in place, I am going to edit the background into the studio portraits.
Experimentation + Development
Photo 1 – Original Image
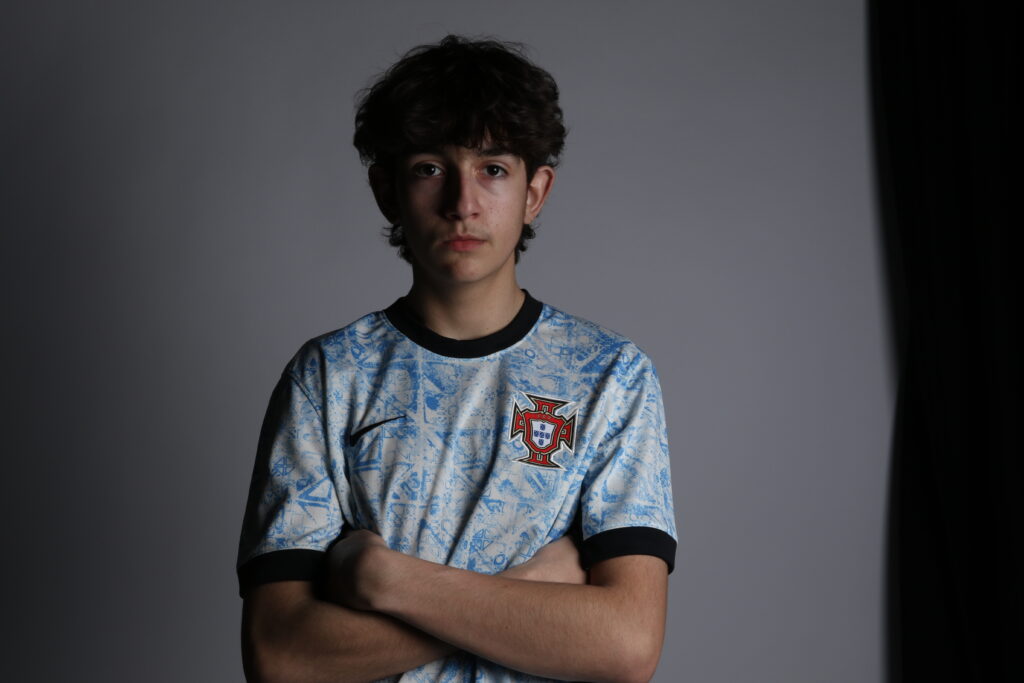
Photo 1 – After Lightroom Adjustments
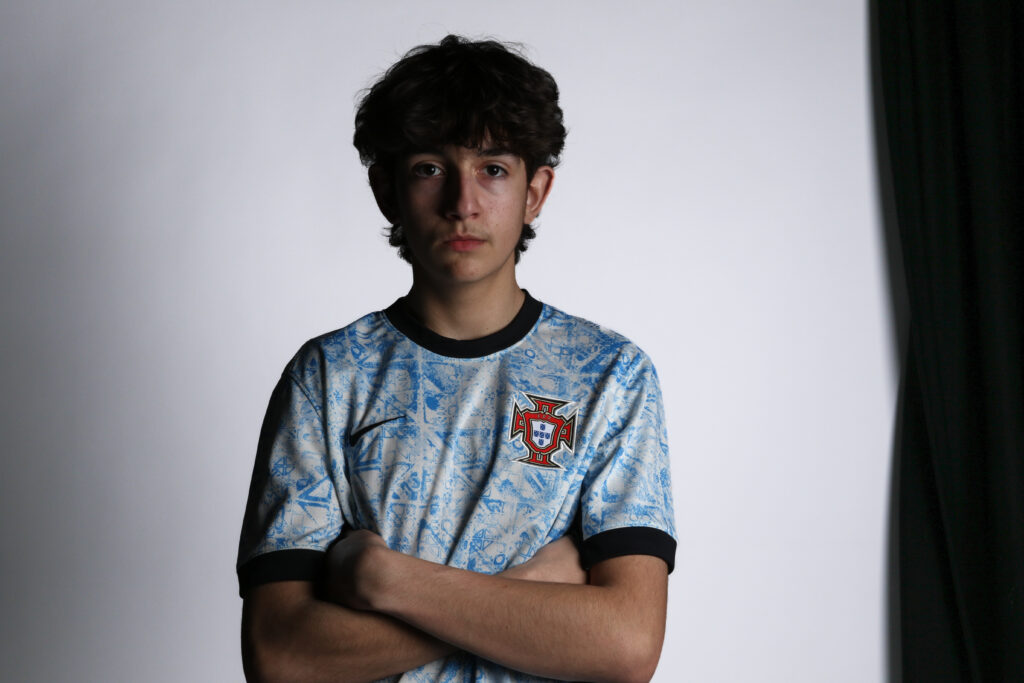
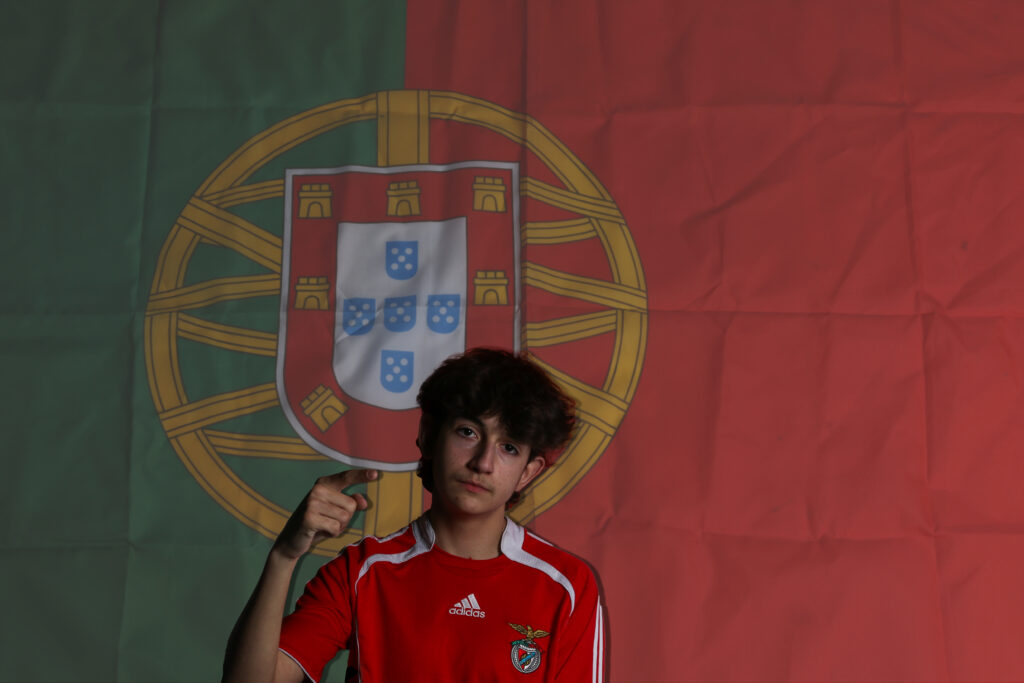
Photo 1 – Photoshop
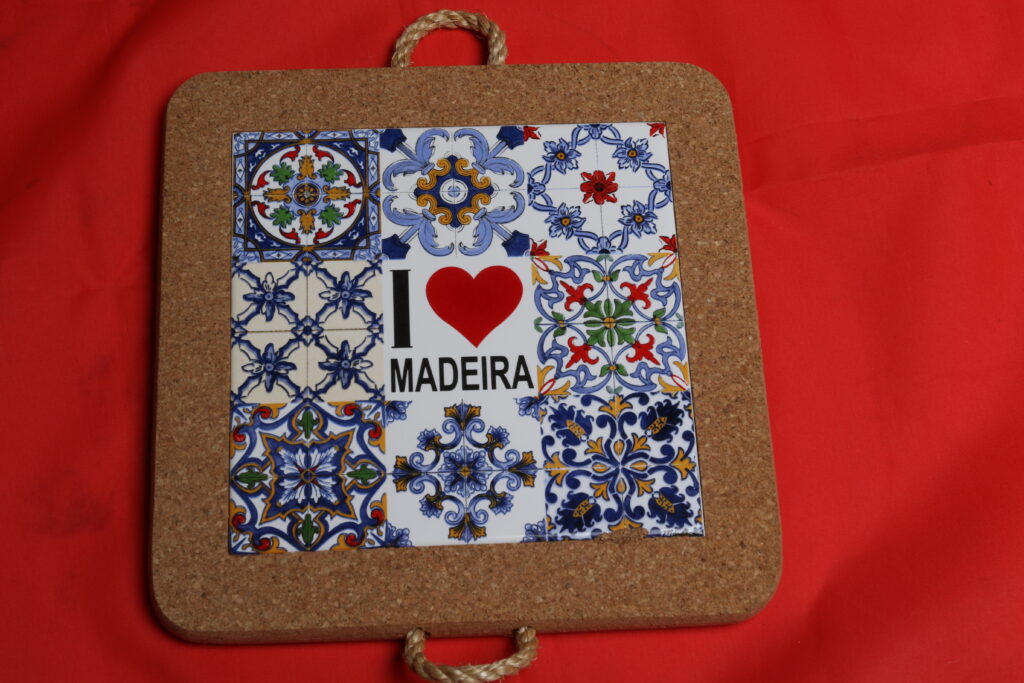
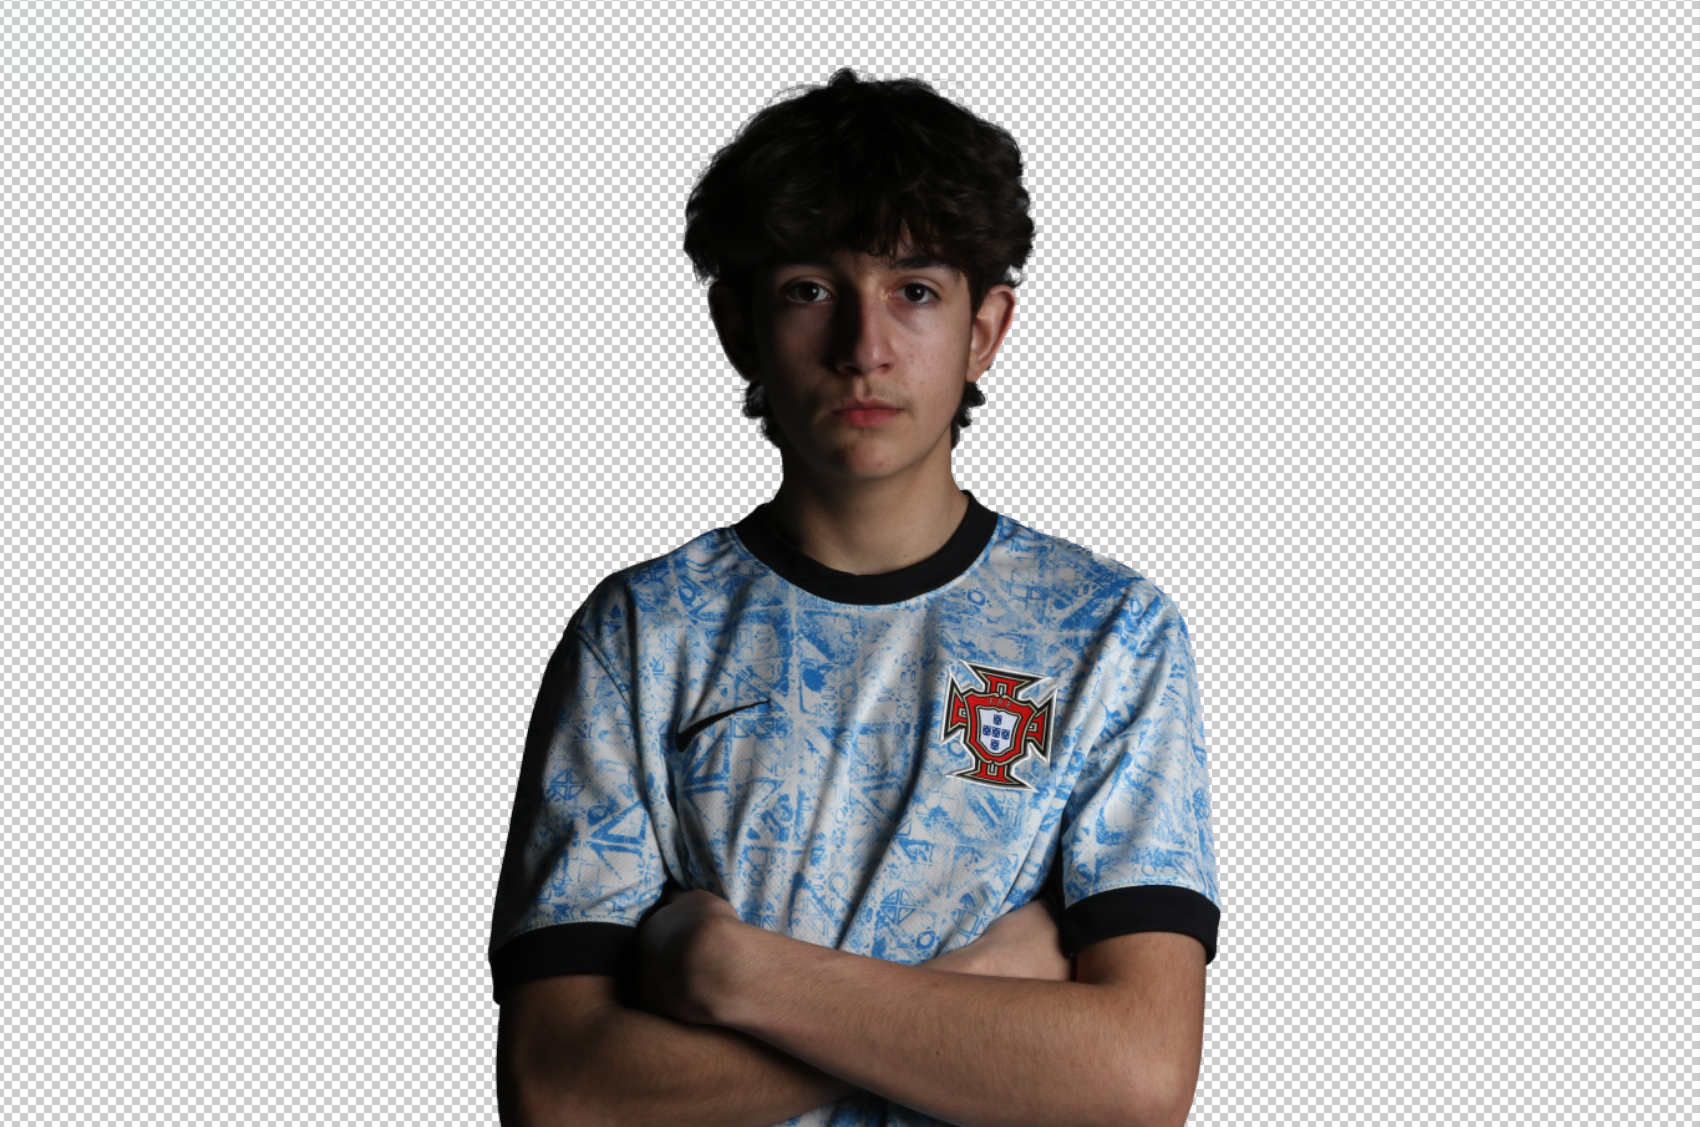
My next step was to make myself ( the model) be in the foreground, in front of all the tiles, to do this I used the quick selection tool selecting around myself and then using layer via copy to make myself a PNG. Once this was done, all I needed to do was place all the tiles which were layered behind me in a organized line / order.
Photo 1 – Final Form

Photo 2 – Original Image
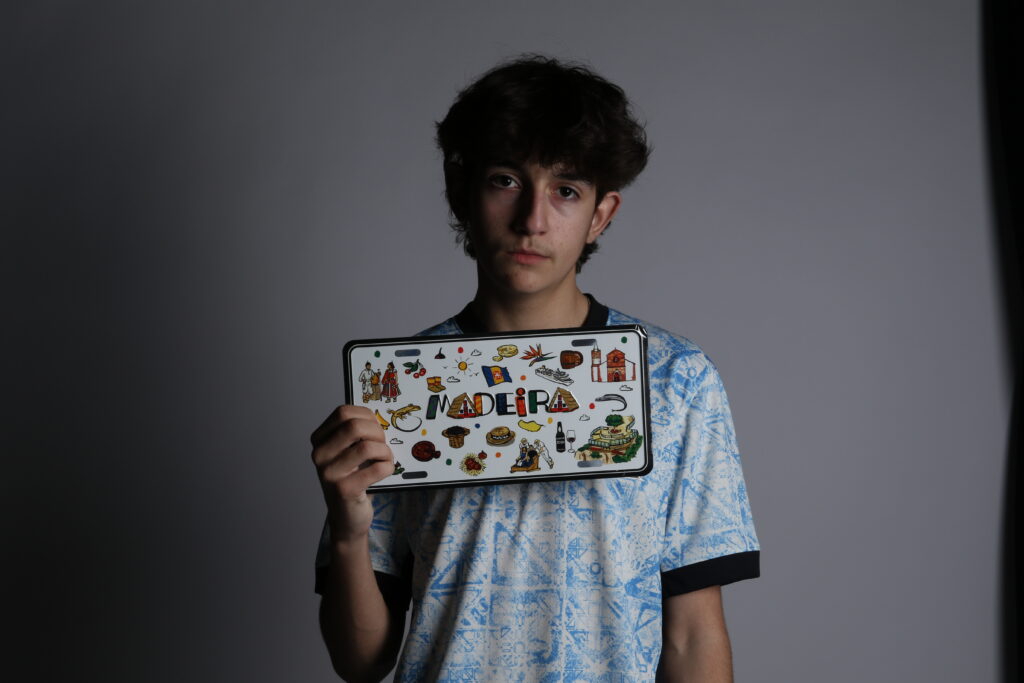
Photo 2 – Lightroom Adjustments

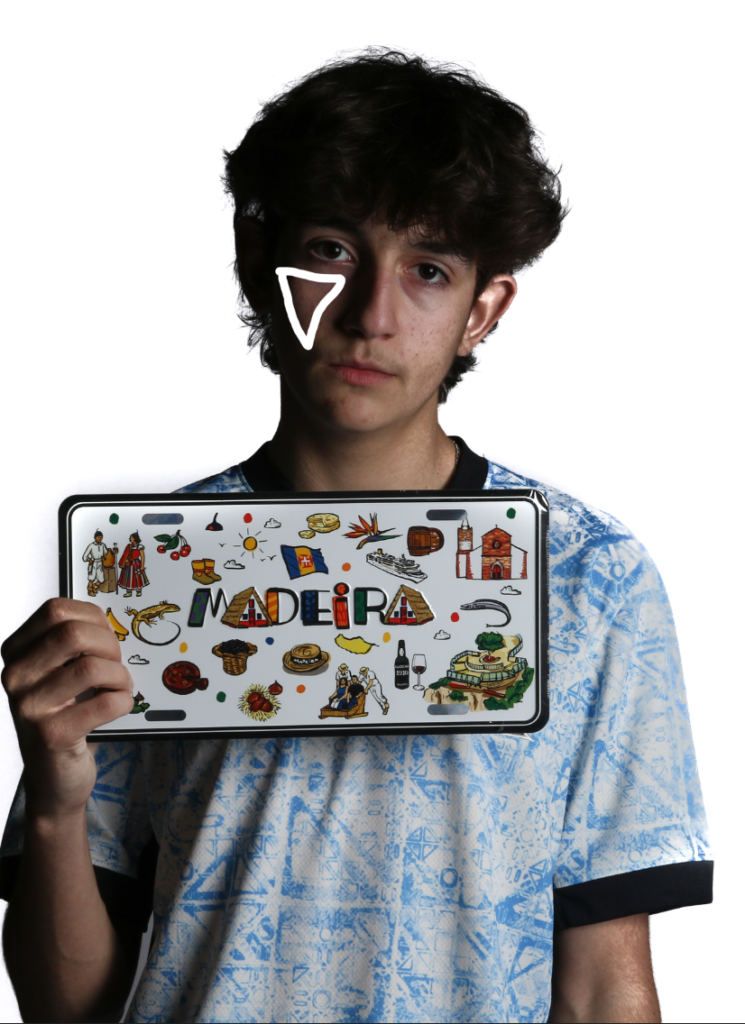
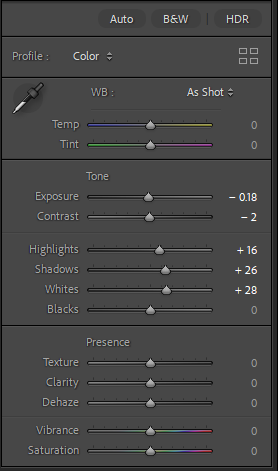
Photo 2 – Photoshop Manipulation
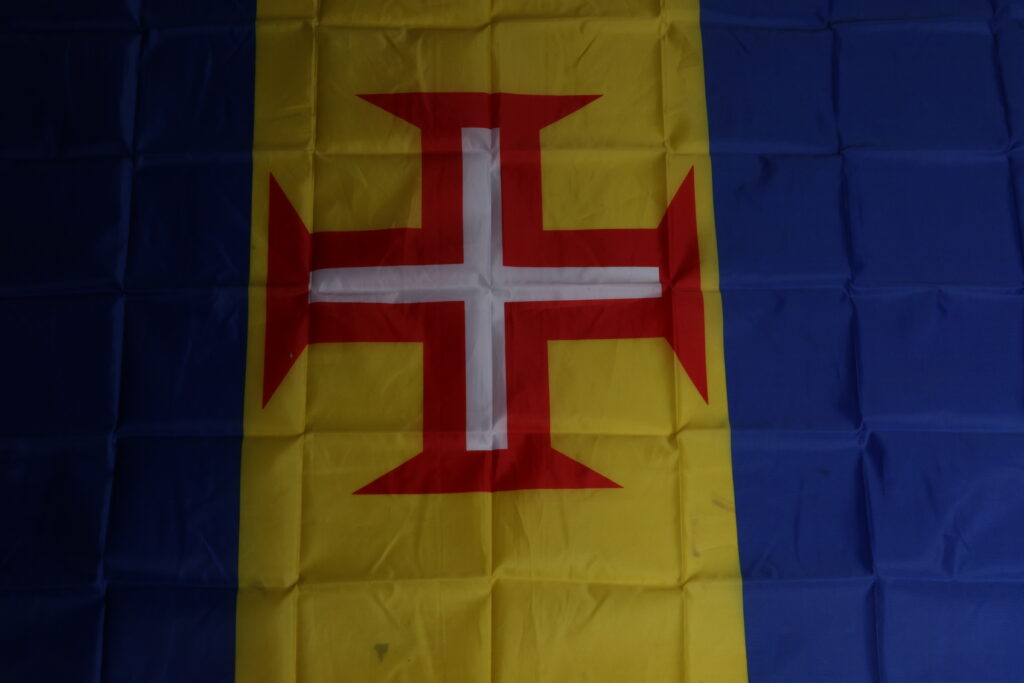
I put these two images into photoshop removed the background of the studio portrait using the quick selection tool and Layer via copy. Once the background was removed on the self portrait, I then dragged the madeira flag onto the same page but placed behind the subject. I chose to use the madeira flag in this edit because it worked well with the madeira sign I am holding up in the portrait.
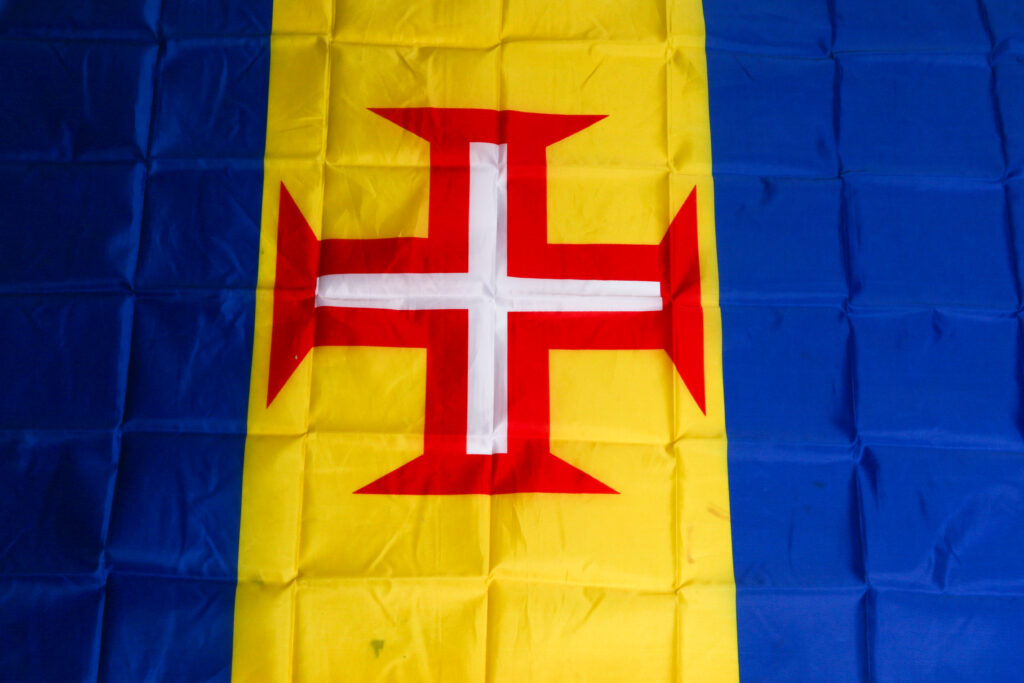
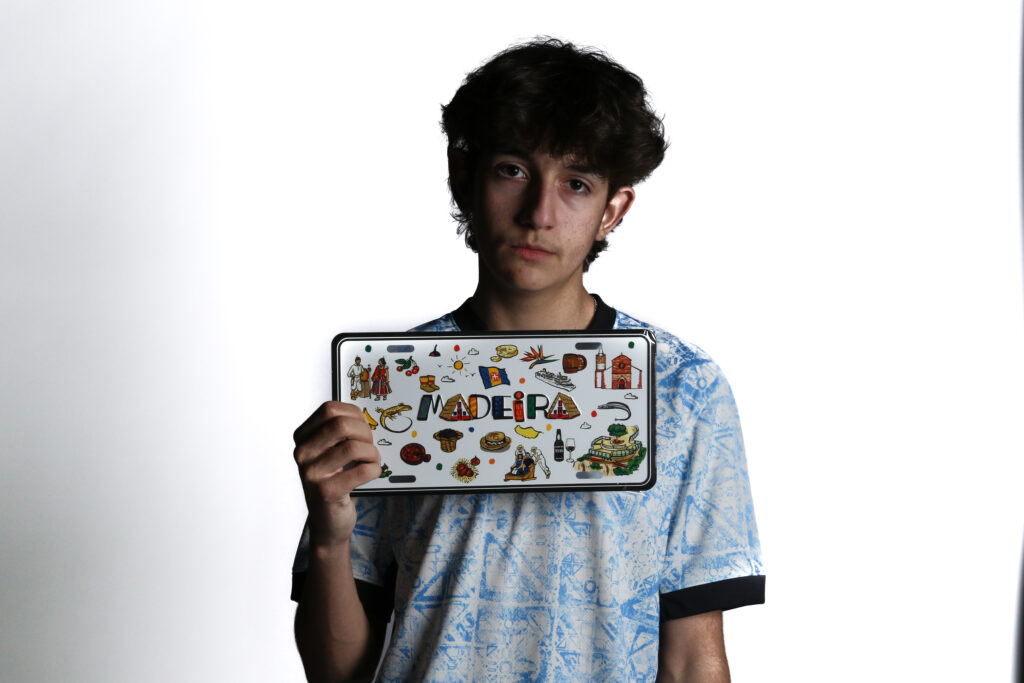
Photo 2 – Final Image
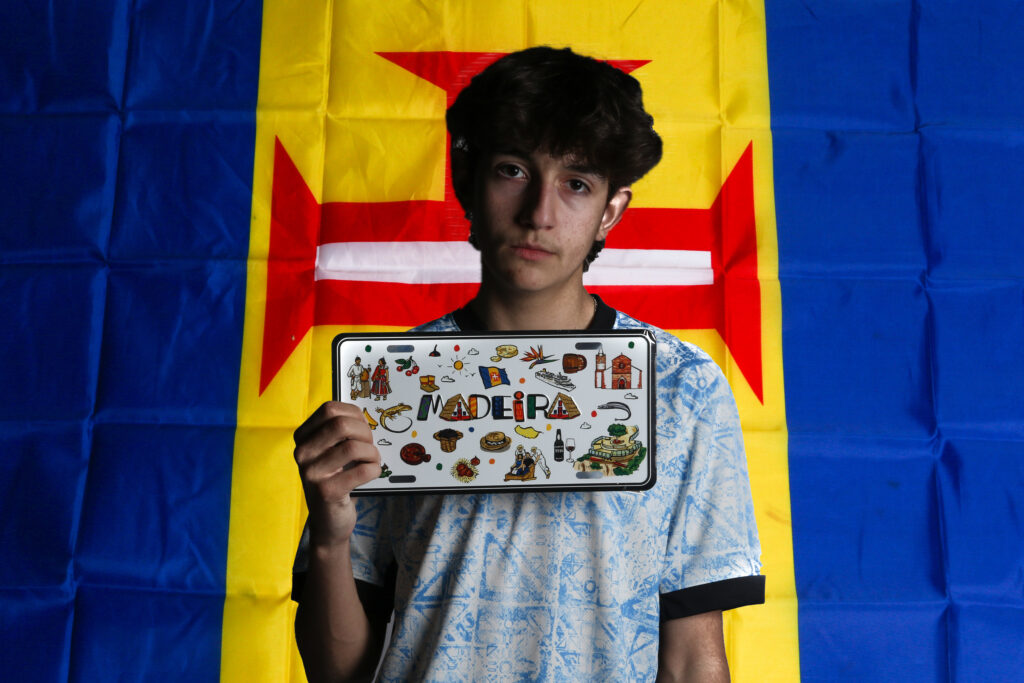
Photo 3 – Original Image
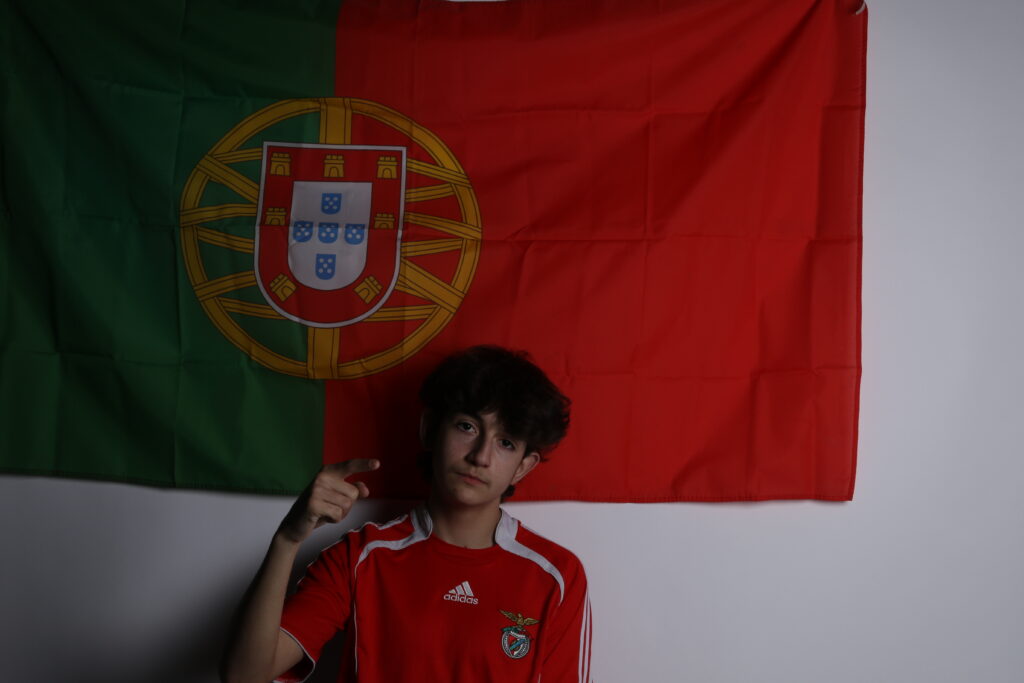
Photo 3 – Lightroom Adjustments
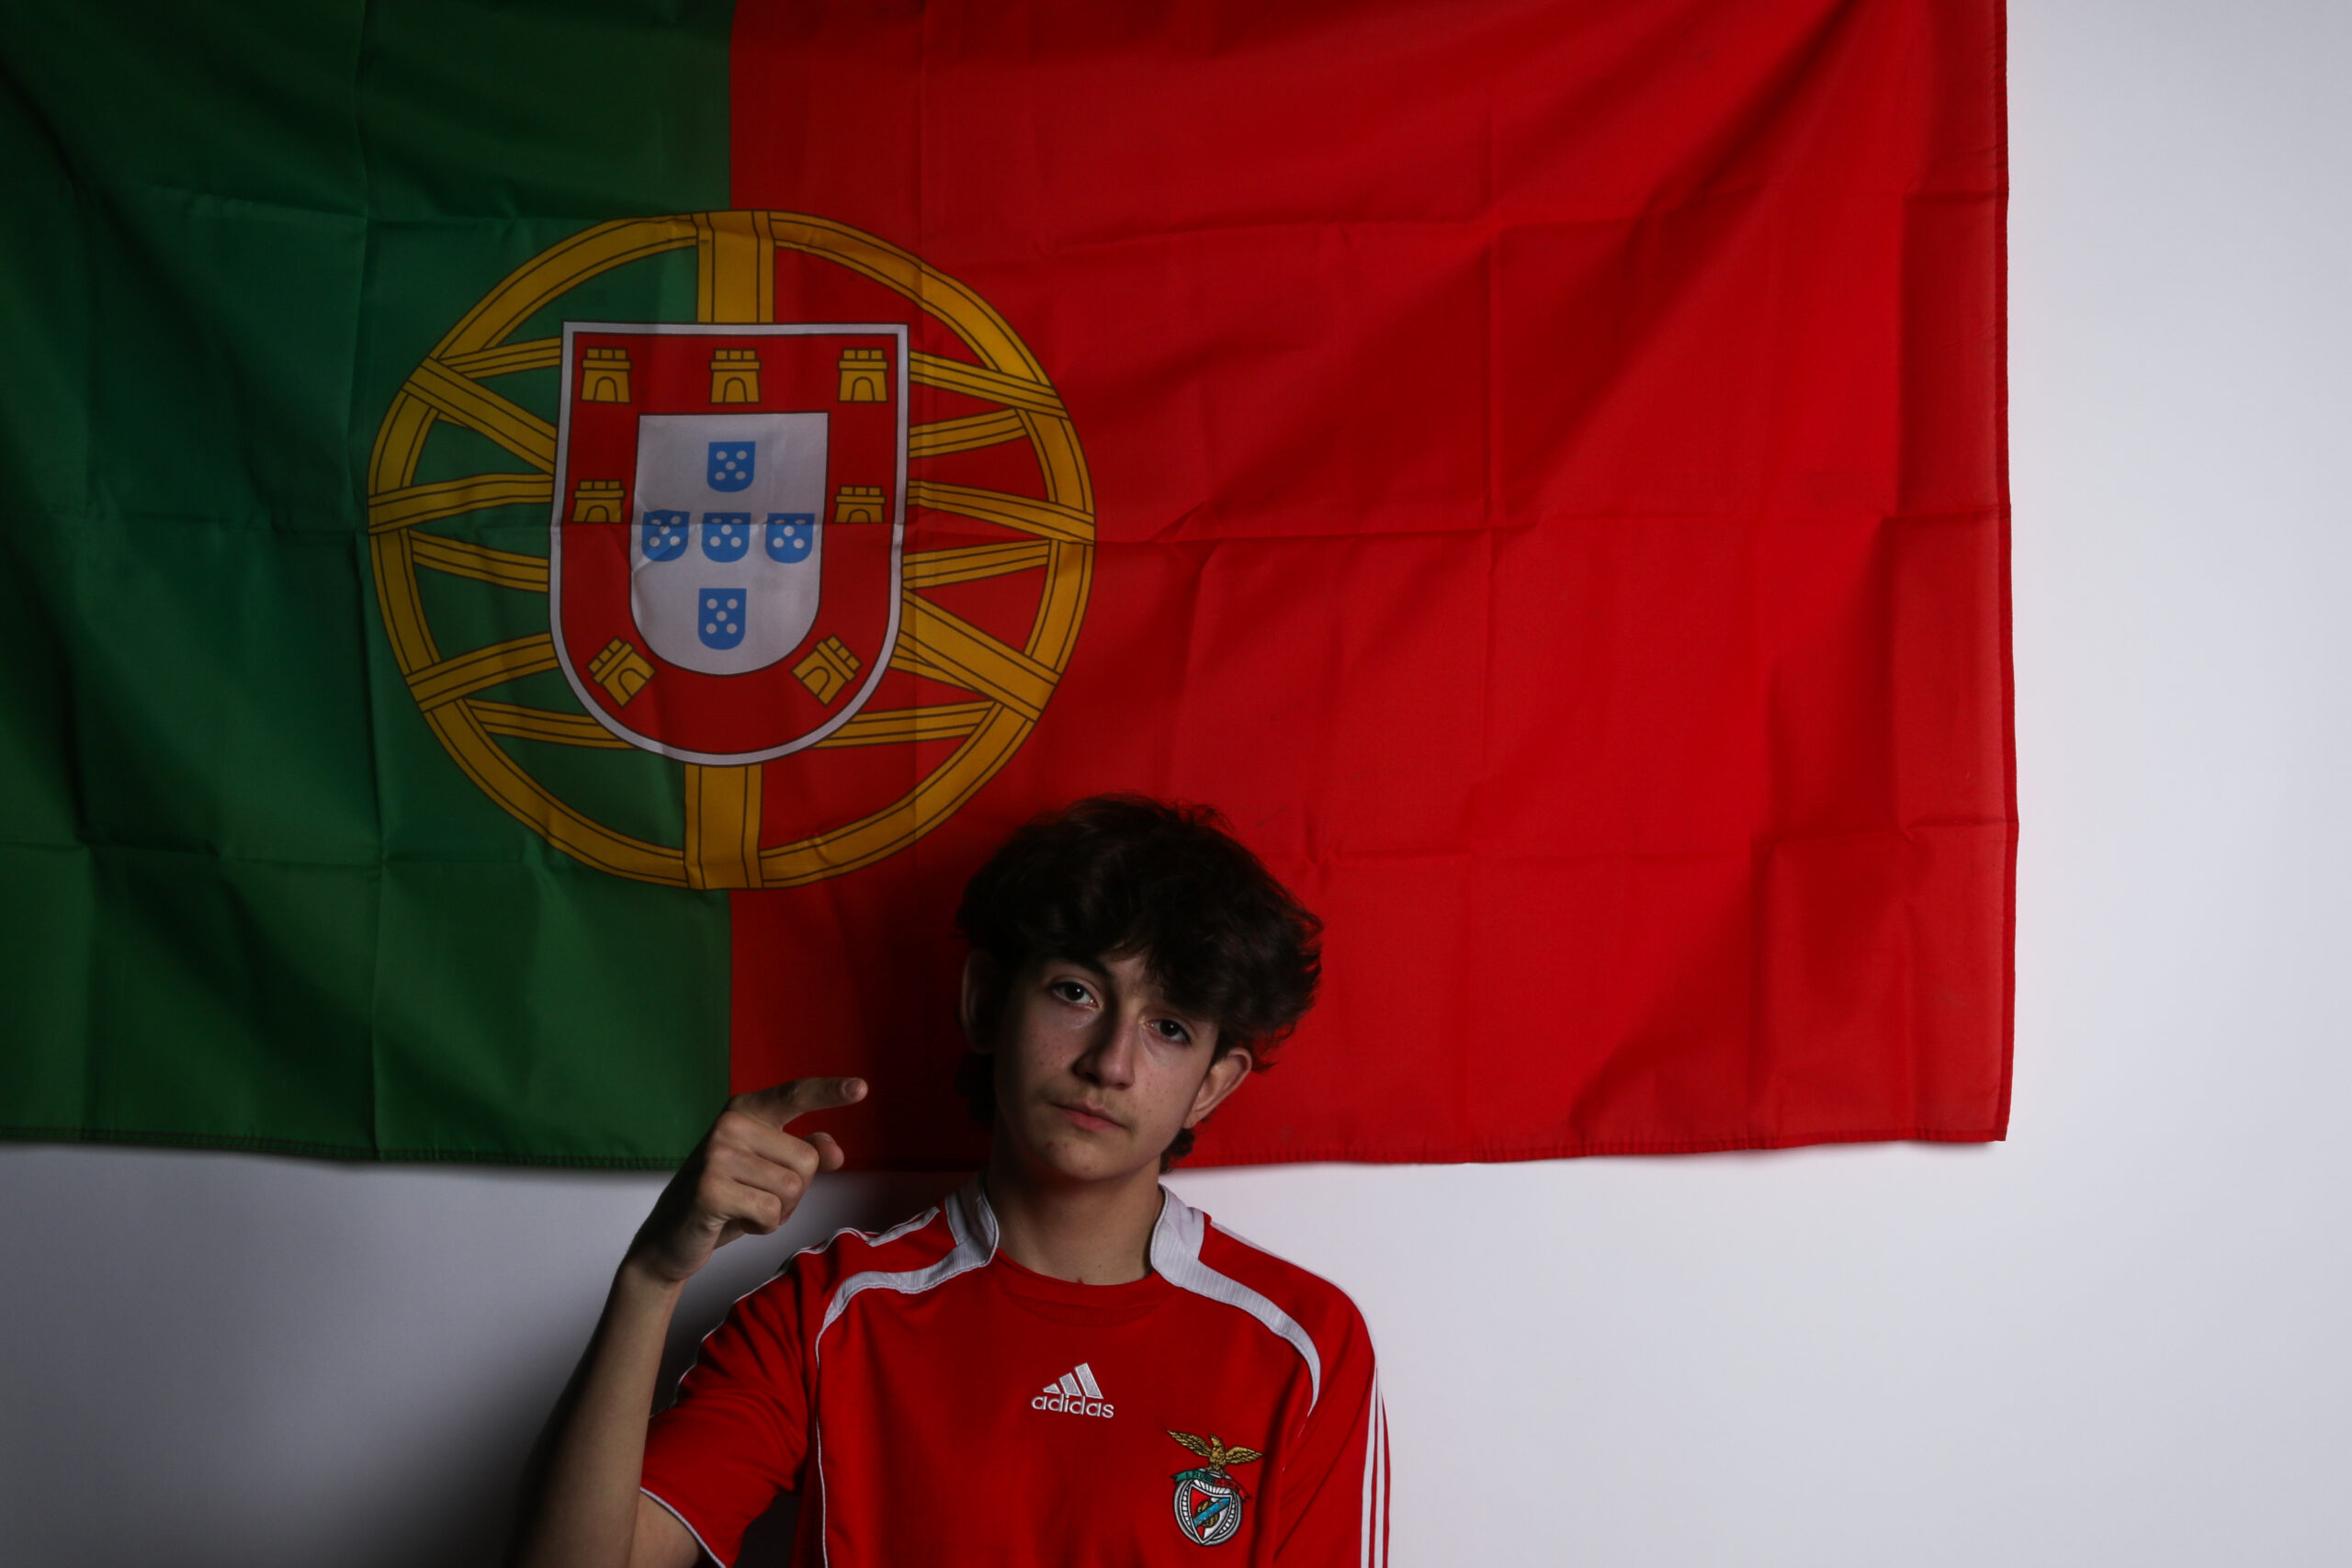
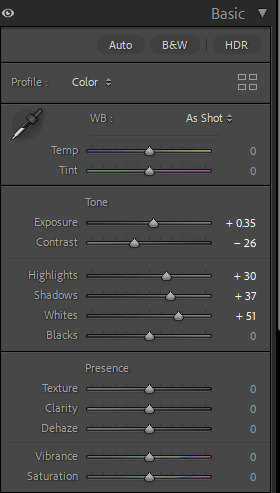
Photo 3 – Photoshop Manipulation

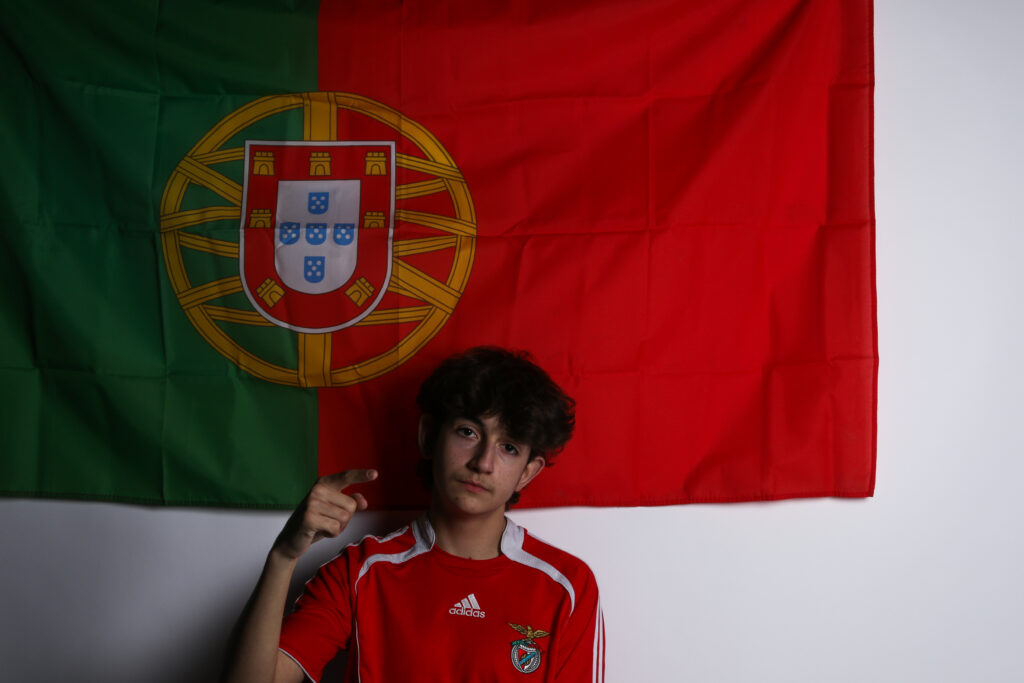
Photo 3 – Final Image
Final 3 Images