
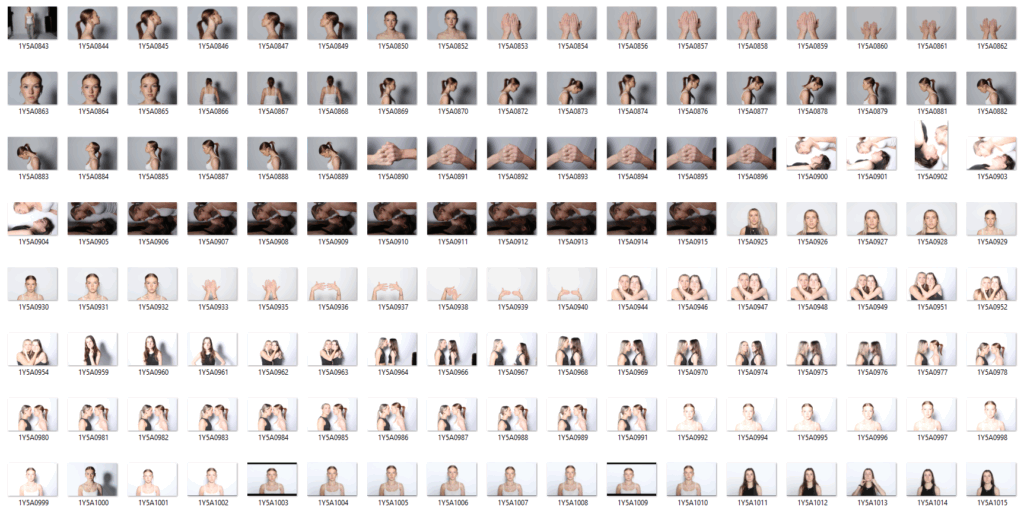
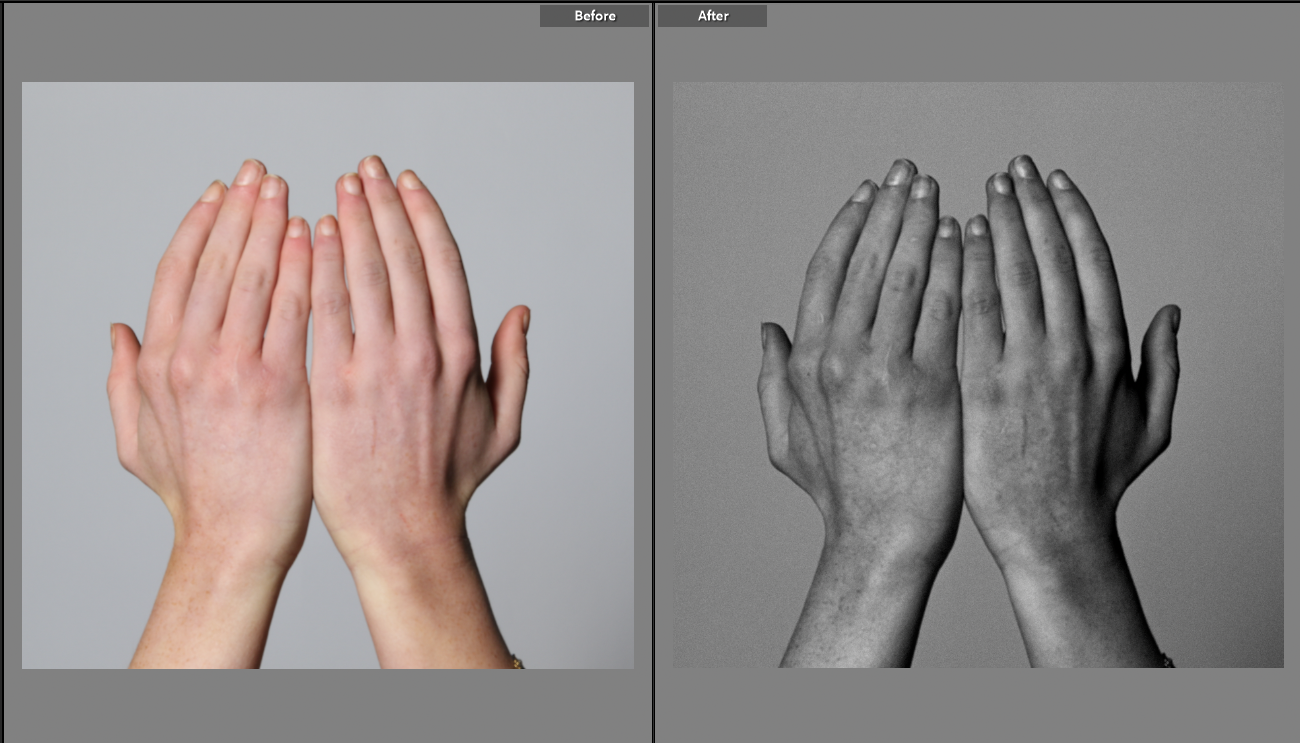
For this photoshoot, we went into the studio to take photos. I used artificial lighting with the studio light to create an even light in the images. When taking my images, I made sure that the light was behind the camera to prevent there being any unwanted shadows. I also used a plain white background to contrast with the people in the photos. I also used a white background as I felt that it would work best when I proceeded to edit my photos in photoshop. When I was in the studio, I took pictures of predominantly portrait photos, however I also took pictures of hands and backs to allow me to edit them together to create a union image. I like how my images turned out because I feel as though they will be effective when I start editing them together to create a photoshopped image. I also like the lighting of my images because they are bright to bring out the details in the peoples faces to enable me to merge them together. My aim was to take pictures that correlate with Tommy Inberg because I want to create surreal images to portray a sense of union between the different pictures coming together.
Before and After

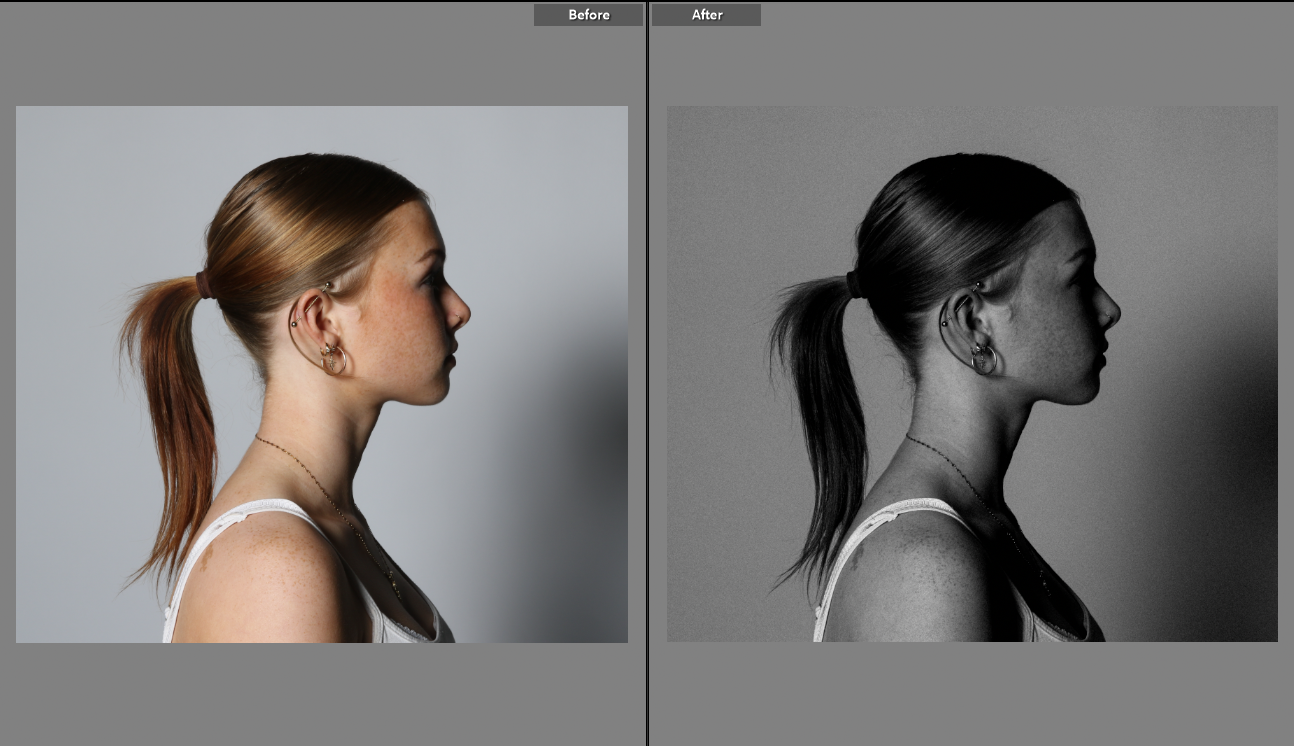
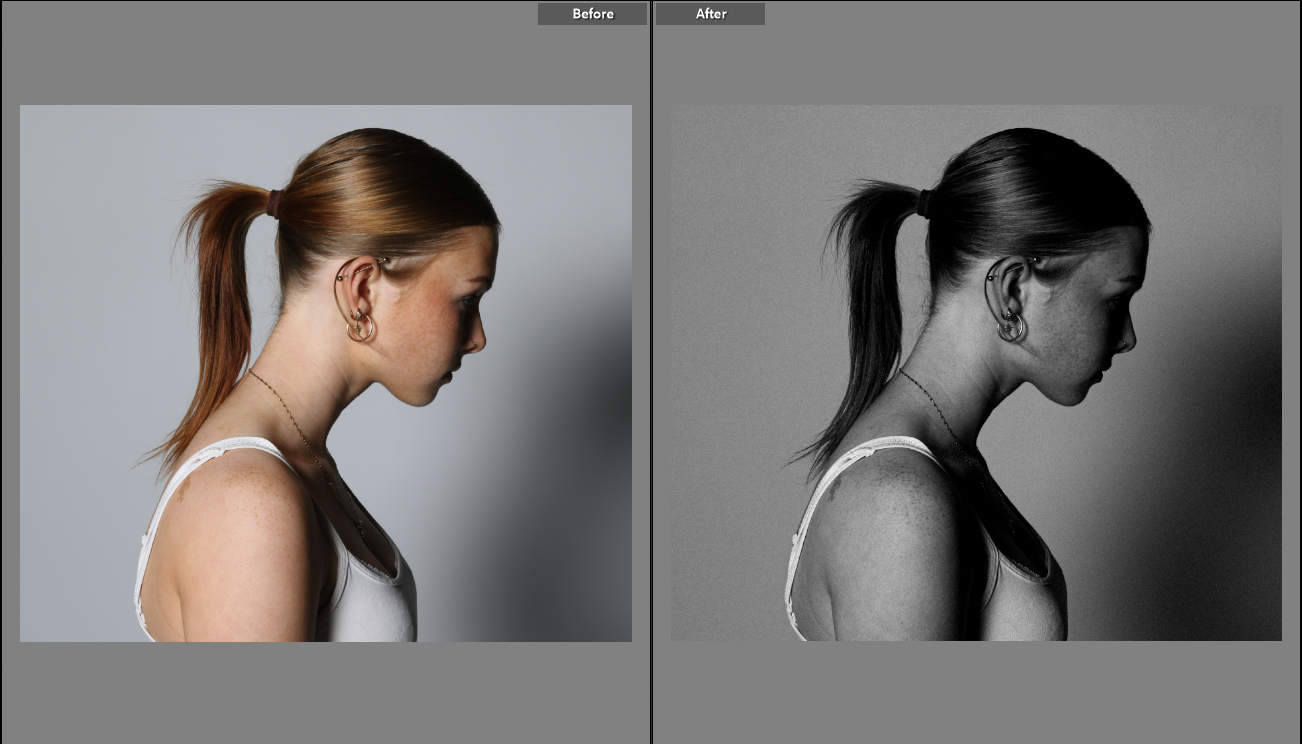
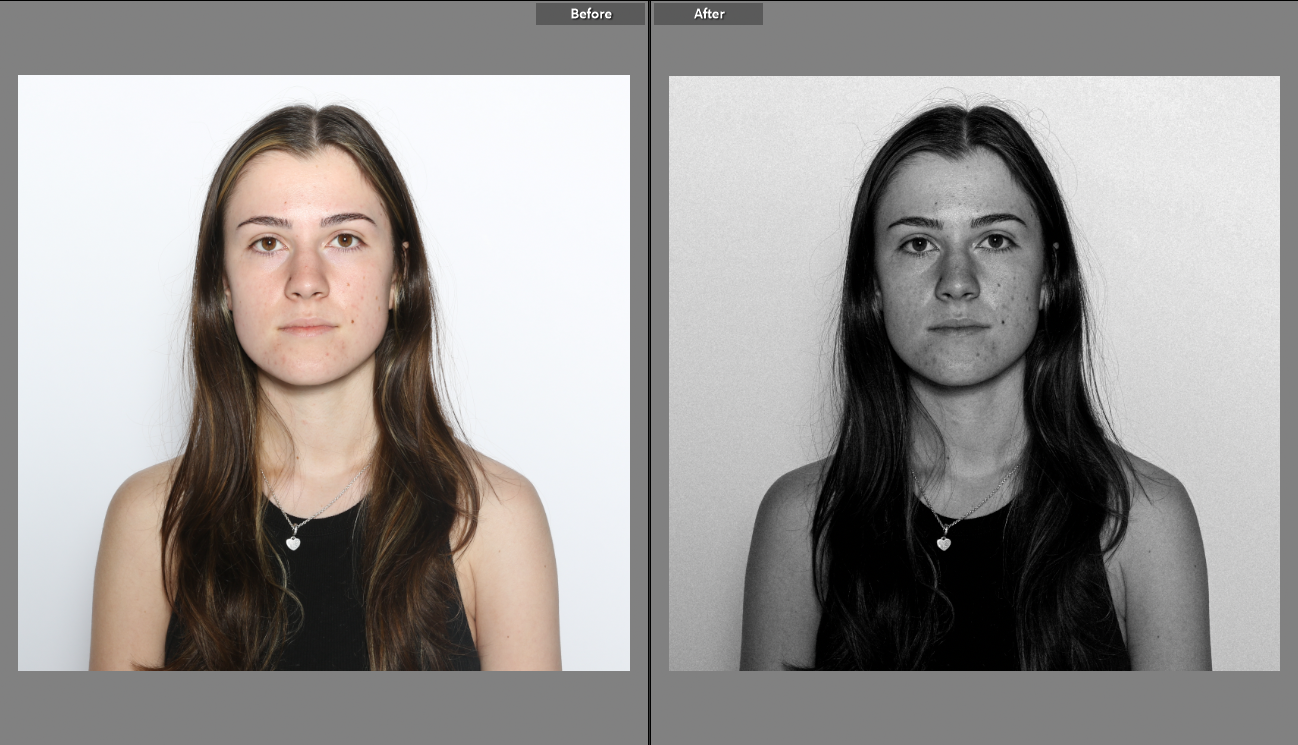
For all of my images I used Lightroom to edit them. I started by cropping them into a square shape as I feel as though this was the most effective way for them to be presented. I used the BW10 for my images to ensure that they were all the same tone and colour to allow me to merge them together later on in my project. I made sure that the lighting wasn’t too dark or too light as I feel that it would’ve taken the purpose away from the image.
What Went Well
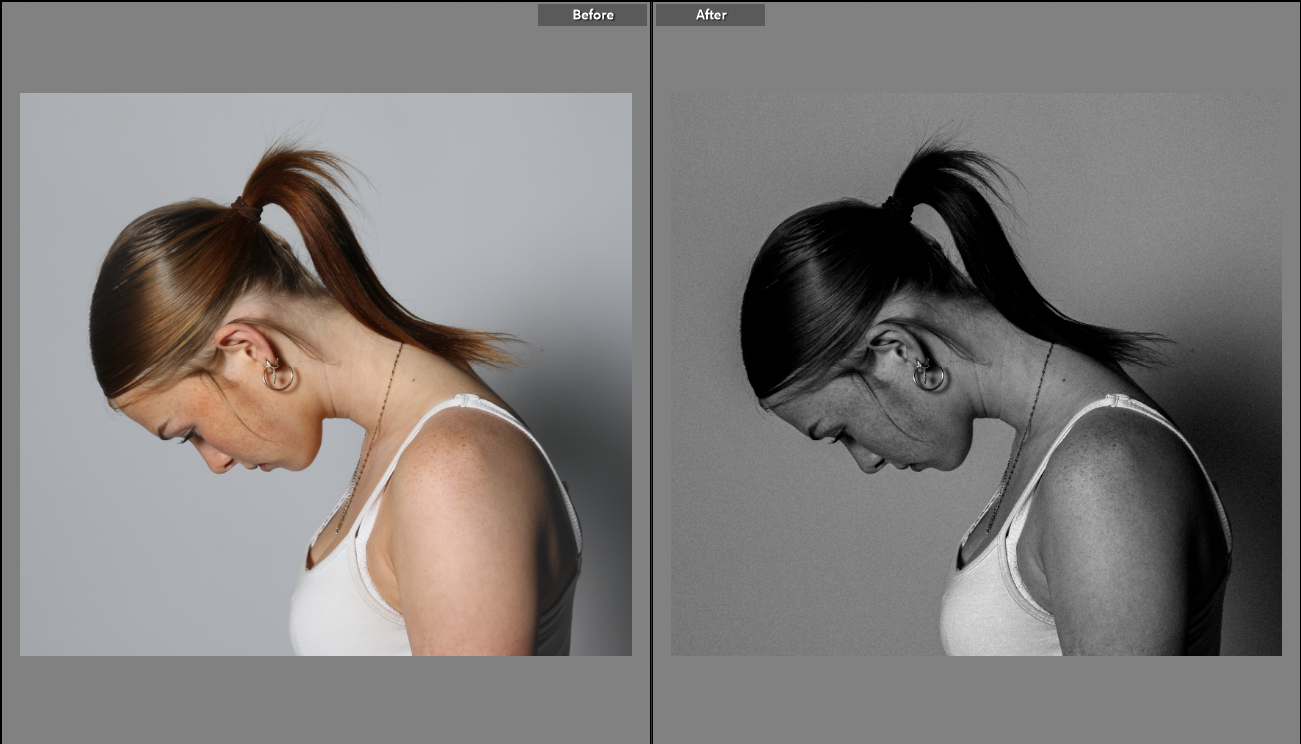
I really like how my images turned out. I think that the colour of black and white that I chose really compliments the details on the image and makes it stand out. I have kept my images black and white to stick to the gory and mysterious theme similar to Tommy Inberg and Man Ray who I have been inspired by. I also feel as though keeping the images a square shape was the most effective way to have my images as it meant there was limited blank areas which didn’t add anything to the image. Having my images all square allows me to edit them together on photoshop when I start my edits which will make it easier for me to get straight into photoshopping them to become something else. I have used these images purposely because I wanted to create a meaningful edit to correlate to the word union and I figured that these were the best images to do that. When taking my images, I feel as though they turned out really well. I kept them at a straight angle to capture a modernistic feel and I enjoyed doing so.
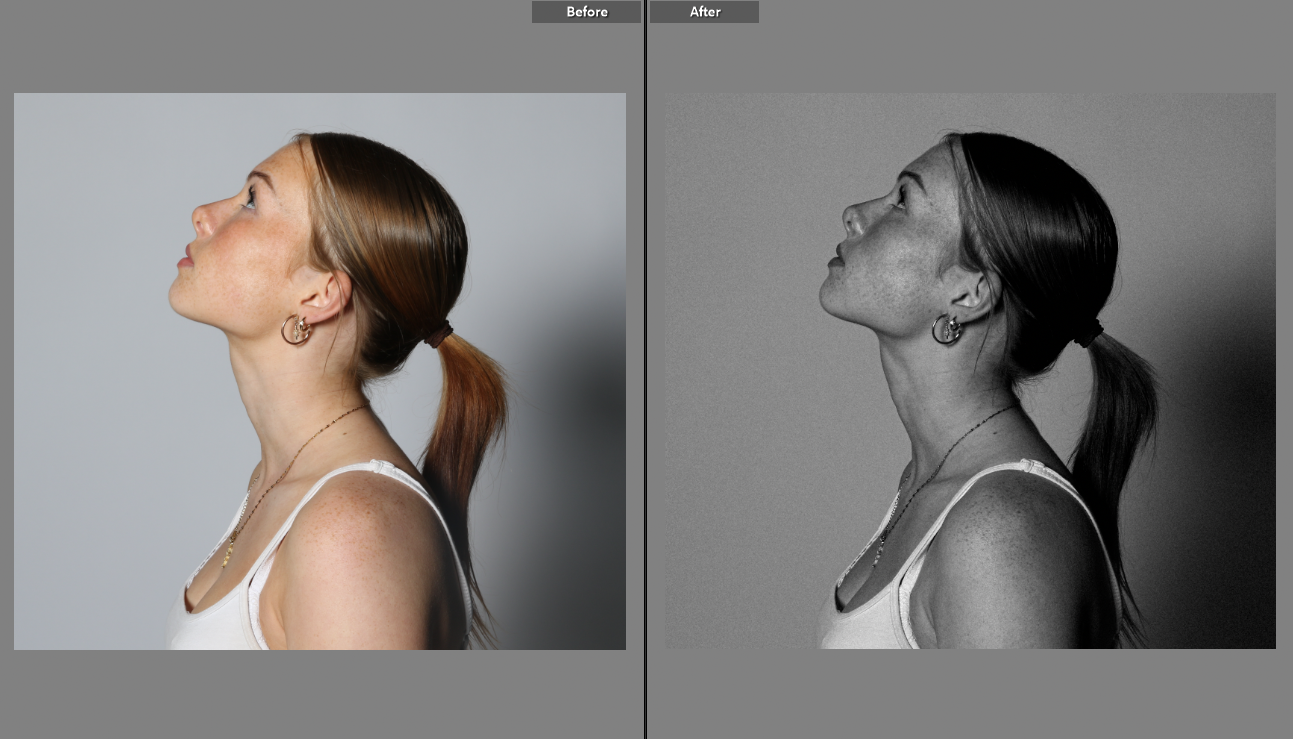
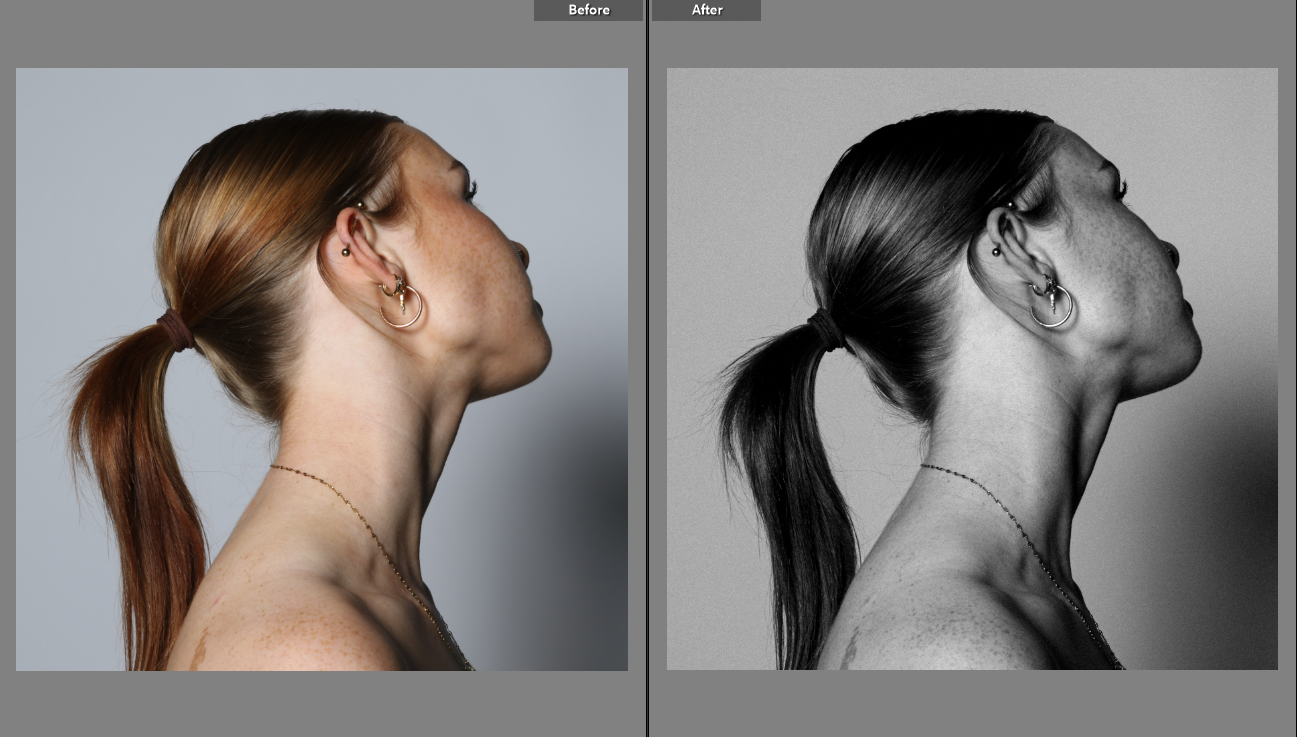
I feel as though I used the correct lighting when taking my images in the photography studio. This is because when looking at the images of the girls, you can see the details on their faces, like freckles and moles and the structure of their faces. I decided to use cool lighting rather than warm lighting because I felt as though it would be easier for me to edit. I also liked the brightness of the light being all the way up as I felt as though it made the images clearer and allowed my to see what to photograph. In one of the images of the girl looking up with her head tilted sideways, you can see the detail of her jawline which I think turned out really well because it gives the image a sharp feel to it.
How To Improve
I feel as though my images went well however there are some slight changes I would make if I were to repeat the process again. When taking my images, I kept them at a straight angle inline with the face every time. If I were to do this again I would try out different angles from below or from above to experiment which ways worked the best. I also would try angles from different sides to capture different features of the face that maybe I had missed or didn’t get a chance of photographing.
Another thing that I feel as though I could improve on is ensuring that there are no shadows in the image. In some of my images during the editing process, I discovered that there were a couple of shadows behind the subject in the image. To improve on this I would try and move the studio light to ensure that there were no shadows. I feel as though having the studio light above the camera or as close to the camera as possible would be extremely effective in preventing shadows. Another way I could’ve overcome this problem is by changing the back drop of the images from white to black. This could’ve minimalised the chance of a shadow and allowed me to edit my pictures without trying to hide them.