
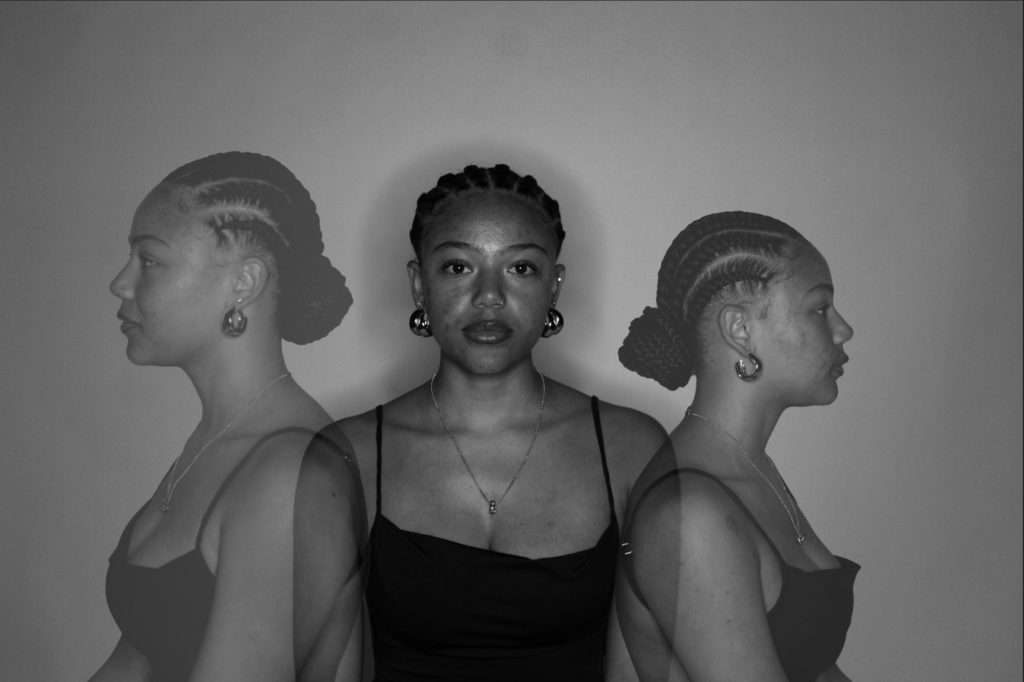
After editing:
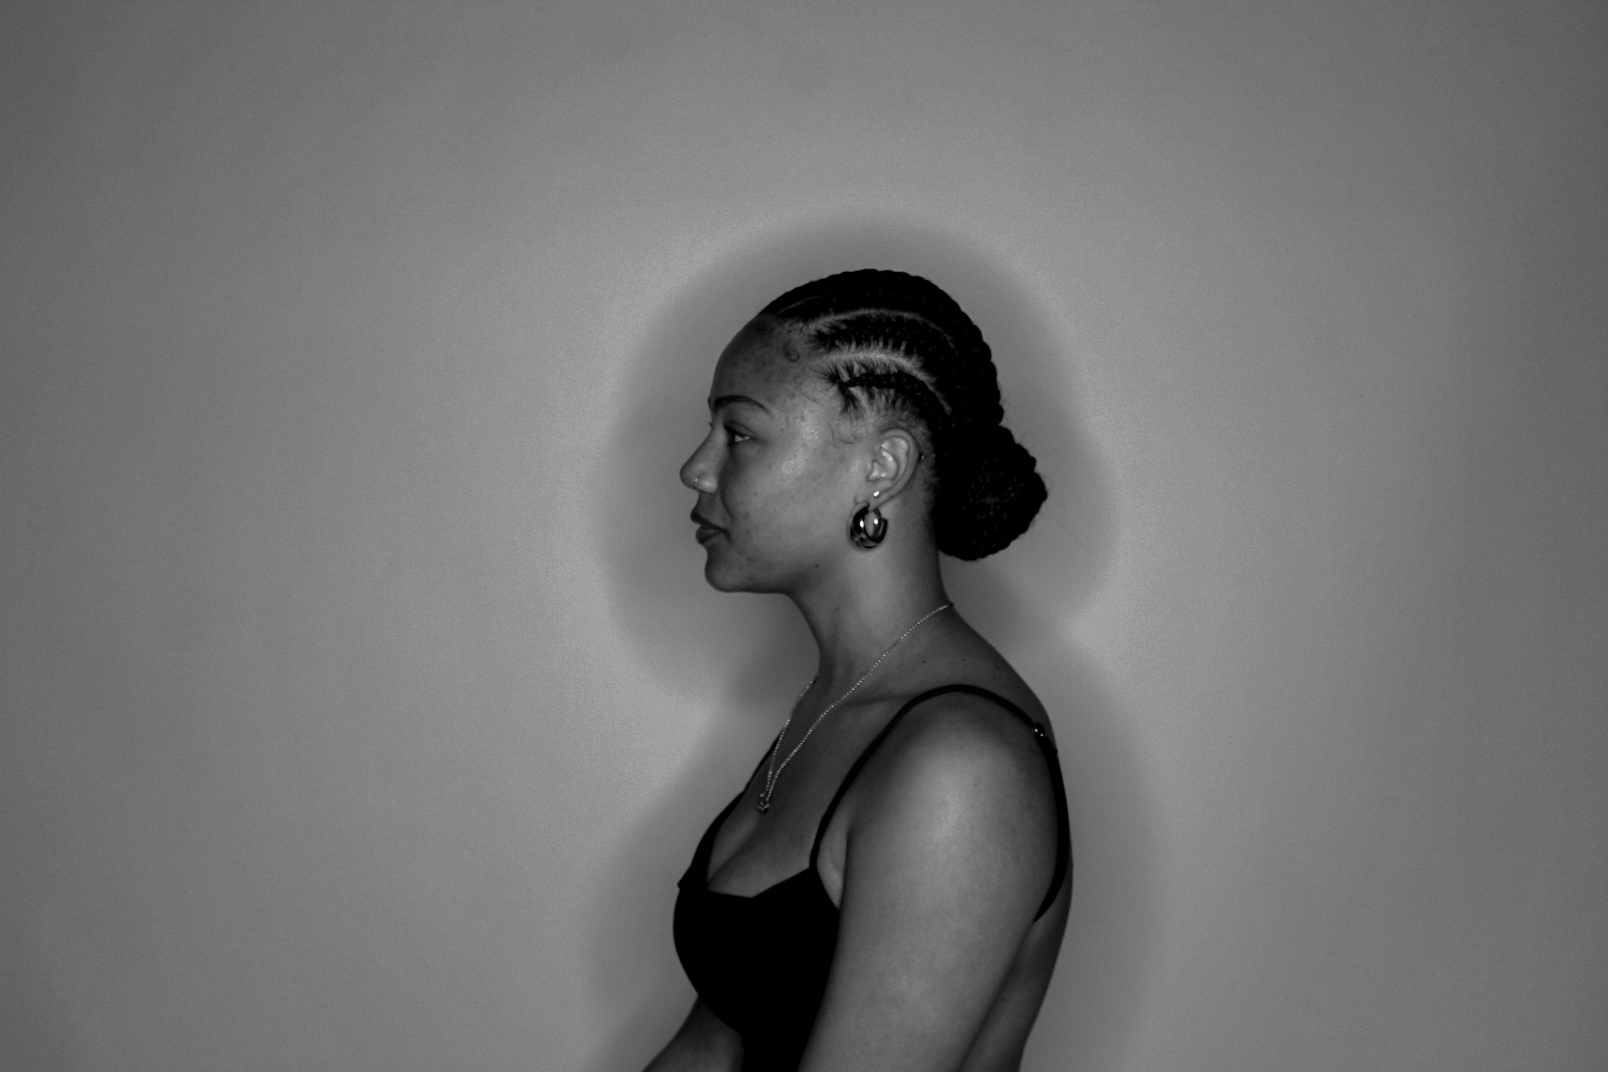


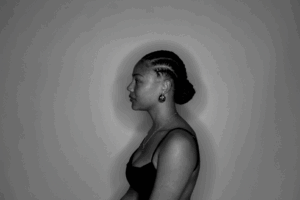
Throughout all of my photoshoots, I have kept my edits in black and white as they continue to link with both of my artist references and look more unique when edited in photoshop. The enhanced contrast and tones create a sharp looking, clear and textured image, with depth through the contrast of black and white.
Photoshop edit process:
Edit 1:
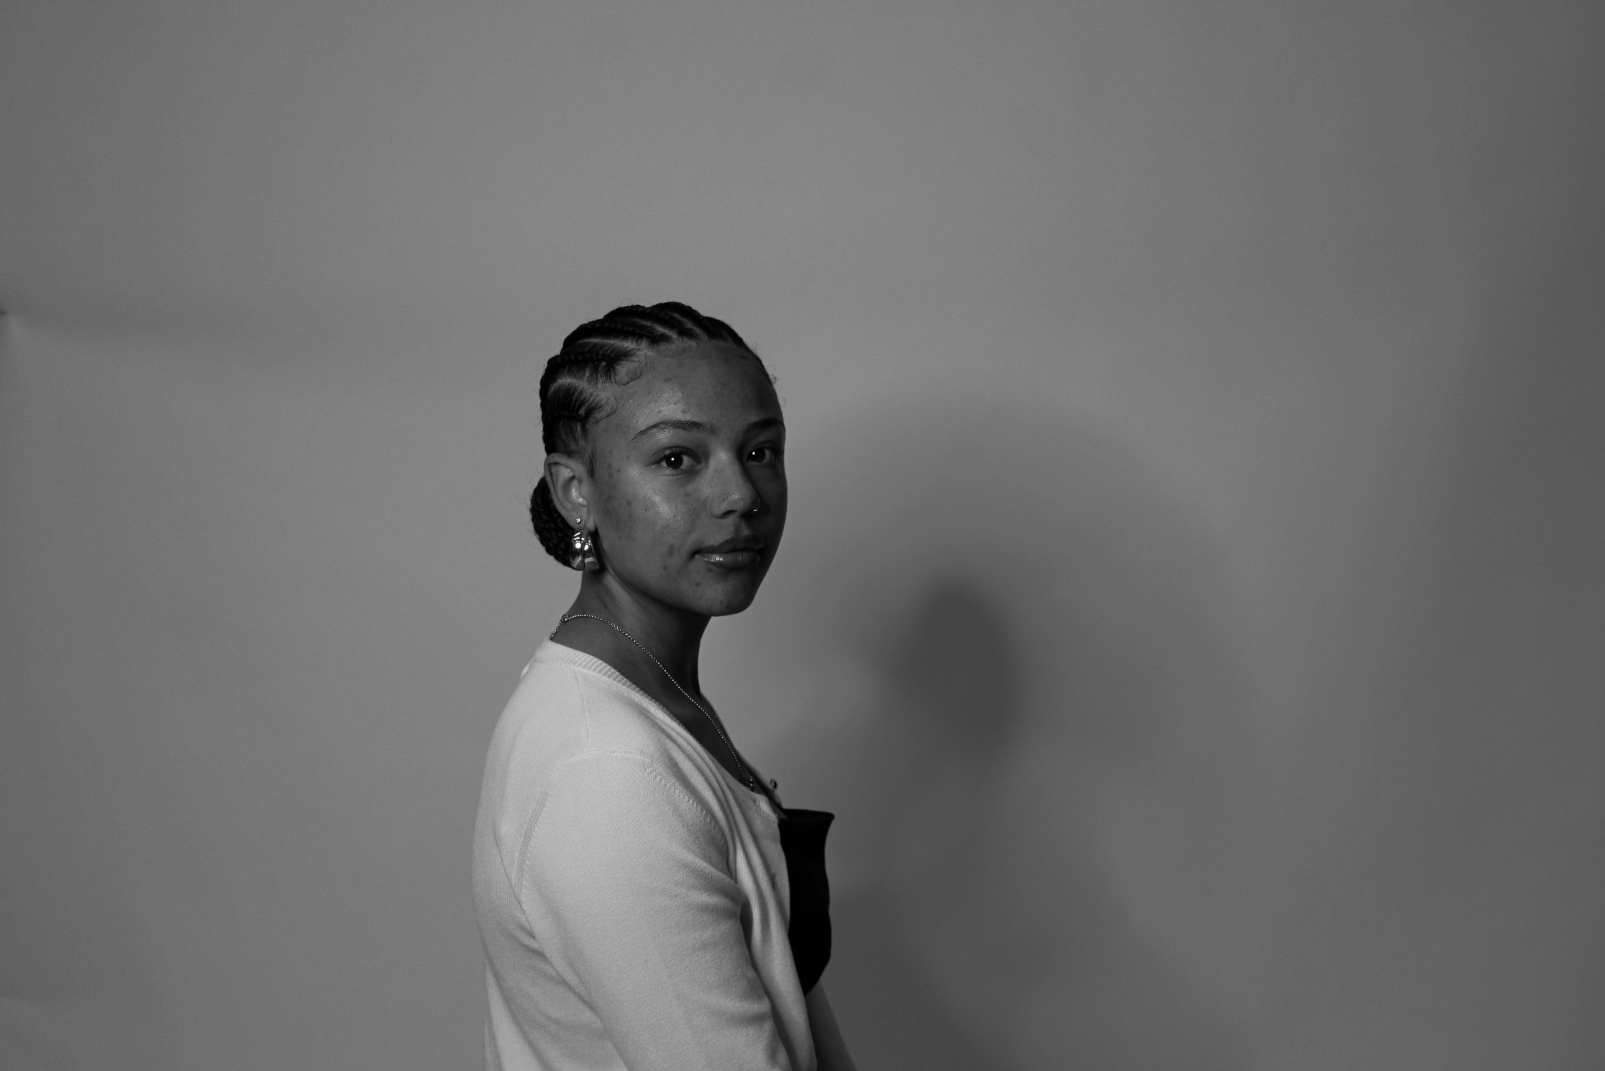
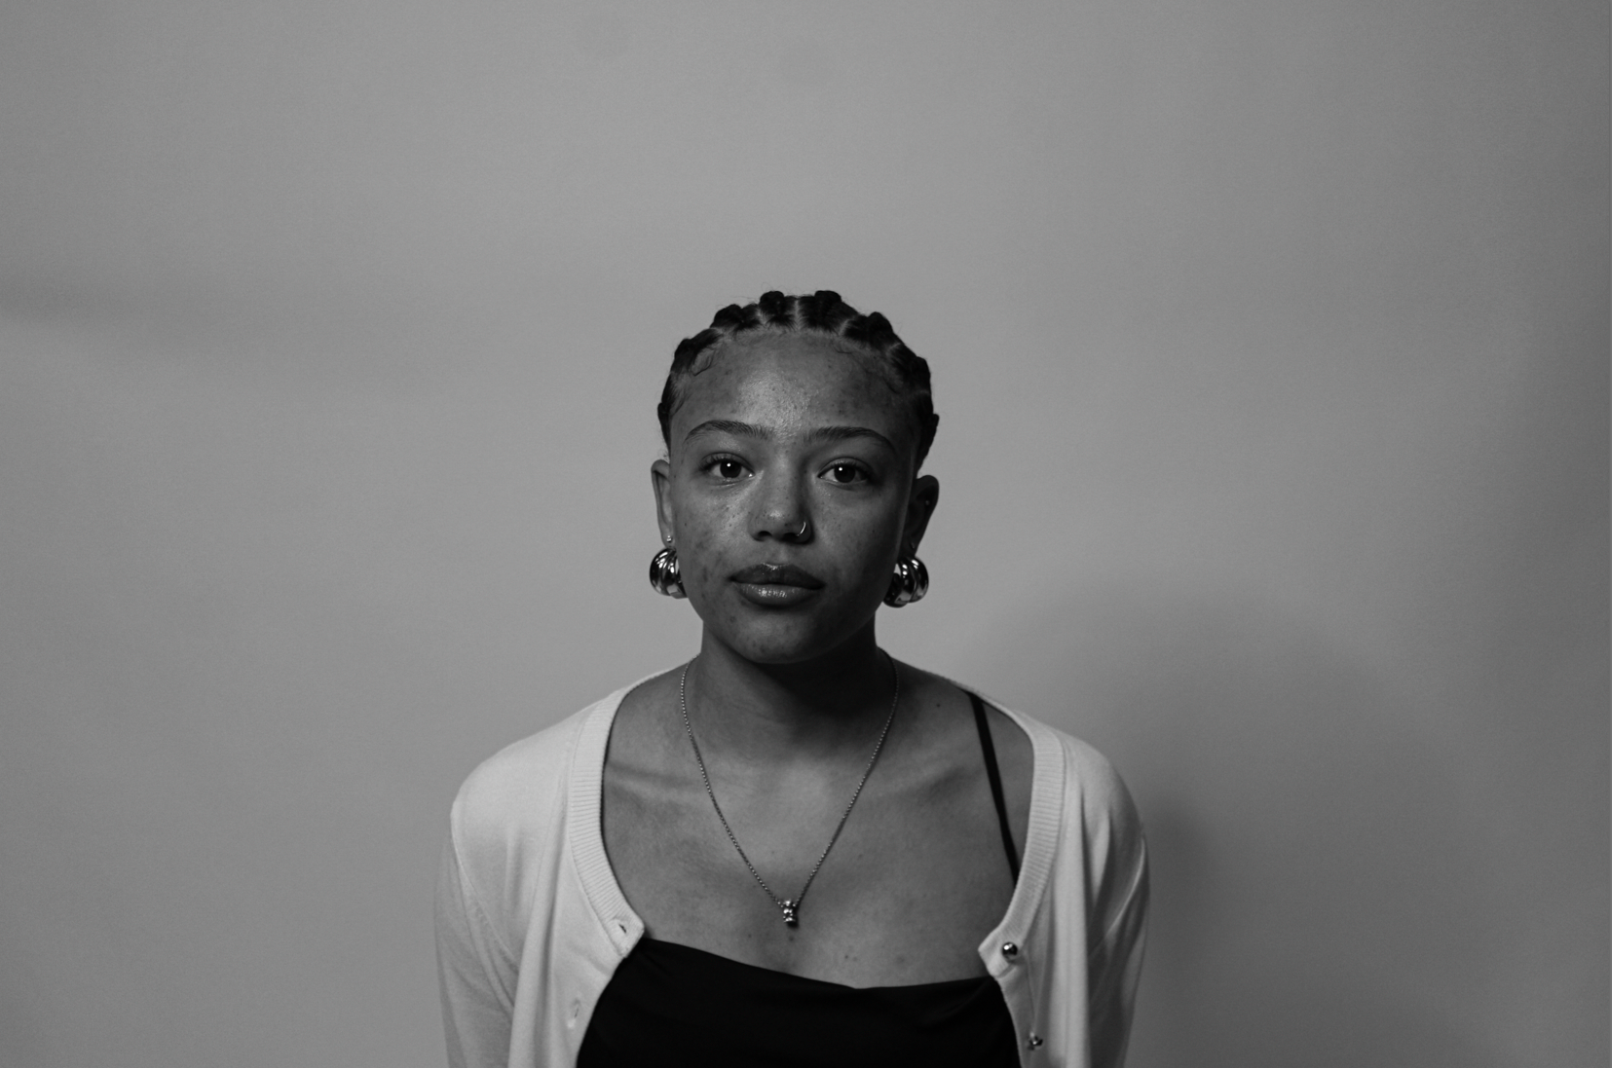
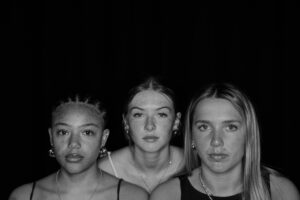
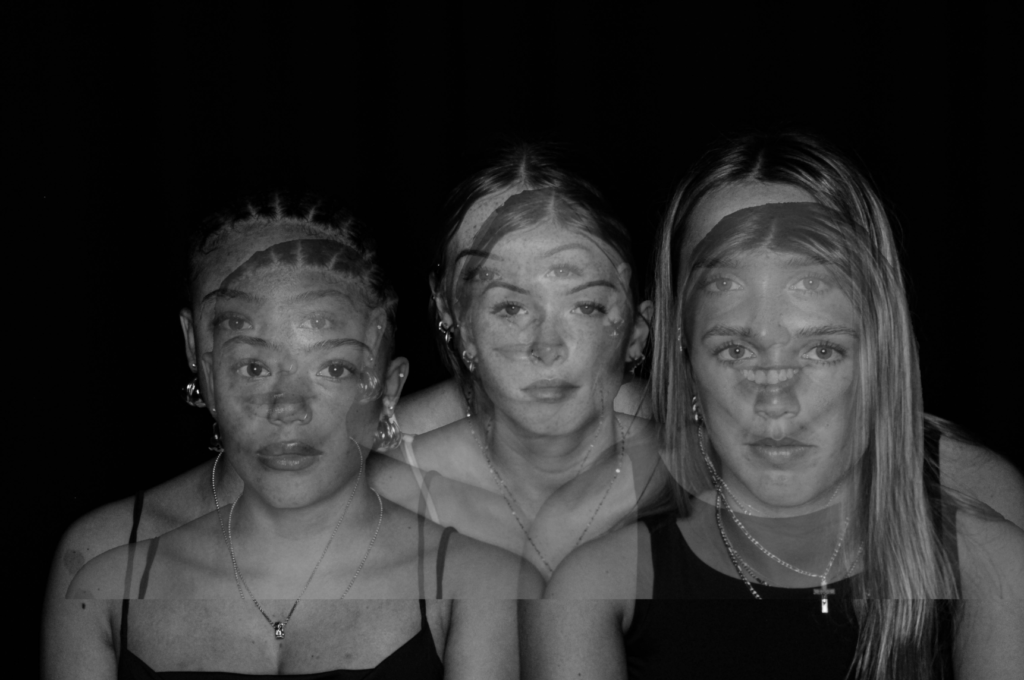
Photos I will use:
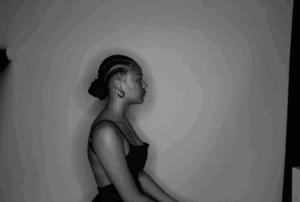
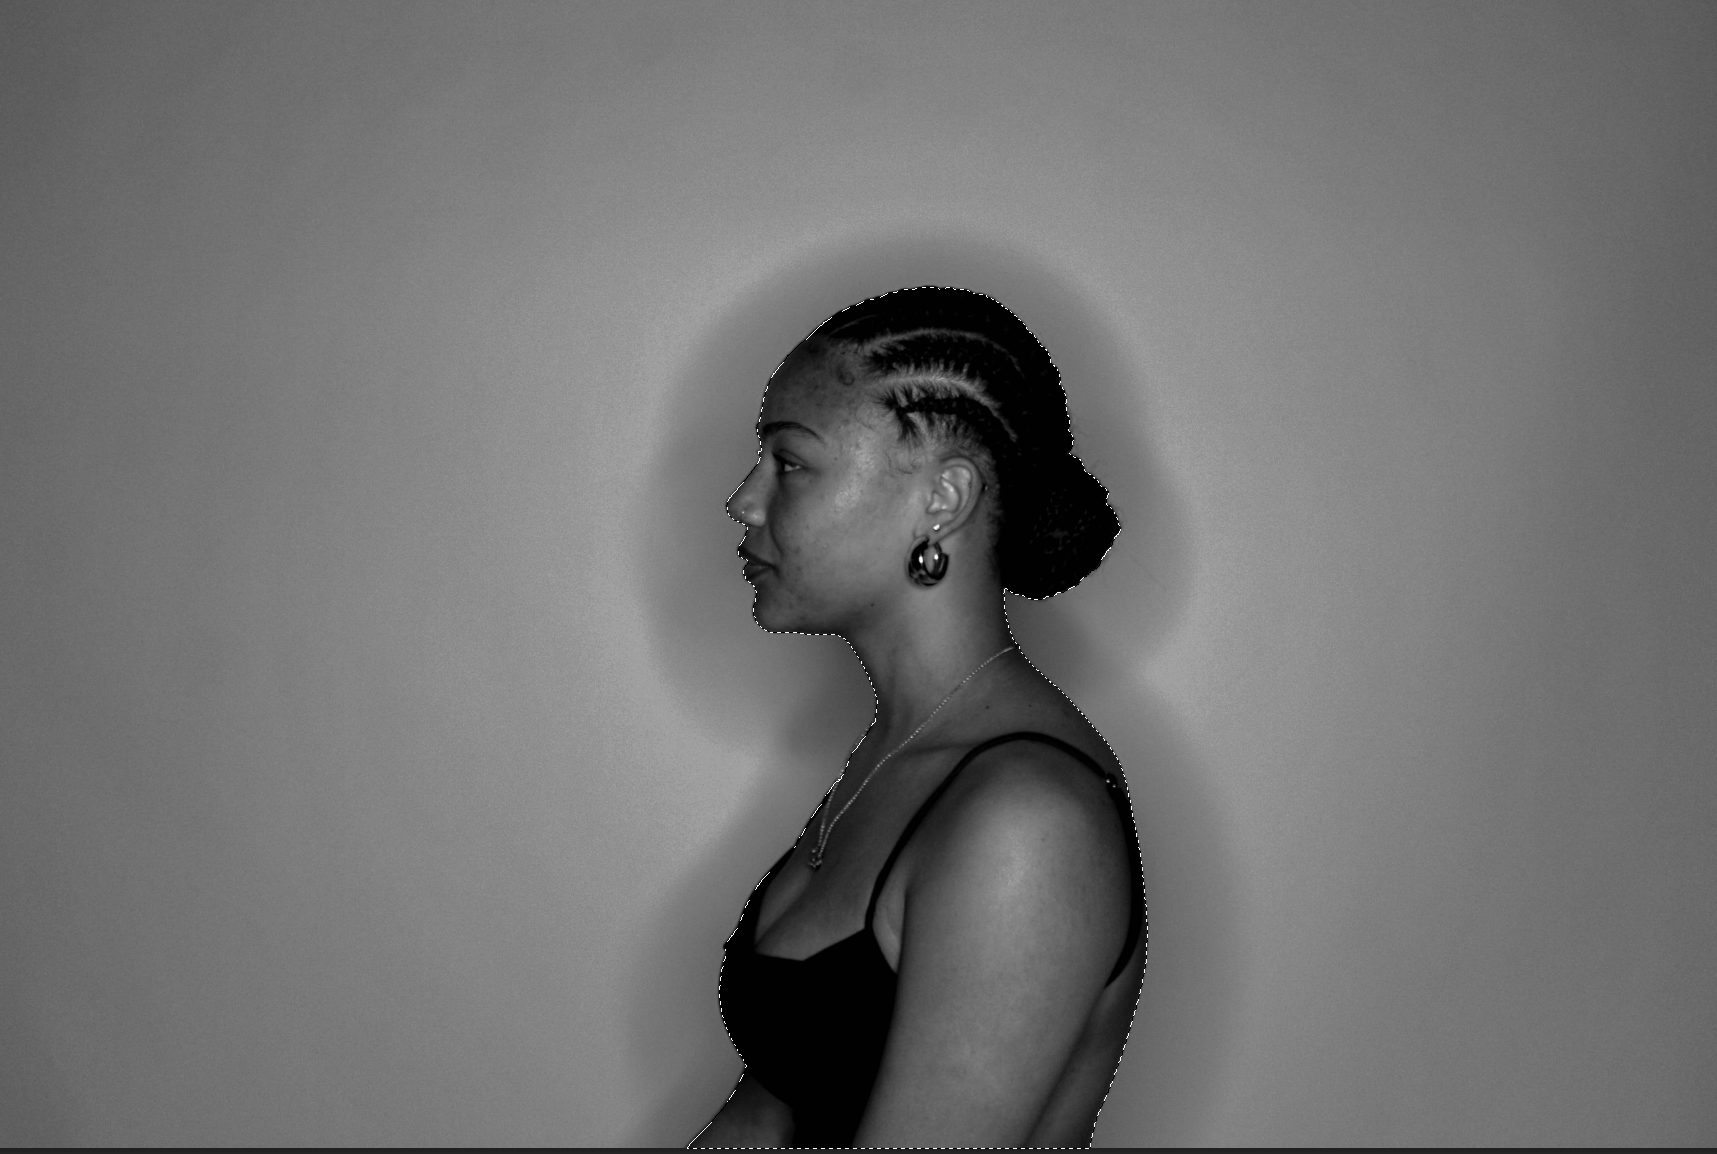
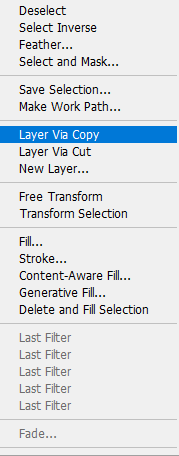
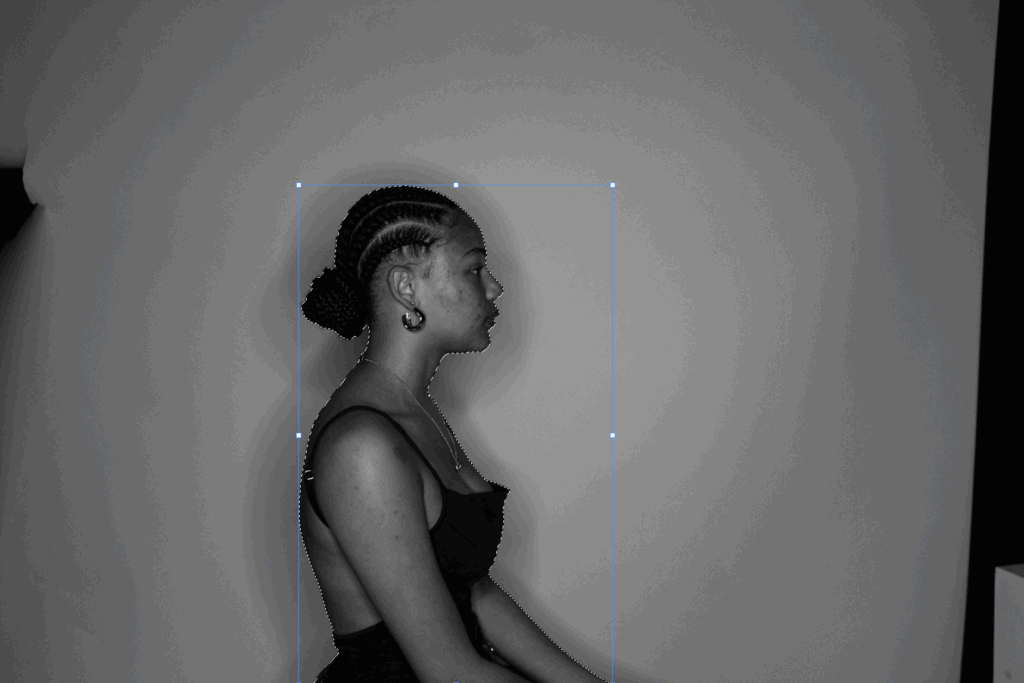
Firstly, for both of these images, I used the quick selection tool to select the subject of the image. I then right clicked and pressed ‘layer via copy’ to transfer the image onto the main one. These actions lead me to this, where I am able to move the subject in different layouts:
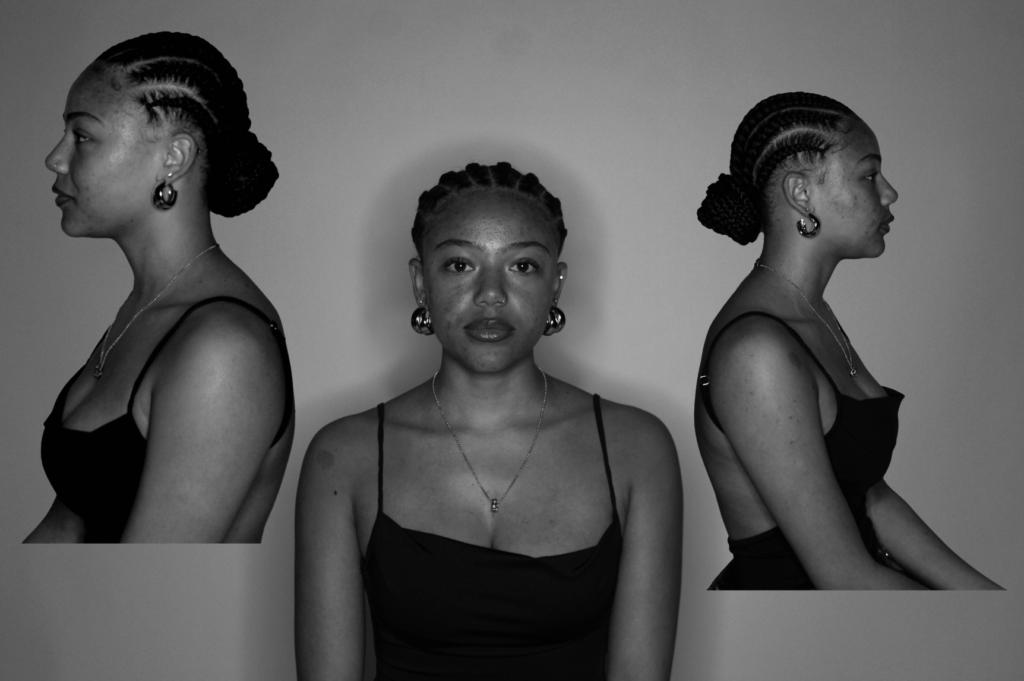
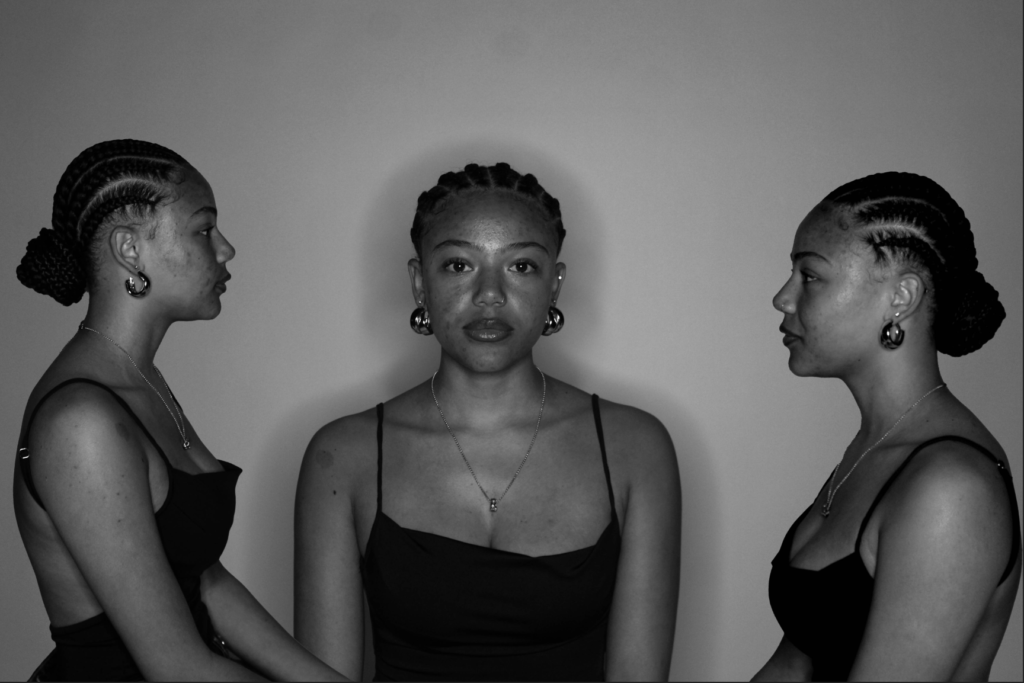
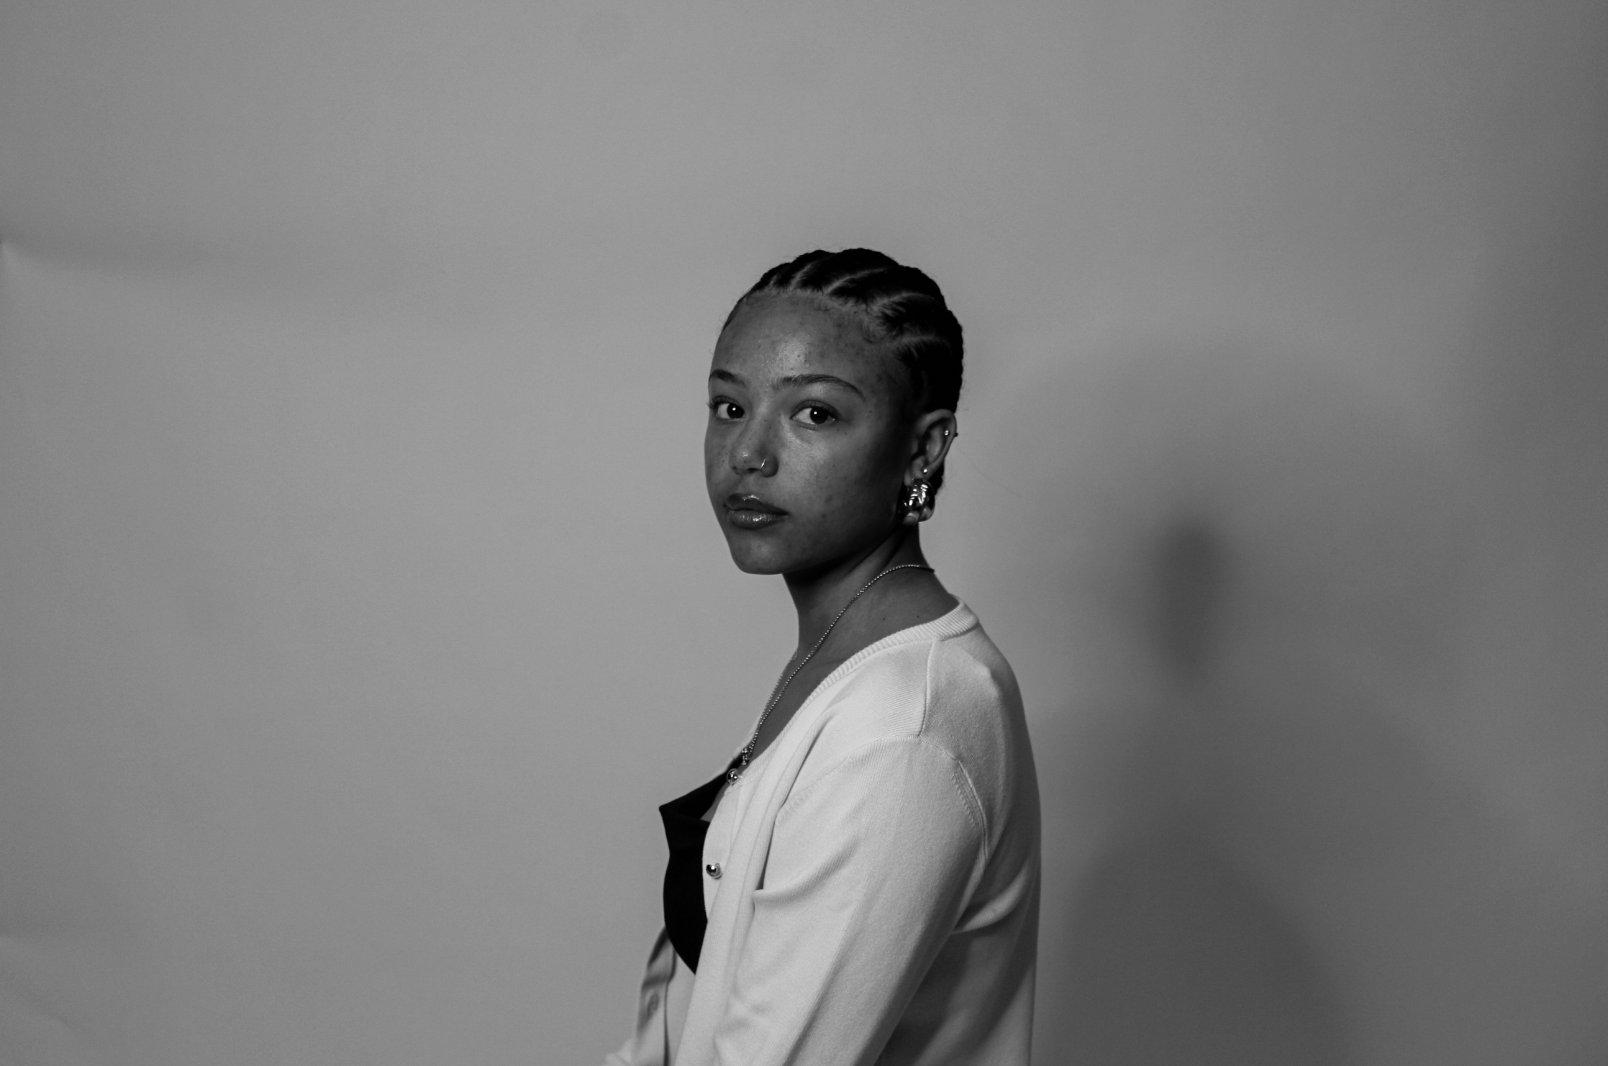
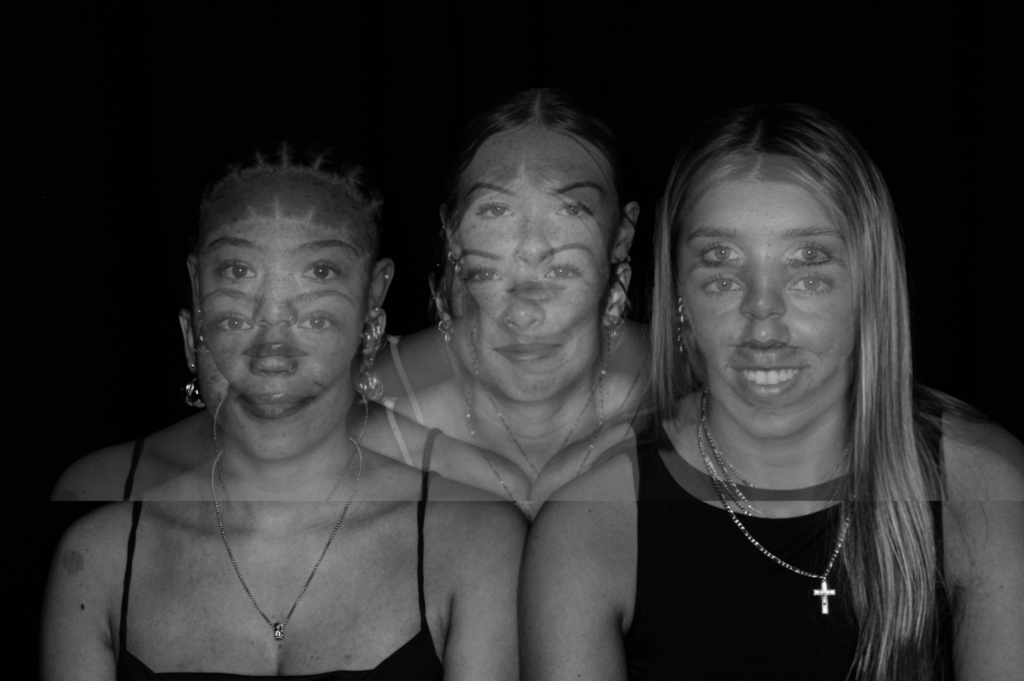
Once I decided on a layout that I liked, I changed the opacity of the two overlapping images.
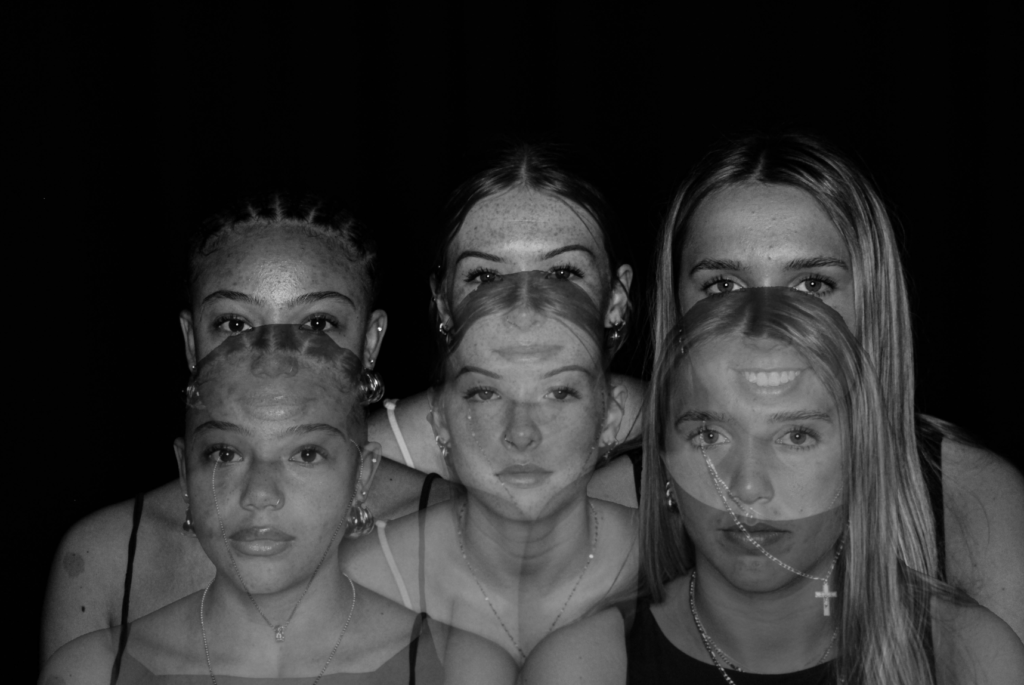
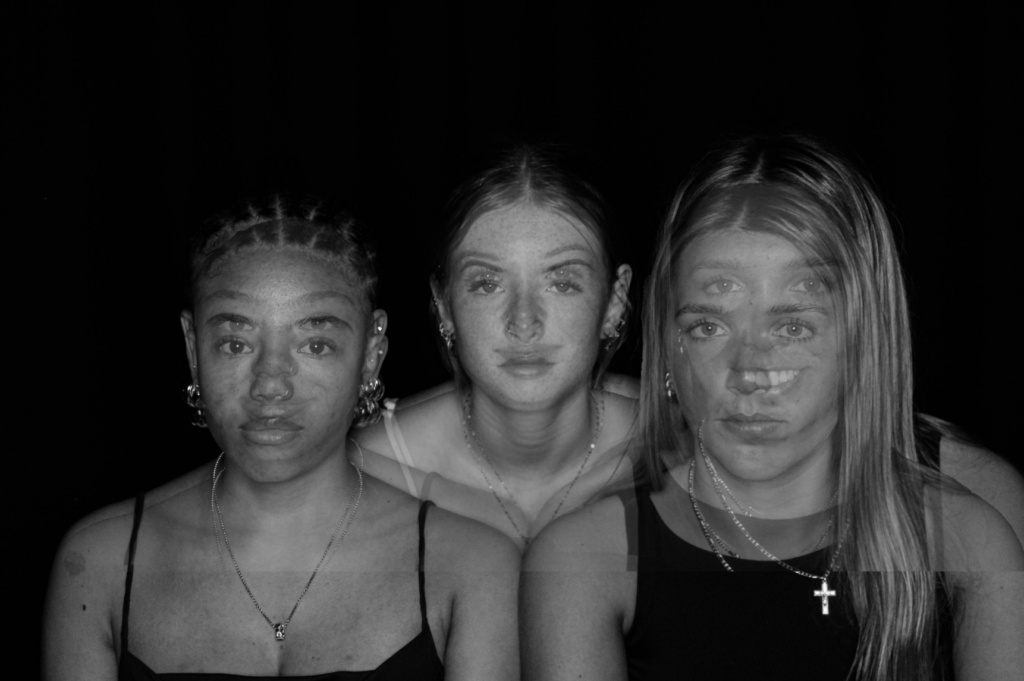
Final edit:
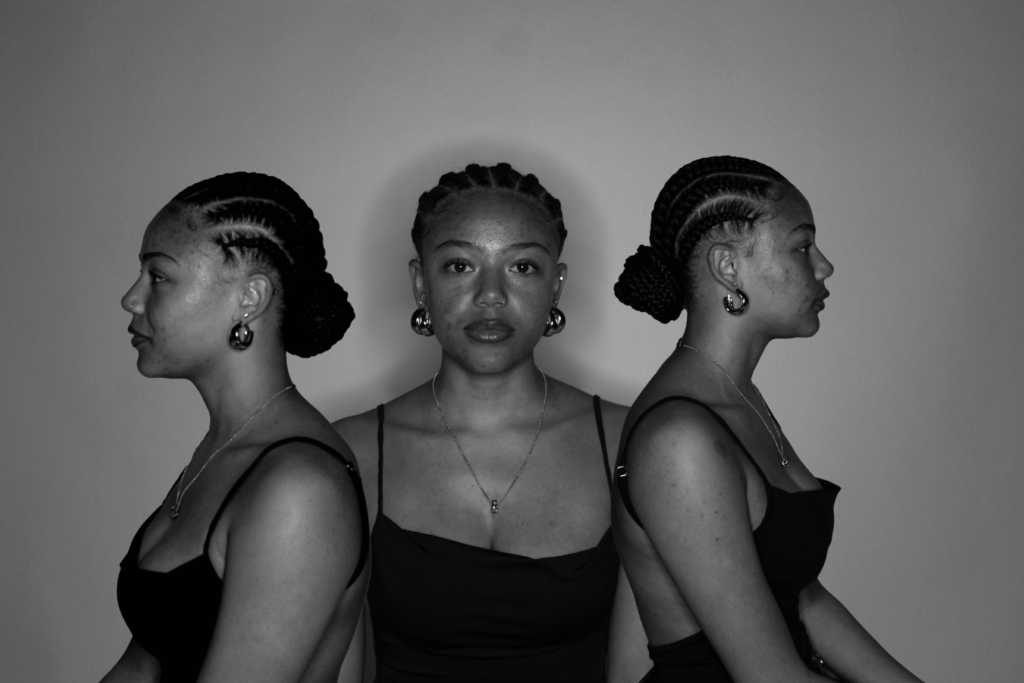
Edit 2:
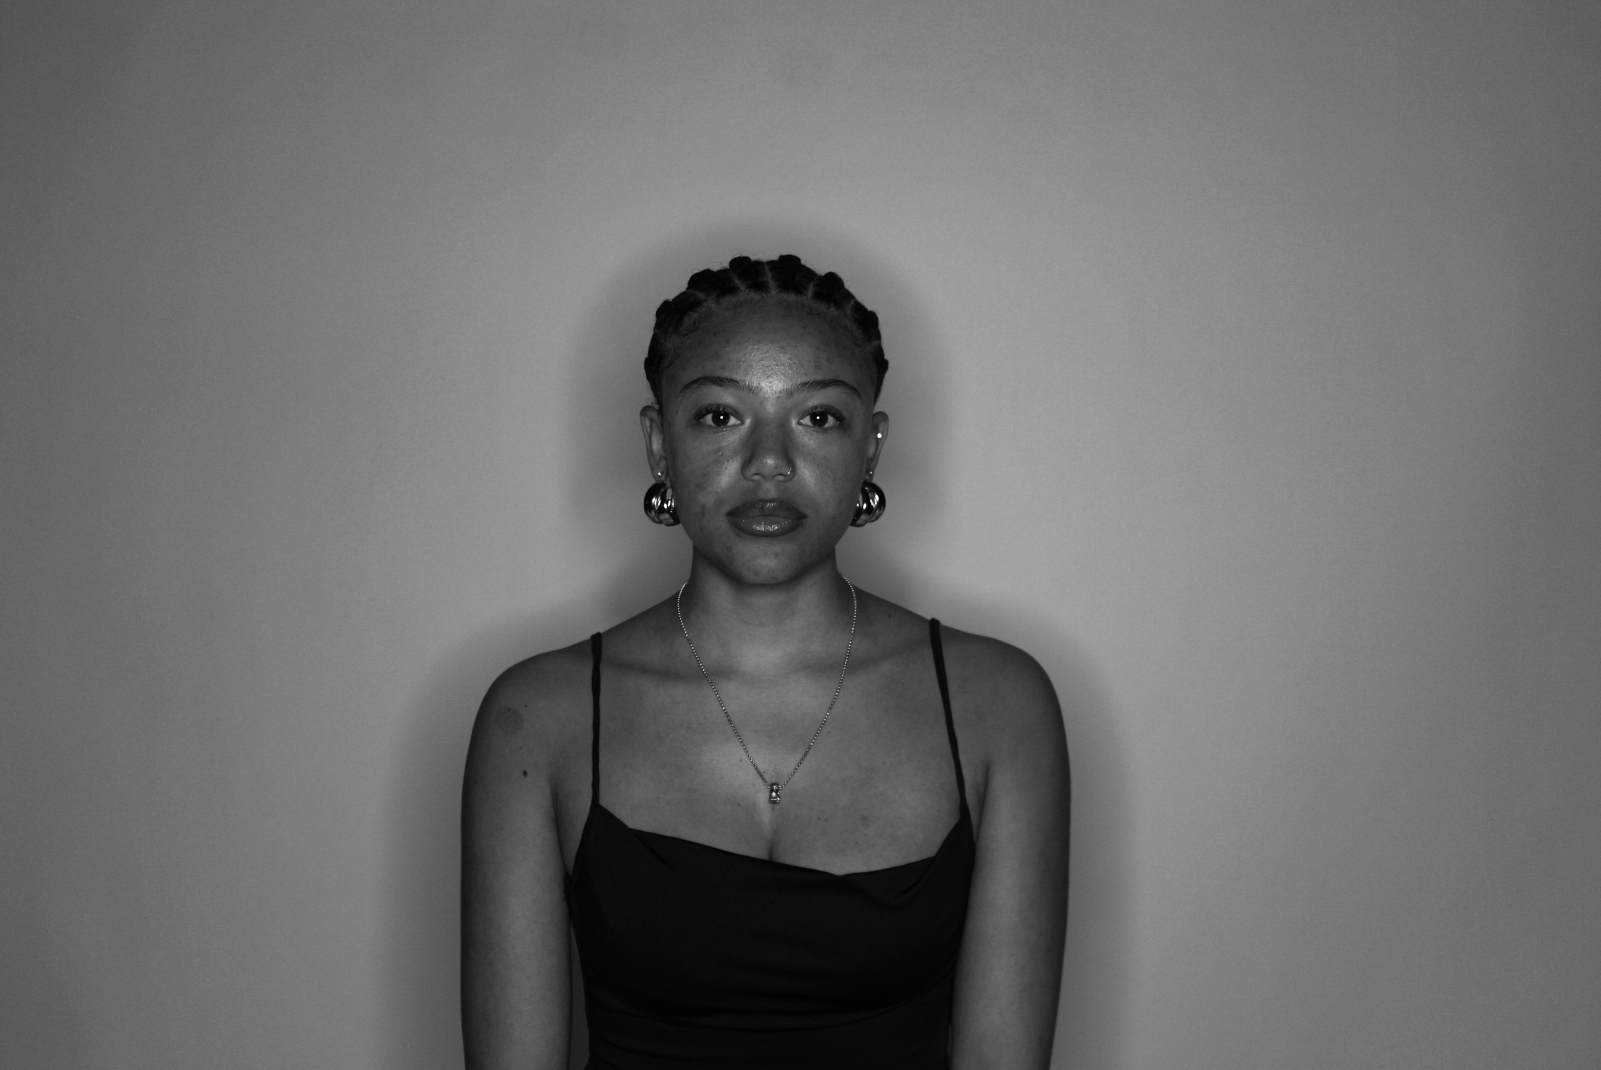
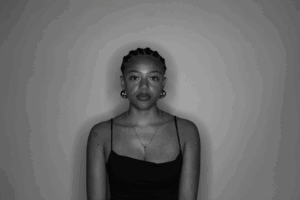
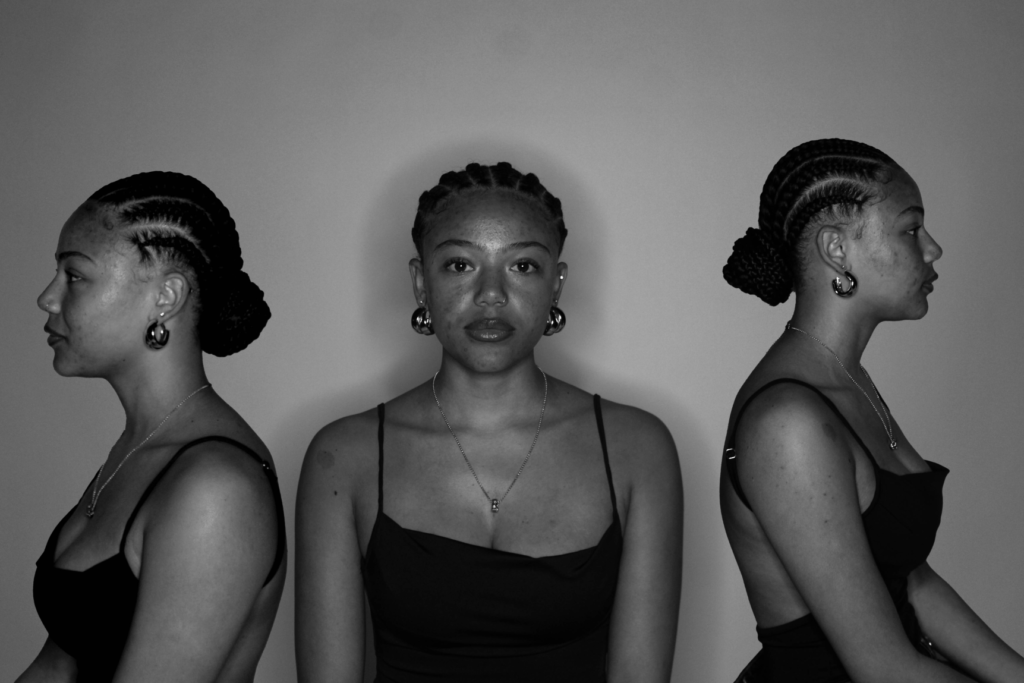
Photos I will use:
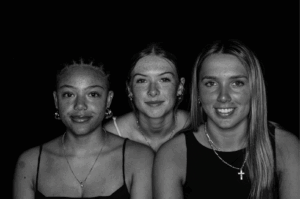
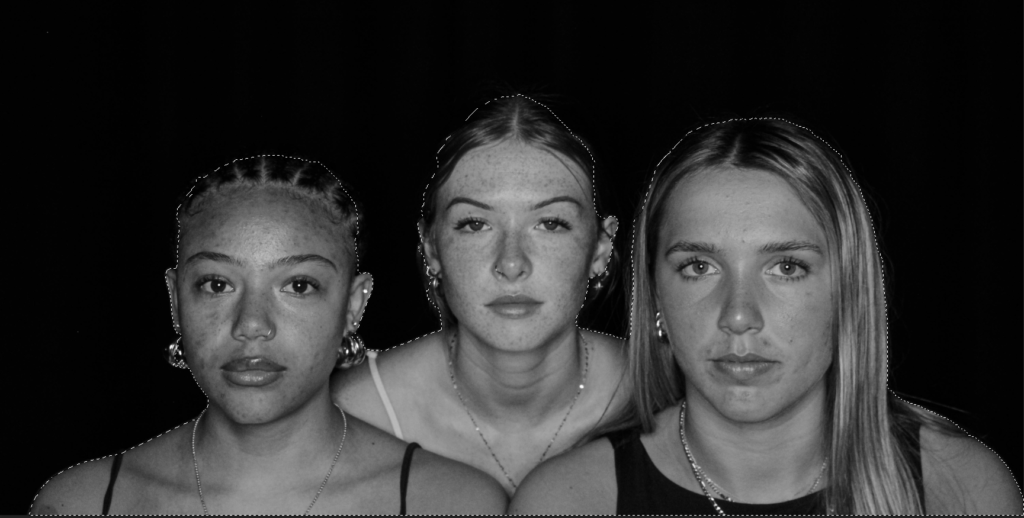
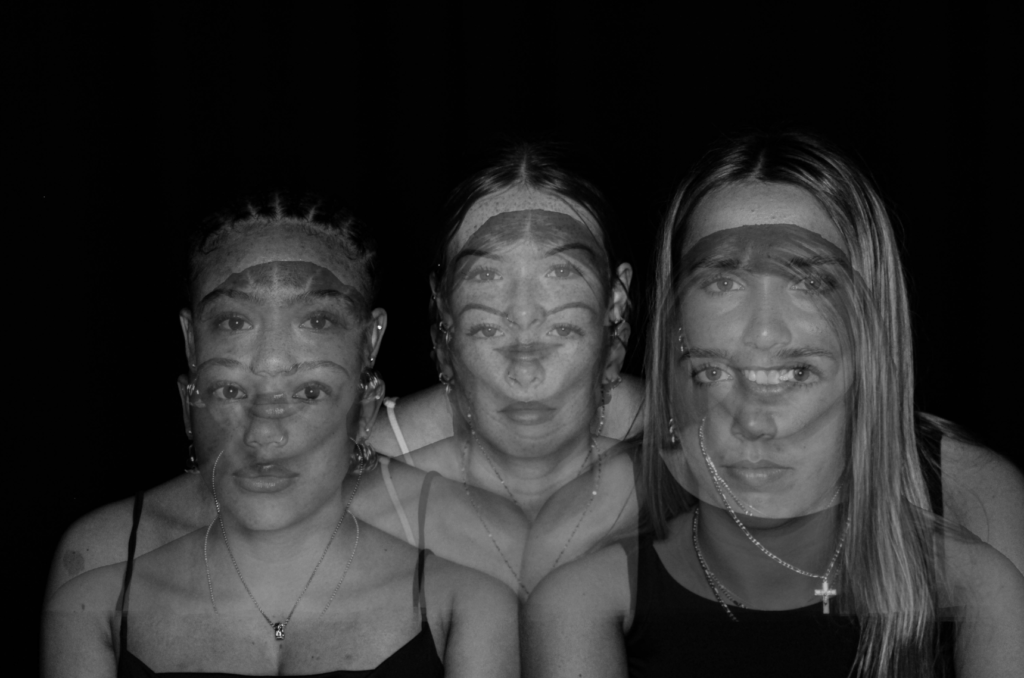
For this edit, I am attempting to merge the two photos together, to make it look like they have two different facial expressions. So, I copy and pasted the second image onto the initial one where I can experiment.
Finally, I used to eraser tool to remove the harsh line that separates the two images.
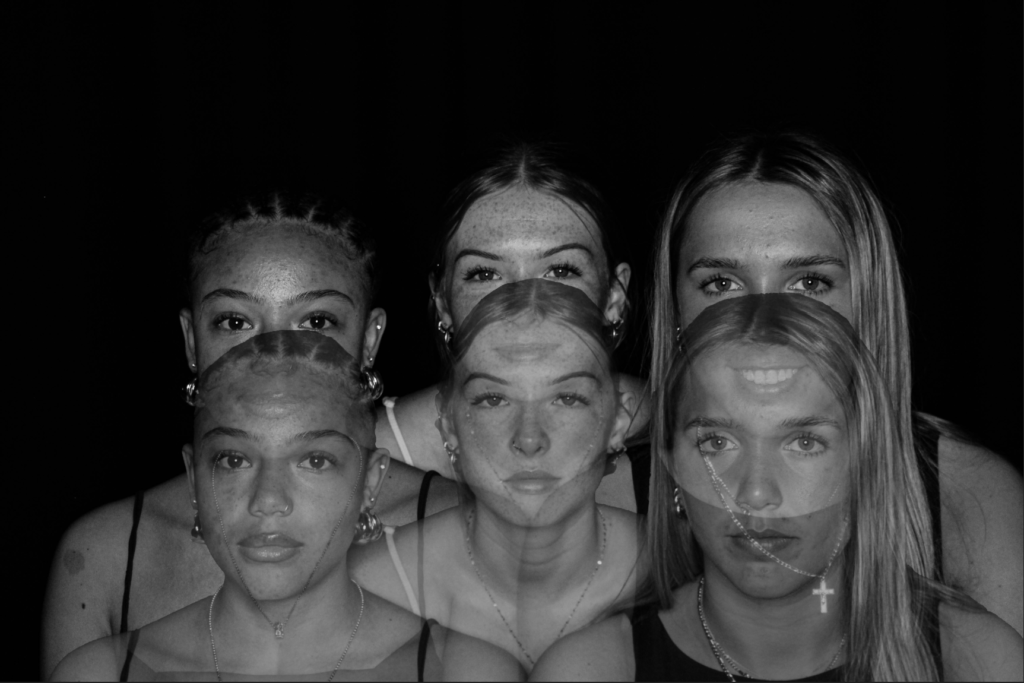
Final edits:
Evaluation:
Overall, I think these edits are my least favourite, as I feel they were difficult to edit and merge together. I won’t be using these for my final prints when I collect my favourite ones and present them on mount board.