
After editing:
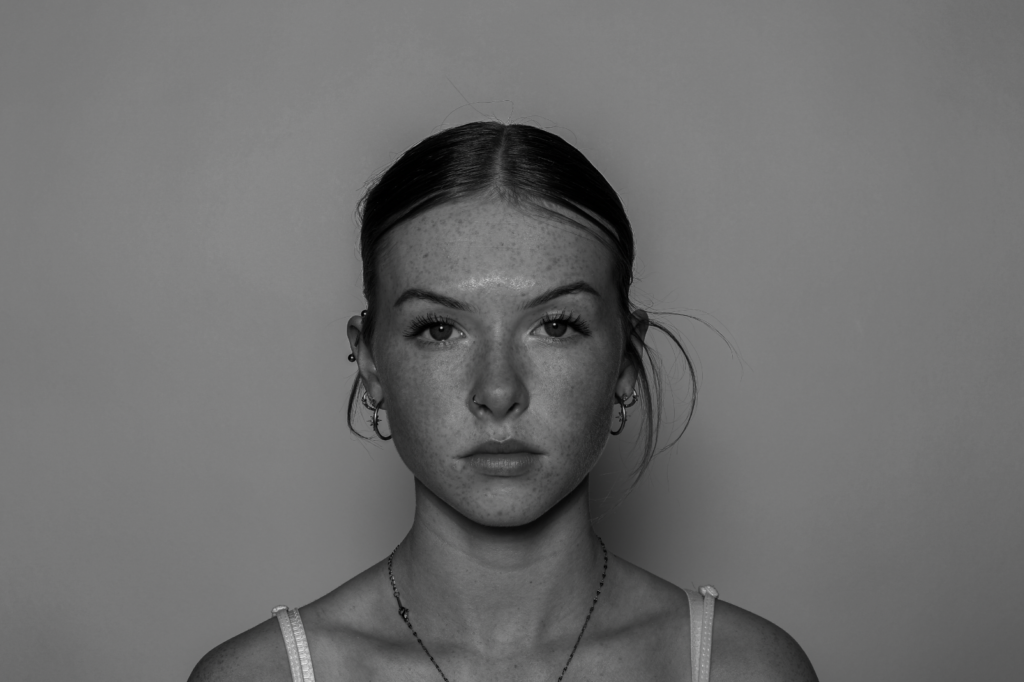
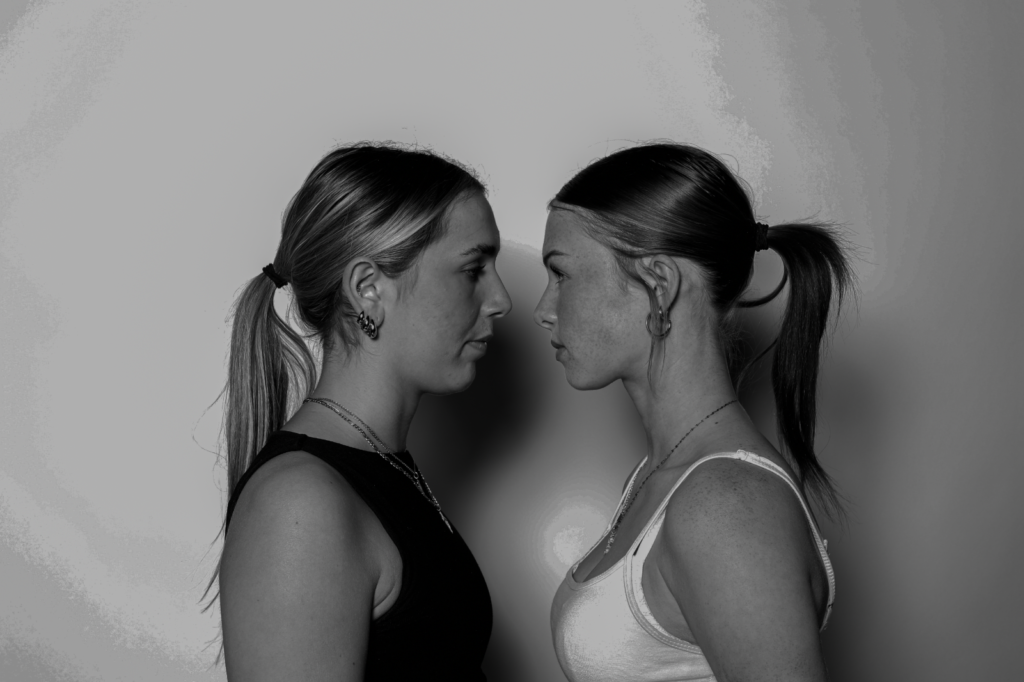


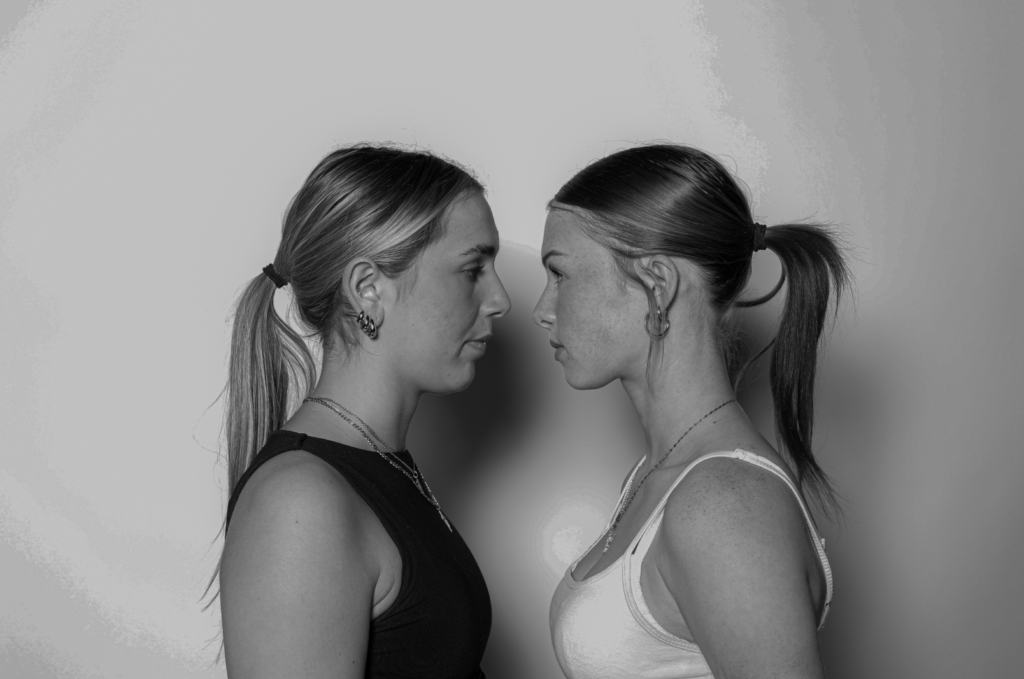
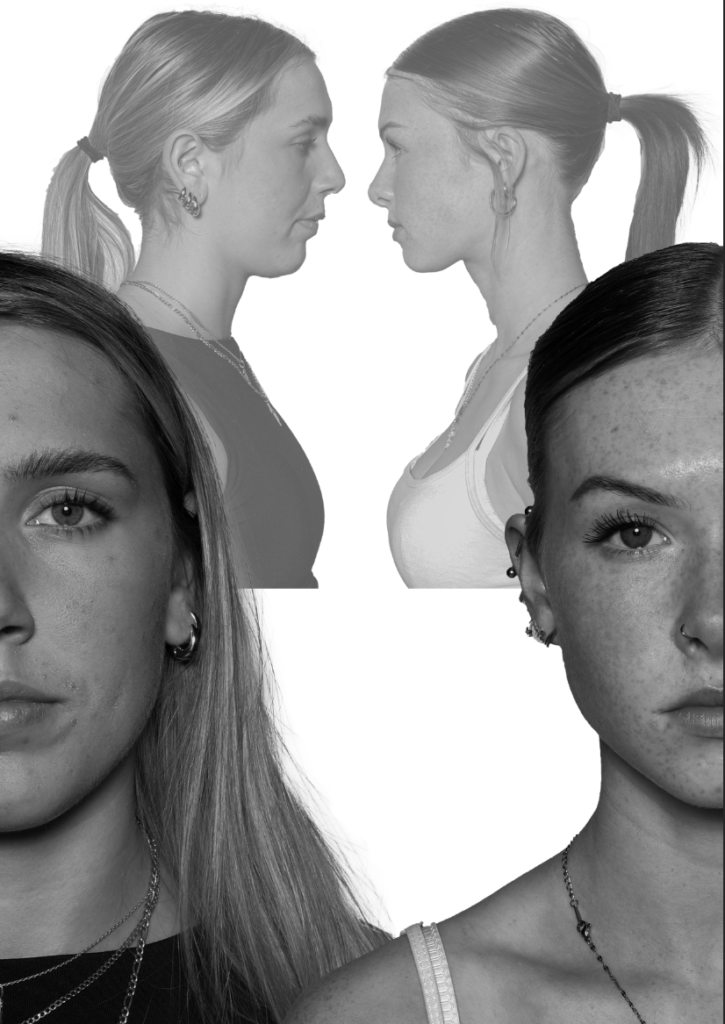
For this photoshoot, I am going to edit the subject’s faces together to create a sense of unity through the females and their similar or unique facial features.
Photoshop edit processes:
Edit 1:
I used Adobe Photoshop to edit all of my photos.
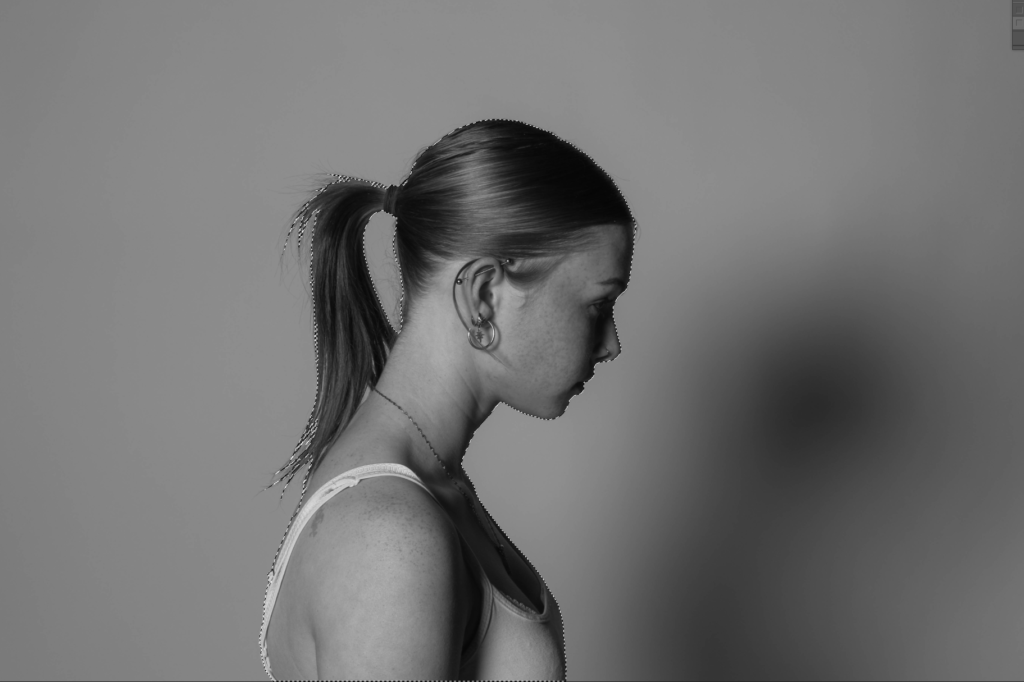
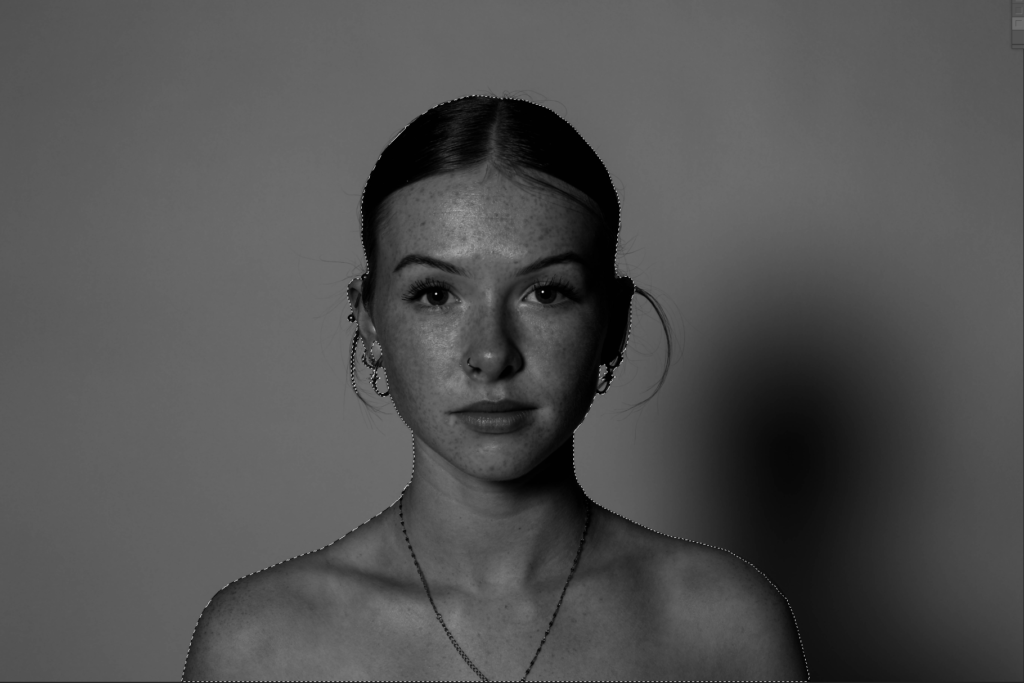
The photos I will use for my first edit:
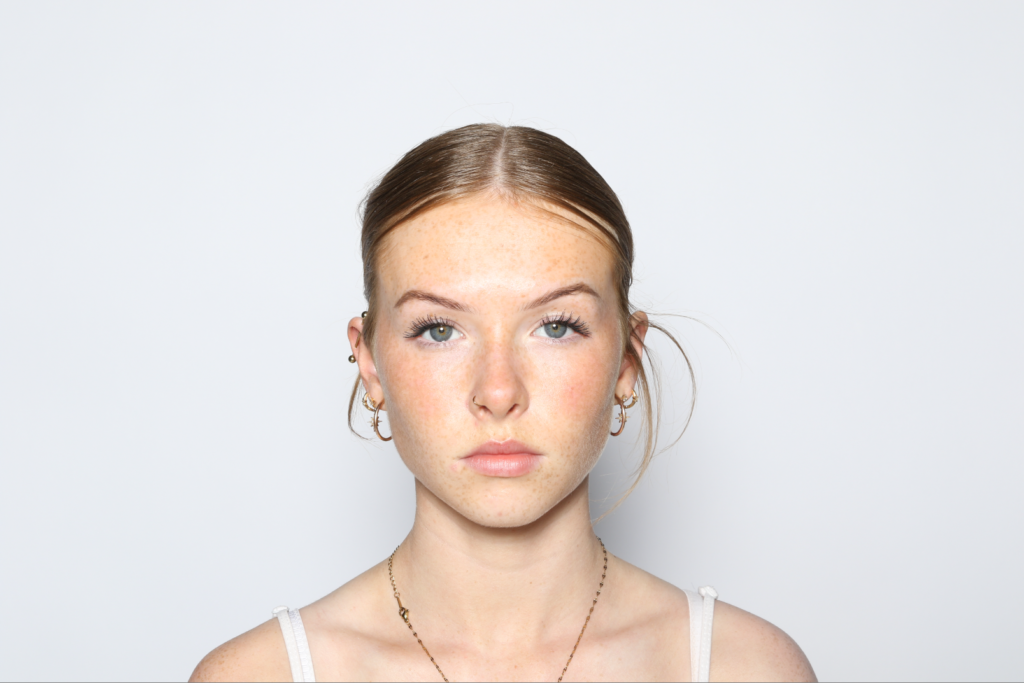
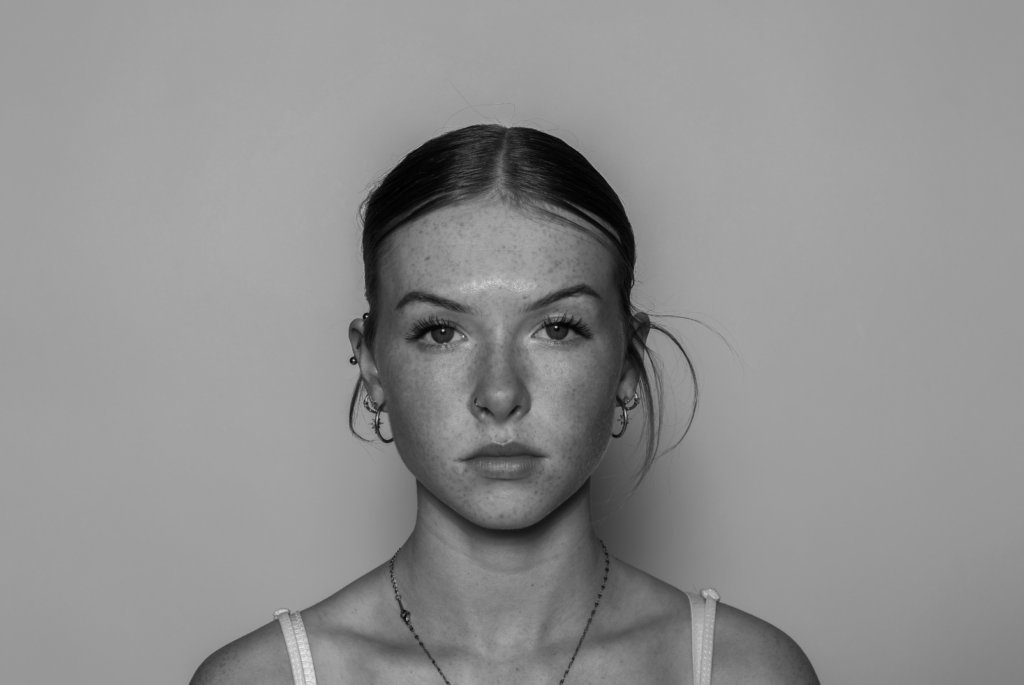
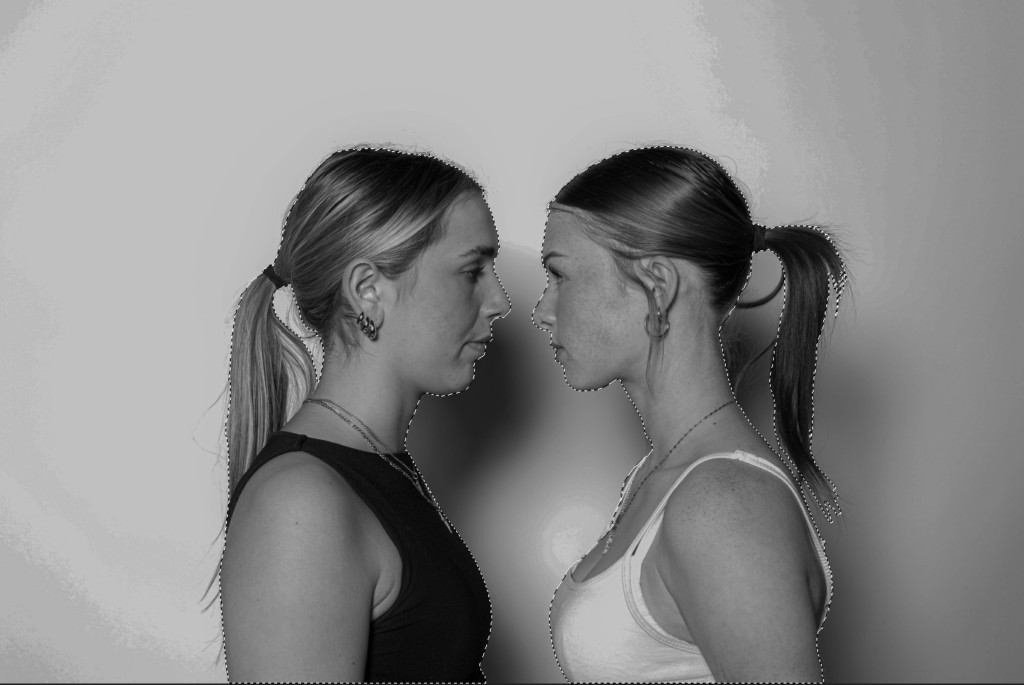
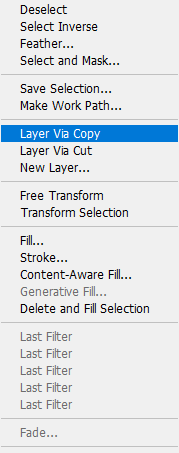
First of all, I selected the subject on both individual images and right clicked to choose ‘layer via copy’.

Then, I transferred the copied layers over onto a new, blank document in Photoshop and experimented with a few different layouts.
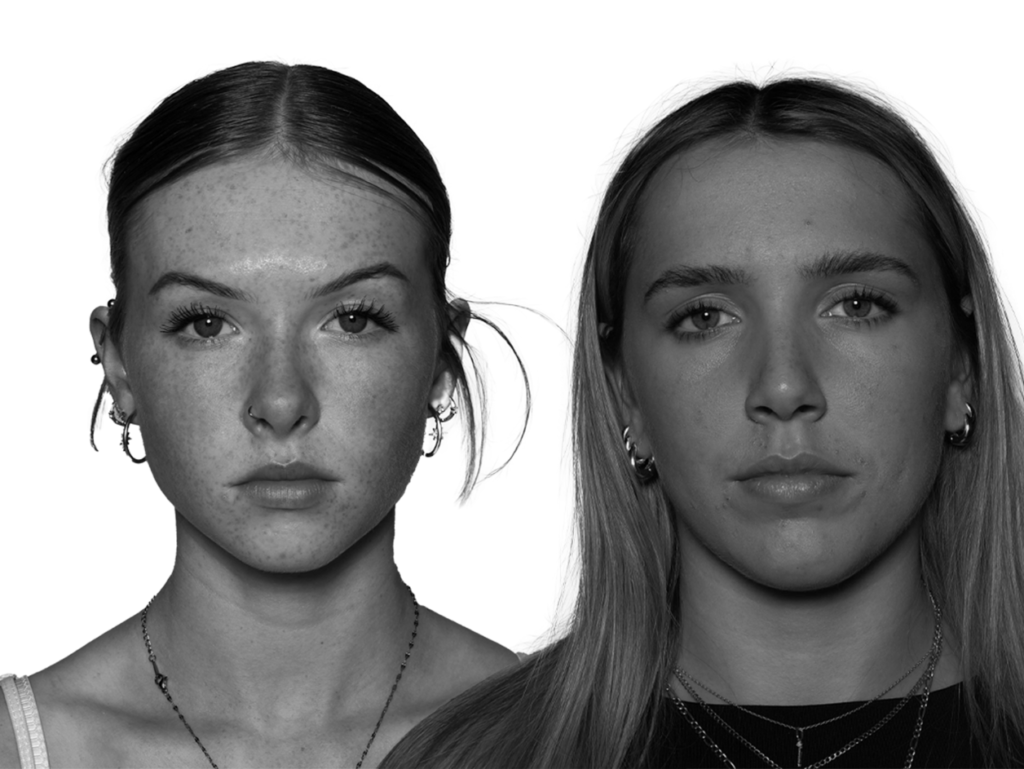
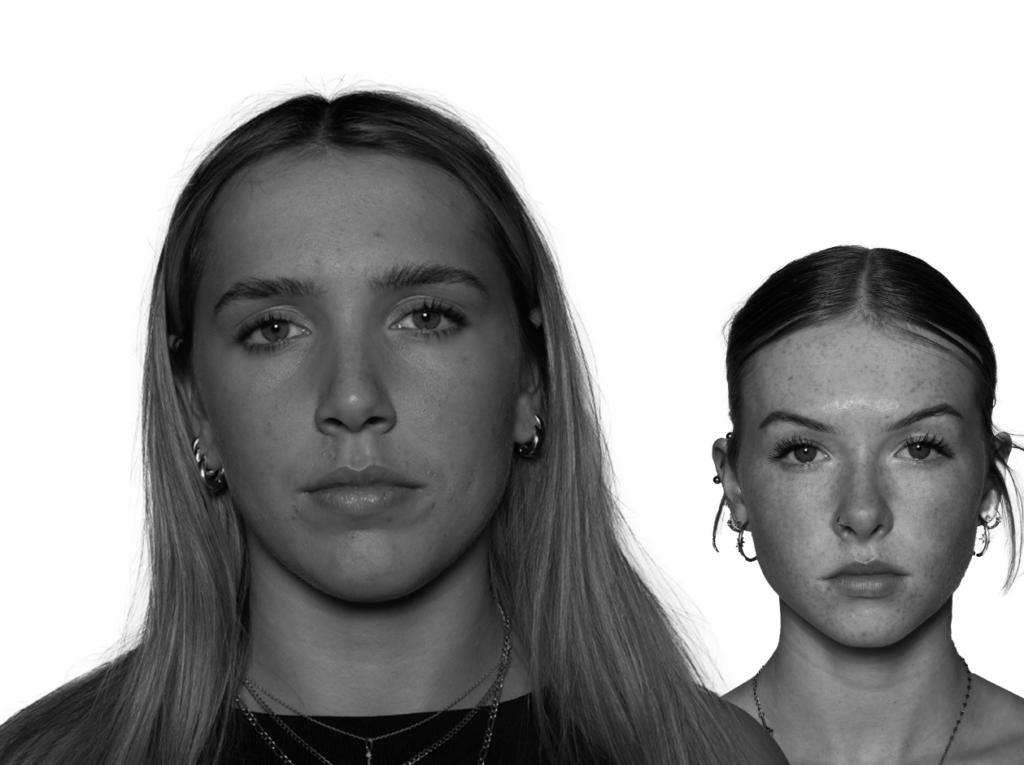
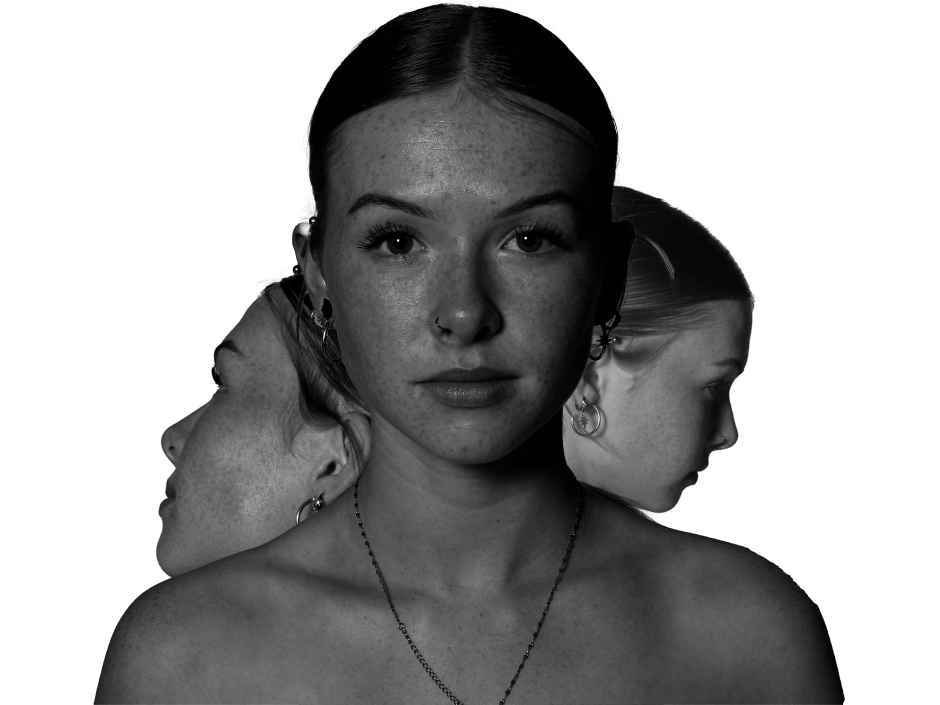
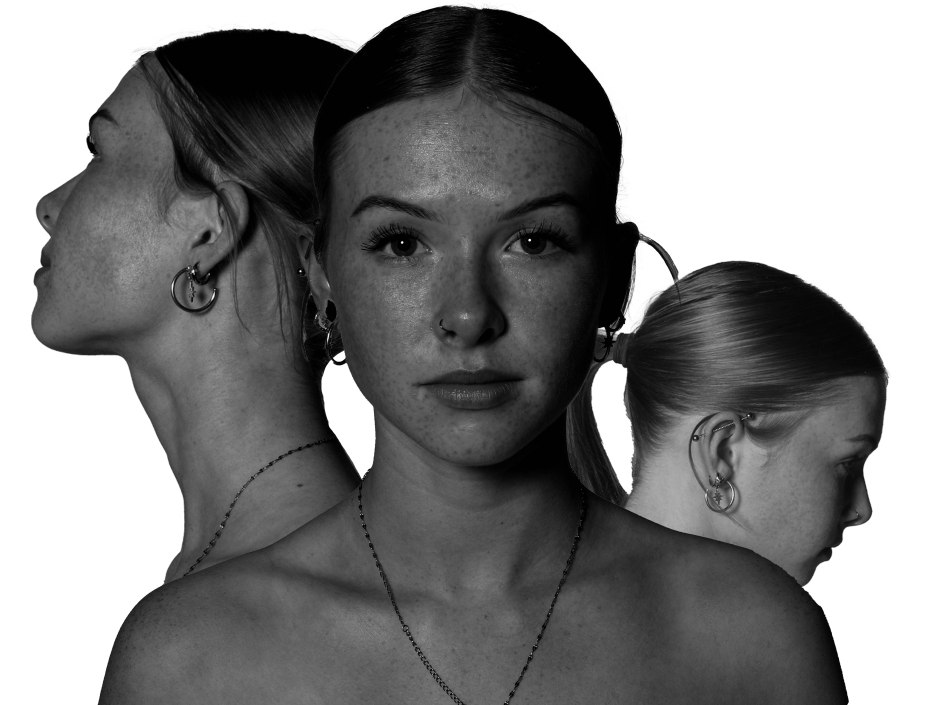
But I preferred this one the most:
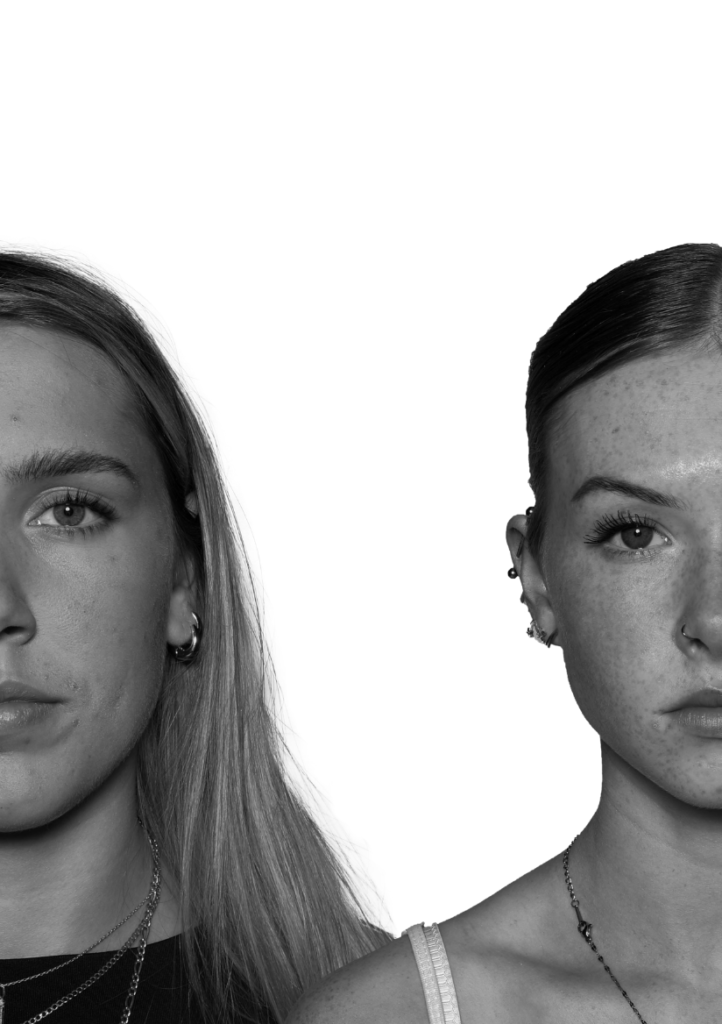
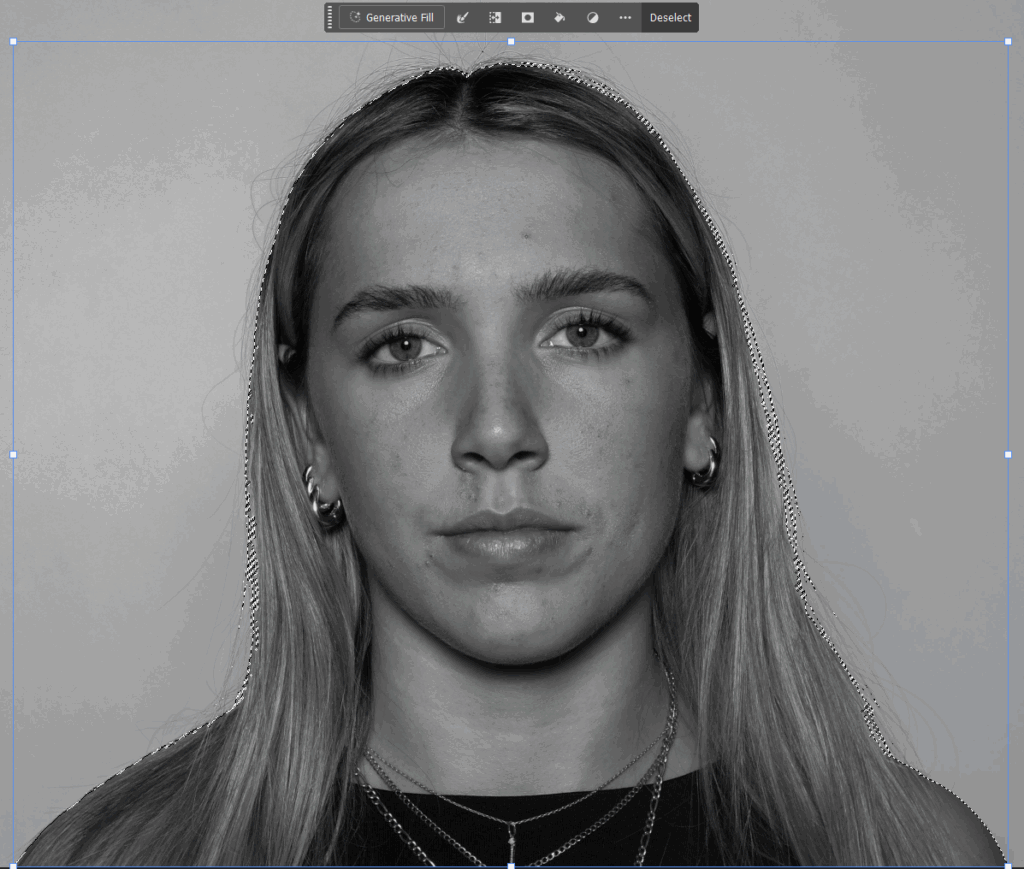
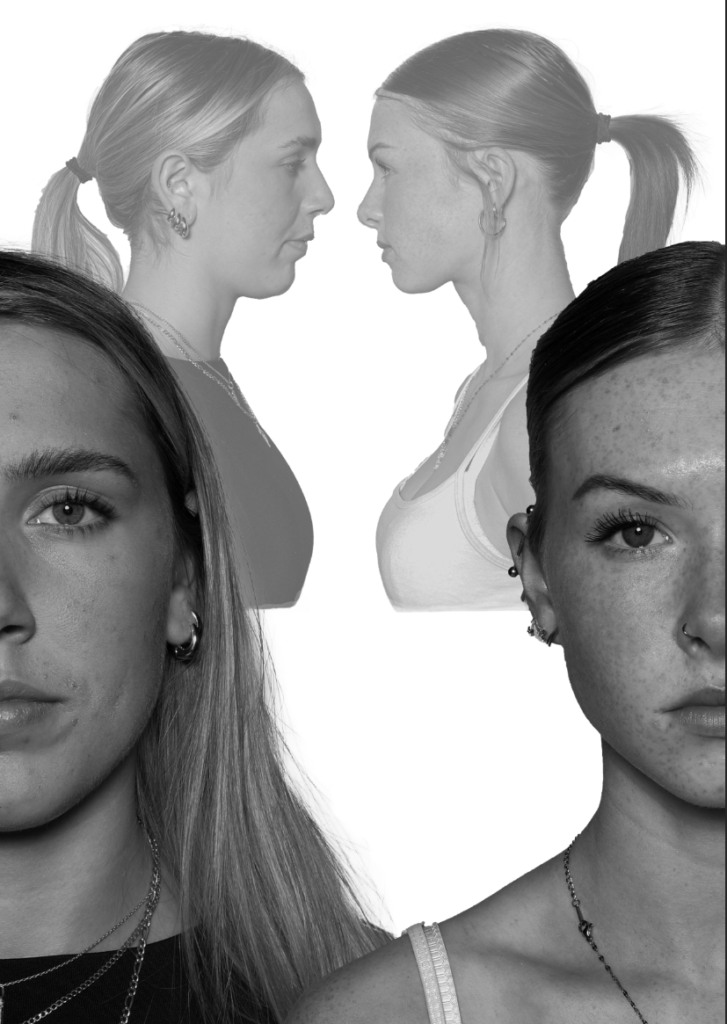
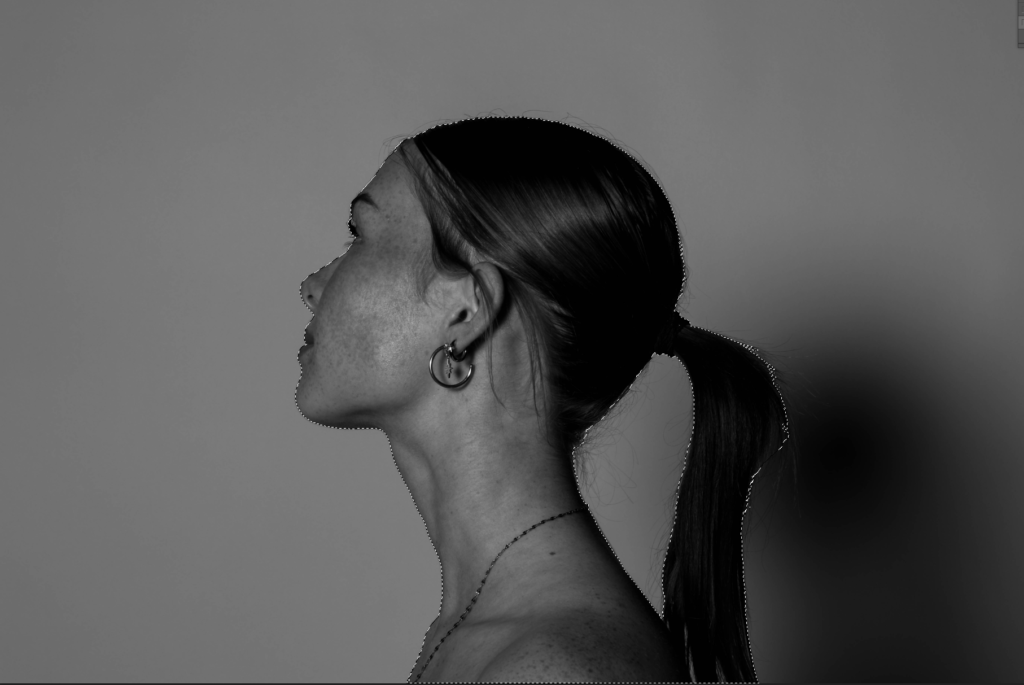
Onto the final image I will use for this edit:
I repeated the steps from before for this image also. I selected the subject and right clicked ‘layer via copy’.
Then, I transferred this image onto the same document as the other two portrait photos and made it smaller to fit behind the subject’s heads.
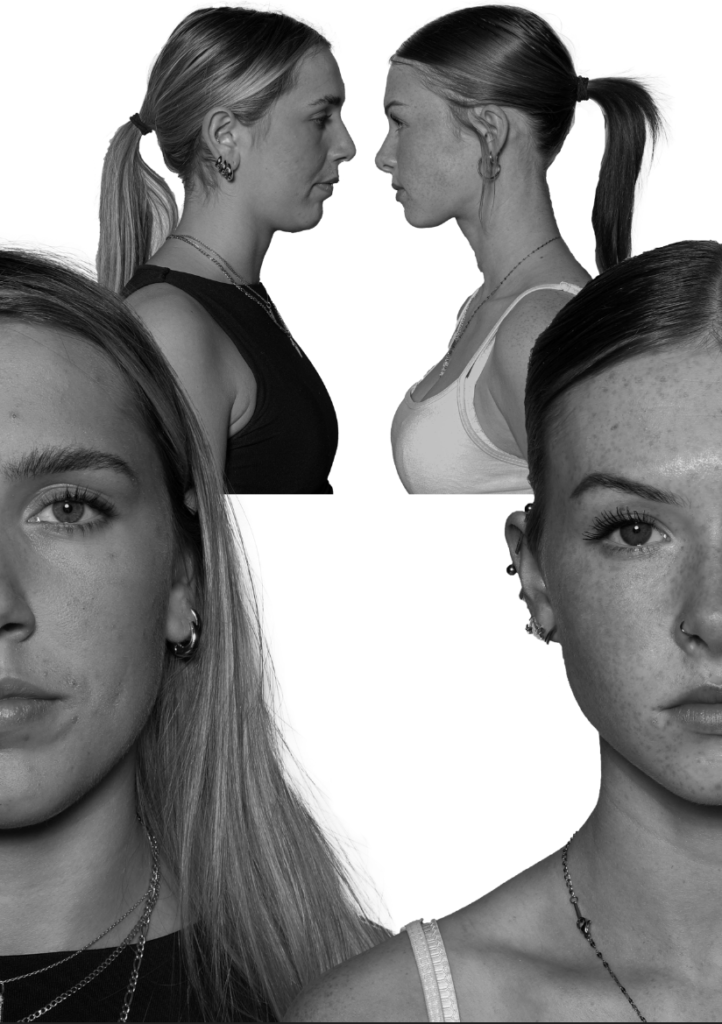
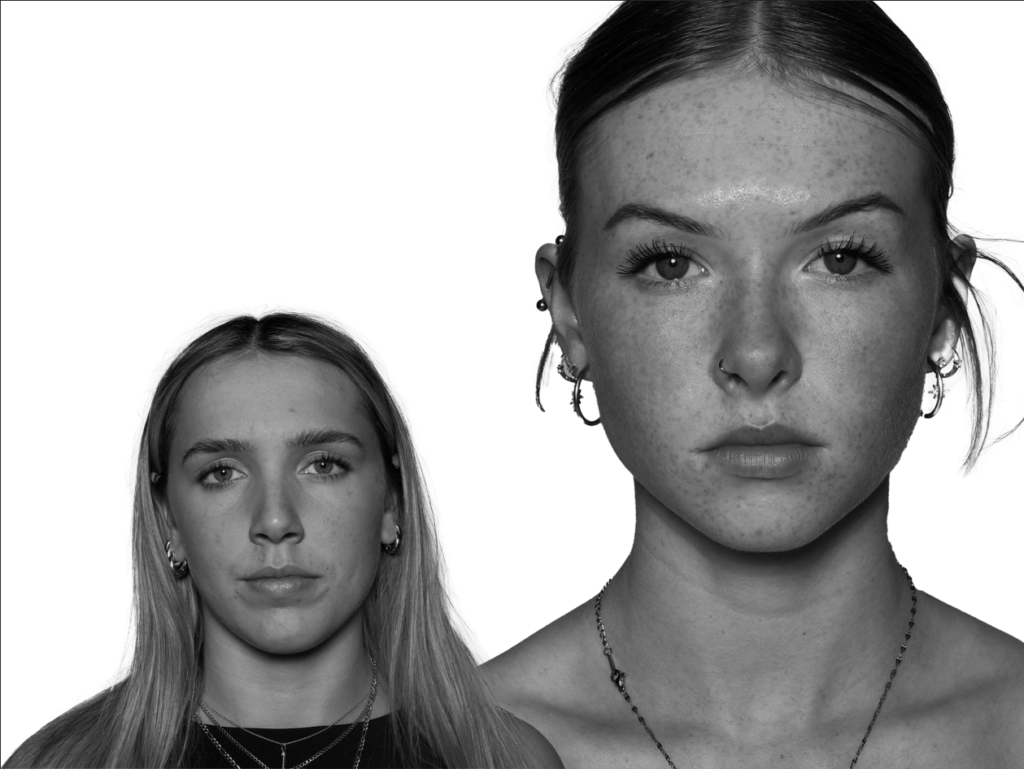
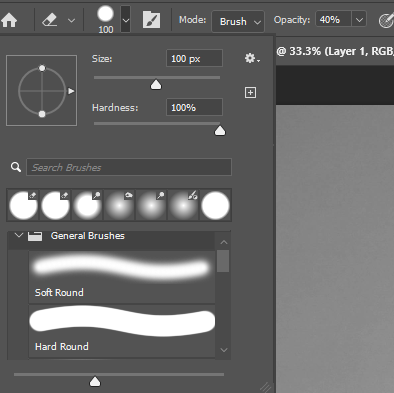
I liked this layout so I decided to experiment with different opacity’s and filters for the background image.
I also noticed the harsh line from where the image stopped, so I used the eraser tool to smooth and lighten the blunt edge.
Final outcome:
Edit 2:
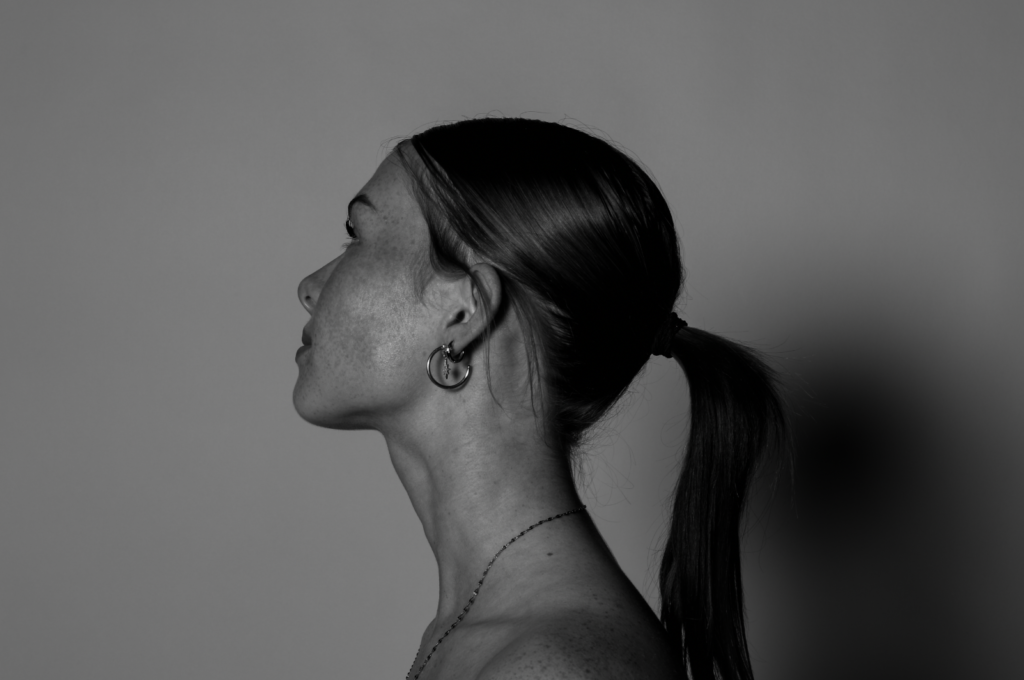
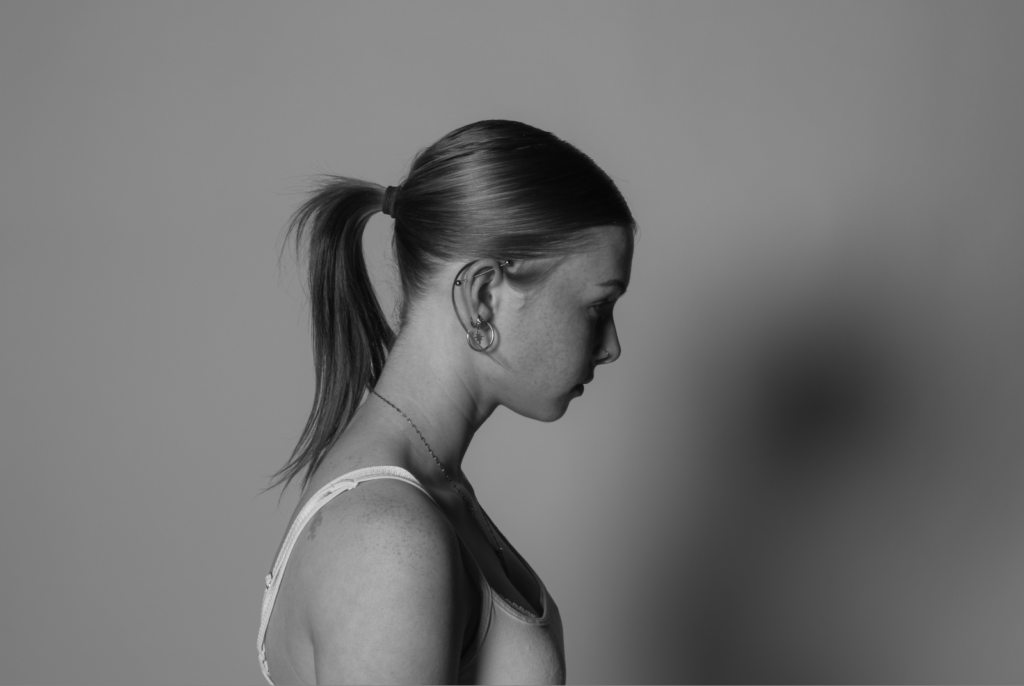
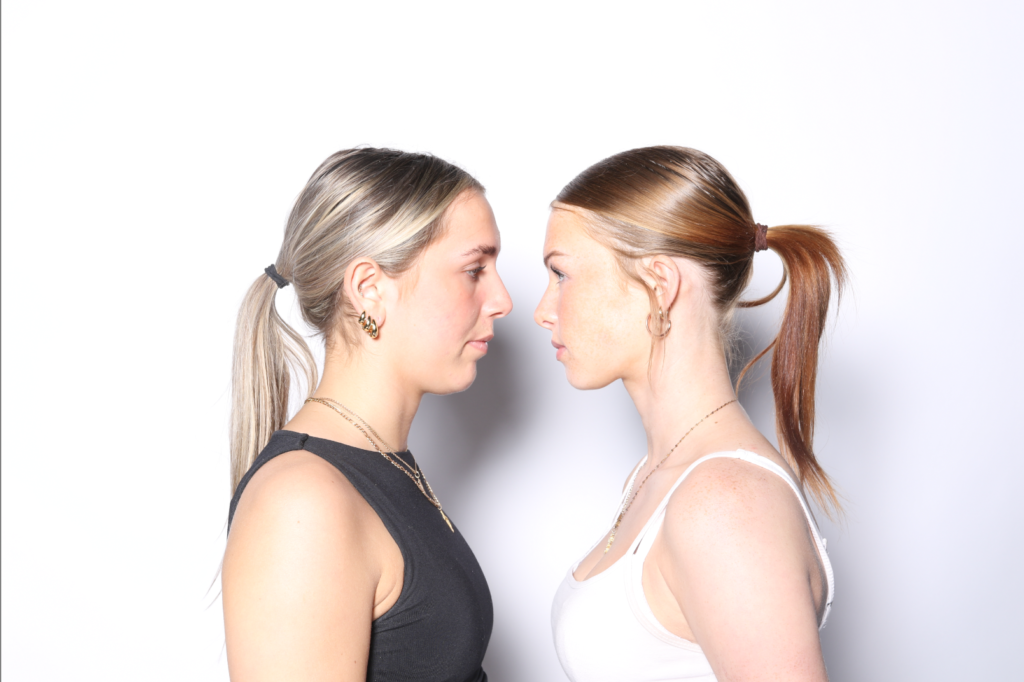
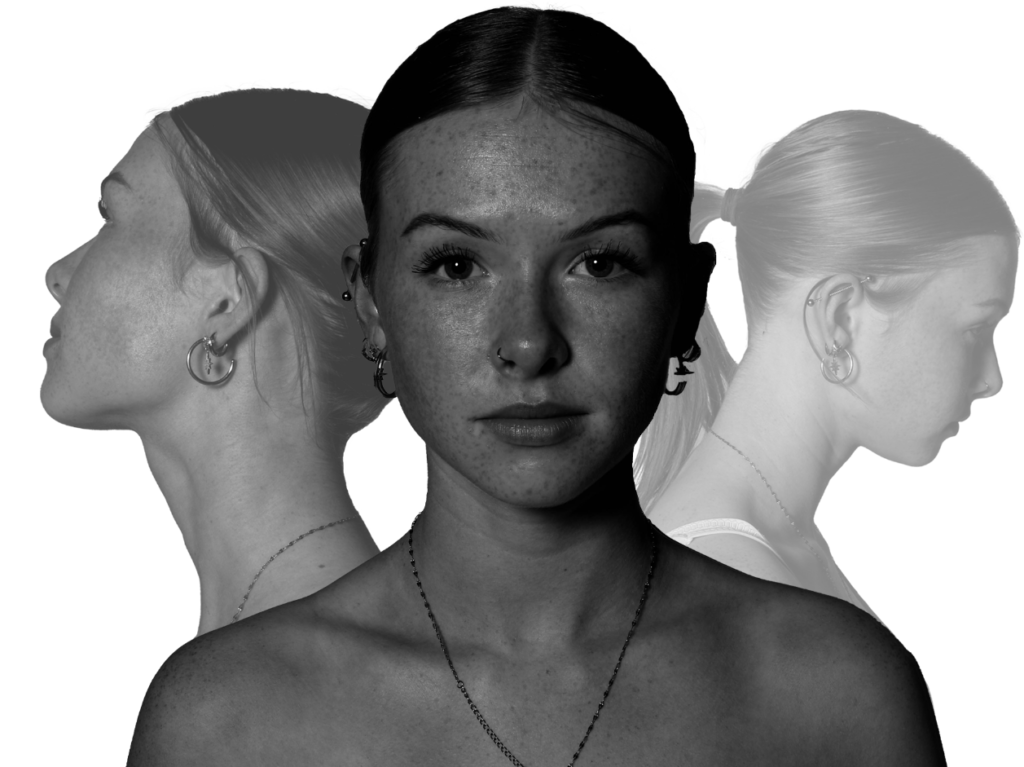
For this edit, I used the same subject but three different angles of her head where she is looking in opposite directions, so that I can merge the images together.
The photos I will be using:
I selected the subject for all 3 images and transferred them onto a blank new document.
I then experimented with the layout of the images and once I finalised the layout, I decreased the opacity of the background images.
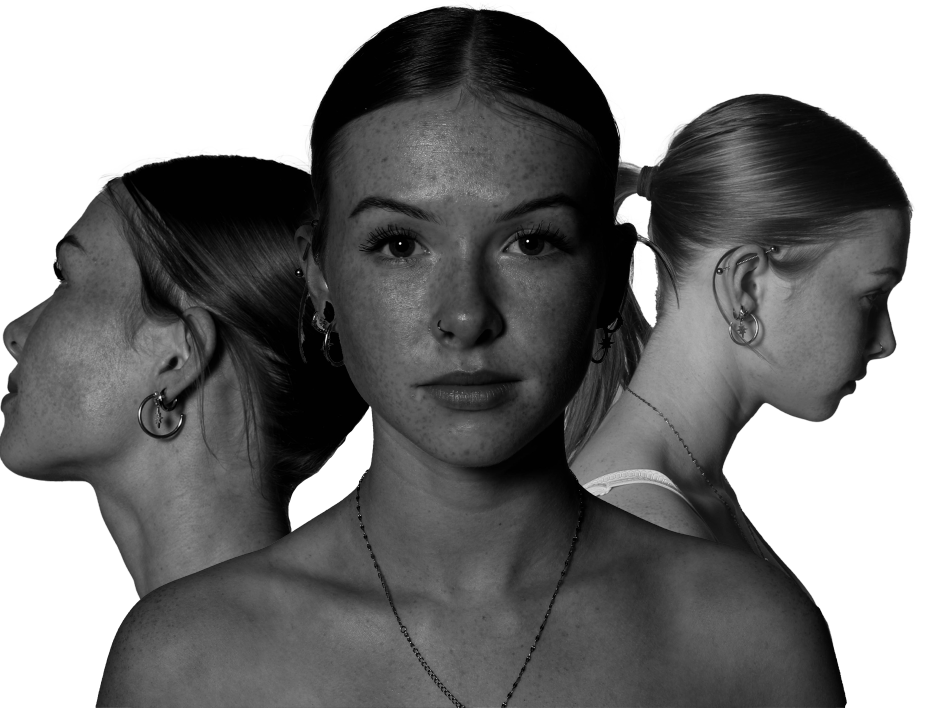
Final outcome:
Edit 3:
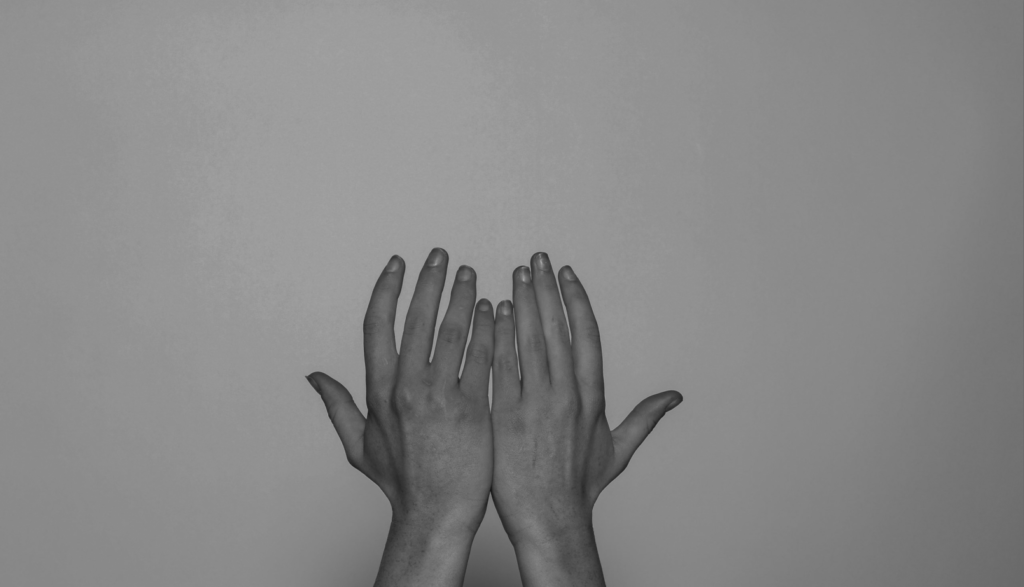
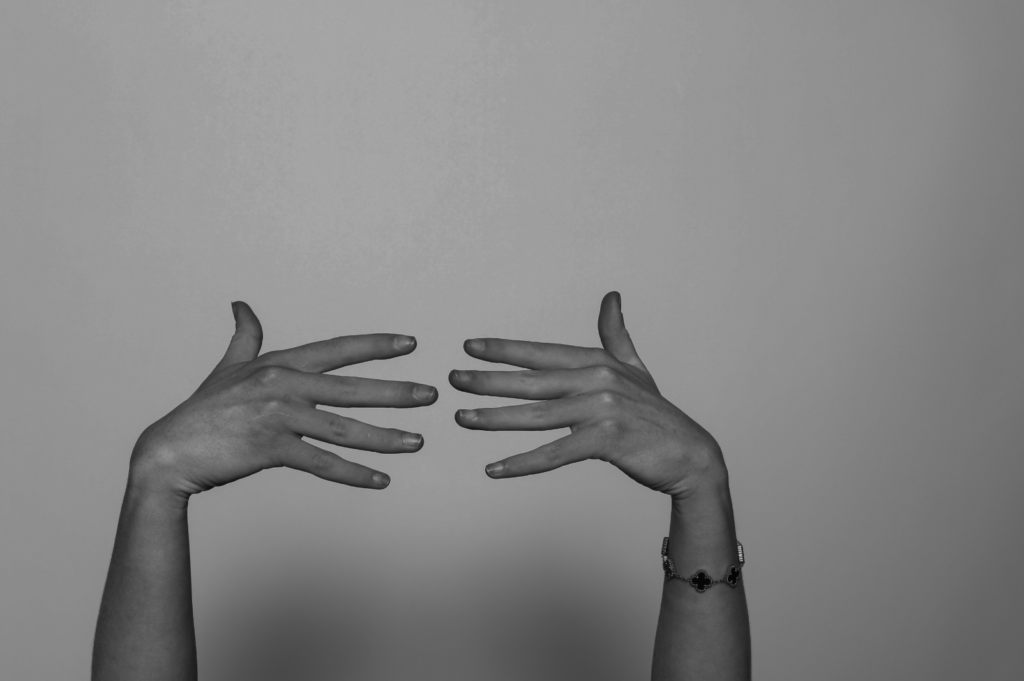
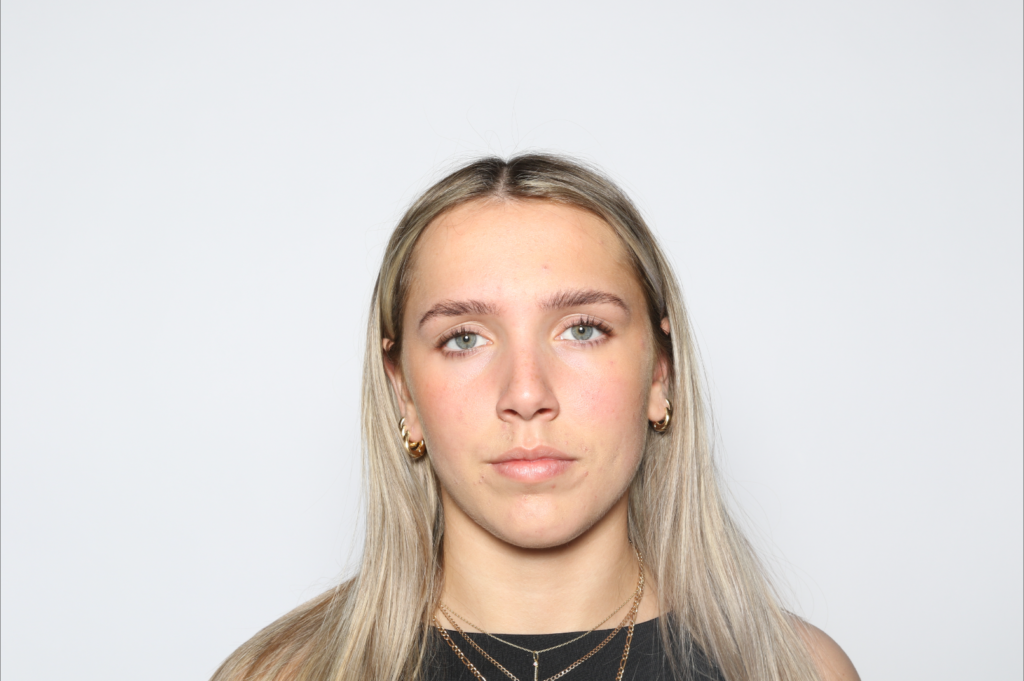
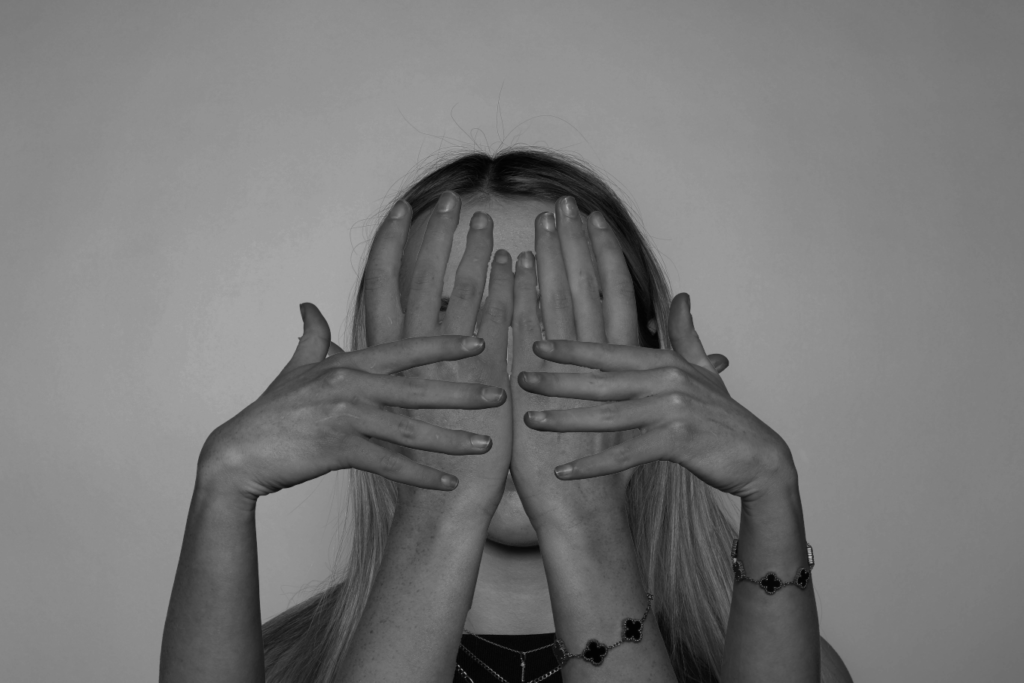
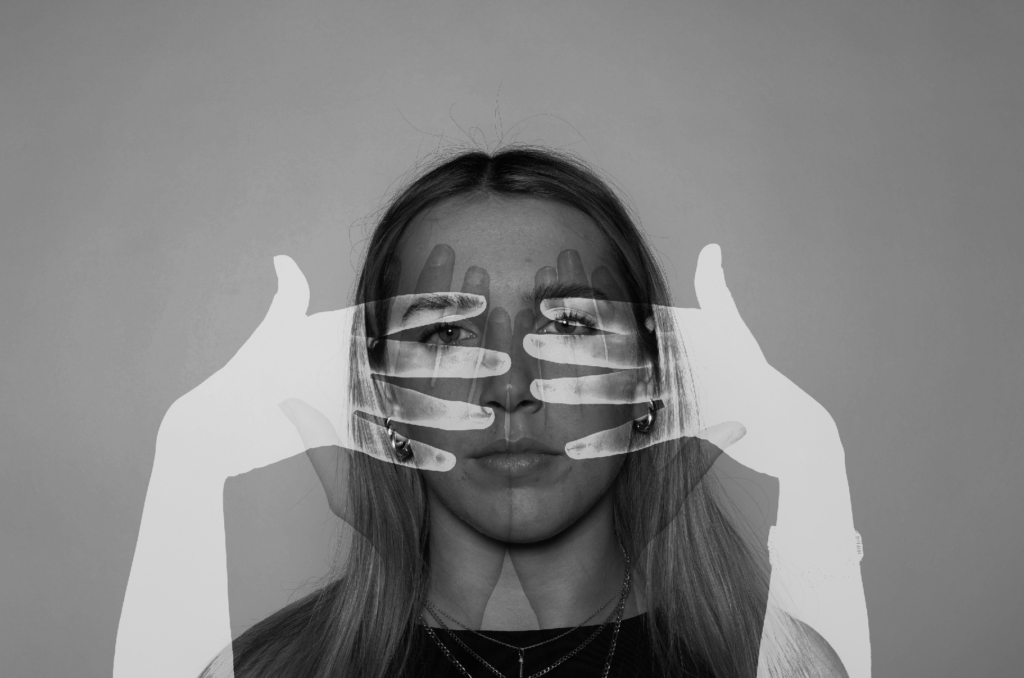
For this edit, I wanted to incorporate hands to merge with faces. Therefore, in the studio I took a few photos of different hand shapes which I thought would be useful to edit onto the subject’s face.
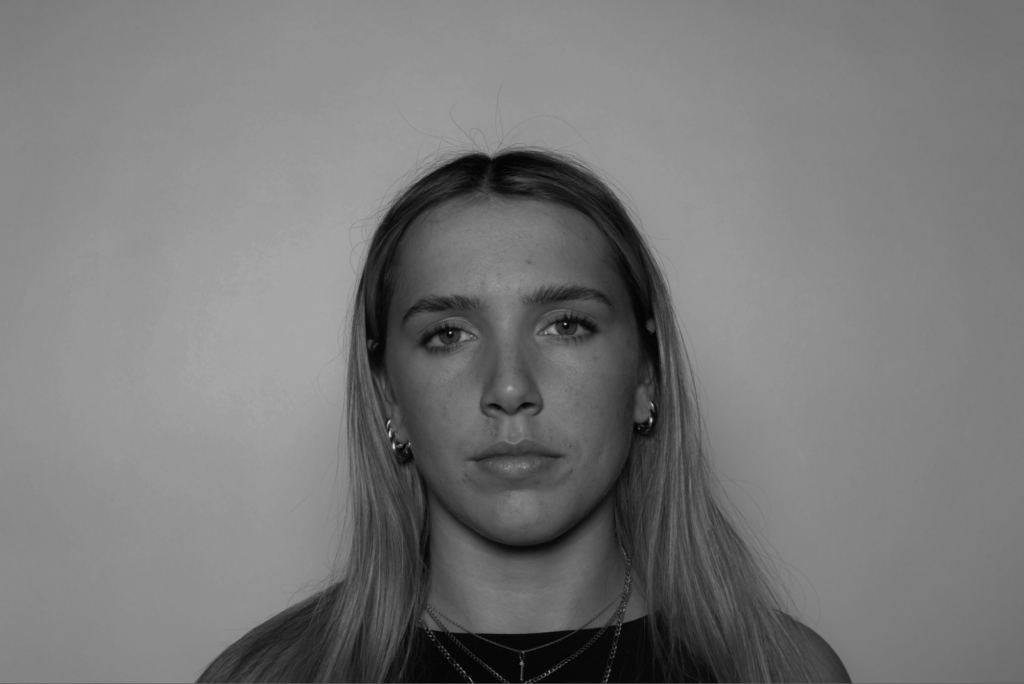
The photos I will be using:
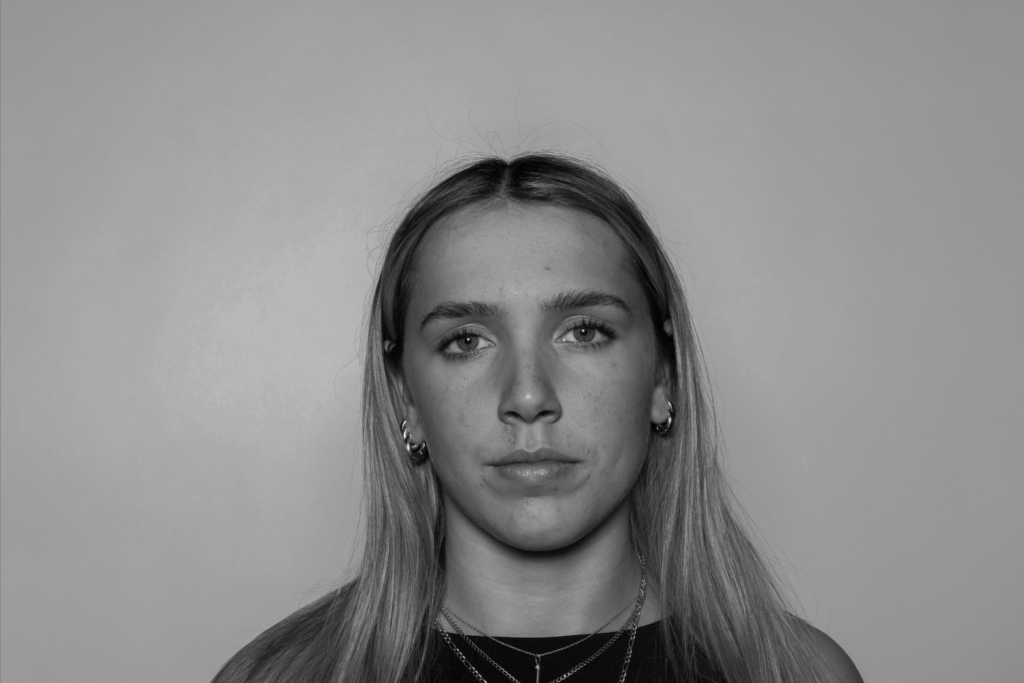
Firstly, I kept the image of the subject’s face (the background image) the same, as I did not need to transfer the photo onto a new document.
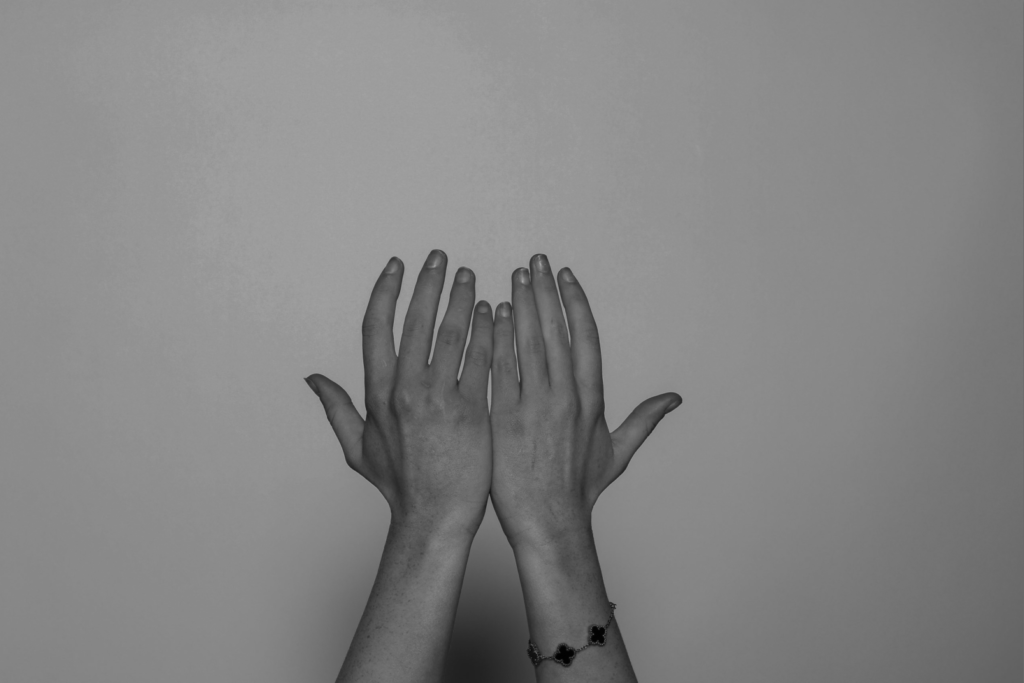

I then selected the hands using the quick selection tool. Finally, I transferred them onto the image of the subject’s face where I continued to experiment with the layout and opacity.
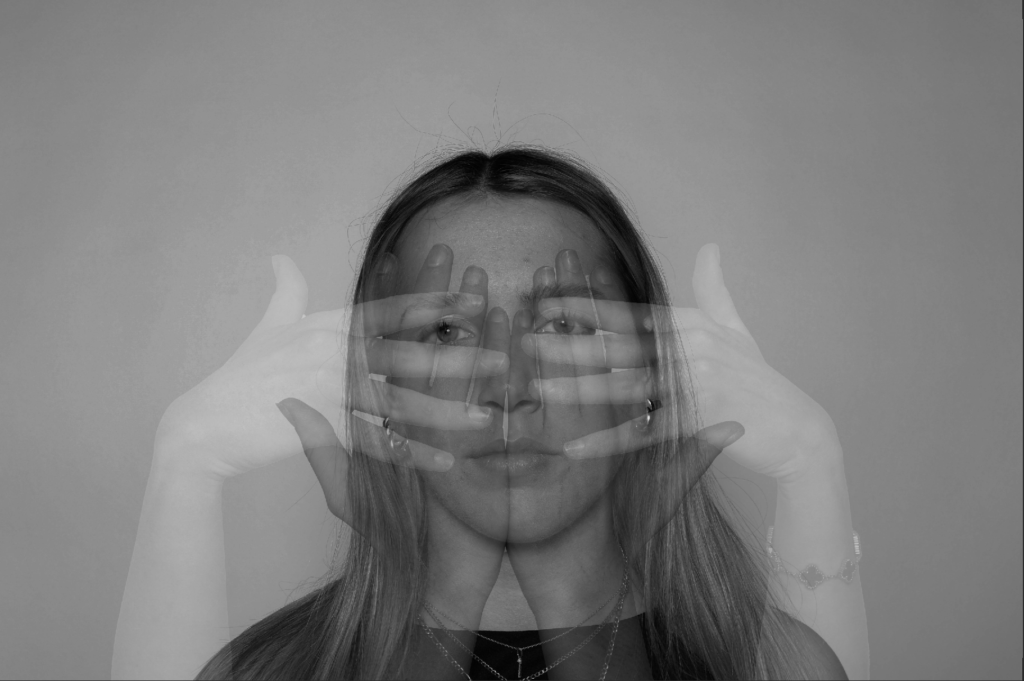
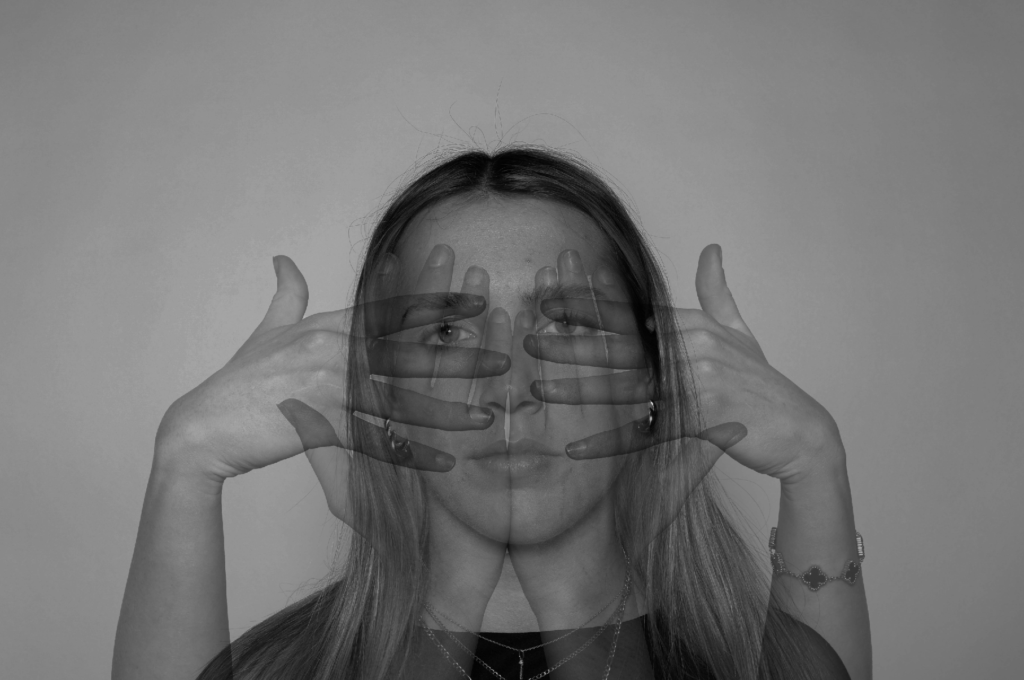
Final outcomes:
To create the different affects on the hands, I used the filters I can access through Photoshop, as well as changing the opacity.

Sideways hands: Filter: Screen Upwards hands: Opacity: 60%
Sideways hands: Filter: Darker colour Upwards hands:
Opacity: 60%

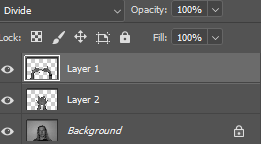
Sideways hands: Filter: Divide Upwards hands: Filter: Screen
Opacity: 100%
Sideways hands: Filter: Divide Upwards hands: Filter: Overlay
Opacity 100%