
Union: Blended British
‘Blended British’ is what my union theme will be called. This is because,
Image 1 – Reflecting Heritage
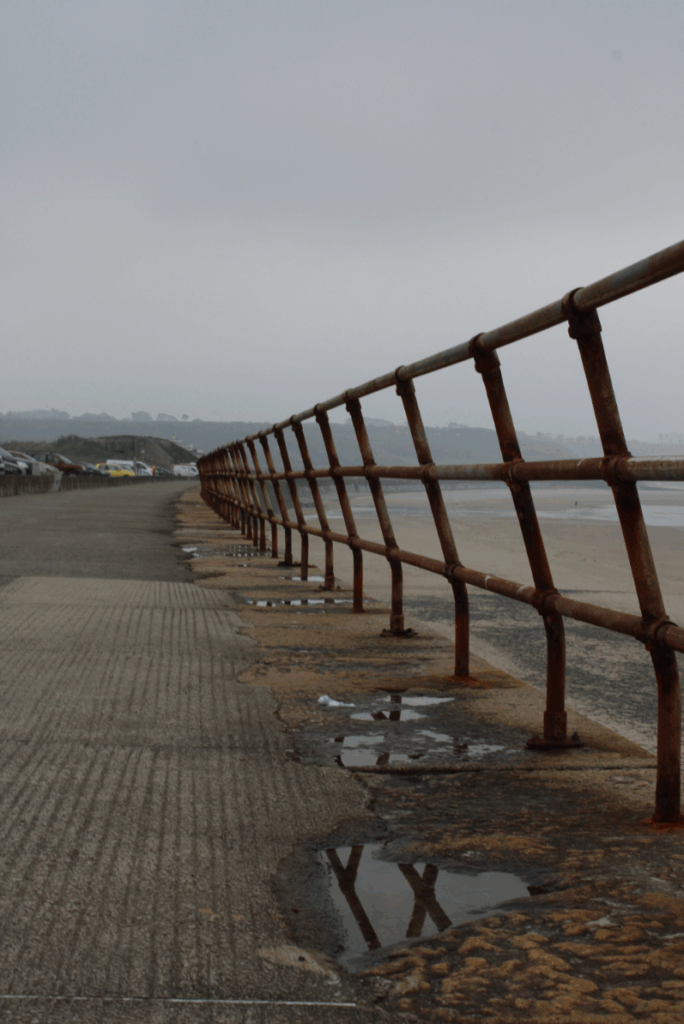
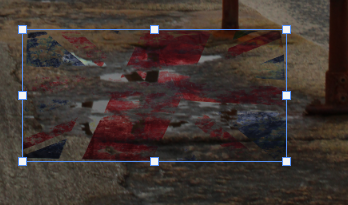
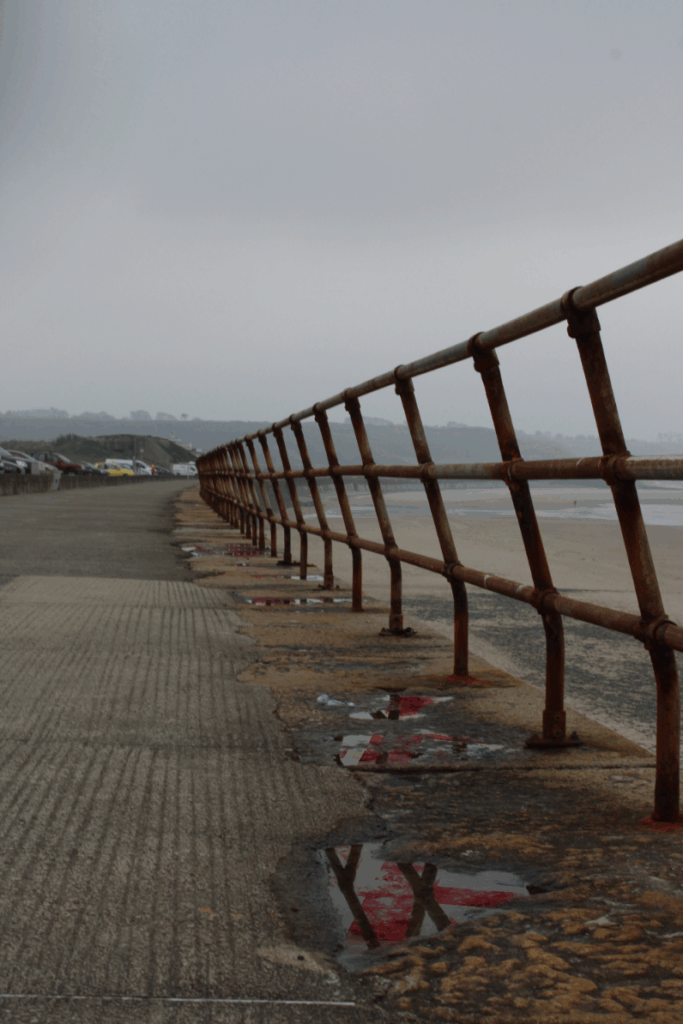
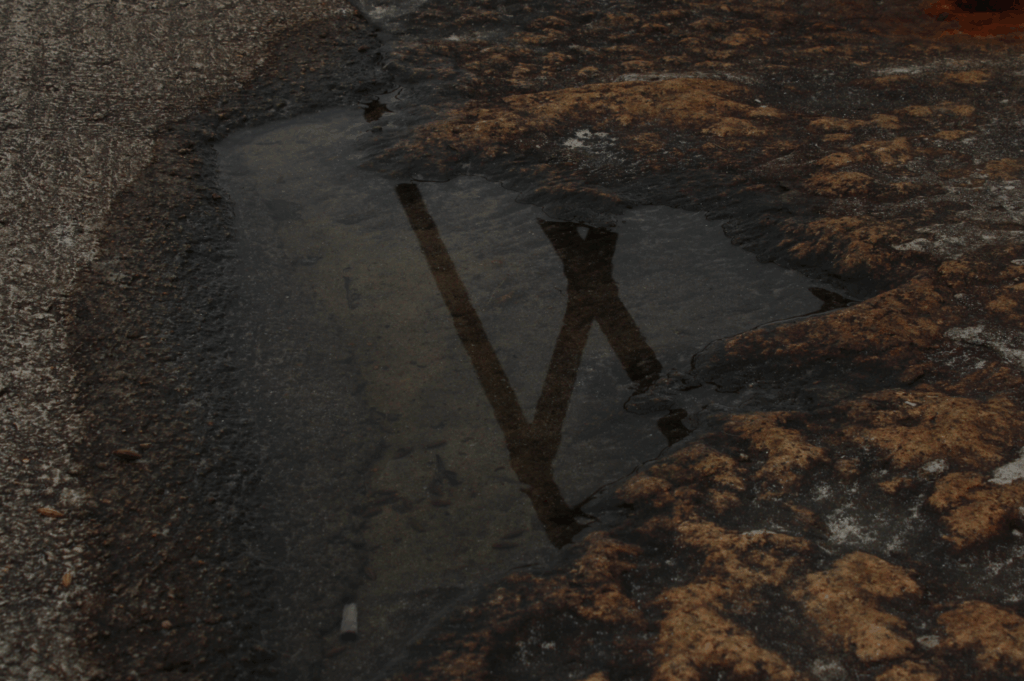
I started using this photograph I took whilst walking along St Ouen’s 5 mile road. I chose this image because I liked all of the different reflections on the ground in the puddles and I can add my ideas on top of this. Also, it is very moody, damp, misty and cloudy which matches the image perfectly to the puddles and especially due to British weather is commonly not so great, it matches my theme perfectly.
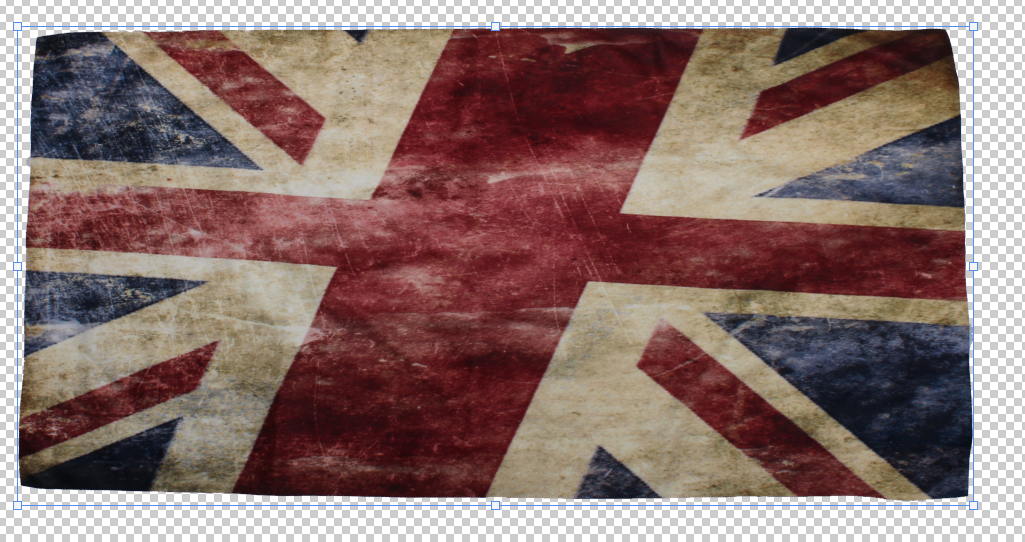
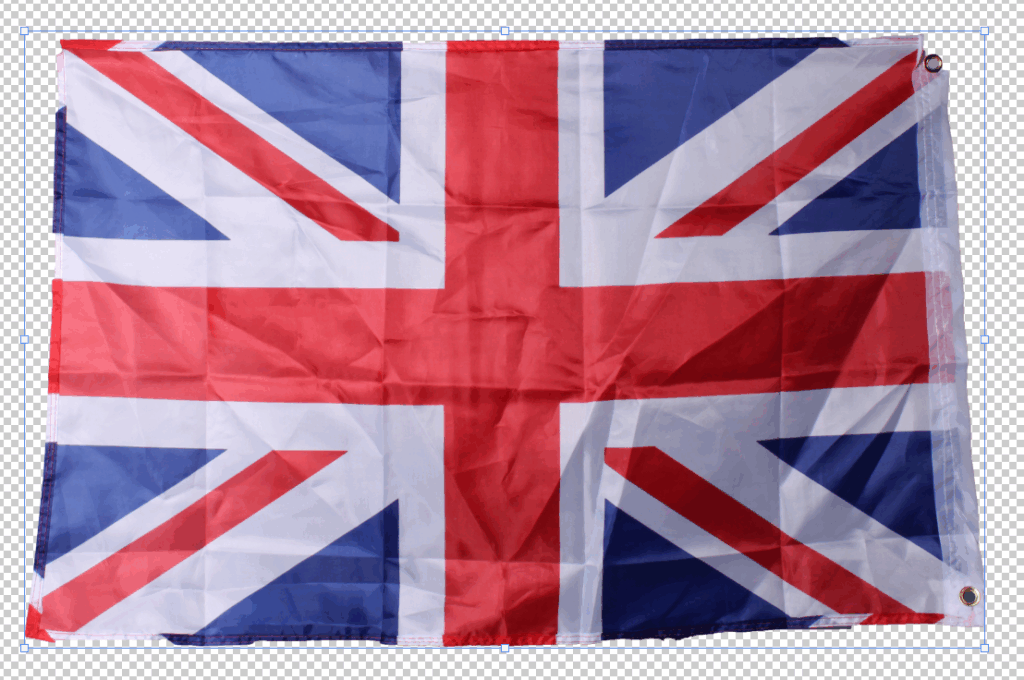
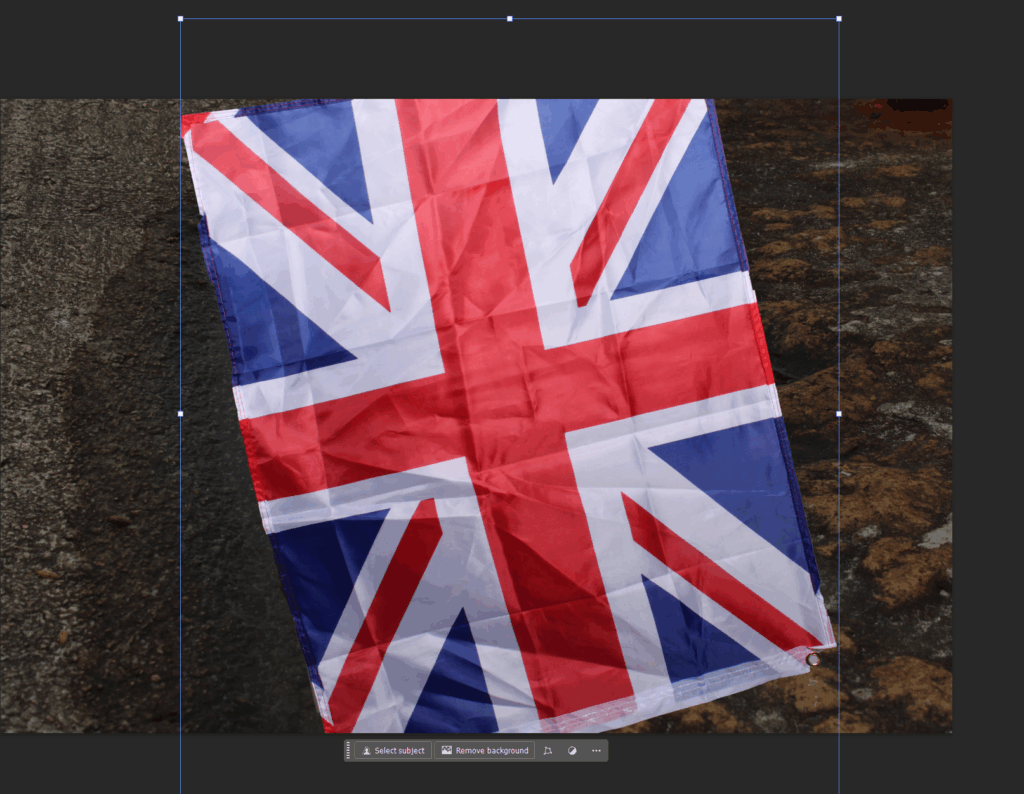
I started editing it by cutting out this photograph of a Union Jack flag I took which already had this grainy, tea-stain look to it. I then made positioned this layer on top of the first puddle and chose the ‘Darken’ Layer filter.

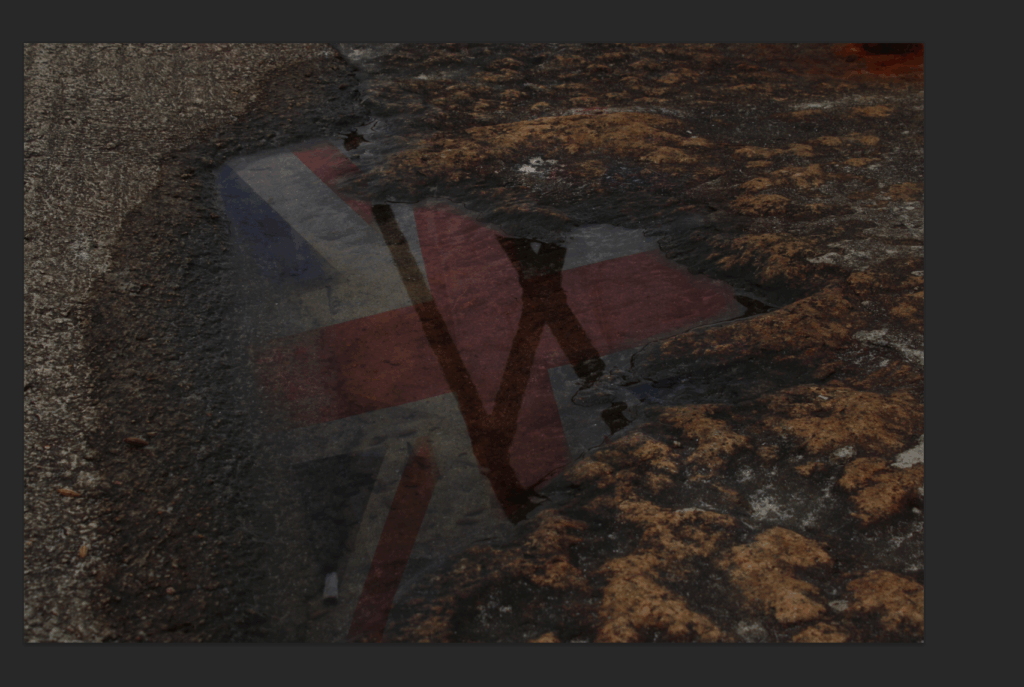
This allowed my image of the flag to be transparent whilst still letting in the darker sides of the flag through and still in colour which was perfect for my puddle reflection and resulted in this.
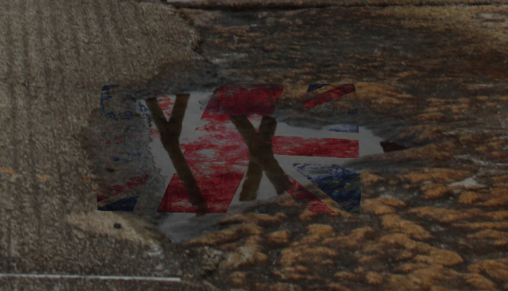
I next used the rubber tool with 20% opacity and rubbed out all of the edges around the flag that was on top of the rock/ground because I only wanted the flag to be in the puddle, resulting in this.
I then decided to do this for most of the other puddles in the background following back, which is what I did next, repeating the same steps.
Then removing all of the parts of the flag which were on top of the rocks and not in the puddle using 20% opacity on the rubber tool.
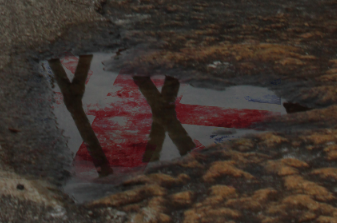
Finally, I did it once more by using one flag image but spreading it over 3/4 smaller puddles to really spread the flag. Repeating the same steps.
Removing the outside parts of the flag once again until only the flag inside of the puddle is showing, resulting in this.
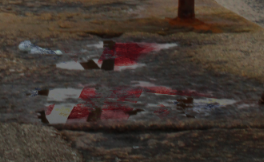
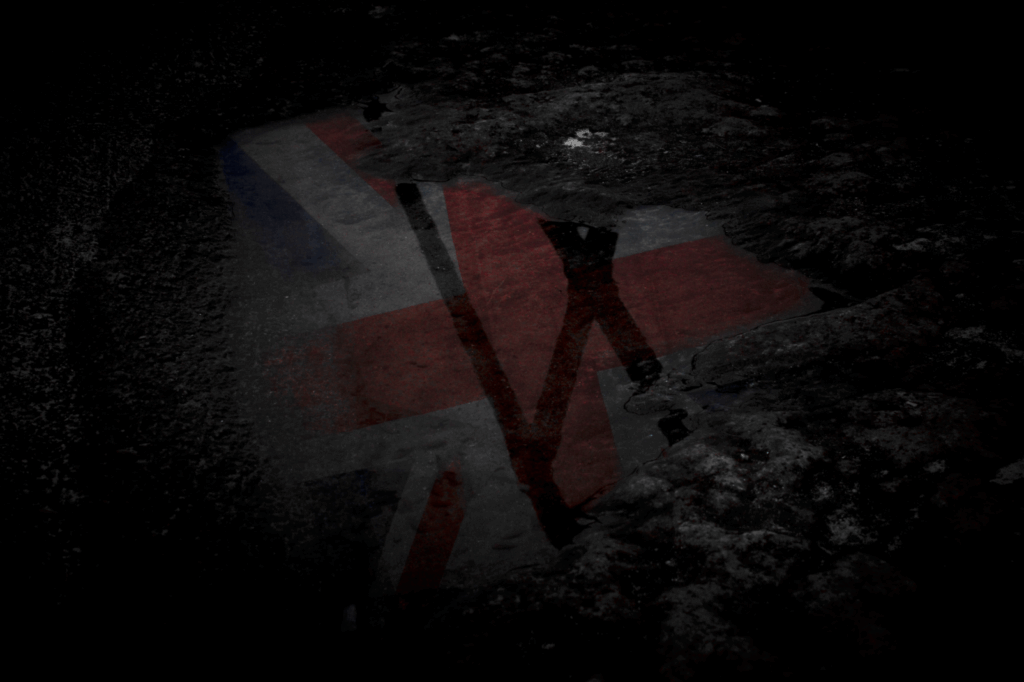
This is the final result of the edited flags inside of the puddles, but I will add a Vignette around the image using Lightroom.
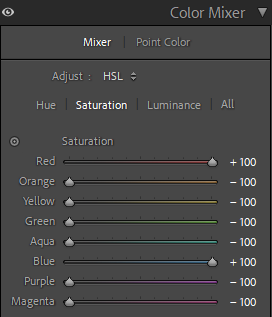
I also cropped the top of this image because I wanted the focus more on the puddles and rails not the sky, and also edited the image to make all of the colours that aren’t red or blue, in black & white to create isolation and more focus points for the viewer on to the puddles.
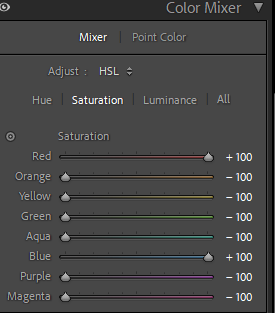
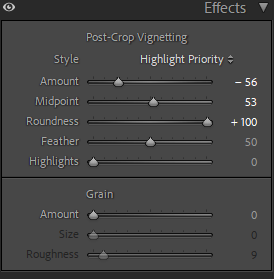
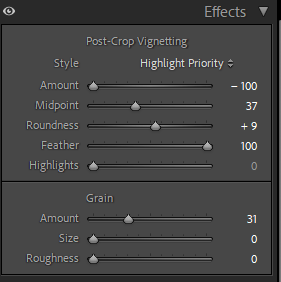
These are the effects I used to create the Vignette around my final image resulting in this.
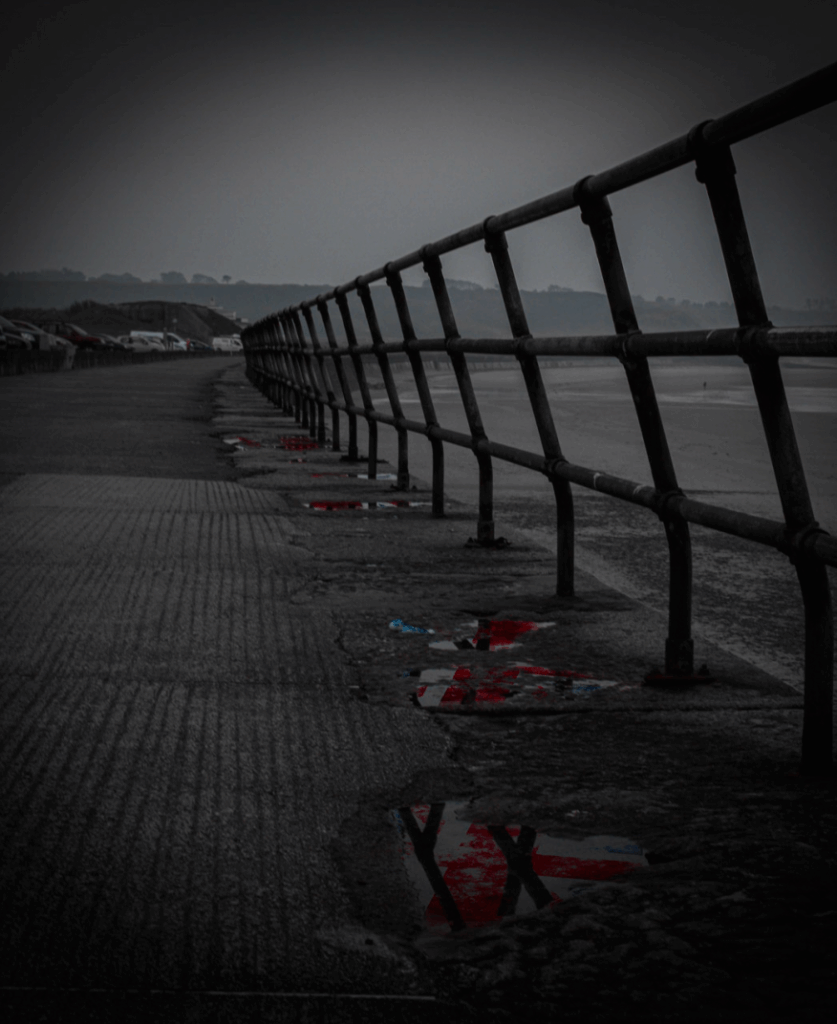
This is my final image which I really like and I love how it’s in black and white with only the flag colours showing through, the rail on the right also adds sadness and because it looks like it goes on forever it draws the attention back to the puddles.
Image 2 – Past
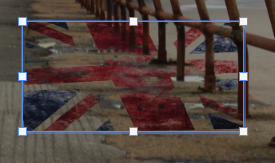
For my second photograph I will be editing, I am going for a similar theme to the first image but instead of multiple puddles, its just one singular one with a flag inside of it.
I chose this puddle image to edit with because I love the rocky ground around it and how the puddle creeps up to the gravel ground. Also, it already has a reflection of a rail inside of it, but I will be keeping this in and overlaying my flag edit on top of it.
I started by cutting out this image of a flag I took in the studio. I didn’t iron the flag on purpose so that the crinkles on the flag acts as ripples in the water from the puddle.
I positioned the flag where I wanted it over the puddle and using photoshop, I selected the ‘overlay’ layer filter which made it look like this.

I chose this layer filter because it helped it give the transparent and puddle/reflection look once again. But then, I cut out all of the edges again from the flag using the rubber tool with 50% opacity, for the big parts of the flag that are only on the rocks, and 20% opacity for the smaller parts that are just touching the edges of the rocks/ground to create the look that the flag is inside of the puddle reflecting the Union Jack flag.
This is how the image resulted after I cut out the edges of the flag and also I lowered the opacity of the flag to 40% from 100% to make the transparent look feel and look more real.
I then did the same editing with the erase of colours apart from blue/red using these effects.
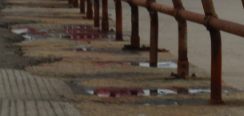
Plus, I added the vignette around this image again so that all of my final images will be correlating the same idea and will look more presentable, with my final photograph turning out like this.
I like this image because it has the same black and white theme as the first image, but it only involves one puddle in it with the singular Union Jack flag. This helps the viewer reflect on how wherever they go in England/Scotland/Wales, they will always see a Union Jack flag as even by looking in a Puddle, they will remember where they are from.
Image 3 – The Inn
For my third image, I decided to edit this photograph I took outside of a Jersey generic looking Pub which the British is widely known for.
I liked the photograph as it was, which I did by using these camera settings which made the pub sign, in-focus, whilst keeping the lightbulbs around it in blur.

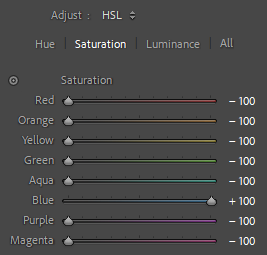
But, I wanted to keep the theme of mainly using mainly red and blue, but also white as well, (the Union Jack colours). So, for this image, I decided to only make it in Blue so that I have some images in both red and blue, and some only in one colour.
I started by using the colour mix tools on Lightroom, with only keeping blue, in colour, whilst the rest in black and white.
Then, I edited the temperature and tint on the image allowing the whole image to be in blue, and also changed the exposure, contrast, highlights, shadows, whites, texture, clarity and also a vignette again around the final image, to give it a grainy, dark, gloomy feel/look to the image which is exactly what I envisioned of when you think of when you think of a generic English pub.
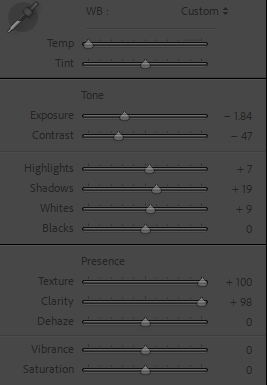
I also added the vignette around the final image again to keep the same theme for each image and to help the gloomy view and attract the viewers eyes to the middle of the image. Resulting in this.
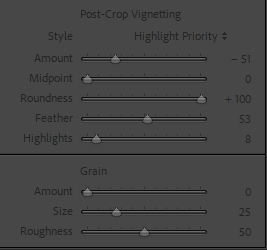
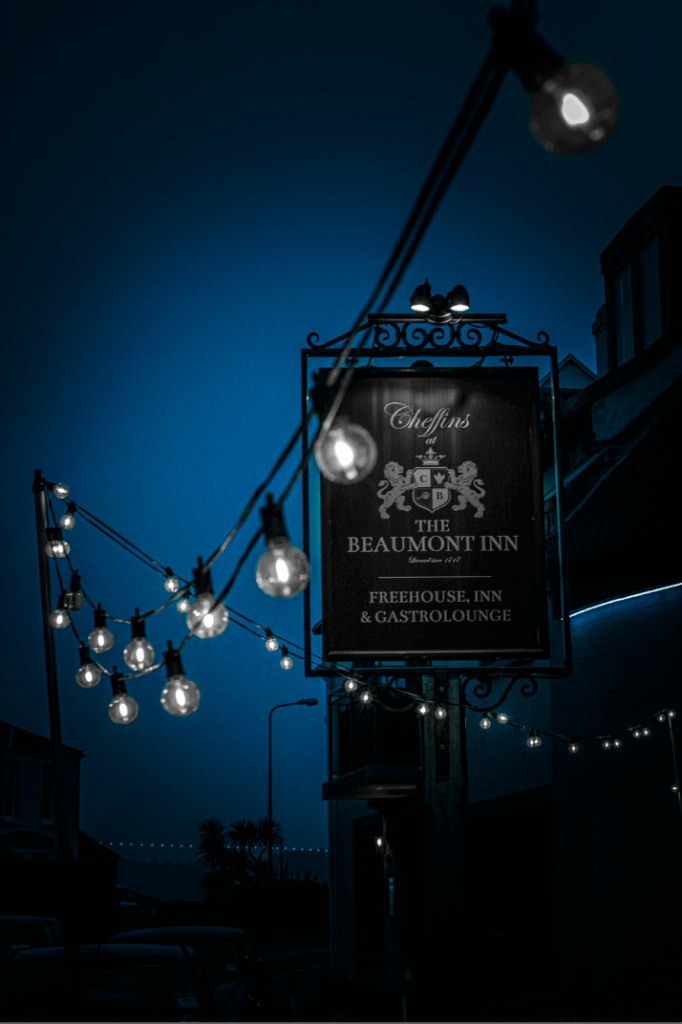
This is the final image which gives off a cold, generic British pub especially because I manipulated the image to have the background and lights in blue, with everything else black and white, the grey light bulbs and sign with the black vignette really helps portray this gloomy, dark pub too.