
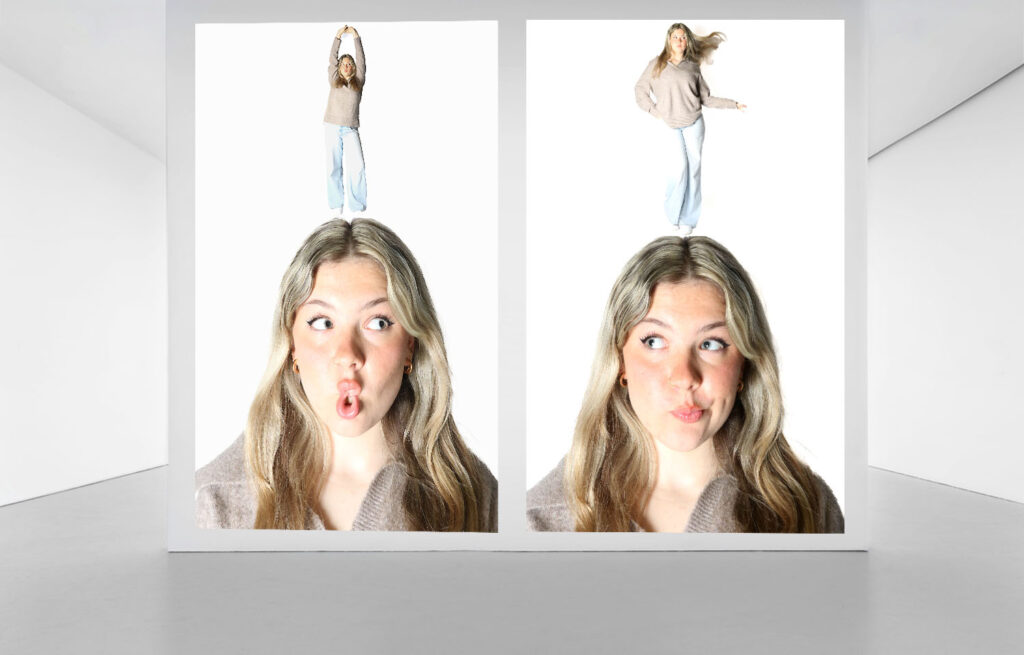
This is a virtual gallery of one of my final prints, This final product turned out quite well as I was able to place each photo carefully based on the direction the models eyes were leading to, for example the photo of the model on the left is looking at the smaller person on the right and it applies for the other side. This virtual gallery would have been better if I had used two different photos of different models or possible the same model but wearing different clothes to show that the people are different. This would have also looked better if the models were at the same length as the left model is slightly taller than the right which shows that the models don’t line up correctly.

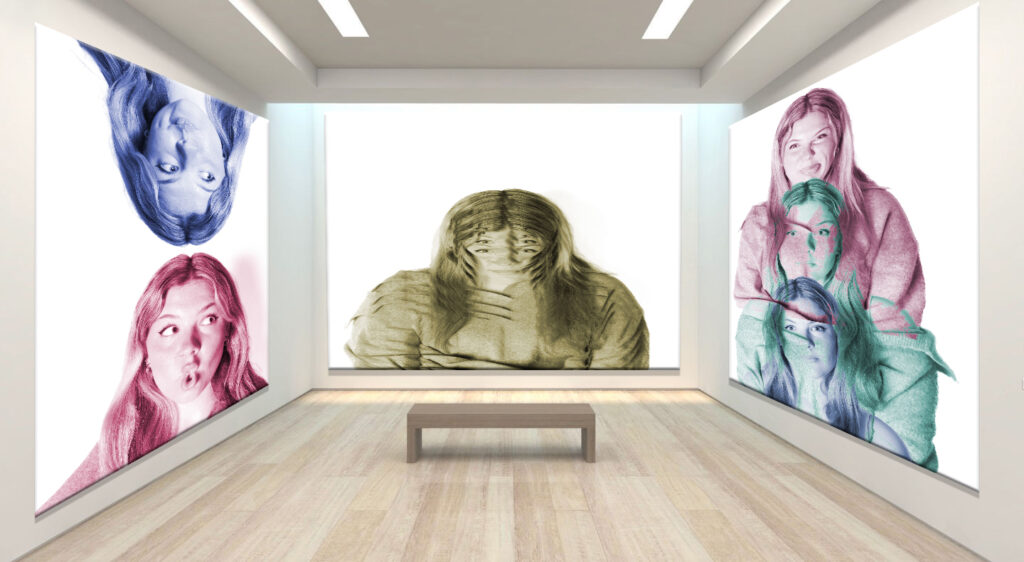
Here I made a Virtual gallery for some of my final prints, this is a good way to present my work and show how well my project went. For the virtual gallery just above with the 3 coloured photos, I decided to put the Purple-ish one on the far left as the models eyes are staring towards the right, this creates an effect that makes the viewer curious as to what the model may be staring at, then I decided to put two pictures of the model staring towards the left as it brings back the attention to the far left photo. I really like how the different colours go well together and almost compliment each other, I believe that each colour represent a different emotion, for example Blue normally represents a sense of sadness but I tried to make the blue show a sense of curiosity, a green colour could represent a sense of feeling sick, and purple could represent a sense of boredom, however I made I tried to experiment with the colours to see if they could create a different emotion. When laying out my photos I decided to put the middle photo slightly lower down as it helped me pay attention to each photo without getting overwhelmed. I was also able to add a slight shadow at the bottom of the photo to almost make it look like the photo was floating. Overall I really like how this final virtual gallery turned out.
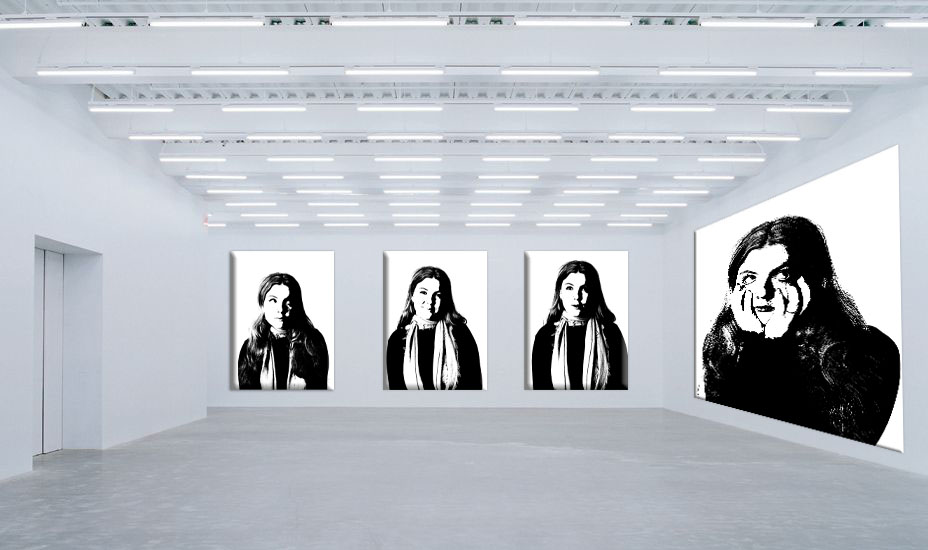
Here is another virtual gallery that shows some of my final prints, I had to do some editing to be able to make the side photo sit right on the corner wall and make it look like it was rightly placed, for the others it was more straight forwards as I was able to place them straight onto the wall, I also added a shadow onto the background to make it look like my photo was up against the wall but help make it look 3D. This will improve the quality of my work as it will help to distract the fact that the photo is just placed onto the wall. Again i tried to place each photo in the right place, for example the photo on the side wall was put on its own as it is a big final print and will be presented on its own, whereas the 3 photos on the middle wall will be presented as a whole, I placed each photo with care depending on the direction of the models eyes, to help divert the viewers attention to each photo carefully.
Lastly, I made a virtual gallery with some of the experiments I did in photoshop. These photos turned out quite well. When put the photos on the side I had to use the skew settings to be able to add an angle onto the photo, this helps to corner my photo in the right place. I didn’t use any of these photos for my final pieces as I though it would be best to keep them as experiments.
Overall, I am happy with the way my work turned out. I was able to layout my work in different ways and present what I hade made. If I were to redo some of the virtual galleries I would simply add more dimension to my photos to make them stand out, I was also add a shadow to each photograph as it helps to make the photo look more stabilised on the wall.