
For this photoshoot I have recreated the archive image below:
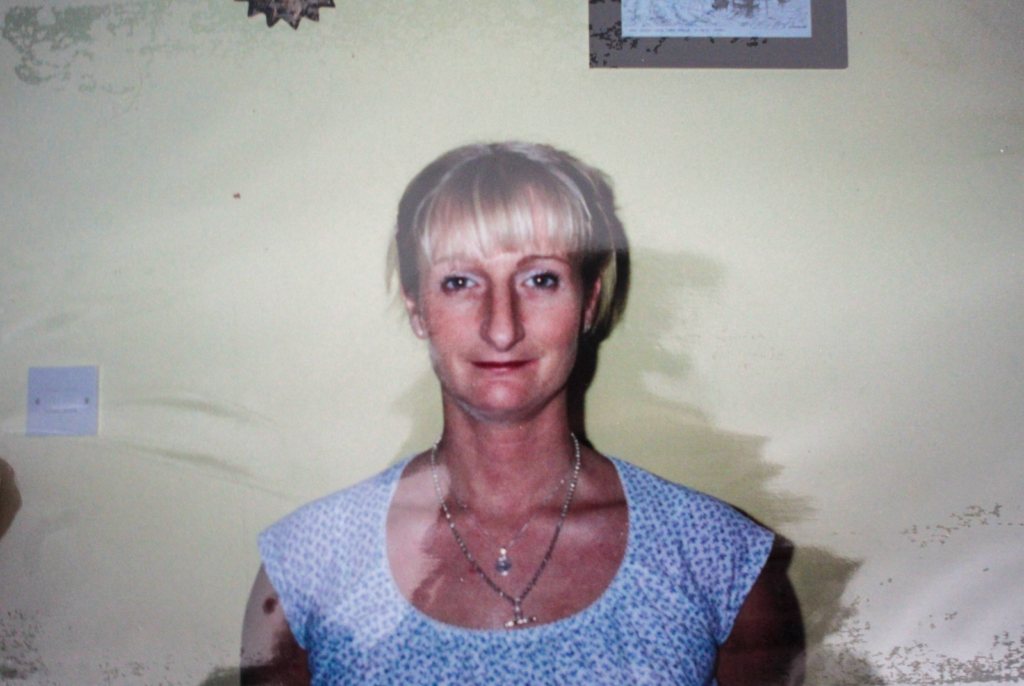
I have recreated this image using my mum (her daughter), my uncle Josh (her son), and my other uncle Daniel (her son).
Edits
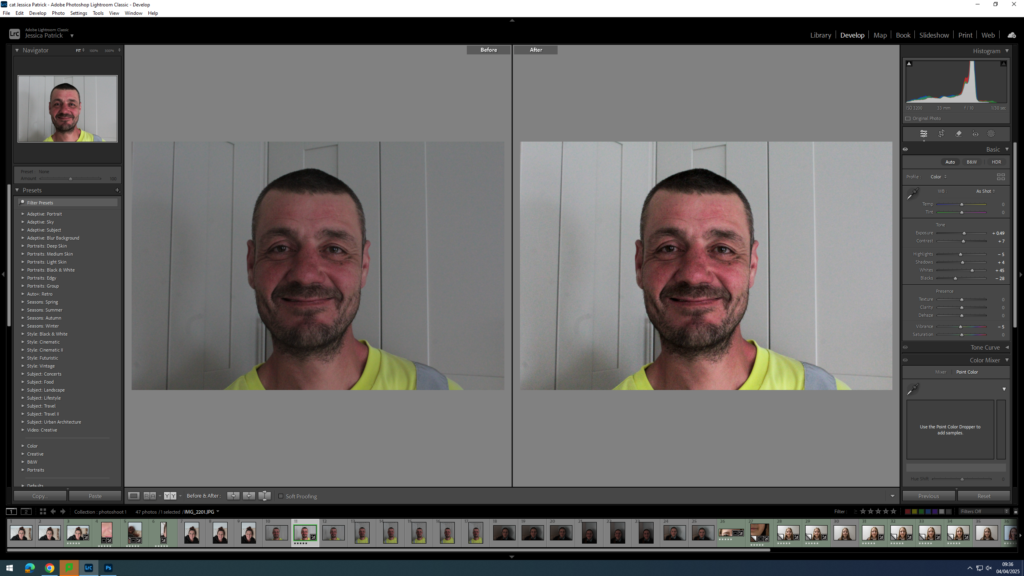
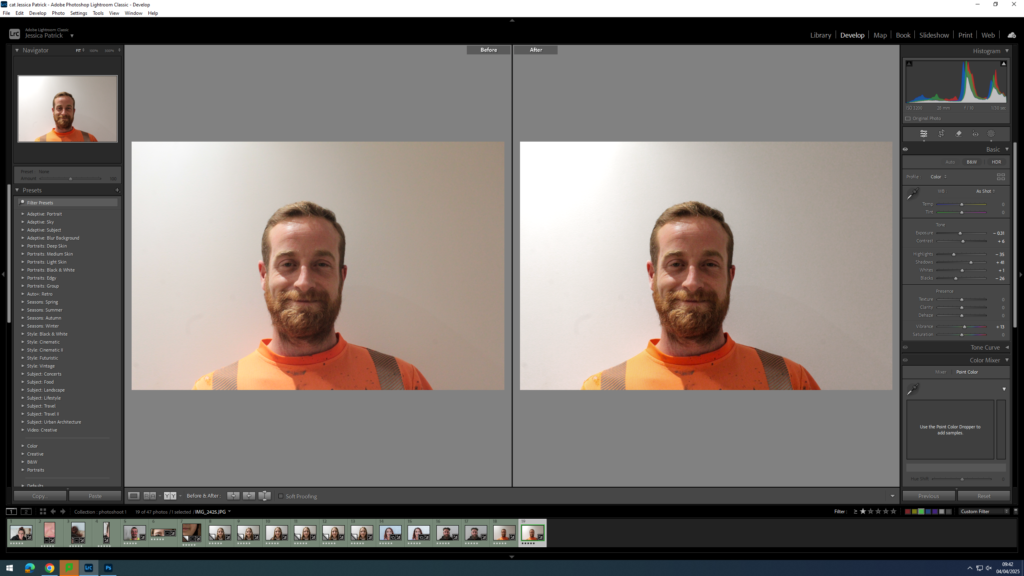
I edited this image by increasing the exposure, contrast, shadows and whites, while decreasing the highlights, blacks and vibrancy. I did this, so that the image would be slightly more exposed with better lighting.
I then attempted to even out my dad’s skin tone slightly, so I used the remove tool to remove any blemishes.
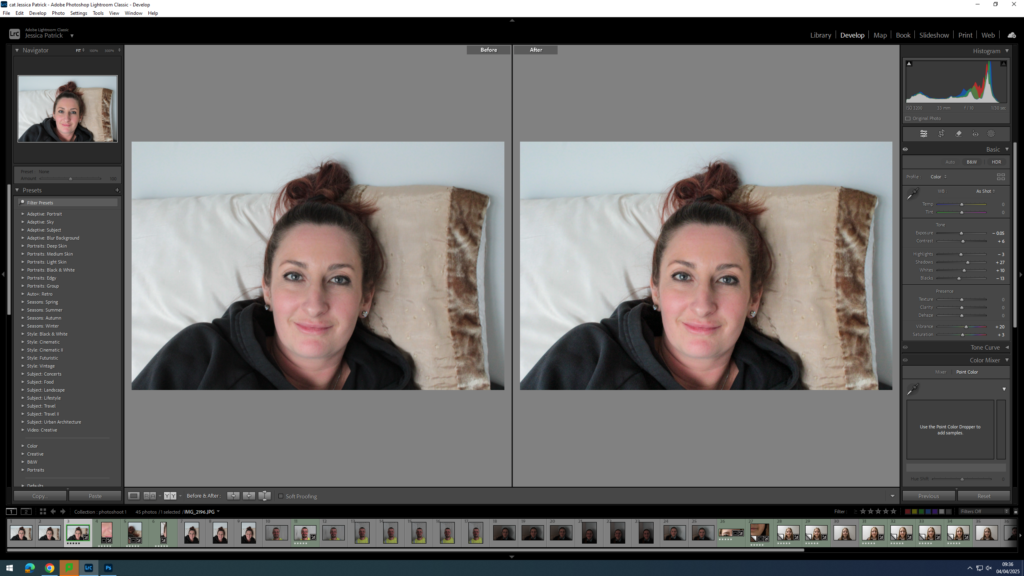
I edited this image by increasing the contrast, shadows, whites, vibrancy and saturation, while decreasing the exposure, highlights and blacks. I did this, so that my mum face would have a slight bit more colour in it.
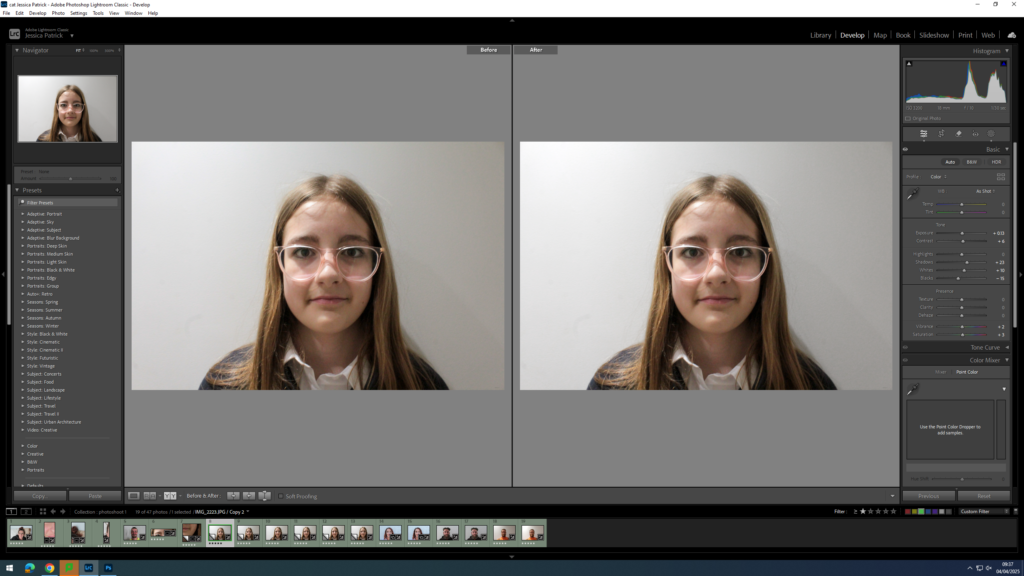
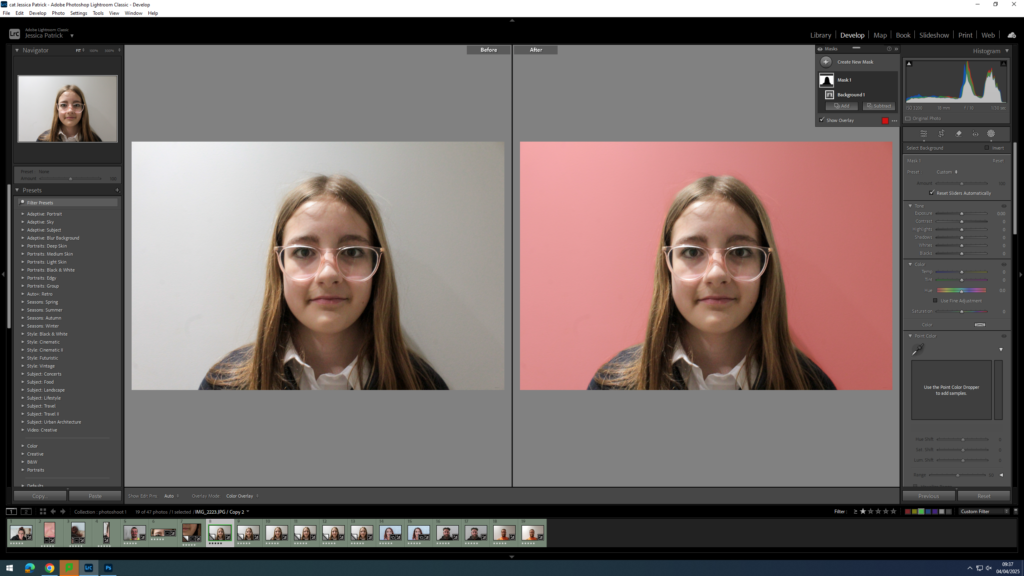
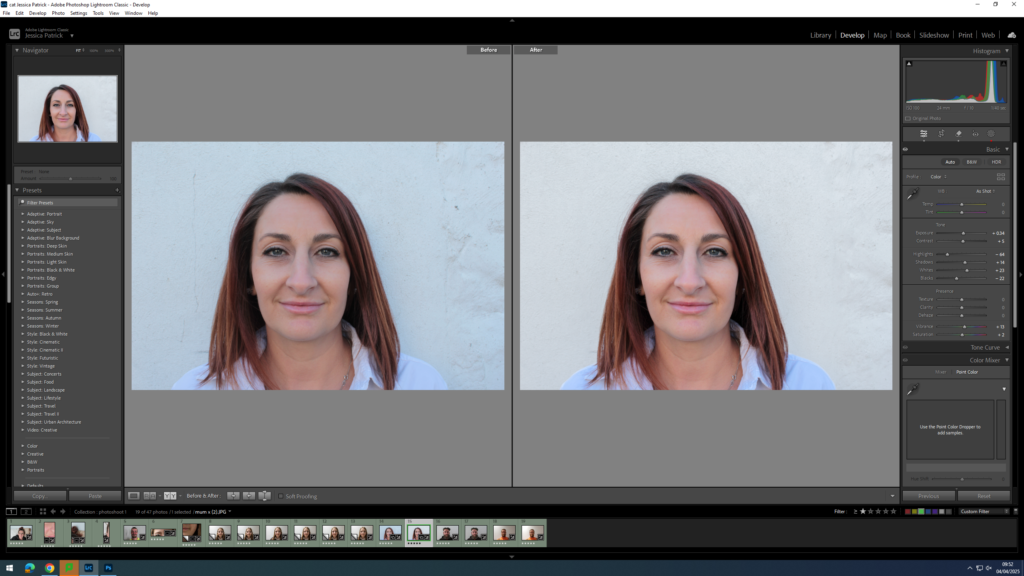
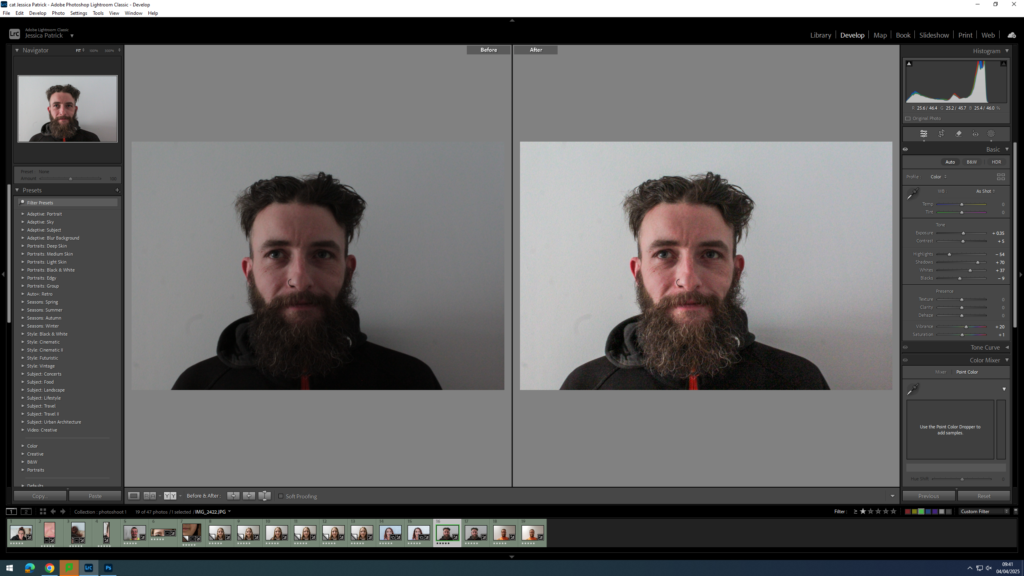
I edited this image by increasing the exposure, contrast, shadows, whites, vibrancy and saturation, while decreasing the highlights and blacks. I did this, so that the lighting was better. Then, I selected the background of the photograph and reduced the saturation and increased the whites, so that the background was less grey.
I edited this image by increasing the exposure, contrast, shadows, whites, vibrancy and saturation, while decreasing the highlights and blacks. I did this, so that the image was more exposed and therefore had better lighting. Then, I selected the background of the image and decreased the saturation and increased the whites, so that the background was less grey.
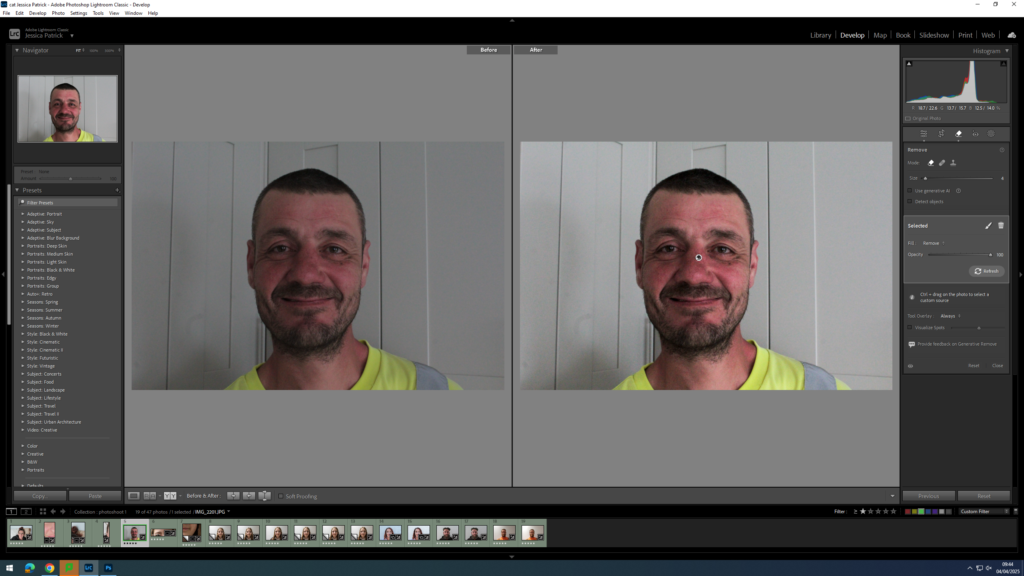
I edited this image increasing the exposure, contrast, shadows, whites, vibrancy and saturation, while decreasing the highlights and blacks. I did this, so that the lighting was slightly better.
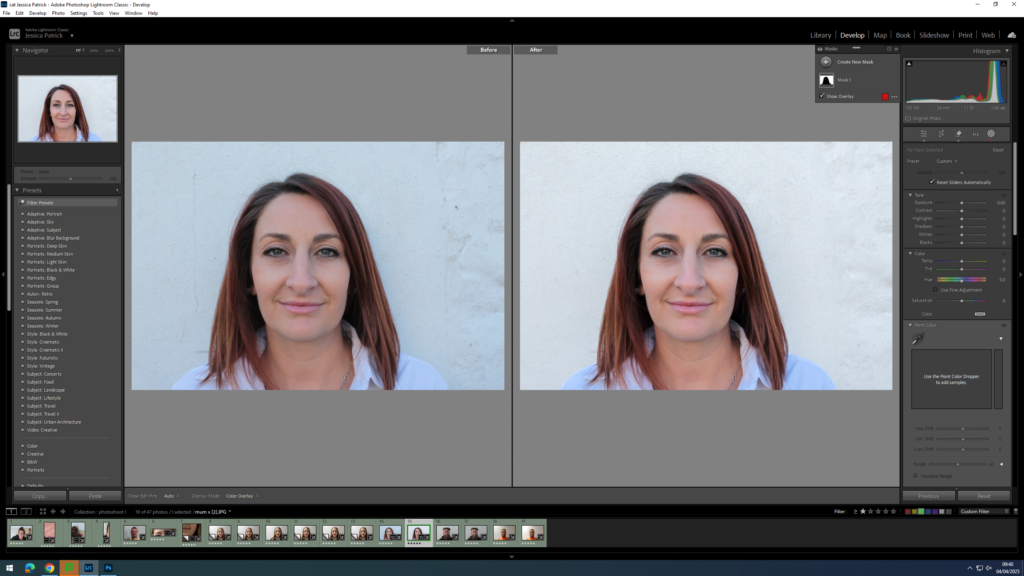
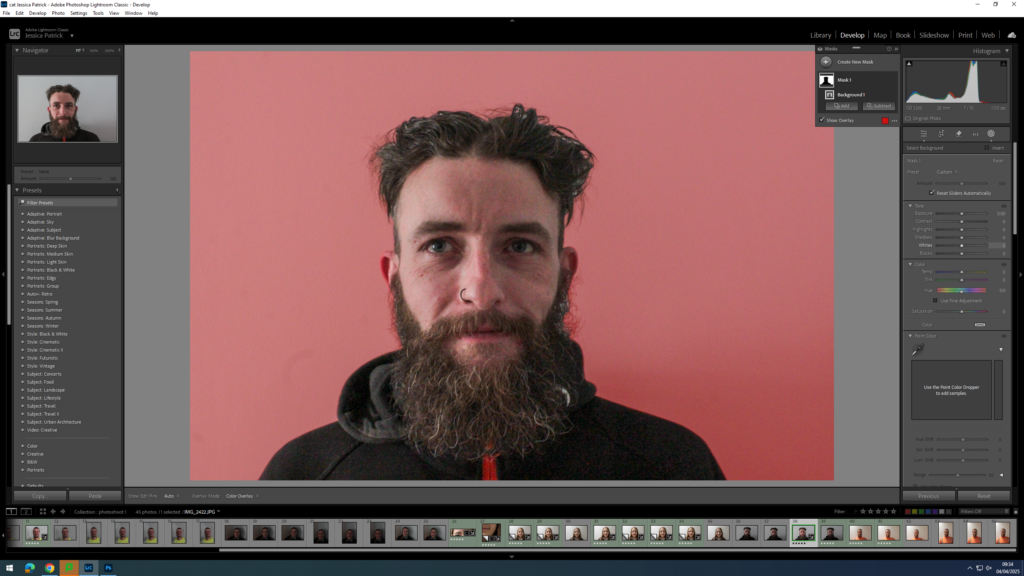
Then, I selected the background and decreased the saturation and the whites very slightly and then increased the blacks. I did this, so that the black marks on the white wall were less obvious and so the background would be a brighter white, rather than grey.
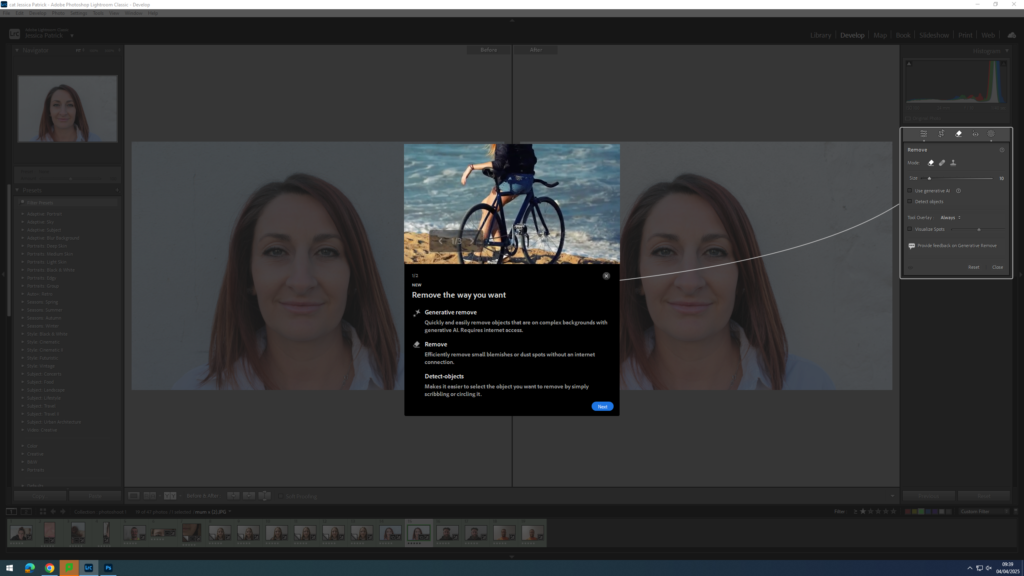
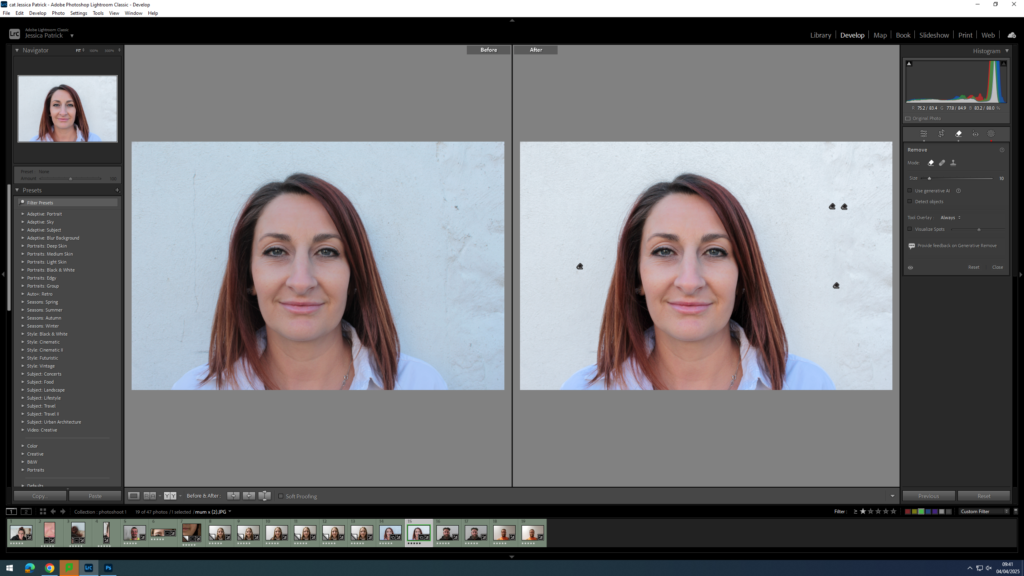
Next, I used the remove tool to remove any dark marks left behind on the white background.
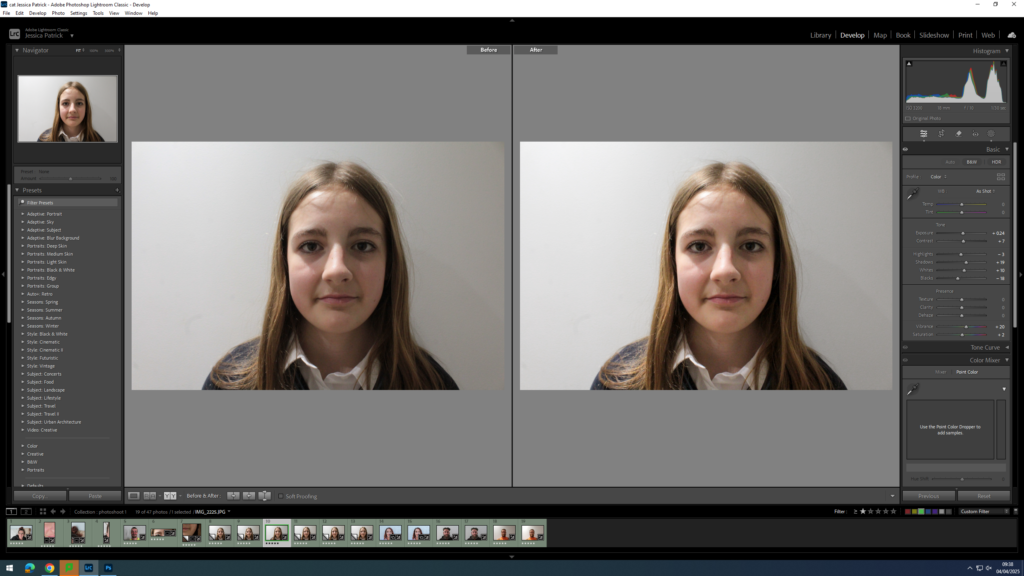
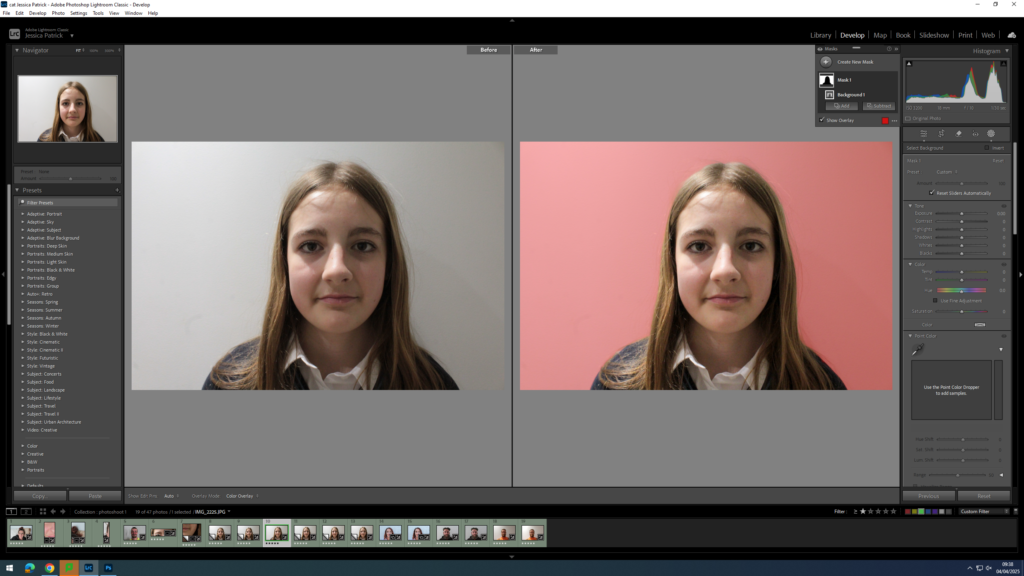
I edited this image by increasing the exposure, contrast, shadows, whites, vibrancy and saturation, while decreasing the highlights and blacks. I did this, so that the image had better lighting as it was slightly more exposed. Then, I selected the background of the image and decreased the saturation and increased the whites in order to create a more white background, rather than grey.
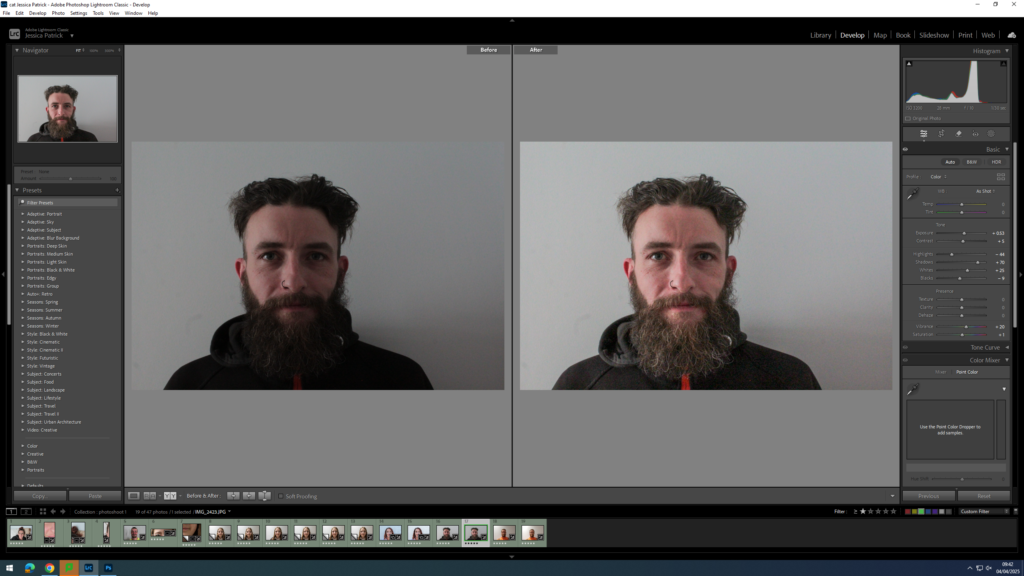

I edited this image by increasing the exposure, contrast, shadows, whites, vibrancy and saturation, while decreasing the highlights and blacks. I did this, so that the image had better lighting as it was slightly more exposed. Then, I selected the background of the image and increased the whites in order to create a more white background, rather than grey.
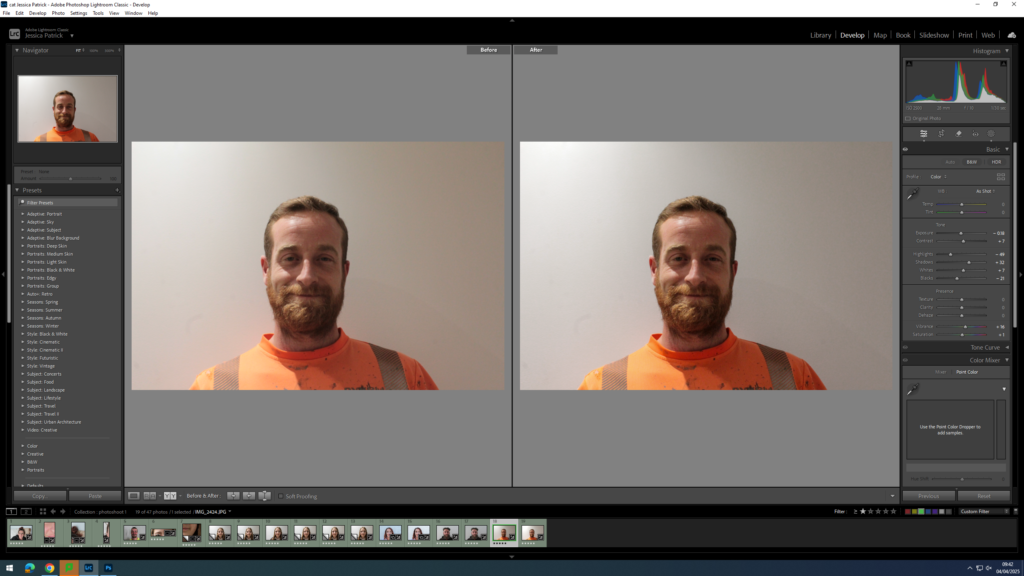

I edited this image by increasing the contrast, shadows, whites, vibrancy and saturation, while decreasing the exposure, highlights and blacks. I did this, so that the lighting would be slightly better and less warm. Then, I selected the background and decreased the saturation and increased the whites, so that the wall was slightly less orange, due to the warm lighting and the reflection of the orange shirt.
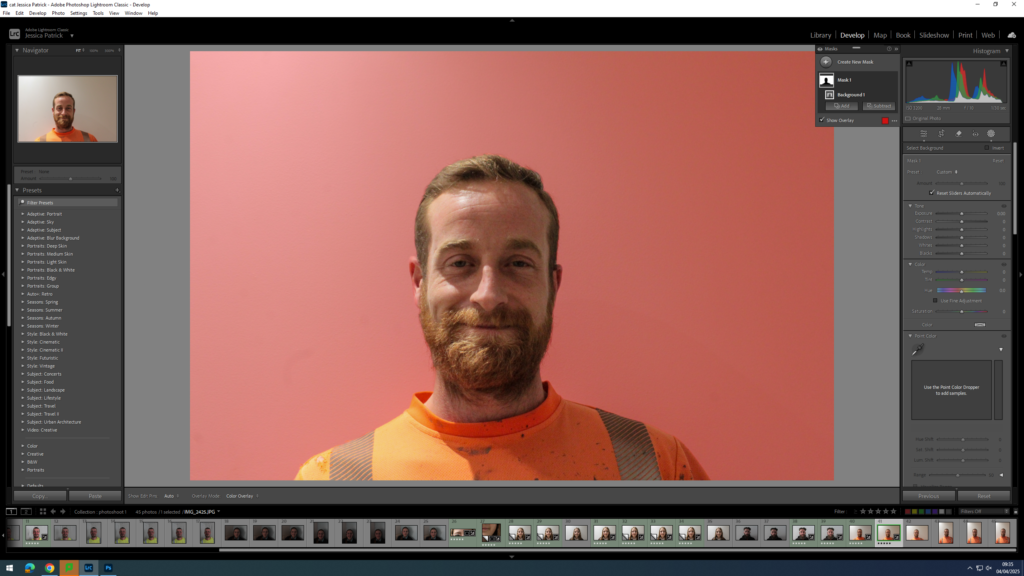
I edited this image by increasing the contrast, shadows, whites and vibrancy, while decreasing the exposure, highlights and blacks. I did this, so that the lighting would be slightly less warm. Then, I selected the background and decreased the saturation and increased the whites, so that the wall was slightly less orange, due to the warm lighting and the reflection of the orange shirt.