Using Photoshop, I experimented further with my edited photos from Lightroom.
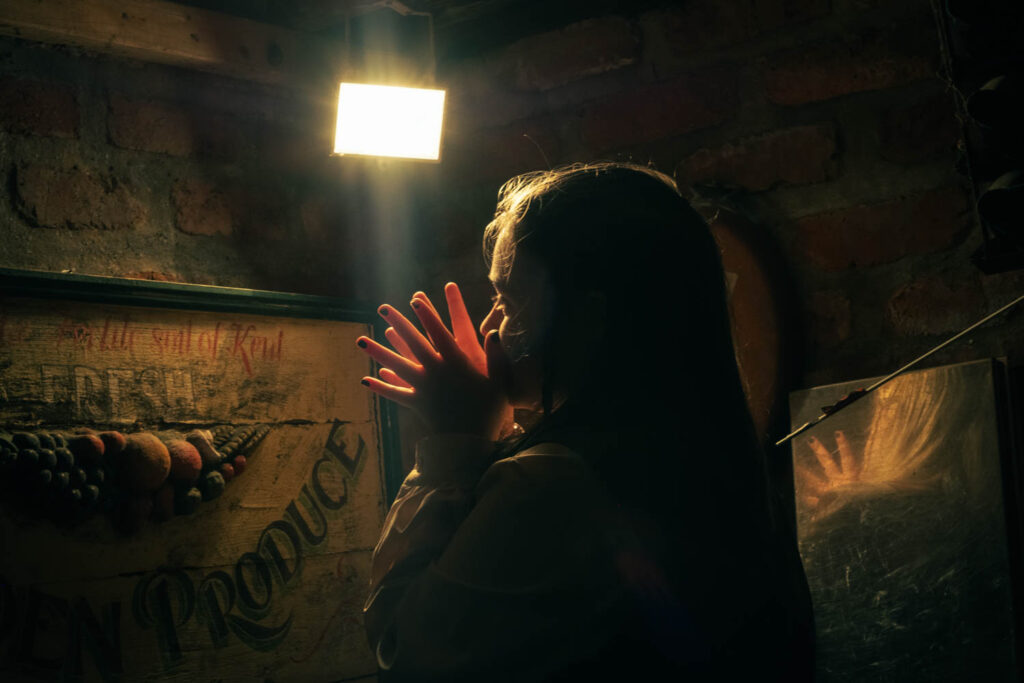
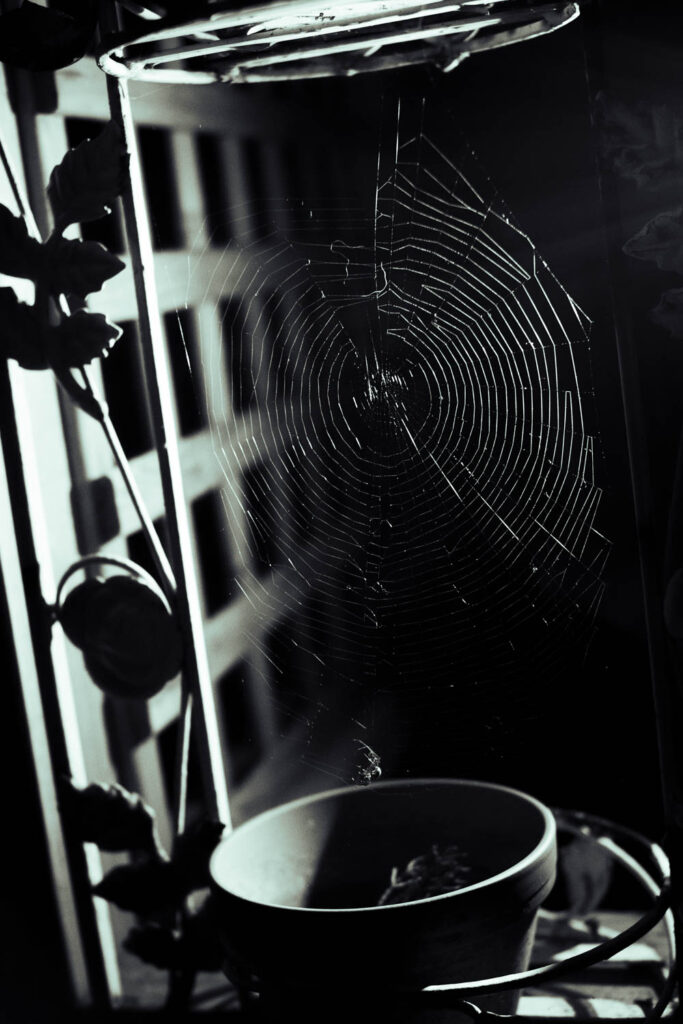
Selection of photos:
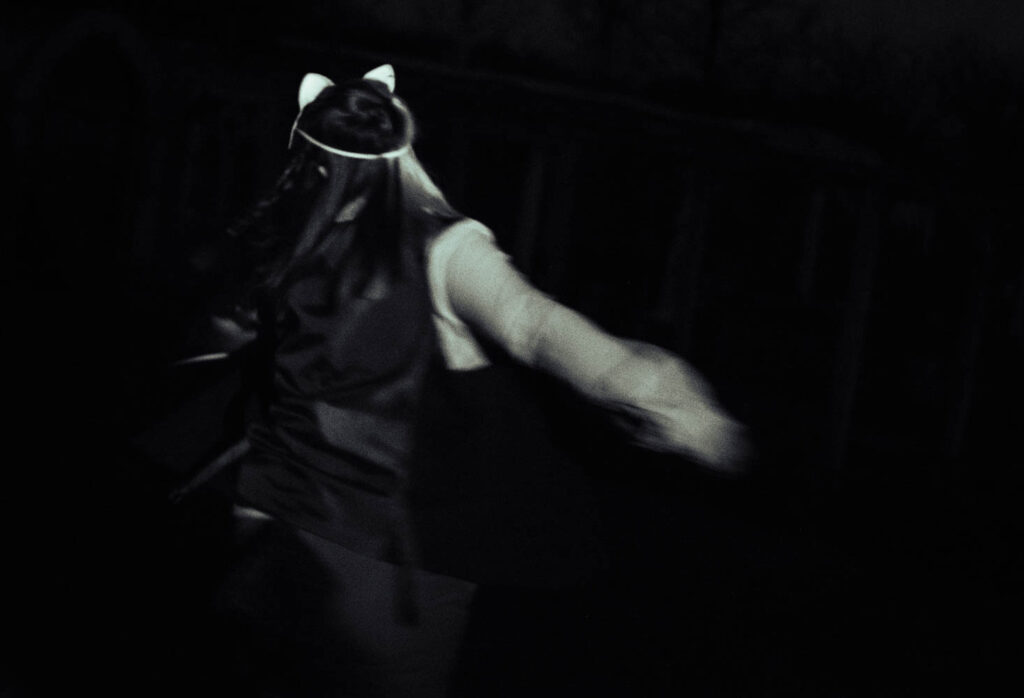
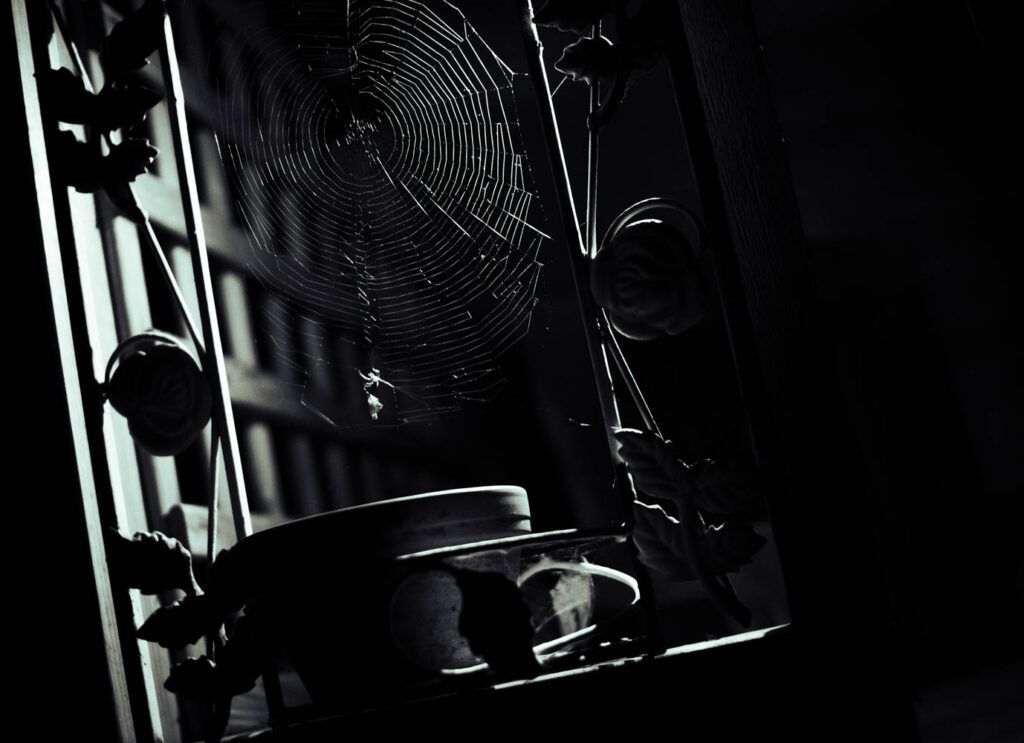
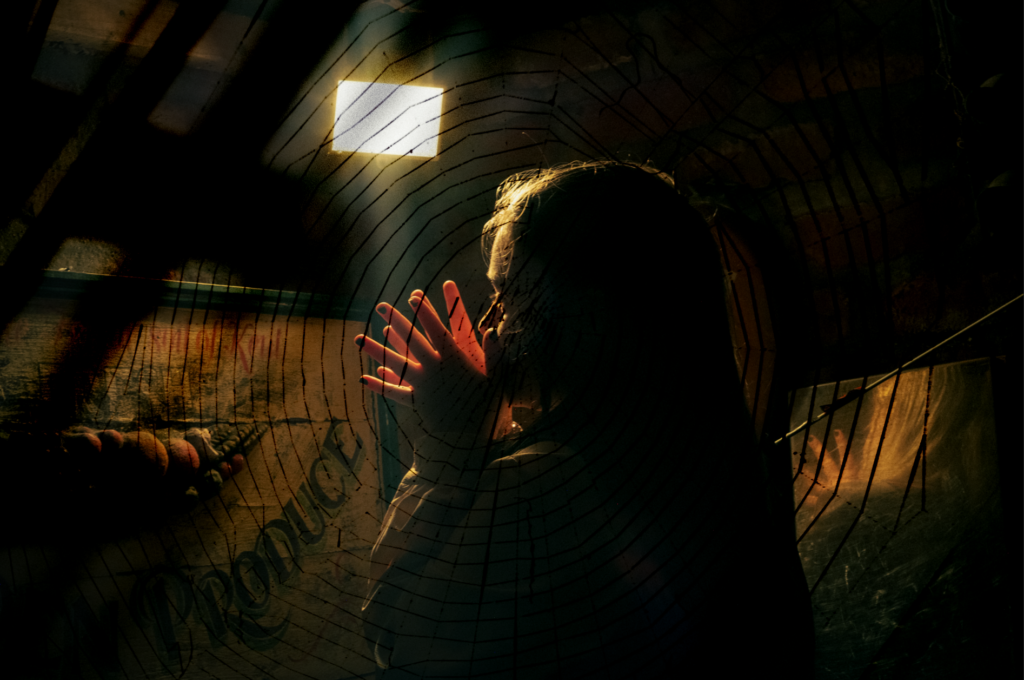
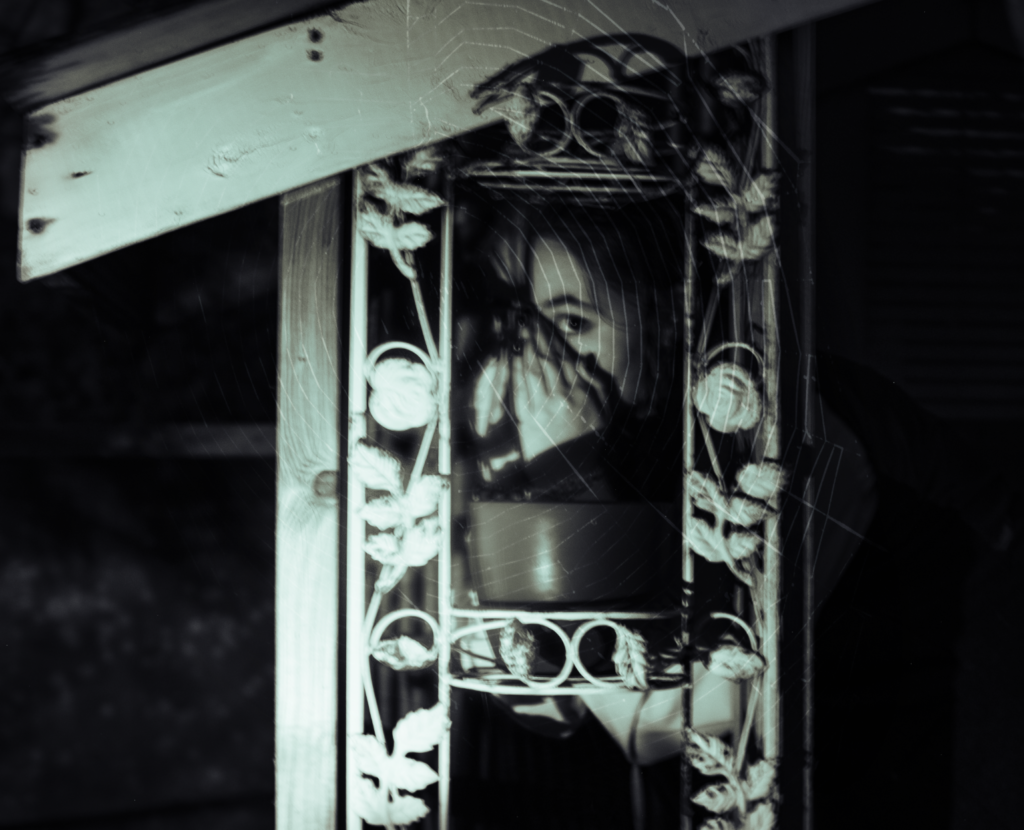
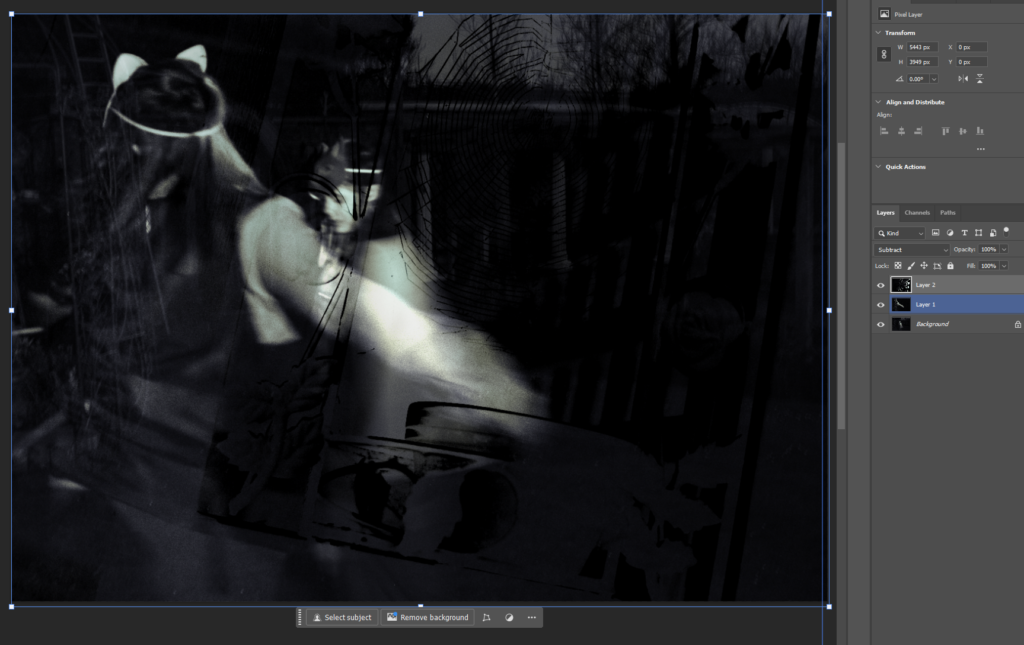
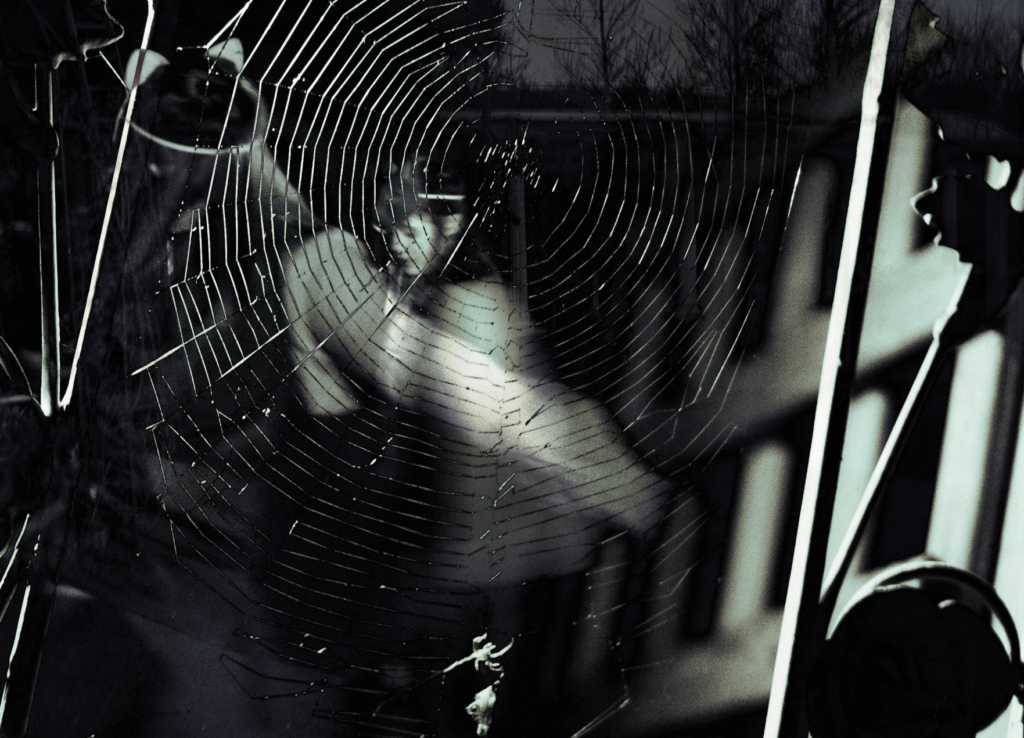
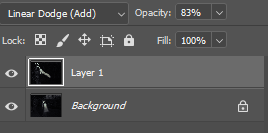
For this edit, I had an idea to make it look like the figure was being trapped or round up by another- using my photo of a spiderweb as a source of inspiration. Once I decided on how I would merge the first two photos, I changed the second photo to a linear dodge (add) layer and decreased the opacity to 83%. Finally, I flipped and positioned my photo of the spiderweb to where I felt it fit best, where the spider at the bottom of the photo is still visible, and changed it to be a difference layer.

Final edit:

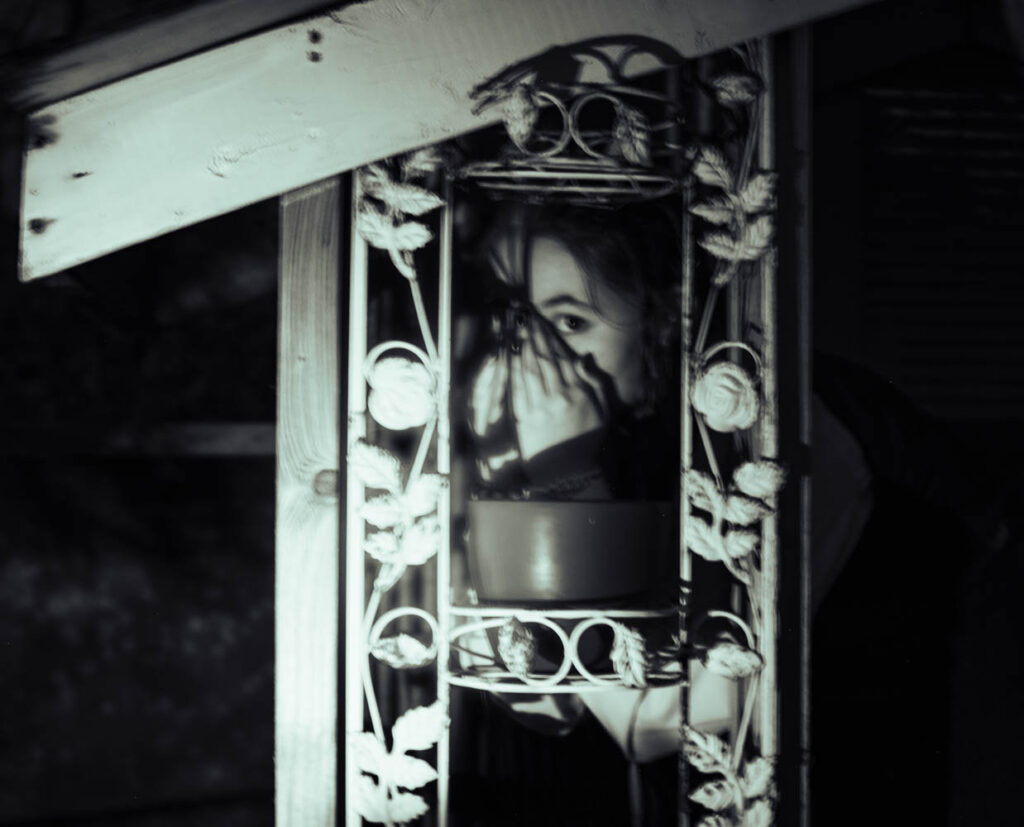
Selection of photos:
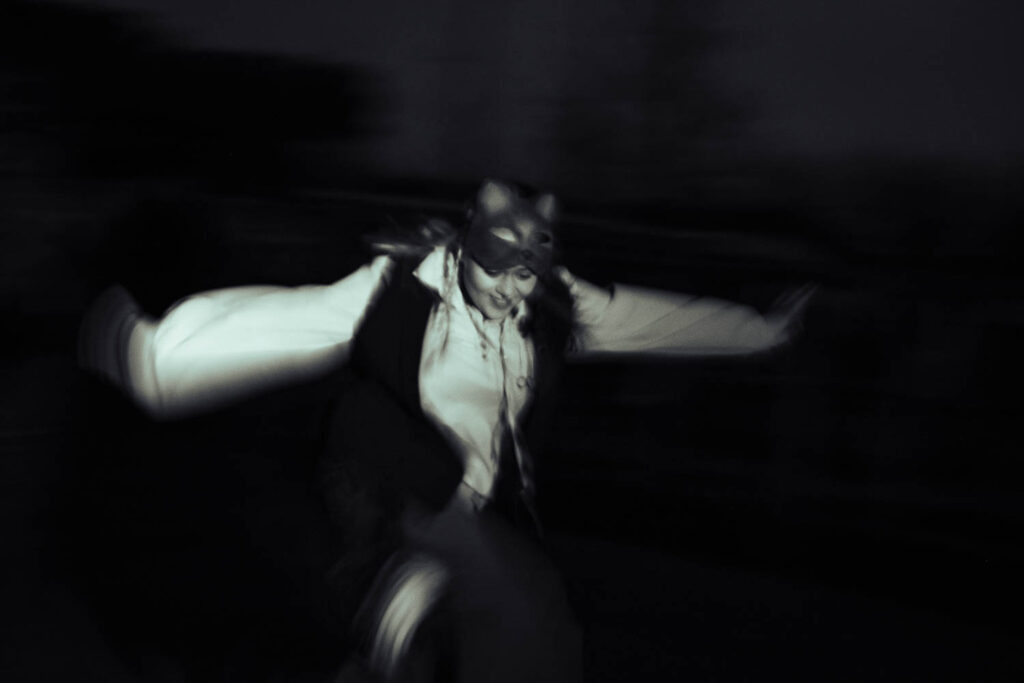
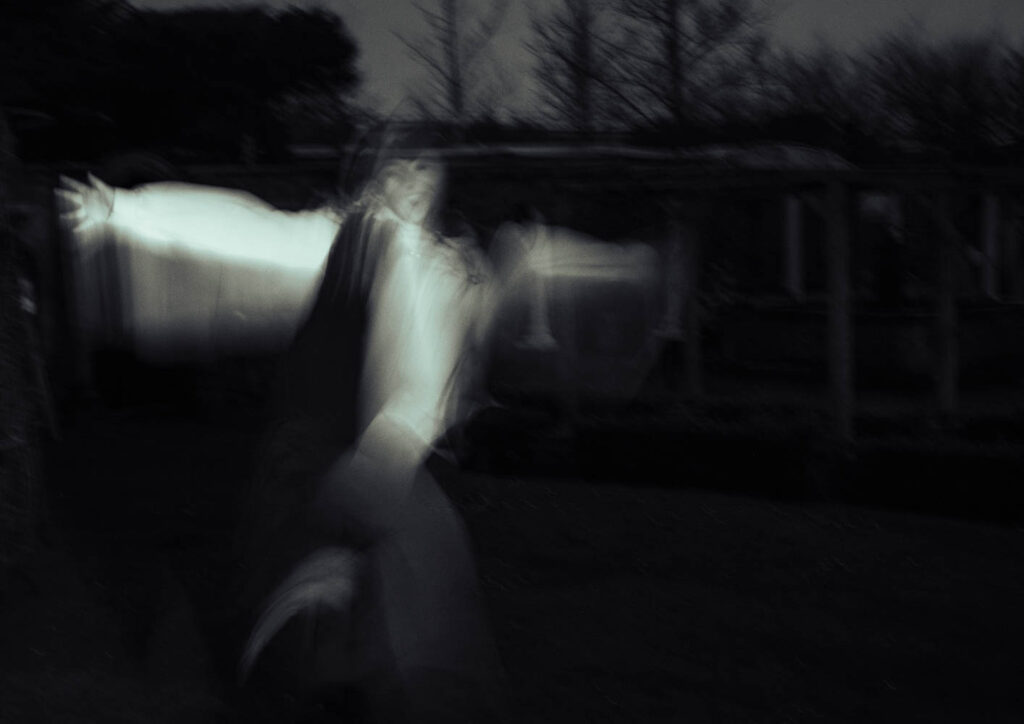
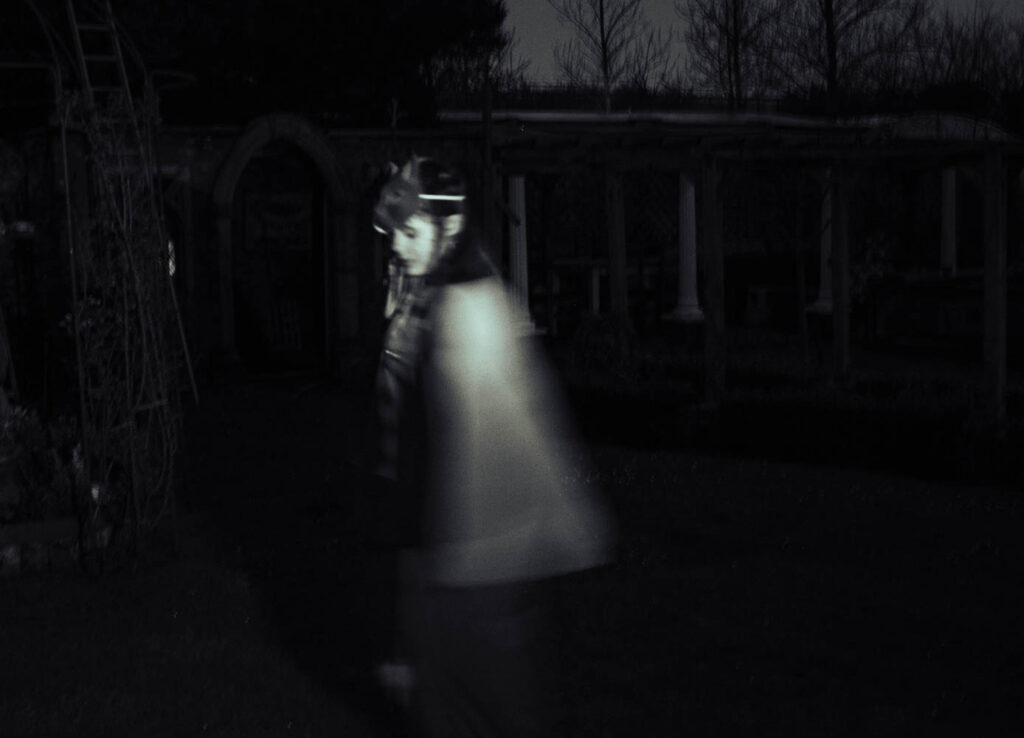
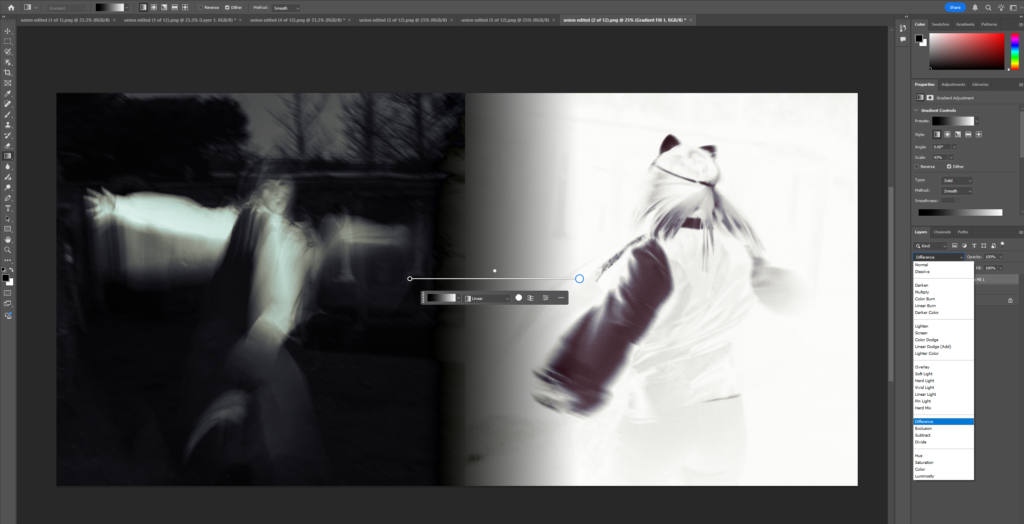
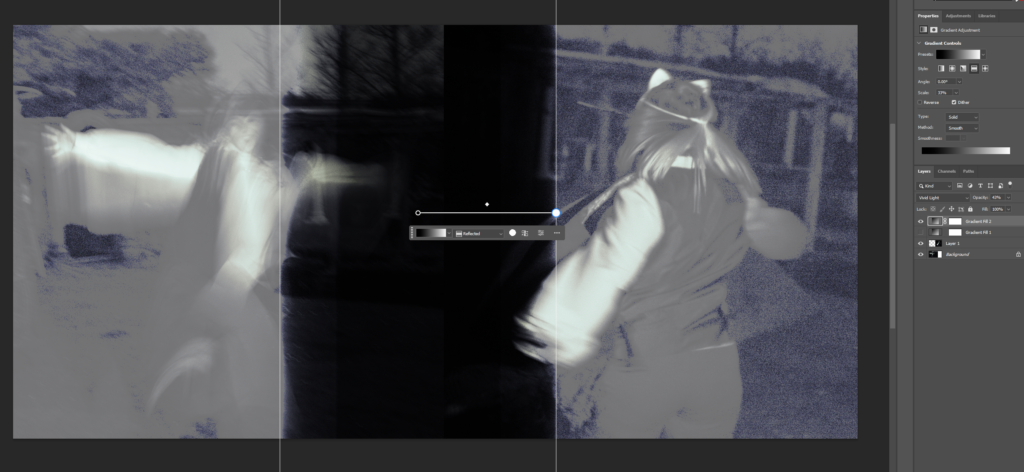
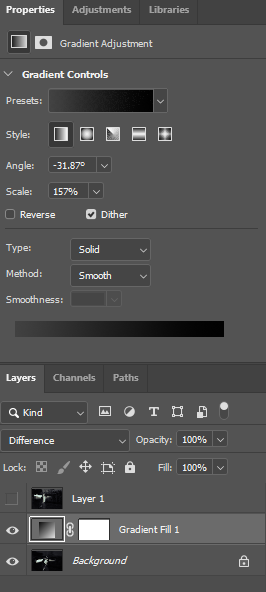
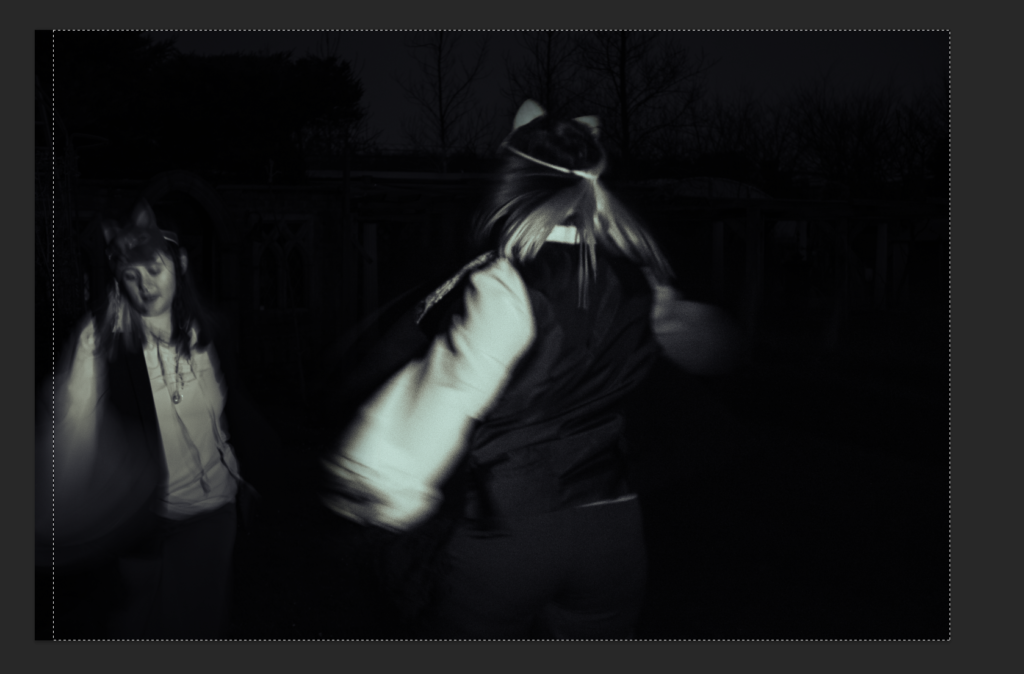
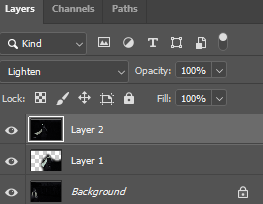
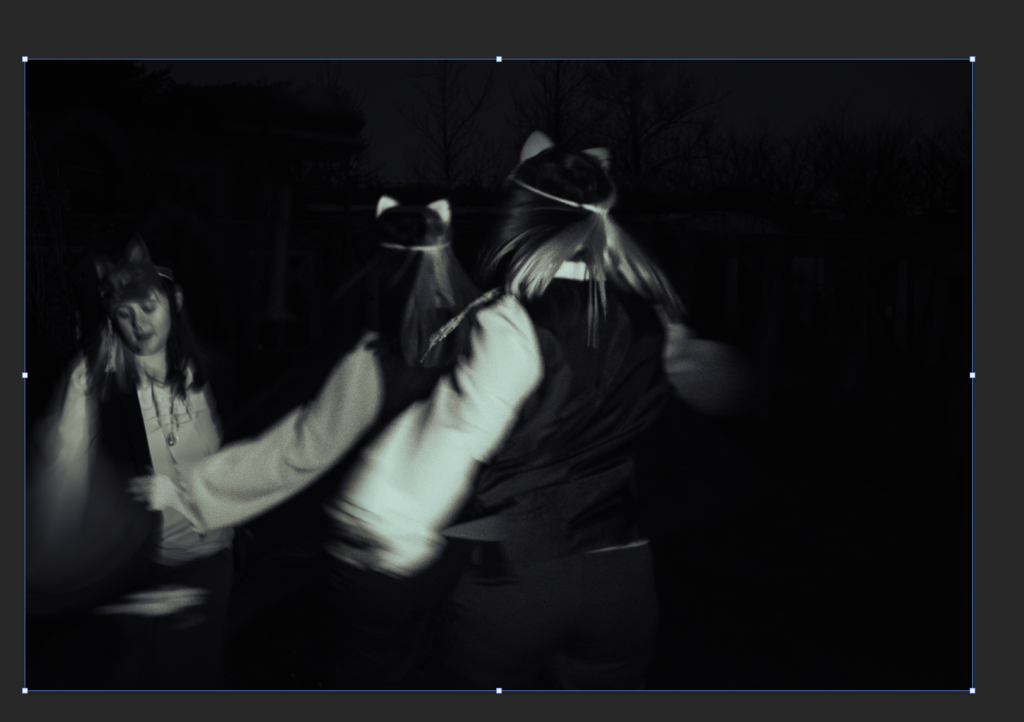
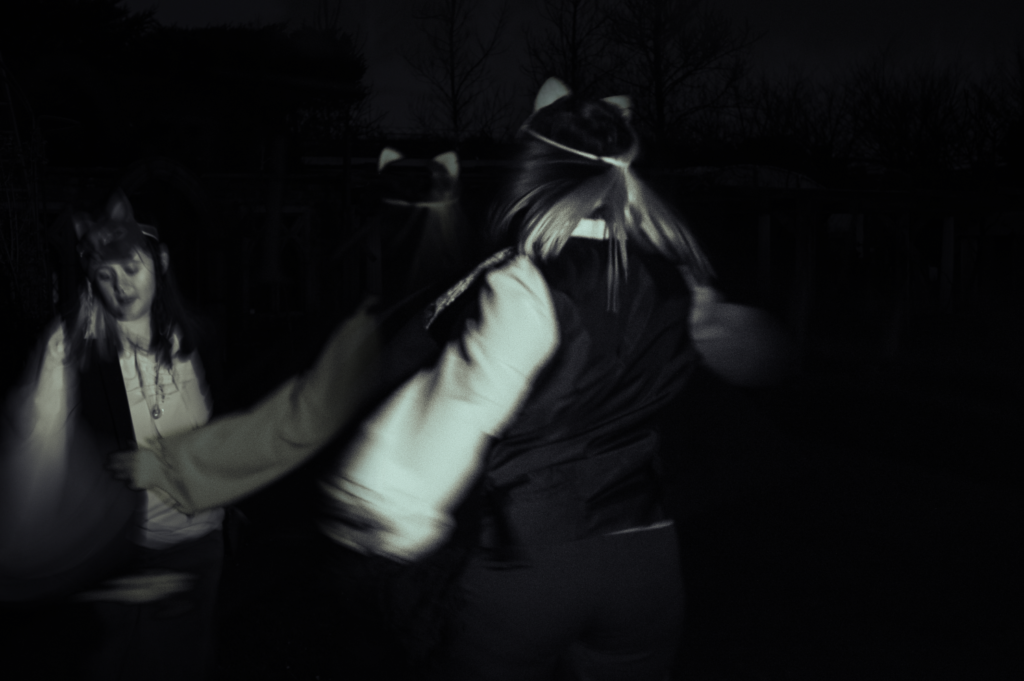
For this edit, I wanted to get the feeling of a greater sense of movement from my slow shutter speed photos, which I would do by having an image which seems like a previous frame behind a frame which looks more recent. To make the merged image more visible, I added a gradient overlay, and set the layer to ‘difference’. However, as I wish to use the merged photo elsewhere I did not want to make it too visible.
Final edit:
Selection of photos:


3rd photo added:
Final edit:
Selection of photos: