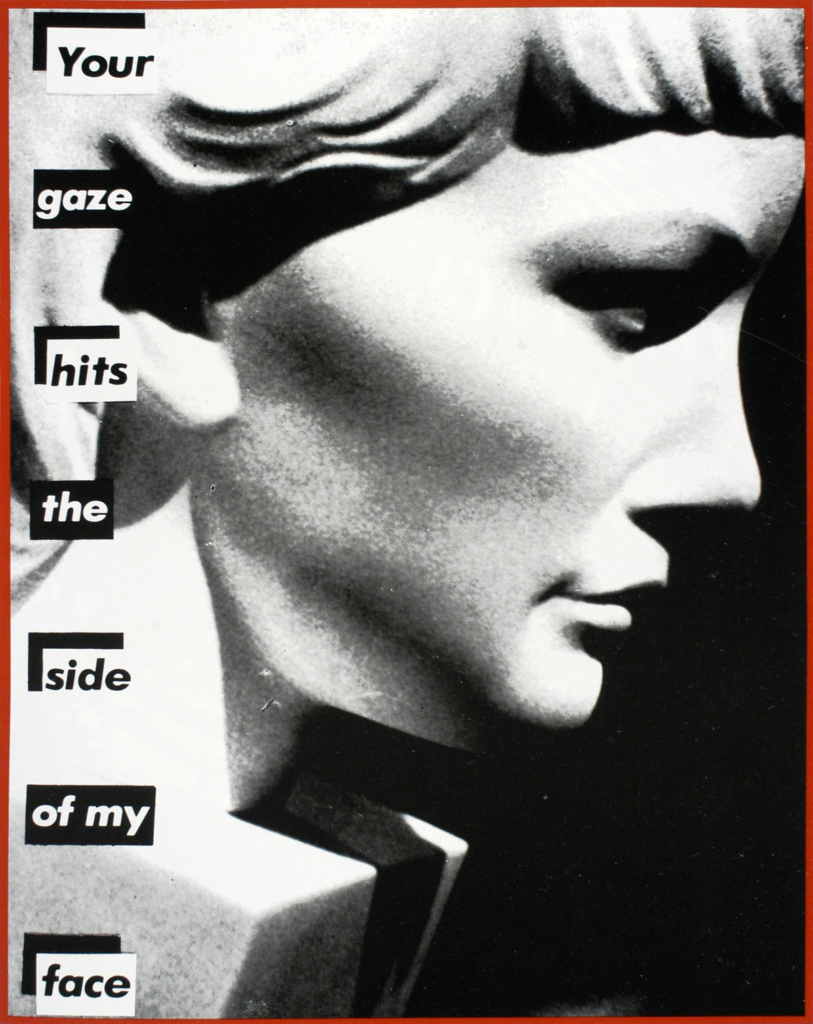
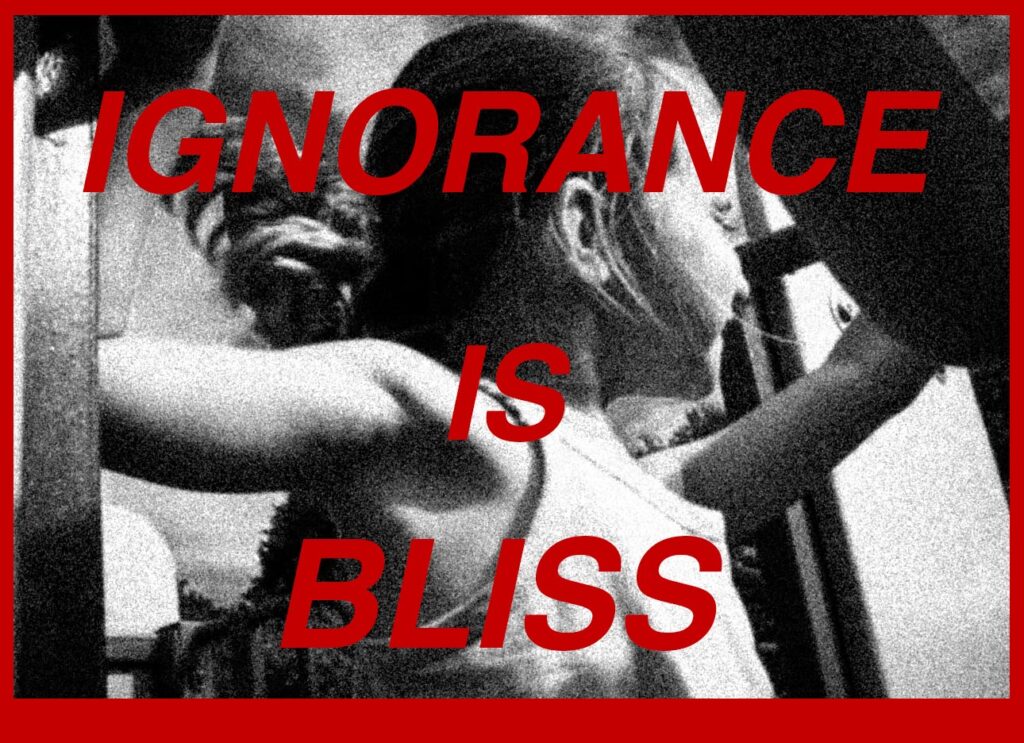
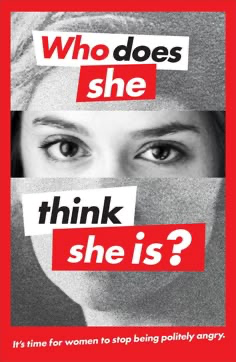
For this photoshoot, I was inspired by Barbara Kruger’s work where she writes direct and accusatory statements across her images in a bold red. I used archived images that I had found and experimented with Kruger’s methods using Photoshop.
Initial images:
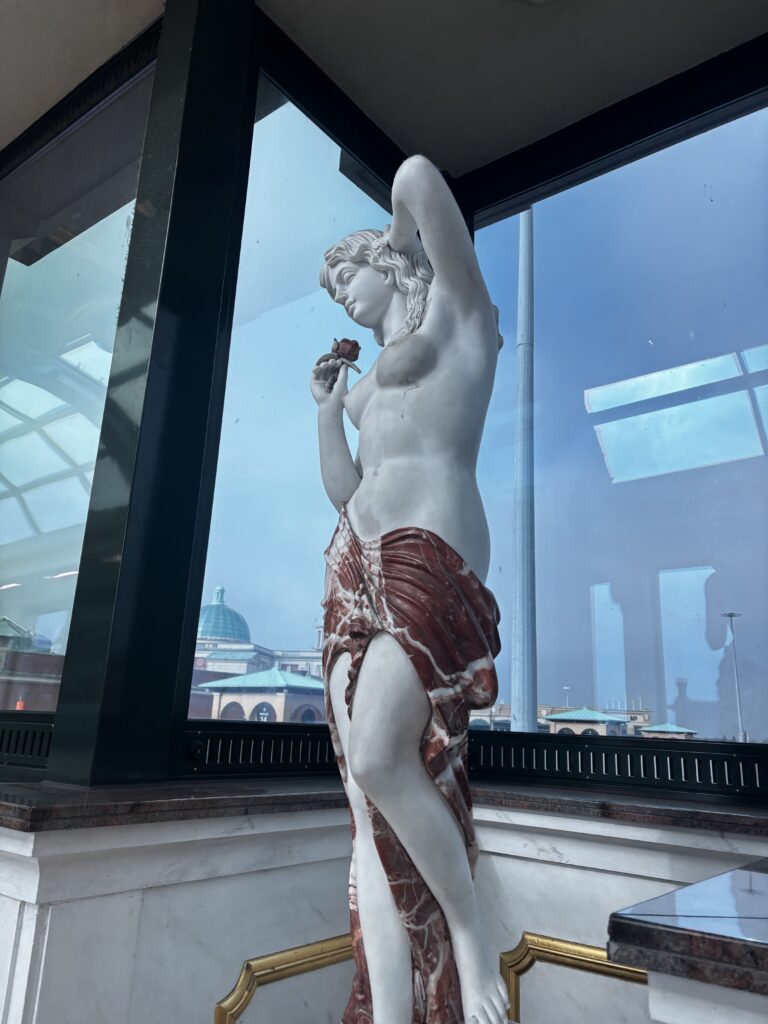
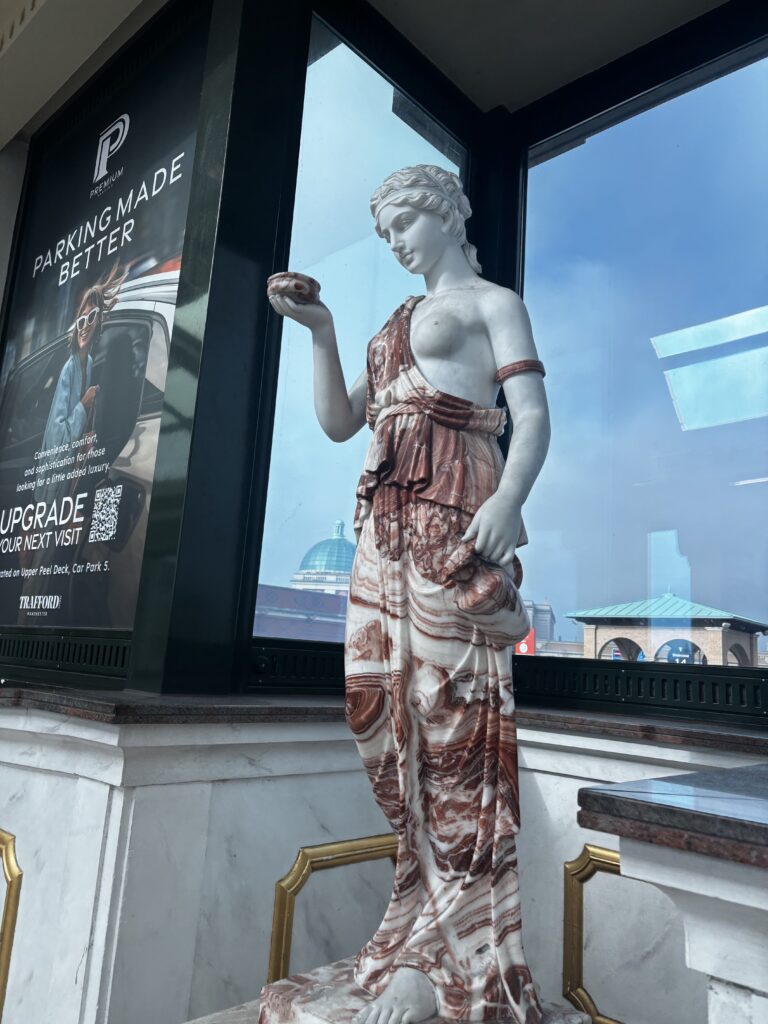
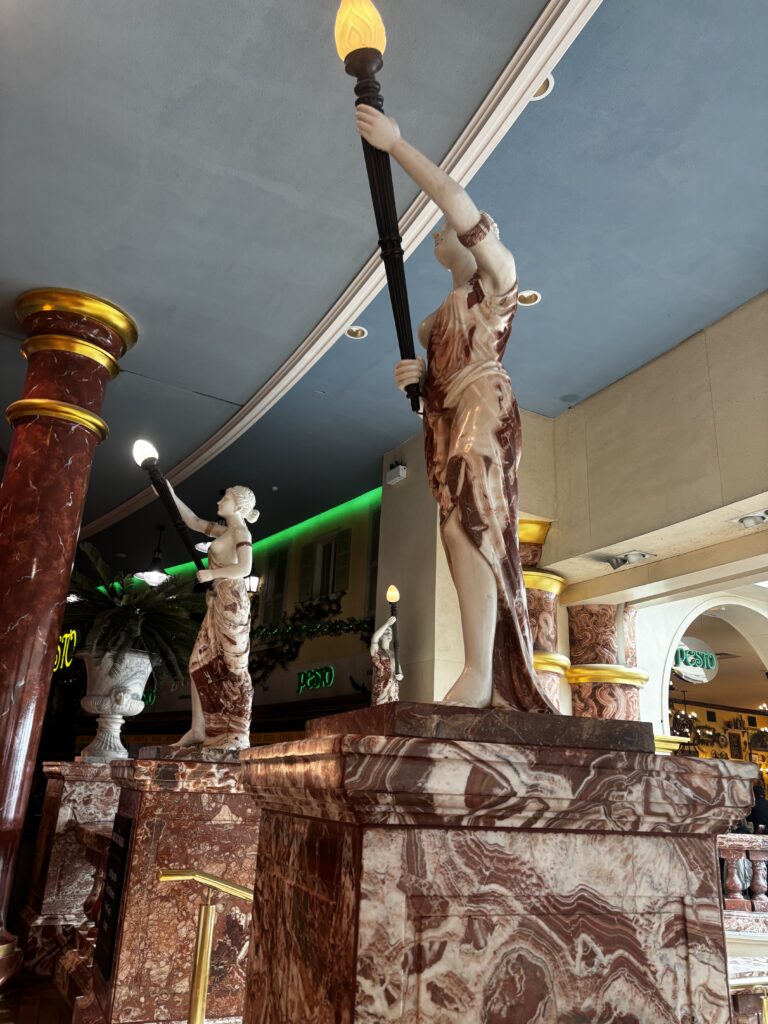
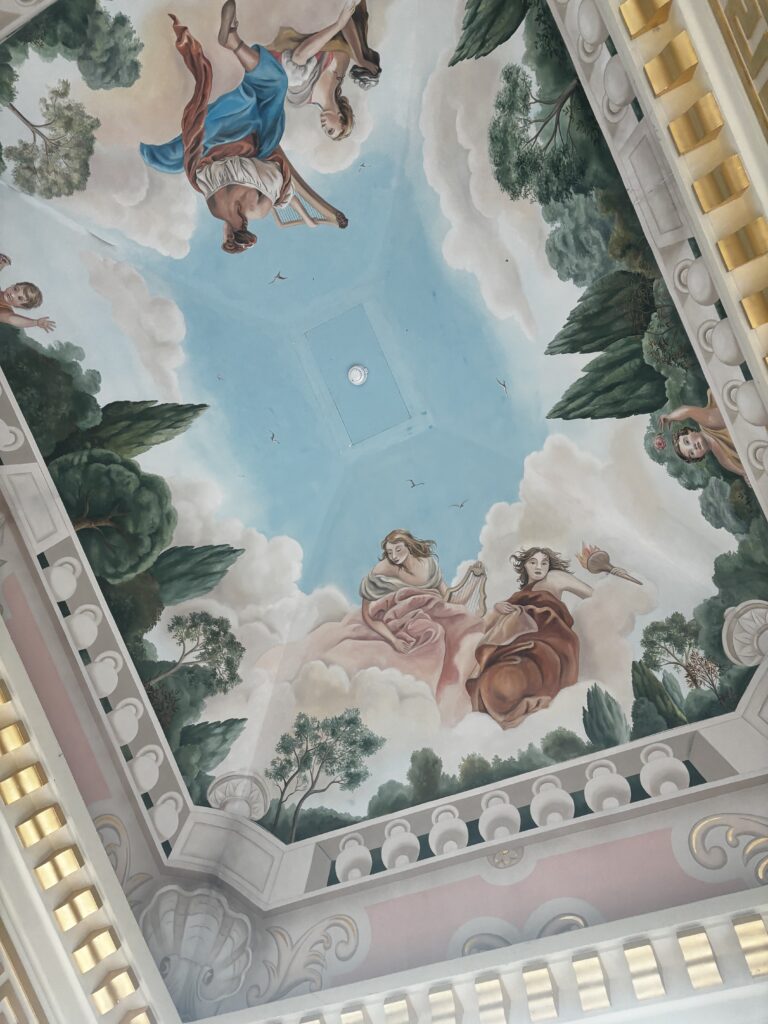
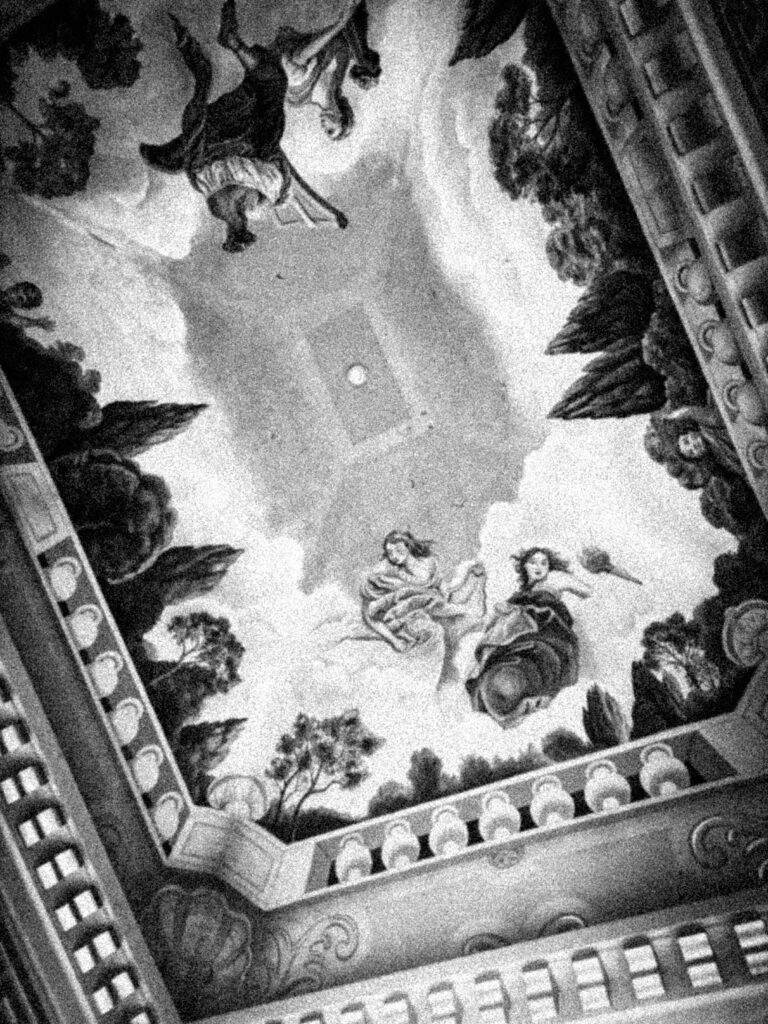
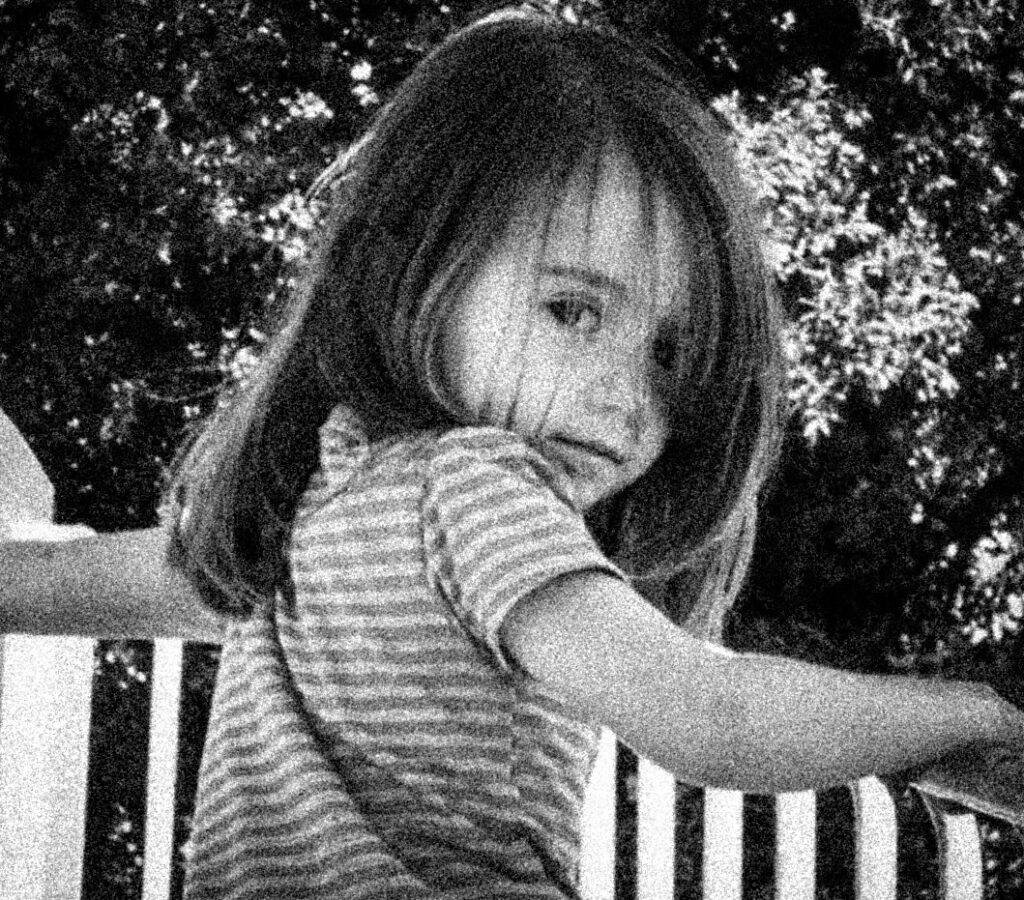
I first took these four images during my trip in Manchester as they idolise greek women in the form of Romanticism due to their dream-like nature consisting of a clouded, ethereal fantasy aesthetic. There was also a ceiling mural which I decided to photograph as it relates to the paintings of the Romanticist era.
I wanted to photograph these statues specifically because they represent the beauty standard during the Roman era, established by their hairstyles and clothing. These statues are typically nude or partially nude as a form of art, studying the anatomy. However, these statues of women often get treated inappropriately, for example taking photos of each other touching the statue’s naked body. This is a complete misinterpretation of what the statues were initially placed there for, taking an expression of art into a sexual way which demeans the female body and objectifies it.
Barbara Krueger often incorporates these statues into her work, so I felt that this would be a good nod towards some of the photographic content in her images:
First Edit:
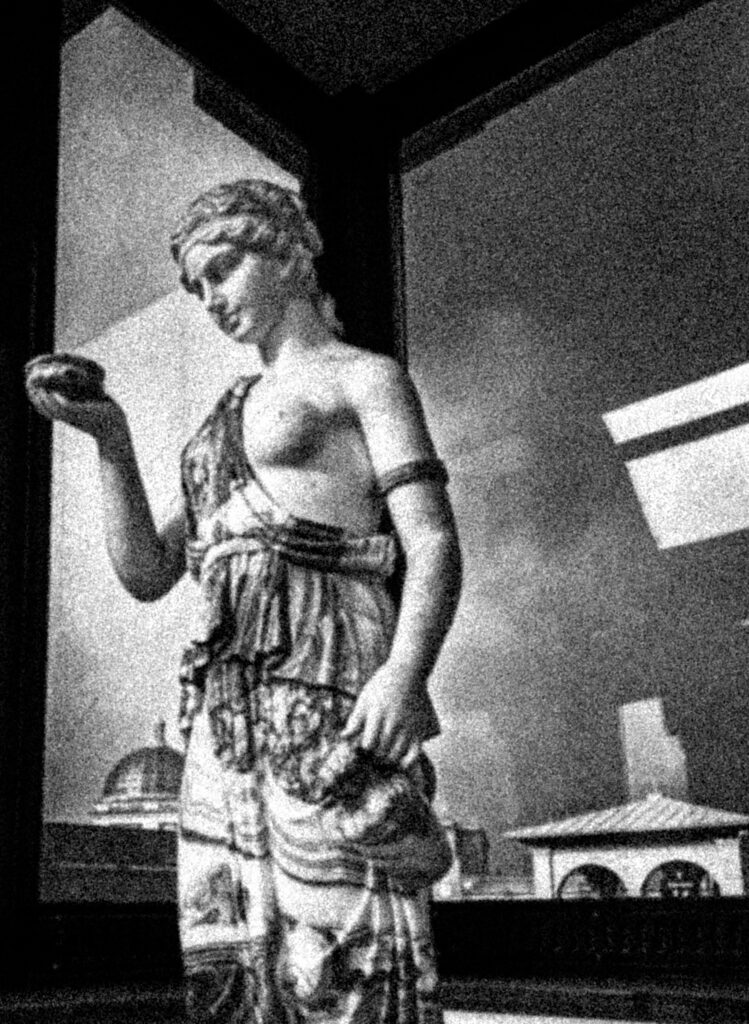
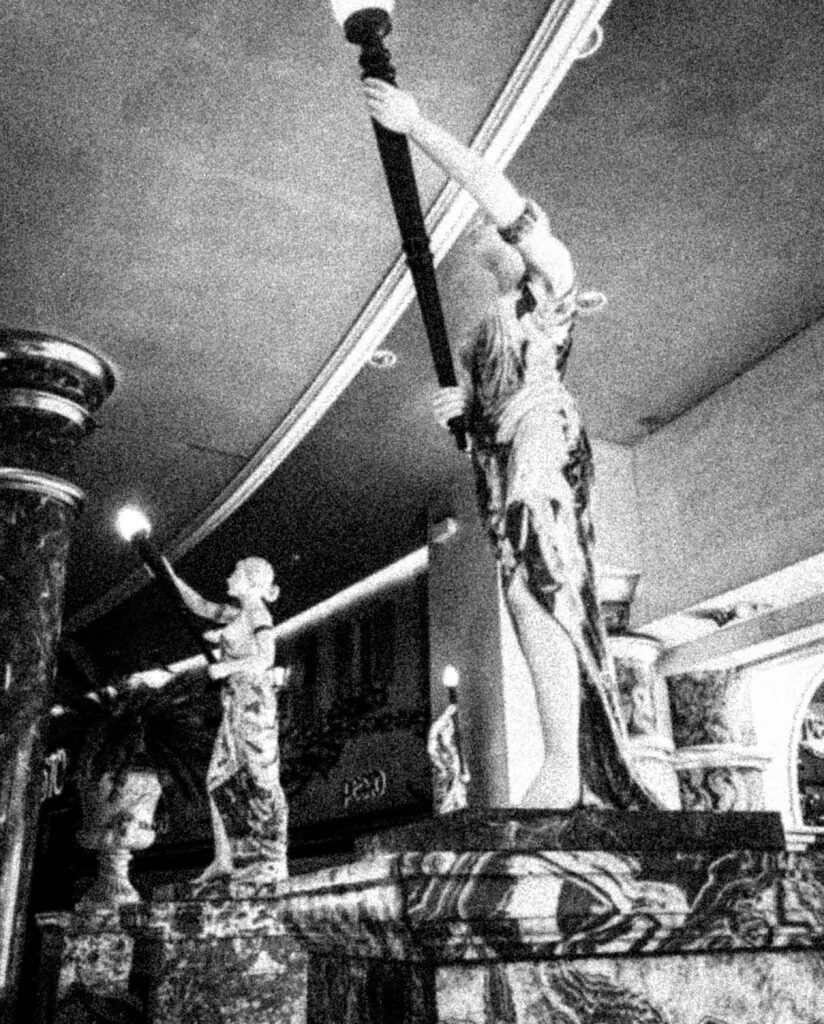
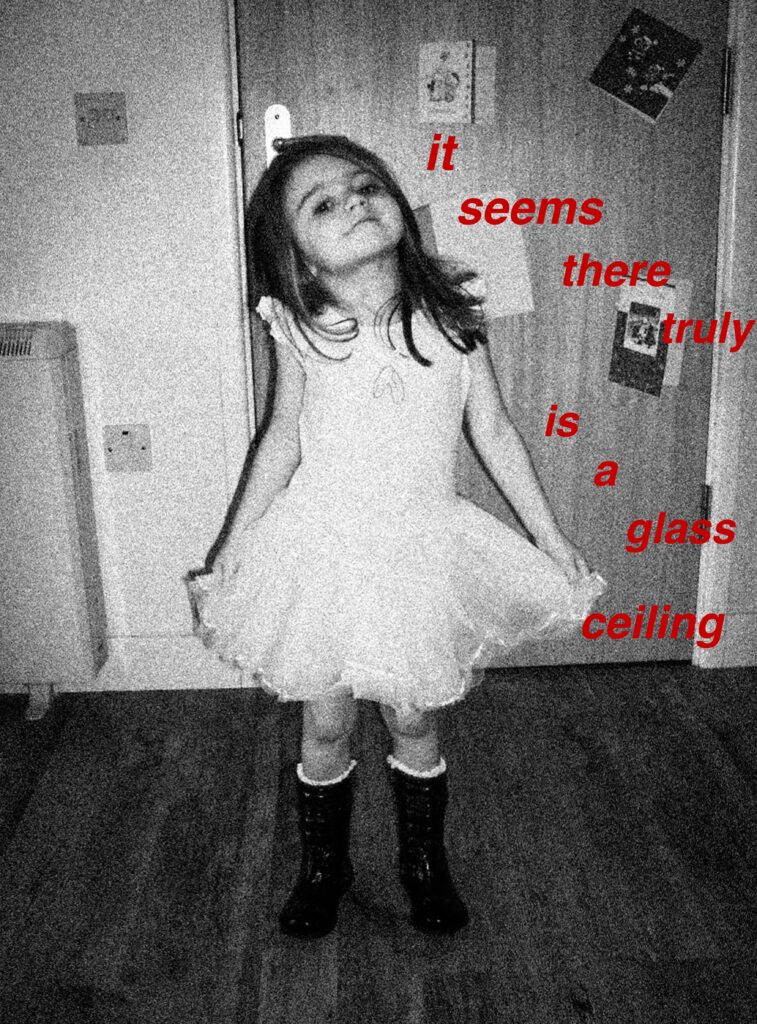
Upon editing these images, I wanted to make them black-and-white as this is a running theme in Kruger’s work so I felt that this would be able to clearly show relation. As Kruger tries to make her images look old and archival, I decided to increase the grain of the images fully to get this effect, then playing around with the size and amount to see what best suited the exposure of the images to make sure it wouldn’t look too dramatic or over-emphasised.
After this, I also added a slight vignette to all four images to make the edges of the image darker to centralise the focus of them. I paired this with editing a high contrast on all the images as Kruger uses a deep black-and-white tonality in all images that I felt wouldn’t be reflected in my images otherwise as all the blank-and-white filters made each image’s tonal range too vast, instead of a more blocked-colour approach.
Final edits:
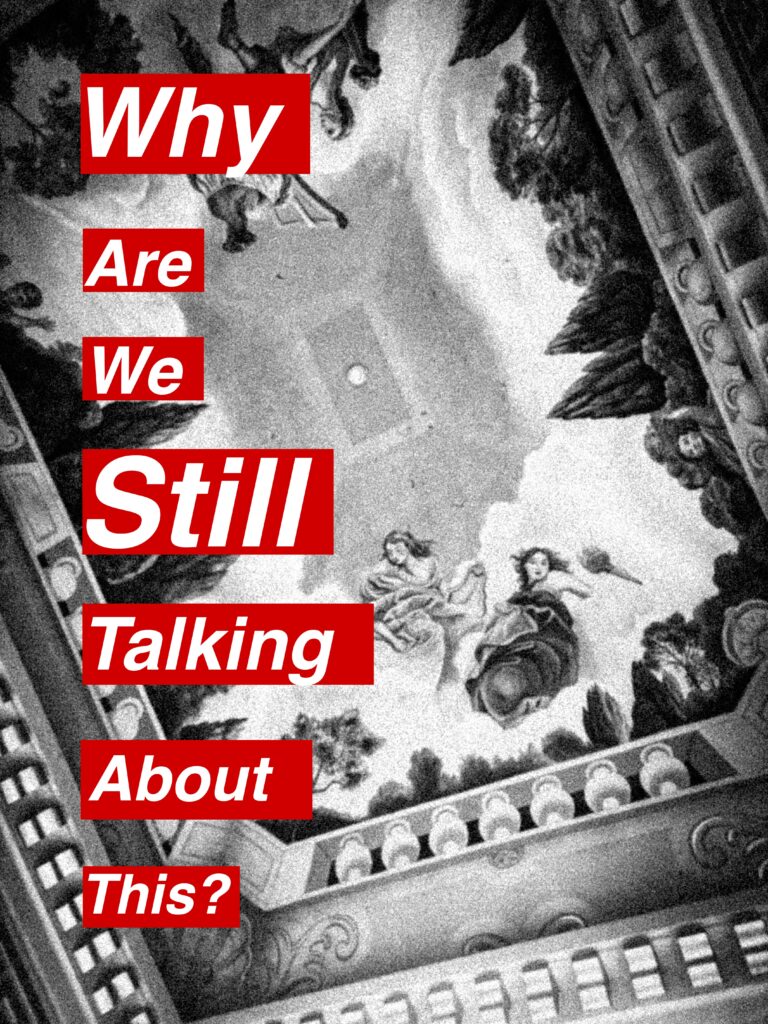
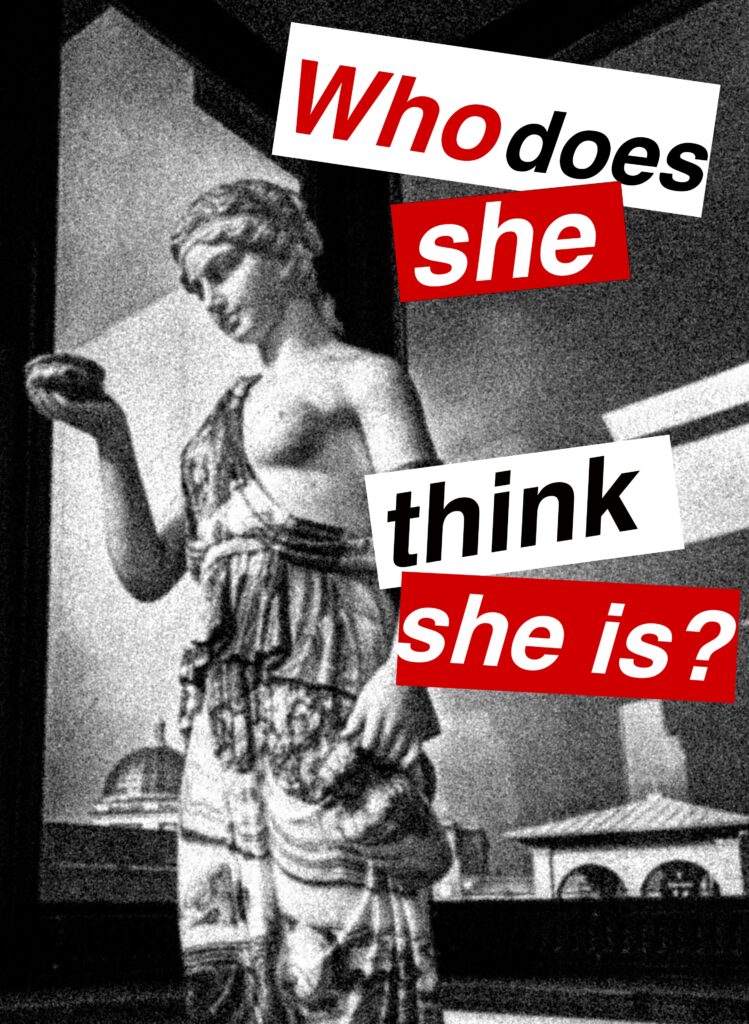
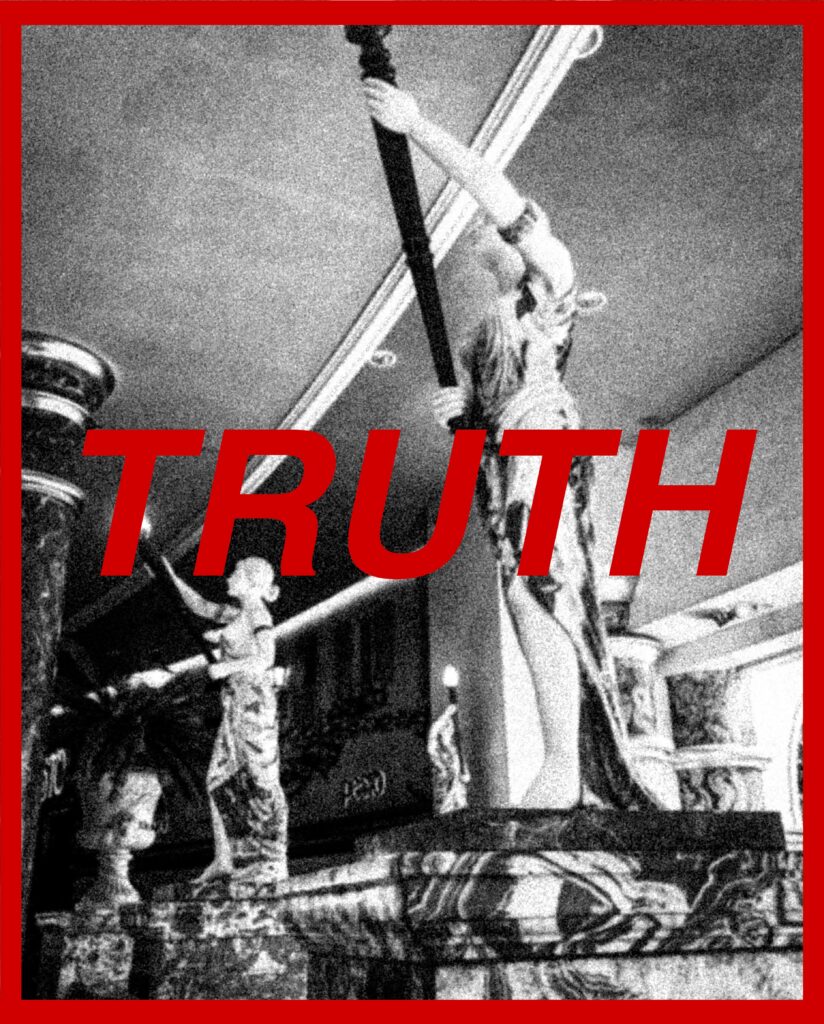

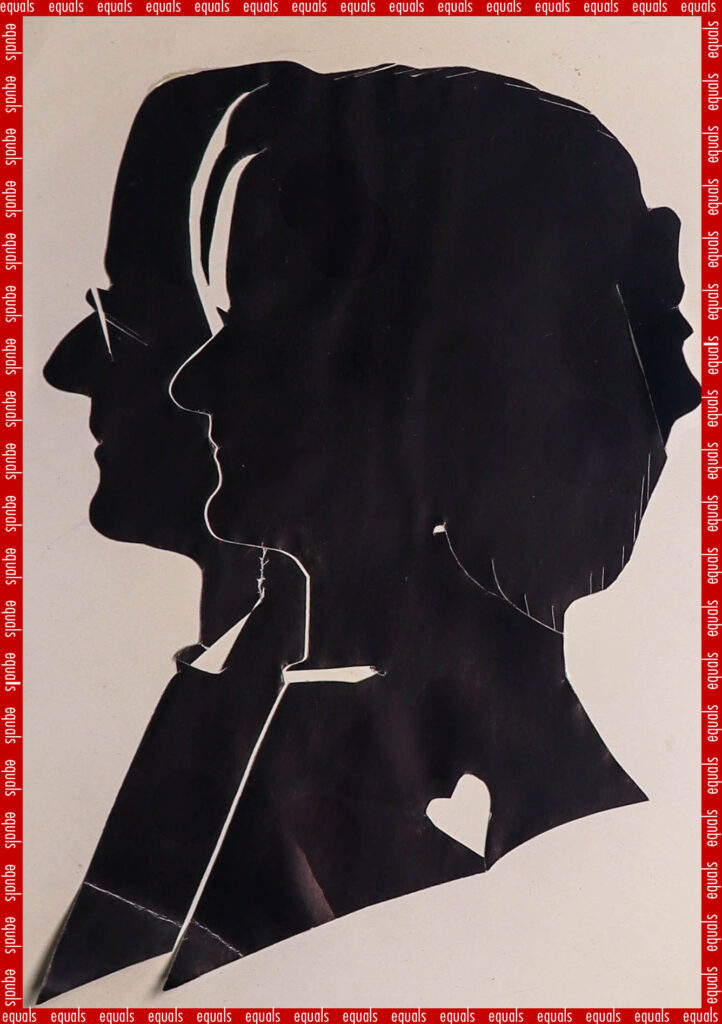
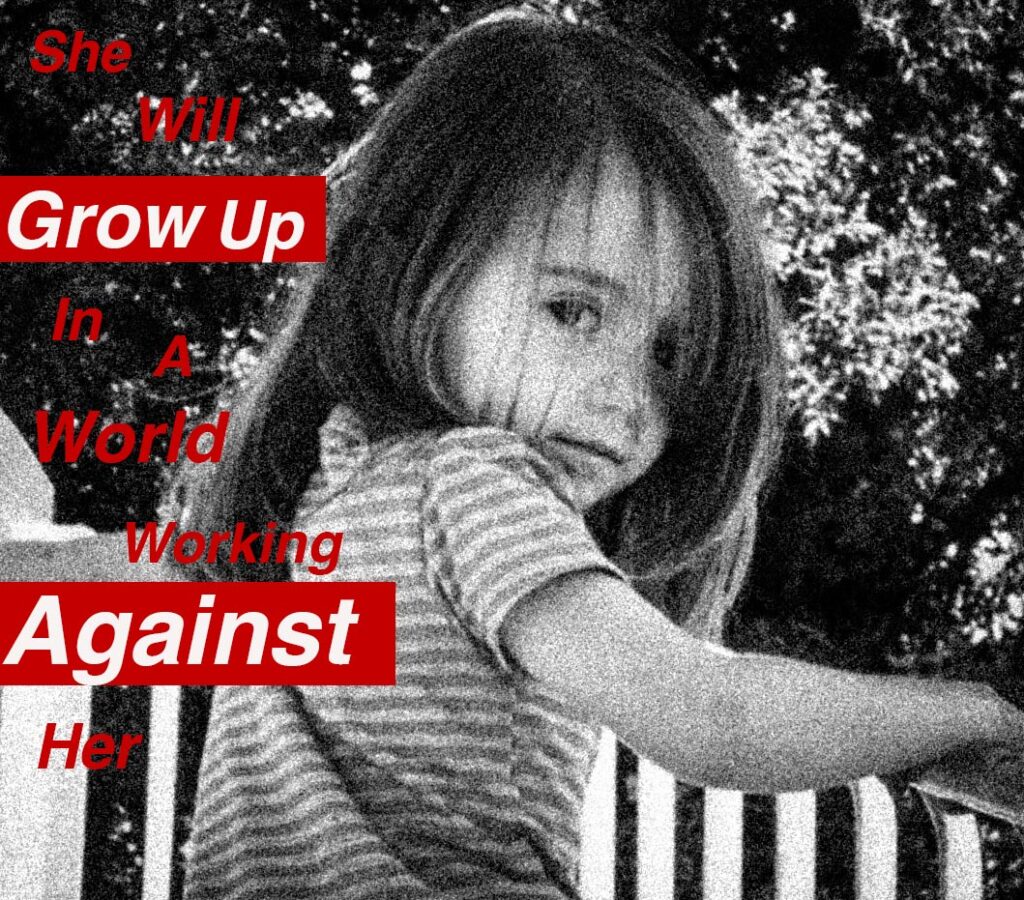
To do these captions in a similar way the Barbara Kruger does in her work, I used the rectangle tool to create these, then used the colour wheel to select a shade of red the most similar I could. I used this to create rectangles of different widths and lengths, then rotated them depending on which image I was gaining inspiration from.
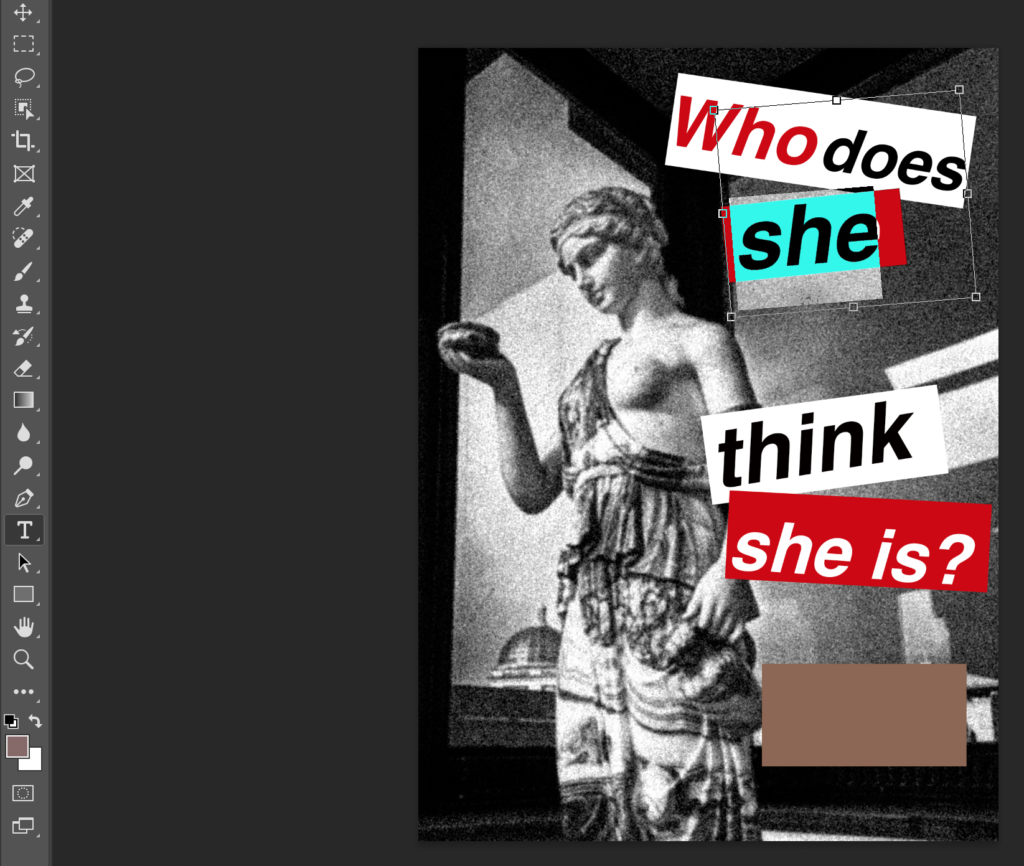
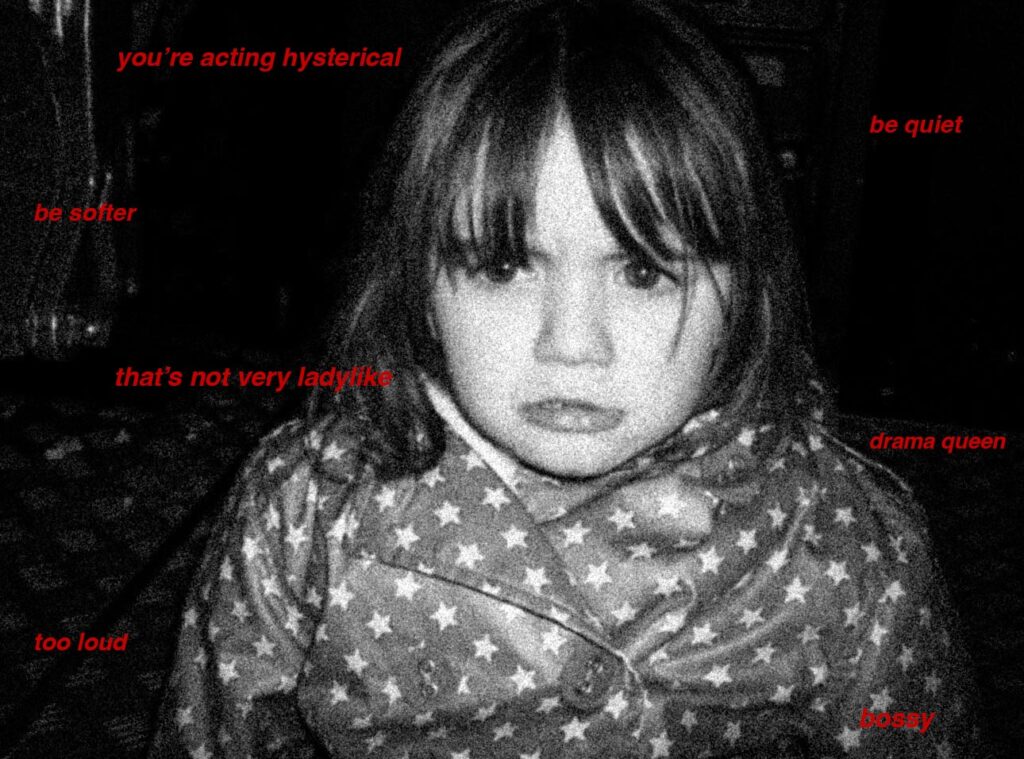
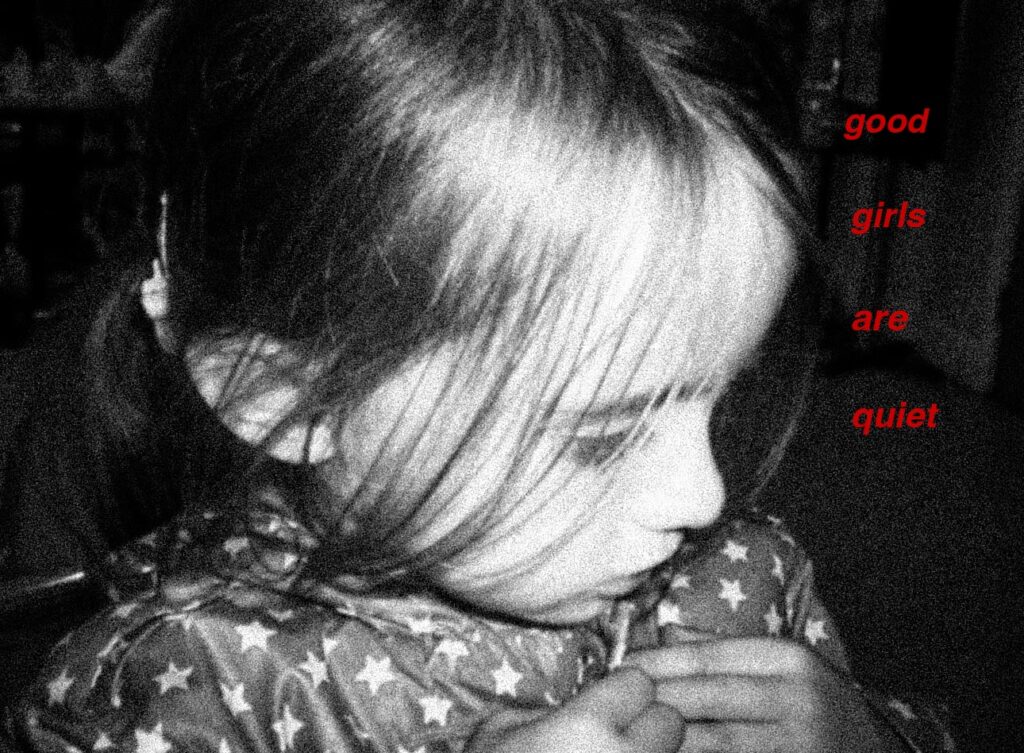
I then would use the text tool to create either 1-2 words and put them into the caption, however I would only input one word into each text box so that I had entire control over the colour and angle I wanted each word to go into. I used inspiration from Kruger’s similar images, however for some images I created my own captions that I felt related to the Feminist movement in brief but direct ways.
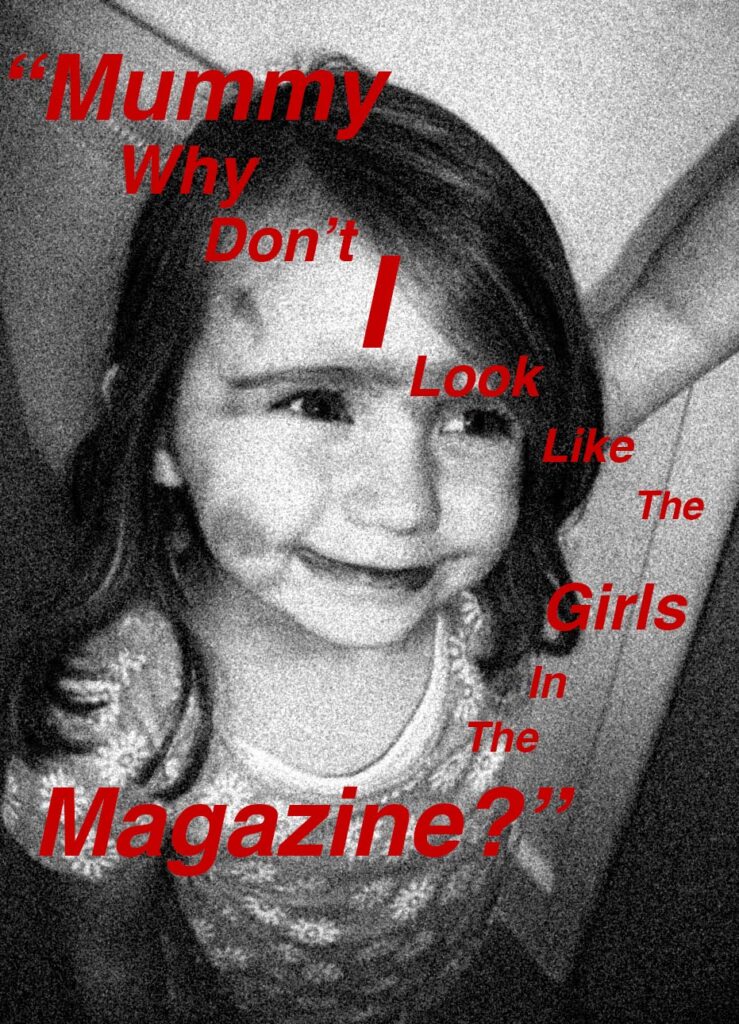
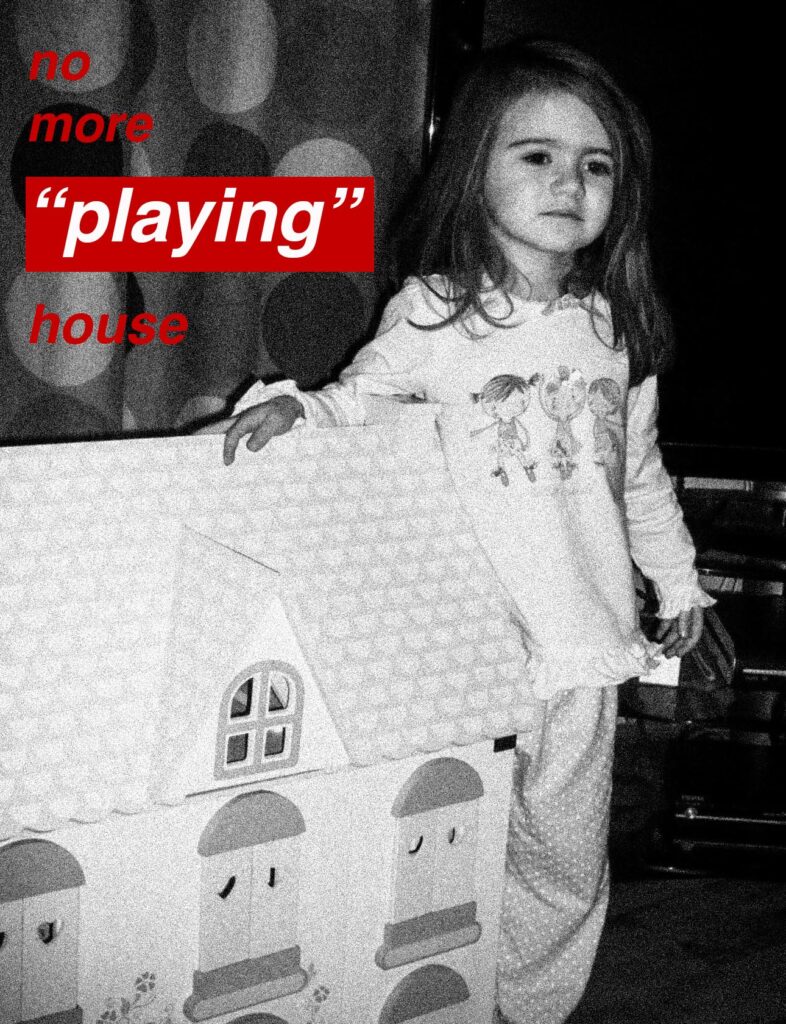
I didn’t want my work to be too explicitly related to Kruger’s images as this could come across as very basic or simple so I began to think of other images that I could use. I decided to begin compiling not just archived images of myself, but other women and girls that I know and use their childhood images as this is would be emotionally-provoking when paired with similar interrogatory phrases that Kruger uses linked to feminism.
I also wanted to incorporate the childhood images that I have from my family archives because this is an issue that is extremely relevant to me and actively affects me in my day-to-day life. I wanted to involve those around me to show how this is a universal issue that isn’t restrictive to me only. Following this, I decided I also would like to do a vertical linking of me, my mum and my gran to show this generational development of the beauty standard, and how many of the battles that the Suffragettes fought are still rife in society, and how even the progress that they fought for is going back in time in many countries.
I followed the exact same procedure for each of my images during this photoshoot and ensured I used the same shade of red across all the images, being #c40000, and pasted this so that I wouldn’t accidentally use a different shade and make the images inconsistent.
Throughout my further images, I varied between black, white and red like Kruger, however I used different phrases to make my work separate from hers.
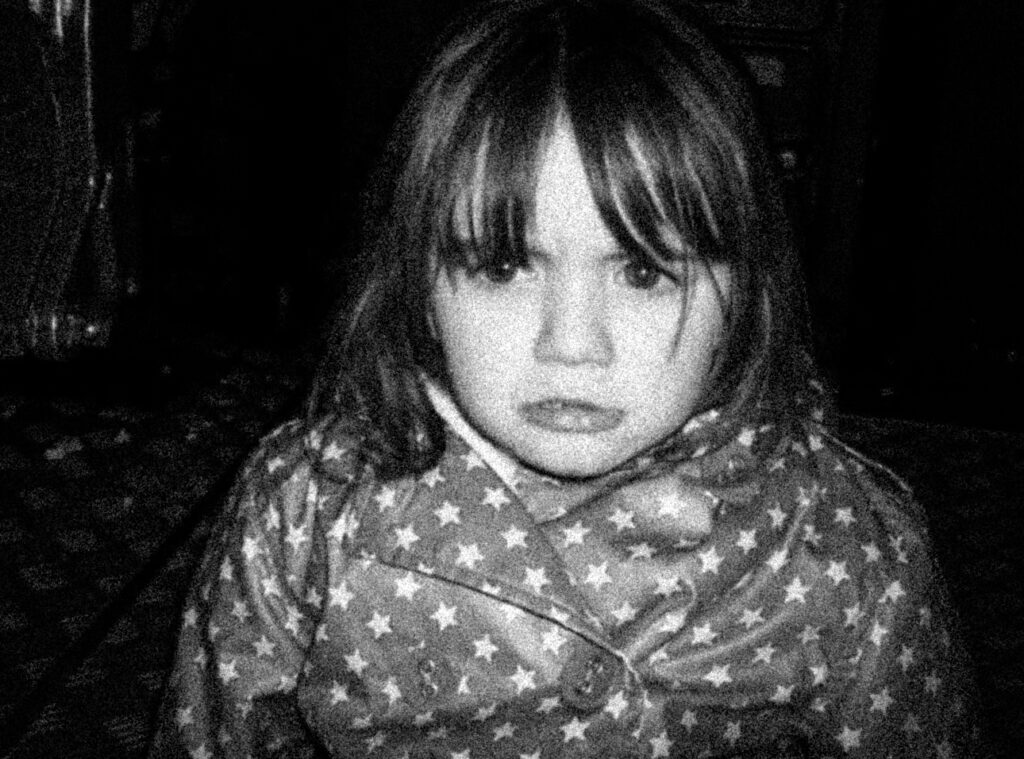
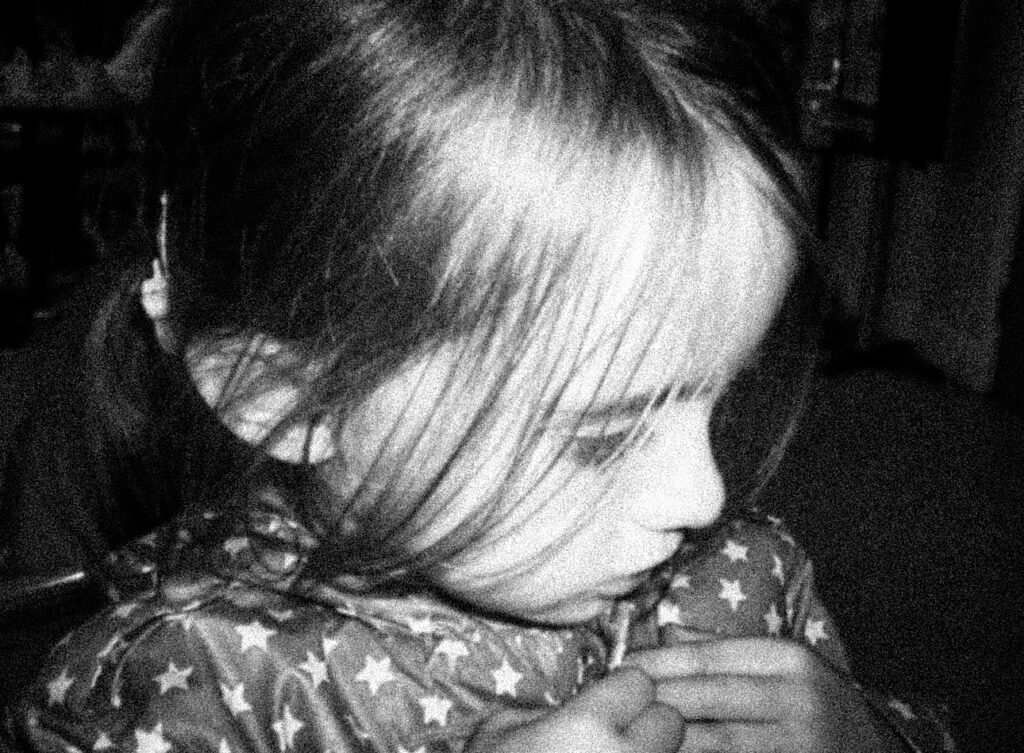
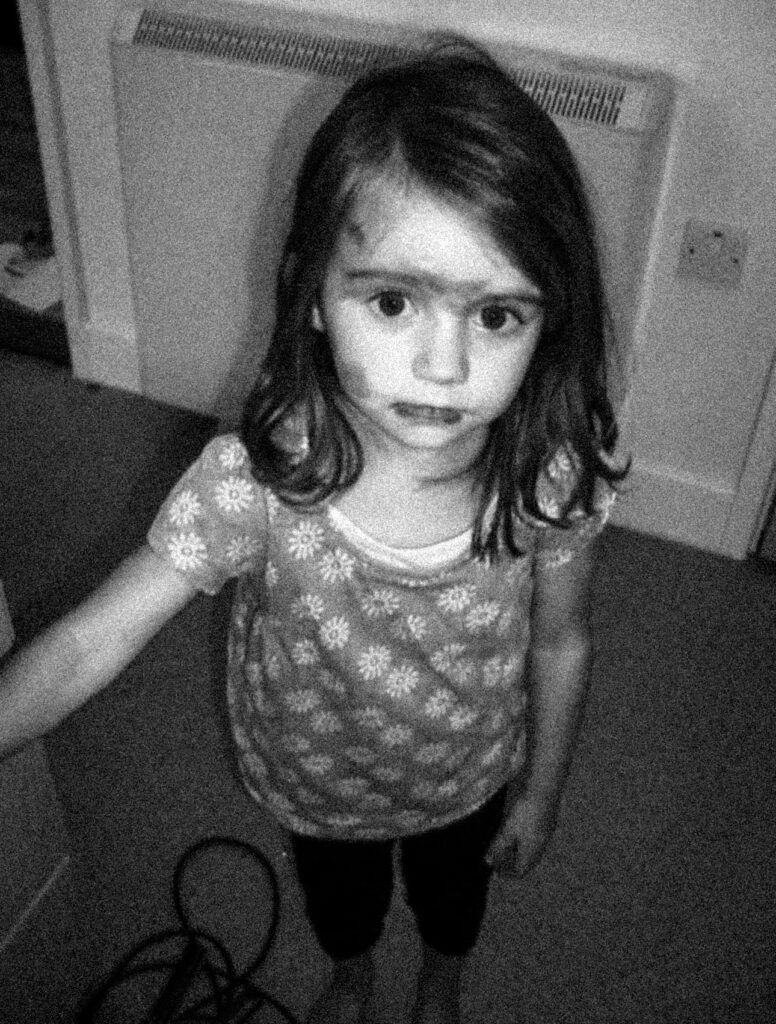
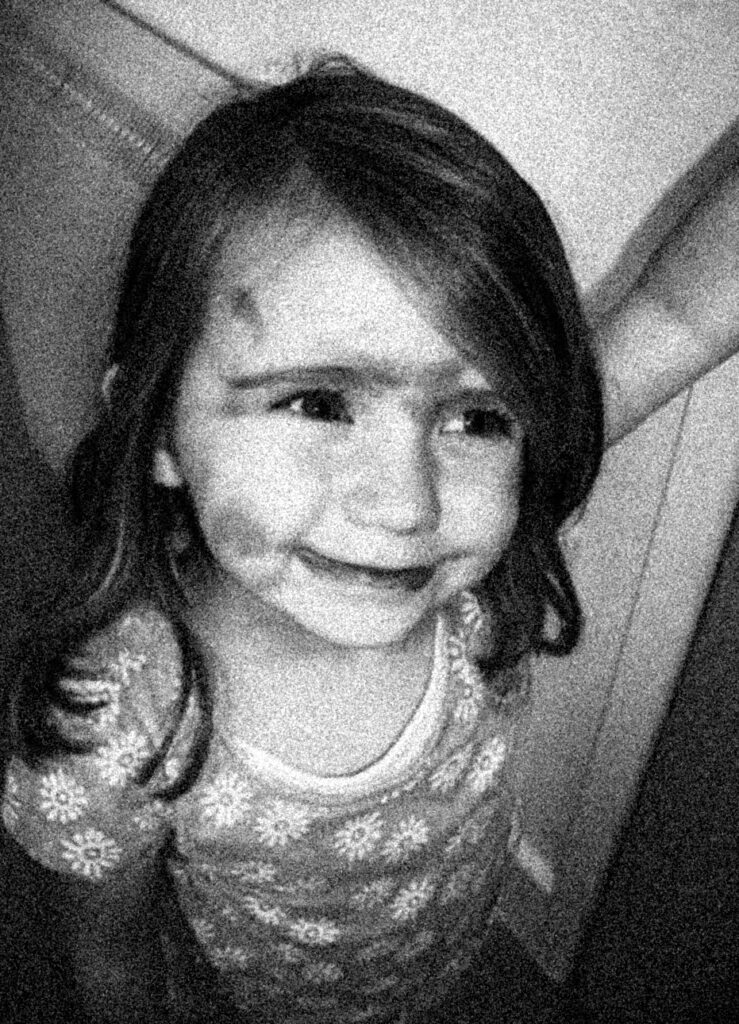
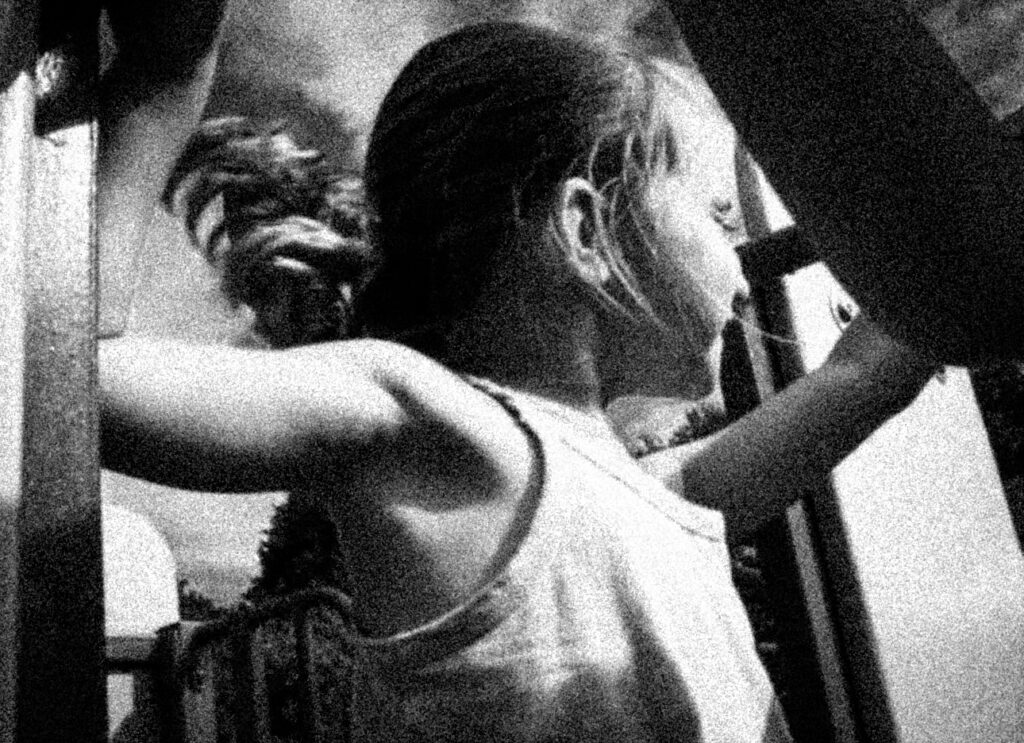
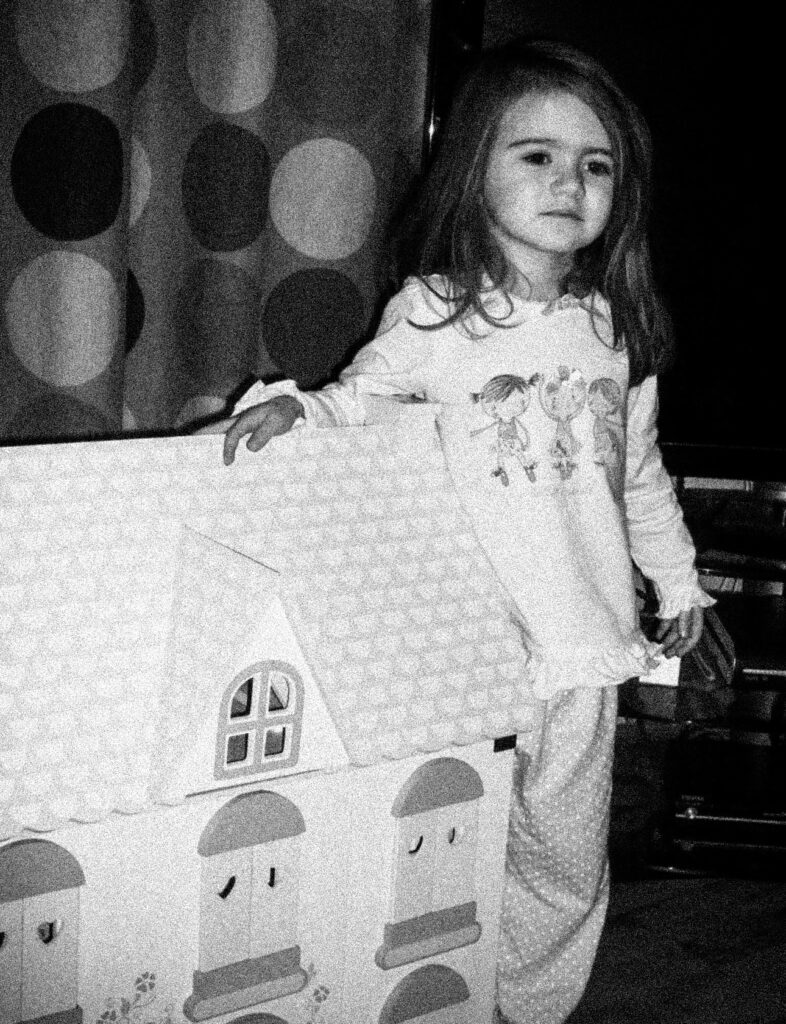
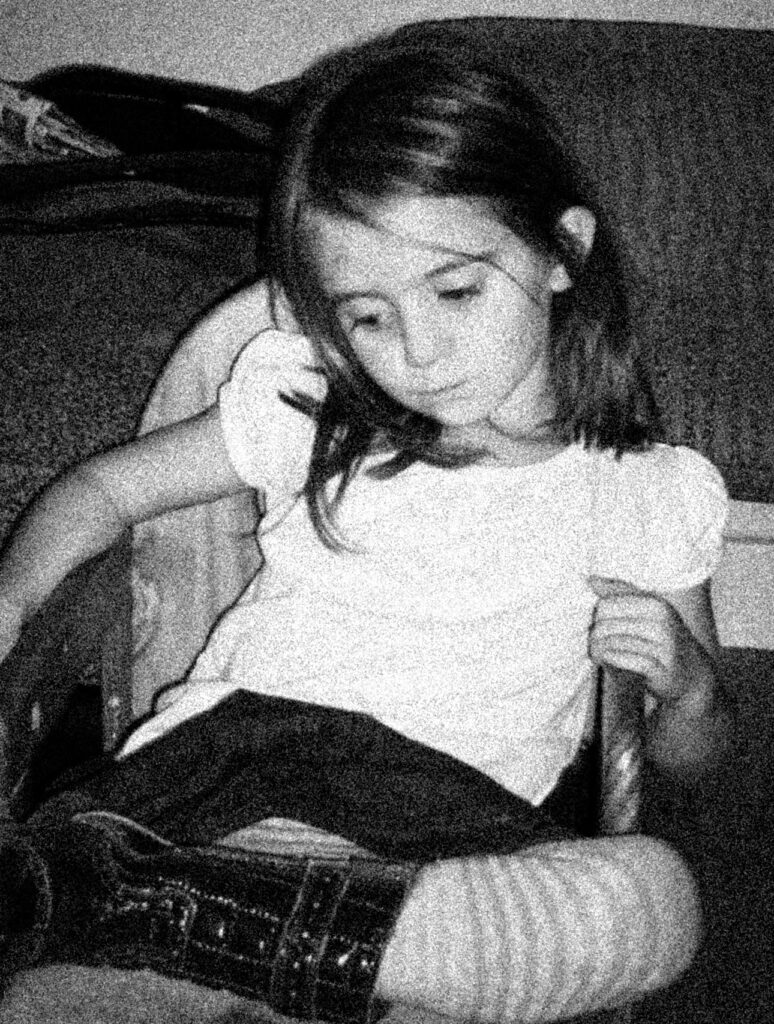
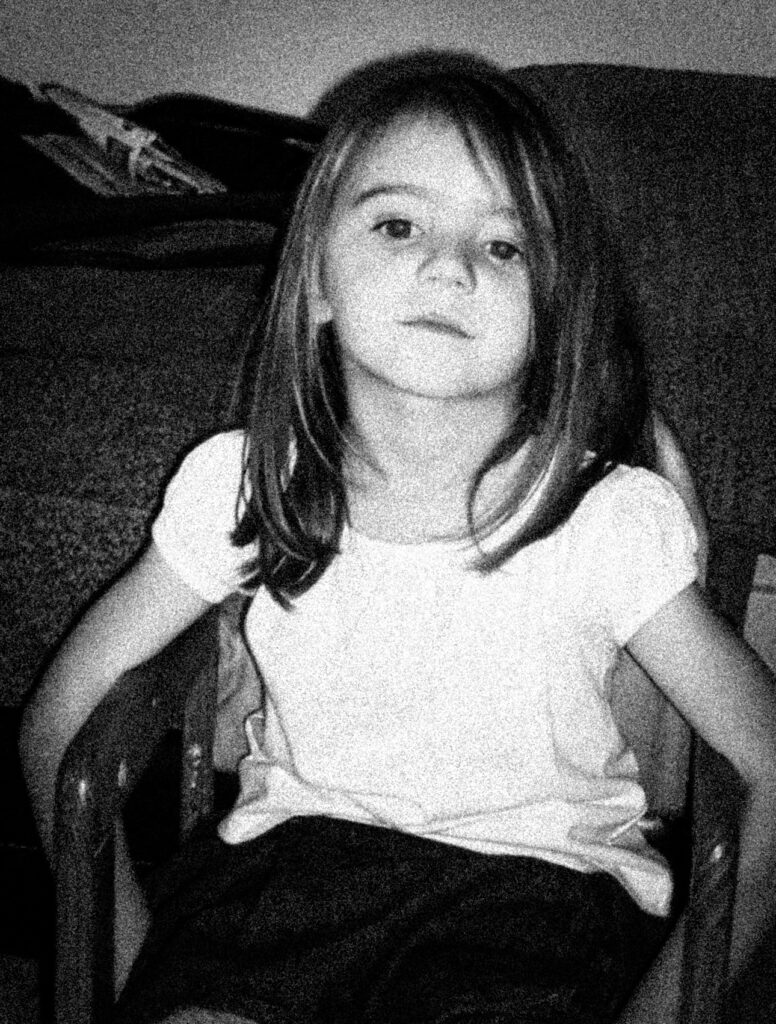
Original images of me:

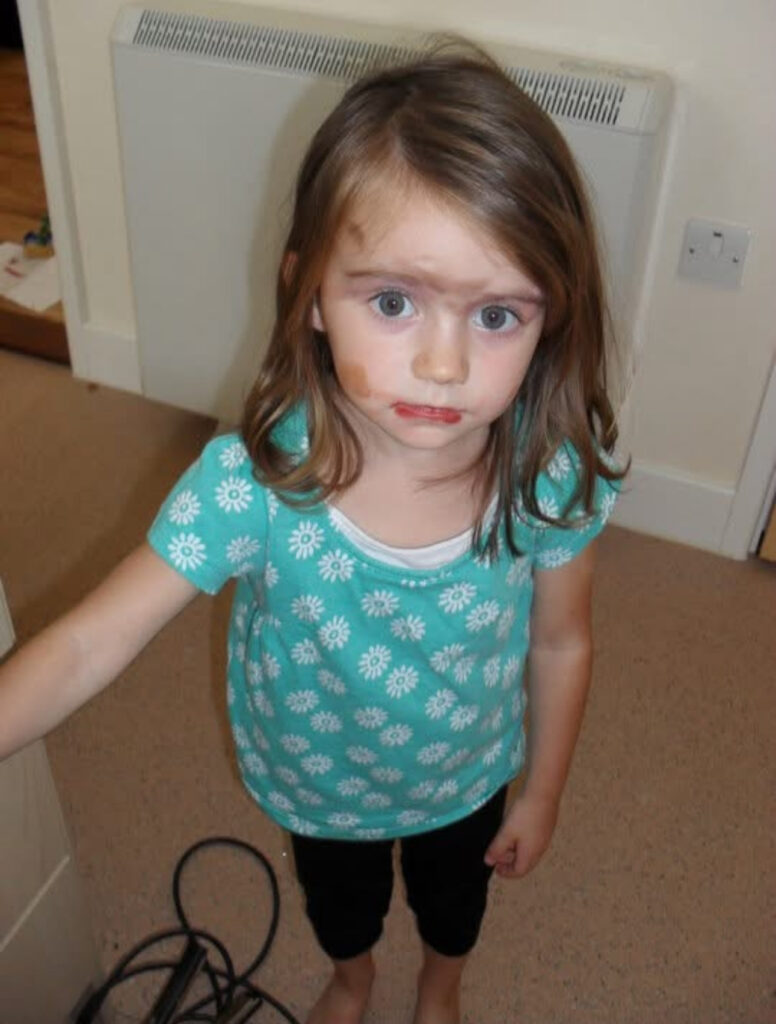
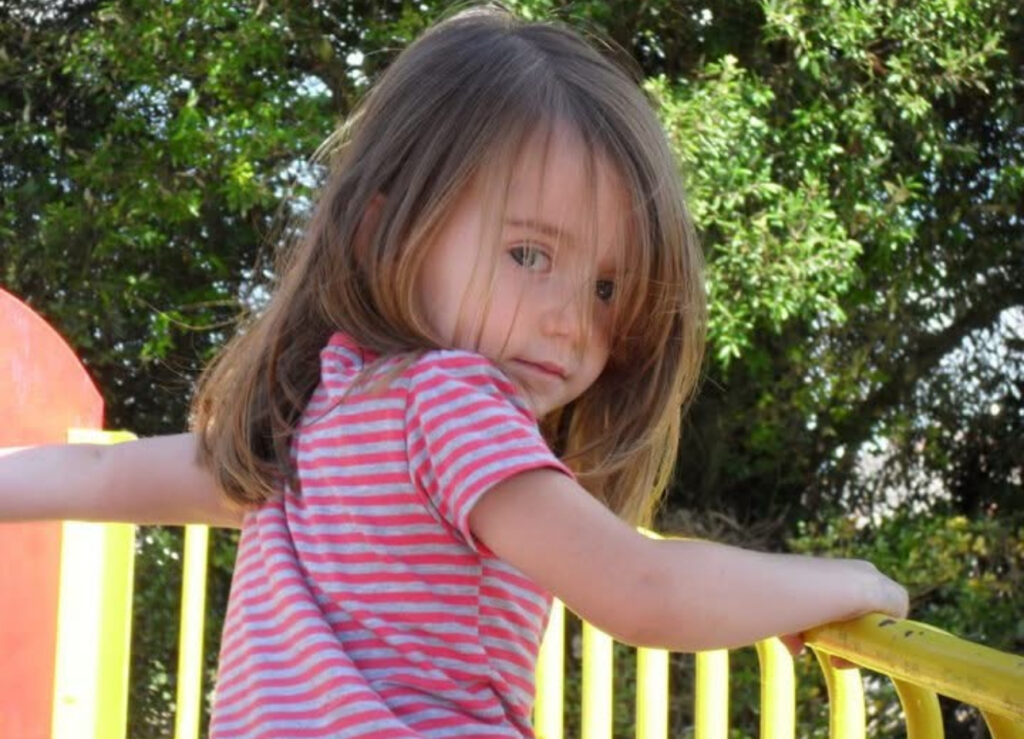
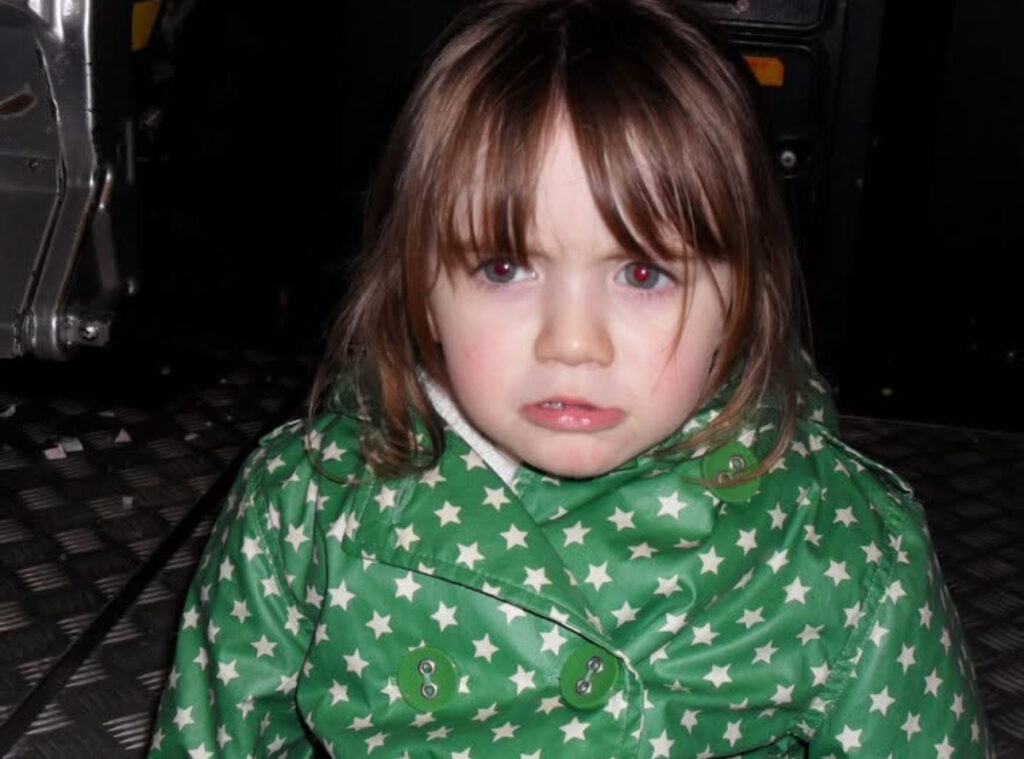
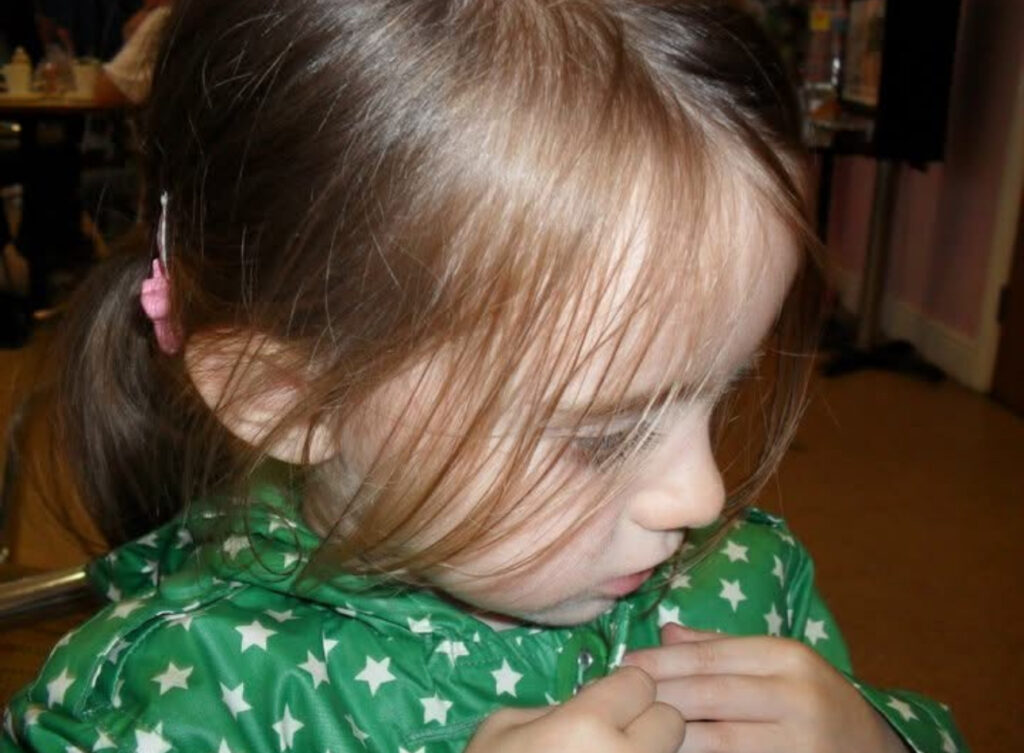
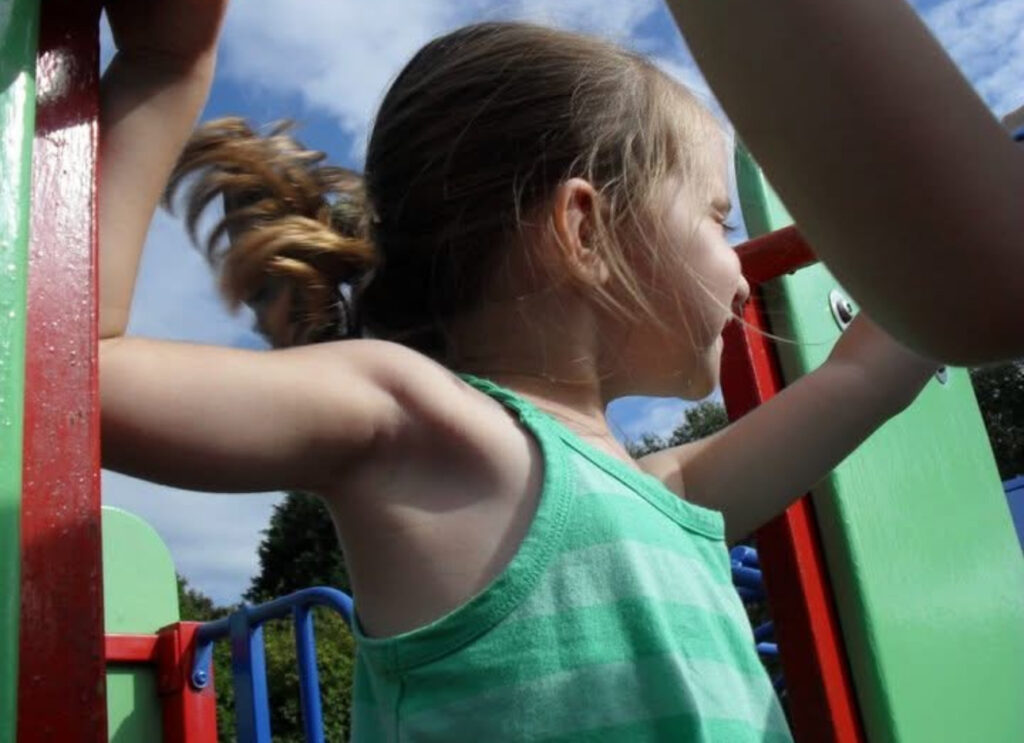
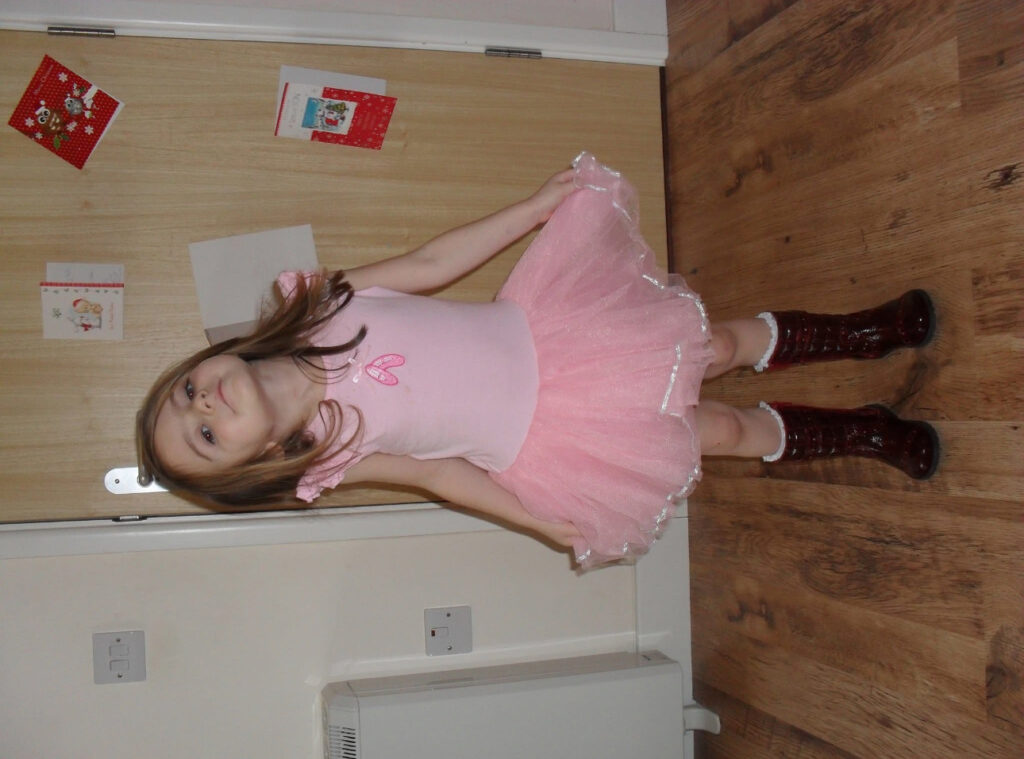
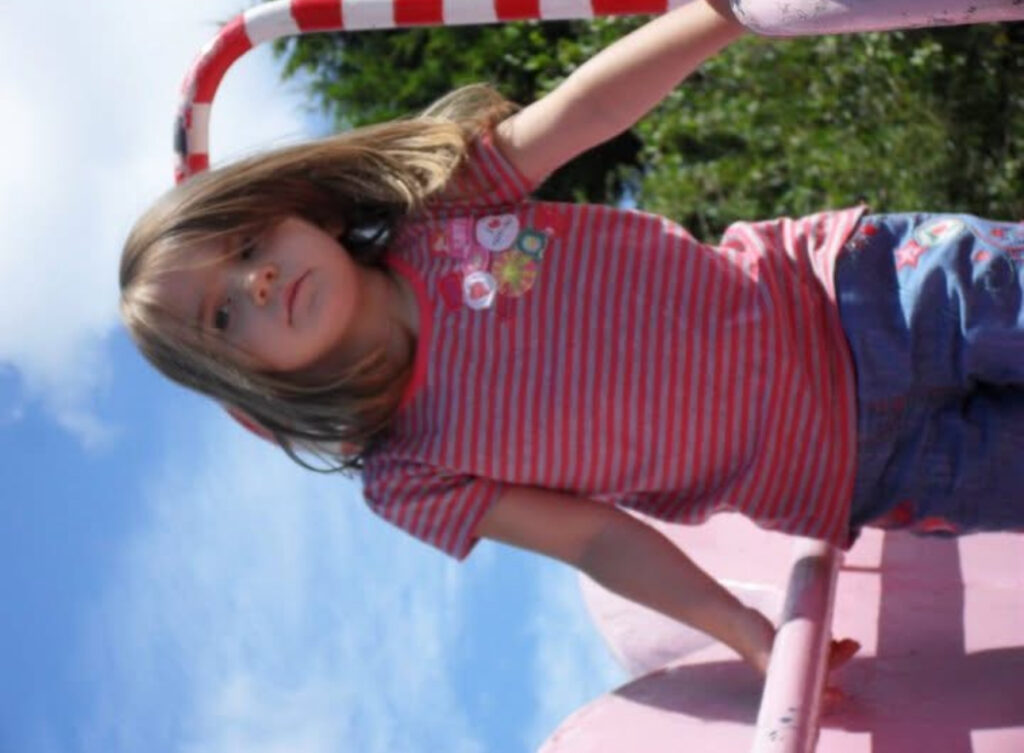
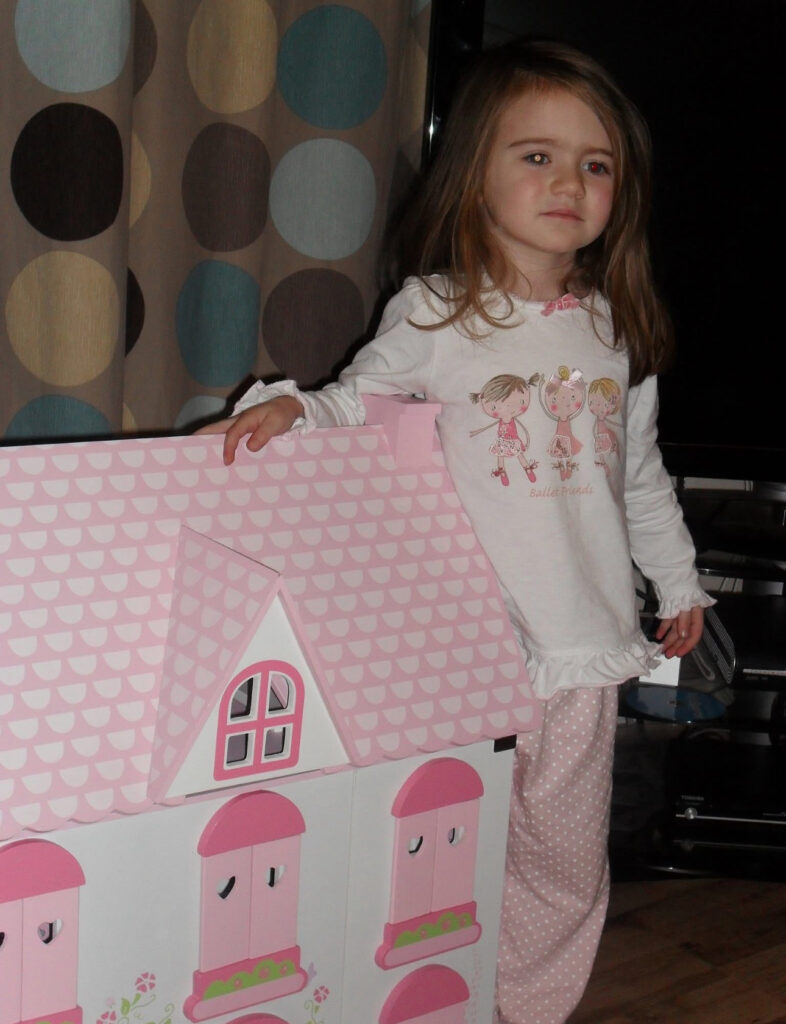

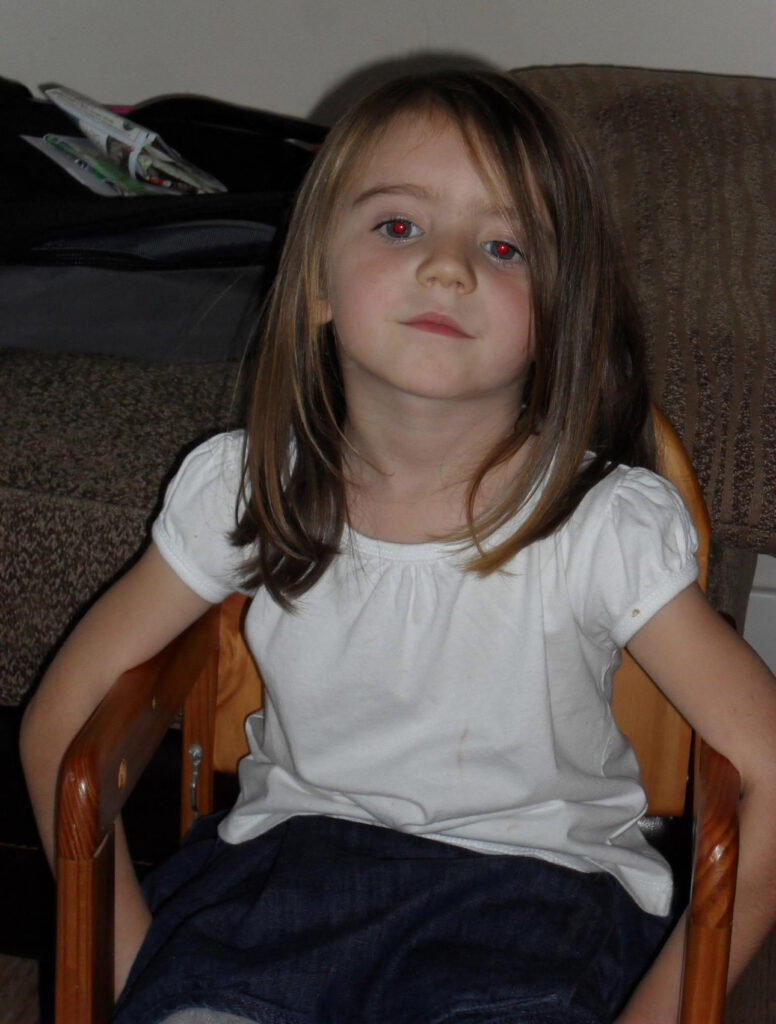
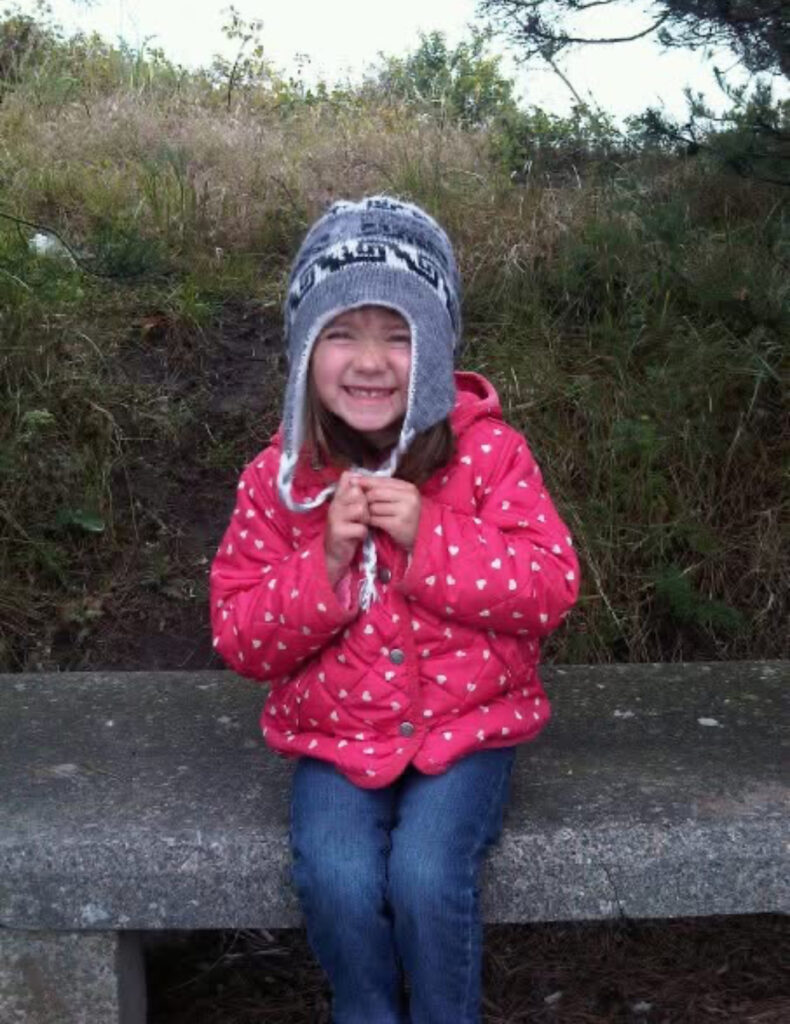
Some of the images had poor resolution whilst others were actually quite high, however this wouldn’t affect the final outcome of the images as there was a grain added to all of them as well as a monochrome tone to recreate the Kruger aesthetic.
Initial edits:

Final edits:
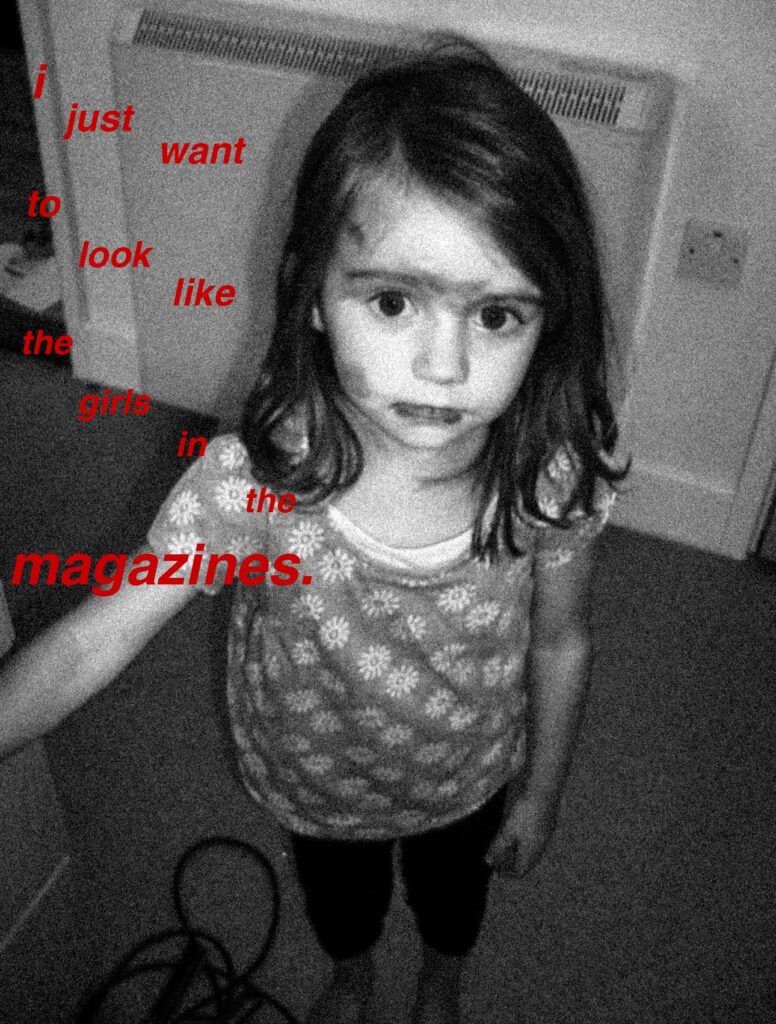
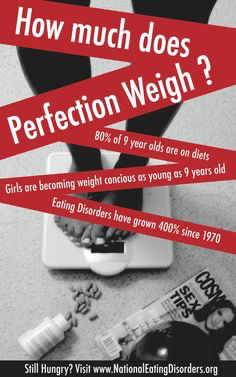
I also wanted to include more contemporary-styled edits of archived images as Barbara Kruger created these images in the 80s, styled in the way that magazines and different media was during this period. As there was no social media when she created these images, I wanted to hone in on Instagram as this is where many of these unrealistic standards are portrayed in the modern world.
This will allow me to make comparisons between then and now in my photobook, and how these different issues have festered and grown through the decades. This will enable me to highlight how many of these issues have not been tackled even though they have been challenged for a long time, as well as the new issues that have grown and been created. By doing this, I can also show how the beauty standard has been changed over time and how different features become more or less ‘desirable’ in the public eye.
The specific images that I was inspired by for this photoshoot:

I started to look for material that I could use to link me, my mum and my gran to this topic. I was able to find many images, both physical and digital, of my mum and gran in the past in order to link this.
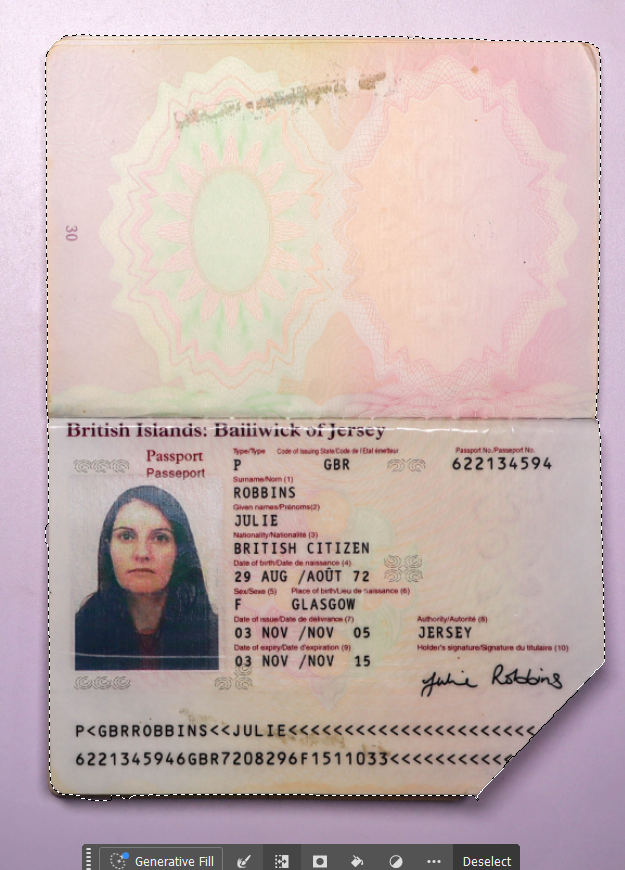
I wanted to gather images of my mum and gran with my dad and graded too as this way, I can use this to question traditional marital roles and stereotypes, especially when my gran was growing up. I also gathered a range of passports that my mum had kept which I think will be very useful in my experimentation.
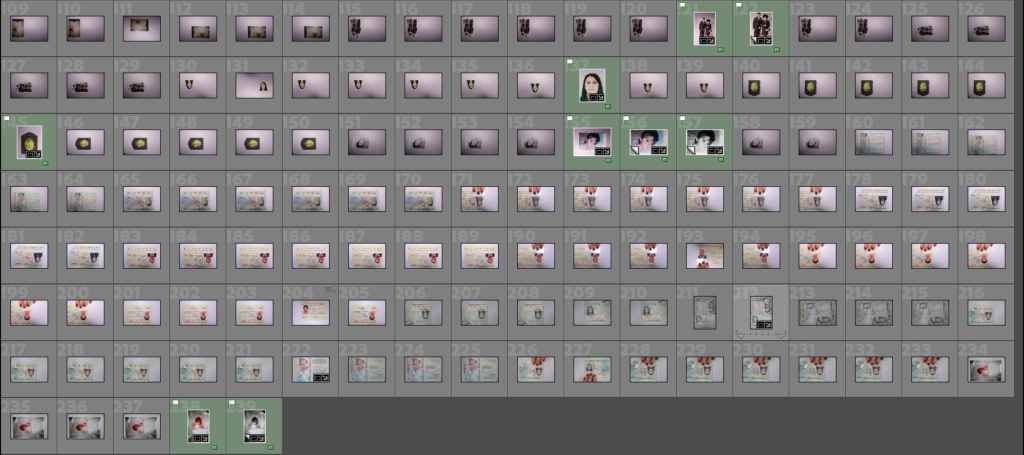
Contact sheet:

I wanted to create more experiments in relation to Barbara Kruger’s work so that I could show a generational link using the women in my family to show that not only is Feminism crucial in a universal way, but also how times have changed from then and now – this will allow me to explore different timelines of Feminism and the variation of attitudes and opinions towards women. However, I have already created images that are closely linked to Kruger’s, so now I am looking to develop on these ideas more through these experiments.

I used the magnetic lasso tool to cut out my gran’s passport as this tool sticks to the sides of what is trying to be cut out so that I can ensure that the lines are accurate and straight. I then repeated this with my childhood passport as well as my mum’s when she was younger.
I did this by outlining what I wanted to keep, and then using the invert selection option on the tool bar so that I would be able to delete the background. This made it easier for me s otherwise I would have had to cut the background out individually which could have made the image come out messy.
I then went and refined any edges that hadn’t been cut out using the magnetic tool. I wasn’t sure whether to use a baby passport or a child passport for this idea, so I just cut both out as whichever one I don’t use can be used for another idea.
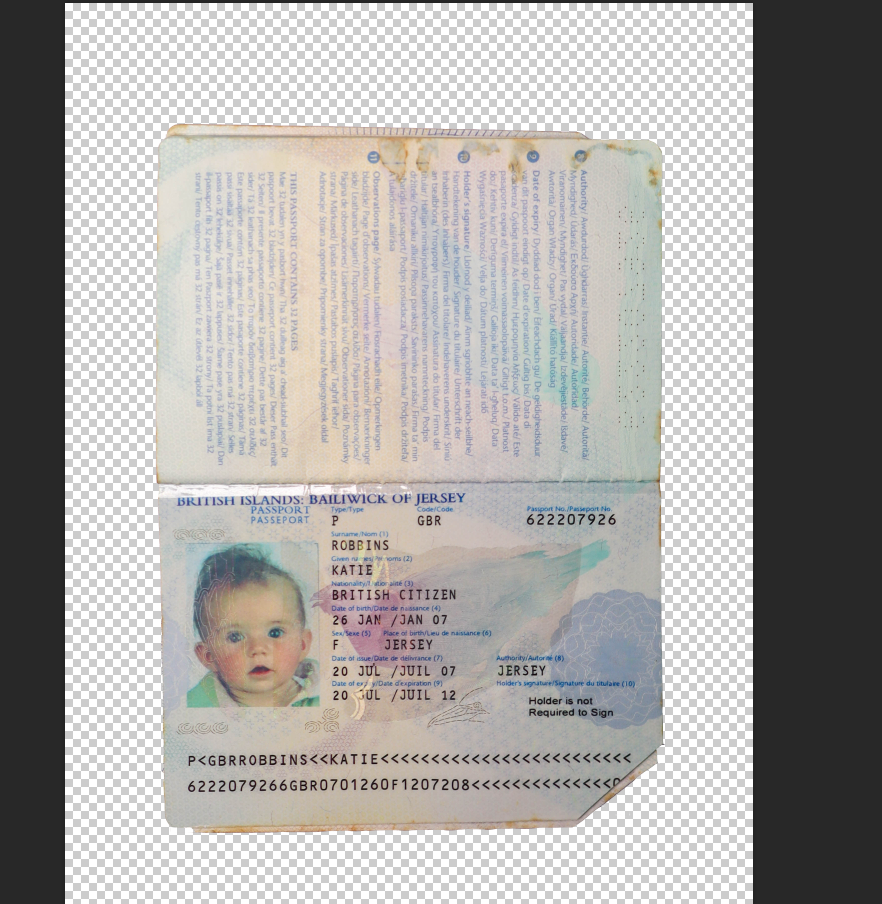
I decided to use the childhood passport as I think it is able to align with the topic of feminism more than a new born would. Whilst I am using baby pictures, this idea is more suited with a child’s photograph.
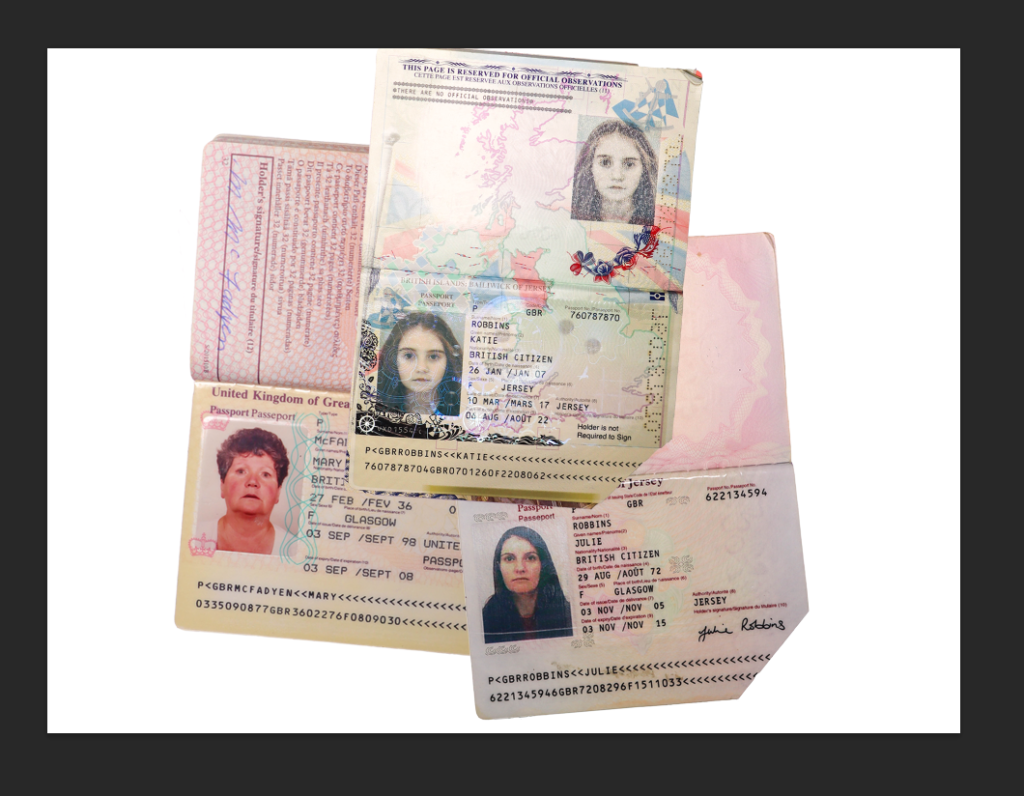
I layered the three passports and began to think about what I could do next to them.
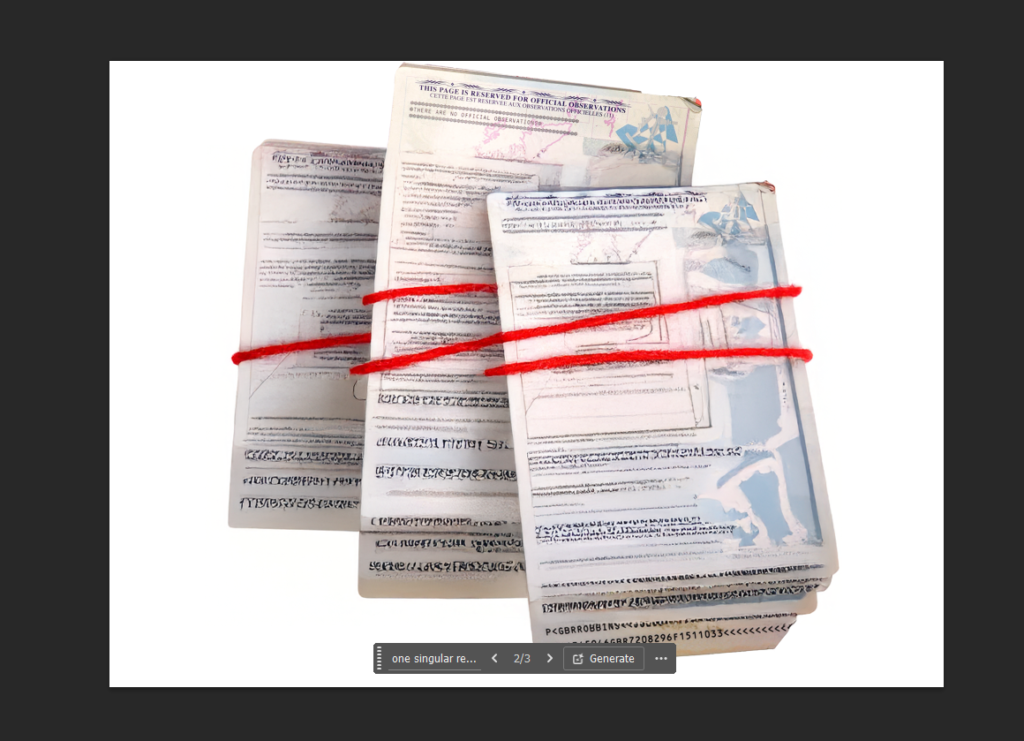
My first intial idea was to use the brush tool in the same shade of red that I used in all of my other Barbara Kruger experiments, however this looked strange and out of place. I also couldn’t really make it look right and I didn’t want to waste time trying to make it look suitable. I also tried to use generative Ai to get a realistic enough red string, however this was difficult to do and did not give me my desired result:

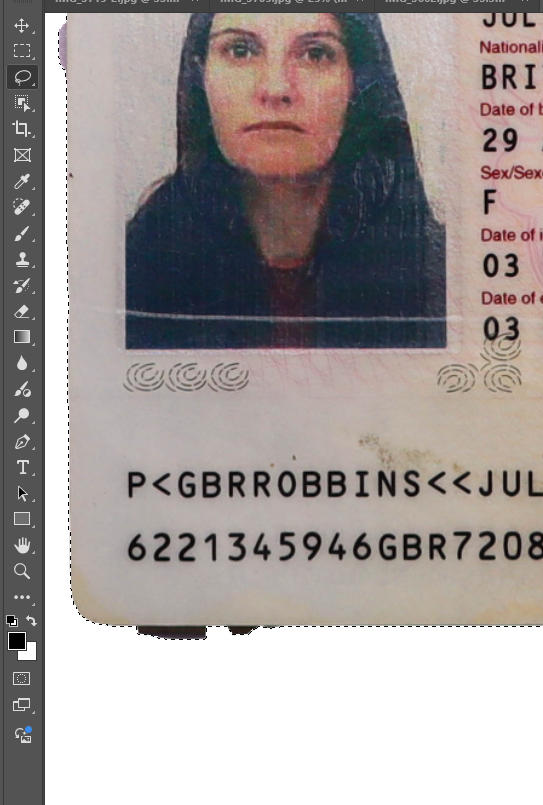
I then changed the pen mode to clean the brush after each stroke, meaning that I could make the images blur together instead of using a vibrant colour that would look out of place. I initially began by moving the mouse in circular motions around each subject’s face within the passport to get a blurred effect on each face:
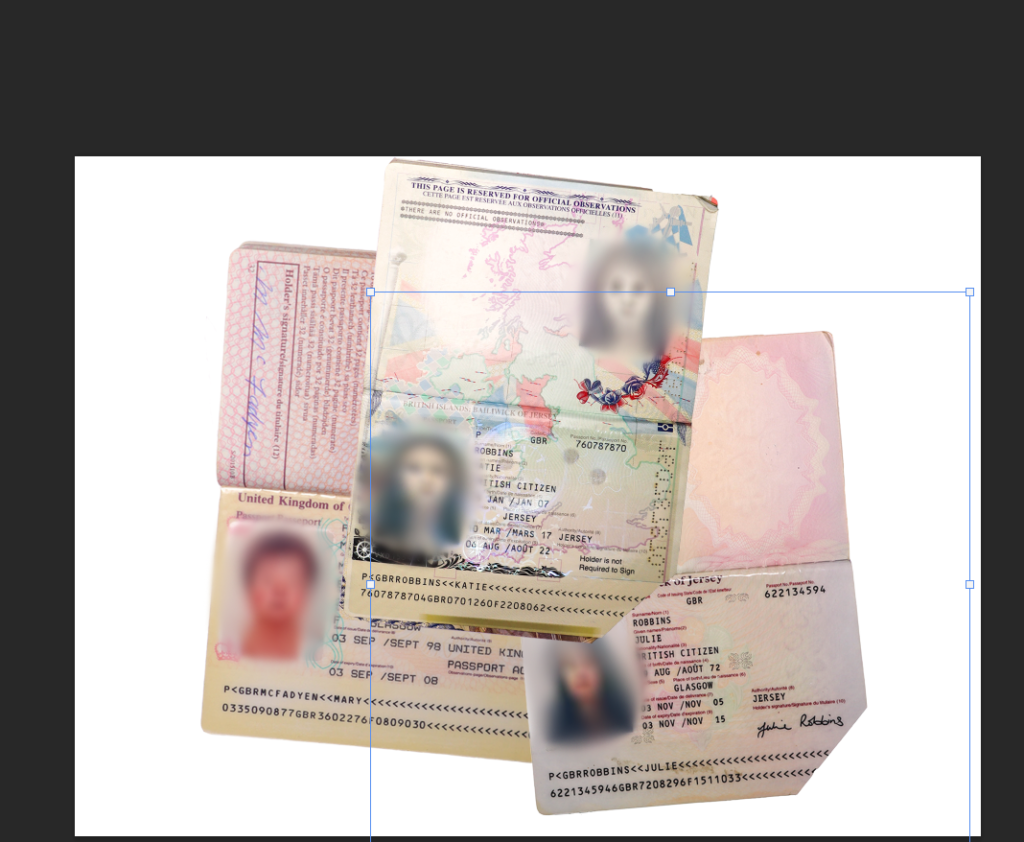
This was quite messy due to the flow however it was necessary in order to make the blurring soft instead of harsh as this would have made the image look too exaggerated. I then used the healing brush tool to clean up the edges.

I then decided how I would like this to be laid out: