Book progress

Progress 1:

In this image it shows the start of my book. I have some images produced which I have edited and placed in Lightroom. Pressing the folder which these images are in, I created book. It gave me a random selection of the images and randomly spaced them out. I started to think about how I wanted ti structure it. So in this image it shows how I’m starting to think about how and where I’m going to show my images

Book progress 2:

In this image, I have begun to form a structure in my book. In this image I Begun to form sections in my book. These section will help me develop my book and ensure that the structure of the book is smooth and complementary.

Book Progress 3:

This is my final book progress, here it shows my outcomes and the structure of my book. In this image I was able to show how I came to the structure of my book. In this progress, I have added text and quotes on my book because it shows clear inspiration of my artist case studies. The quotes and text helped me have a clear idea of how I wanted to structure my book so I acted on it

Photoshoot 1

The use of the filter called ‘threshold’ was used to add the final black and white gradient to my image. I did the basic editing before making sure that the levels of the photo were right and the curves. I used both photoshop and Lightroom to edit these photos, my aim was to get one person or a few other people to pull different faces to the camera to show that everyone has different emotions and feel different pains and that we are all human but I wanted to add an effect to my photo to make it different than a basic portrait of the model. I really like how I used a white background as I was able to show mostly the model and nothing else in the background to restrict any distractions from the model. These photos almost give me the impression that they are icon pictures or profile pictures as they only show the body and nothing else. I would say that I was able to produce some good photos but I would like to go back to the studio and get some more photos of possibly a black background so that the model will be highlighted with a light stencil. This will show a contrast between the two different shades. I would also like to do this photoshoot with different people to get different features from each person. This could also help to make these photos more original. I did have some other photos that I could have used but they didn’t turn out as well as I would have hoped as there was a bit of a shadow in the background and it would interfere with the persons head. This made it look like there was a shadow of a different person behind the model which could look really fascinating but isn’t quite what I was going for.

If I were to do this again I would like to ask the model to make different faces and poses to help make the overall outcome look more interesting as these photos look quite bland and don’t really have much personality to them. I would definitely like to use the same effect but have colours included in my photos, possibly like pop art where they have a very vibrant set of images and each model is holding a different facial expression. I would say that overall the final outcome didn’t disappoint once I went through with properly editing my images. But I do need to be careful for next time to avoid any type of shadowing in the background, this makes the photograph look less professional and more rushed.

When editing these photos I used Lightroom Classic first to make sure to get a good amount of gradient into each photo, I wanted there to be a good amount of details shown in each photo, I adjusted the lightness and darkness surrounding the model and added a few highlights to darker sides of the photo. Despite this editing, I want quite able to remove fully the background shadow which left a human figure in the background of my photos. I then imported my images into photoshop and Cropped any unnecessary details that were lingering in the background. I really like how defined each photo is and how the details are very visible to an extent, for example it is clear that there is a scarf on the modes neck but also I wouldn’t be able to identify if there was anything on the models face as most of the small details disappeared.

Photoshoot Plan – Family

For this photoshoot, I am going to explore another side of unity, within the context of family. I will take images of members of my family, in their houses where the environment is natural for them. I am going to focus on my dad, uncle, and younger cousins. This is because I will be able to not only show the family unity between them, but also highlight that they are all males to show past the stereotype that men have.

For this photoshoot, I will take a variety of different images, within the same house but explore the number of places to take photographs. As well as this, some images I take will be candid shots of them unaware as they interact, whereas some images I will instruct poses and manipulate the scene.

Further editing experiments for photoshoot 2 – Yayoi Kusama inspired

So far, my second shoot I have carried out has been my favourite, with a range of different poses and creating more of a variety within my project, while closely following approaches from Newton and Kusama. Therefore, I decided to edit these images further, creating more of a link to Yayoi Kusama and her vibrant aesthetics in her images. To do this, I exported all of my best outcomes from photoshoot 2 into a folder, then imported them all into Photoshop to begin editing.

I found it useful that each of these images were taken against a plain background because it makes the editing process easier for me, as it is easier to cut out and select specific subjects and place them onto coloured backgrounds. I kept them all black and white as it allows the more sophisticated look to still remain, while also incorporating vibrancy.

Once I had cut out my subject that I wanted to move, I pressed ctrl c, followed by ctrl v to paste it onto a new layer with no background. Next, I selected the colour I wanted and changed the vibrancy so it could appear brighter and create a harsh contrast. I then selected the paint bucket tool and clicked the background to fill the background with the solid colour.

Edit 1:

v1:

For my first edit, I used the selection of styles on the left hand side of this screen shot and chose the outer glow effect so the outline of my subject glows against the background, allowing it to stand out more against the solid colour.

v2:

I followed this process for each variation of my images. I completed a few variations of different images to give me more choice when it comes to selecting my best ones for a virtual gallery. The only changes I made was selecting different colours and choosing to blend the colours differently.

v3:

Edit 2 :

v1:

v2:

v3:

Edit 3:

v1:

v2:

v3:

Photoshoot 3 – Contact Sheet

For my third photoshoot I went around Jersey in my car with my camera on a cloudy, gloomy day and took photographs of the sea, benches, surfers, rusted railings, puddles, rocks, shacks that served snacks and teas, traffic with queues, also I took photos of a rugby ball with the Jersey Reds logo on, English cricket bats, and a Jersey branded basketball jersey. Next, I went to a pub and took photographs outside of it and inside too taking photos of the bar, pumps and even a London Pride pump which I have used in my final images.

For the settings I used outside to take photographs of the cars, sea and locations I used these camera settings.

For the photographs I took inside, for close-up photos of the objects, bar inside the pub, and the London Pride pump, I used these camera settings.

Union: Additional images – George Blake

For my magazine, I wanted to add some more images to create more diversity of content between the pages. Doing an additional photoshoot, I will add these to add a bit more to my final project.

Inspired from the album covers photos I made, I wanted to recreate some album covers, but set within a similar environment to their contents. To me this ties in how people associate their identity through music and by connecting to places similar to wherever they are, it shows how it can be used to create connections between people who share that same passion to the music. With music culture being a method of bringing the youth together, I thought this would fit well behind the pre-existing pages I made about music and its abilities to unite people.

With this photoshoot containing only a few images, I simply chose from the ones I had, leading to no need for a contact sheet.

Recreated Vinyl’s:

Before:

Editing:

Adding some basic adjustments, altered the image to create more a contrast in colour and tone to create some more depth within side the image.

Converting into black and white, the added depth from before allowed it to be a good canvas to then add a chosen colour through playing around with the images temperature and tint. applying the same settings to all my other vinyl based images, the only differing factor was the colour made through the temperature and tint.

After:

Vinyl box + car boot:

Before:

Editing:

For these images, I added a vintage effect through the use of a filter layer off the app snapseed. From this, I then adjusted the grain of the image.

Adding then some adjustments, I tweaked it some more to create a more old digital camera aesthetic.

After:

Photoshoot Plan – Nature

Photoshoots 1,2 and 3 plan:

My photoshoots will explore the connection between humans and nature, emphasising our unity and the beauty we share with the natural world. This plan discusses my goals for multiple shoots as I will be carrying out more than one however, since they will be similar, this plan can be applied to both.

Who: I will be photographing multiple people, including my friends and my younger brother. They will convey different aspects of human connection with nature, from playfulness to admiration.

What: The images will capture the subjects interaction with natural elements such as flowers, trees, and sand. I will experiment with various poses and perspectives to compare the beauty of nature with human beauty, reinforcing the idea that we are intrinsically linked.

Where: The photoshoots will take place in scenic outdoor locations, including parks with greenery, vibrant flowers, and trees. I will also shoot at the beach to incorporate elements like sand, sea and rocks, adding more textures and contrast to my compositions.

Why: My aim for this project is to visually express the union between humans and nature, encouraging a deeper appreciation of the natural world. The images will also explore the similarities between natural beauty and human beauty, reinforcing the idea that we are a part of nature rather than separate from it.

When: The photoshoots will take place during the day to make use of natural sunlight. I will go while the sun is still high and shining allowing me to capture bright images where the light is highlighting all aspects of my images.

These photoshoots are inspired by the artist Sian Davey’s project, ‘The Garden’. My images will be similar in the way that the model will be accompanied by nature, making both the model and nature the main focus of the images. However, since I am incorporating different locations and aspects of nature my project will vary.

Photoshoot plan 1:

This photoshoot in inspired by Andy Warhol who tends to use the Threshold filter on his photos. I found his work quite interesting and unique and almost looks like pop art. I want to do an experiment with the threshold filter by simply making it similar to his work by adding colour or making it different and leaving it in black and white. For this Photoshoot I will be taking portraits of people and simply editing them with the basic editing they might need, fixing the exposure, saturation and other things, I will then simply use the threshold filter.

This can be quite tricky to use, as you have to make sure that the models face still shows details and sometimes the shadows over power the filter and make it impossible to see any details on the model, in that case I could try and get the outline of the model and simply add colour to the model, this could be a solid block o colour or a gradient effect deepening on the vibe of the photo. Simply press (ctrl u) and then it will bring the option of the Hue, saturation and lightness which can be adjusted to your liking.

Also, I could make the background colourful and the outline of the model will stay a greyish colour. Once I have played around with that I will save my work and repeat that process a few times to see which colour fits best with each portrait I have taken.

Firstly, I will need to take a standard portrait of my model and ask the model to do different poses and pull different faces to get some different photos. I can repeat this process with different models or keep them the same. I do want to take portraits on different days to see if the models mood changes at all and the models clothes will also change to make the photos look different and less boring. After I would quite like to turn these photos into a poster or some sort of collage and put more than one photograph together.

Photoshoots #1 & 2: Selections

Overview:


Photoshoot 1:

Contact Sheets – Objects

Selection of photos I might edit:


Photoshoot 2:

Contact Sheets – Chapel & trees

Selection of photos I might edit:

Union: Statement of Intent

Union – Two or more things united or joined into one, something formed by combining.

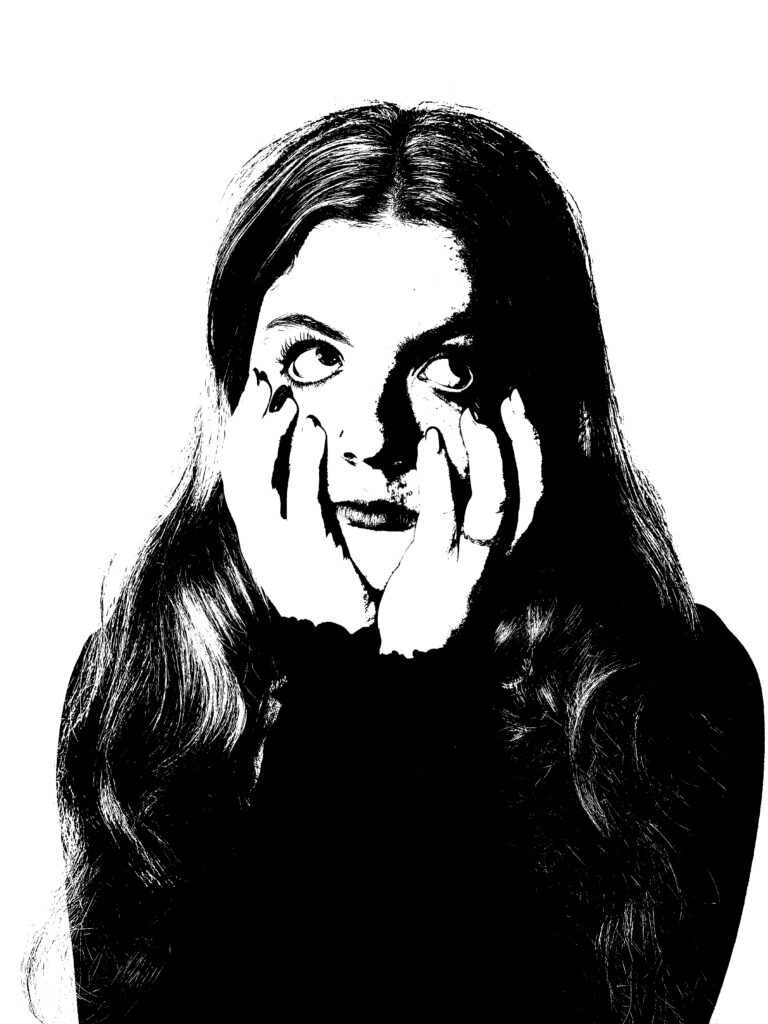
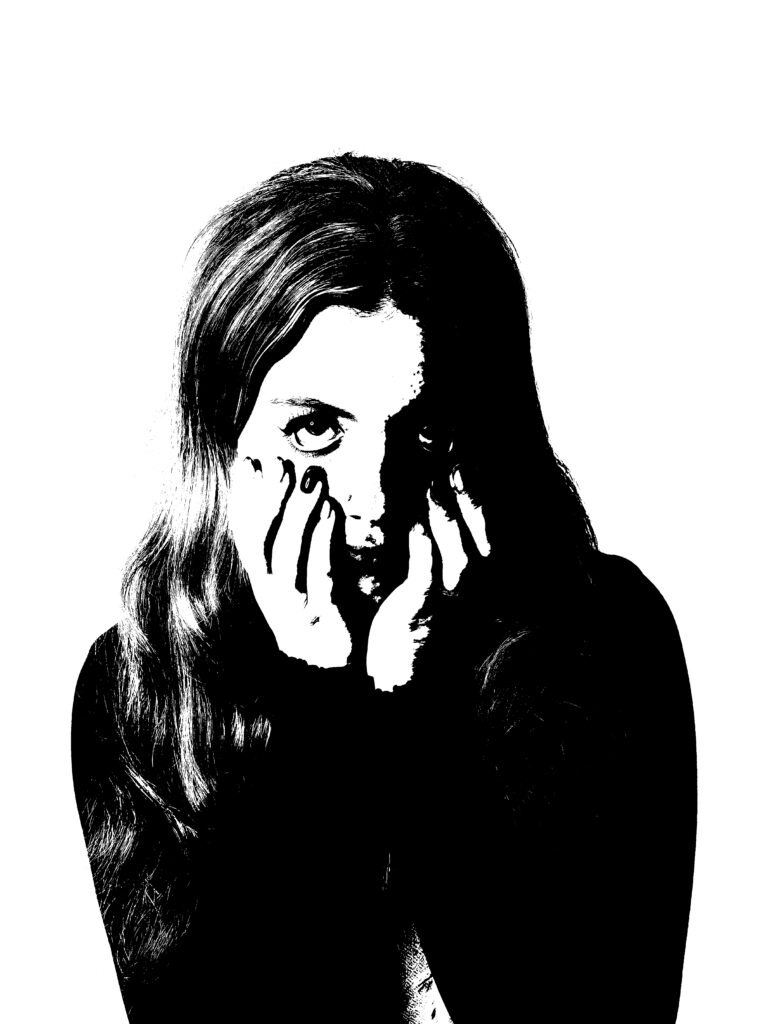
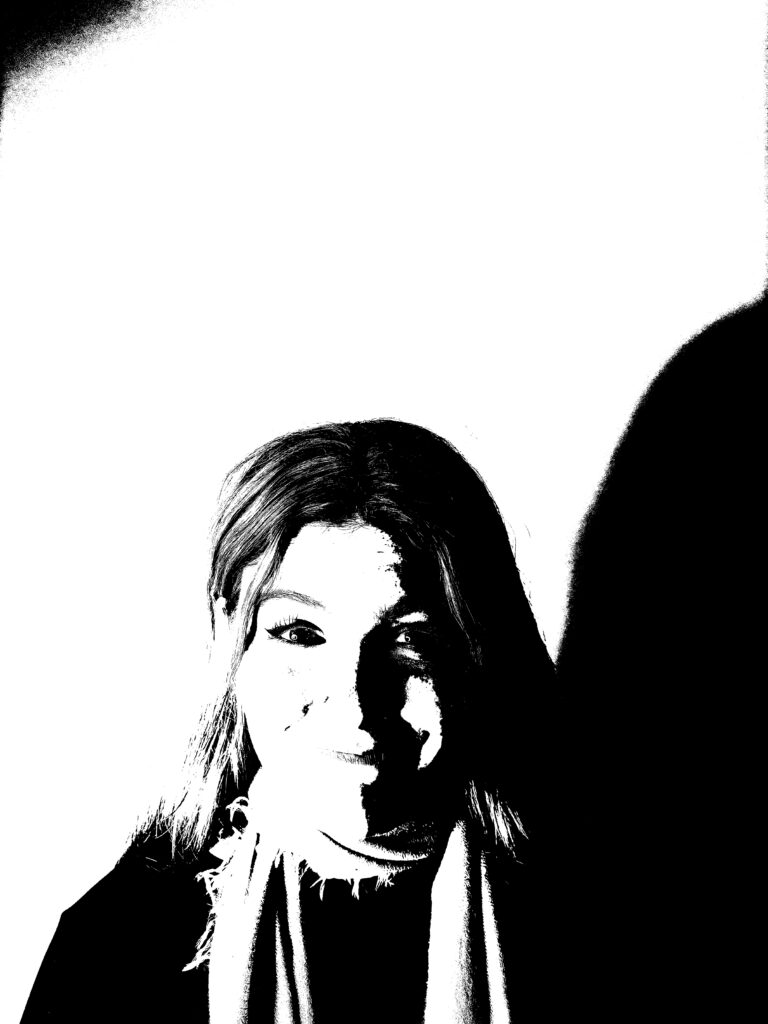
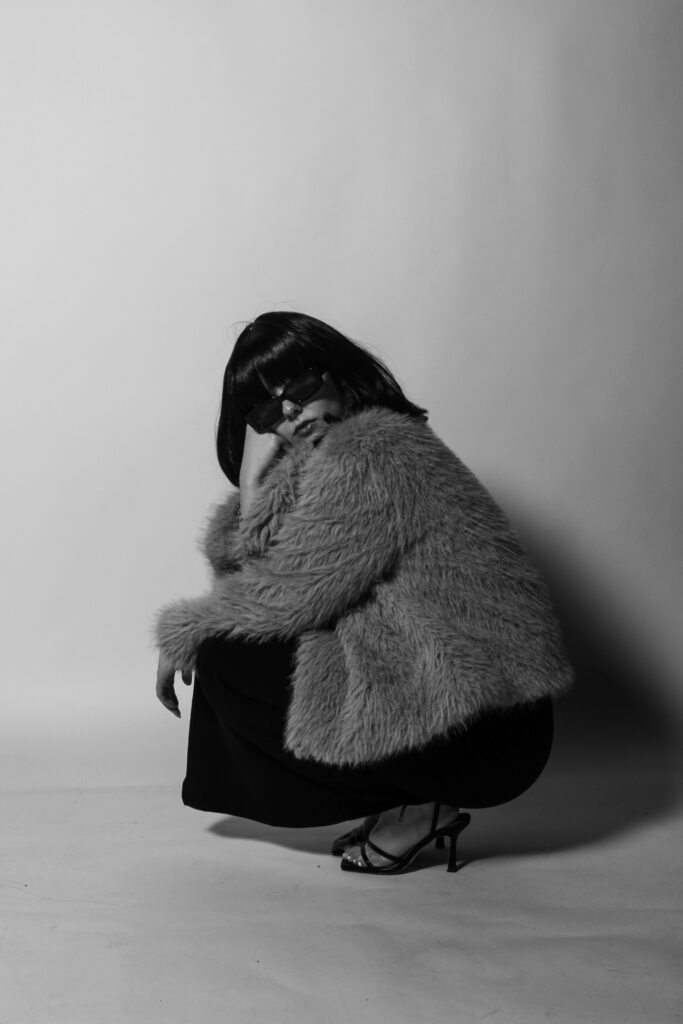
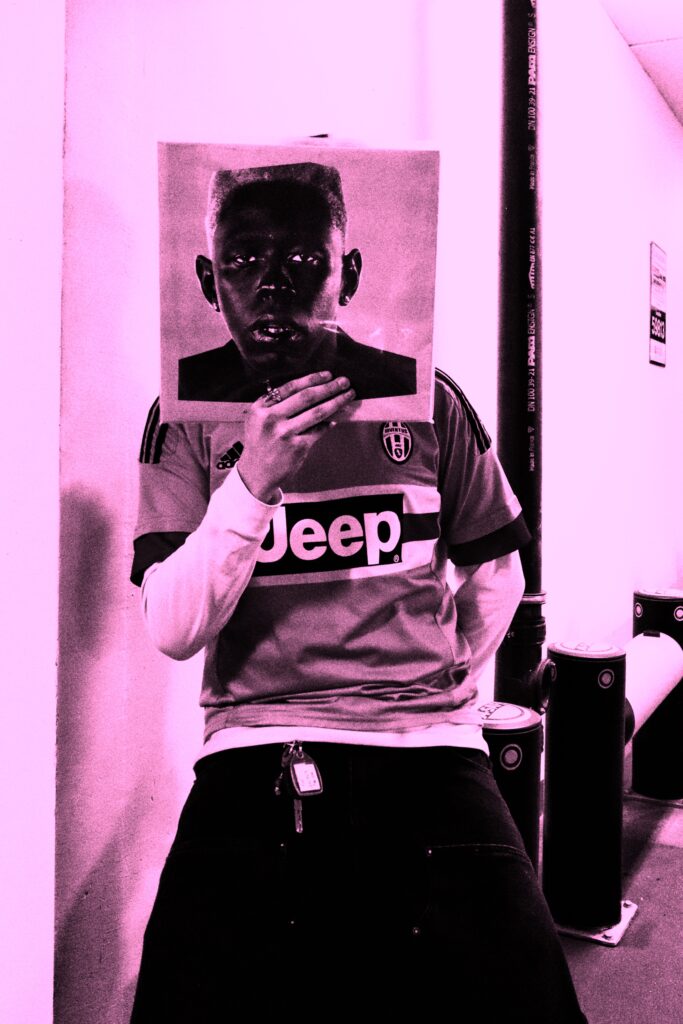
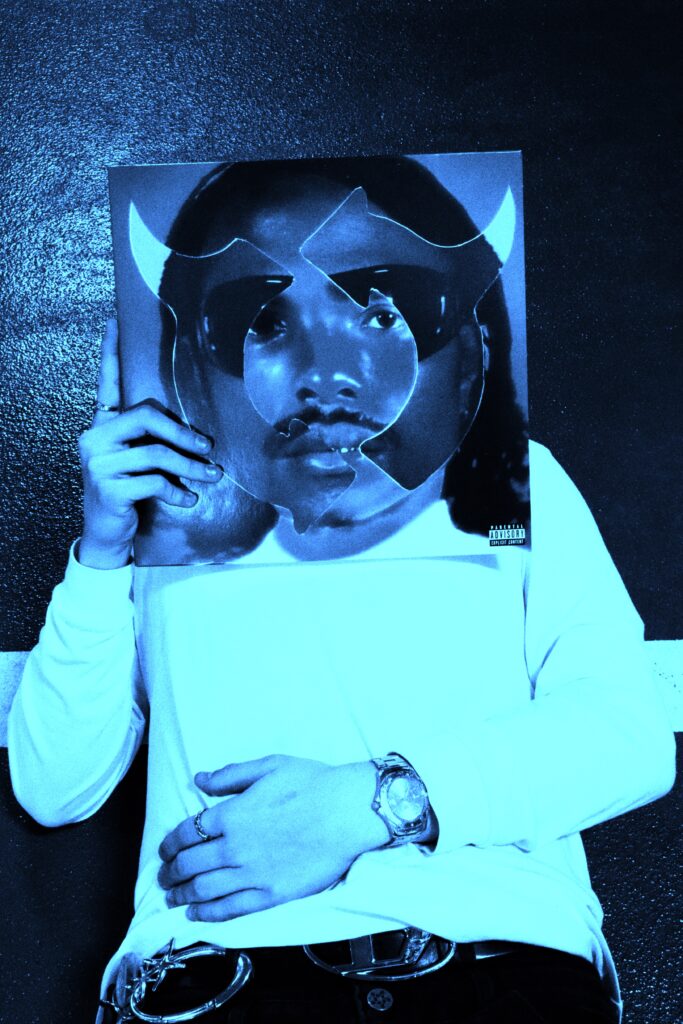
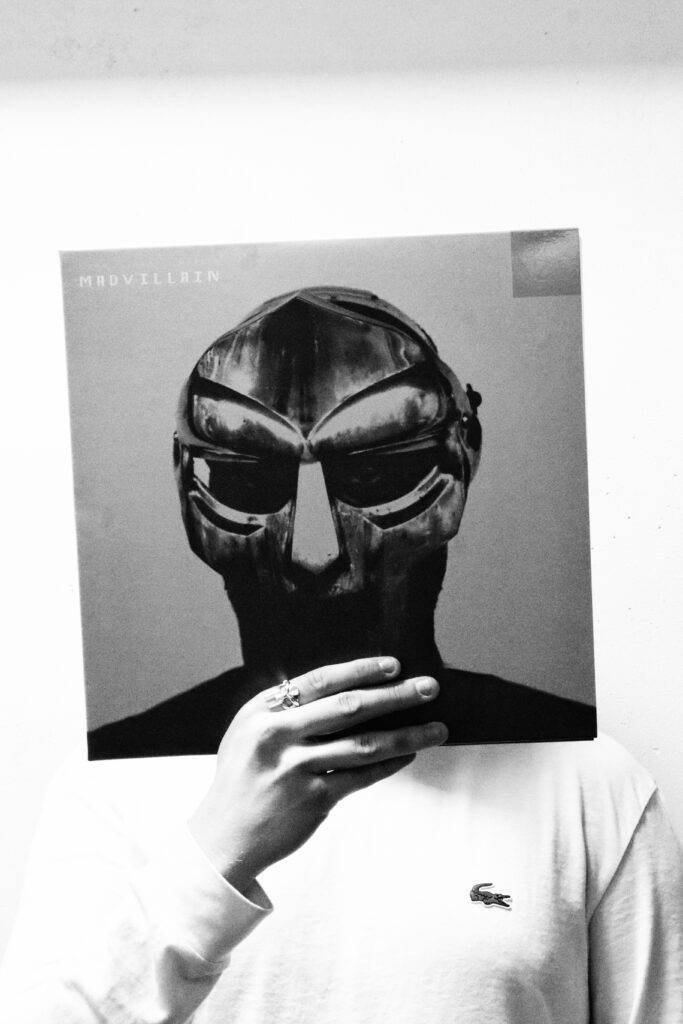
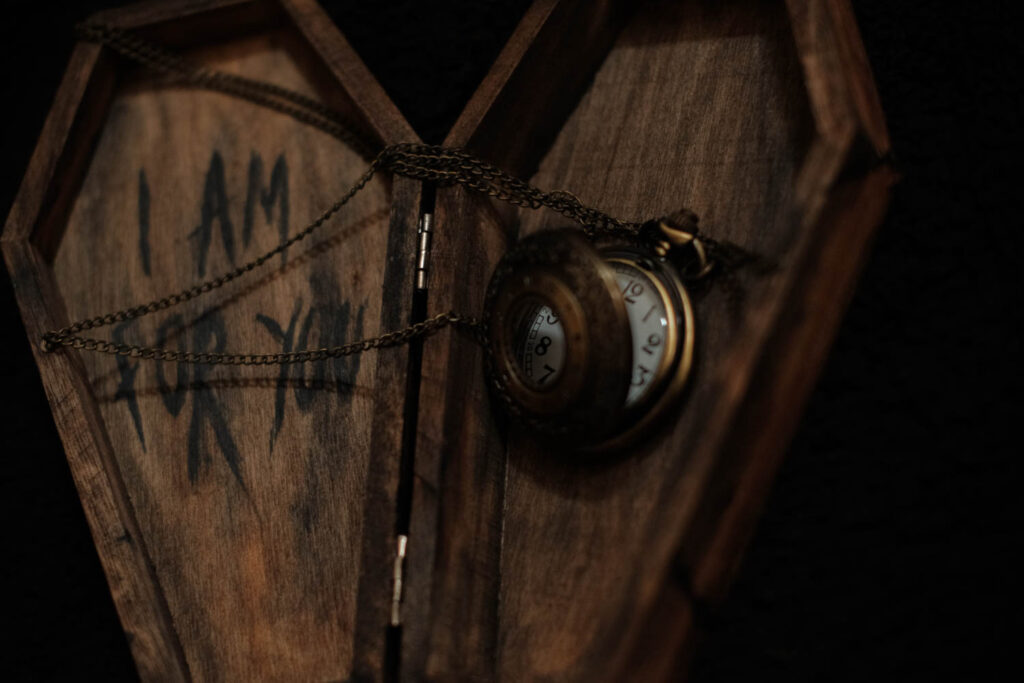
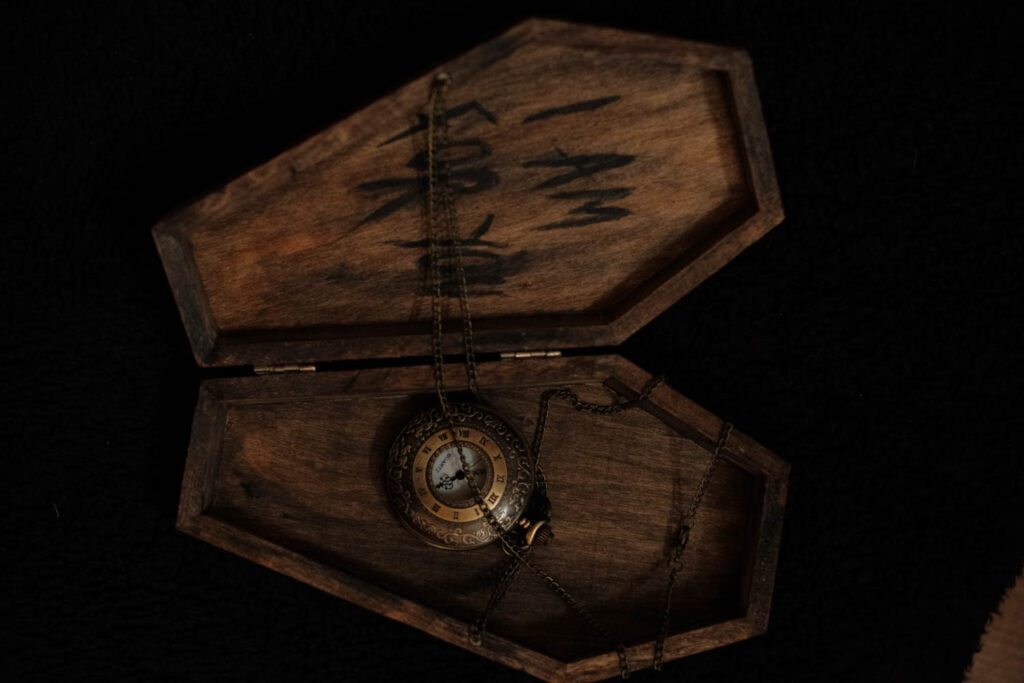
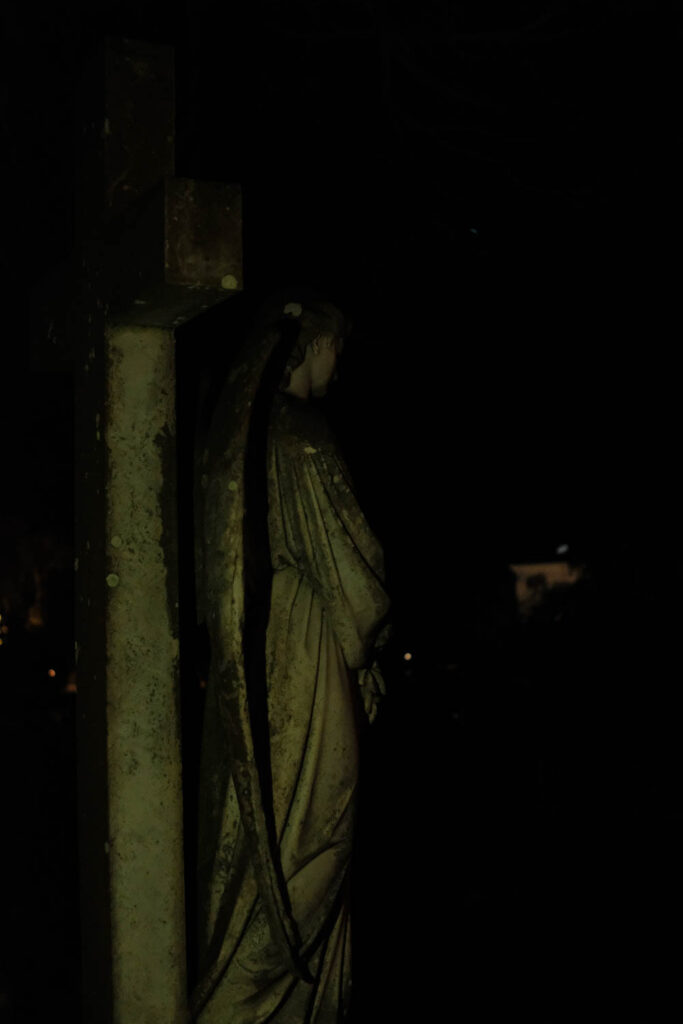
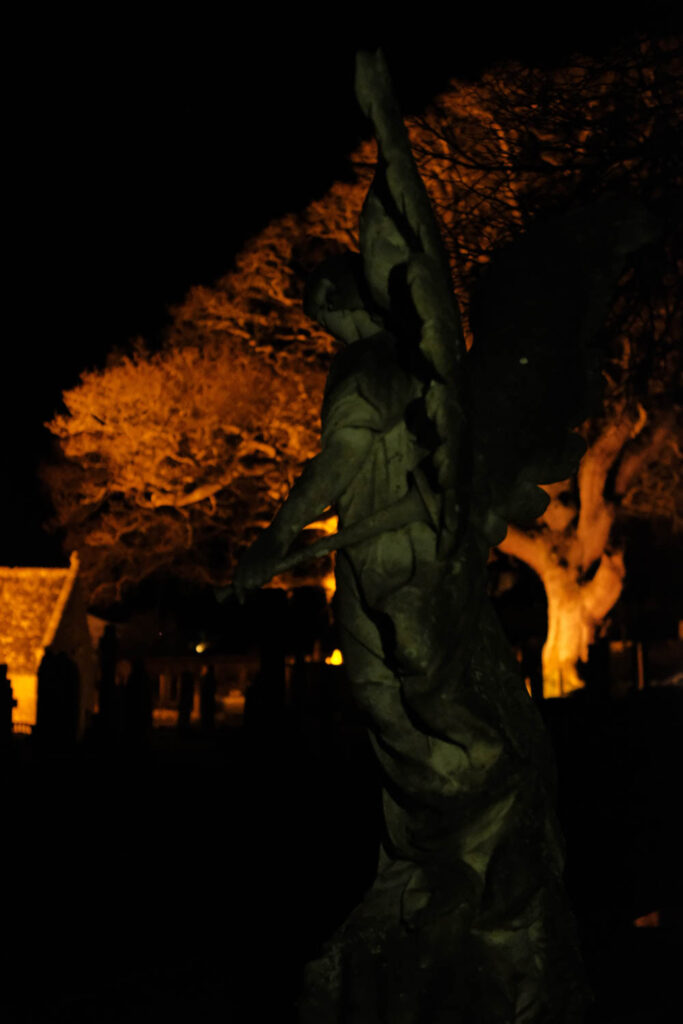
For this project, I will explore ‘Union’ by experimenting through a dark interpretation of the word. A few of my initial ideas surrounding the word ‘Union’ is an exploration of things which are combined in a cruel manner, for example; conjoined and contorted subjects, confined metaphorically or physically in a location, cannibalism explored as a metaphor for an embrace, kiss, or hug. Another idea was exploring ‘Union’ through extensions of body for example masks, animalistic accessories, spider webs/thread. I may also explore some Religious themes and motifs such as faith, rituals, occult, things that have a mystical or paranormal quality to them.

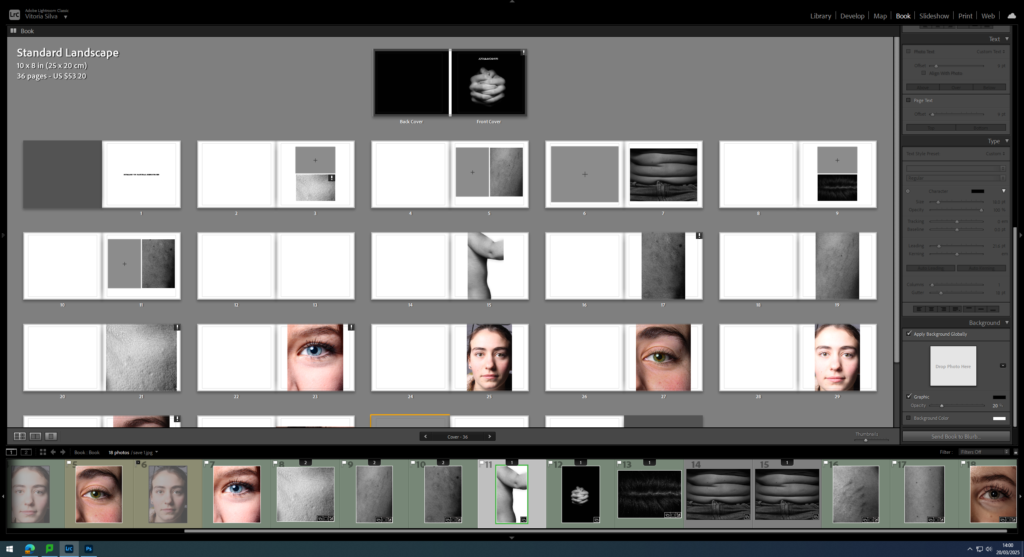
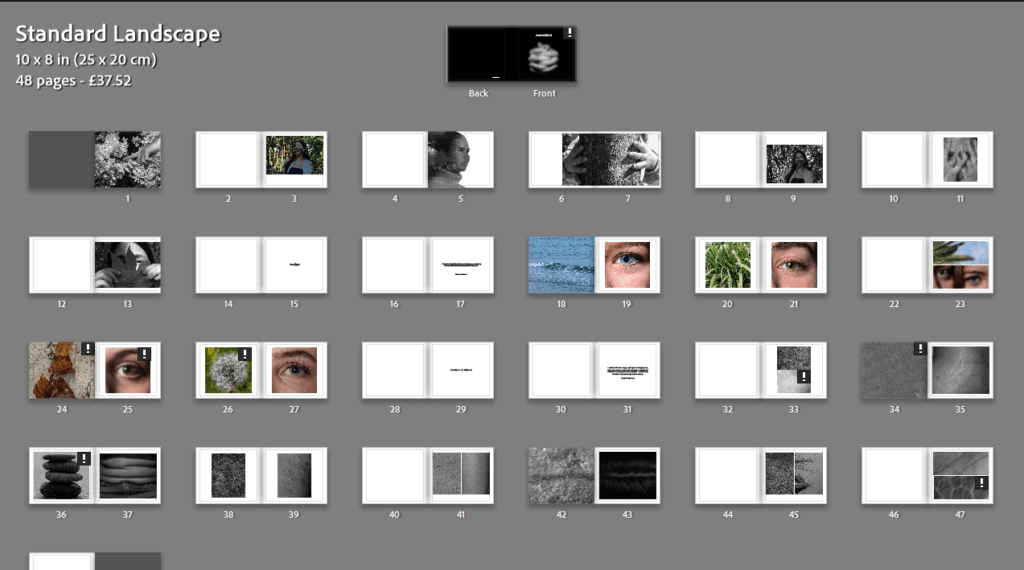
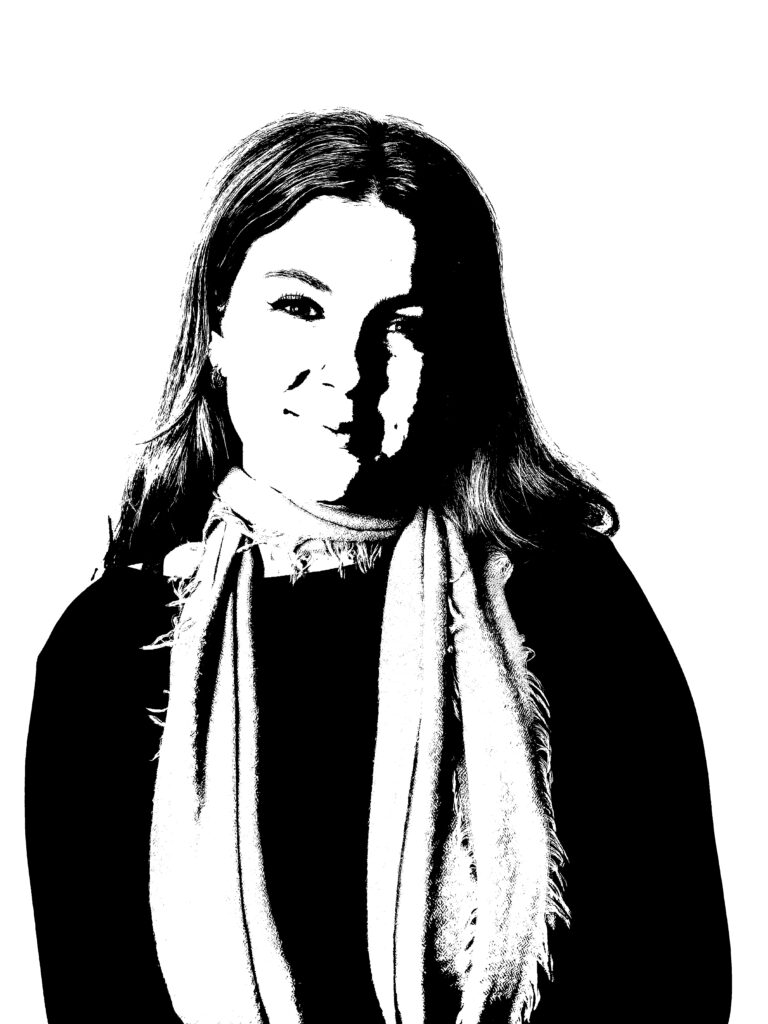
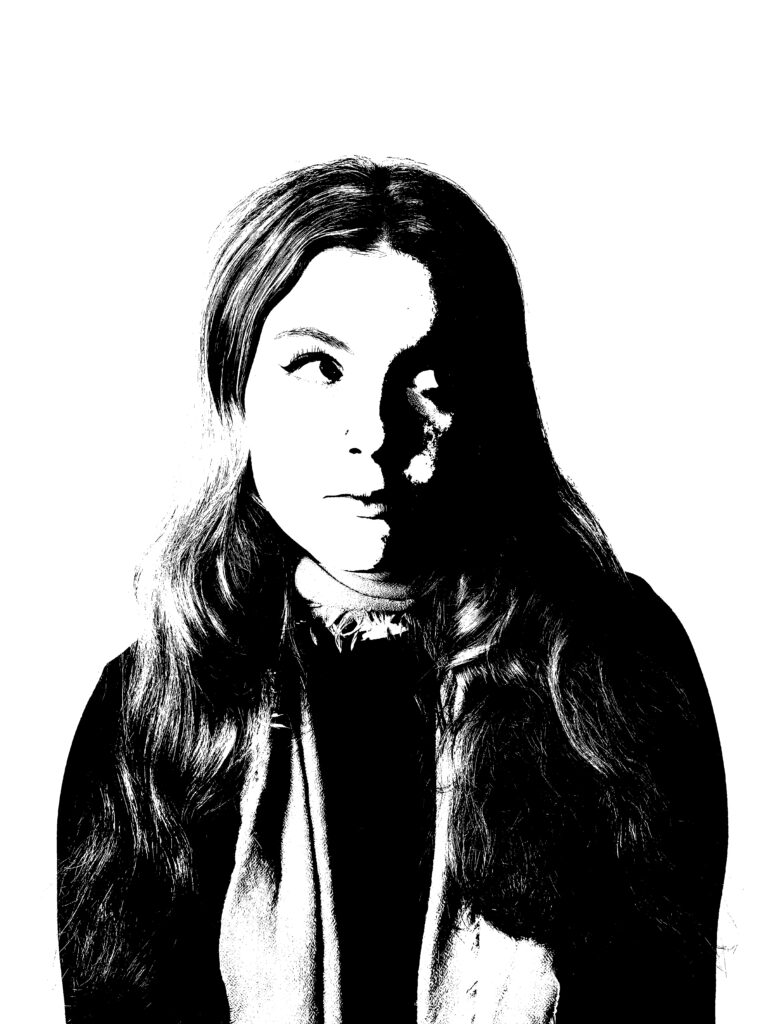
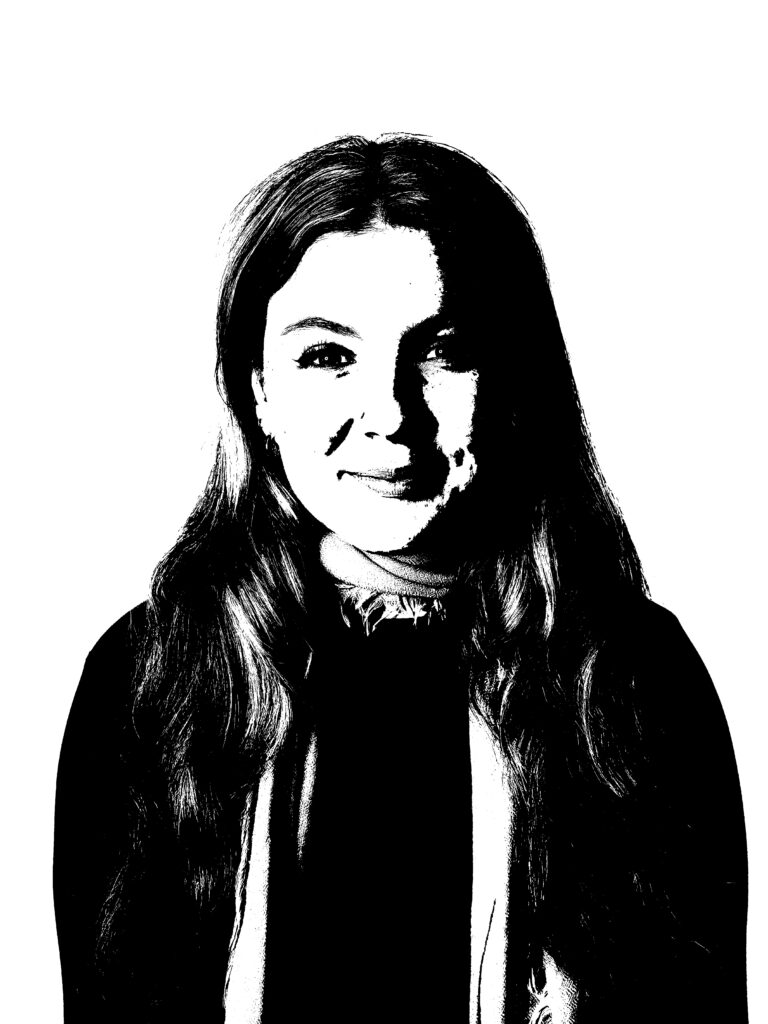
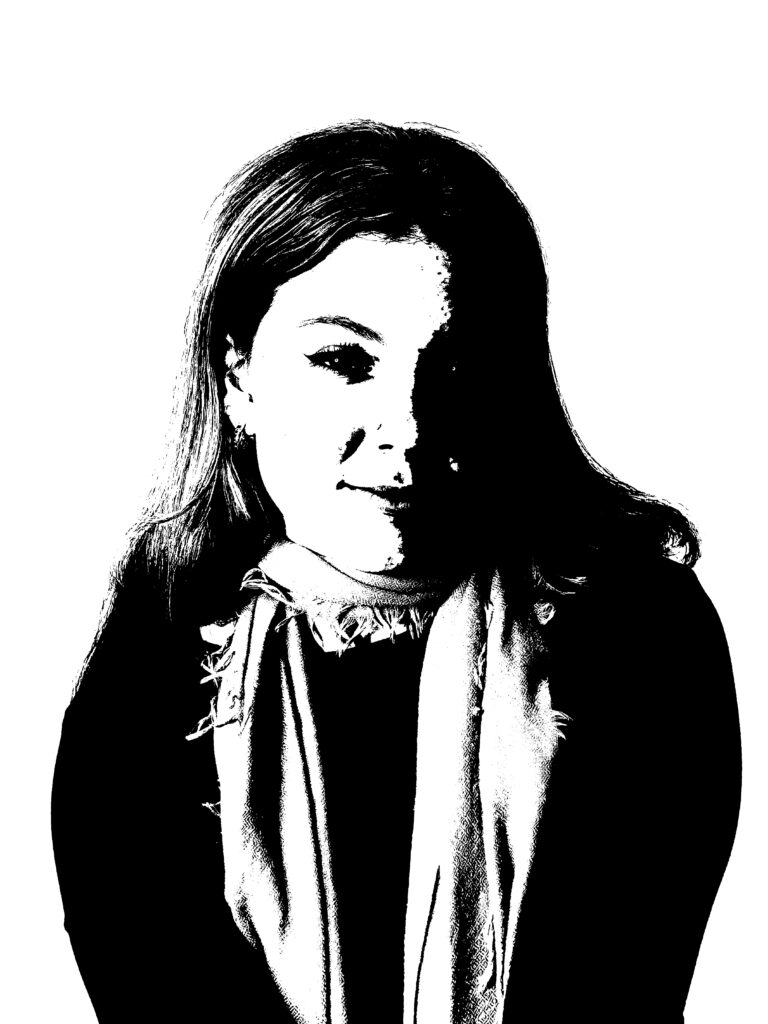
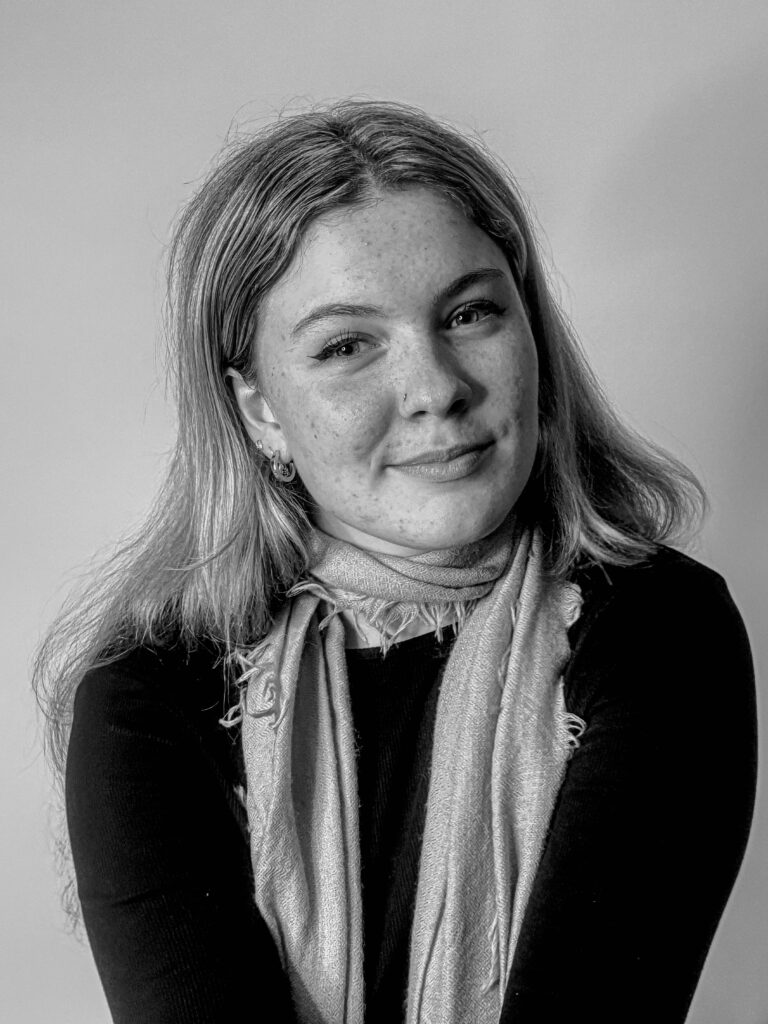
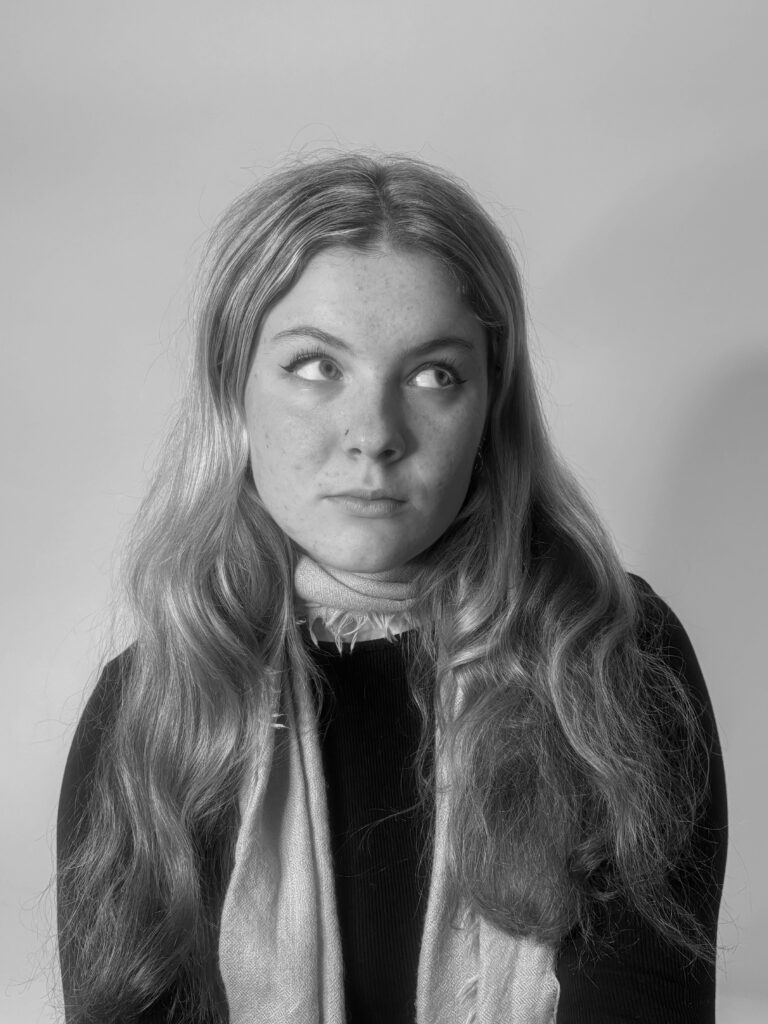
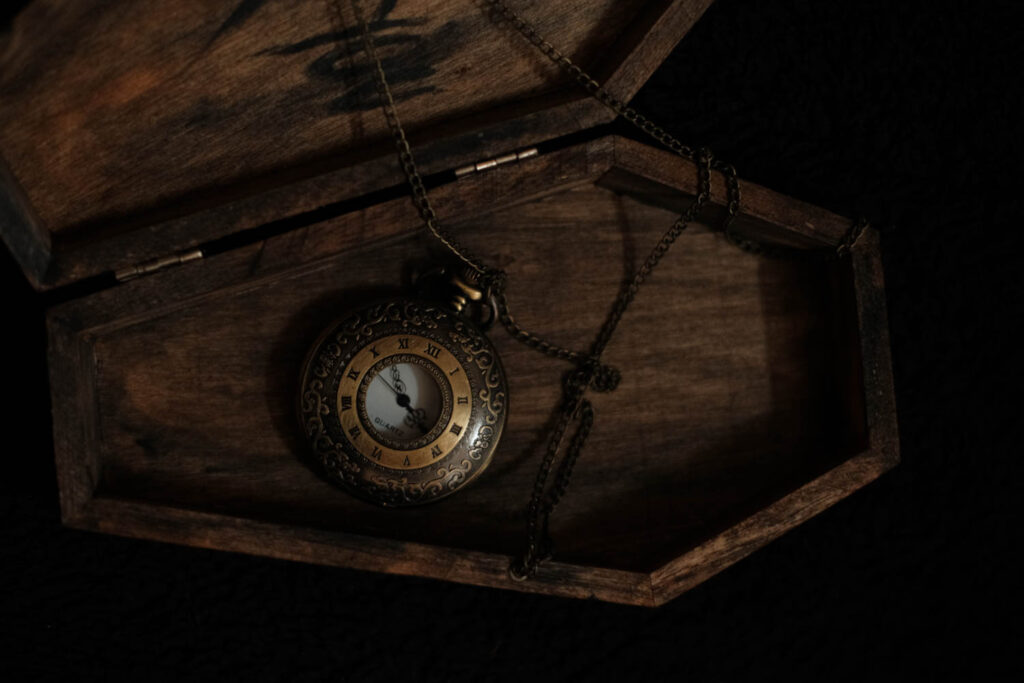
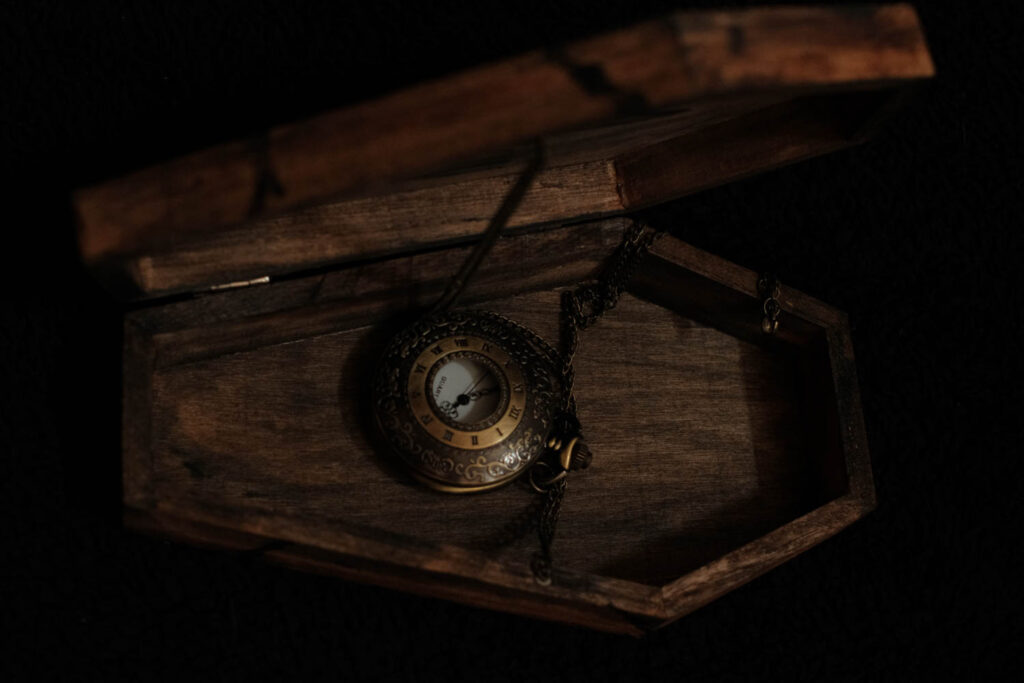
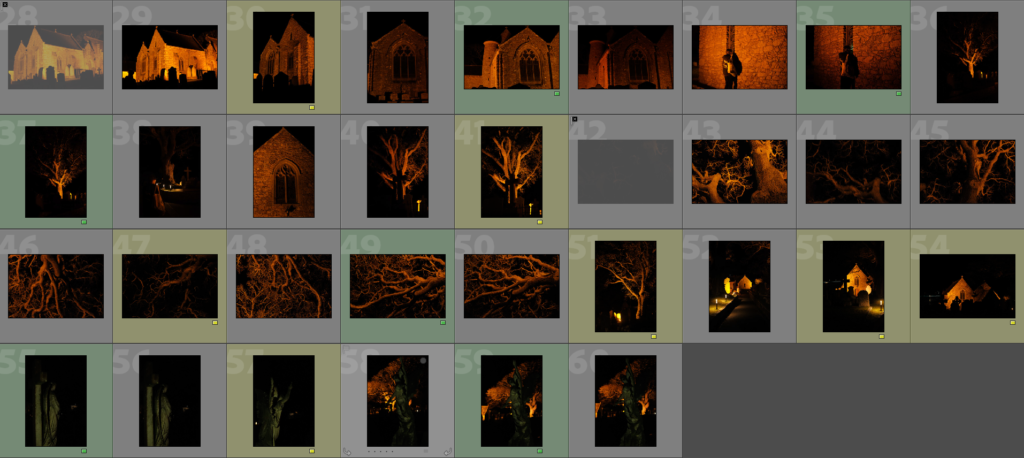
I wish to plan photoshoots and take staged photographs of my friends, myself, landscapes, buildings, and objects taken on film and also my digital film camera. These photos of individual objects, buildings, and landscapes will be presented alongside the portraits shown in a way which could tell a story.

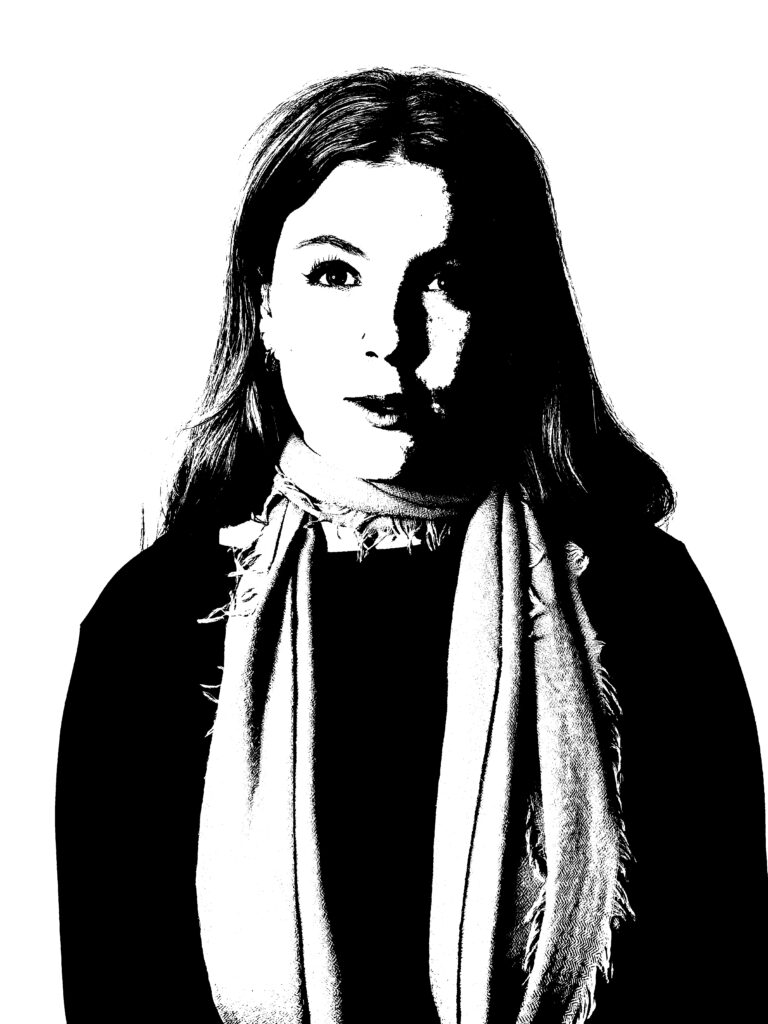
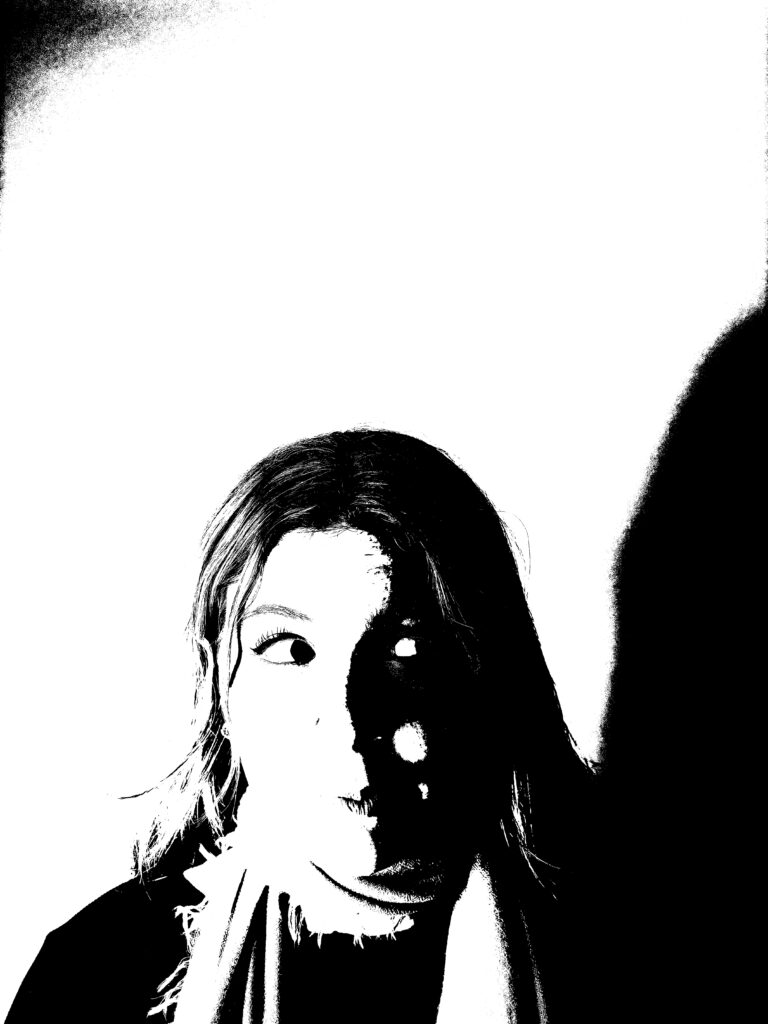
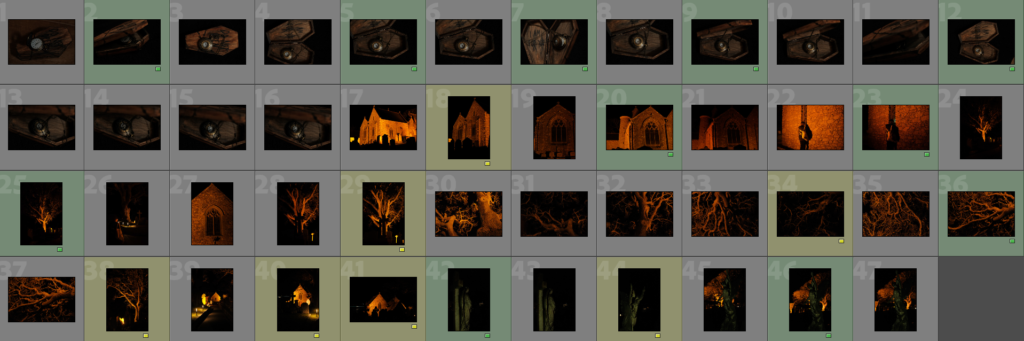
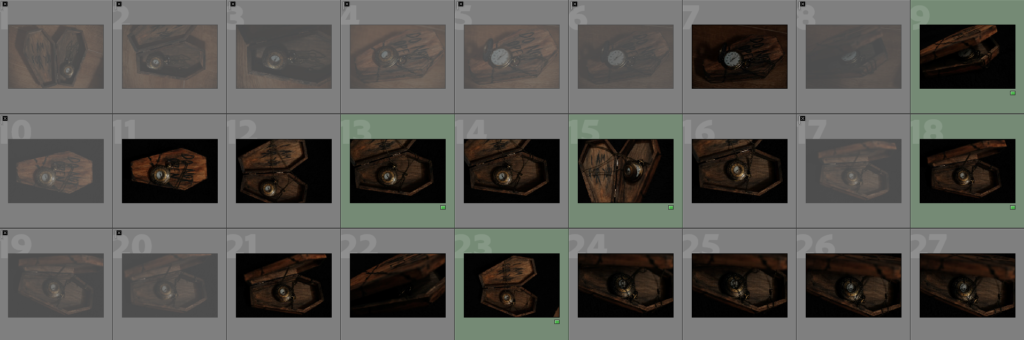
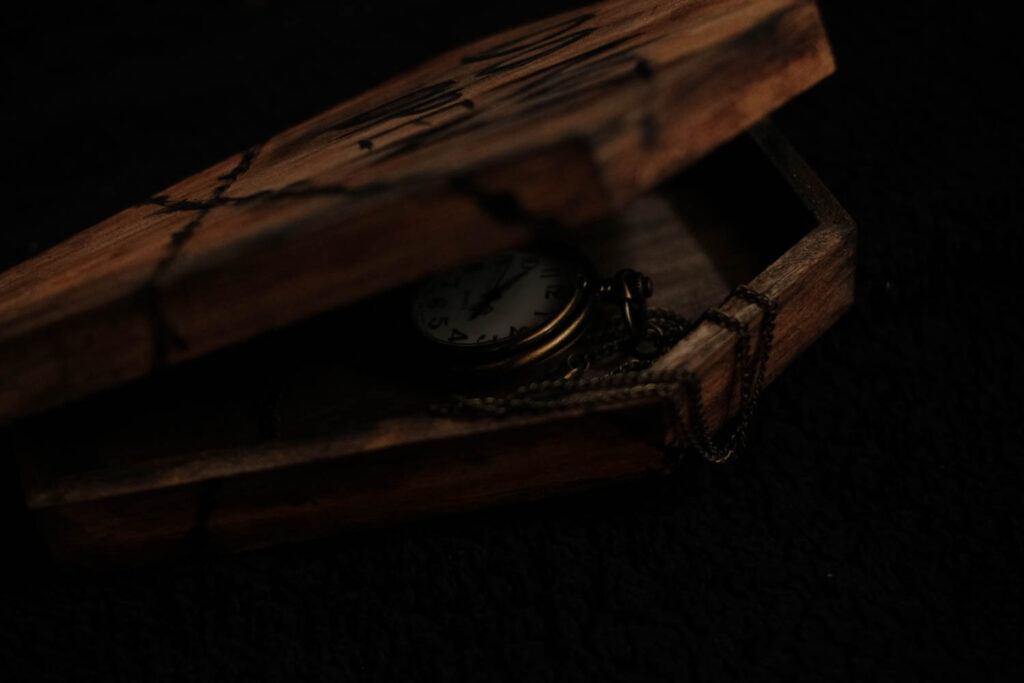
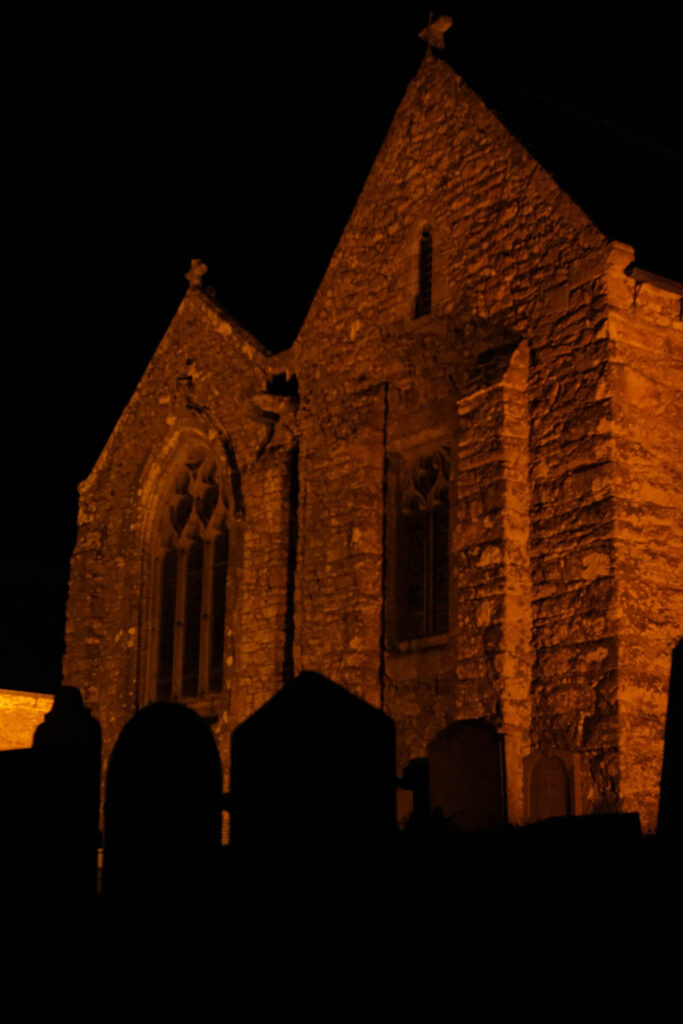
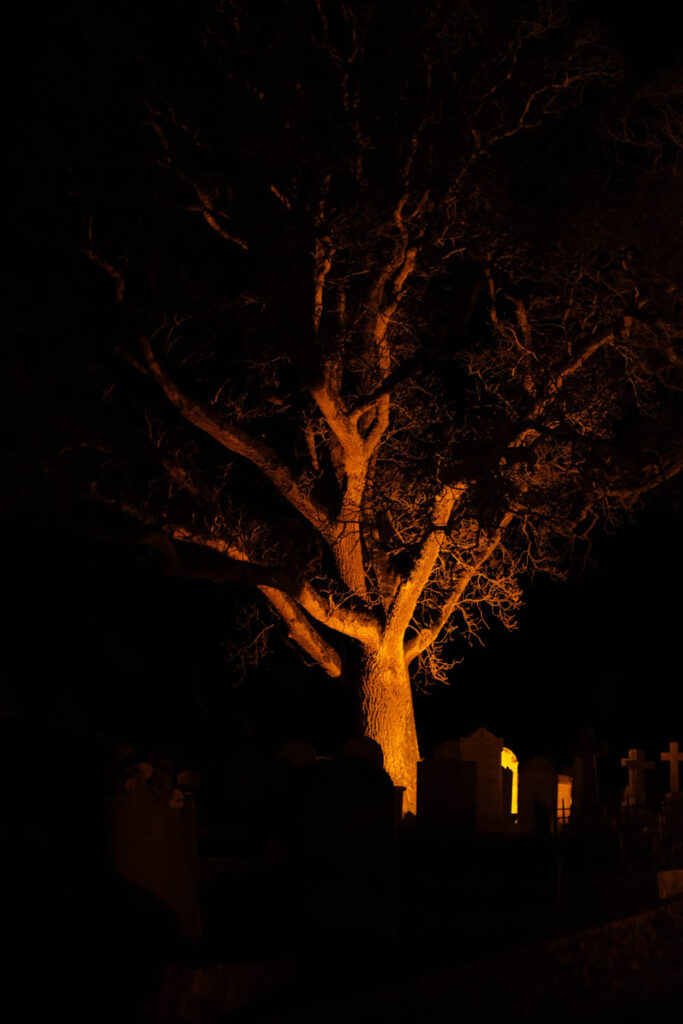
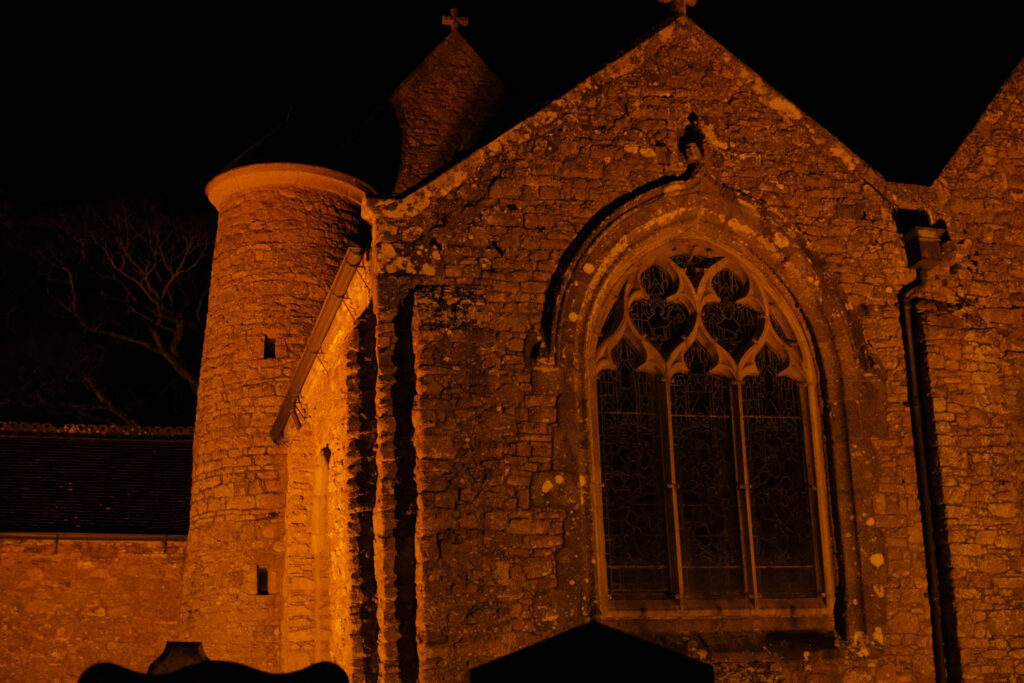
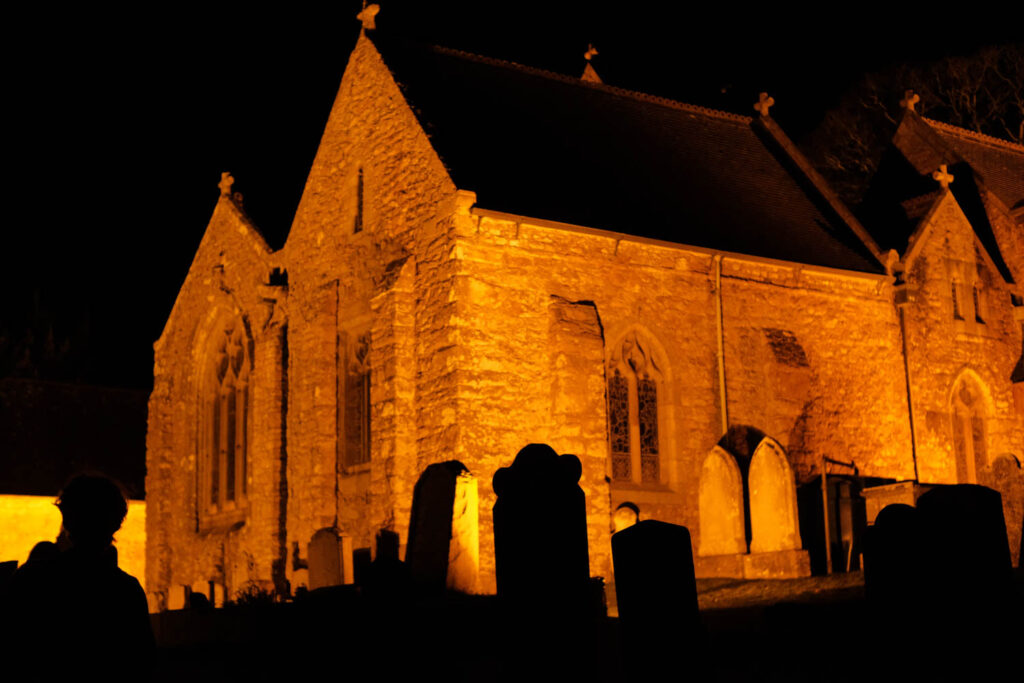
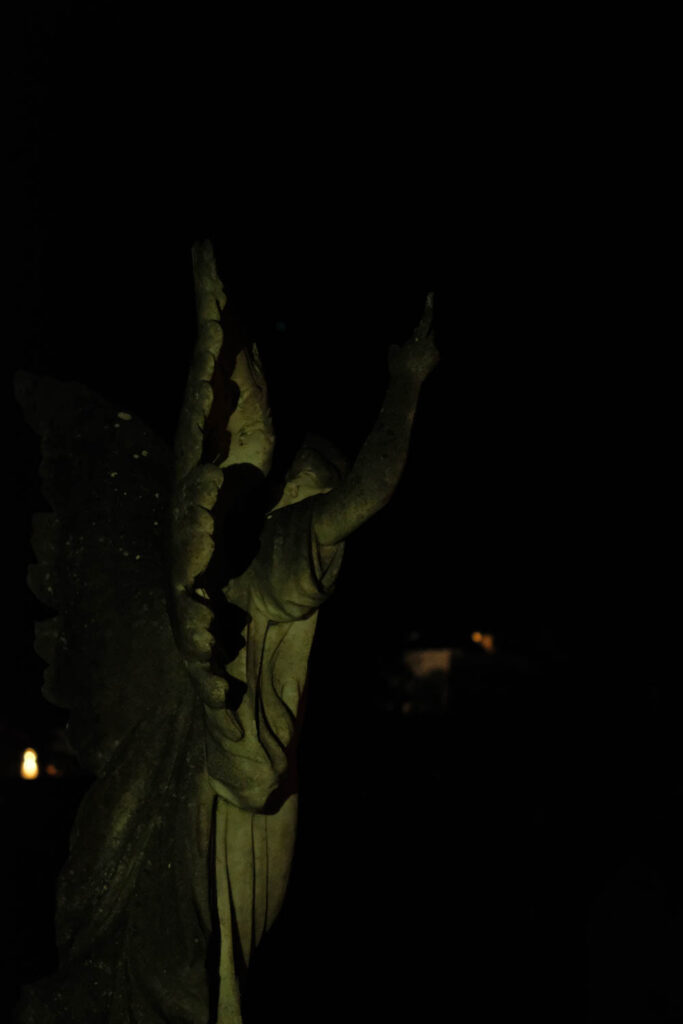
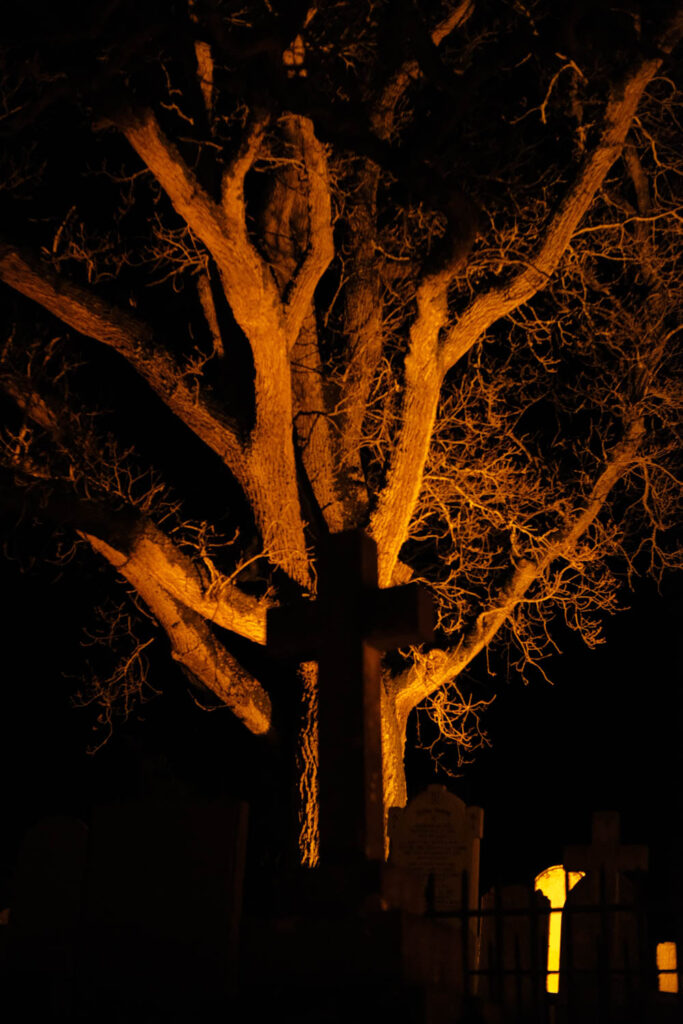
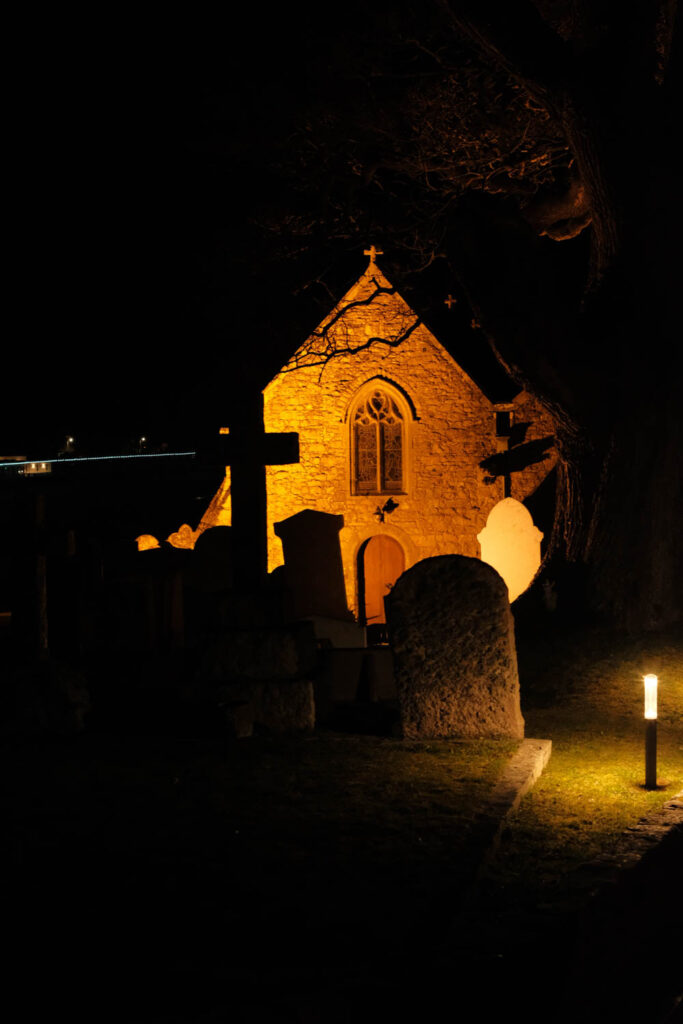
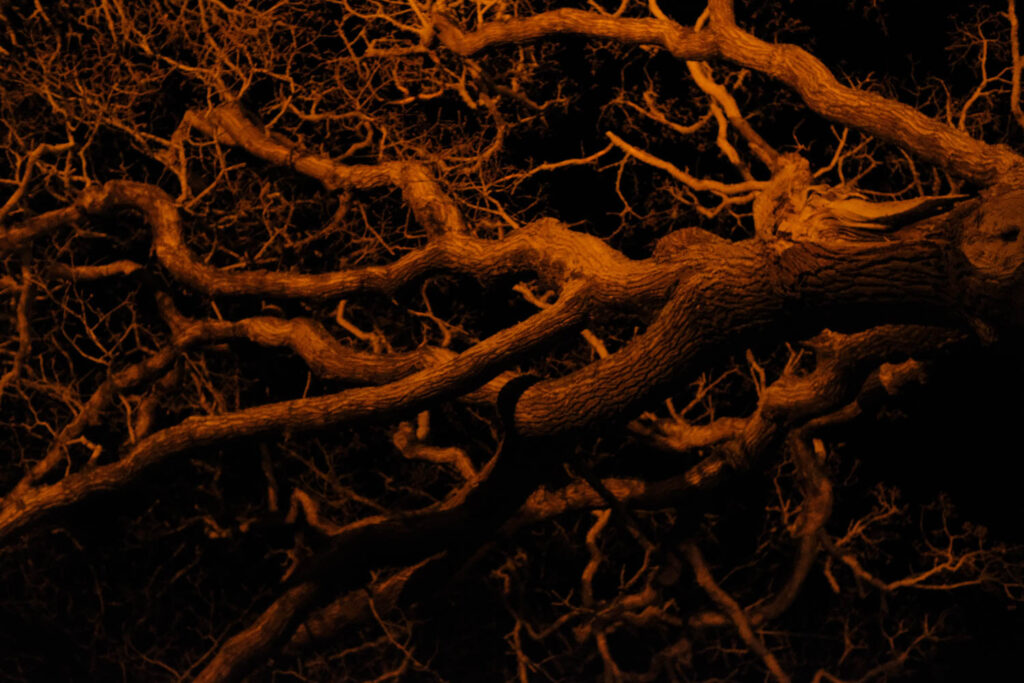
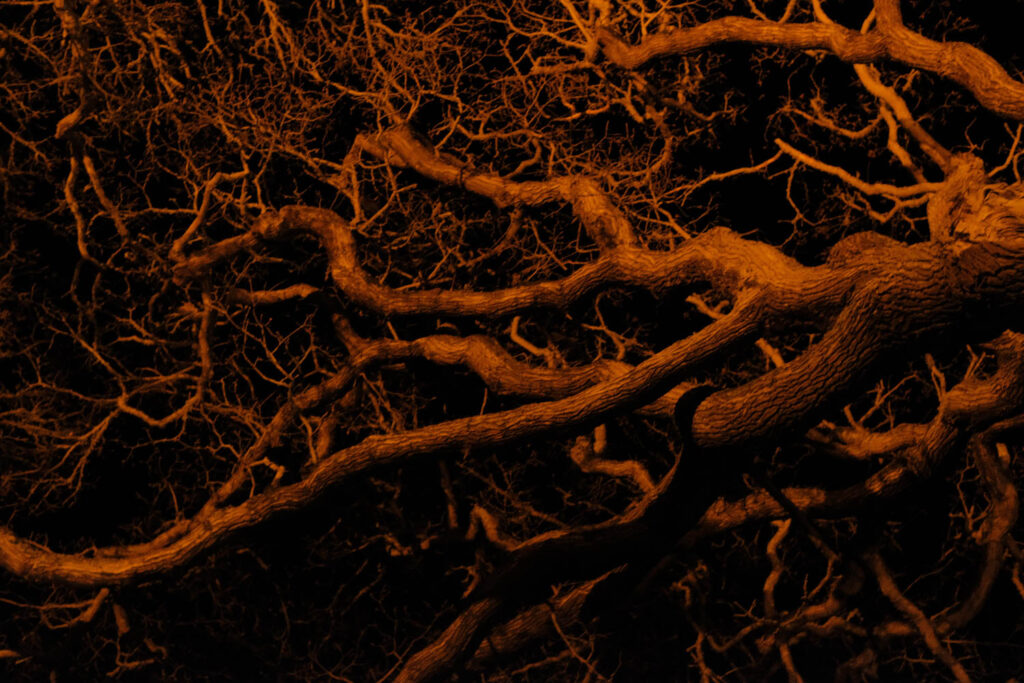
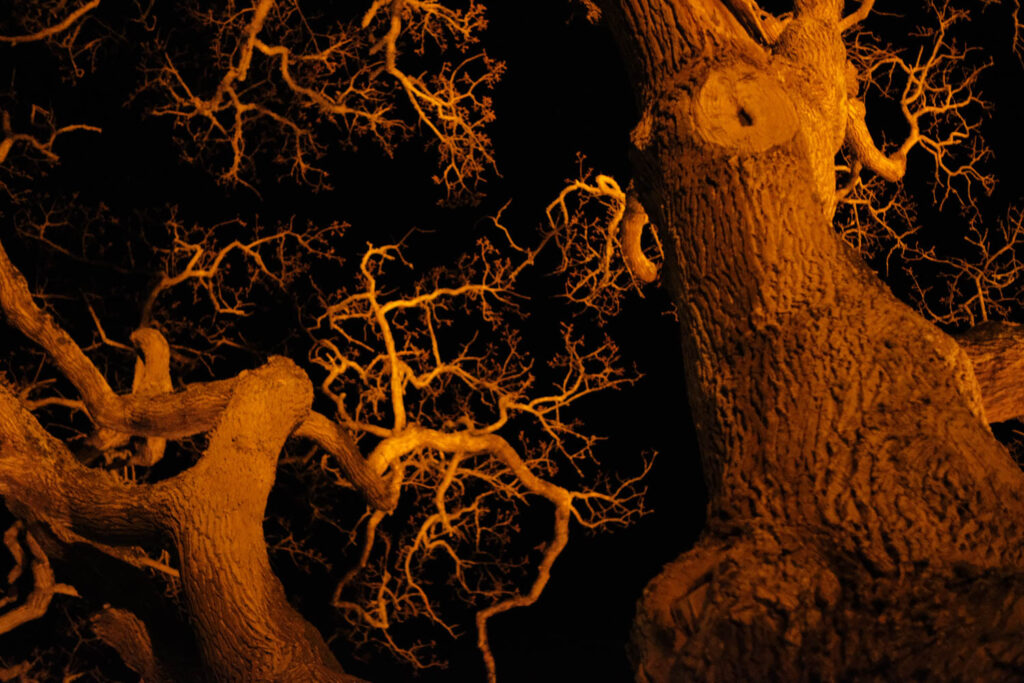
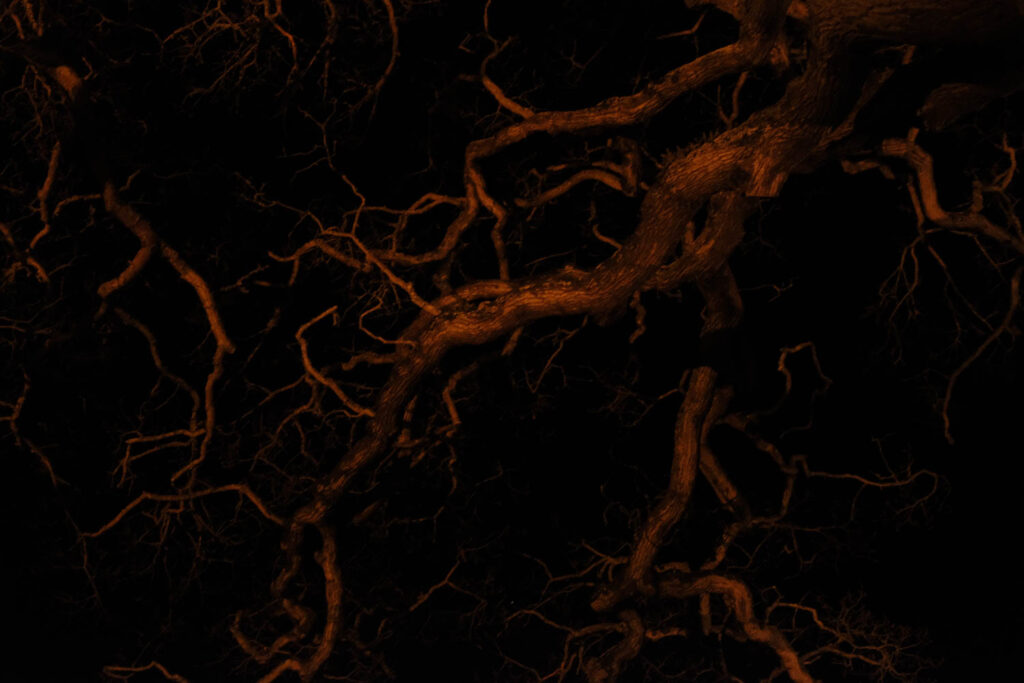
For these photoshoots, I will take photos of interior and exterior locations such as woodlands, dilapidated buildings, and old buildings such as churches, castles, and sheds. Along with photographing the locations separately, I will also take portraits inside of these locations, focusing closely on clothing, accessories, use of props (masks, furniture), and also the details within the backgrounds. As I wish to interpret ‘Union’ in a darker sense of the word, these photographs will be taken in gloomy, dull environments, which is usually at night, meaning I will have to pay attention to the type of lighting I use. I will take these photos during blue hour, twilight, night, maybe during a full moon, and I will use artificial means of light such as candles, torches, or lanterns. I will use a tripod for some of my photos so I can use slower shutter speeds which allow motion blur of the subject.

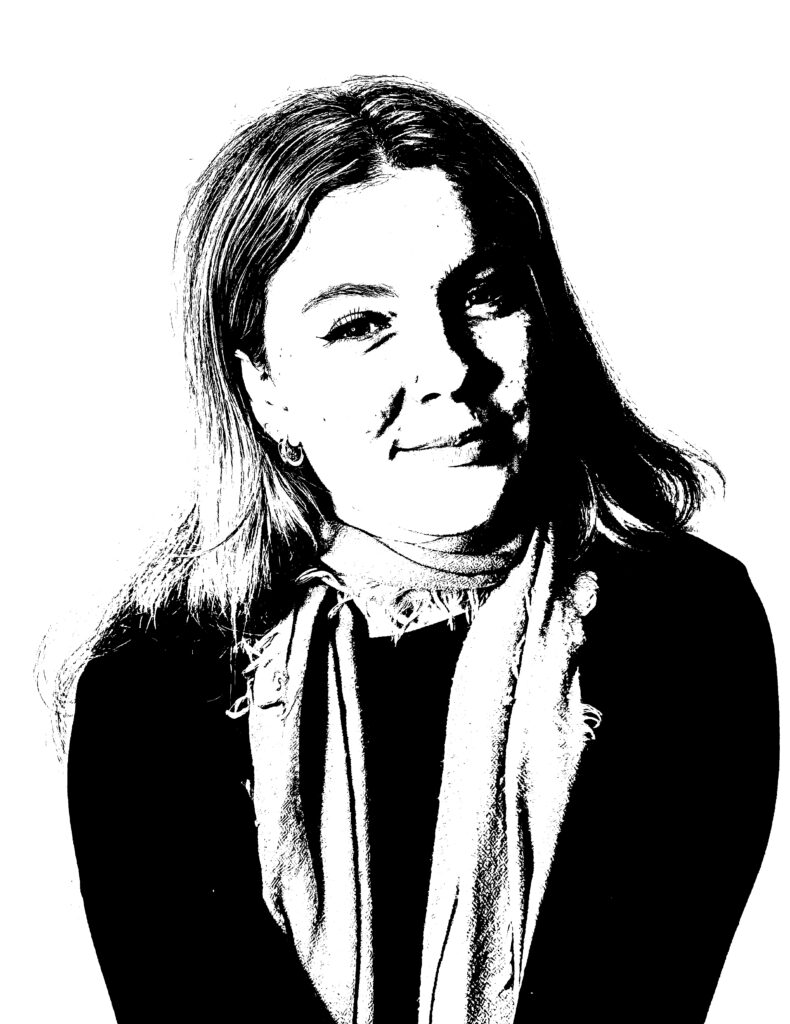
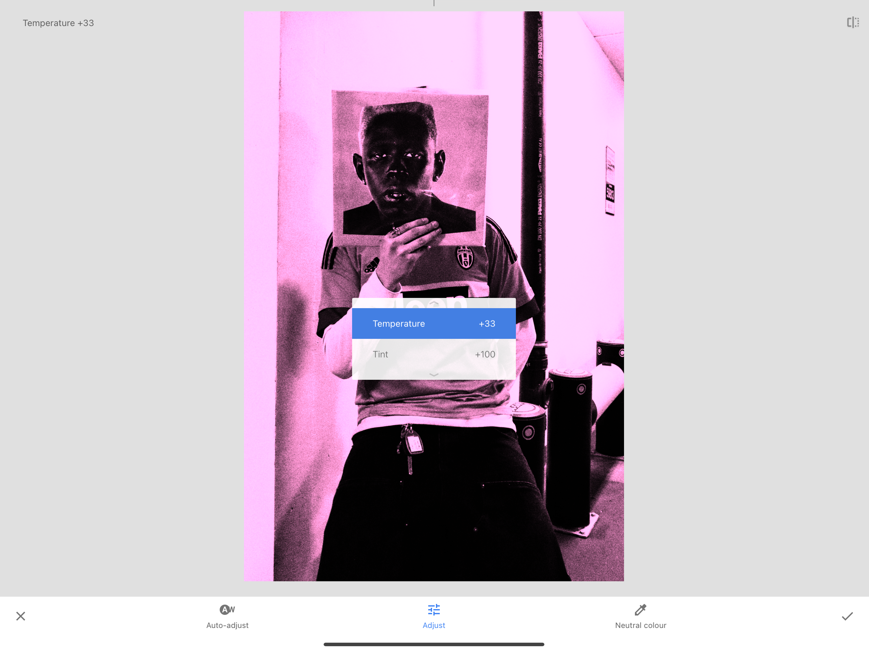
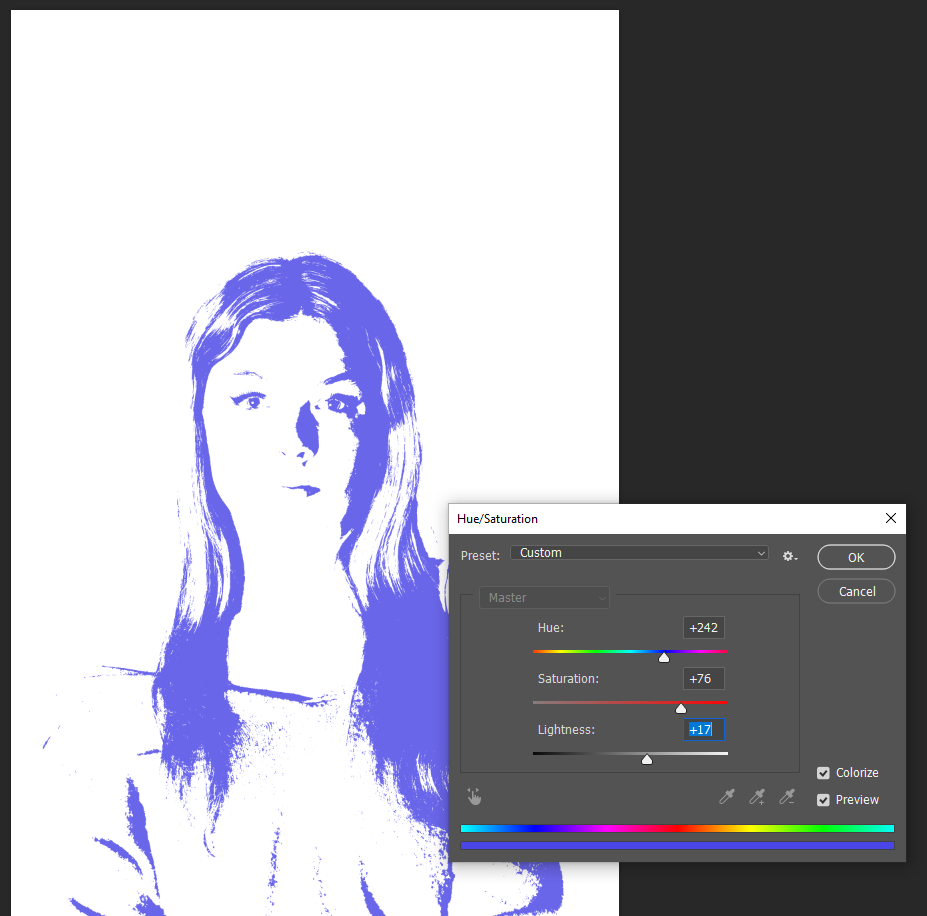
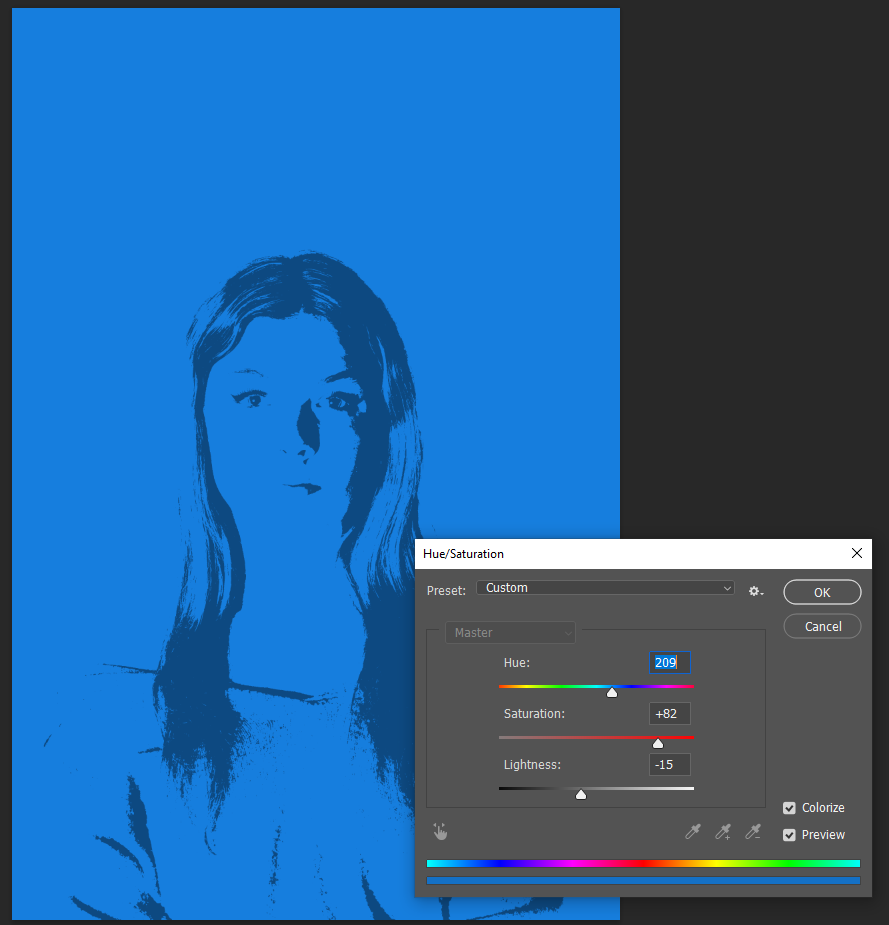
I may manipulate or change of my photographs, either by applying paint, ripping/tearing/burning them, cutting a subject or something out, or re-joining the same or a different photograph with thread. Another way I could possibly change the photographs is merging or overlaying these photos digitally to create a blurry effect in certain areas.

To develop my project, I have looked closely at the art movements of Romanticism (including Sublime and Dark Romanticism), Symbolism, and Surrealism. I have also looked at the paintings and artworks of Francisco Goya, Gustave Doré, Gustav Klimt, Serafino Macchiati, Odilon Redon, and the photographs and books of the photographers Francesca Woodman, Claude Cahun, and Josh Kern to inspire the way I take and present my own photos.