EXAM GUIDANCE

Examination dates: 15 hrs controlled test over 3 days
Group 13C: 2, 23 & 24 April
Group 13A: 2, 23 & 24 April
Group 13D: 3, 25 & 28 April
(please check your email from C Farrow re : dates + clashes)

RULES: No use of mobile phones. No talking to each other or ask teachers for help.

You will have access to the blog to produce blog posts, BUT no access to the internet.

The blog will only be available for you to access during exam times each day between 09:00 – 15:20. In other words, you will not be able to make any changes/ improve work outside of exam times.

It essential therefore, that you have done must of the preparatory work – research/ artist case studies/ photo-shoots/ evidence of creativity, development and experimentation of images – before the exam period begins on day 1.

Work to be done
1. PRINTS: Final selection of images in print folder above (ready by end of Day 1: Wed 2 or Thurs 3 April of the Exam)
2. PRESENTATION: Complete mounting all final prints
3. VIRTUAL GALLERY: Present final images using templates here: M:\Radio\Departments\Photography\Students\Image Transfer\EXAM 2024\Gallery mock-ups
3. PHOTOBOOK: Complete design and evaluate
4. BLOG: Review and complete all supporting blogposts
5. FOLDER: Label all final outcomes and put in Exam folder
6. SIGN: Student authentication form

DEADLINE: LAST DAY OF YOUR EXAM
FINAL PRINTS > PHOTOBOOK > BLOG POSTS

IN PREPARATION FOR YOUR EXAM MAKE SURE THE FOLLOWING IS READY BY THE END OF THIS WEEK:

  1. Complete and upload new photoshoots and begin to edit in Lightroom – make sure to produce blog posts showing selection process and experimentation of images.
  2. A draft layout of your photobook using BLURB templates in Lightroom – exam time is used to fine tune design with teacher’s approval
  3. Review Checklist on blog for overview of work that must be completed – improve, complete and publish missing blogposts.
Structure your 3 day Exam as follows:

DAY 1:
PRINTS: Complete editing photoshoots, select and prepare final prints. Make sure you have produced blogposts for each photoshoot with a clear progression of selection and editing.

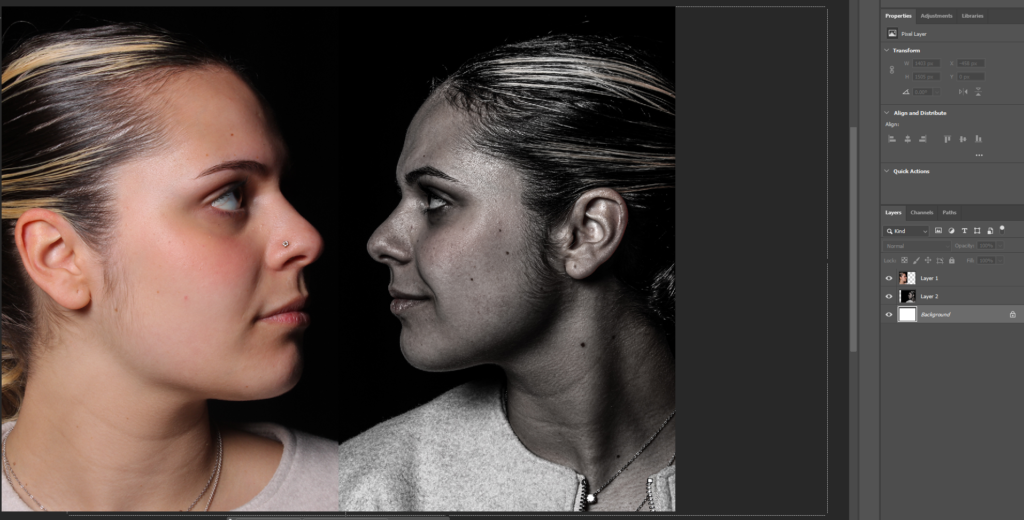
BLOG: Produce blog post showing presentation ideas and create mock-up in Photoshop. Consider appropriate sizes and ways of presenting images as singles, diptych, triptych, multiple grids/ collages/ combinations in window mounts or foamboard etc.

You must save final images (see guidelines below) in print folder here by end of the day:
M:\Radio\Departments\Photography\Students\Image Transfer\PRINTS EXAM 2025

DAY 2:
Photobook: Experiment with photobook design using BLURB in Lightroom – show variation of layouts and creativity.

Blog: Evidence of photobook process
1. Research and deconstruct photobook used as inspiration. Comment on different design element such as: feel of the book, paper, binding, format, size, cover, title, design, narrative (if appropriate), editing, sequencing, image and text.

2. Write a book specification and describe in detail what your book will be about in terms of narrative, concept and design with reference to the same elements of bookmaking as above.

3. Produce a blog post showing your layout and design process in Lightroom using a combination of print screens + annotation.

4. Final layout of every spread and write an evaluation.

5. Upload book design in Lightroom to Blurb and order your book via Blurb account. Once uploaded produce an hyperlink to book browser – see below for more details.

6. Once you have received book in the post bring into school.

Those who are not making a photobook can begin to mount up final prints and follow instruction below for Day 3.

DAY 3
PRESENTATION: Begin to mount your final prints as per your mock-up plans. Each final outcome must be labelled and velcro attached too. Make sure all your final images are presented in a folder with your name.

BLOG: Produce a virtual gallery and write a final evaluation of the exam module and your final outcome. Consider the following:

Gallery mock-ups M:\Radio\Departments\Photography\Students\YR 13 EXAM 2025\Gallery Mock-ups

– How successful was your final outcomes?
– Did you realise your intentions?
– What references did you make to artists references – comment on technical, visual, contextual, conceptual?
– Is there anything you would do differently/ change etc?

FINAL CHECK: Finish and publish any missing blog posts as per Checklist/ Go4School Tracking sheet and comments from teachers.

No students is allowed to leave until an authentication form is signed and teacher has signed off too.

PHOTOBOOK
Make sure you have a made a blog post that charts your design decisions, including prints screens of layout with annotation and write an ongoing evaluation. Final book design must be checked and signed off by teacher.
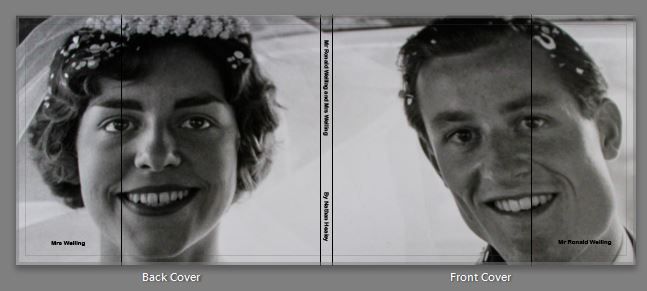
BLURB – ORDER BOOK
Inside Lightroom upload book design to BLURB, log onto your account on their website, pay and order the book.

Consider spending a few extra pounds on choosing better paper, such as Premium Lustre or Premium Matte in check-out, change colour on end paper or choose different cloth/ linen if needed.

LINK TO ONLINE BLURB BOOK

Your final blog post should be an online link to you BLURB book with an evaluation. If you have already written an evaluation as part of another blog post on your book design then add the online link to that blog post and change the date to make sure it sits at the top.

Log into your blurb account and click on Sell my book

Click on Privacy & Sharing

Copy link circled in red above.

Make a new blog post: MY PHOTOBOOK and copy in link from Blurb into the title of your book using Link button above.

FINAL PRINTS
Select your final prints (5-10) from various photoshoots or photobook and make a blog post showing ideas about how to present them.

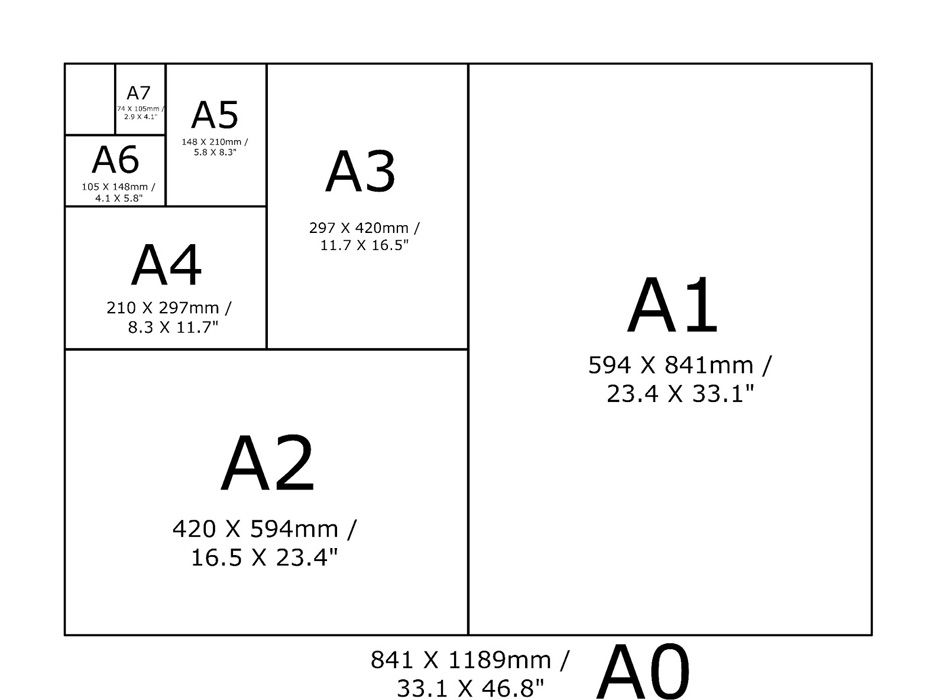
In photoshop produce a mock display (create new document size A1: 594 x 841mm) using different image sizes, for example: A3 x 2, A4 x 2, A5 x 3
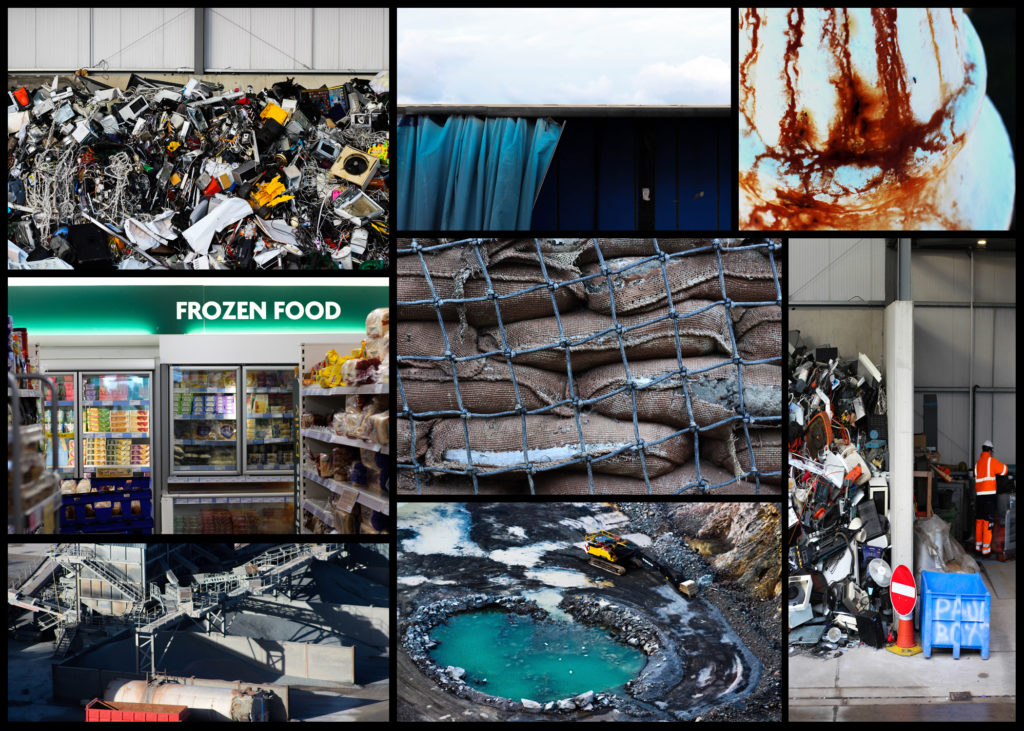
PREPARE AND SAVE IMAGES FOR PRINTING:

  • Add your images to the print folder here…M:\Radio\Departments\Photography\Students\Image Transfer\Yr 13 Exam
  • Complete any unfinished work from last term if you have time, For example check your coursework portfolio and mount up any prints from previous projects.

File Handling and printing...

  • Remember when EXPORTING from Lightroom you must adjust the file size to 1000 pixels on the Short edge for “blog-friendly” images (JPEGS)
  • BUT…for editing and printing when EXPORTING from Lightroom you must adjust the file size to Short edge for “high resolution” images (JPEGS) like this…
  • A5 Short Edge = 14.8 cm
  • A4 Short Edge = 21.0 cm
  • A3 Short Edge =29.7 cm

This will ensure you have the correct ASPECT RATIO

Ensure you label and save your file in you M :Drive and then copy across to the PRINT FOLDER in IMAGE TRANSFER:

M:\Radio\Departments\Photography\Students\Image Transfer\PRINTS EXAM 2024

For a combination of images, or square format images you use the ADOBE PHOTOSHOP NEW DOCUMENT + PRINT PRESETS on to help arrange images on the correct size page (A3, A4, A5)

You can do this using Photoshop, Set up the page sizes as templates and import images into each template, then you can see for themselves how well they fit… but remember to add an extra 6mm for bleed (3mm on each side of the page) to the original templates. i.e. A4 = 297mm x 210 but the template size for this would be 303mm x 216mm.
Making a Virtual Gallery in Photoshop

Download an empty gallery file…then insert your images and palce them on the walls. Adjust the perspective, size and shape using CTRL T (free transform) You can also add things like a drop shadow to make the image look more realistic…
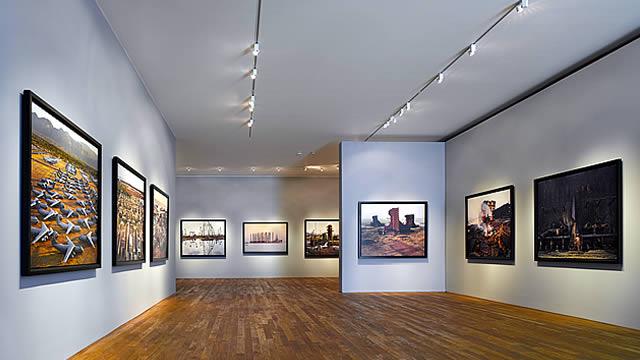
The Photographers' Gallery - Gallery - visitlondon.com

Here is a selection of Gallery mock-ups that you can use to superimpose your own final images onto walls using Free transform tool in Photoshop.

M:\Radio\Departments\Photography\Students\YR 13 EXAM 2024\Gallery Mock-ups

Always ensure you have enough evidence of…

  1. moodboards (use influential images)
  2. mindmap of ideas and links
  3. case studies (artist references-show your knowledge and understanding)
  4. photo-shoot action plans / specifications (what, why, how, who, when , where)
  5. photo-shoots + contact sheets (annotated)
  6. appropriate image selection and editing techniques
  7. presentation of final ideas and personal responses
  8. analysis and evaluation of process
  9. compare and contrast to a key photographer
  10. critique / review / reflection of your outcomes
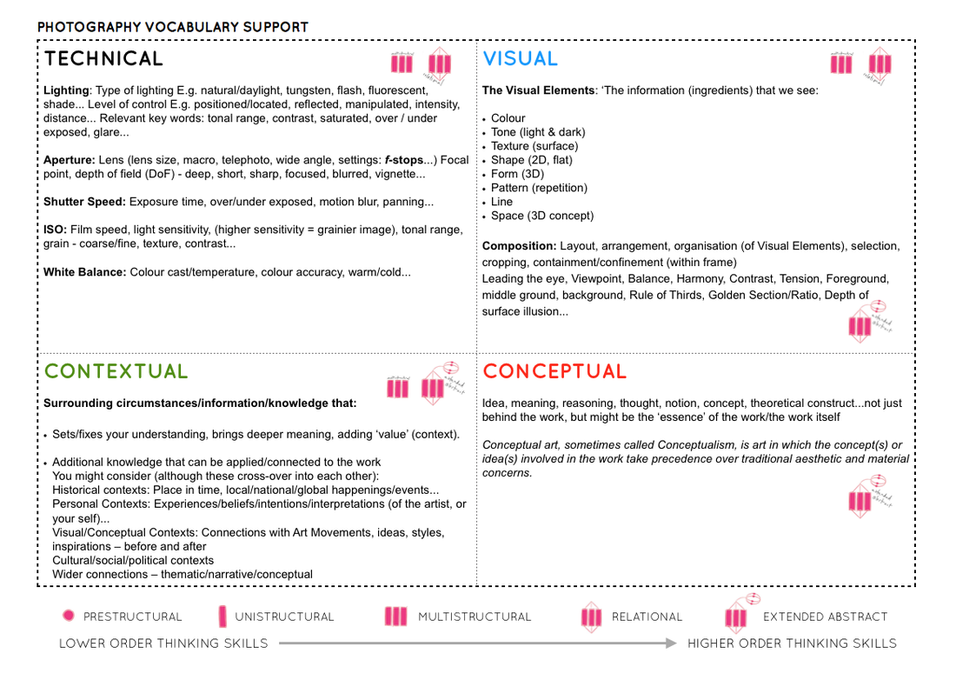
STATEMENT OF INTENT

My statement of intent -

I have always loved Sunsets and they have always captivated me, not just for their beauty and the warm joyful feelings they give from looking at them, but also for what they tend to represent like things such as connection and harmony, this is presented through the mixture of different shades and colours that all come together to create such a unique and beautiful sight. In my project, I aim to explore the theme of ‘UNION’ through the natural merging of colours within the sunsets and using the presence of silhouettes to show another representation of ‘UNION’. My work is about capturing unity in the most unique ways and showing how it exists naturally in our every day lives.

The idea of ‘UNION’ can mean many different things to different people. For me it represents the connections and relationships that exist everywhere within our lives, for example we have a relationship with our parents which in itself is its’ very own unique relationship with inbuilt love, trust and many other factors. or the relationship between humans and animals. For example a dog and its owner; you share this unconditional love with your dog that creates a union between two different species and yet this example of a union while being very similar to the relationship between children and their parents also has its own factors and morals. there are many other natural examples of Union within relationships. More examples of this are:

  • Humans & Nature
  • Siblings relationships
  • Romantic relationships
  • Animals with other Animals.

There are even the specific unions within Nature itself such as sunsets as it represents the union of a variety of different colours that come together to create a beautiful scene in which we all call a ‘sunset’. For me I personally love sunsets, they always give me such a warm fuzzy feeling, bringing me joy, comfort and peace. They almost gives me a sense of disbelief as they are so beautiful it feels surreal. In some ways sunsets bring me a more unique meaning of union as the feelings they bring to me also give me a whole different mindset on how I view life, how I think about life and overall give me a positive mindset giving me a union to my mind and my own thoughts.

The colours within a sunset blend so seamlessly, just the way people, nature and light do, interacting without force or structure. Everything is so relaxed and natural which is what I love. I want my images to express the same feelings of peace, comfort, surrealism and joy that the sunsets bring me.

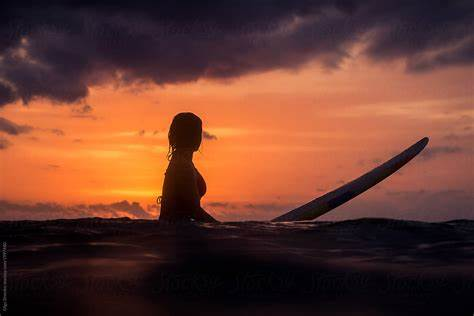
My approach to this project will focus on Silhouettes as a way to emphasize connection without distraction, By removing facial and intricate details and individual features which leaves the viewer focusing on the relationships between the chosen subjects within the images. The way they interact with each other, share the same space or interact with their surrounding environment. I plan to capture this through setting up my camera and positioning it in a way that shows the delicacy of the relationship in which is being represented and making sure the sunset is the background with the silhouettes being the main focus with the sunset being just as important. Whether its two people standing side by side, a small group of people gathered together, an owner and their dog taking a walk or even objects that naturally compliment each other, I want to highlight the togetherness without words being needed to show it.

Rather than making staged images I am completely drawn to the idea of informal union which shows the connections that happen naturally, without anything being forced and no effort involved whatsoever. I will seek out the connections between many different area of life within people, animals and nature all with very different but at the same time very closely related types of relationships. I will do this by keeping the whole process very free and open. I hope to find unity in unexpected places proving that connections exist even in the smallest. simplest interactions.

This project is deeply personal to me as I am a very sentimental and emotionally connected person who loves to find connections and relationships in everything in life. I tend to have a lot of love and care especially for the little things in life and love to make sure I don’t take things for granted, treasuring every moment and every memory I create not only by myself but with the people close to me who surround me daily, those who I have special connections and relationships with. Through my images I want viewers to feel the same happiness that sunsets bring me and the feelings they give as they almost fill me with a refreshment of the mind completely changing my mindset into realising that us as humans need to enjoy every moment of life and never take anything for granted. In a world that often highlights the negative things in life and all the differences, I hope to show people that Union is always present whether that’s in the sky, in shadows or simply just within the spaces between us. I would love for this project to leave people thinking and perhaps changing their mindset giving them a new way to look at life, giving them a nudge to focus more on what we all have in common, and to appreciate the little things in life and all the amazing connections we have right beside us rather than what we don’t have. Focus on the now and what we do have.

example –

Writing a manifesto for your sunset photoshoot project surrounding the theme of “union” is a powerful way to express your artistic intent, beliefs, and vision. Here’s an approach to creating your manifesto, with key points you can expand on:


My Photography Manifesto: Union through Sunsets

Purpose of My Work: Through my lens, I seek to capture the profound beauty of sunsets, using them as a metaphor for union—whether it’s the union of day and night, self and surroundings, or humanity and nature. The sunset is a natural moment where opposites converge: light and dark, the past and the future, the seen and the unseen. My photographs are a celebration of this convergence, capturing the fleeting yet eternal beauty of these moments of balance.

The Power of Light and Darkness: A sunset symbolizes the harmonious blend of light and darkness, each holding meaning in its own right. The light represents clarity, hope, and connection, while the darkness speaks to mystery, introspection, and quietude. In my work, I aim to portray how these two forces can coexist and complement each other, just as union occurs in the melding of differing elements, whether it’s within ourselves or in our relationships with others and the world around us.

Union as a Human Experience: Union is not just about the physical coming together of things, but also the emotional and spiritual bond we form with the world. I seek to capture human connection within the sunset’s golden glow—people standing together, embracing nature, or simply sharing a quiet moment. These images represent unity, belonging, and the shared experiences that define the human condition. The sunset serves as a metaphor for the potential we have to connect with one another, despite our differences.

The Union of Time and Nature: Sunsets are a daily reminder of the passage of time, a continuous cycle that never ceases to exist. I aim to capture the union of time and nature, as the sun sets and rises again, embodying the perpetual rhythm of life. This natural cycle offers us a lesson in the inevitability of change and the beauty that comes with it. In this light, my photos seek to reflect the importance of embracing these cycles in our own lives—accepting the union of moments, transitions, and growth.
Cultural and Emotional Connections: Sunsets hold different meanings across cultures and individuals. I want my work to reflect the universal nature of sunsets—the way they evoke feelings of peace, awe, nostalgia, or even sadness. Each sunset is unique, but it speaks to something deeper inside all of us. By capturing moments of union between the physical beauty of the landscape and the emotional reactions of the individuals within it, my photos seek to create a space where the viewer can connect with both the collective human experience and their own personal journey.

The Visual Language of Union: In my compositions, I focus on the visual language of connection—whether it’s through the blending of warm colors, the intersection of natural elements, or the silhouettes of people standing together. The sunset itself serves as the perfect backdrop for this visual dialogue, where the horizon becomes the metaphor for unity, bridging the sky and earth, the past and future. By capturing these moments, I intend to show that unity doesn’t mean uniformity; it’s the beautiful combination of different elements coming together to create something harmonious.
A Call for Unity in a Divided World: In a world that often seems divided, my sunset photoshoots seek to remind us of the inherent beauty in union. Whether it’s the union of the natural world and human experience or the blending of diverse perspectives, I believe photography has the power to unify people by showing them the beauty that exists when we come together. These images are a visual plea for togetherness and understanding, asking viewers to reflect on the moments when they feel most united—with others, with themselves, and with the world.

Conclusion: In every sunset, I see the potential for union—an invitation to reflect on the connections we have with the world around us. Through my photography, I strive to capture these moments of beauty and harmony, inviting others to pause, connect, and recognize the shared experiences that define us as humans. Union is not a destination, but a journey, and my sunset photoshoots aim to honor that journey, frame by frame.


This manifesto gives a clear, personal, and philosophical statement about the artistic choices in your sunset photography, making it a powerful tool for guiding your work and engaging your audience.

MY PHOTOSHOOT PLANS

Concept & Theme -

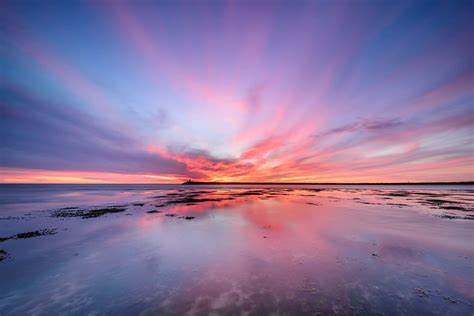
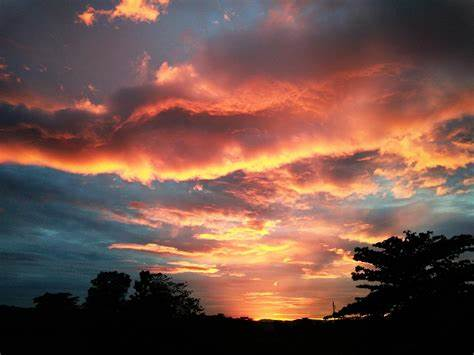
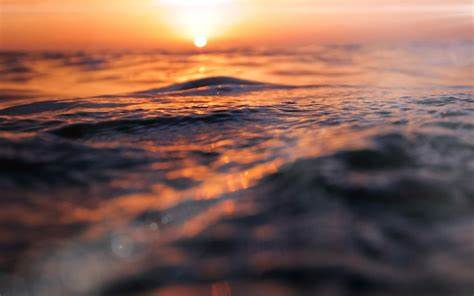
The theme behind this shoot is ‘UNION’ In which I have decided to represent through capturing how colours naturally blend together in a sunset. I really want to focus on the soft, effortless transition between hues, kind of like how everything in nature just fits together perfectly. It’s a simple but powerful way to represent connection, peace, and harmony. To bring this to life, I’m planning to get shots that highlight colour merging creating images like reflections in water, silhouettes against the sky, and cloud textures. The final images should feel warm and calming, almost like you’re standing there watching the sky change in real time.

Location & Timing -

Picking the right location is key for this kind of shoot however I also want it to be natural so I will be planning a few specific locations while also just taking some photos depending on where I am at the time of the sunset. Preferably I would need a spot with a completely open view of the sky so nothing blocks the colours as they blend. Some ideas I have are a beach, a hilltop, an open field, or even a rooftop with a clear horizon. If I can find a spot with water (like a puddle or the ocean), that would be perfect since reflections would enhance the whole merging effect.

Timing is super important too. some of the times of day I will try to capture at will be the golden hour, This would have the best lighting. It starts about 30–40 minutes before sunset, so that’s when I want to start shooting. The real magic happens in the 30 minutes before and after the sun actually sets, because that’s when the colours shift the most. I’ll need to check the exact sunset time for my location and make sure I get there early enough to set up.
Shot List & Angles -

To really bring out the theme, I want to get a mix of different shots and angles:

Wide-angle shots to capture the full gradient of colours. These will show how the sky blends together as a whole.

Close-ups of clouds because they naturally mix colours in cool, unexpected ways.

Silhouettes of people, trees, or buildings to create contrast against the soft sky.

Reflection shots using water or glass to double the colours and make them even more striking.

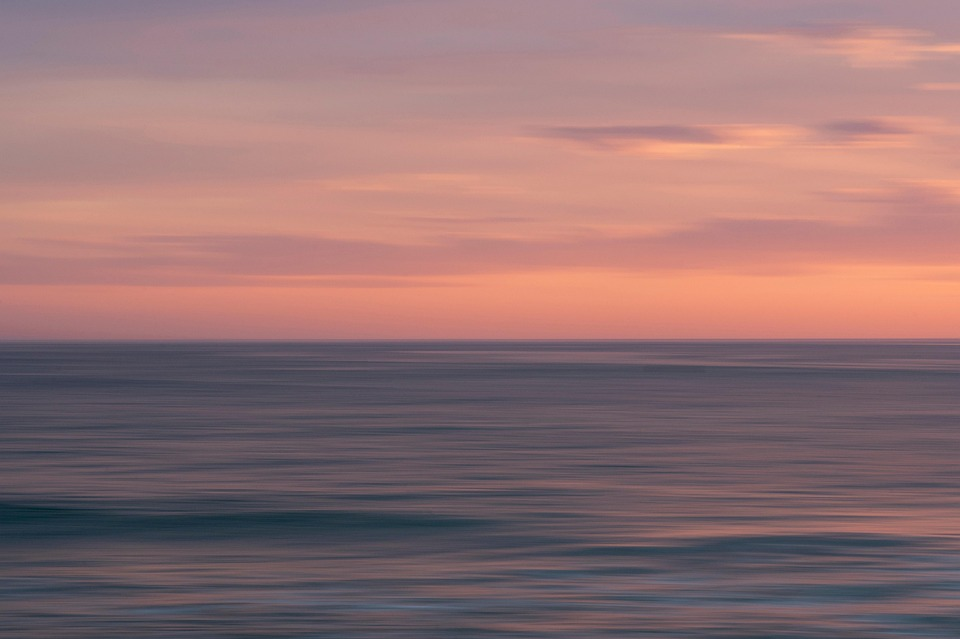
Motion blur effects (if I can pull it off) to make the colours look like they’re literally melting into each other.

I’ll also keep an eye out for unexpected moments, maybe birds flying through the frame or waves catching the sunset just right.

Equipment & Camera Settings -

I want to keep my setup pretty simple but effective. I’ll be using a canon camera with a wide-angle lens (probably something like 16-35mm) for big, open shots and a 50mm or 85mm for closer, more artistic details.

A tripod is a must for sharper shots and longer exposures, especially as the light fades. I’ll also bring a remote shutter release (or just use a timer) to avoid camera shake.

Camera Settings I Plan to Use:

  • Aperture: f/8 – f/11 for clear, sharp shots.
  • Shutter Speed: 1/50s or slower to play around with motion blur.
  • ISO: 100–400 to keep everything crisp and noise-free.
  • White Balance: I’ll manually adjust this, but something around “Cloudy” or “Shade” usually gives that nice warm glow.

Props & Creative Extras -

I don’t want to overcomplicate things, but a few small props could make a difference. I might bring a prism or a piece of glass to play around with light reflections and refractions. A reflector could help bounce warm light onto a subject’s face if I do any portraits. If I really want to push the “merging colours” idea, smoke bombs in sunset shades could be fun, but only if they don’t feel forced.

Editing & Post-Production -

Editing is going to be super important in bringing out the natural beauty of the sunset without overdoing it. I want to enhance the colours while keeping everything looking real and dreamy.

I will do all my edits on both lightroom & photoshop.

Colour correction: Adjust hues so they blend as smoothly as they did in real life.

Exposure & contrast tweaks: Just enough to make the image pop without making it look artificial.

Selective sharpening & softening: I want the sky to feel soft while keeping key elements (like silhouettes) crisp.

Cleaning up distractions: Removing any random objects or weird lighting flares that take away from the scene.

I’ll be using Lightroom and Photoshop to fine-tune everything, making sure the final edits match the mood I envisioned.

Final Presentation -

Once I’ve sorted through and edited the best shots, I’ll put together a final selection that really tells the story of the sunset’s merging colors.

5–10 best shots that showcase the theme in the strongest way.

A timeline series of photos showing the sky’s transition over time.

Behind-the-scenes captures (if I remember to take them!) to document the process.

Before & after edits to show how small adjustments bring out the best in each shot.

For the complete final layout I will be making a photobook to complete the project using lightroom and Blurb to get the photobook printed.

Photoshoot 1

Edit 1

Edit 2

Edit 3

SYMBOLISM

What is Symbolism?

Symbolism in photography is when a photographer uses images, objects, or elements in a photo to represent something deeper or more abstract than what is immediately visible. It’s like telling a story or conveying a feeling through visual cues rather than just showing a straightforward scene. These symbolic elements often carry emotional or cultural meanings that make the viewer think about the bigger picture or a hidden message.

For example, a photographer might take a picture of a wilted flower to symbolize loss or decay, or a bird flying in the sky to represent freedom or hope. The key to symbolism is that the object in the photo isn’t just there for decoration; it has a purpose and a deeper meaning related to the theme of the image.

Symbolism has been used throughout art history, and photographers often use it to make their work more thought-provoking and open to interpretation. A simple image can be filled with emotions or ideas, allowing the viewer to connect with it in a personal way, making the photo more than just an image, but a meaningful experience.

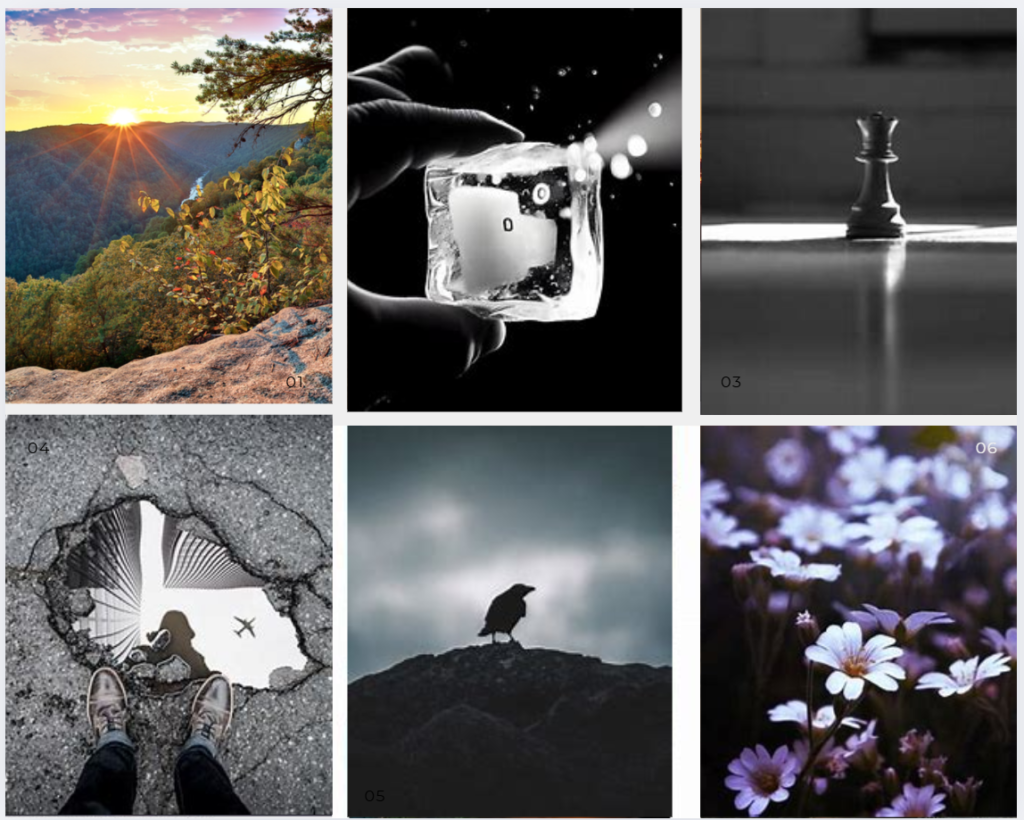
A Mood Board of symbolism in photography -

What are some key elements of Symbolism in photography?

Symbolism in photography is a powerful tool for conveying deeper meanings, emotions, or ideas beyond the literal subject matter. Here are some key elements of symbolism in photography:

Colour

Colours evoke emotions and carry specific symbolic meanings. For example:

  • Red can symbolize passion, love, danger, or anger.
  • Blue often represents calmness, tranquility, or sadness.
  • Black may symbolize mystery, death, or sophistication.
  • White often signifies purity, peace, or emptiness.

Photographers use color deliberately to suggest mood or convey underlying themes.

Light and Shadow

Light can symbolize hope, truth, or revelation, while shadow can suggest mystery, uncertainty, or the unknown.

The contrast between light and dark, or chiaroscuro, can convey themes of duality or conflict (e.g., good vs. evil, life vs. death).

Composition

Framing and perspective can suggest various symbolic meanings. For instance:

  • A subject in the center of the frame can symbolize importance or control.
  • A subject in the background or on the edge can represent isolation, neglect, or insignificance.
  • Leading lines might symbolize a path, journey, or transition.

Objects and Details

Everyday objects or natural elements can carry symbolic weight. For example:

  • Roses might symbolize love or beauty, but with thorns, they can indicate danger or complexity.
  • Empty chairs can evoke themes of absence, loneliness, or death.
  • Windows or doors may symbolize transitions, opportunities, or barriers.

Gestures and Body Language -

The posture or expression of people in a photo can symbolize a range of emotions, such as vulnerability, strength, or defiance. For example, a hand reaching out could symbolize hope or connection, while crossed arms might suggest defensiveness or closed off emotions.

Nature and Environment -

Nature often serves as a powerful symbol in photography, with elements like trees, water, and the sky representing themes of growth, change, or freedom.

Urban settings can symbolize isolation, modernity, or societal issues, depending on how they are framed and the mood conveyed.

Time and Decay -

Aging objects or signs of decay can represent the passage of time, mortality, or the fleeting nature of life. For instance, an old, rusted car or crumbling buildings can evoke nostalgia or reflect themes of societal decline.

Motion blur or time-lapse effects can symbolize change, the passage of time, or a sense of impermanence.

Symbolic Use of Space -

Empty space (negative space) in a photo can symbolize solitude, loneliness, or a sense of being lost.

Crowded or dense compositions might evoke feelings of chaos, stress, or oppression.

Metaphors -

Photographers can use visual metaphors to express abstract concepts. For example, a caged bird could symbolize freedom or imprisonment, or a road stretching into the horizon might symbolize a journey, life path, or uncertainty.

Contrast and Juxtaposition -

The juxtaposition of two opposing elements in a photograph (e.g., old vs. new, man vs. nature, light vs. dark) can create a symbolic narrative, highlighting conflicts or relationships between the elements.

By using these elements thoughtfully, photographers can infuse their images with layers of meaning, allowing viewers to interpret the symbolism in various ways.

How am I going to incorporate this into my images -

When I did my shoot on sunsets, I tried to focus on a lot of symbolism and emotion to give my photos a deeper meaning. Sunsets themselves are super powerful symbols of transitions, endings, and new beginnings, so I use them to represent things like closure or personal growth. I am going to play with the light, using the fading sun to show a metaphor for hope or transformation, especially if there’s a silhouette of a person in the frame which I will also be using to represent the strength of relationships and connections within Union. I also love making my shots look dreamlike or mystical by using soft focus or mist to give the scene an otherworldly vibe to make it seem unreal, something you wouldn’t normally see or gives off a warm feeling of how surreal it feels. Reflections in water are perfect for creating a surreal, introspective feel too. On top of that, sunsets can be really spiritual, so I focus on capturing moments of quiet reflection or meditation, with the warm light representing peace or connection to something bigger. I also think about the emotional side, like how the intense colours of the sunset can mirror feelings of joy, sadness, or nostalgia, depending on the vibe I’m going for. I might have a person standing in the light, with shadows creeping in, to show the balance of light and darkness in life. Adding natural elements like trees or birds can help make the photographs feel symbolic, like representing strength or freedom. In the end, it’s all about mixing the right lighting, composition, and mood to create something that feels not just beautiful, but meaningful which is exactly what I intend to capture within my shoots for this project.

Artists who explored Symbolism -

  • Oldion Redon
  • Man Ray
  • Francesca Woodman
  • Joel-Peter Witkin
  • Sally Mann

^ See other blog posts for more in depth details on these Photographers

Archives and Family Background

Family Archives

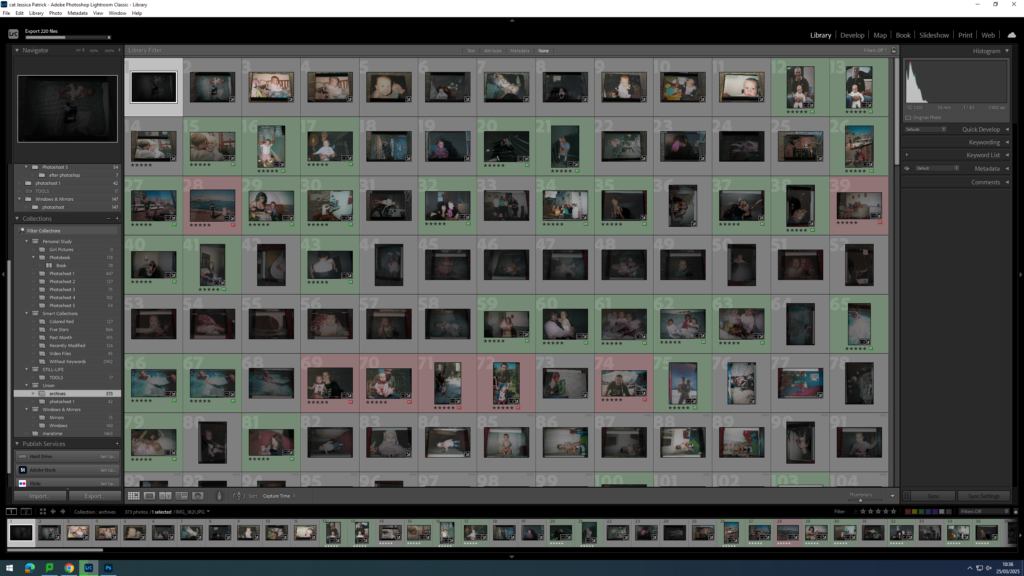
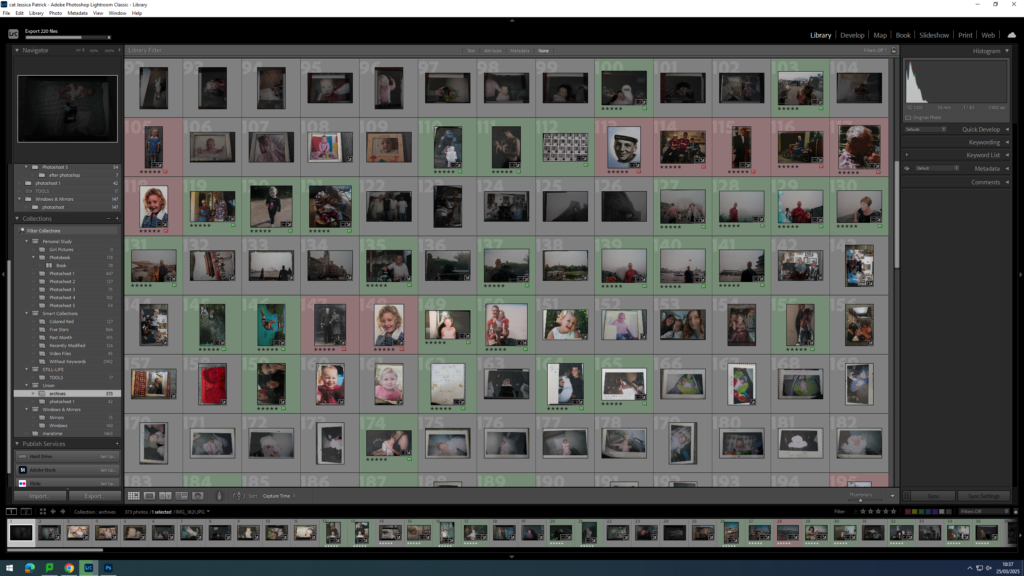
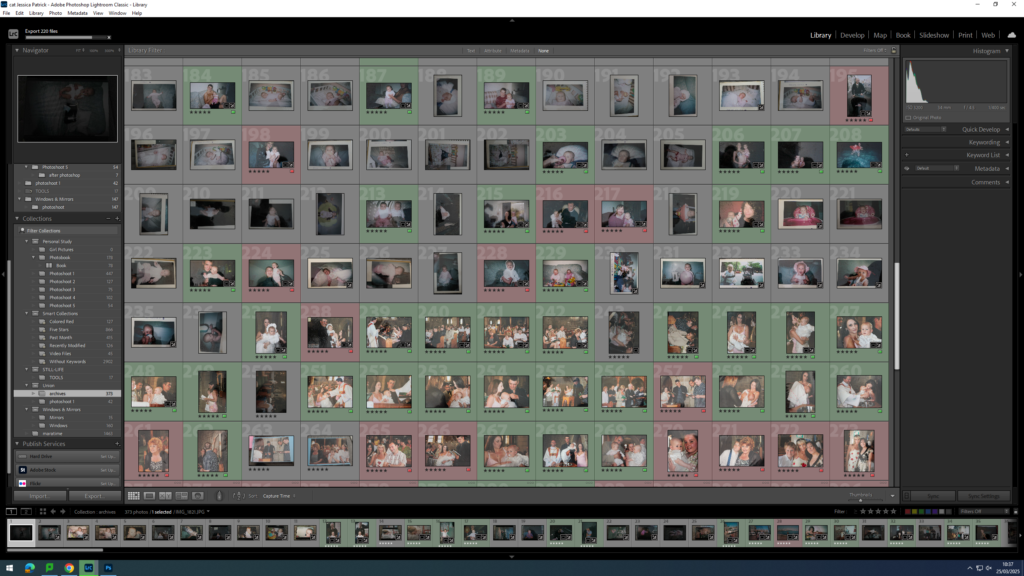
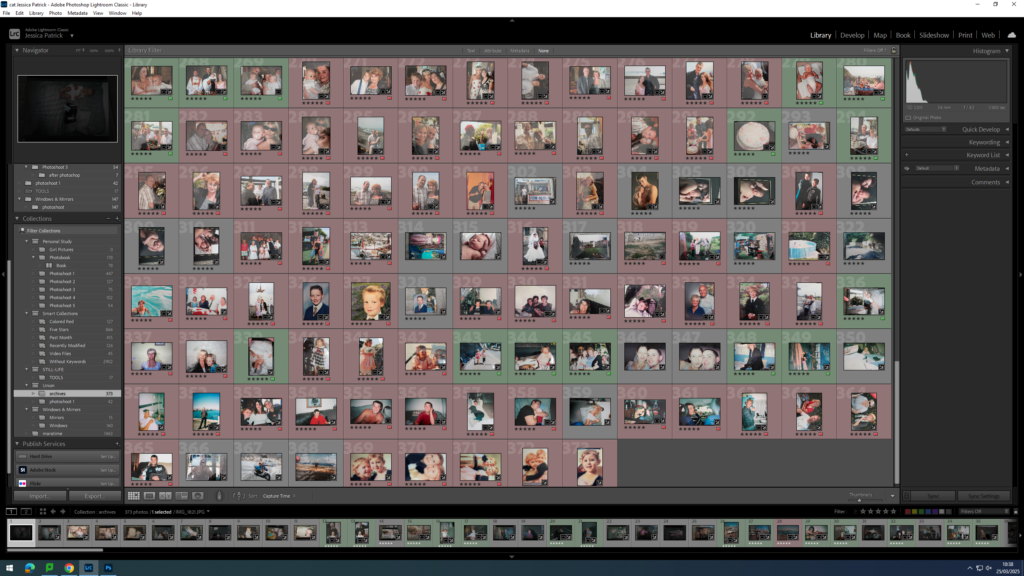
Contact sheet-

The images which are highlighted green and red are the images I have chosen to edit, because they have better quality than the other photographs. They also work better with what I am researching, which is union. The images which are highlighted red are the archives that I am going to be recreating. I have chosen these images, because I think they will be the best images to recreate to represent family and how time passes, but they are also images that I am able to recreate. Some of these images are harder to recreate, due to family members living in the UK and family members that have passed away.

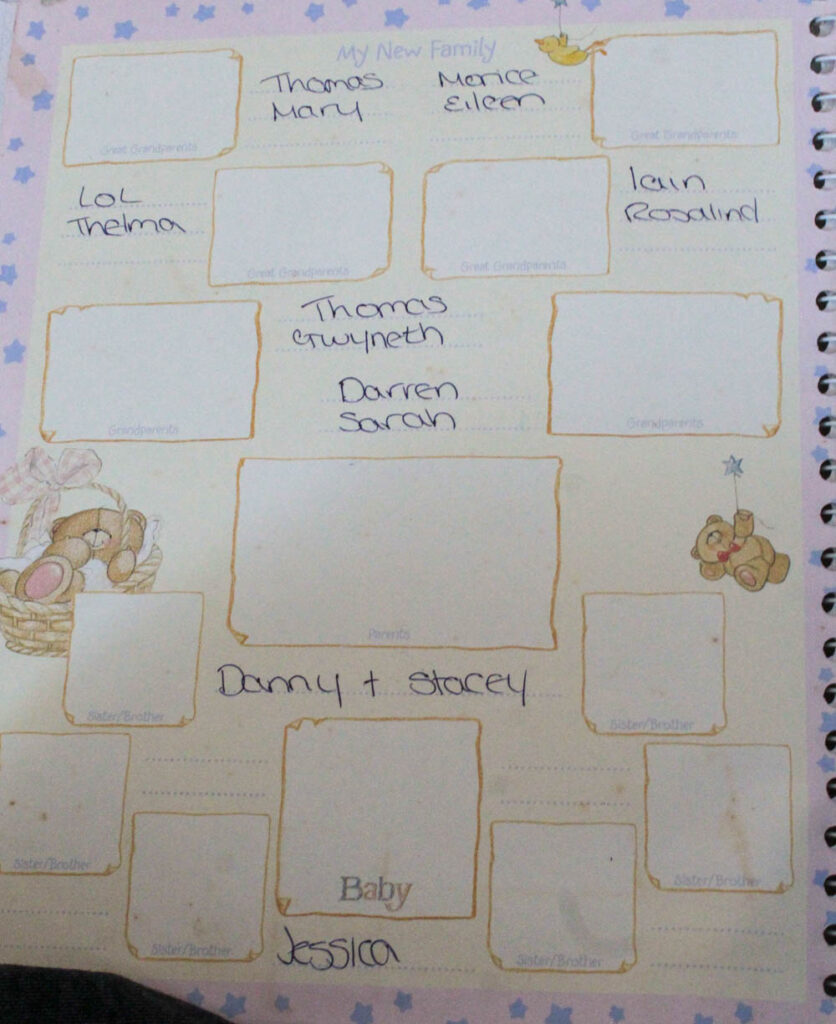
Family Tree

About the Archives

These archives are images my mum and dad have collected over the years, including images of there family, who have passed, as well as themselves when they were younger. These photos also contain documents of my sisters and my life.

Some of these images are slightly lower quality due to when they were taken, or the physical images being slightly damaged over the years, but they are a good indicator of not only my past, but my families past as well.

About My Family

Dad- My dad was born in England in Burnley and his parents are Tom and Gwyneth. He also has a brother called Adam, who is 2 years older than him. His parents got divorced, so he rotated between who he lived with weekly. He lived in Burnley until he was 23 and moved to Jersey Channel Islands for a job. He is a bricklayer. He then met my mum that same year.

Mum- My mum was born in Jersey and her parents were Darren and Sarah. She has a rough childhood, so lived with her nan Roselyn. She had two younger brothers named Josh and Daniel. There dad was Paul, who lived in England, so they both lived there for a while, until they also moved in with Roselyn. My mum then met my dad when she was 18. My dad worked with her uncle Simon and that how they got introduced.

Me- After dating for three years, I was born in 2006. In 2013 my sister Emily was born. We have both lived with our mum and dad our whole lives.

artists case study 2 – Coco Moore

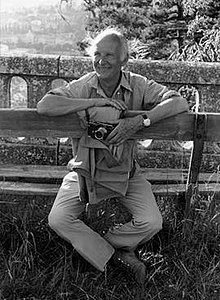
Robert Doisneau

Who is Robert Doisneau?

Born in 1912, just outside of Paris, life was a bit rough for him early on-His parents died when he was still very young. He was then raised by his aunt and placed in a school where he learned the art of engraving.

Then came the discovery of photography.

In the beginning, he worked in a factory as a photographer for Renault, but he could never make it on time because he would wander around Paris photographing the lives of everyday people. After a time, he was let go, but honestly, this was one of the best things that could have happened to him.

So, he went off doing magazine work and continued-doing what he loves: shooting random moments of real life. Roussel cherished taking photographs of human beings just being: kissing, laughing, getting late for an appointment, shopping, playing-nothing about model work or posing. It was simply life.

The most flattering image from him is The Kiss by the Hôtel de Ville—a couple kissing on a sidewalk in Paris, with pedestrians walking casually past. Everybody was convinced that it captured a truly random romantic moment, but funnily enough, it was staged! He had spotted that young couple earlier and asked them to kiss again during the time he took his picture. Pretty wild, right? But, although posed, it comes off so real. This is why people cherish it.

Artist Study – Coco Moore

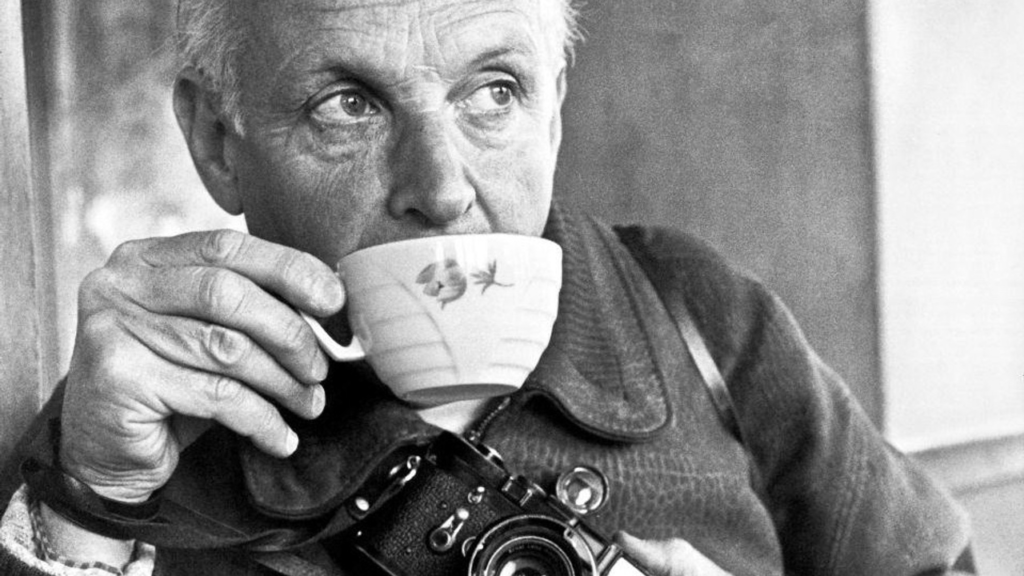
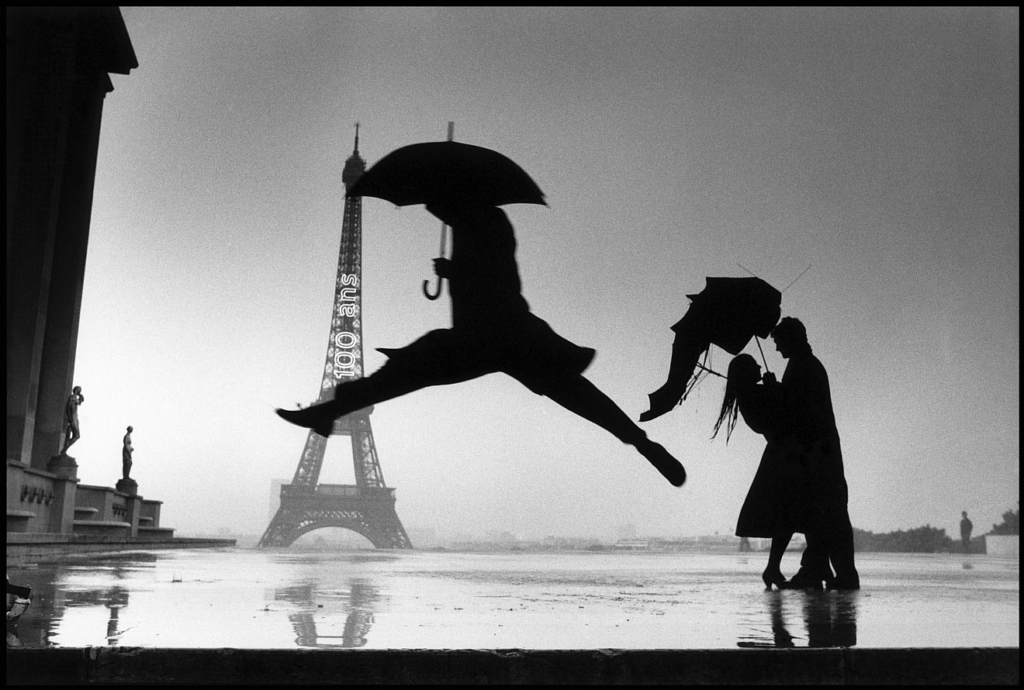
Henri Cartier- Bresson

Who is Henri Cartier-Bresson?

Henri Cartier-Bresson (1908-2004) was a French humanist photographer considered one of the greatest photographers of the 20th century. He is widely regarded as the father of street photography and the concept of the “decisive moment.”

Cartier-Bresson was born in Chanteloup, France, and began his career as a journalist and photographer in the 1930s. He served in the French Resistance during World War II, using his photography skills to document the war effort.

In the 1940s and 1950s, Cartier-Bresson became known for his innovative approach to photography, which emphasized capturing the essence of a moment or scene in a single frame. He believed that photography should be a way to reveal the human condition, rather than simply documenting reality. He coined the term “decisive moment” to describe this concept, which refers to the fleeting instant when all the elements of a scene come together to create a powerful and meaningful image.

Cartier-Bresson’s photographs often featured everyday people going about their daily lives, but he was also drawn to capturing the beauty and dignity of marginalized communities, such as gypsies and peasants. His work often had a strong sense of narrative and storytelling, and he was known for his ability to capture complex social and cultural dynamics in a single image.

Photoshoot 3

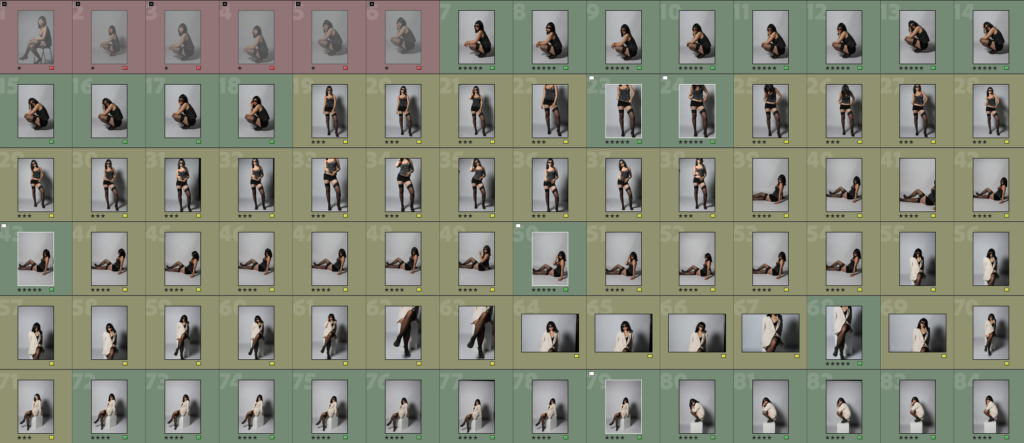
Contact Sheet:

Flagged images:

Experimentation:

Edit 1:

Edit 2:

Edit 3:

Edit 4:

Edit 5:

Edit 6:

Edit 7:

Edit 8:

Edit 9:

Edit 10:

Photoshoot plan 2:

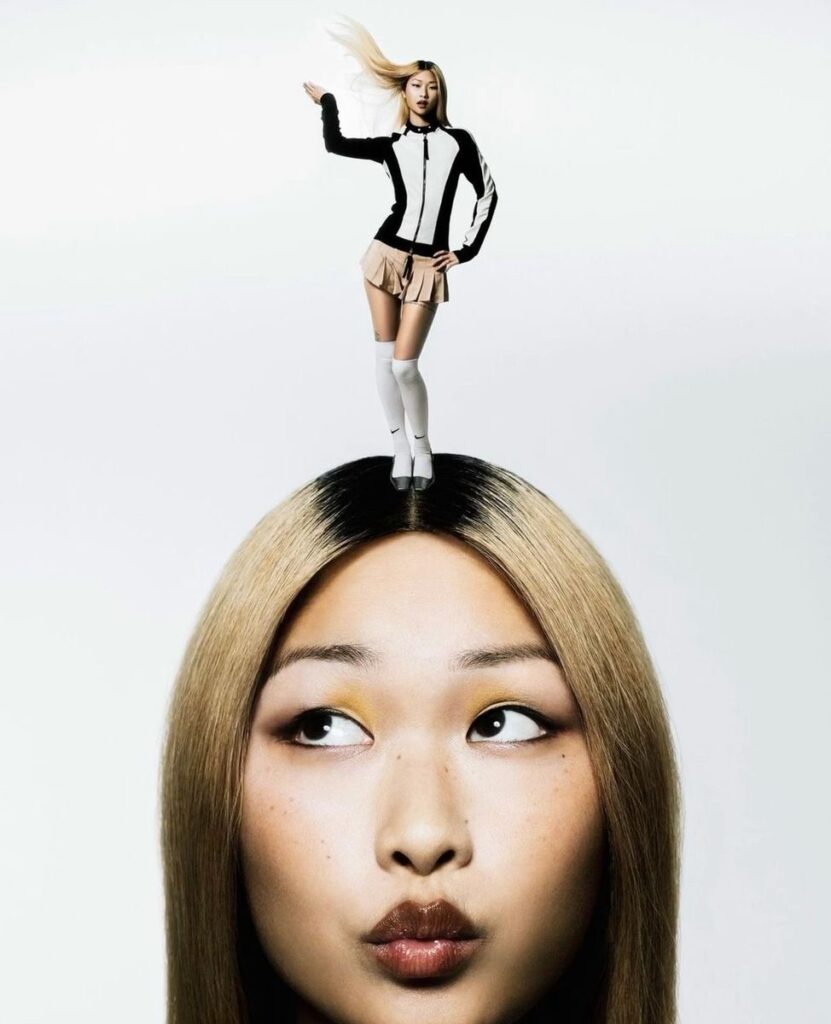
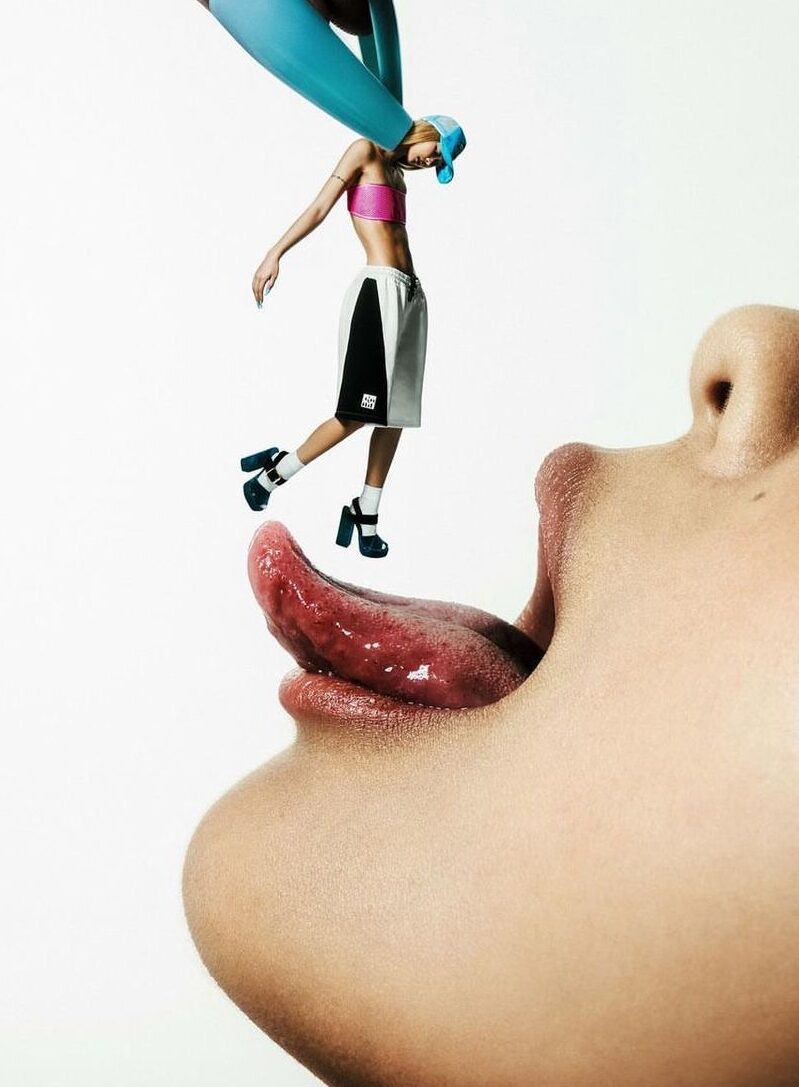
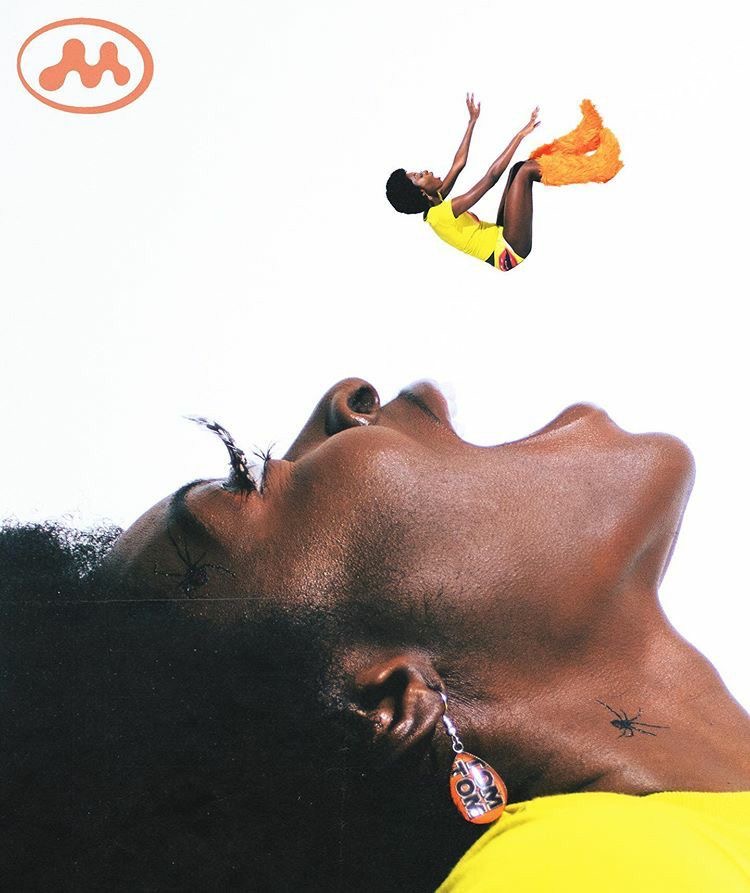
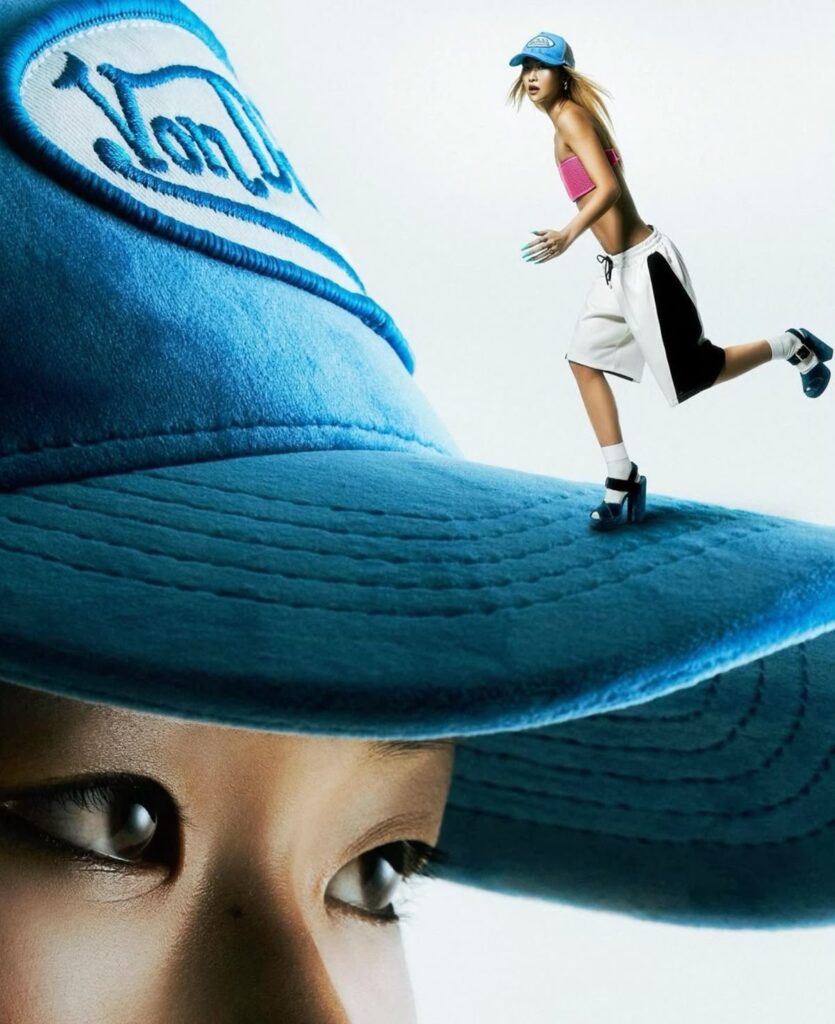
Here are some of the inspiration photos that I came across, I really like these photos as they are quite unusual and unrealistic, this goes well with the surrealism theme. I also believe that this goes well with the sonder theme that I decided to look at, the idea that everyone has a life and everyone is going through something shows that we are all human. Most of these photos consists of one model doing different poses with different angles of the camera directed towards them. Most of these Inspiration photos are made-up of face portraits and full body length portraits. They are the added together to create the final piece. I really like how these photos have a sense of surrealism as there are smaller characters/ people standing on the model.

If I were to recreate these photos I would like to use the same model just like inspiration photos, although it could look quite cool to have multiple people involved in the photoshoot. First I’m going to be taking portraits up close of the models face, making sure to leave a big gap on top of the models head so that I can place things on top. I could also take photos of the model with the technique of normal portraits and add the smaller people around the models face to make the photos more unique and original to me. I would really like to recreate the top photo on the left as it seems to be a really interesting photo to take. It helps to show the emotions and the sassiness of the model, as the model is then flipping her hair.

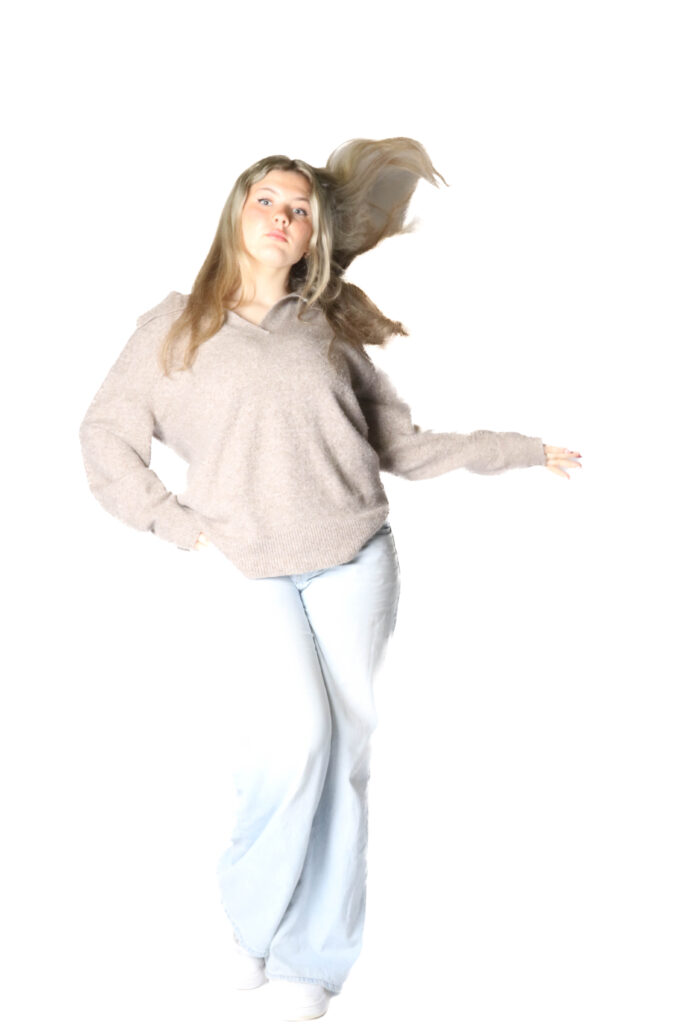
Usually, I do tend to make my photos black and white but for this photoshoot I would like to keep my photos in colour as it helps to add emotions and shows how each colour represents a different feeling, it’s almost as if you were to capture each photograph with different colours it would give the photo a whole new perspective. I personally believe that this photoshoot is quite doable as taking these photos wont be hard to capture, though it may be more difficult to edit the photos together to have the smaller model sit right on top of the models head. I also believe that I were to have the smaller model flipping her hair in the air, it would be harder to edit in as there would be bits of the background stuck in the models hair, this could be avoided if I were to use the same background for each portrait but it also depends on how I edit the saturation/ hue to each photo.

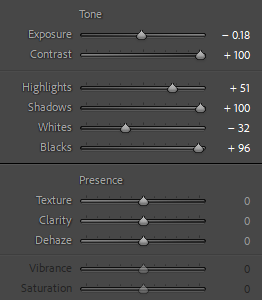
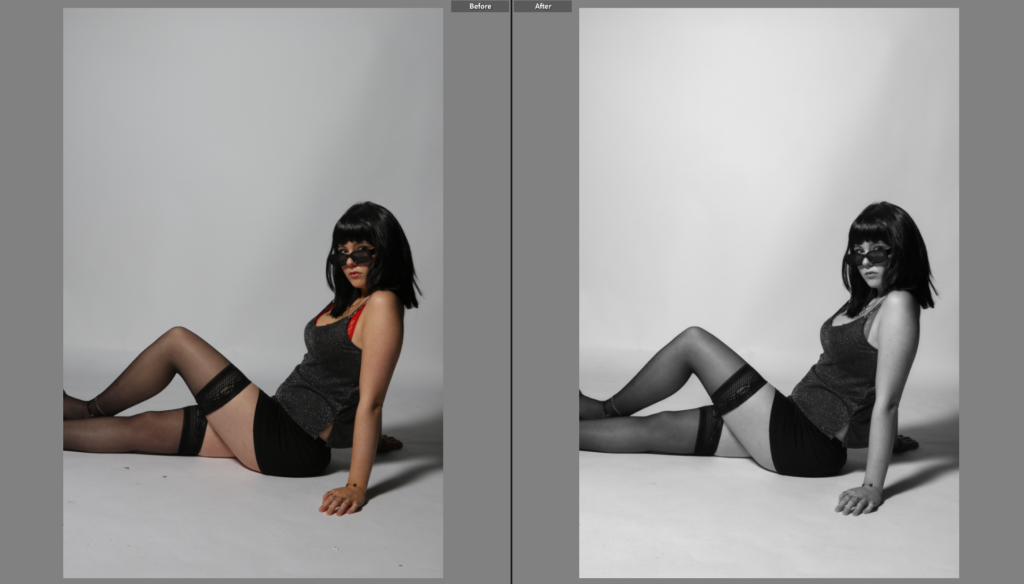
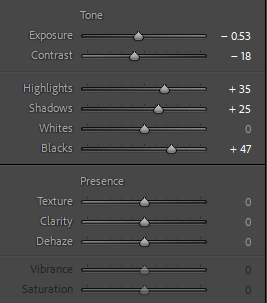
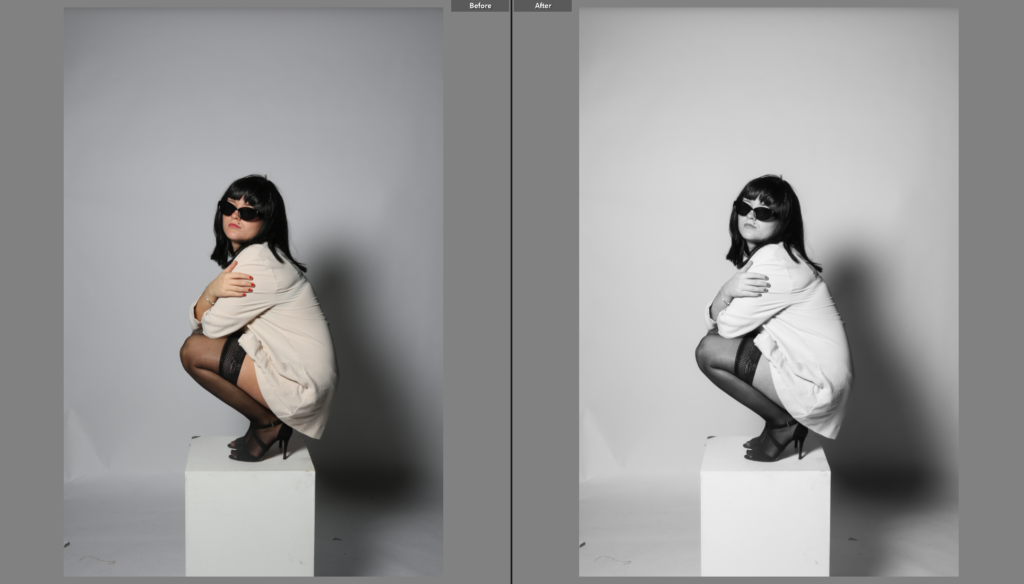
For example, where taking the phot there might be a bit of a shadow left behind and I will therefore have to edit the saturation to full brightness to get rid the shadow, this will then affect the pieces of the background that is stuck in the models hair.

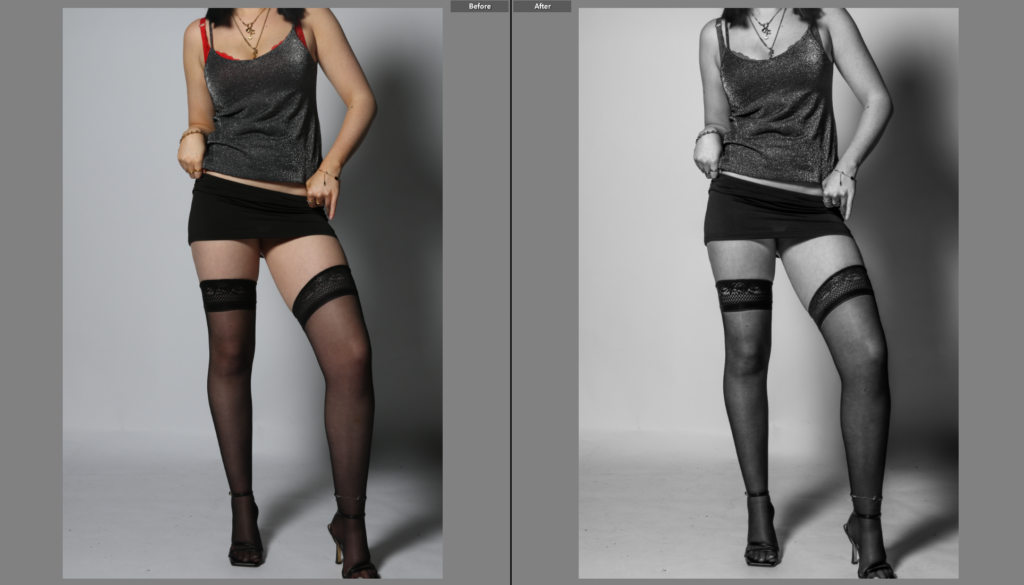
Here is an example:

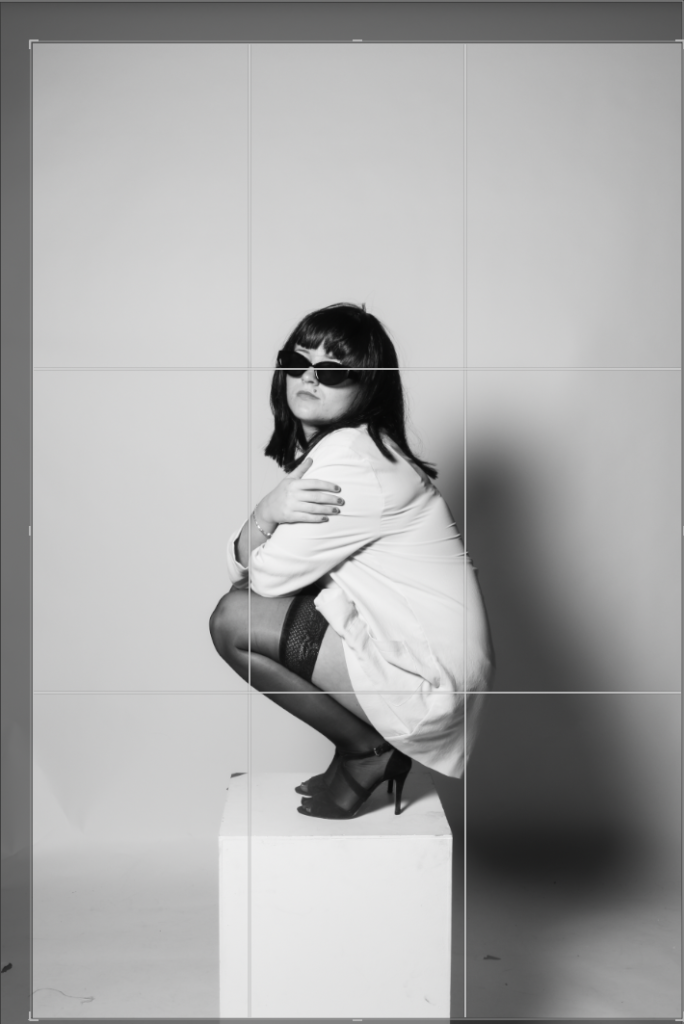
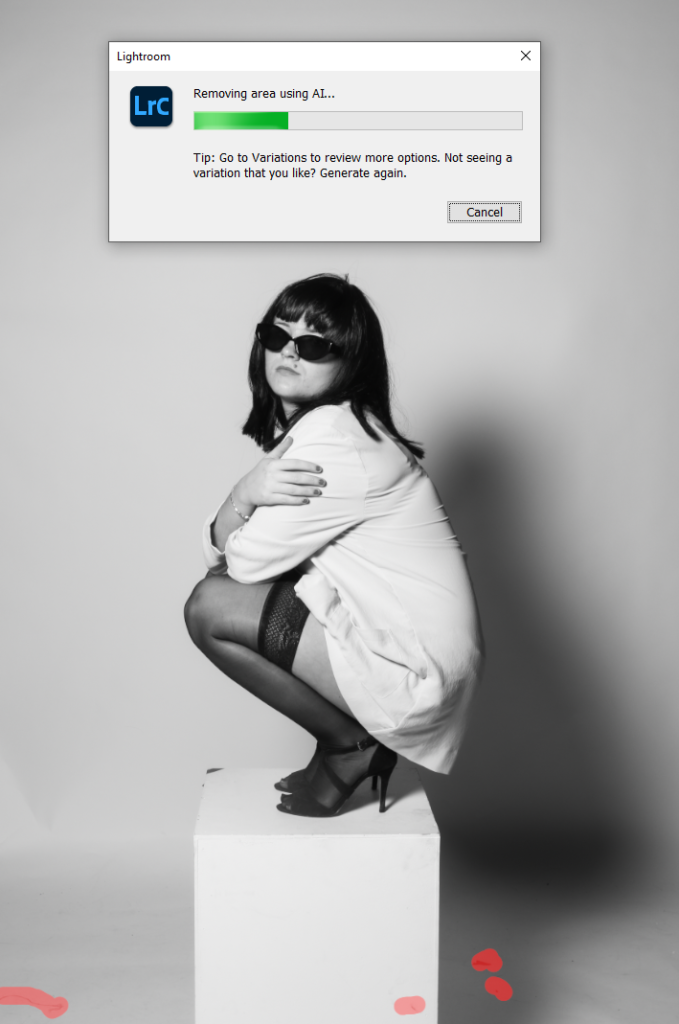
Also turning the saturation all the way up to the brightest might affect the models body depending on how much light was originally used in the process of taking the photo. Here the models legs tend to blend in with the white background which makes the photo look quite unrealistic and not the best quality.

Overall, I believe that this photoshoot will be fun and challenging to complete alongside all the editing that I will have to do to match my final photos to my inspiration. I will have to do the basic editing like controlling the levelling and lighting in the photo. I would then have to merge the two photos of the smaller model and the portrait of the model together. This should be quite straightforward if the background are the same colour I should be able to just put them on top of each other and then possibly add a blending effect on top to help properly merge the photos together. If the background were to be different I would then to outline the smaller model and try and avoid capturing any of the background using the selection tool, this can be seen as quite tricky to be able to get all f the model and none of the background, I would ten place it on top of the models head and mess around with it until I’m happy with the way it looks. I do like how all of the photos are placed on a white background but possibly having theses photos placed on a different coloured background could change the whole mood of the photo, though the white does seem to keep the photo quite clean and neat, it helps to get rid of any distracting around or in the photo and therefore white is a better fit for these types of photographs.