
Before I started mounting up my final prints, I decided to use Photoshop to make digital mock ups of how I wanted to arrange my images. This meant that I could experiment with using diptychs or triptychs, for example, before I actually started to stick the images down so that I would be prepared.
I made sure to print images in A3, A4 and A5 so that I would have a range of different options of layouts to go with and I could also have variety in my work.
First:
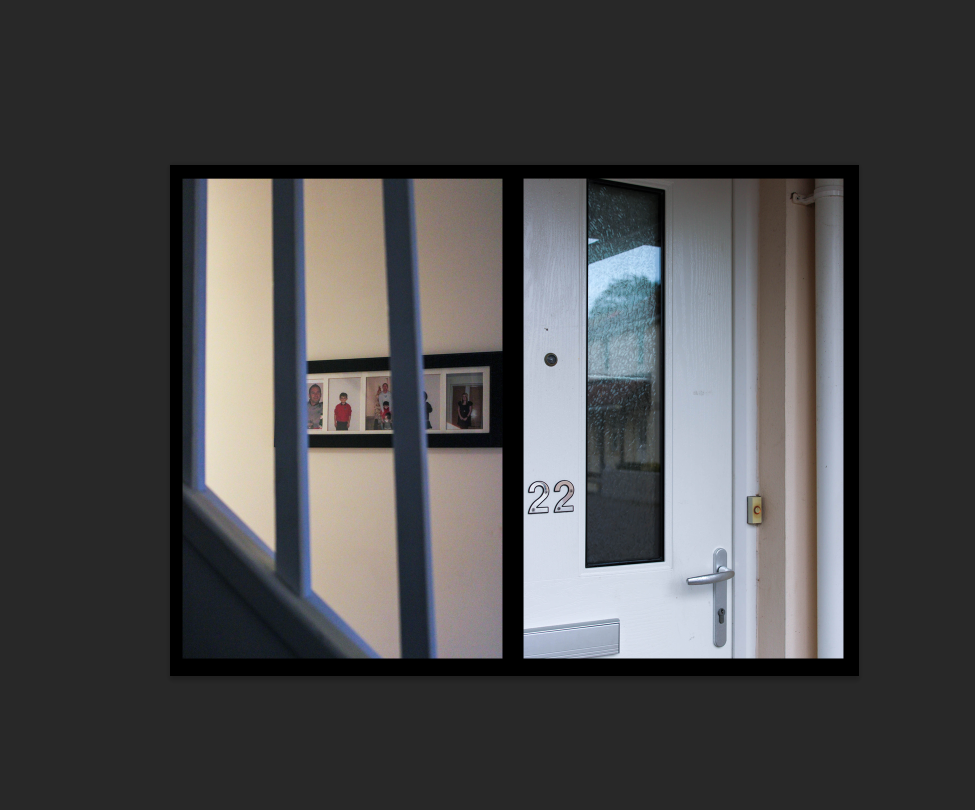
The first mount up that I was going to do was my A3 one because I already had a brief idea of how I wanted to arrange these two images:
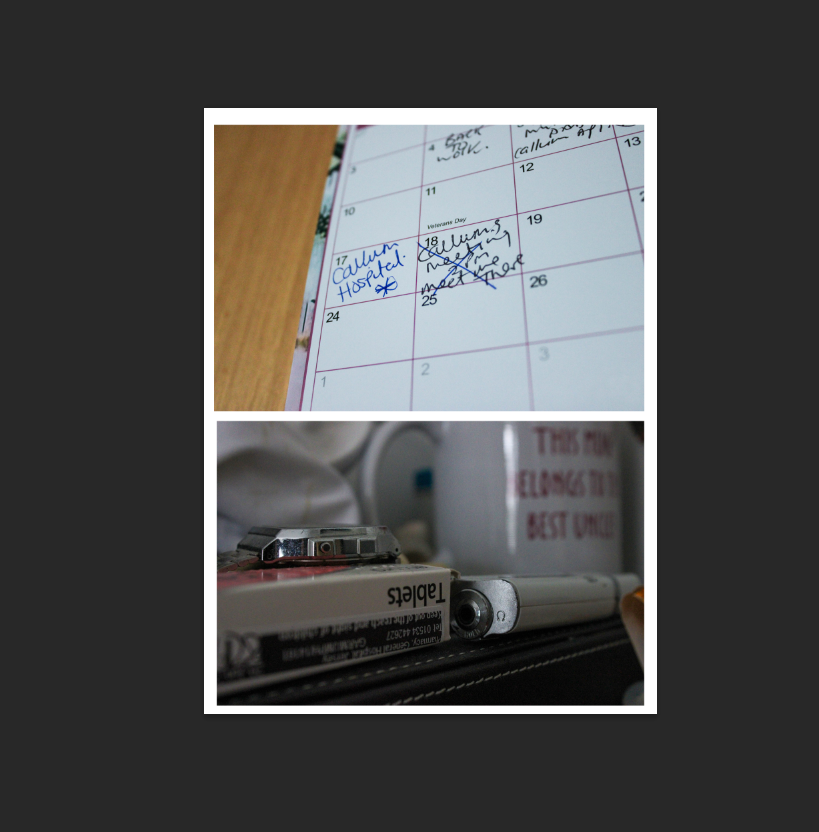
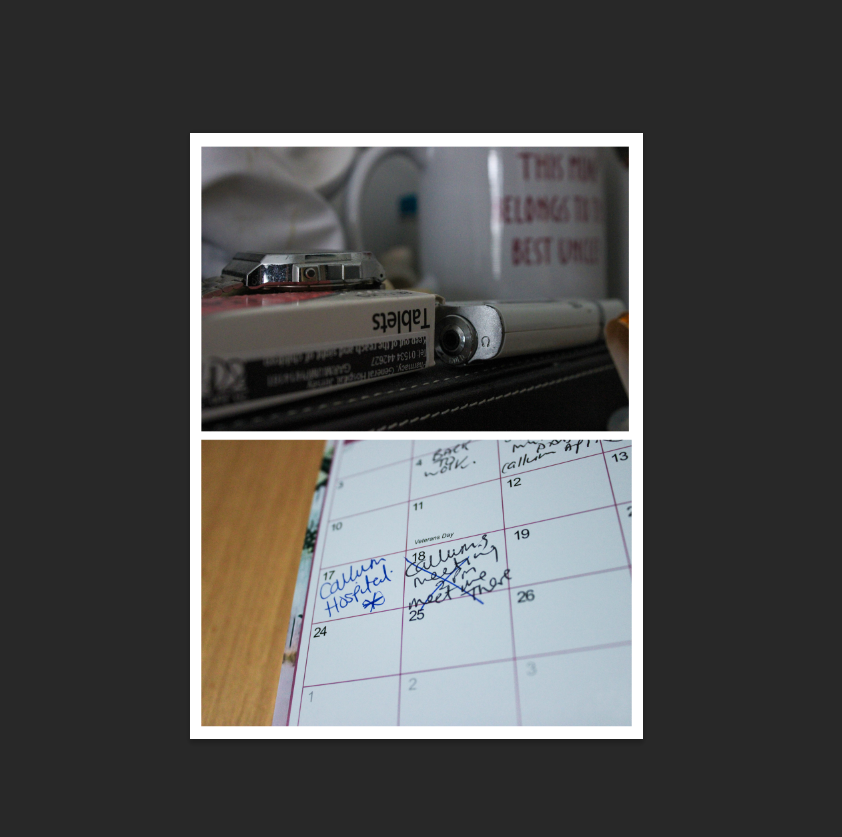
I decided to go with the layout on the right because the image with a lower-exposure was placed on top which I preferred as its darker, whereas the other way around I think that the board looks emptier.
I decided to double mount these, so I first sprayed them onto their own pieces of foam board and cut them out to look like the plan above. However, I then separated them in half so that I could place them on black card as I think that the black emphasized the features of each image more whereas if I kept the images on white, this could have washed them out.
Second:
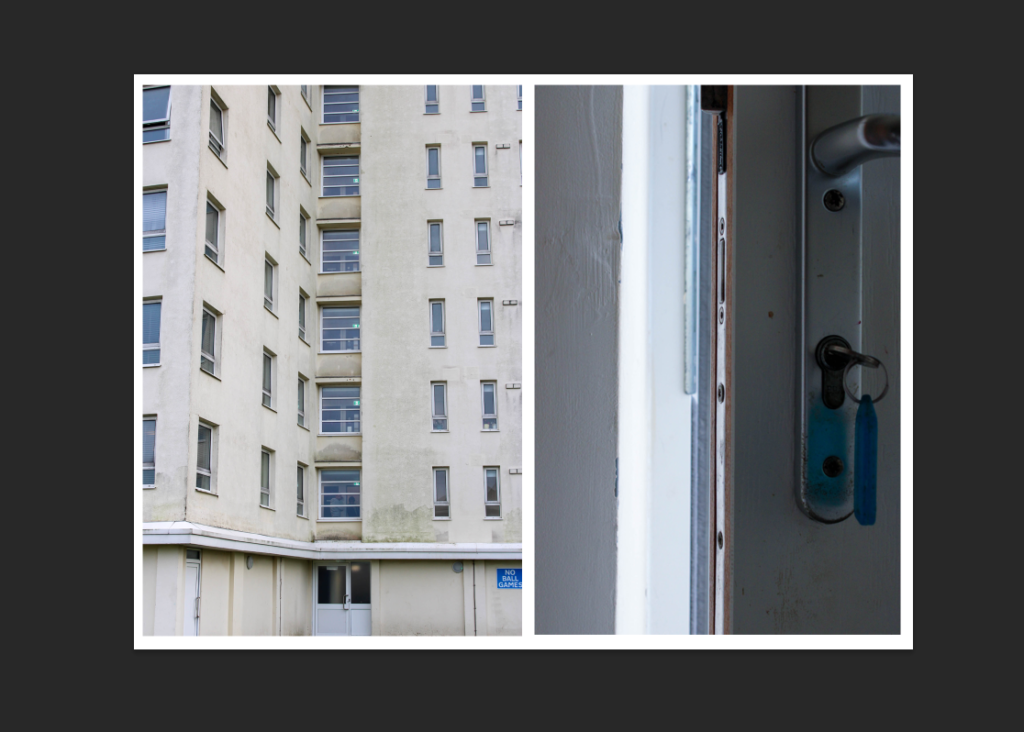
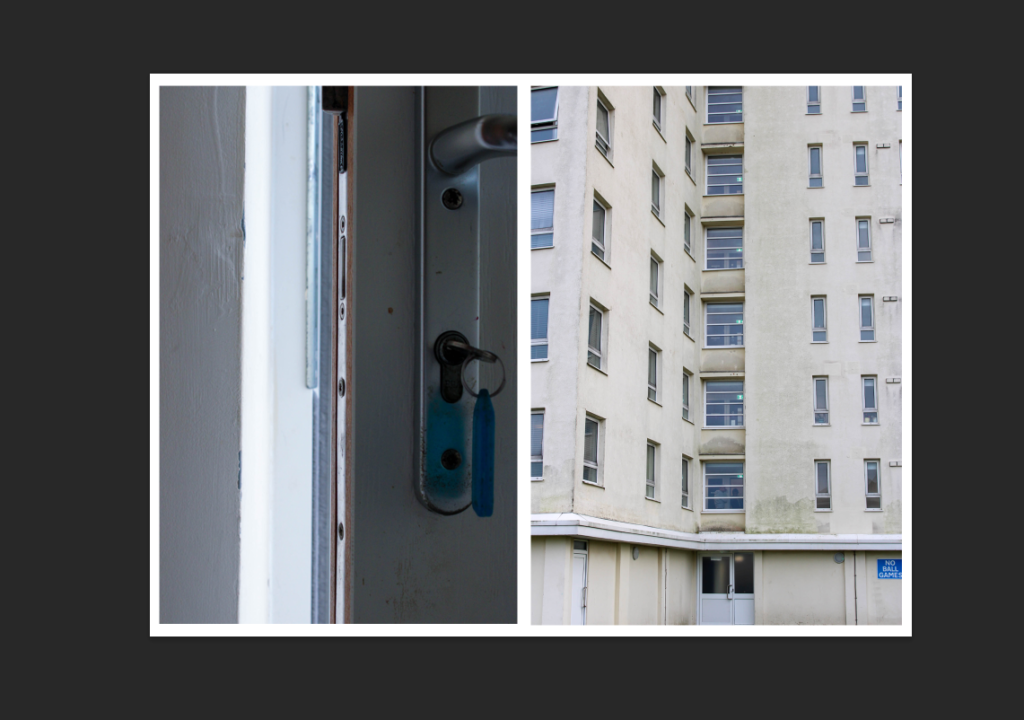
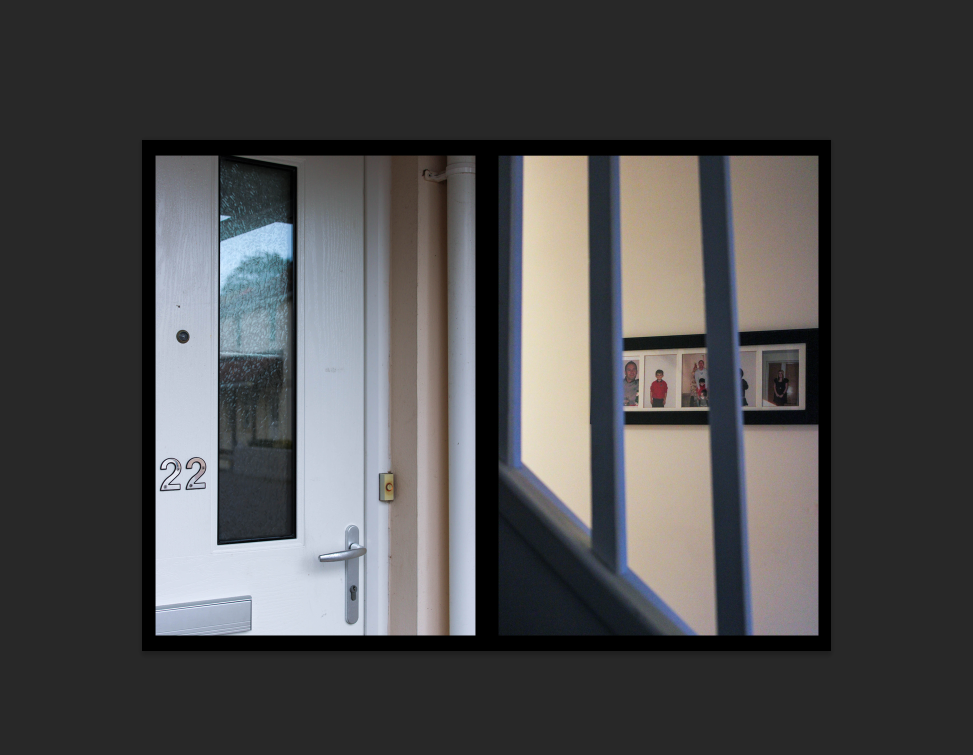
I decided to go with the second option because the key of the door would be in the centre, whereas if I chose the first layout then this leaves a large empty space between the two images as the photo of the door is quite sparse on the left side.
I doubled mounted these onto white card as the images use quite a light colour palette of silvers and baby blues which I think goes better with white, whereas if I used the black then this doesn’t particularly match the aesthetic of the two.
Third:
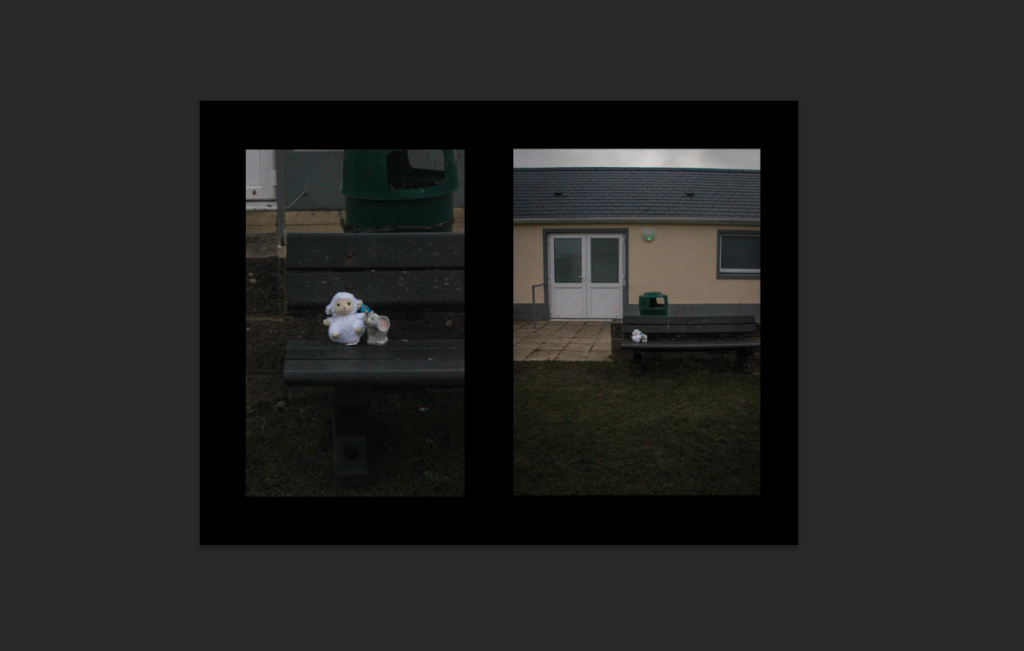
I wanted to place these images onto a black piece of card because I feel that the black made these images look more mysterious and depressing because these were taken during a photoshoot that was to represent the intangible feelings that there are when growing up with someone who is mentally unwell.
I was going to double mount these images but without the white border of the board because I wanted them to be raised above the page and made to be 3D as I feel that this brings the images to life and are become more appealing. Because they aren’t flat on the page, I really prefer this method too because you can see the images being displayed more sophisticated.
However, I had already done two diptychs so I wanted to include another image into this, being one of my archived edits of me and my brother so I experimented with this physically on the page during my layout process.
Fourth:
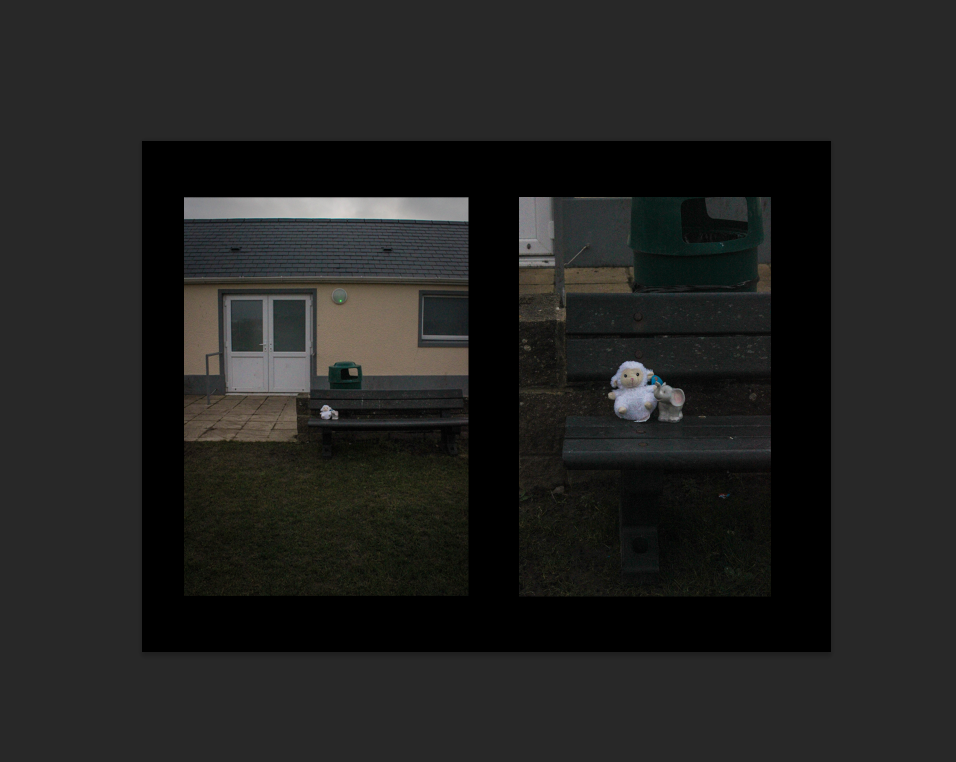
I already knew I was going to do a diptych of these two images as this was my intention during this photoshoot. I wanted to use a black background because the images use a low-exposure so I thought that this would complement the aesthetic of them. I picked the second layout also because this means that the viewer gets a brief overview of the surroundings, however the focus then becomes concentrated and zooms into the fluffy teddy which is something that I think works really well, acting like a process.
Fifth:
For my fifth mount, I decided that I wanted to display just one image in A3 as I really liked this specific image however it didn’t link with any of my other prints in the way I wanted it to. However, I didn’t want it to just be a plain image because I didn’t want to risk it coming across as quite simplistic, so I began to think about the ways I could distort the photo by cutting it up.
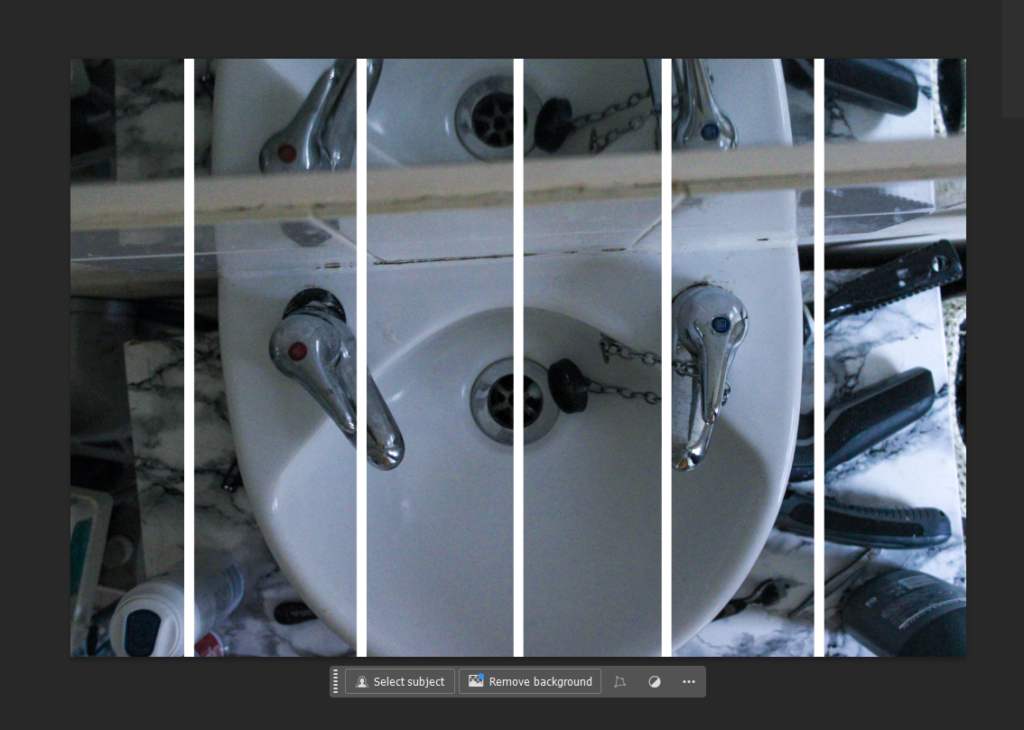
I eventually thought about slicing the image into six sections, as I measured the image to be 42 cm I was able to make each section even by cutting it at 7cm. As the image is showing a diagonal reflection, I thought it would be interesting if I added vertical straight lines to juxtapose this angle seen. I got this idea from initially thinking about slitting it down the middle, however I think that this is quite effective.
I mounted the image onto white foam board as I think that this adds to the illusion of the image and reinforces the distortion that I did as it is raised up off the page instead.
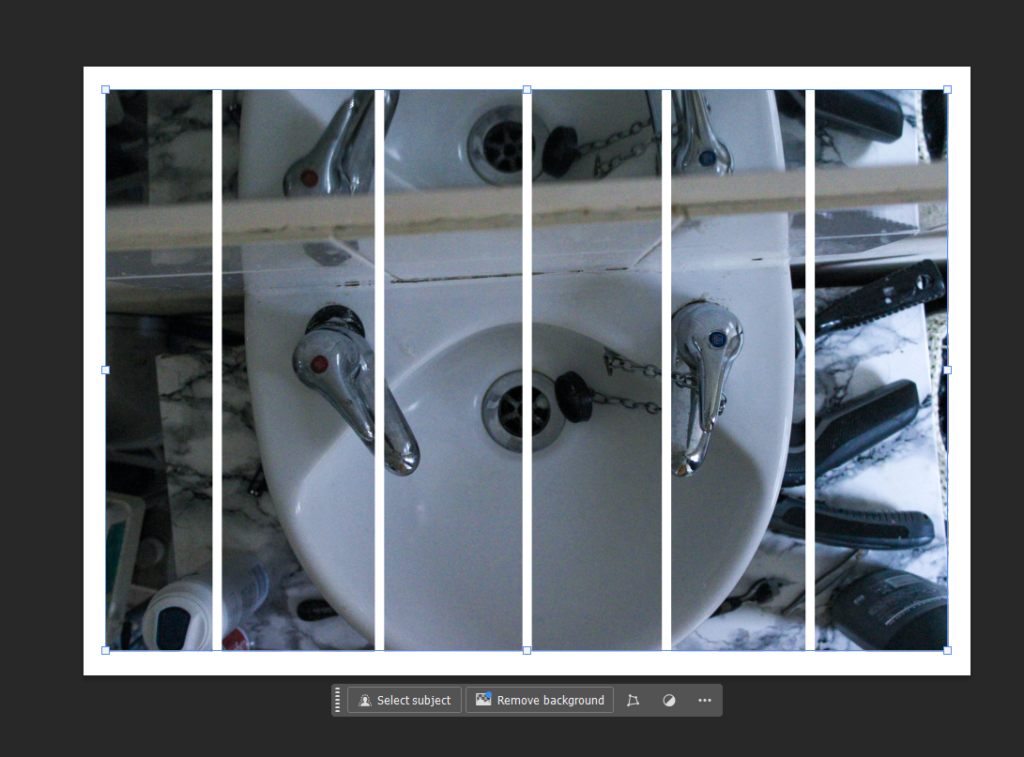
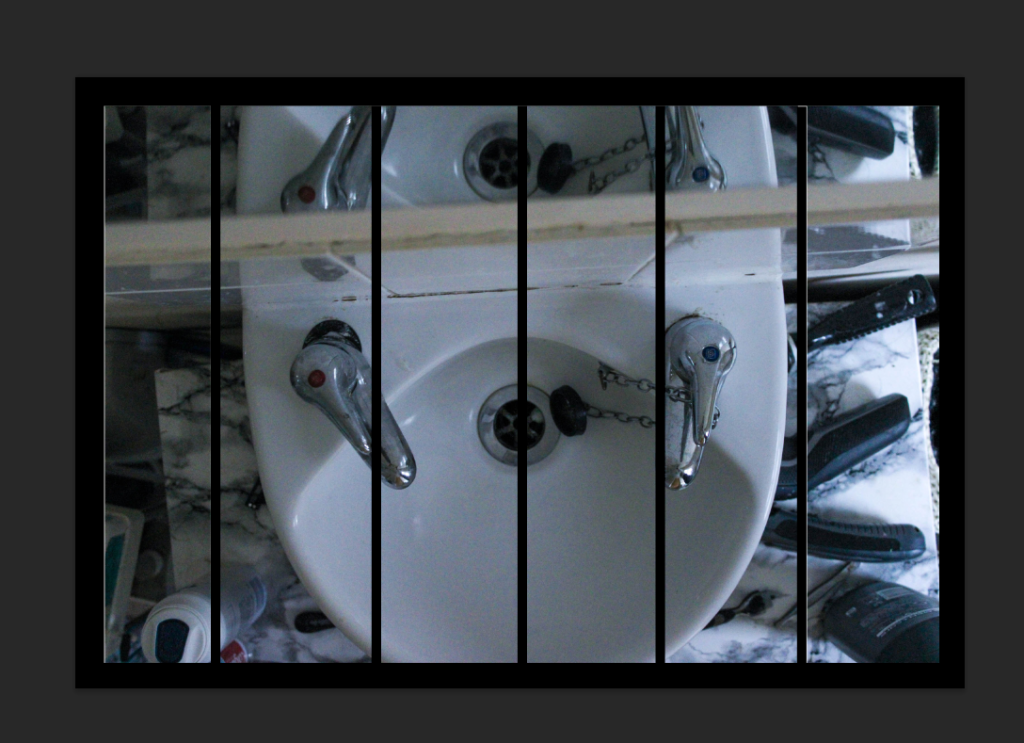
I experimented with both black and white to see which one would be the most suitable. I chose to use the black card because it means the separation lines in the image look more exaggerated and obvious which I think is more effective that if I had used the white.
Sixth:
For my final print, I decided to make a similar diptych to before where I use two images that share the same tonal range and colour, and pair them using solely foamboard to keep it bright I like using this method because it means that the images can become 3D and off of the page so that they can properly be engaged with rather than just looked at.
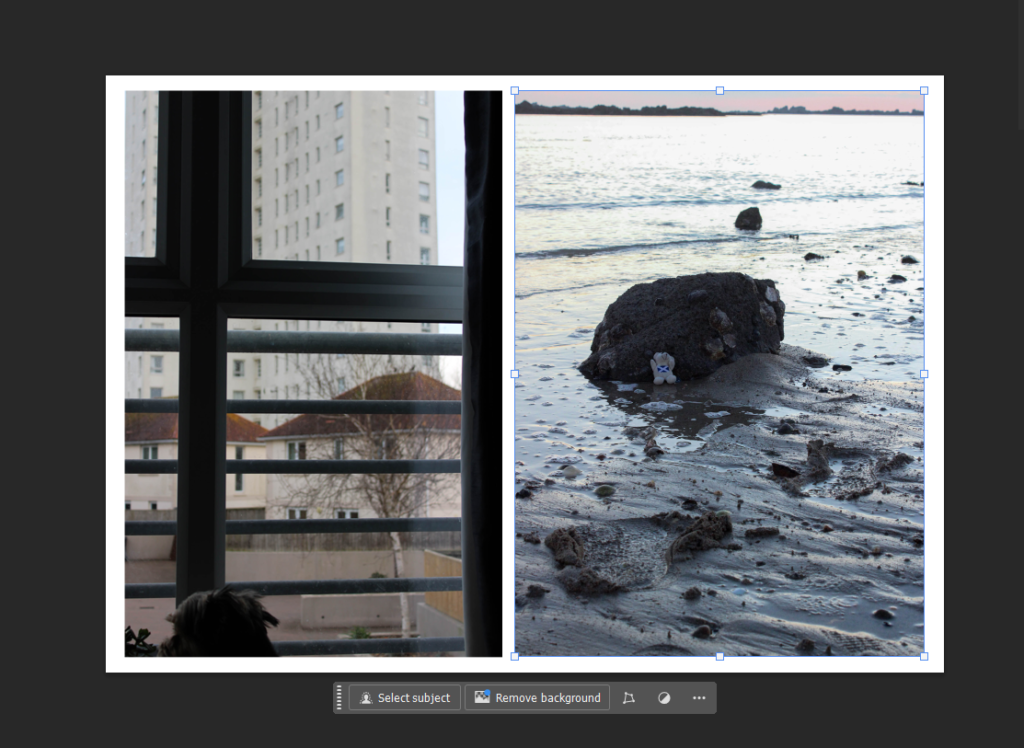
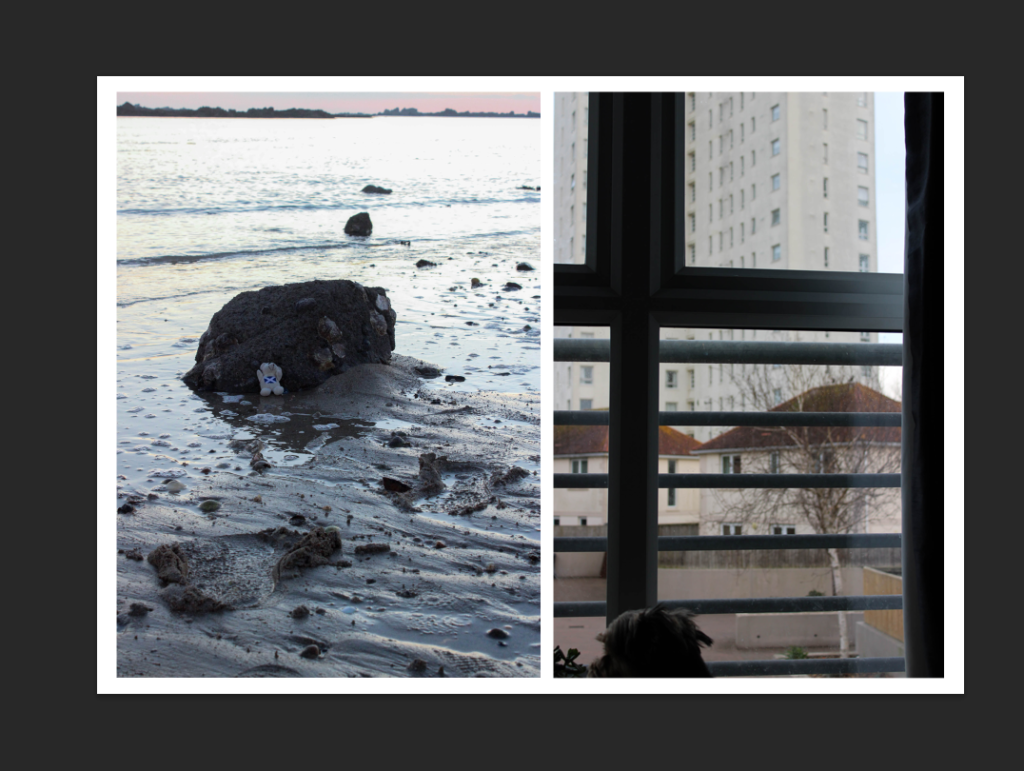
I chose the first layout because I liked the way that the footprints in the right image led towards the dog’s head. I also chose this design because the side of the curtain is caught on the edge of the left image, meaning that this divides the two images more whereas this may have looked strange if I did it the opposite way round.
I didn’t end up using all of my prints because I didn’t think that they were all necessary or particularly linked as I experimented with which went with which at the beginning of the mock exam, meaning that some were exchanged out for better options and left by themselves. I think my mounting went really well as I have ended up with 6 different boards that all represent different tones and storylines. For example, my double-A3 board is very explicit in its storytelling as it includes words such as ‘hospital’ and ‘tablets’, meaning that the viewer can make a clear connection between the two photographs and understand the meaning entirely. However, some of my other boards aren’t as obvious, for example my second more is more ambiguous and conceptual, trying to represent an intangible emotion. I also think my planning was very effective in contributing to my final outcomes as it allowed me to really be considerate about my placement of my images. I think this was really beneficial because it means that the process can run smoothly and I can prevent mistakes from happening.
If I were to mount this personal study again, I think that I would like to also include some black and white variations of my work and experiment with them, whether that may be solely black and white or a combination with coloured images too. I would have liked to do this because all of my images are in colour, so it could have been nice to see black and white versions of my images too. I would also have liked to have done a ‘storyboard’, where I would’ve scattered a large combination of images across a big board. This is because it means that the viewer can gather a large insight into what the work is about really easily, for example I could have added detail shots alongside still-life images.