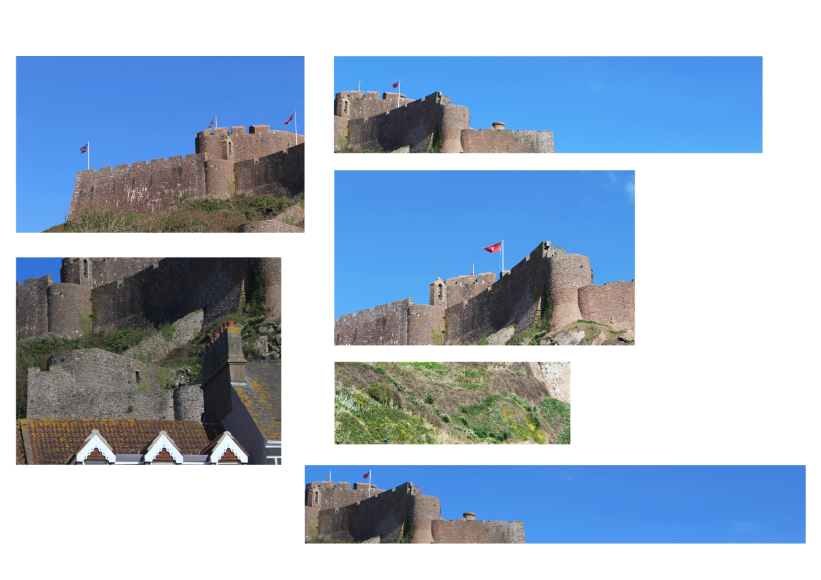
I started off my joiner by creating a mock-up using a powerpoint slide again. I used the images which I had colour-coded as green in Lightroom.

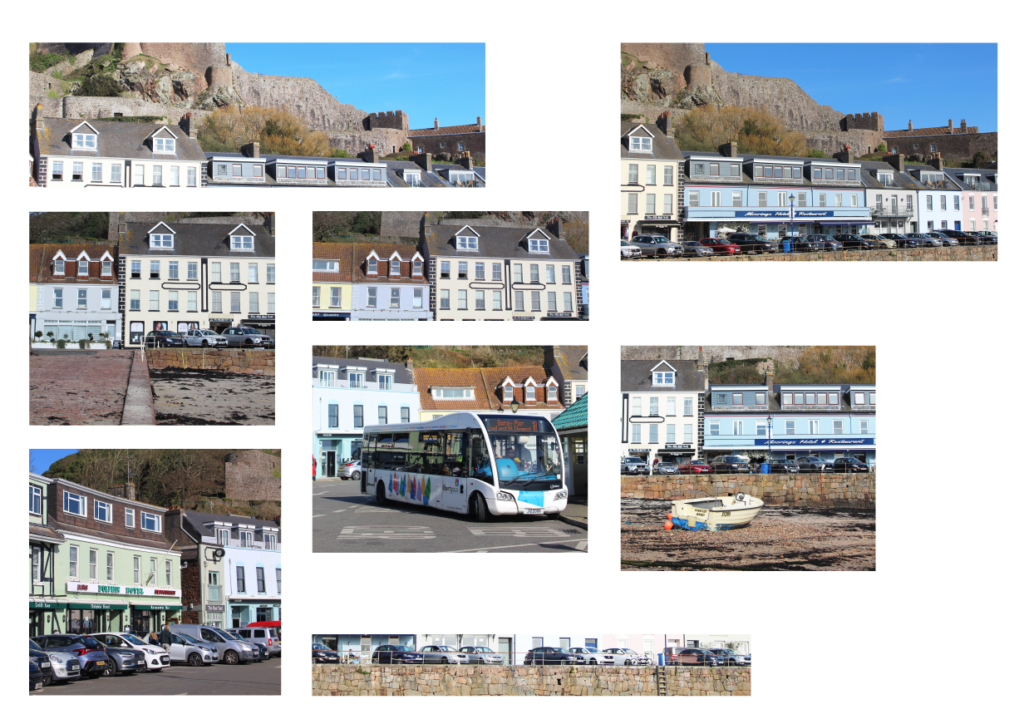
I then made sure to colour-code each image I had used in blue and then I cropped each of these images as to how they were in the joiner.
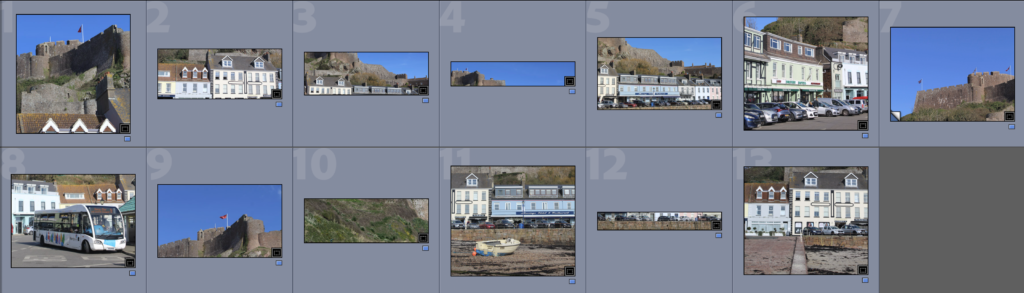
I then exported these images and inserted them into Photoshop. I used these images to form my joiner, imitating the mock-up I had made.
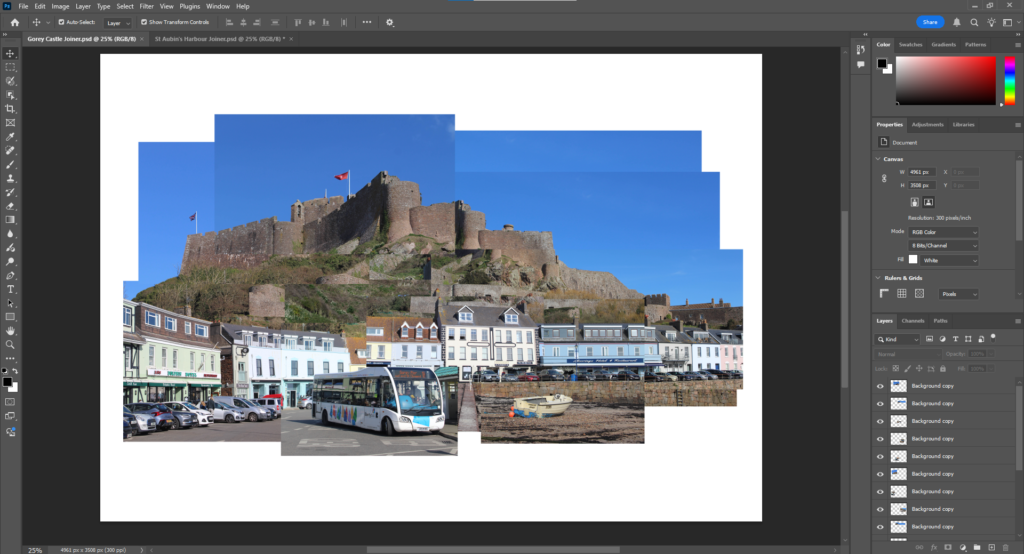
I then individually edited the image segments, changing their brightness and contrast. I decided that for this joiner I didn’t want to add any blur like my last one as I want it to be more of a landscape image than an abstract one.

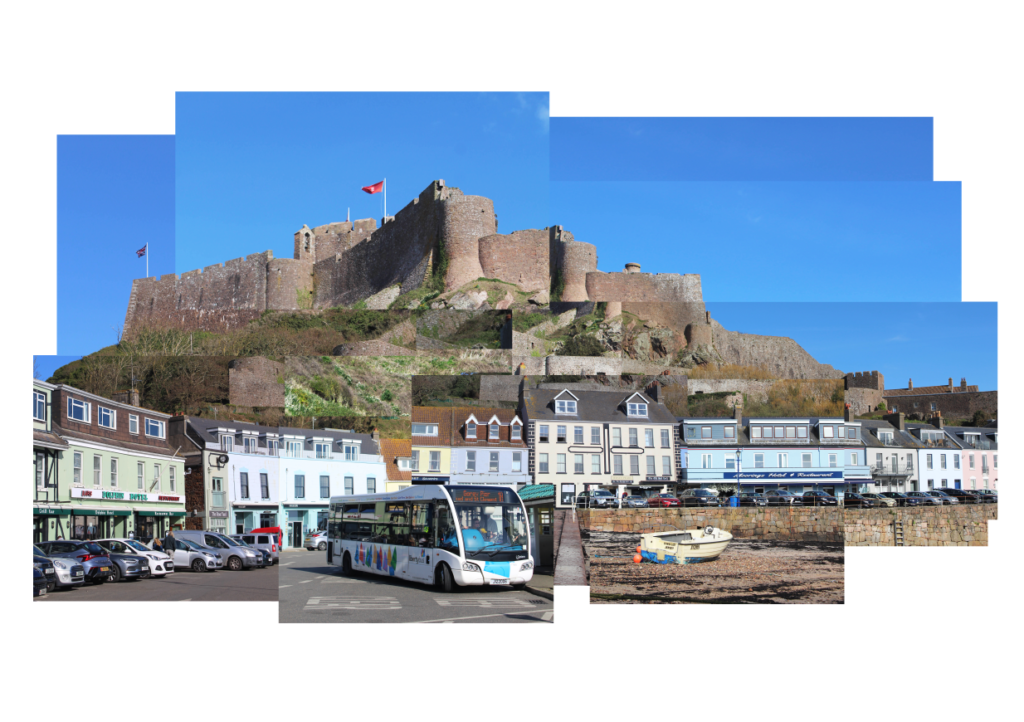
This is my final joiner:
I would like to also make this joiner by hand so I separated the images on 2 separate A3 sheets in Photoshop so that the images can be printed to the right size. When I make this by hand, I will be able to just cut these images out then stick them down together.