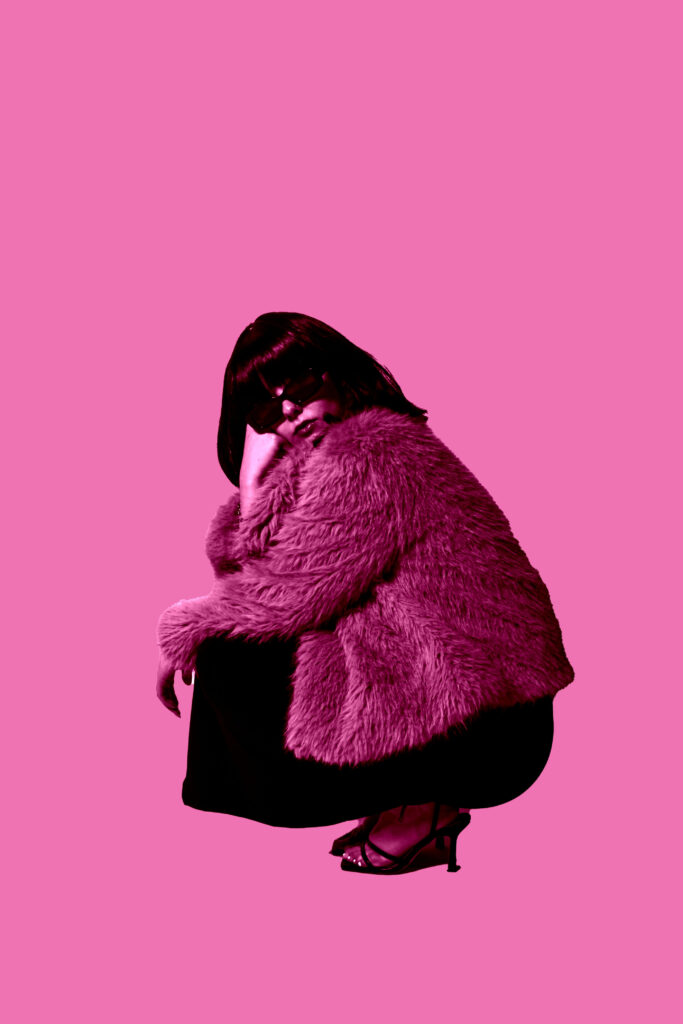
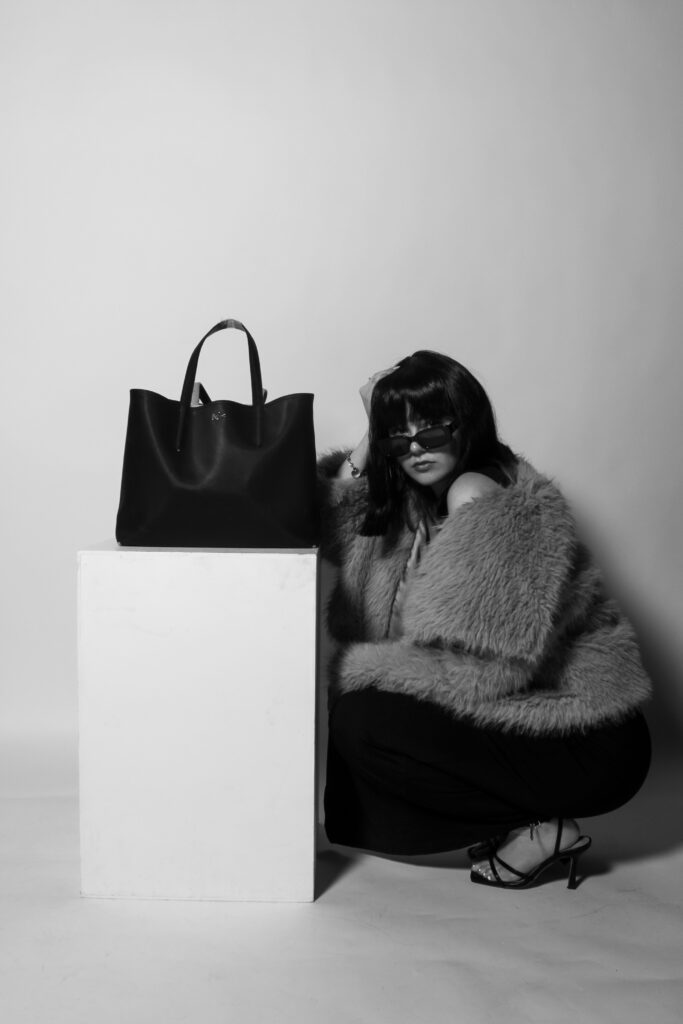
So far, my second shoot I have carried out has been my favourite, with a range of different poses and creating more of a variety within my project, while closely following approaches from Newton and Kusama. Therefore, I decided to edit these images further, creating more of a link to Yayoi Kusama and her vibrant aesthetics in her images. To do this, I exported all of my best outcomes from photoshoot 2 into a folder, then imported them all into Photoshop to begin editing.
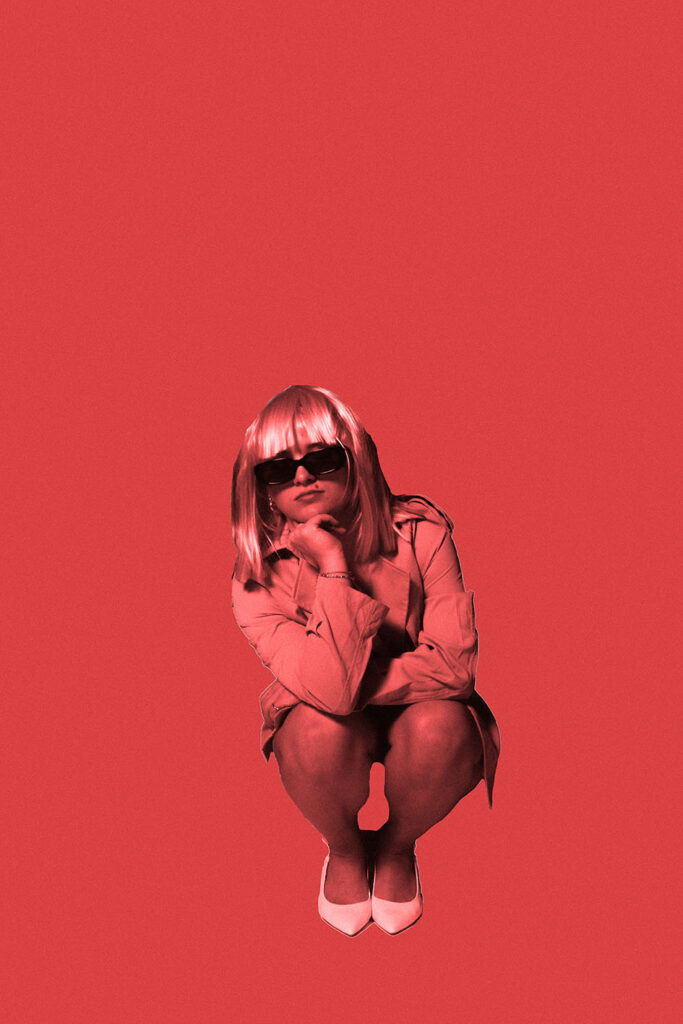
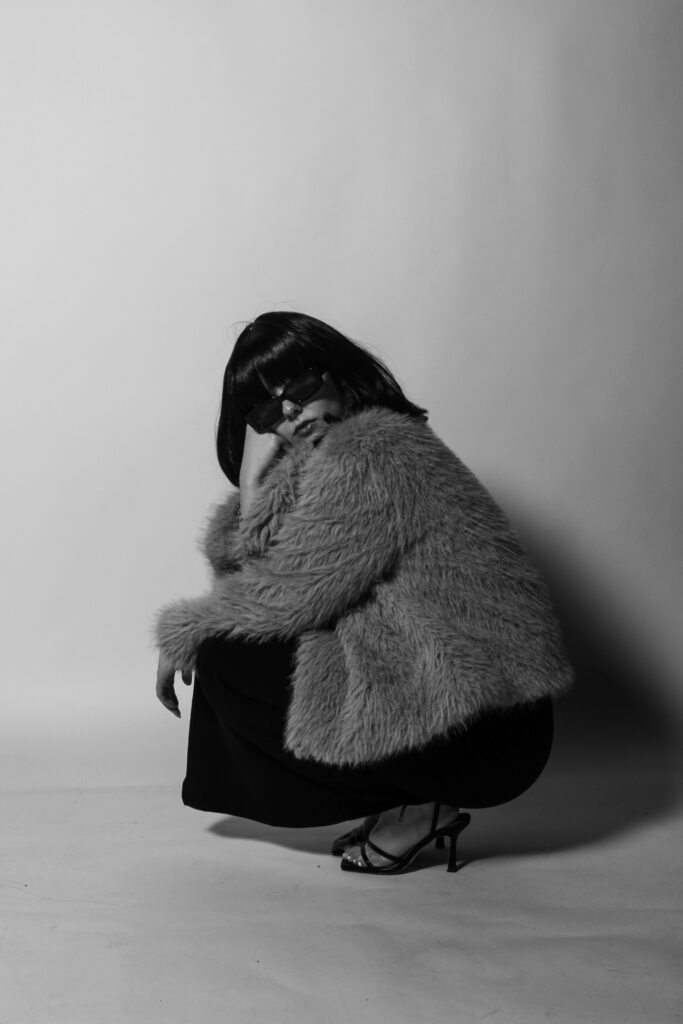
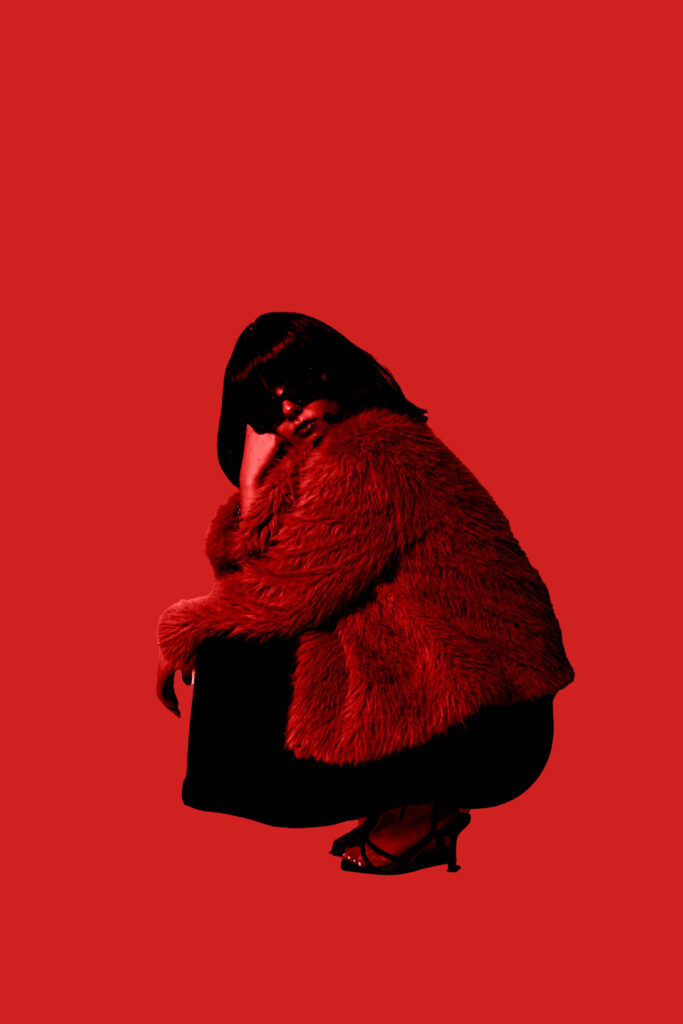
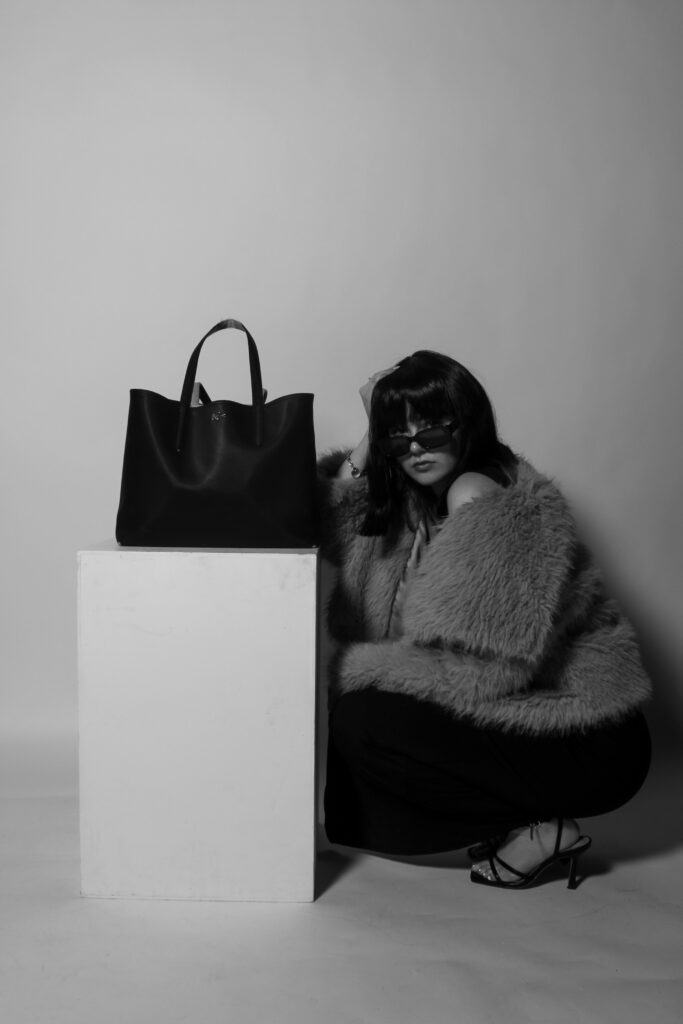
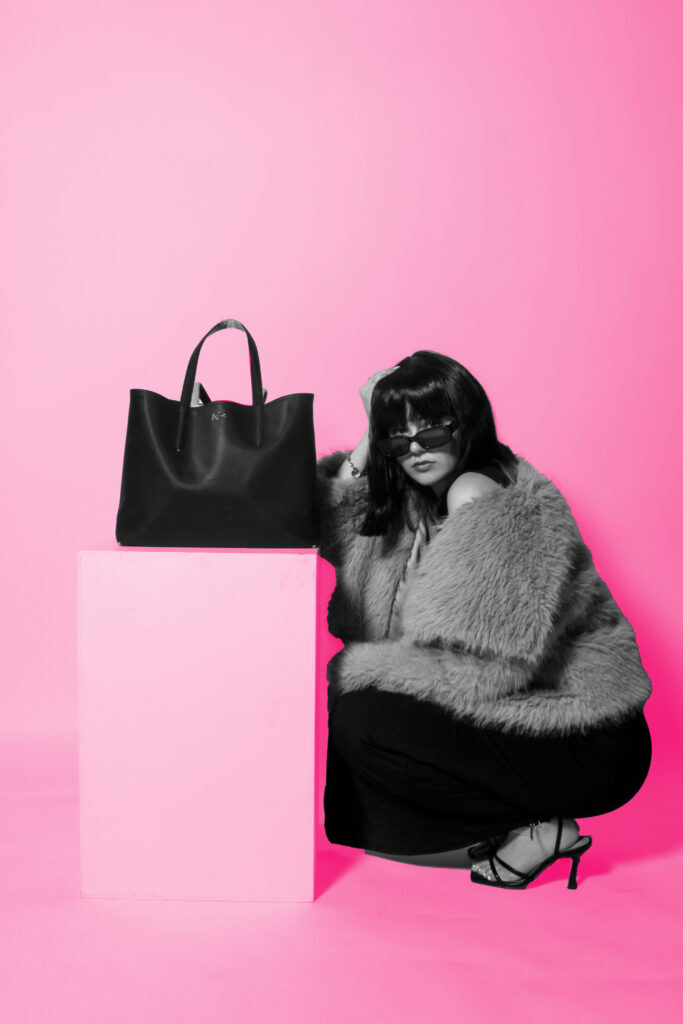
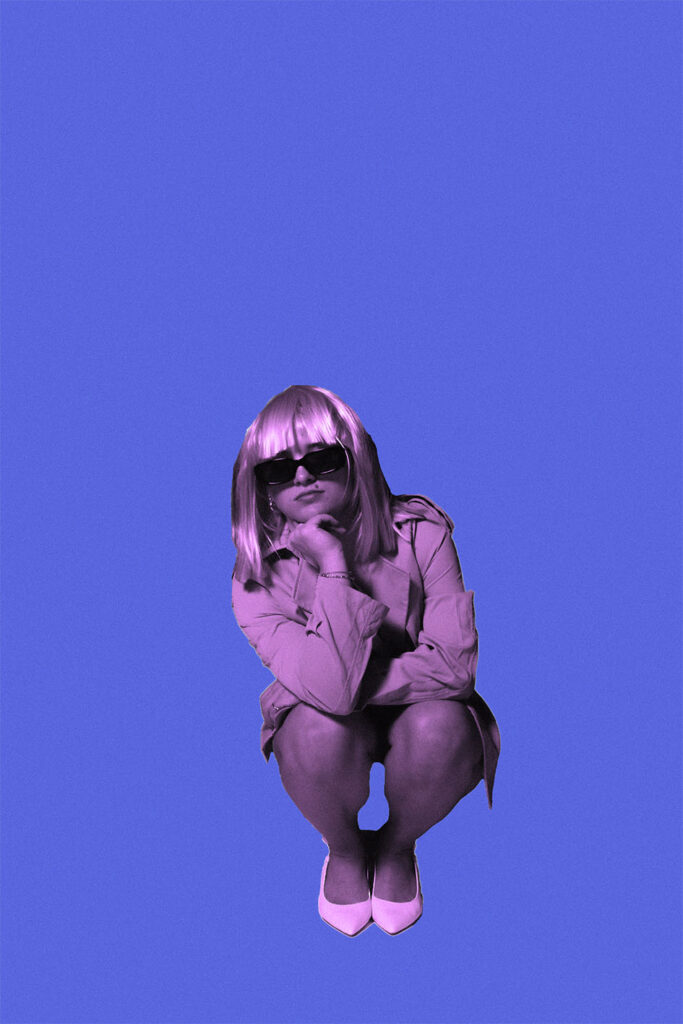
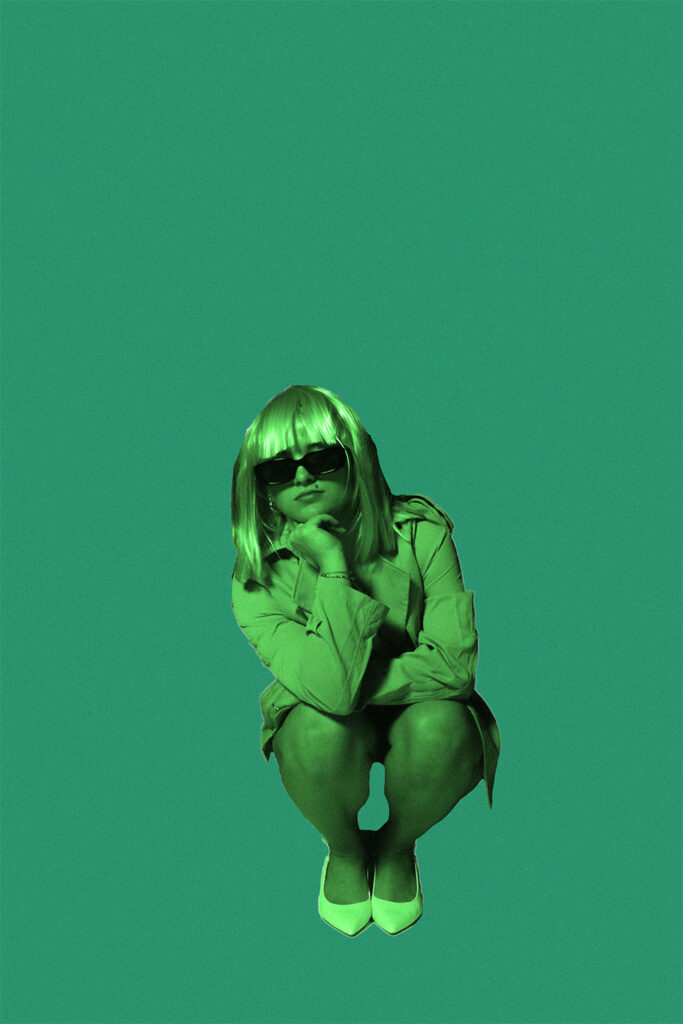
I found it useful that each of these images were taken against a plain background because it makes the editing process easier for me, as it is easier to cut out and select specific subjects and place them onto coloured backgrounds. I kept them all black and white as it allows the more sophisticated look to still remain, while also incorporating vibrancy.
Once I had cut out my subject that I wanted to move, I pressed ctrl c, followed by ctrl v to paste it onto a new layer with no background. Next, I selected the colour I wanted and changed the vibrancy so it could appear brighter and create a harsh contrast. I then selected the paint bucket tool and clicked the background to fill the background with the solid colour.
Edit 1:
v1:
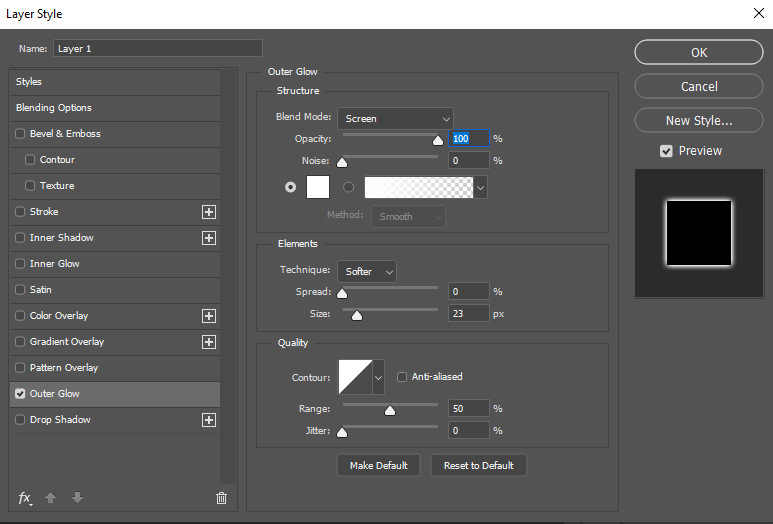
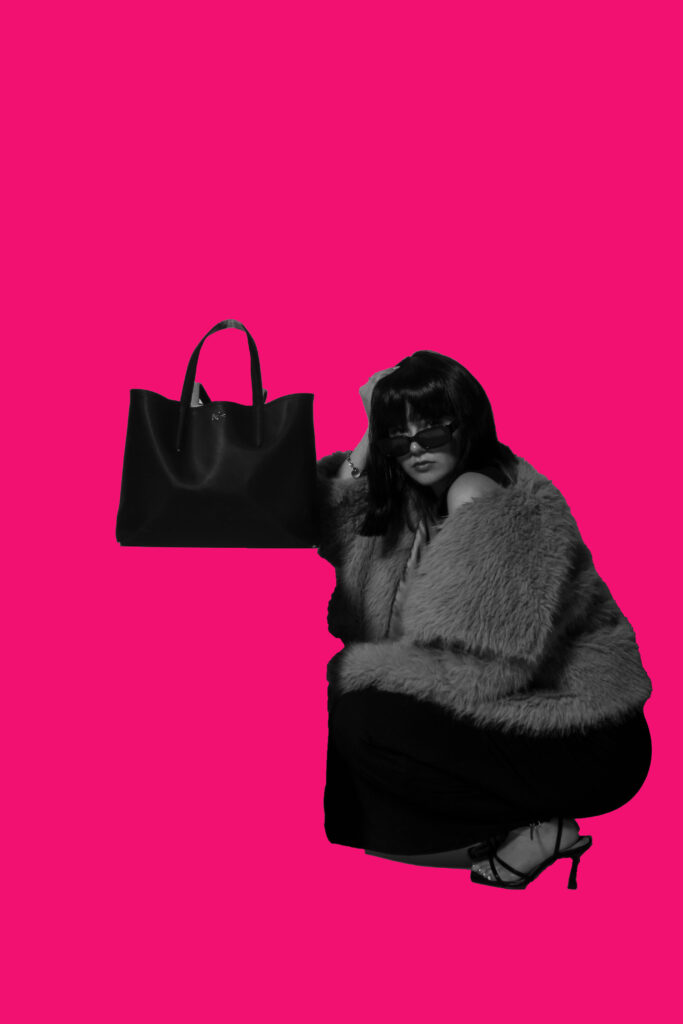
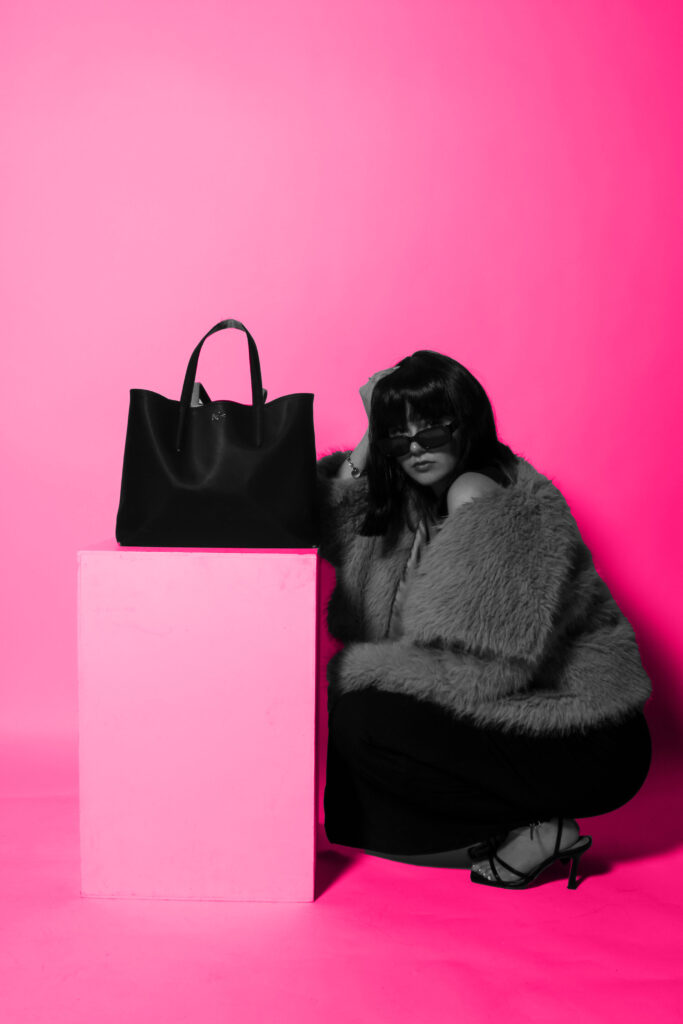
For my first edit, I used the selection of styles on the left hand side of this screen shot and chose the outer glow effect so the outline of my subject glows against the background, allowing it to stand out more against the solid colour.
v2:
I followed this process for each variation of my images. I completed a few variations of different images to give me more choice when it comes to selecting my best ones for a virtual gallery. The only changes I made was selecting different colours and choosing to blend the colours differently.

v3:
Edit 2 :
v1:
v2:
v3:
Edit 3:
v1:

v2:
v3: