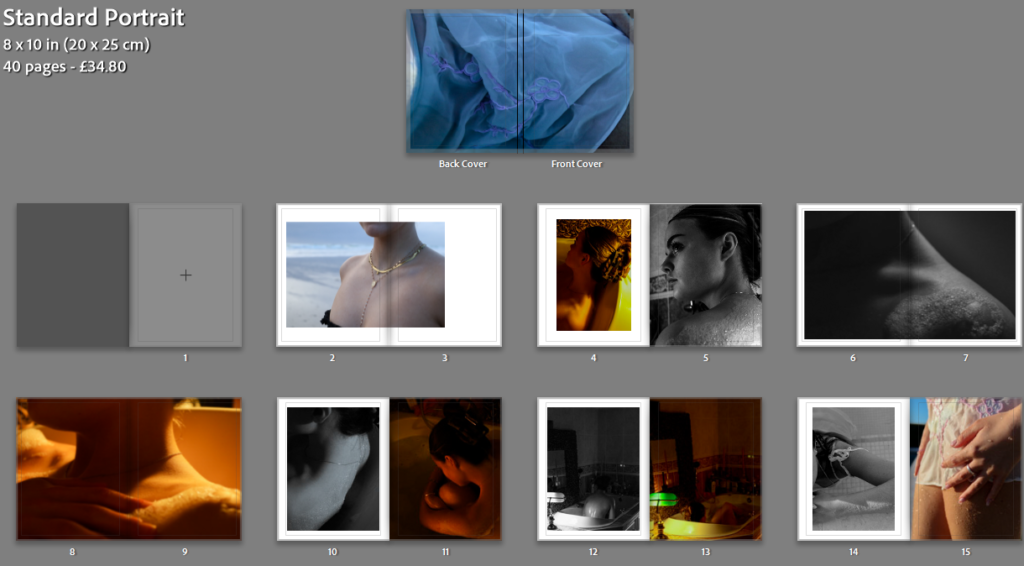
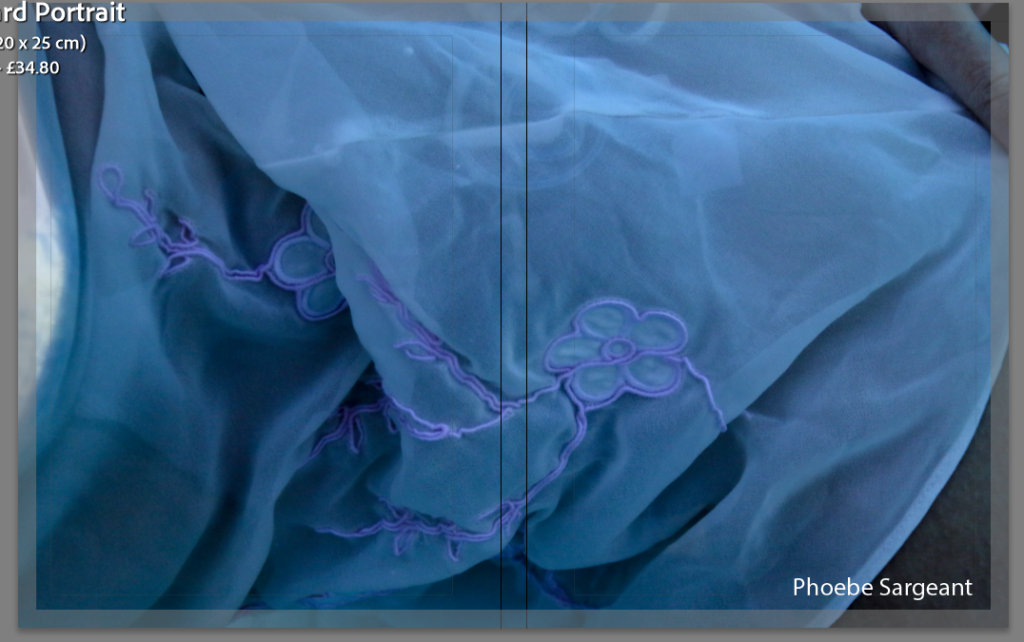
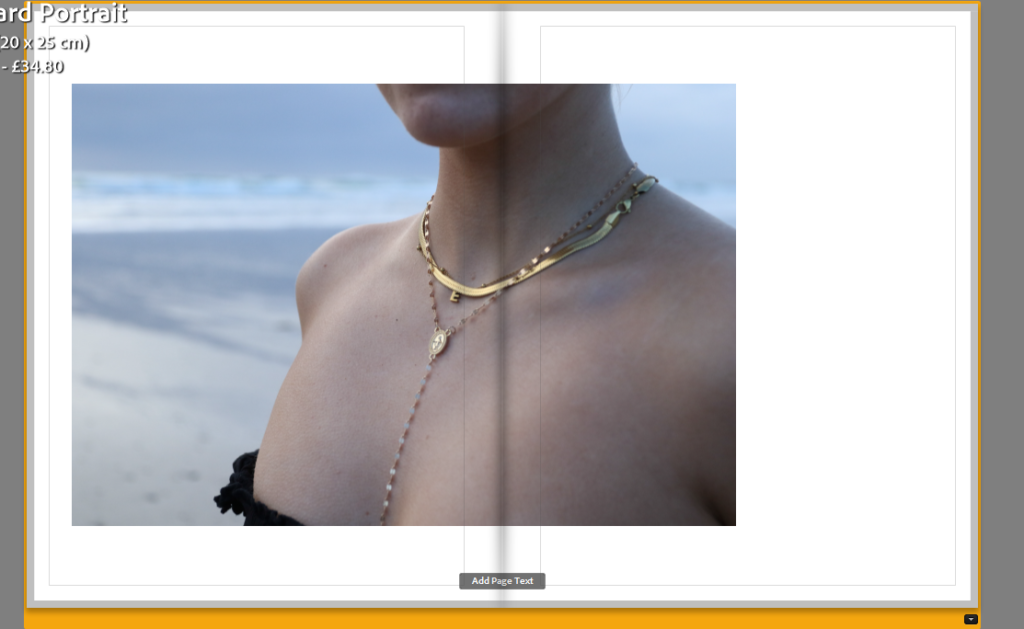
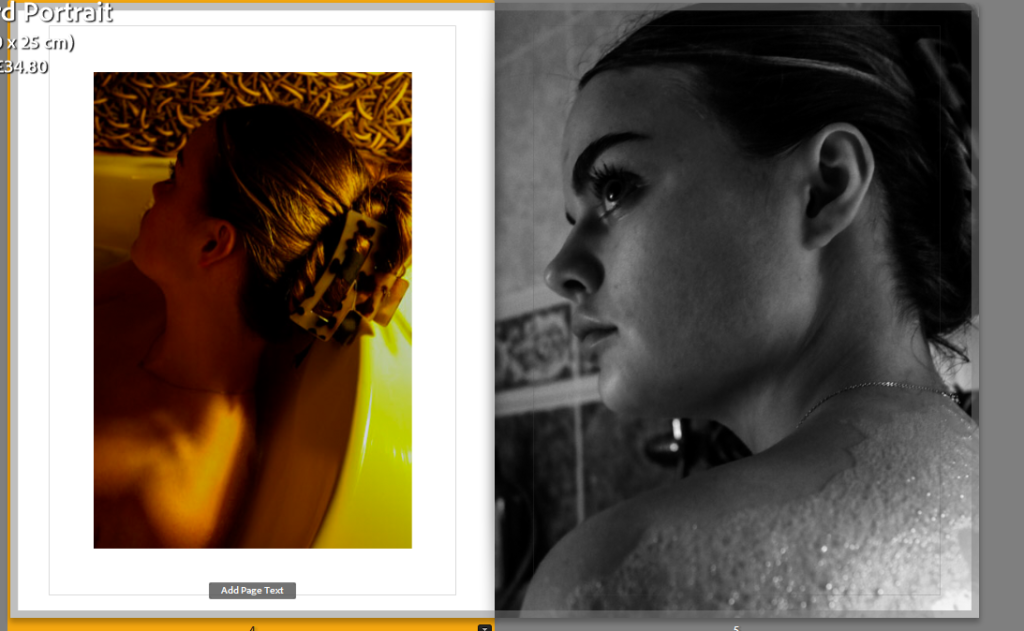
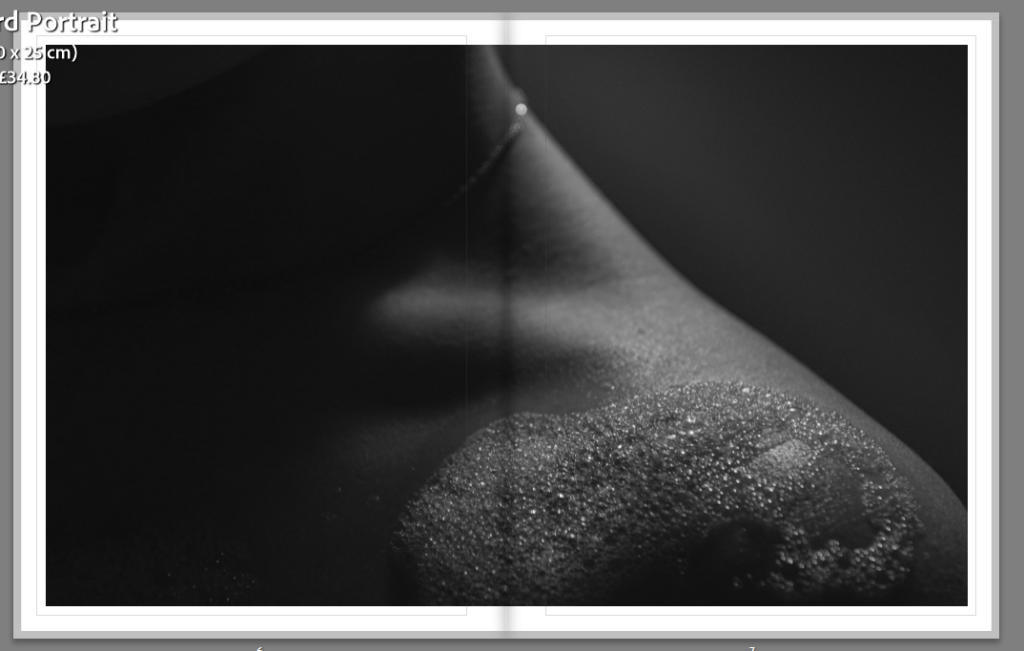
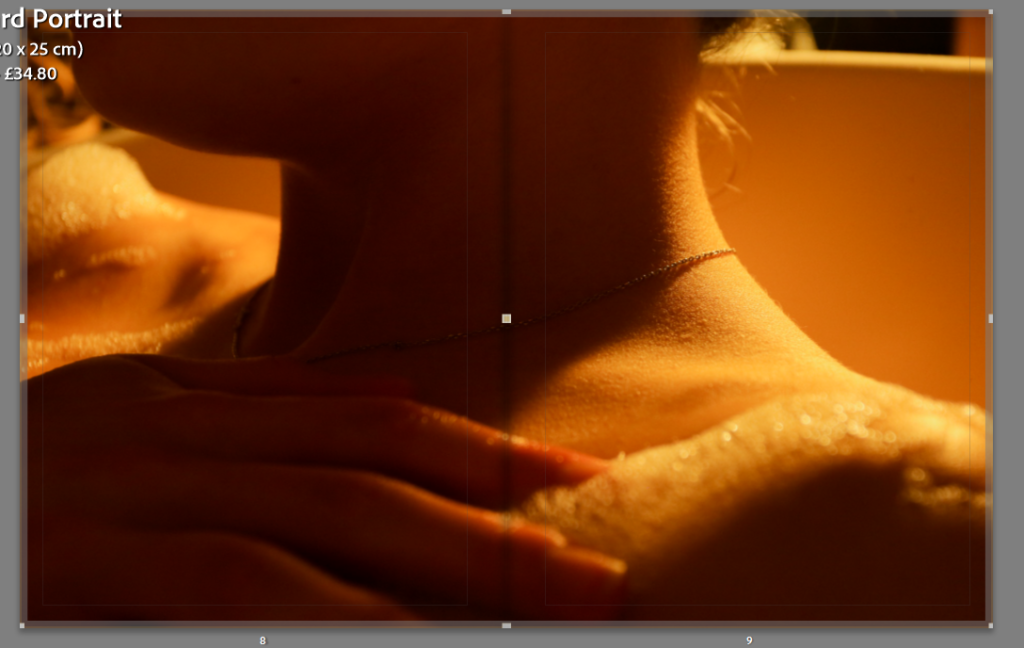
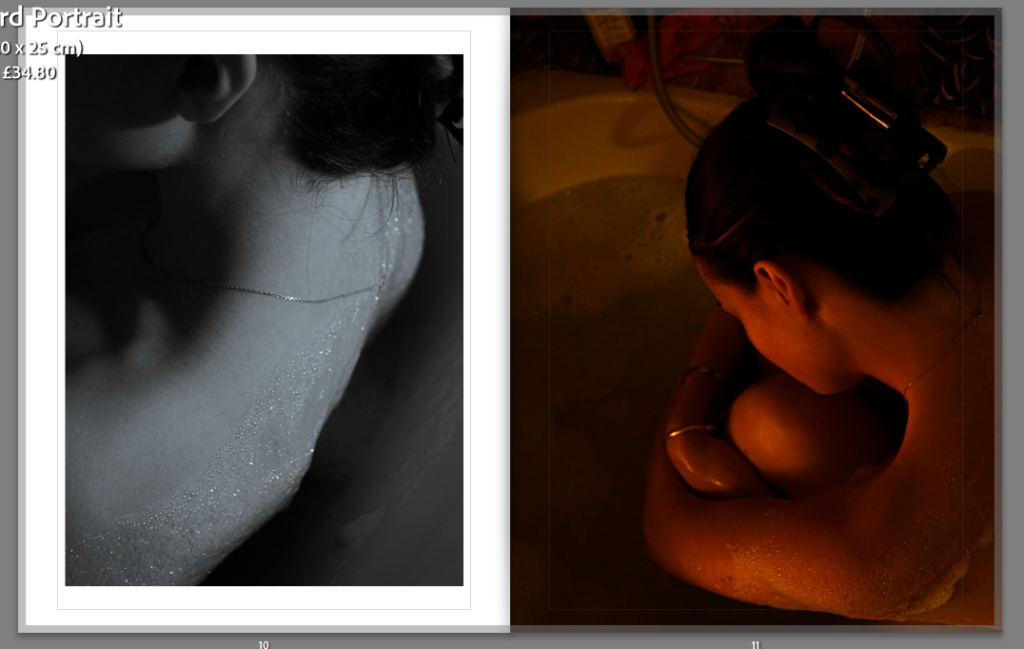
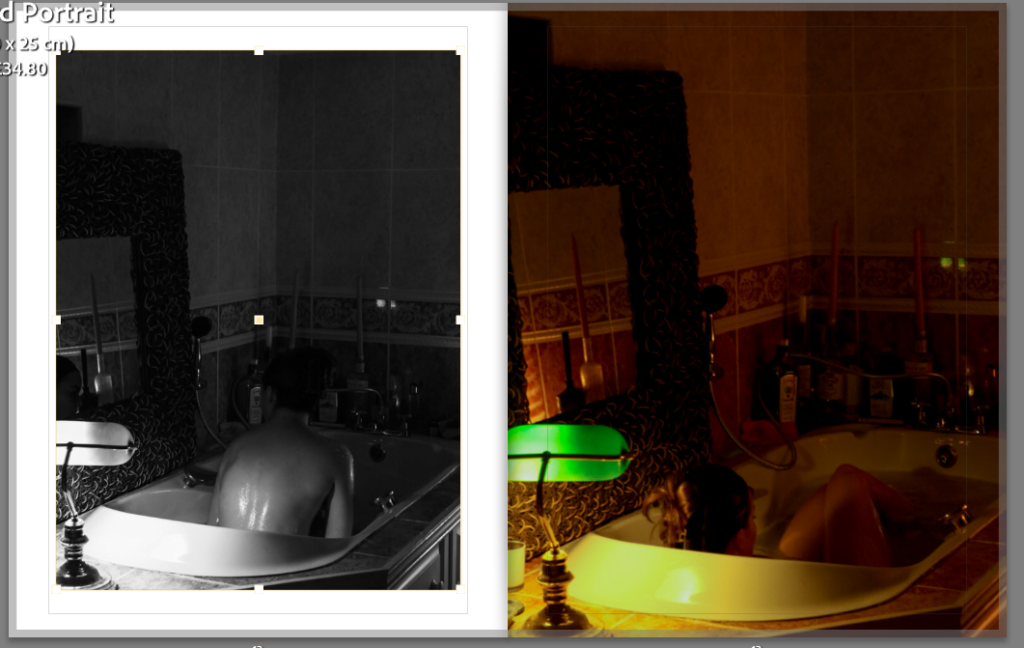
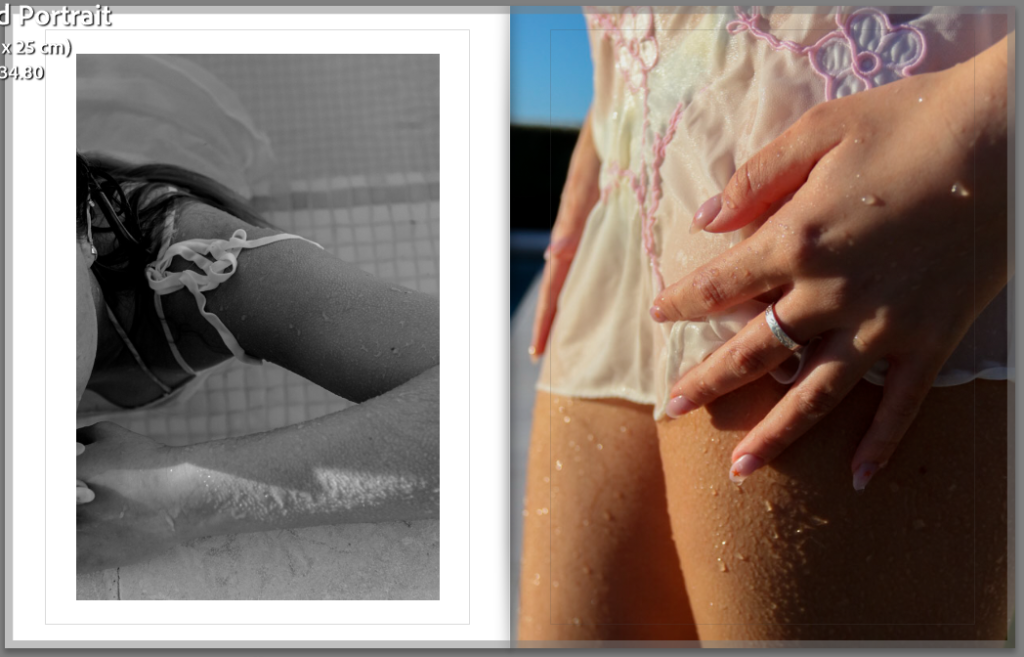
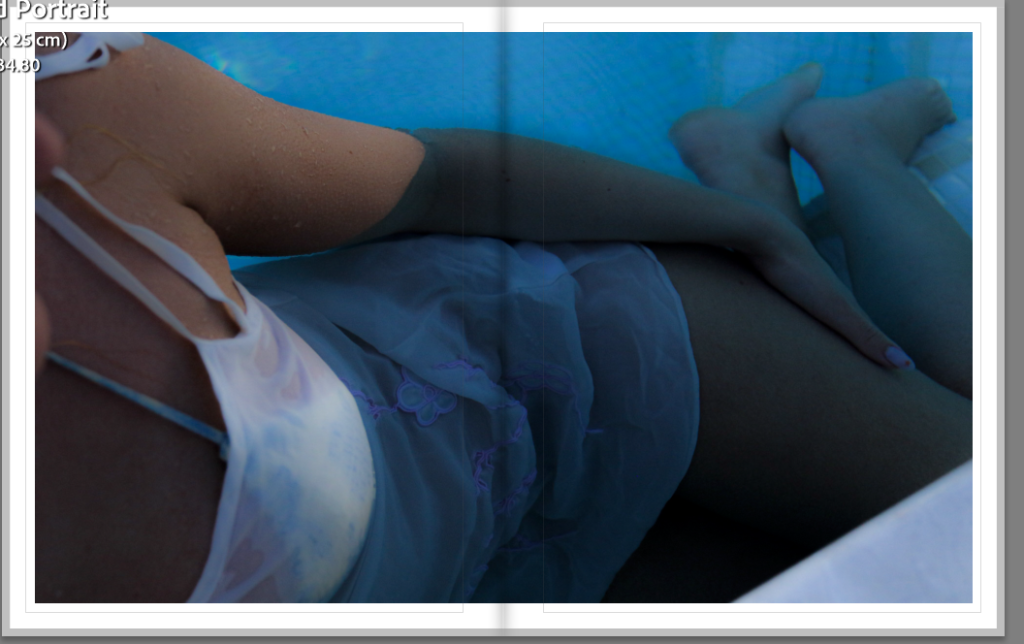
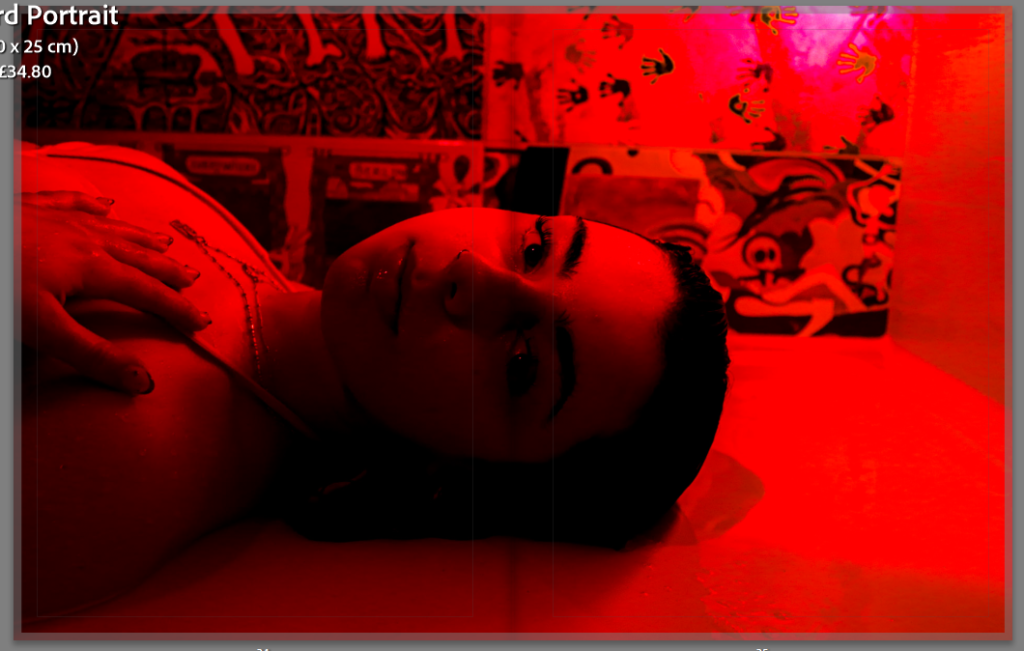
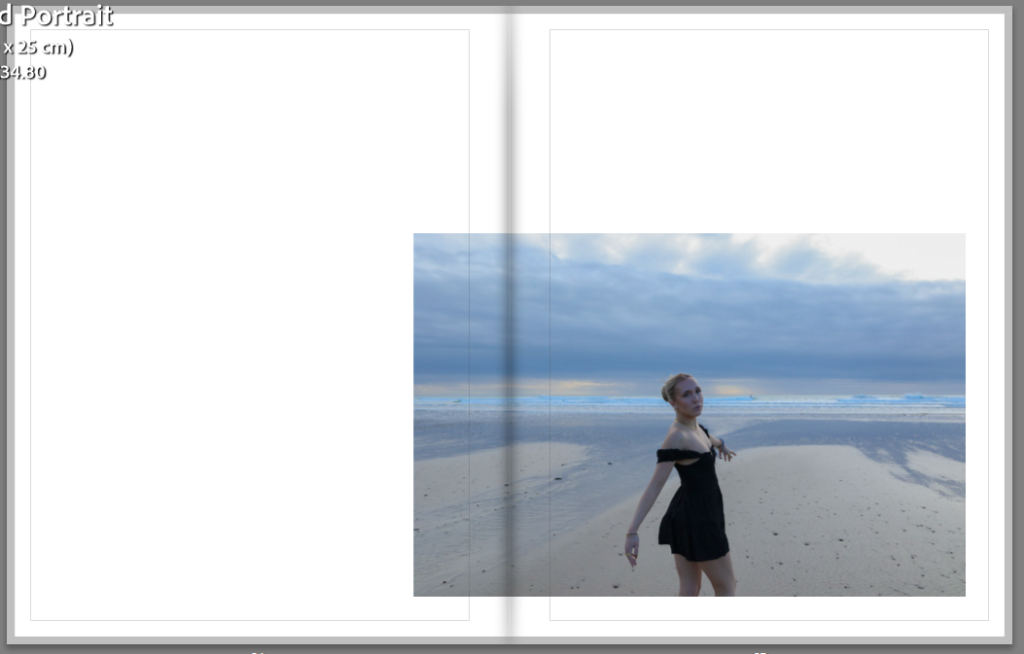
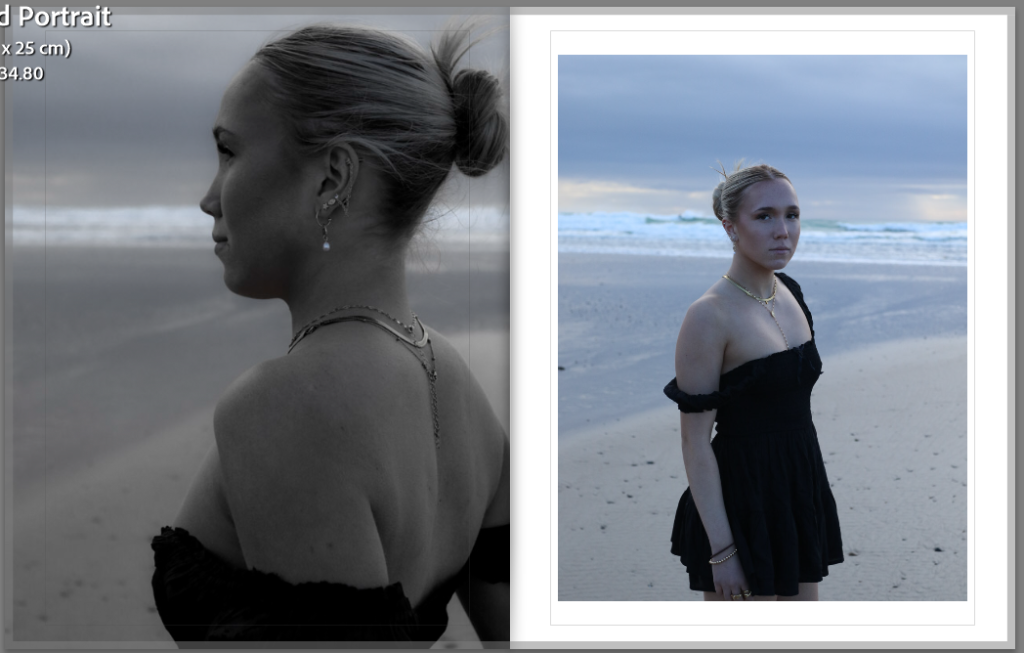
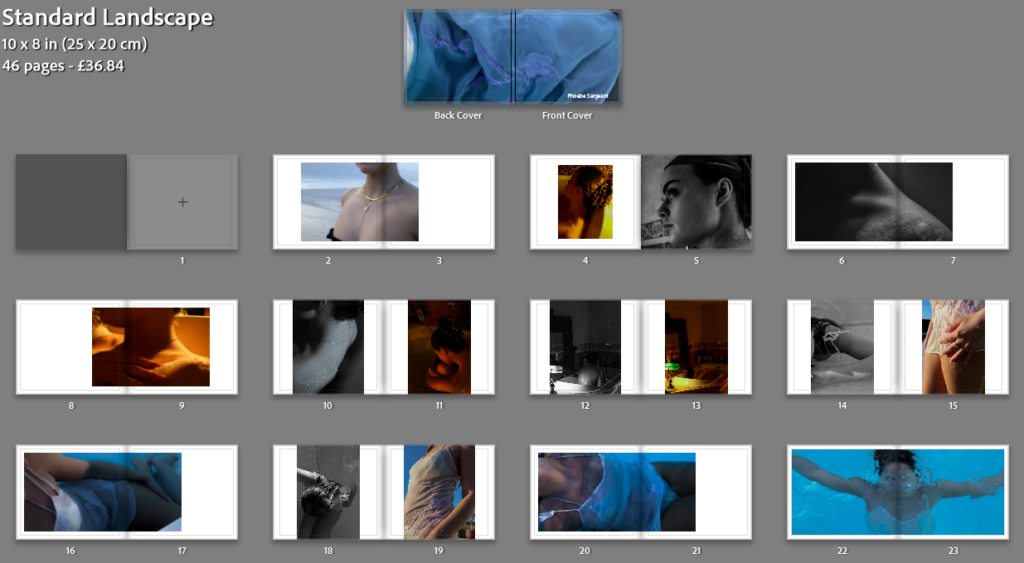
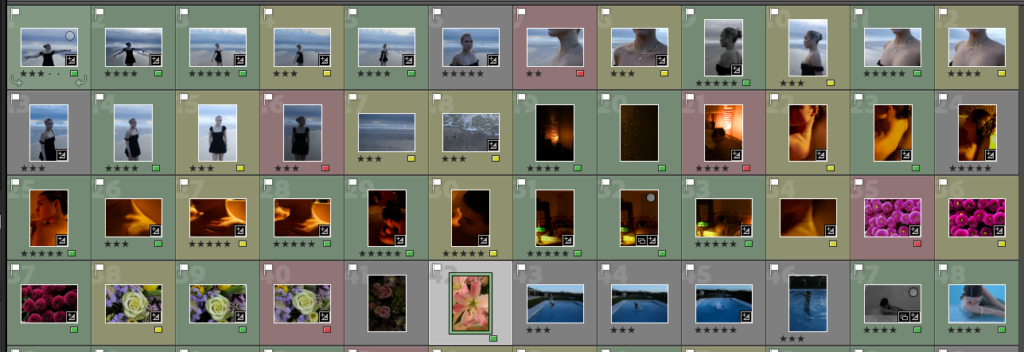
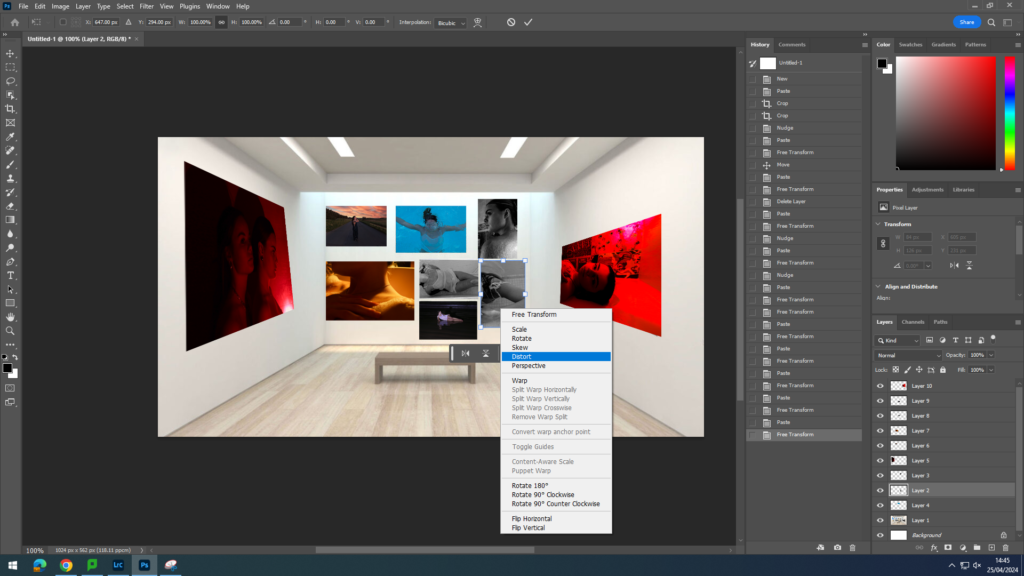
All posts by Phoebe Sargeant

Filters

Author:
Category:

Final Evaluation + Virtual Gallery

Virtual gallery

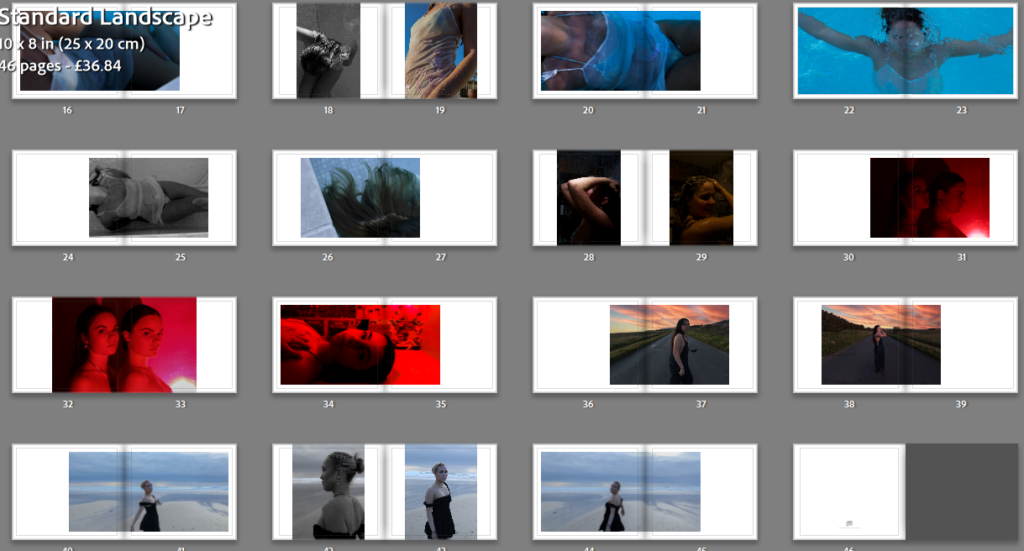
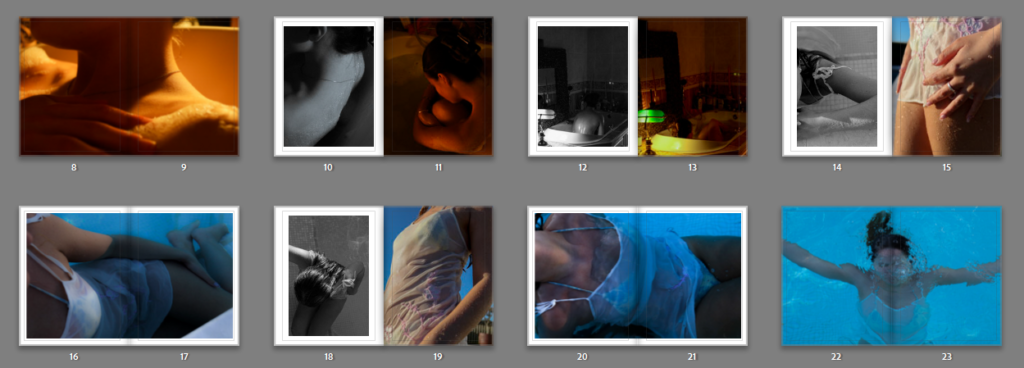
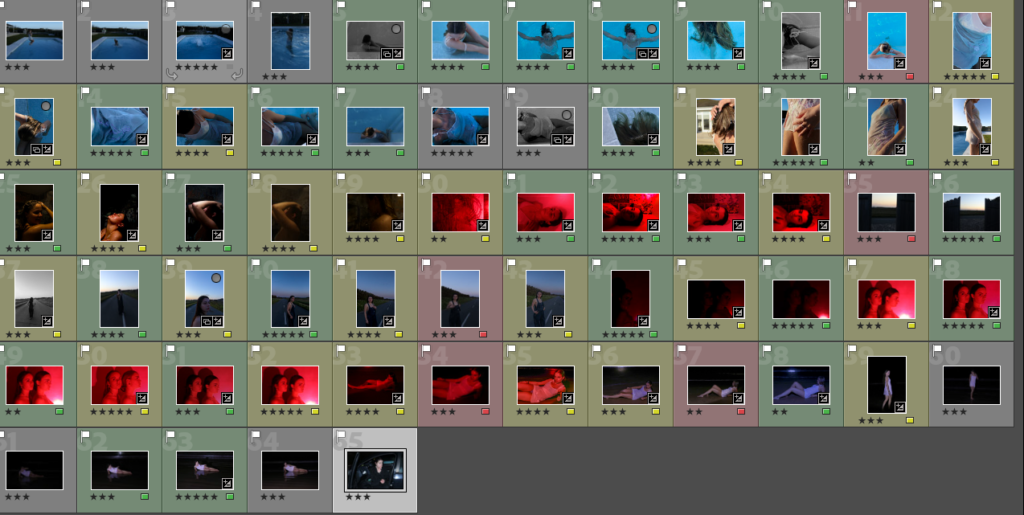
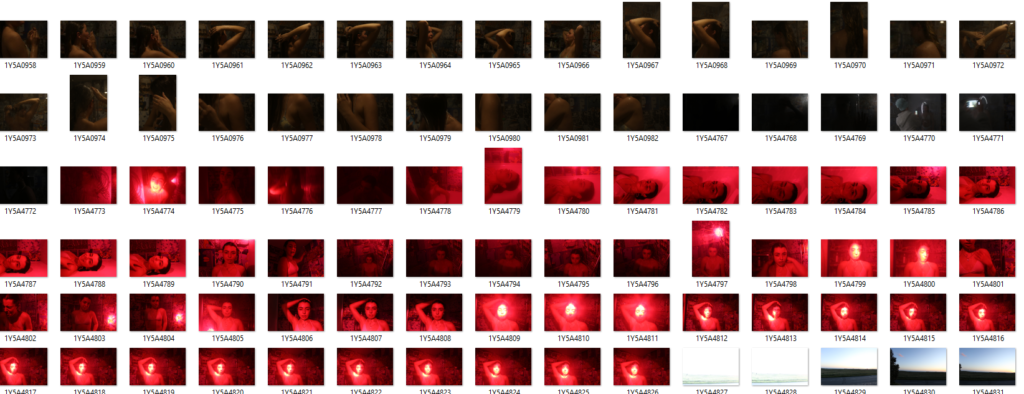
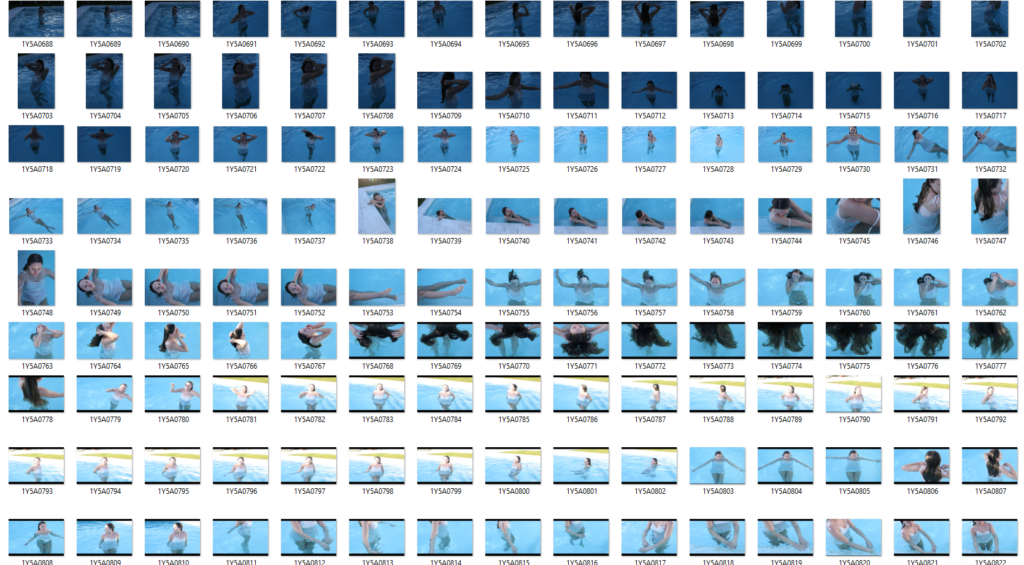
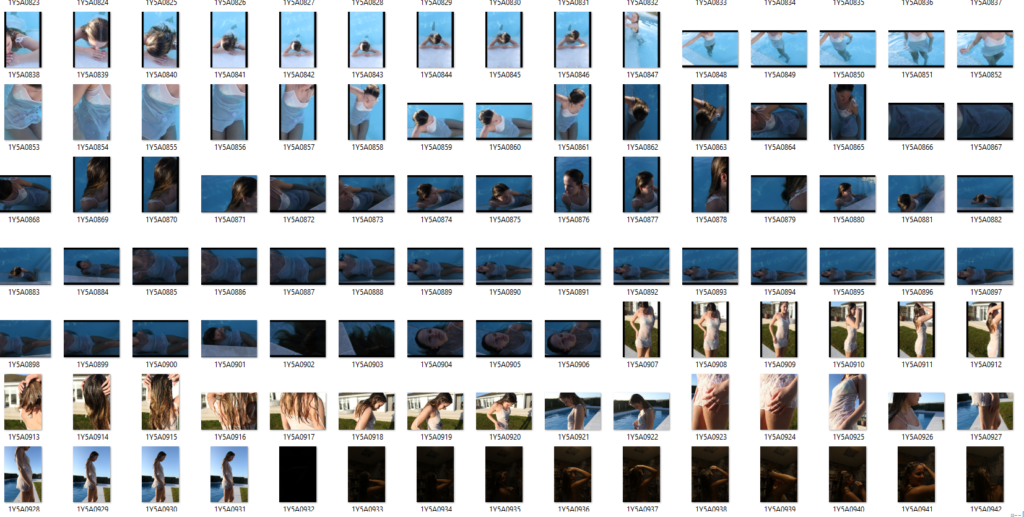
I have created this virtual gallery on photoshop by importing my images from light room onto photoshop I then placed them onto the walls, the ones on the sides of the was done by using the Ctrl T button and then right clicking pressing distort which allowed my to create the illusion of it being seen on the side of a wall.

Evaluation

I have really enjoyed this project, I am happy with the outcomes of it a I believe it reflect well on my photography skills.

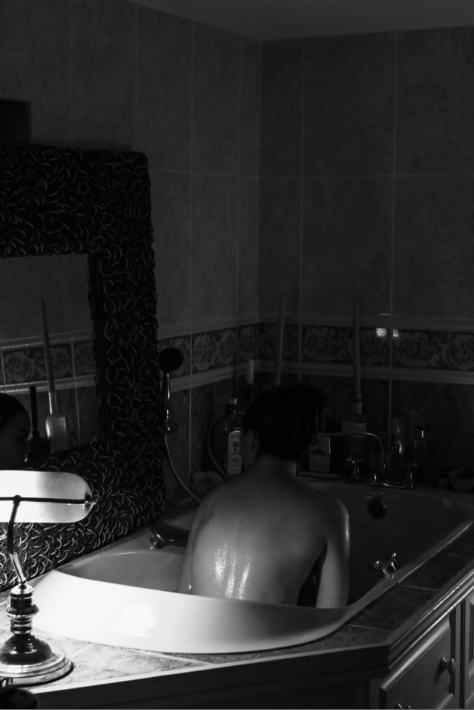
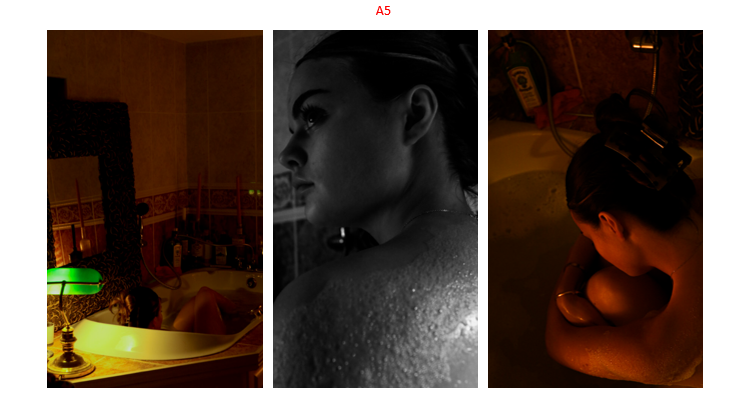
The project has been challenging at times and hasn’t always worked in my favour for example when it came to getting my printed mages back as it was don’t my a new printing company the photographs came out darker than I had expected meaning that I was unable to use 4 printed images due to them being too dark and ruining the image its self, however I have learned for this and in the future if I was to print out images again I would make sure the person printing the images has the knowledge on the lighting and print settings of the photos being printed to try avoid the same problem happening again.

The process of exploring photographers and learning about them was intriguing as I got to find out there whole photographic journey and different styles and types of photography each photographer has, I am happy with the photographers I have picked as I found there images fascinating from the way they were taken and the background of the photos. Both artist have inspired me in many ways.

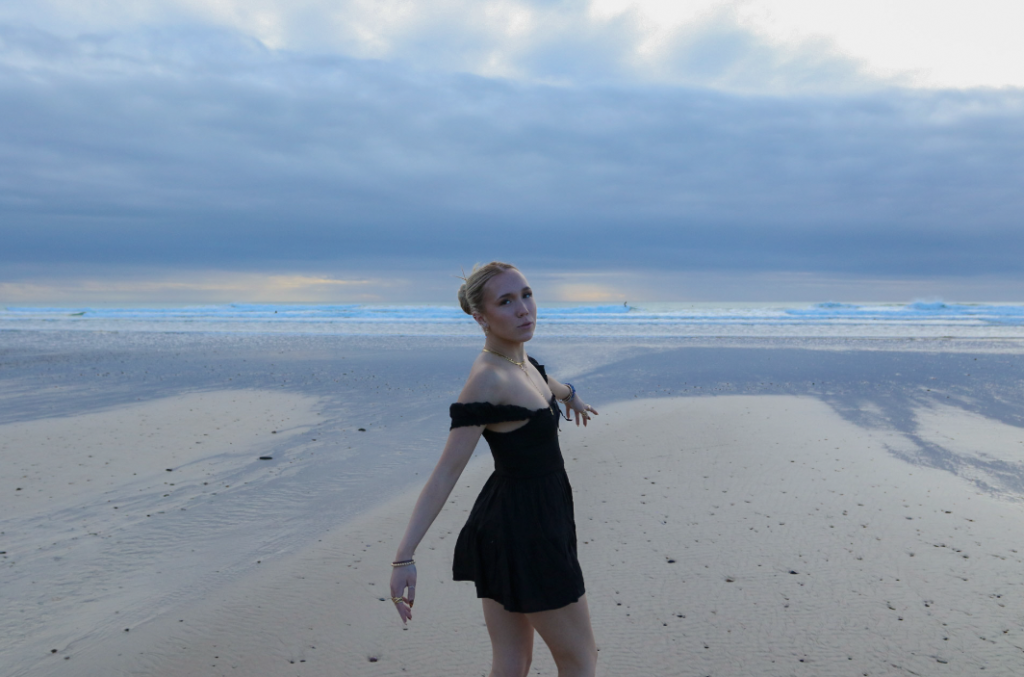
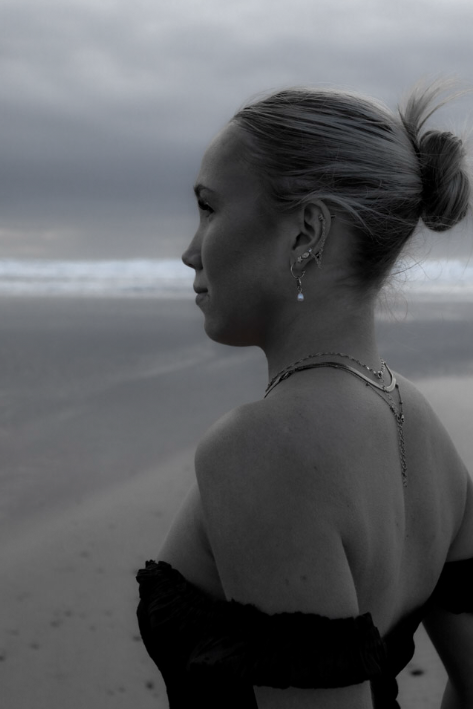
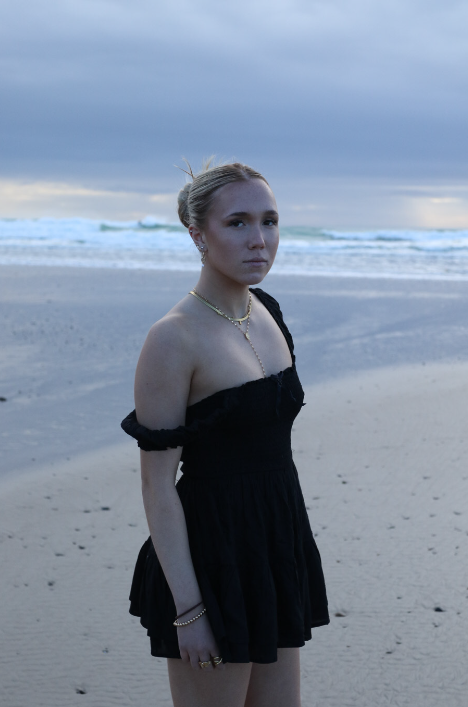
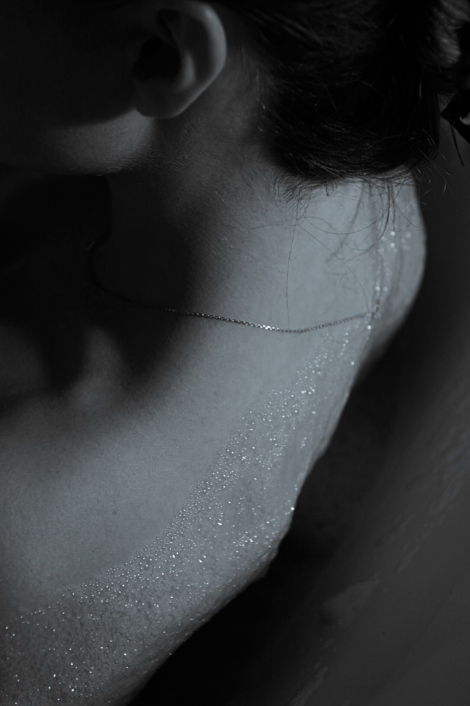
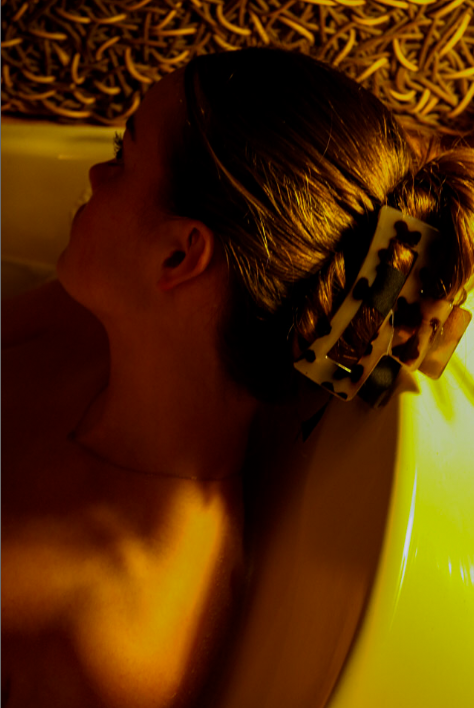
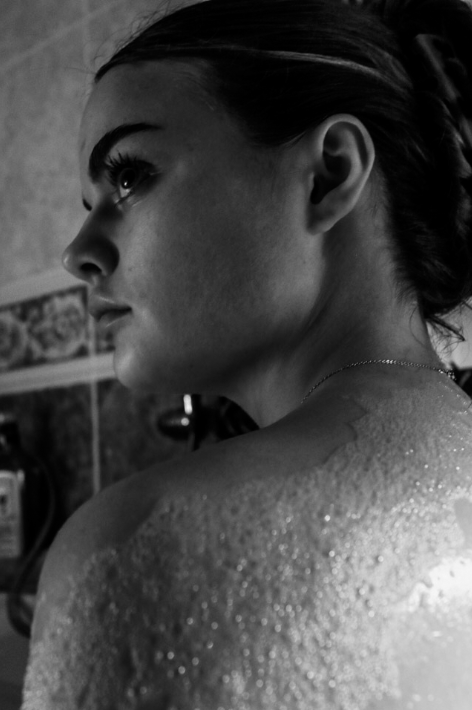
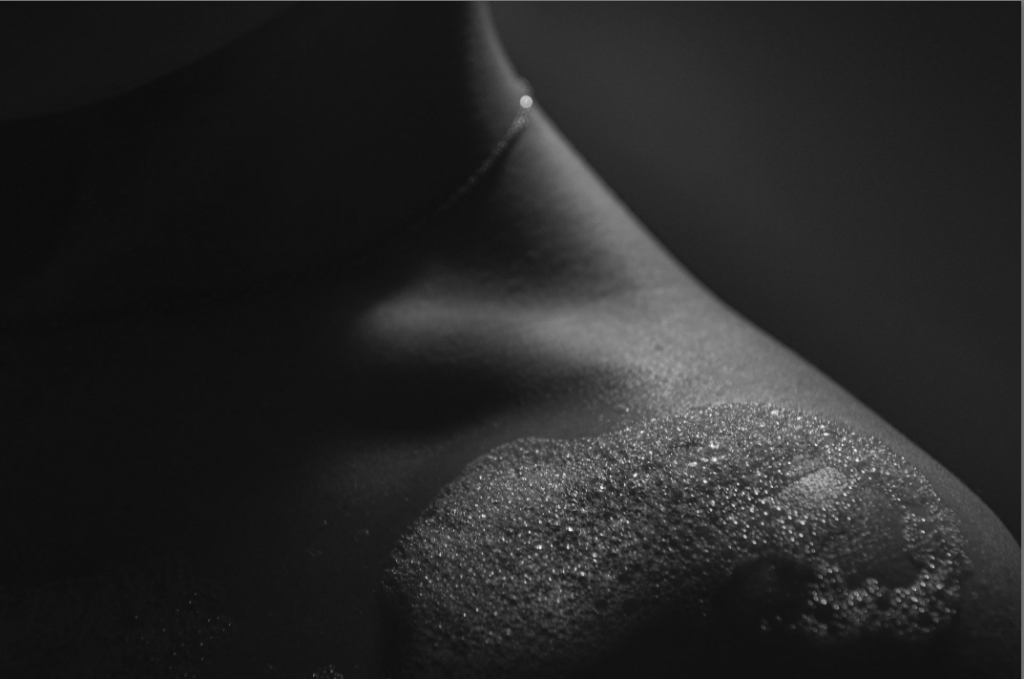
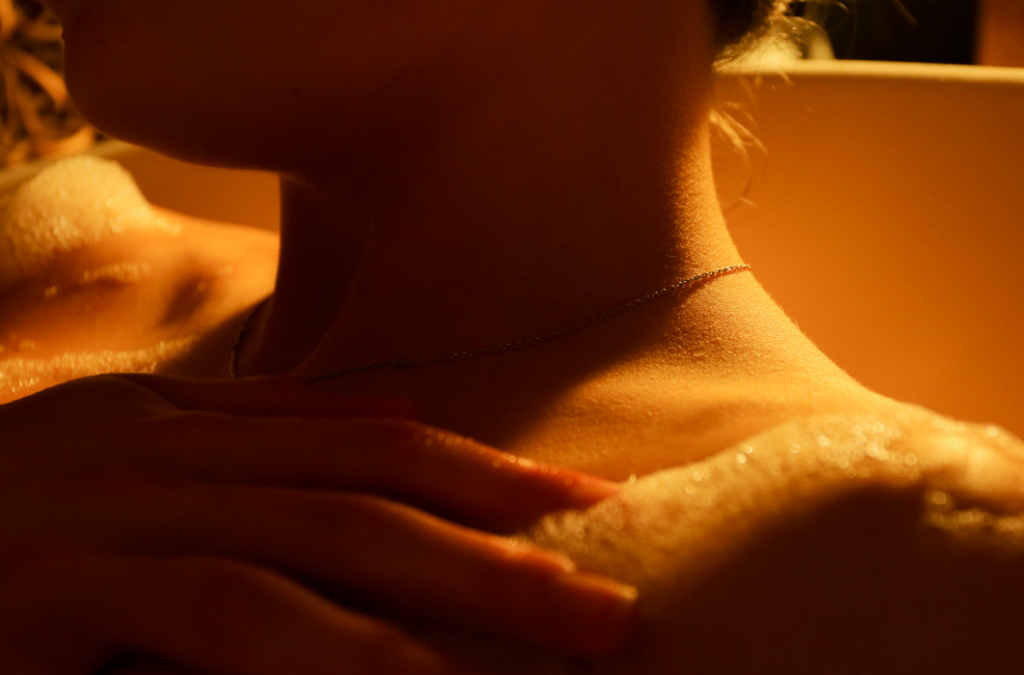
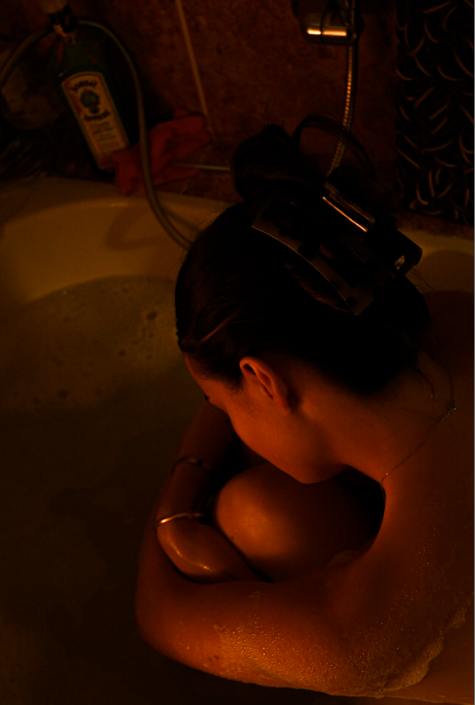
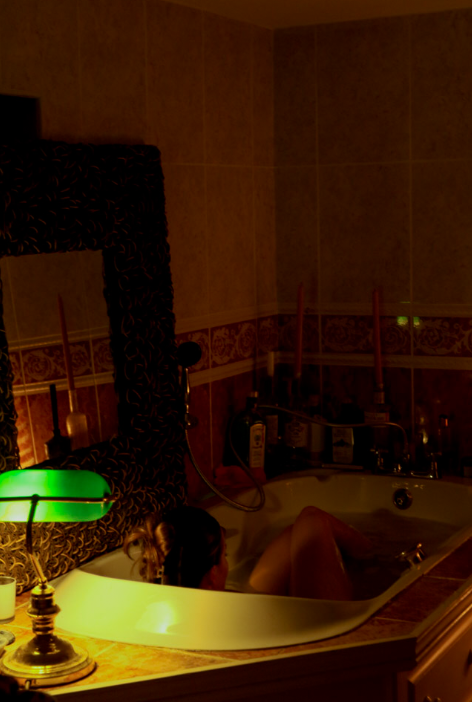
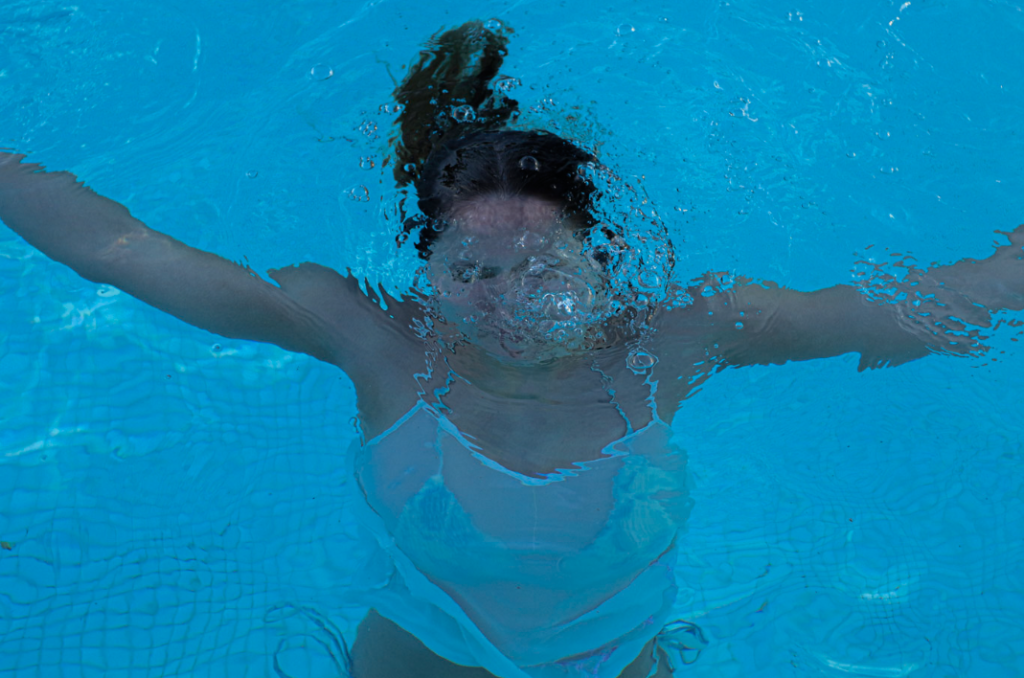
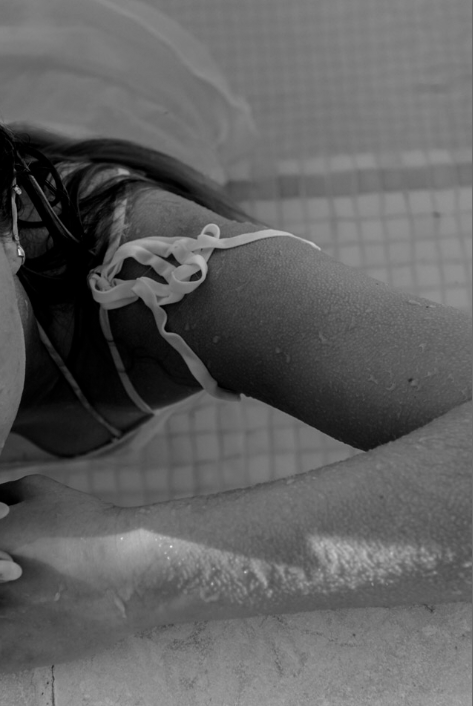
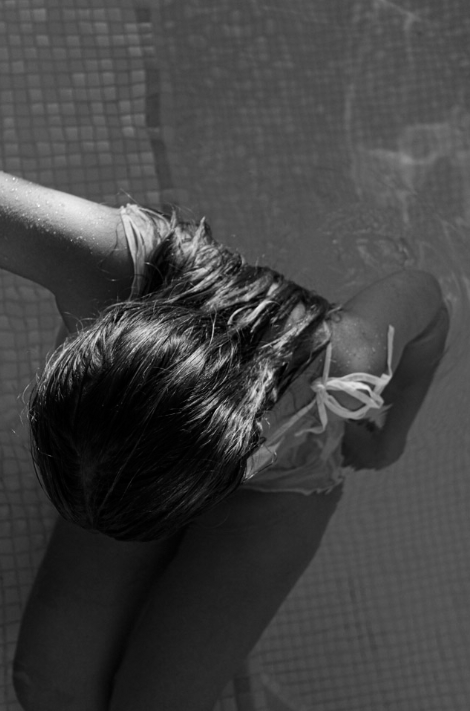
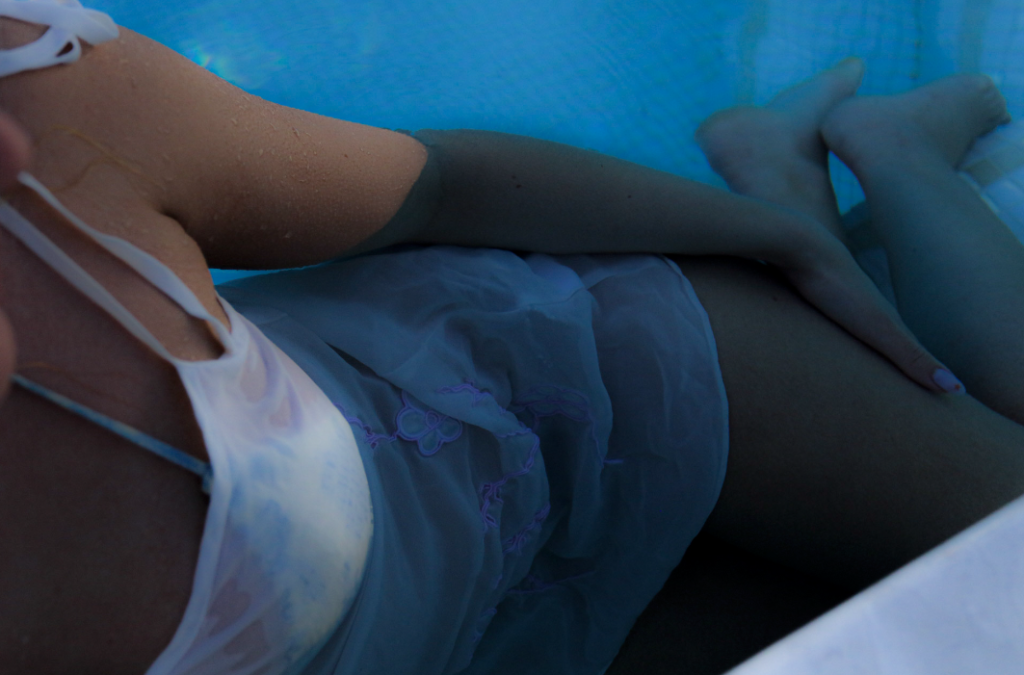
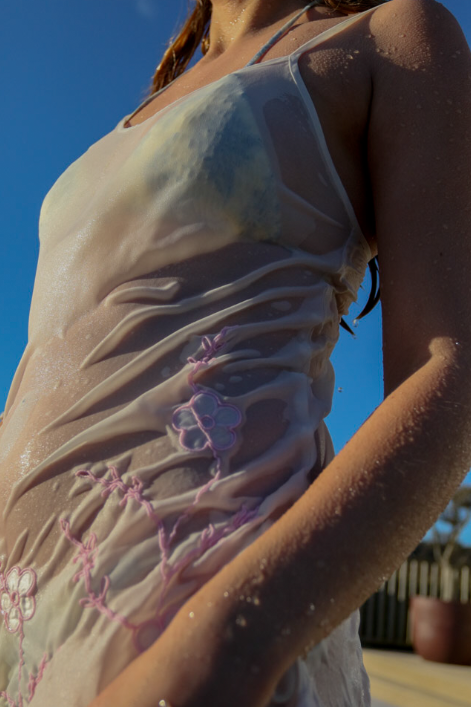
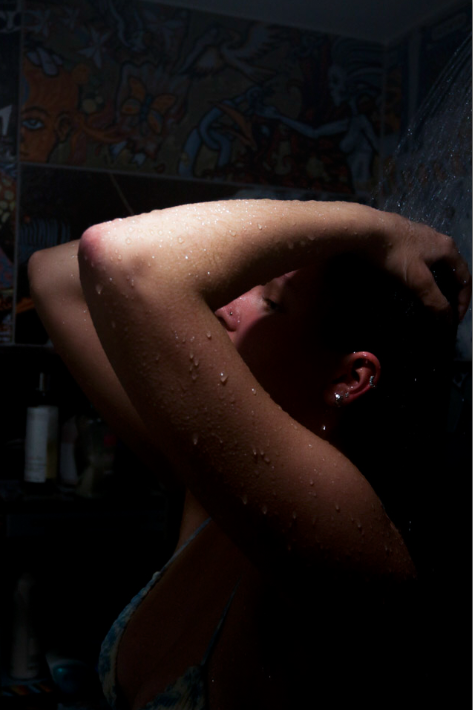
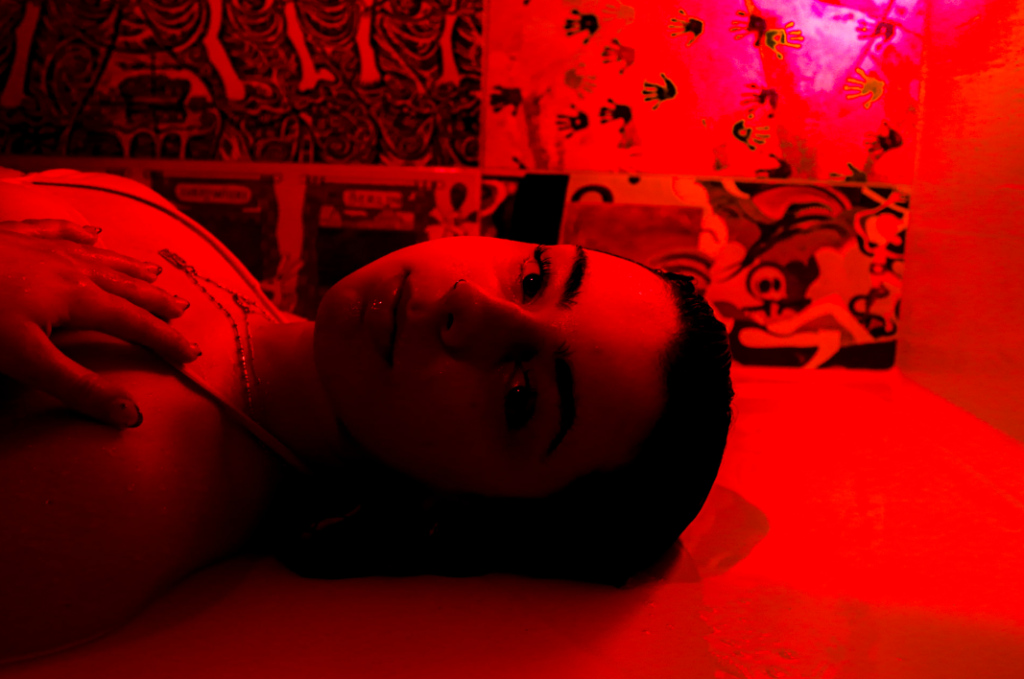
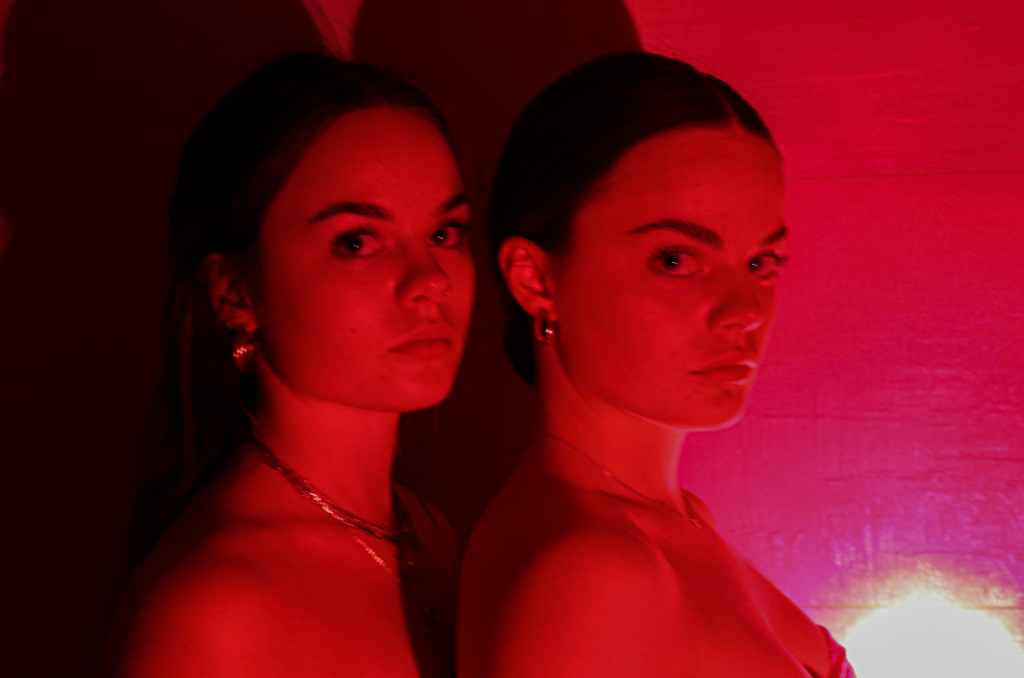
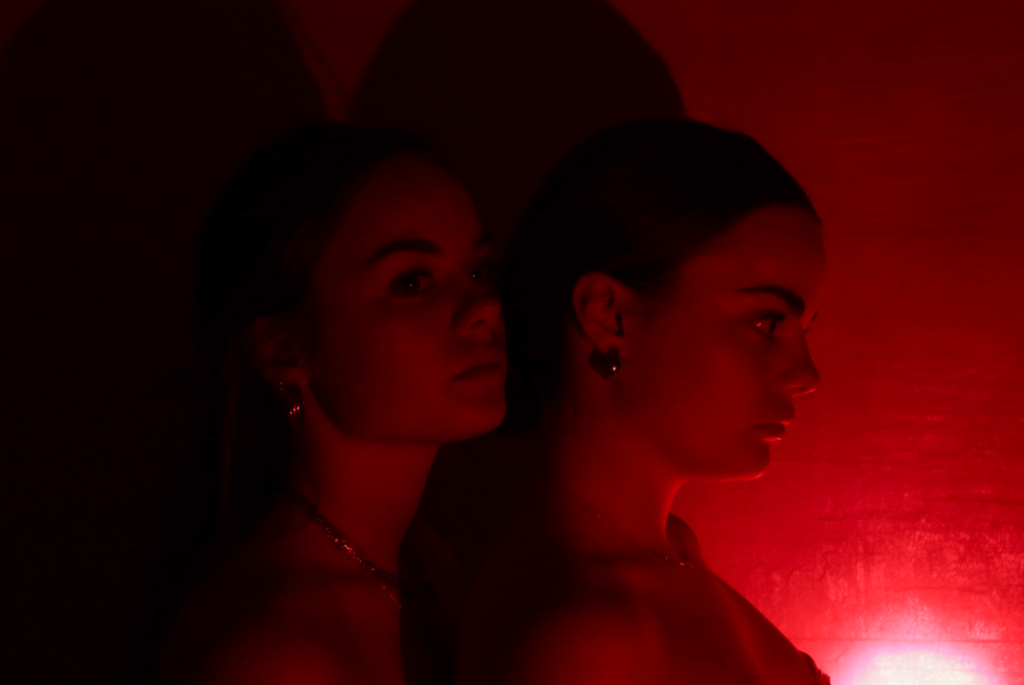
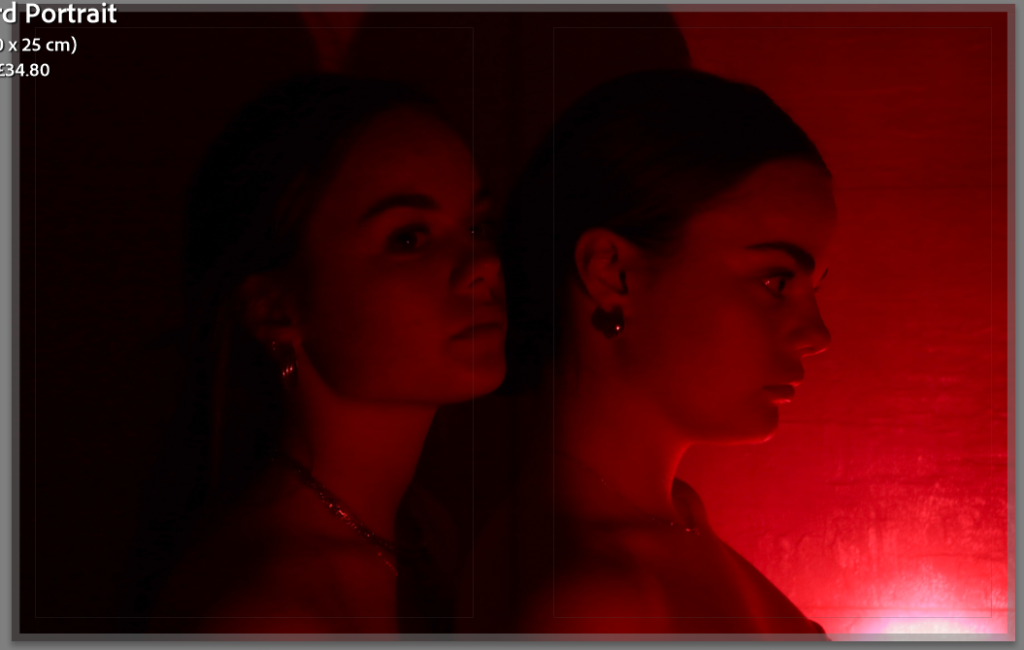
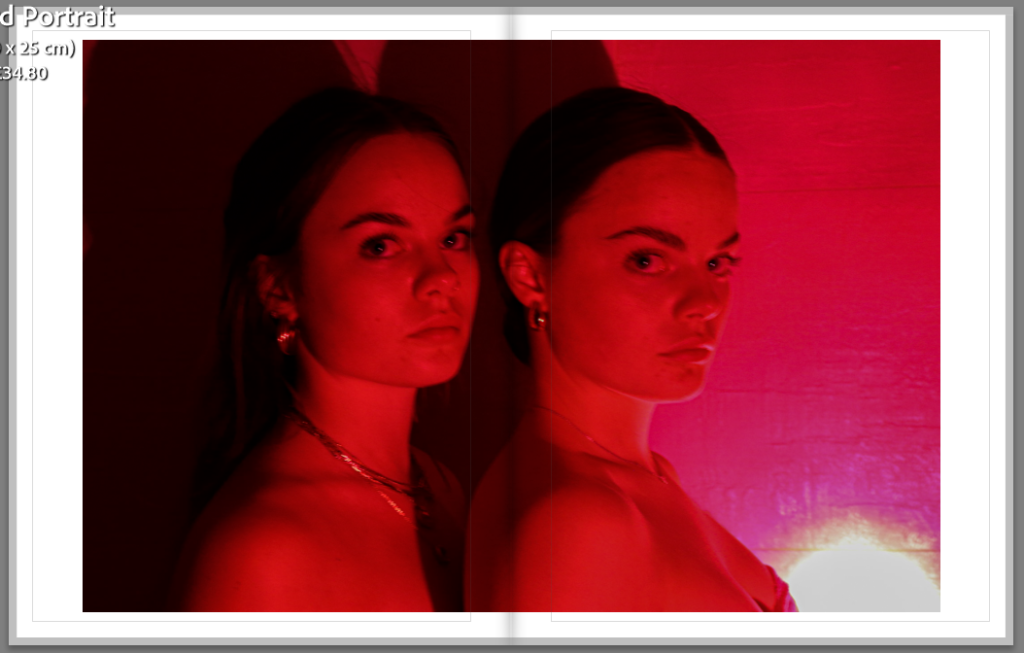
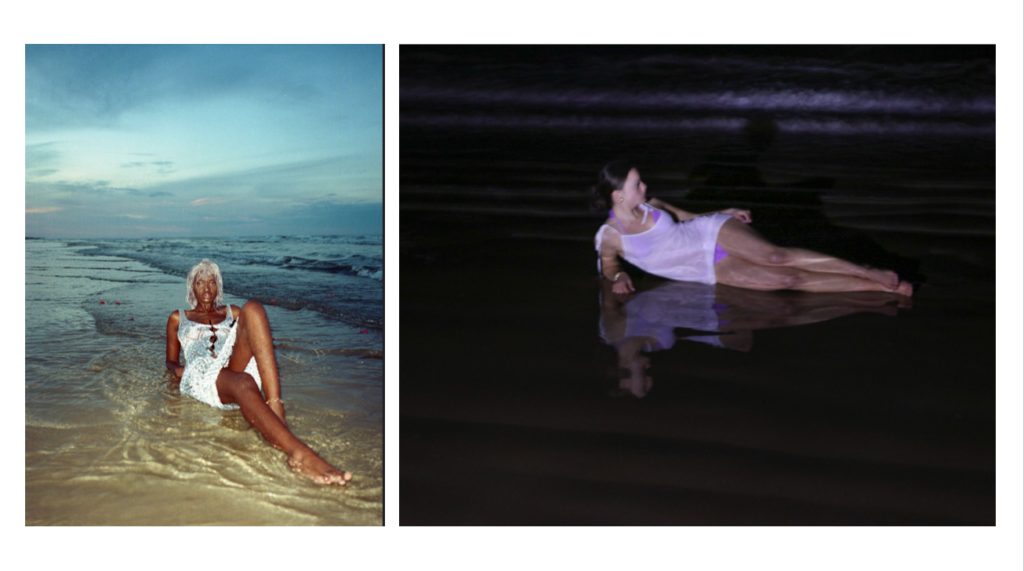
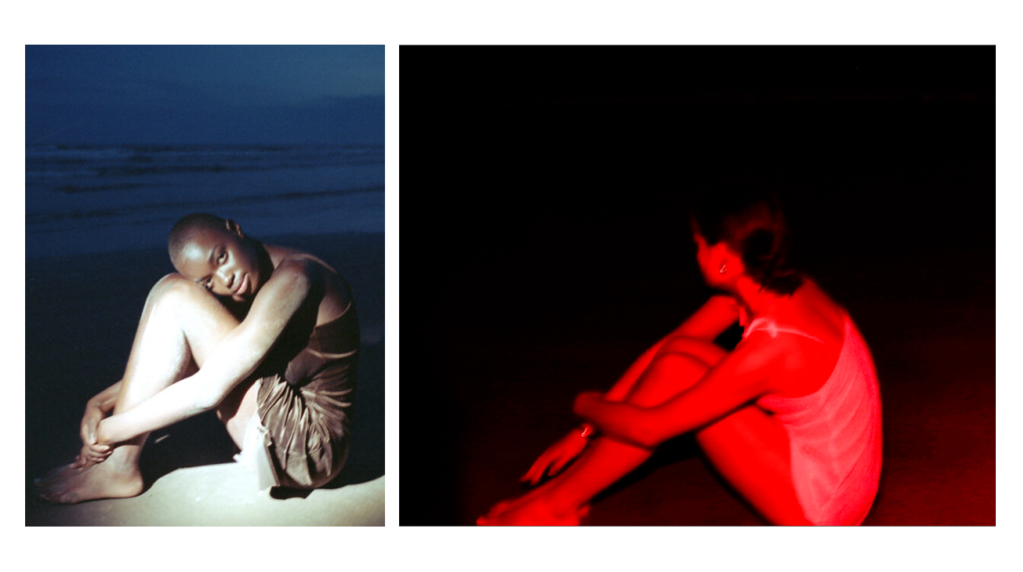
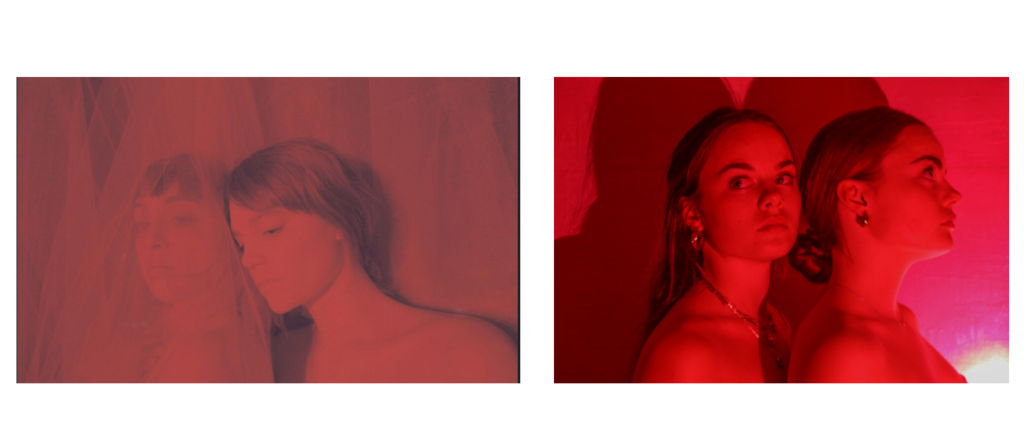
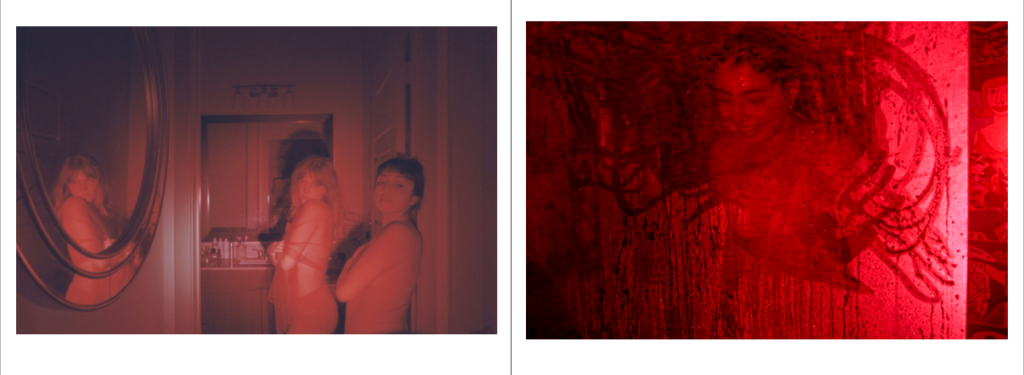
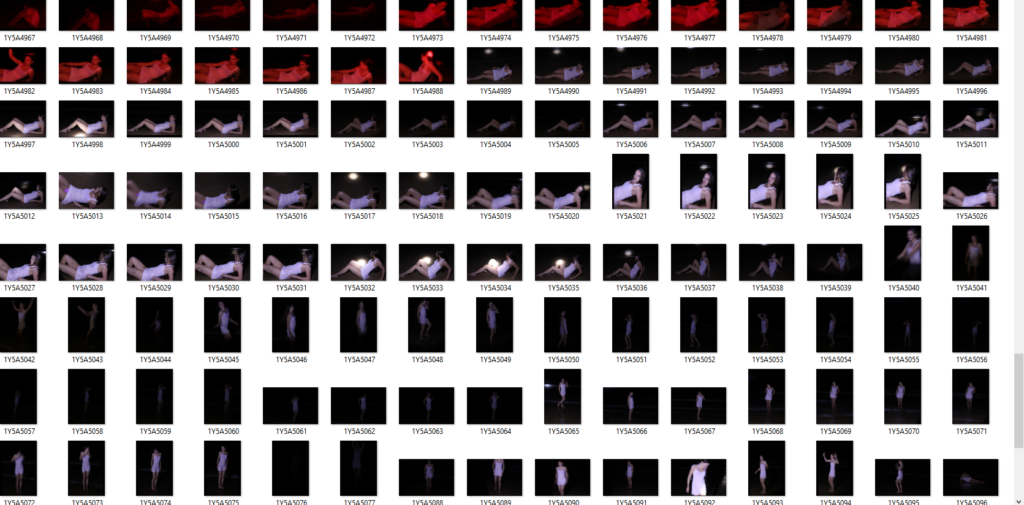
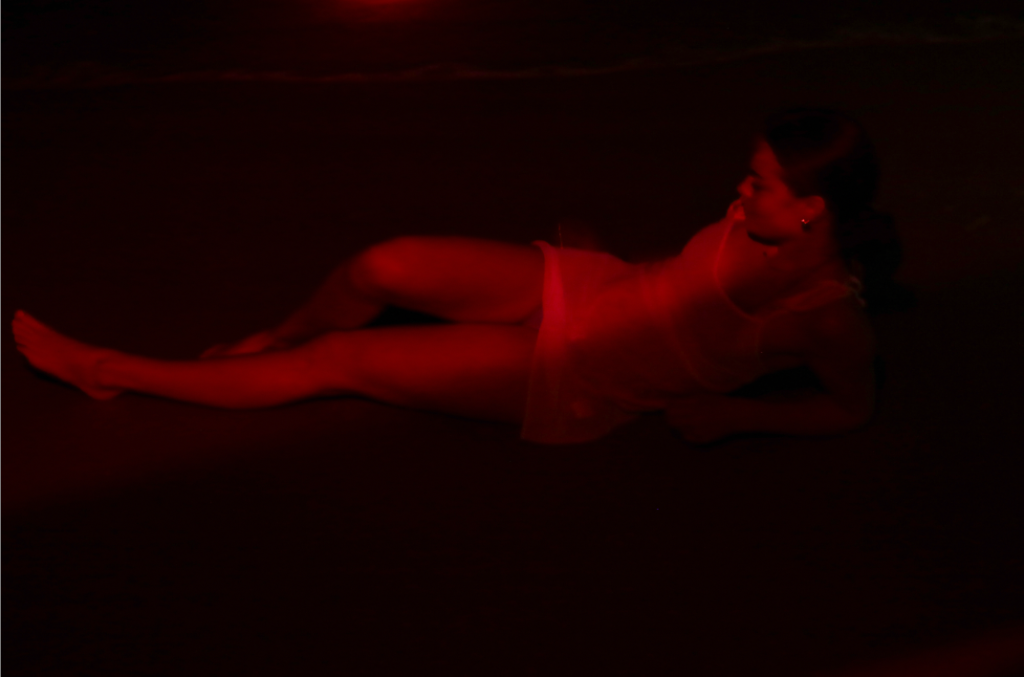
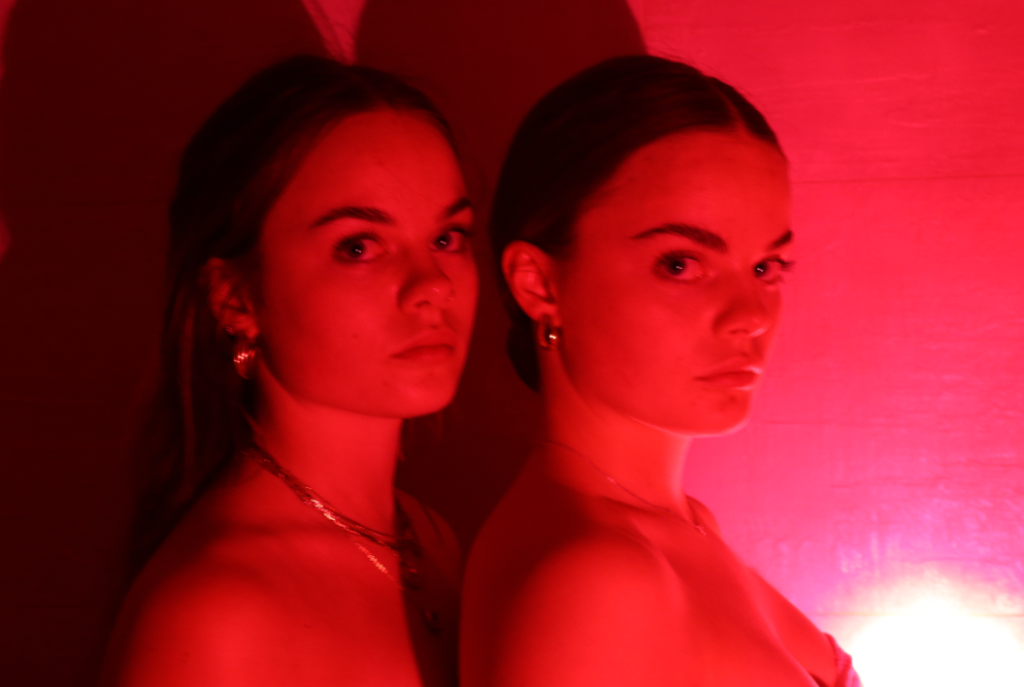
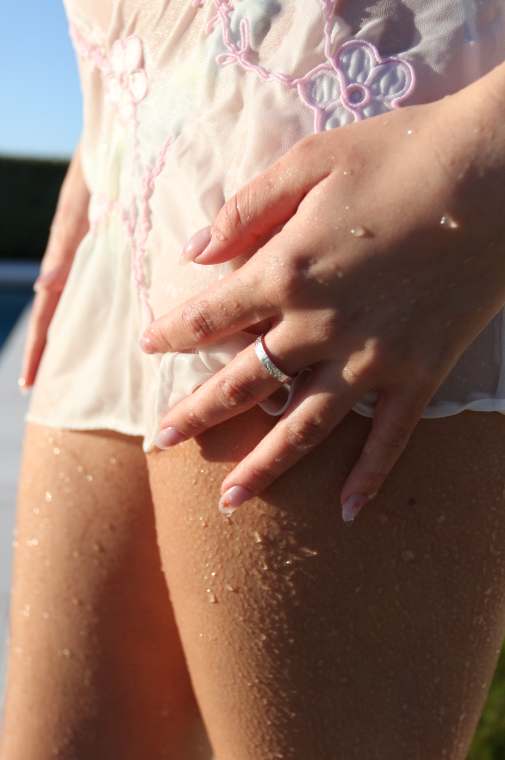
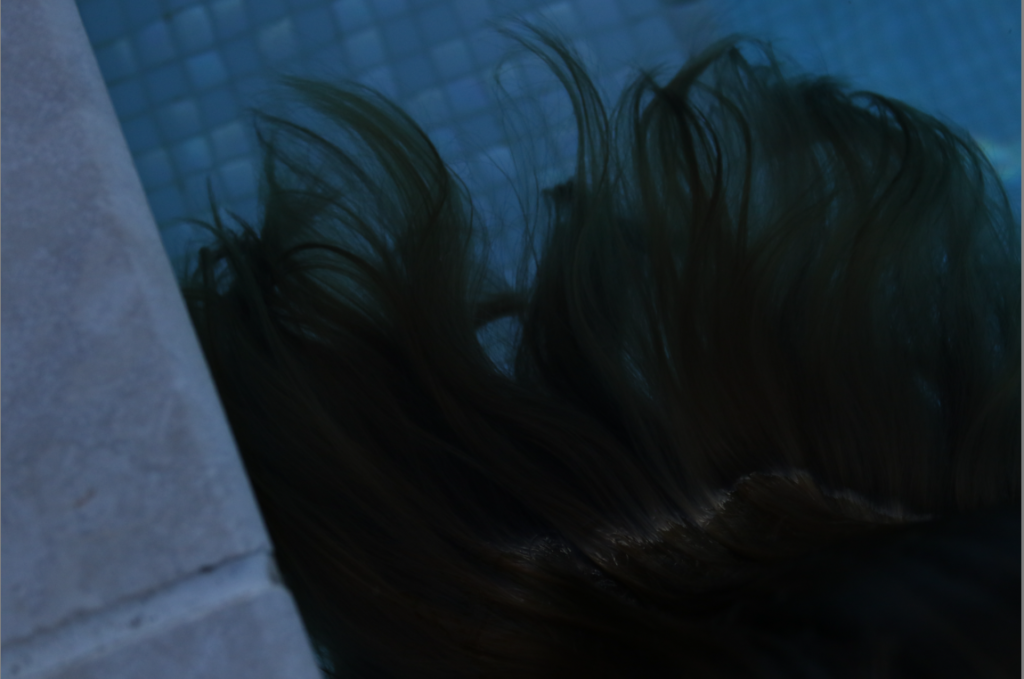
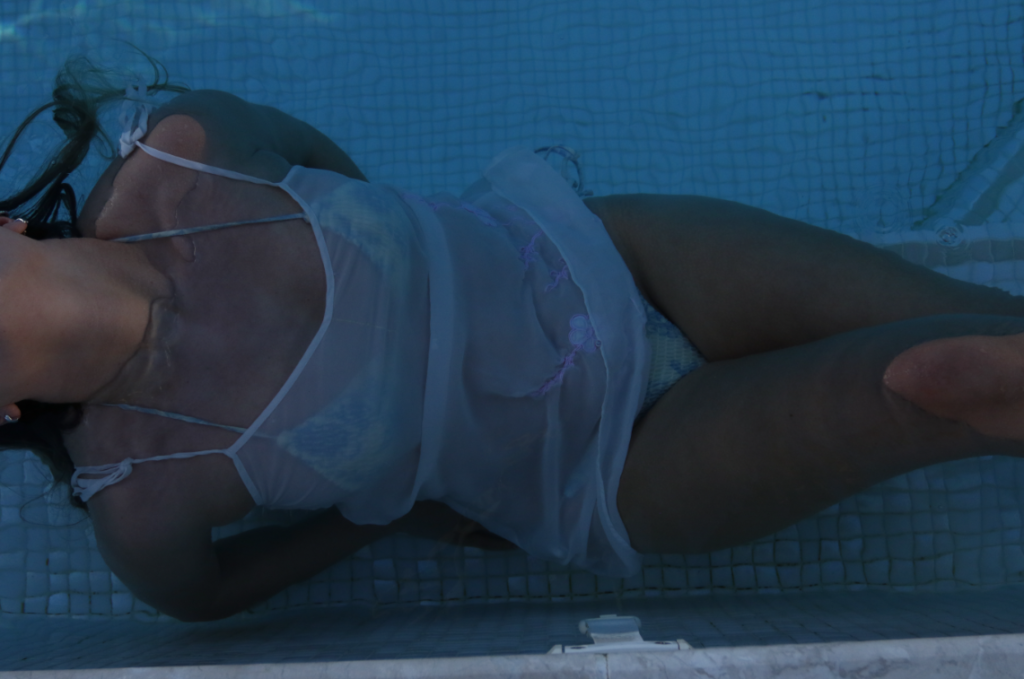
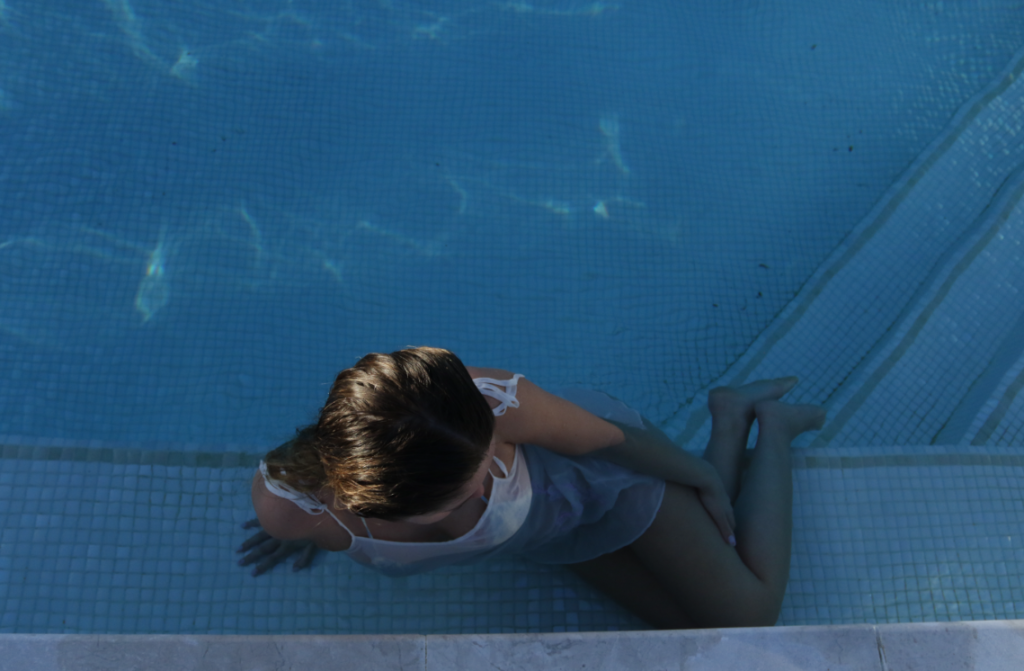
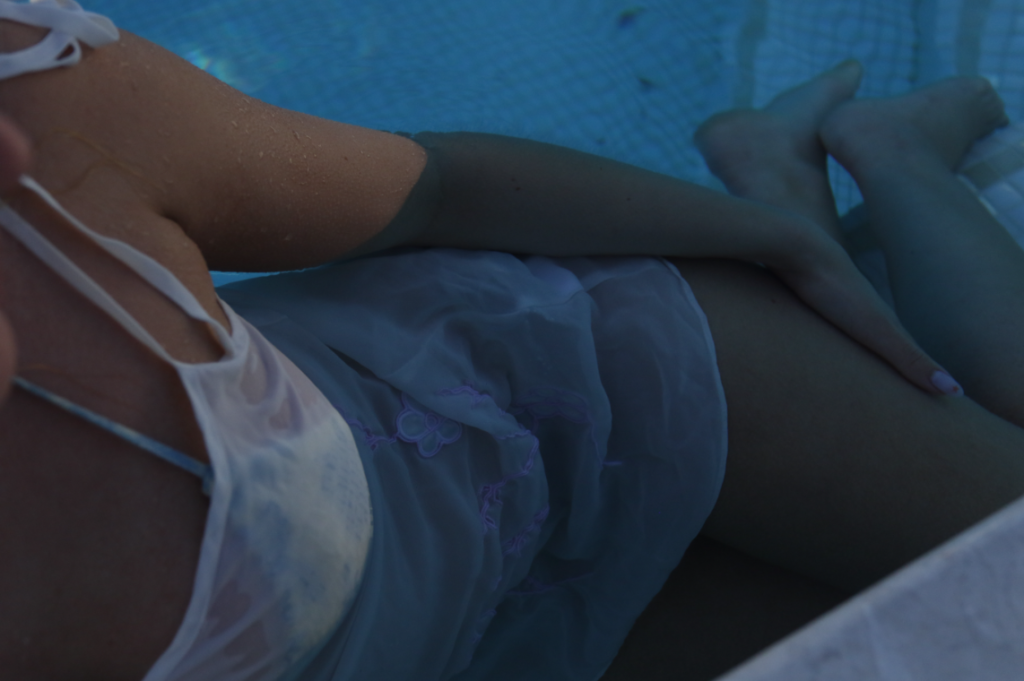
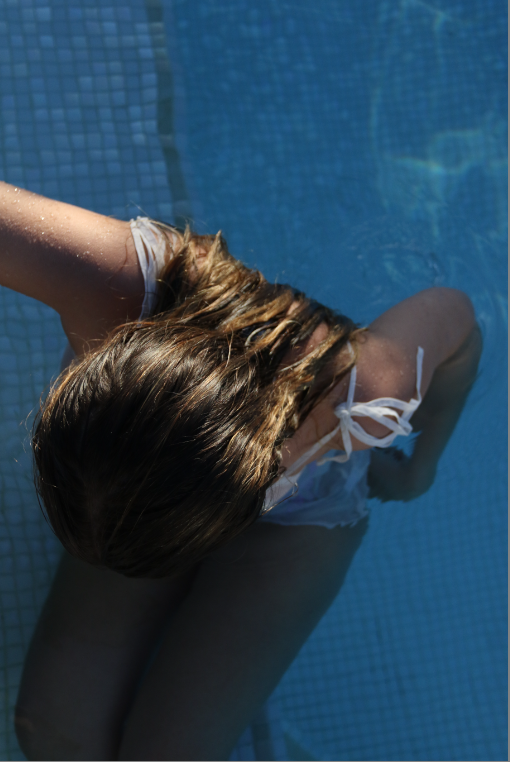
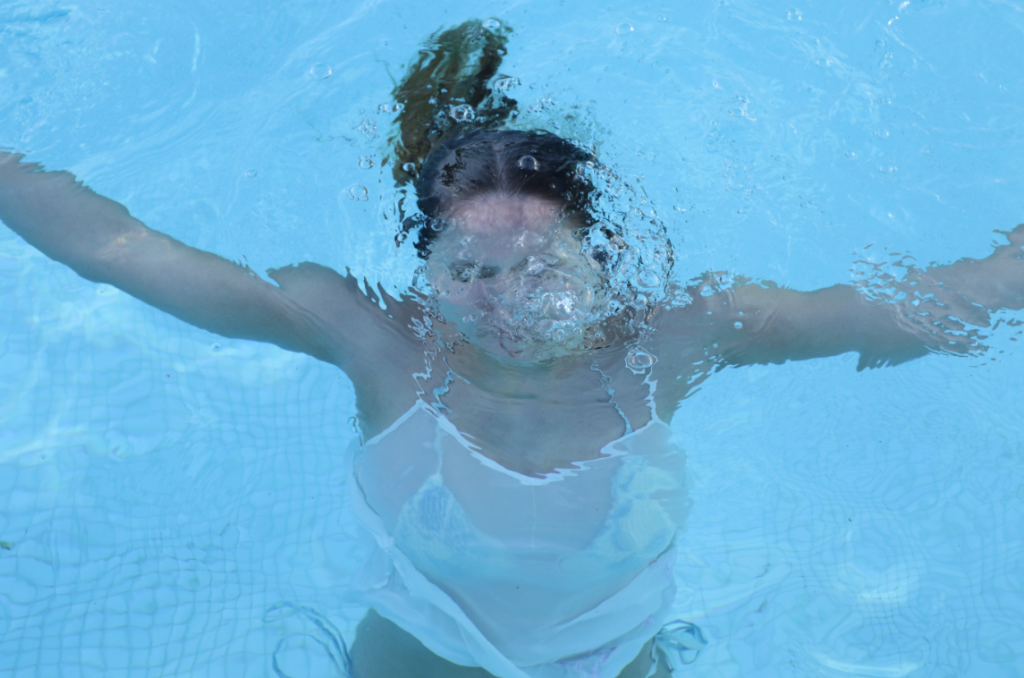
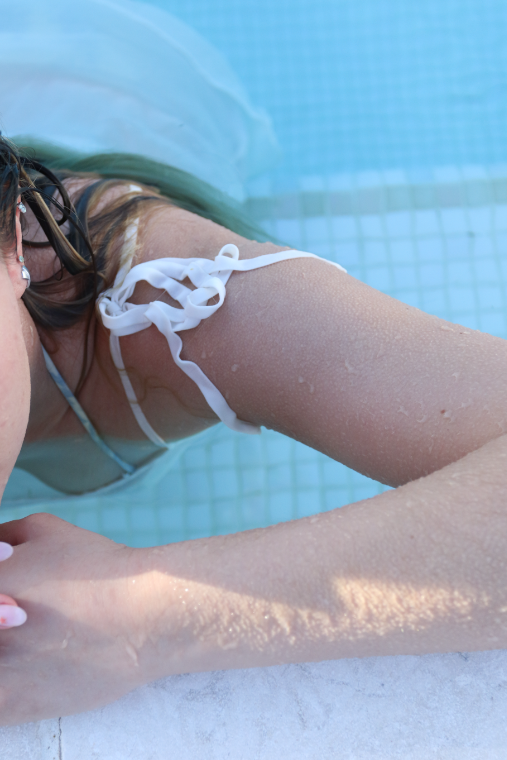
Through out this project taking the images has been my favourite part seeing my thoughts, ideas and mood boards come to life, I loved the technical side of, it thinking and positioning things and people around lighting, and experimenting with coloured lighting. I am proud of my images as they were well thought out and planned before which helped with taking them.

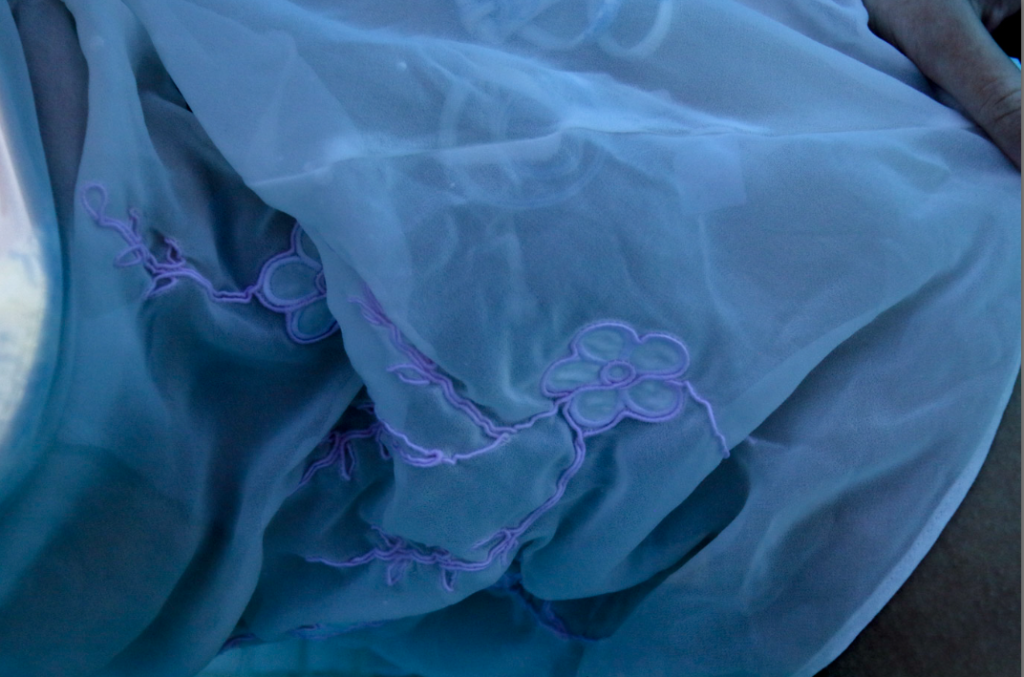
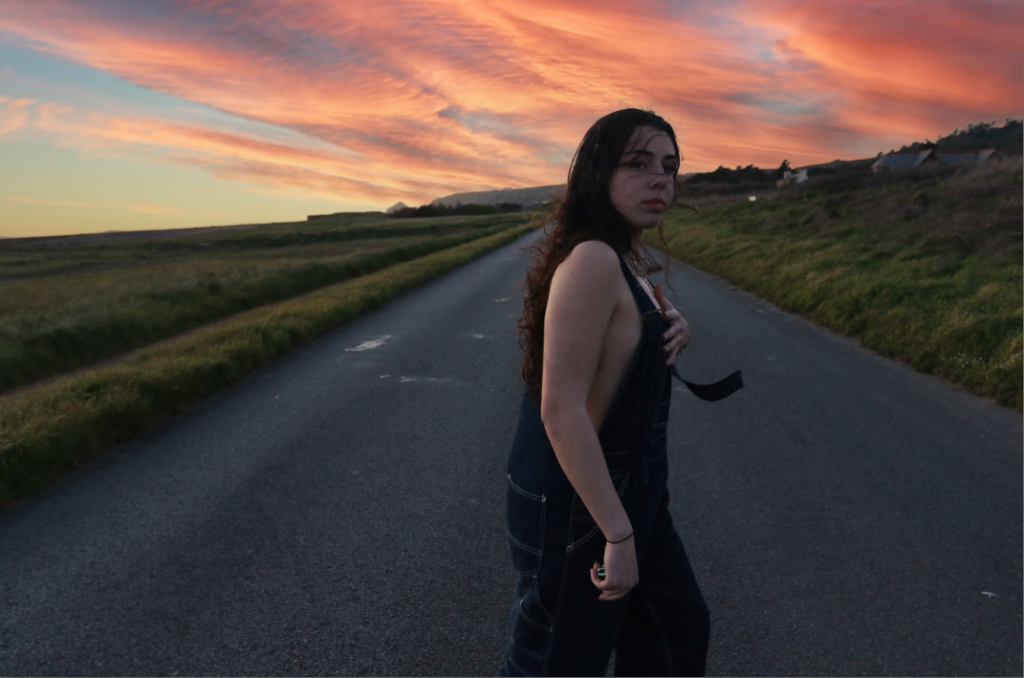
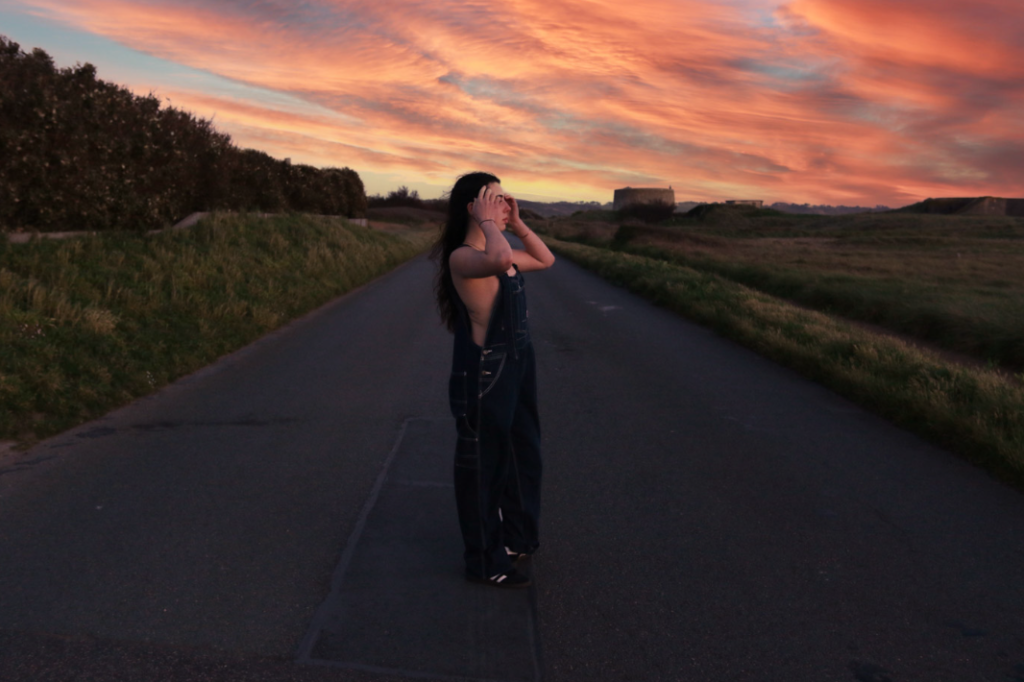
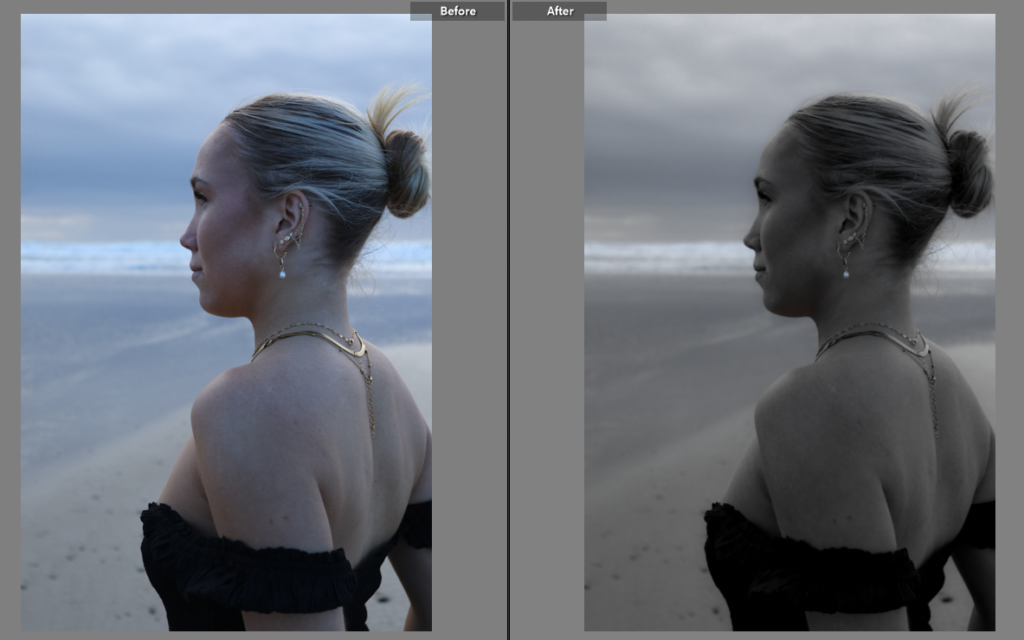
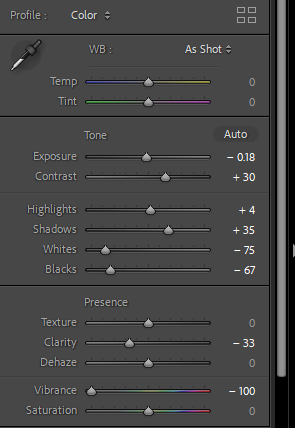
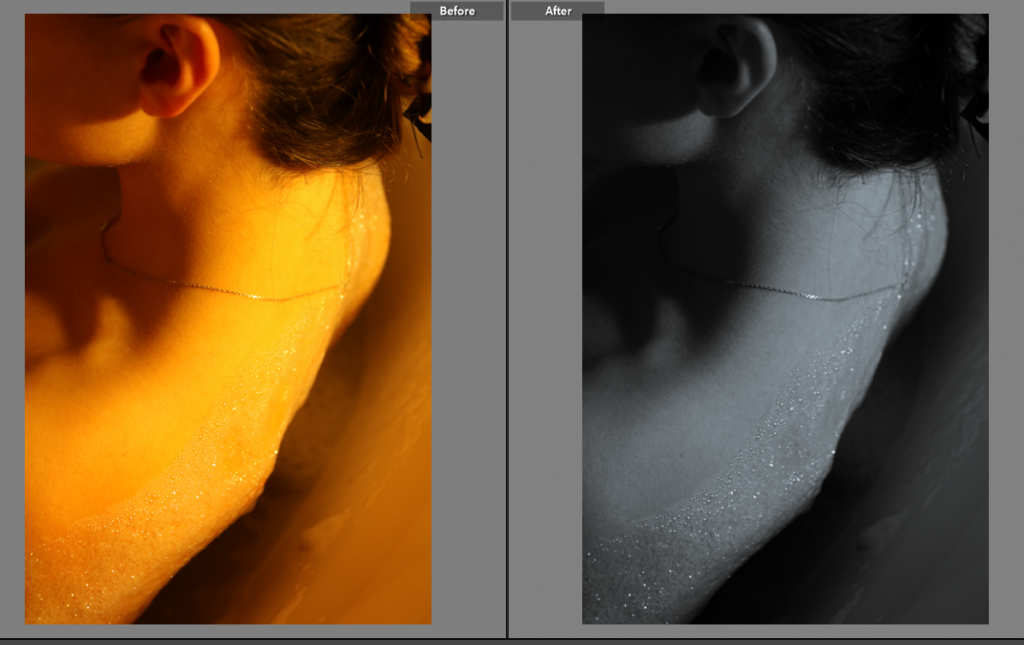
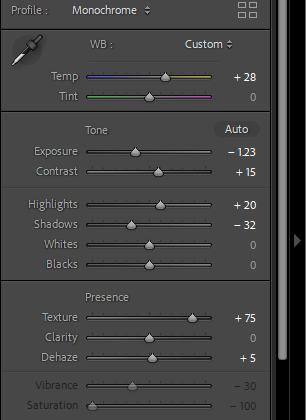
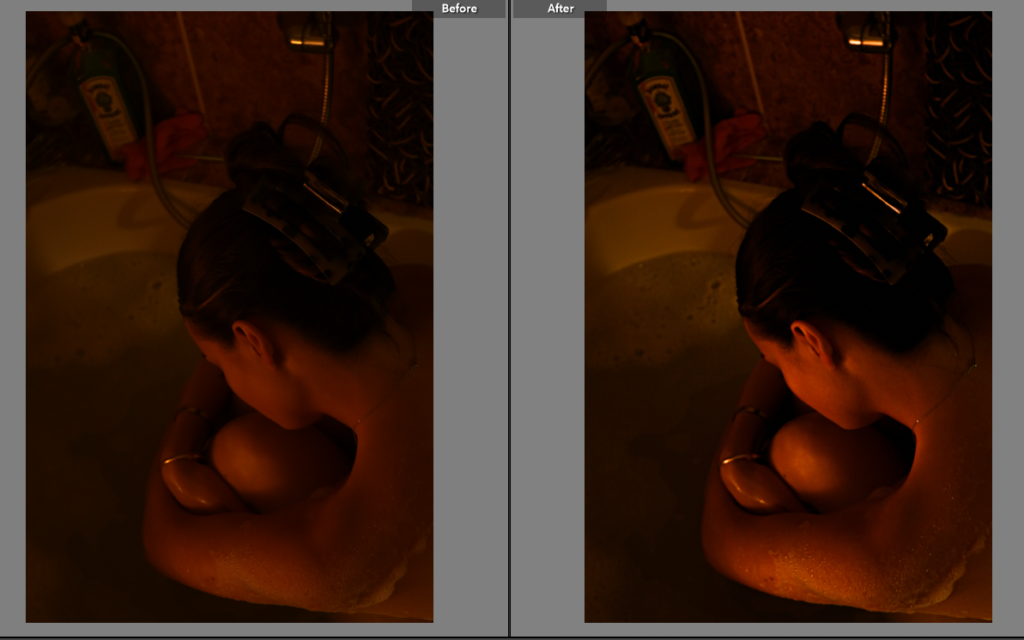
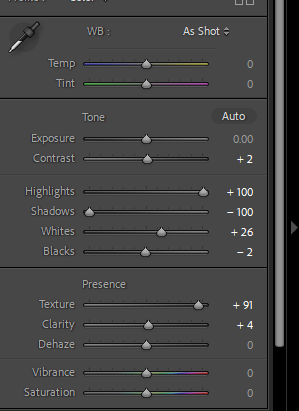
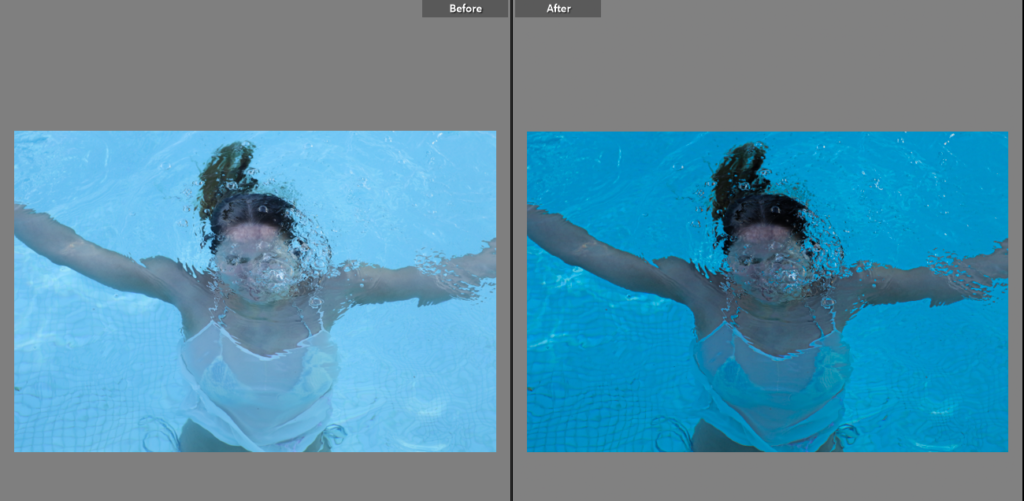
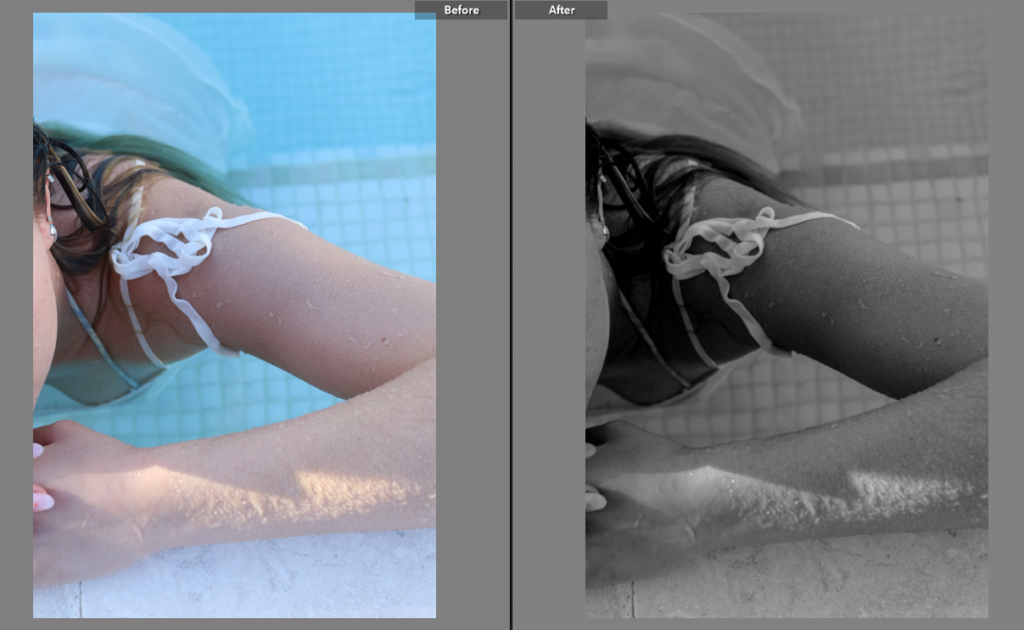
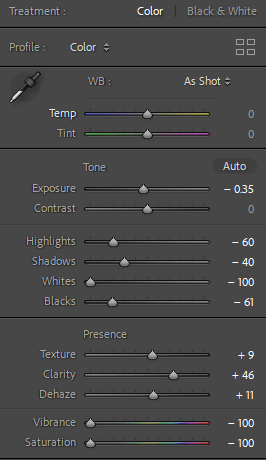
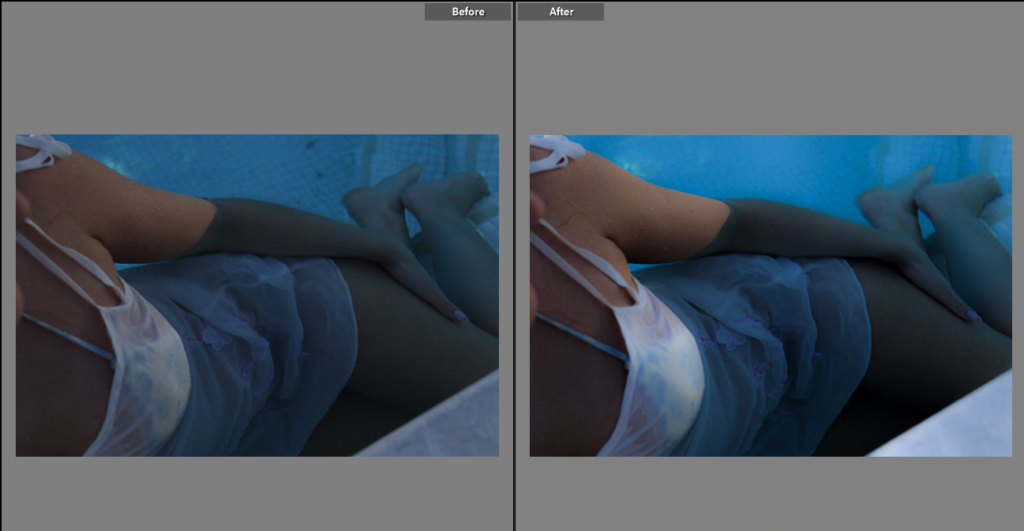
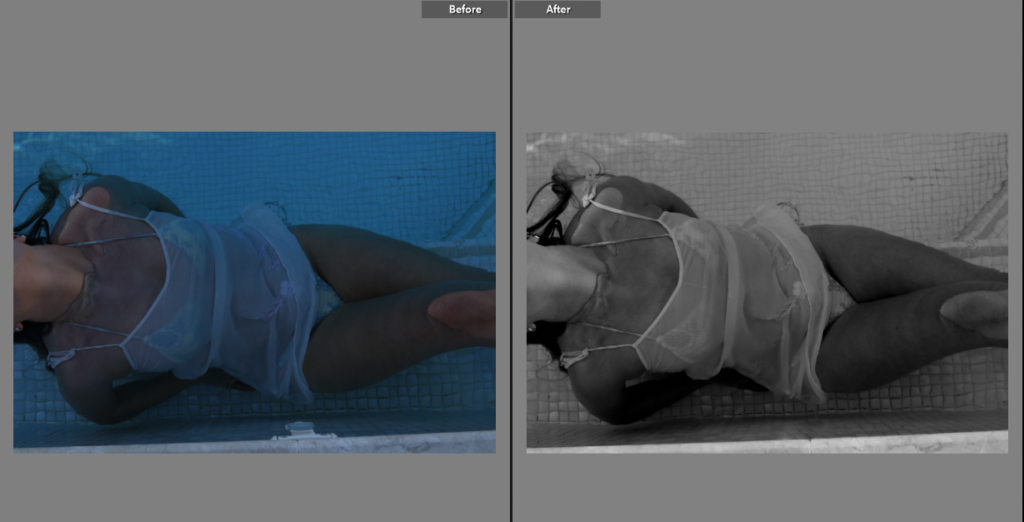
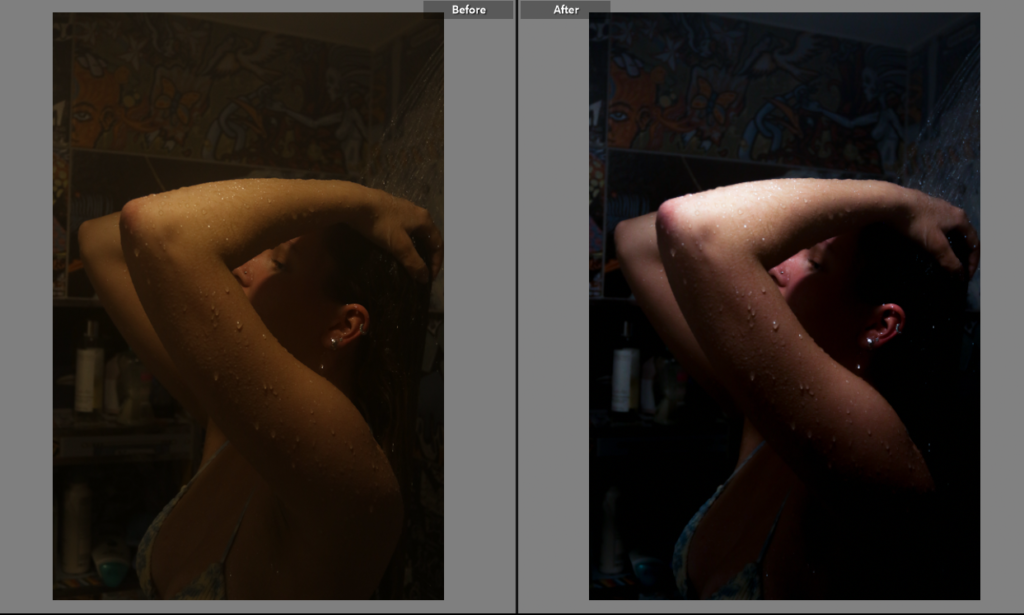
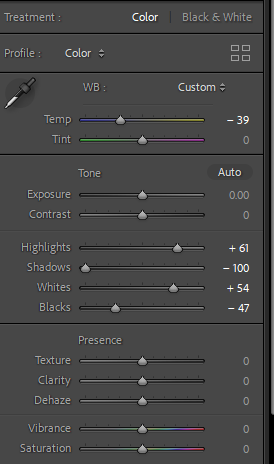
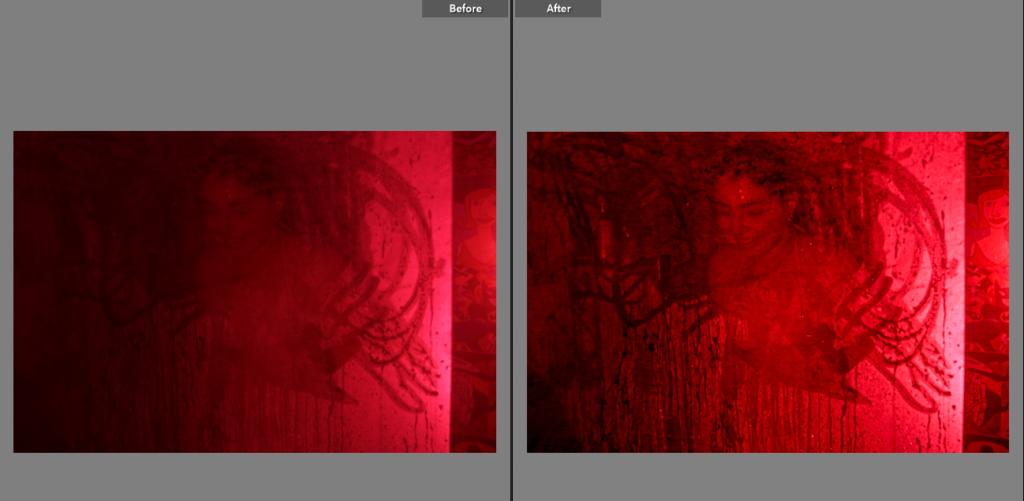
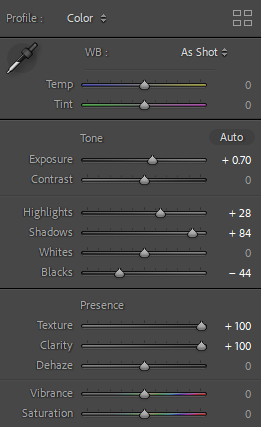
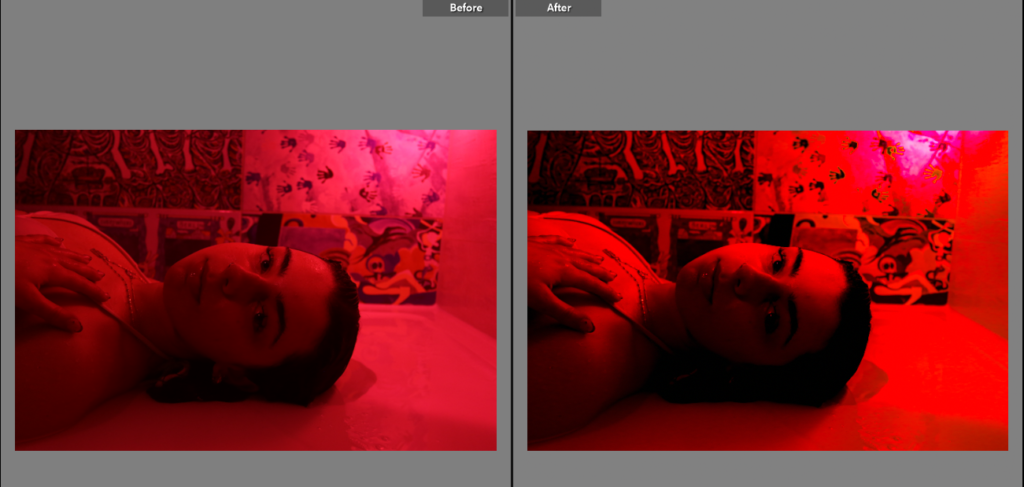
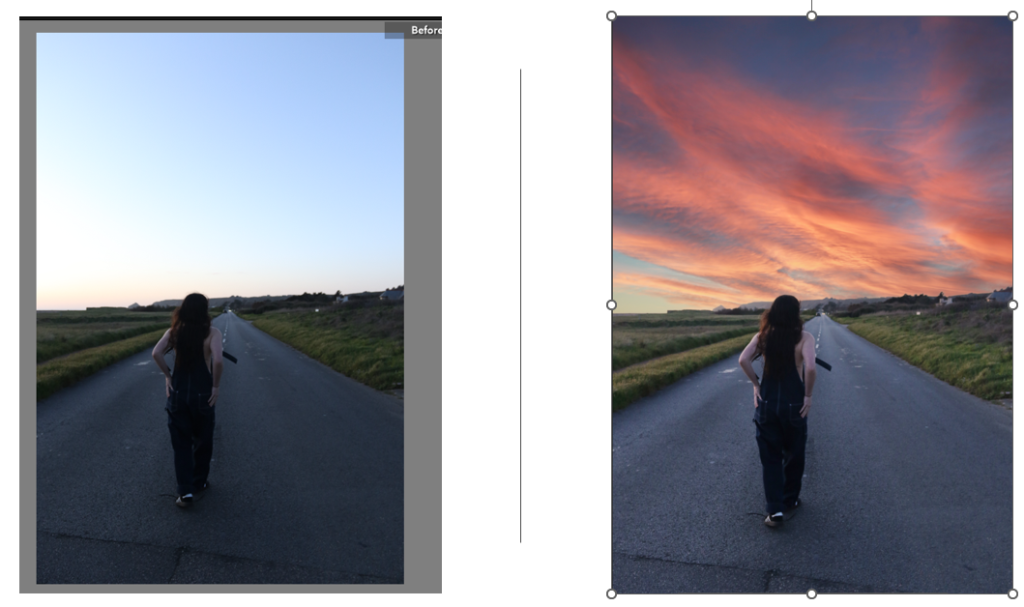
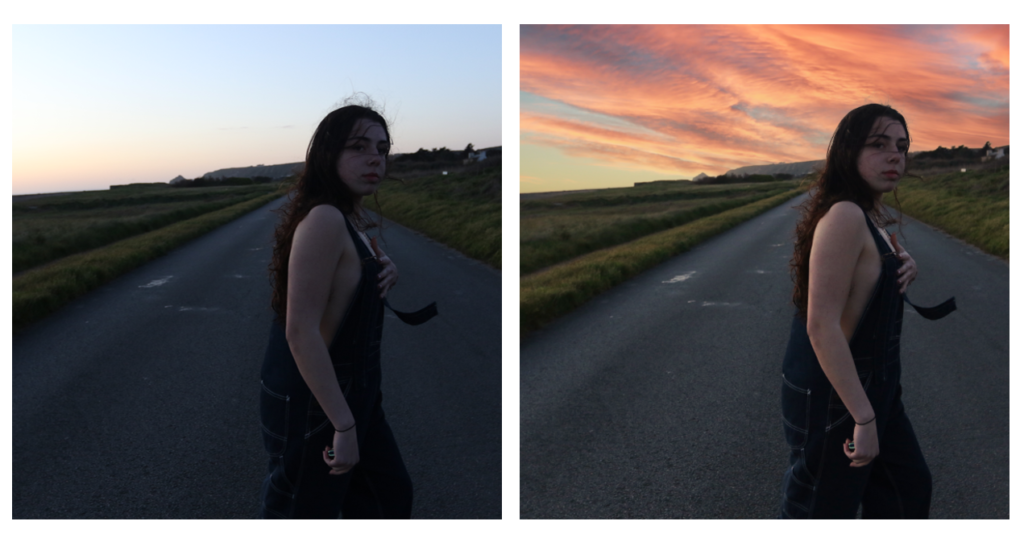
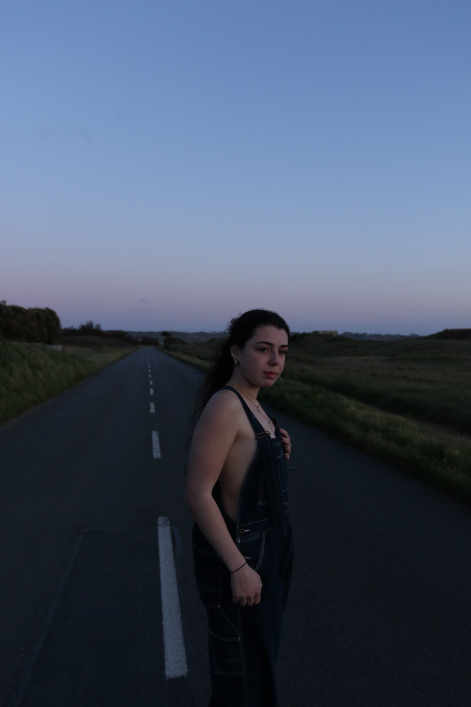
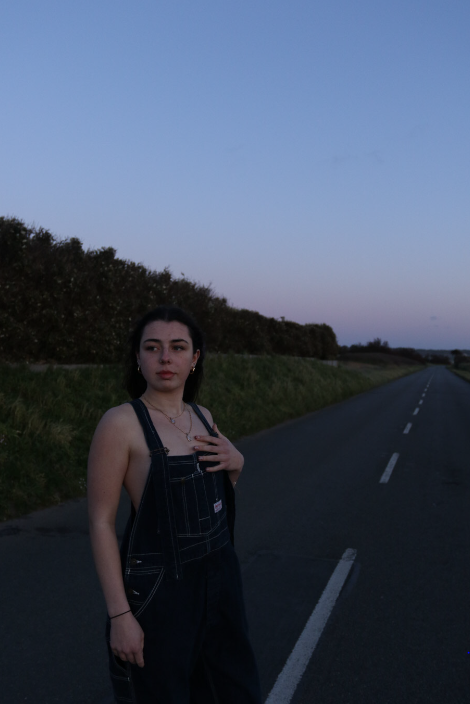
Editing the photographs was time consuming through out the editing process, I spent a lot of time adjusting shadows and highlights to maximize the depth and detail in the images, I enjoyed working on photoshop when it came to editing the sky, as before the images were dull and didn’t have much life to them however when I edited they sunset into a couple of the photographs it brightened the images and made them more interesting to look at.

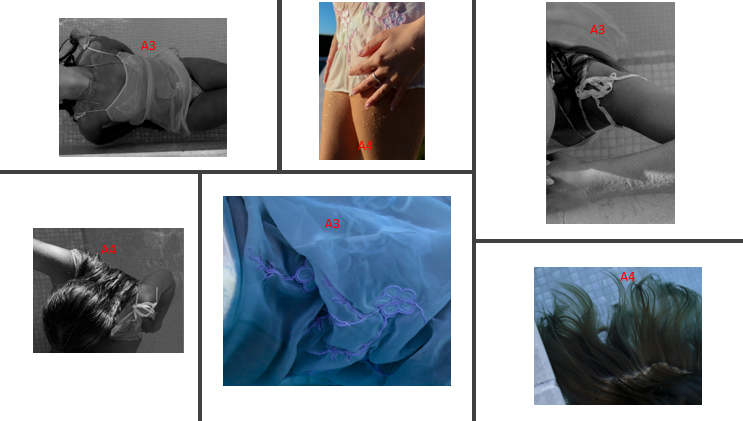
Framing and mounting up the images was another element of the project I enjoyed as I enjoy practical things, I used a mixture of window mounts where I used a bevel cutter to cut on a 45 degree angle which created a frame for the images, and also used foam board where I stuck down images and also mounted some onto another piece of foam board to raise them up from some images, although the process takes a lot of time due to the precise measurements and cutting skills need for it, the outcome is worth it.

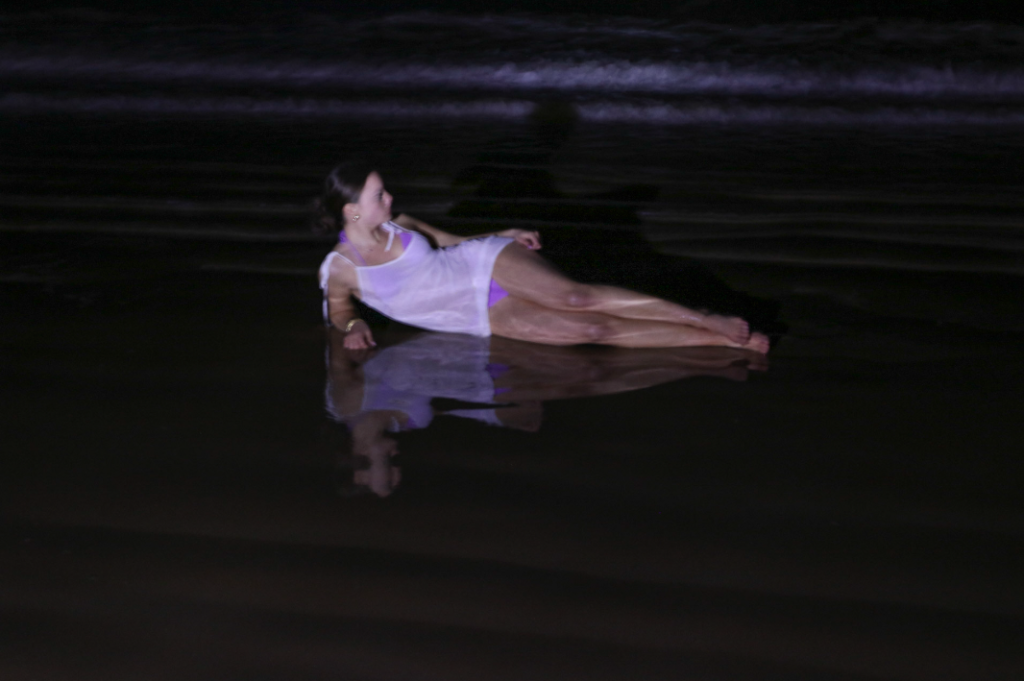
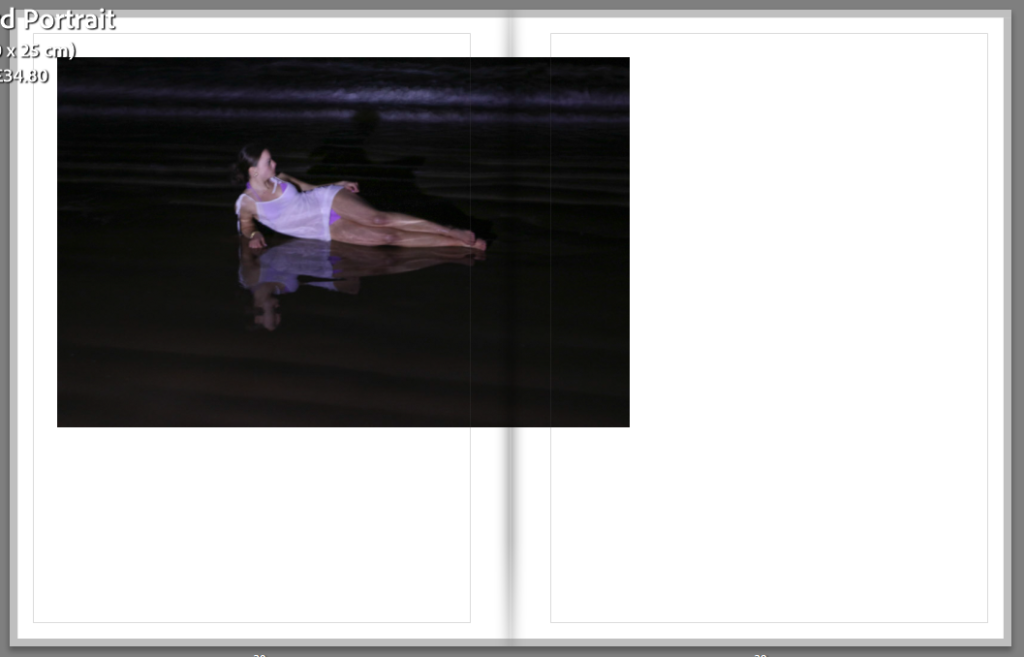
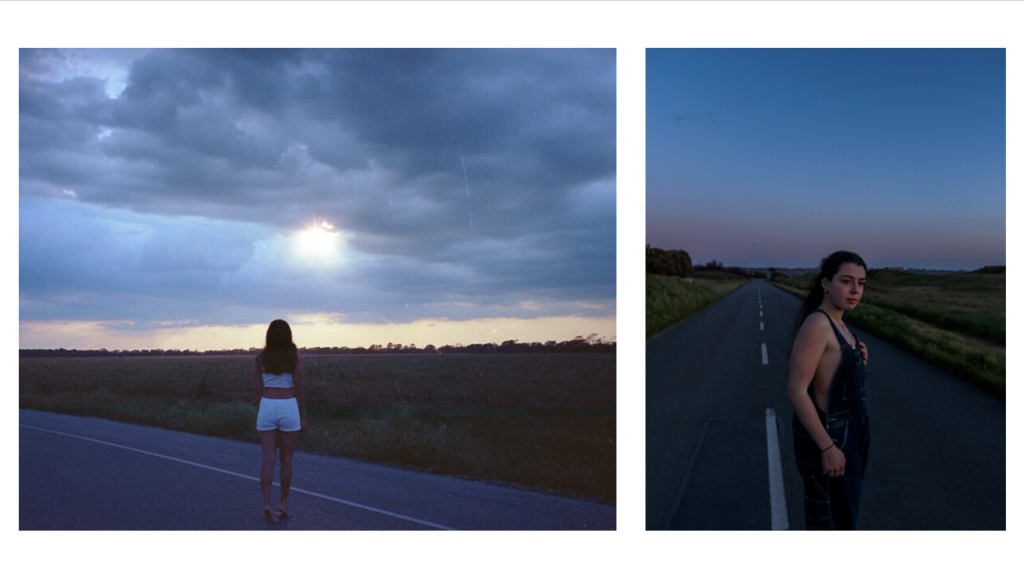
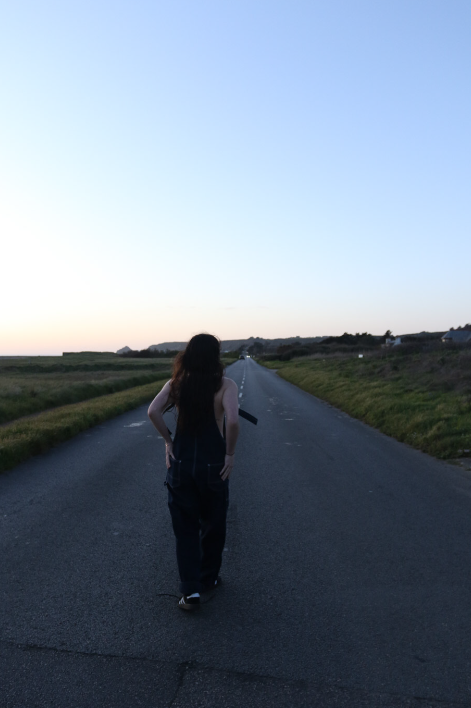
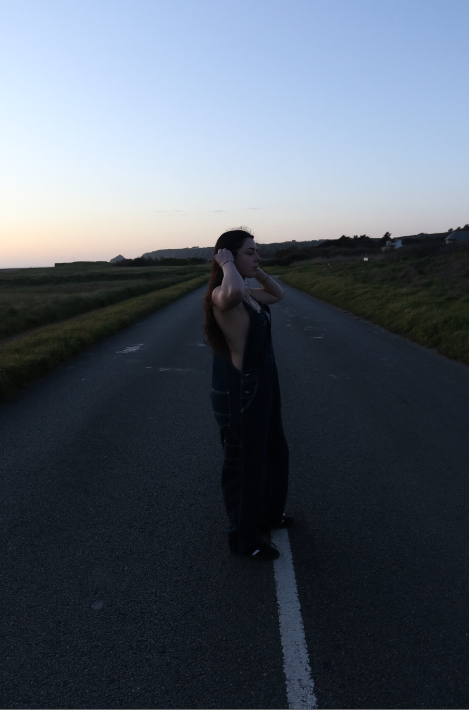
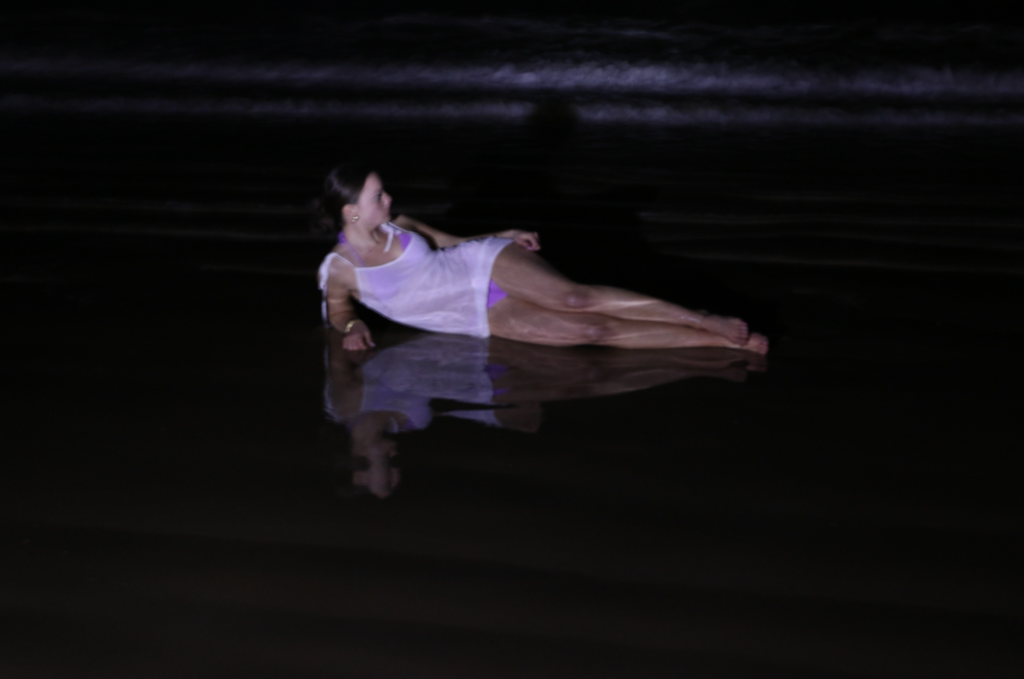
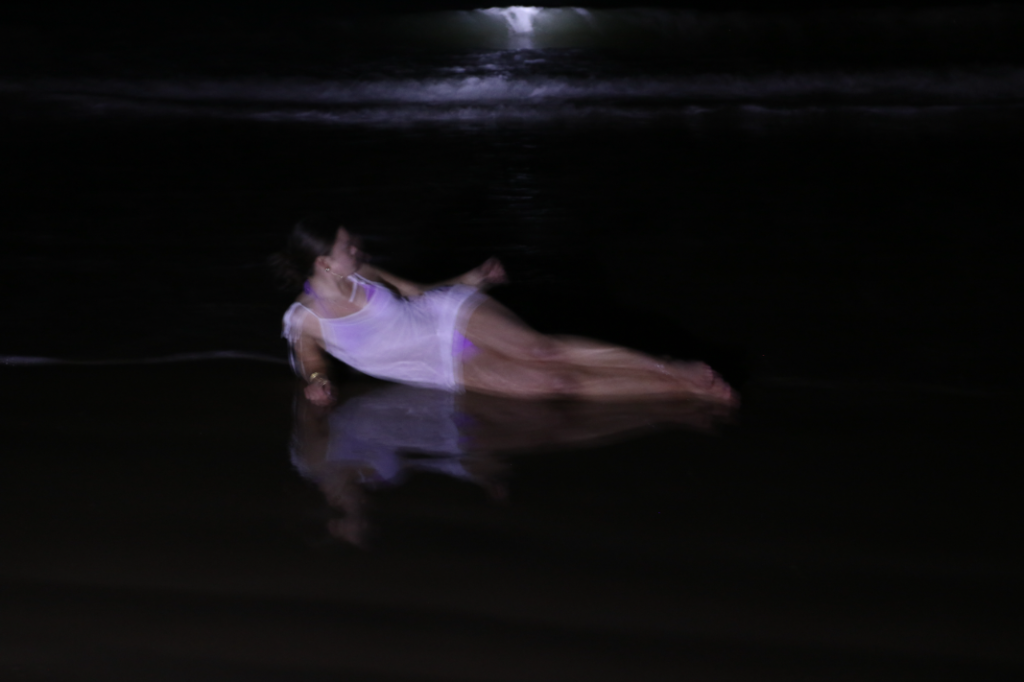
All together I have really enjoyed working on this project and am very happy with the final outcomes of this project there would only be a couple things I would change, for example getting a stronger light for the night photographs so I could see more of the background.

Final Images

Photo Book Layout

This is going to be the layout of my photobook I created this on Lightroom Classic through Blurb.

  • Size: Standard Portraits
  • Cover: Hardcover Image Wrap
    • Paper Type: Premium Matte

For this book I have selected my best images out of this project to display them, I narrowed down my photographs from 900 down to 27 images. I am really happy with the final outcome of my book as think it works welly well and the colours trough out the book flow together well, I also like how my opening and closing image are both of the same person. All the images in my book represent my favourite photos from the project.

Experimental Book

This book is the first book I created I have chose not to use it as I don’t like the layout of it and and think some photographs don’t suit the book. It was also a landscape book which distorted the images so on the new book I have made it portrait.

DECONSTRUCTING A PHOTOBOOK

My photobook layout is inspired by Tamara Liechtenstein and her book created on Blurb, with one photo per page, with some photos on a double page spread, however instead of having a white boarder I am going to do a mixture of sizes and fittings, come of the images are going to be full bleed whilst others have a white boarders around it. I have created my photobook this way as I believe it will hook the audience in, as there is different shapes and sizes as it isn’t just one size and just landscape photographs compared to Tamara Liechtenstein’s book although the images are what has inspired me to create this book I find the layout too simplistic and repetitive as there is no differentiation through out the book therefor I have broken that in my book by changing it up and doing different sizes and landscape and portrait photographs.

My photobook is based on femininity and the male gave which is a theory created by Laura Mulvey. The male gaze refers to the way women are objectified by the camera lens in Hollywood movies because men are in control of the production process and make decisions that appeal to their own values and interests. The audience, including women, are then positioned to accept this narrow representation. However even though my images follow the idea of the male gaze however, I challenge this idea as I am a female taking these photographs, which suggests it isn’t only just males who see females in a certain way other women do the same to observe and sometimes even challenge them self’s to look the way other women look in photographs. The femininity part of the book is that the girls in my book have the confidence to pose in front of the camera and portray the conventions of women being beautiful and elegant which I believe reflects well on my photographs.

3 words to describe my book: Femininity, girl hood, exploring.

One sentence to describe my book: exploring femininity through the male gaze, and glorifying girl hood.

A page from Tamara Lichtenstein’s book.
My photobook layout.

Photo Layout Plan

I have created layouts on how I want to frame my photographs and the sizes they are going to be printed out in, i made this using PowerPoint placing each image into position.

Selection Process

For the selection process I have flagged all the photos I like and them rate them on how good they are followed up by rating them with a colour on the probability of me using the image. This gives me a clear picture on how many photos I have and saves me from looking through all my photos.

Out of the 1000 photographs I took for this project I managed to cut the photographs down to 100 and then to a further 27 final photographs.

The Editing Process

All my images have either been edited on Lightroom Classic or on Adobe Photoshop. When it has come to editing I have taken my time on them to make sure that I am editing them in a way in which reflects well on the photograph and and complements it.

The photographs below except the last two photographs were edited on Lightroom with the majority of the photographs I was focusing on the highlights and shadows on the the people to highlight textures primarily on the skin and cracks in the body. On some of the photographs I used the spot correction tool on Lightroom to get rid of unwanted things like the pool clips and dirt in the bottom of the pool.

I used Photoshop to edit these images I used the wetting which adjusts the sky, I did this to add more depth to the photograph as the sky was dull that day making the photos gloomy after I adjusted the sky I then brightened up the photo to make it match with the sky.

I did the same thing to this photograph as the one above, changing the sky and adjusting the brightness which changed the whole mood of the photograph.

Photo comparisons

Photo shoot 5

All these images are from Tamara Lichtenstein’s collection on Flickr page.

mood board

For my 5th photoshoot the photographs are going to be taken in multiple places, the first place being on the 5 mile road, focusing on a model being in the middle of the road with a cloudy sky like the images in the top left hand corner of the mood board.

My photos

I am happy with the way this shoot came out however I waited to long for the sun to go down and find the images too dark, when it comes to the editing process I am going to make them brighter and more vibrant to emphasize the sunset more as the camera didn’t capture it well, I plan on editing these images on Lightroom and possibly photoshop.

The second place I am going to be taking the photos is on St. Brelardes beach whilst the sky is getting darker my models will be in dresses on the sand with the sea behind them I am going to bring with me a portable light to illuminate them allowing the photographs to be clear whilst the photos are being taken, I am also going to experiment with using coloured gel film over the top of the light to create a coloured effect like Tamara Lichtenstein does which is seen in the bottom of the mood board.

My photos

With this photoshoot I really struggled with the lighting in the sense that the lamp I bought didn’t light up enough of the water so you can’t really tell it was taken on a beach, I am pleased with the way the colored gel lit up red and was really effective, another issue I had was trying to adjust the camera to allow as much light in without it being so shaky,I should have used a tripod to capture these images.

The third place I am going to be taking photos is in a bathroom using coloured light to create a moody setting of the photographs I am going to do self portraits using a tripod of me and my identical twin sister in between a shower screen to create a mirrored effect this is going to be an interpretation of one of Tamara Lichtenstein photos where she has mesh fabric over one of her models creating an almost mirrored effect. I will also be taking photos of my friends together looking in the same direction into the camera and come in a car with clouds of smoke.

My photos

I am pleased with the outcome of this shoot I find the images eye catching and I think with some editing done to them they would be really strong I created the red light by placing red gel plastic in front of the light I was using. The top photo looks like a person has been duplicated as me and my twin sister are both looking the same way, the other images were taken in a shower focusing on the male gaze and how women can be seen showering through the gaze.

Photo shoot 4

For my 4th photoshoot this is also inspired by Tamara Lichtenstein and a book she created on Blurb, I am going to create my photos in a pool in the late afternoon there for the sun isn’t too bright so there will be less glare on the water, I will get my models in white sheer dresses, like Liechtenstein’s models are wearing I am going to experiment with different angles and poses some will be on the model submerged in water others of them coming out of the water, whilst taking the photos and experiment with the lighting as the pool lights are able to change colour this will allow me to change the atmosphere and feeling of the images.