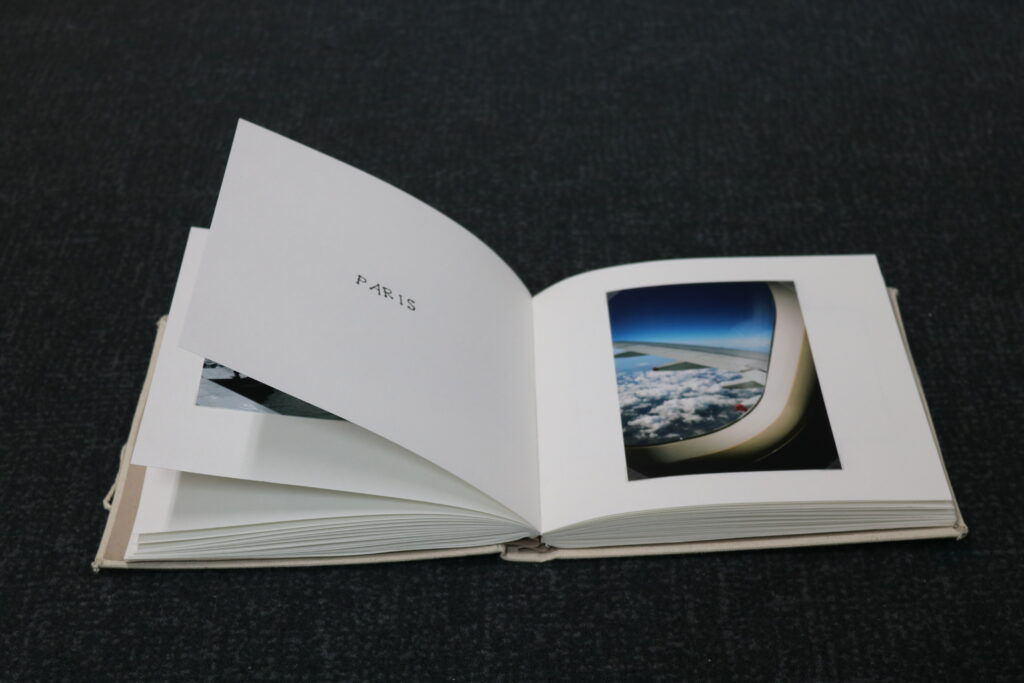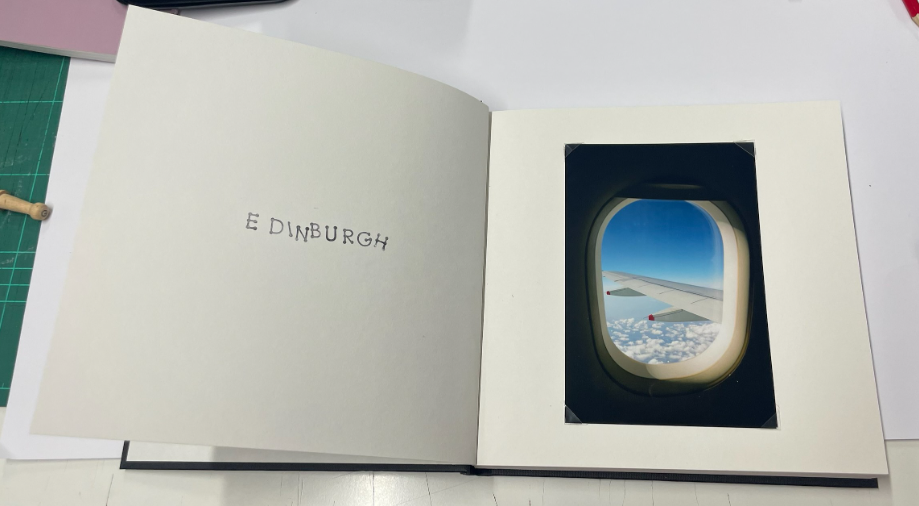
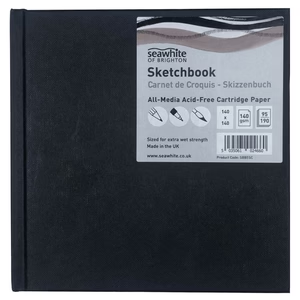
Instead of creating an online photobook, I decided fairly early on to handmake mine. First, I selected a sketchbook with a black hardcover to present my images in and began sticking them in using photo corners. I also used the stamps to write the name of each city, as planned.
I then realised that the book I had chosen unfortunately had too many pages and would seem unfinished if not filled.
Therefore, as a solution, I decided to make a cover myself and cut the pages out of the book I had used. To create a cover, you need a kind of hard cardboard called greyboard and fabric/paper to cover it.
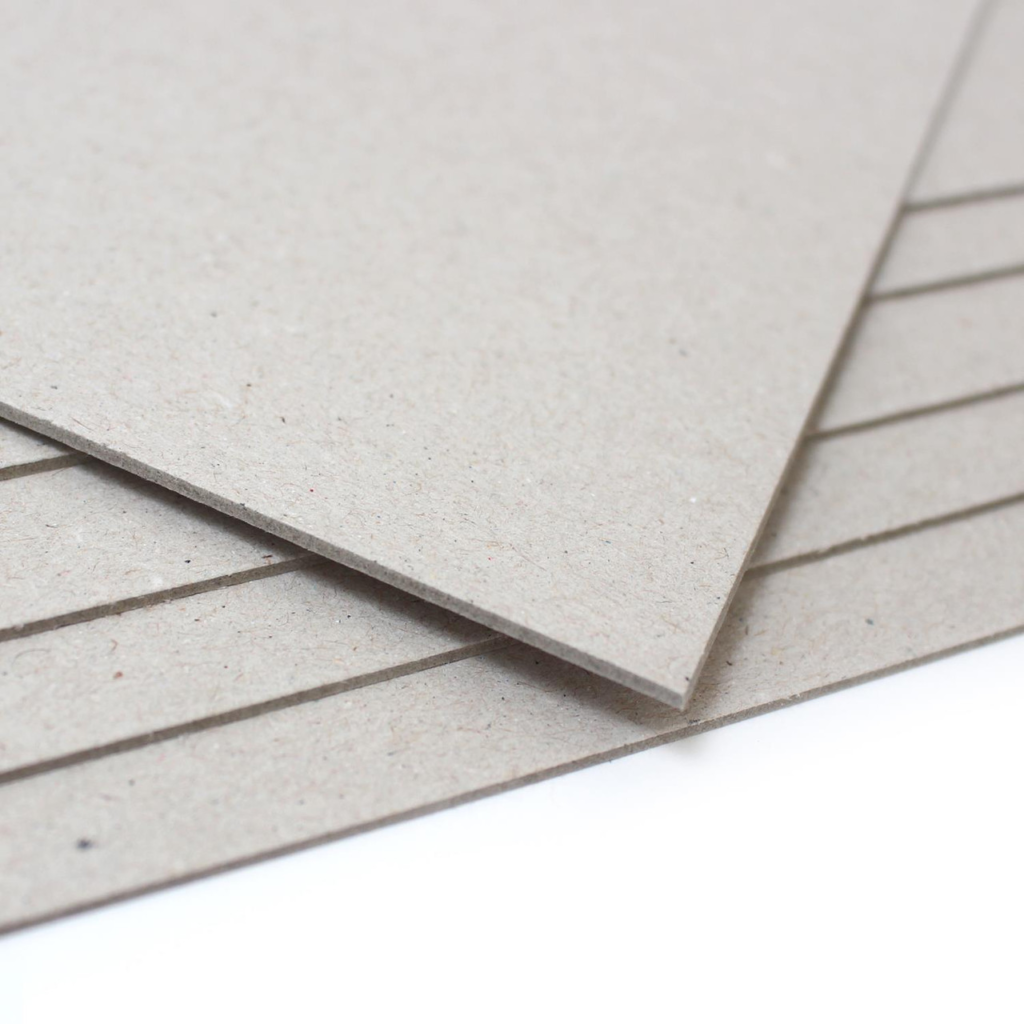
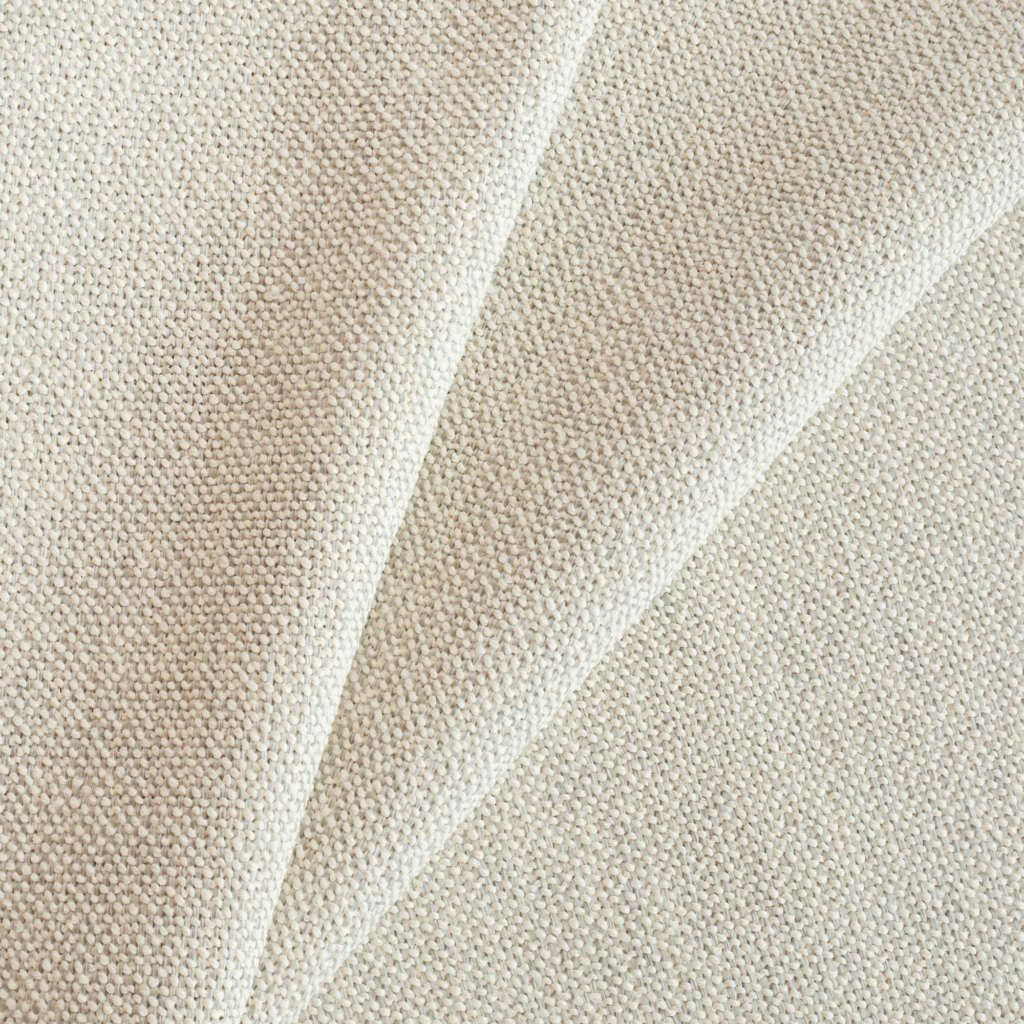
Once I had cut the greyboard into three pieces that would represent the front and back covers and the spine (using the original book as guidance), I needed to decide what I was going to cover the book with. I chose to use canvas, as I felt that this would add to the homemade feel of the piece.
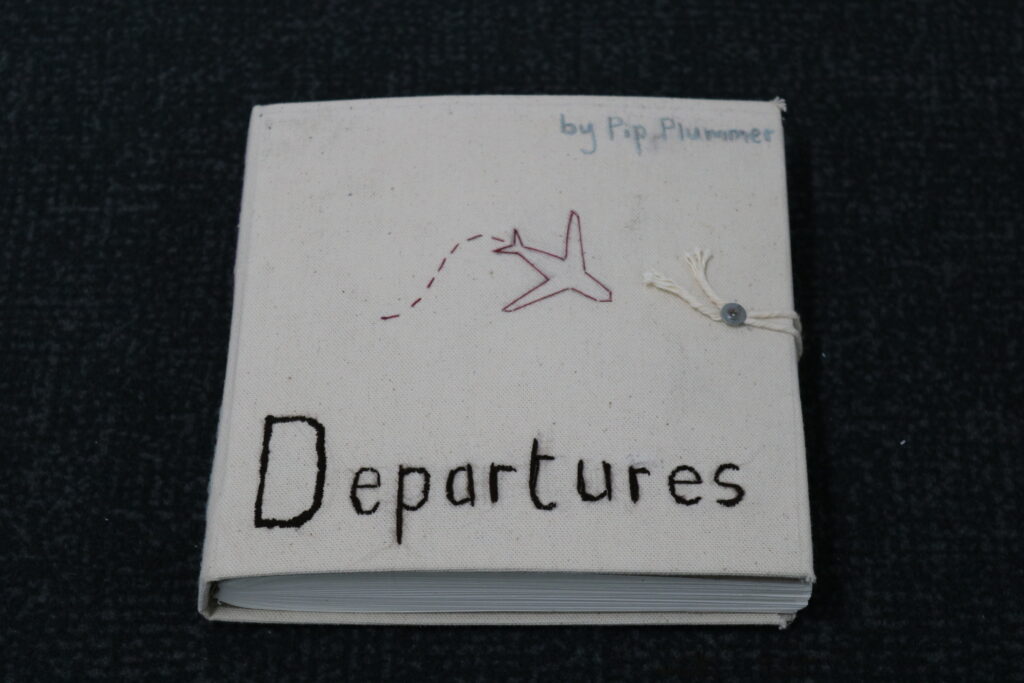
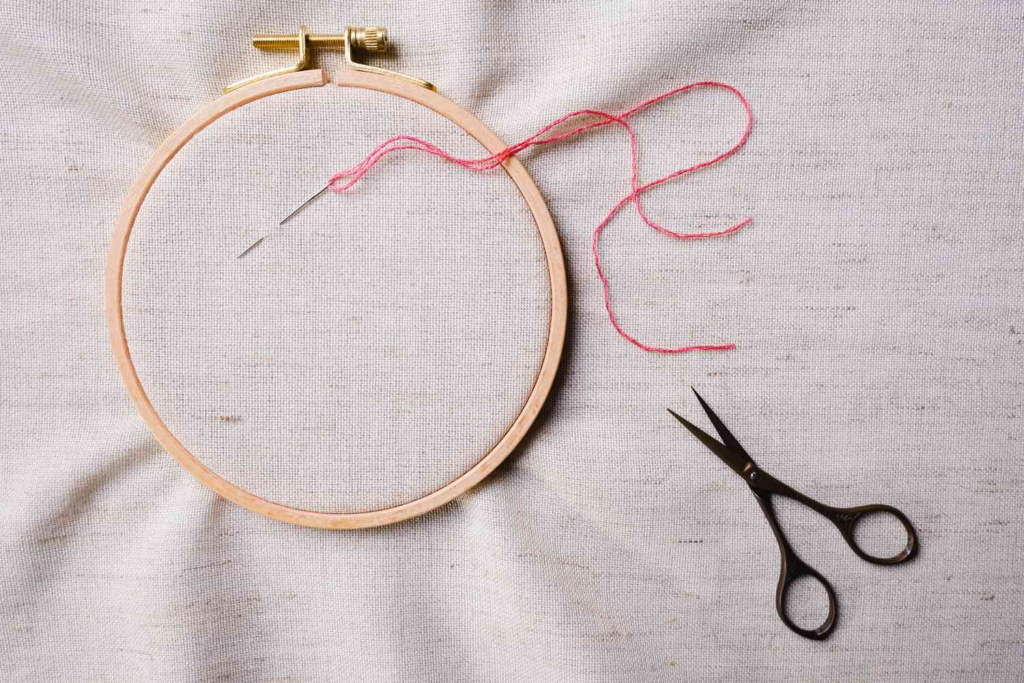
I then decided that it would be interesting to embroider it with my lettering, to make it both long lasting and more homemade. I have never tried embroidery/stitching so it was an interesting experience to learn and I found it quite therapeutic. Whilst this was of course rather time consuming and not something I had intended to happen at all, I think that the final outcome is better than the original may have been, as it is certainly more personal and there was a lot more effort that went into it.
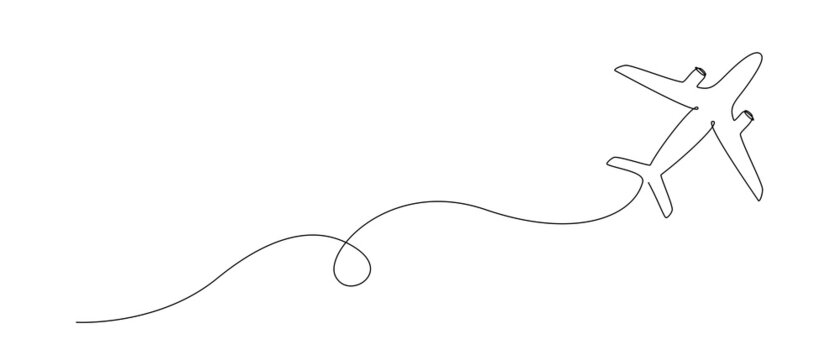
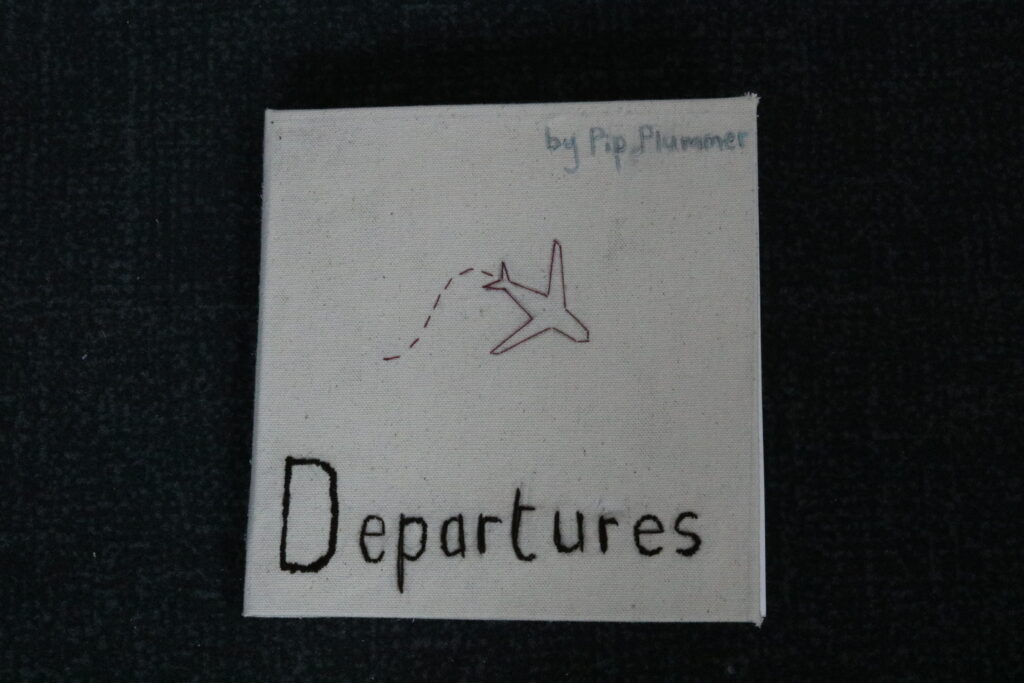
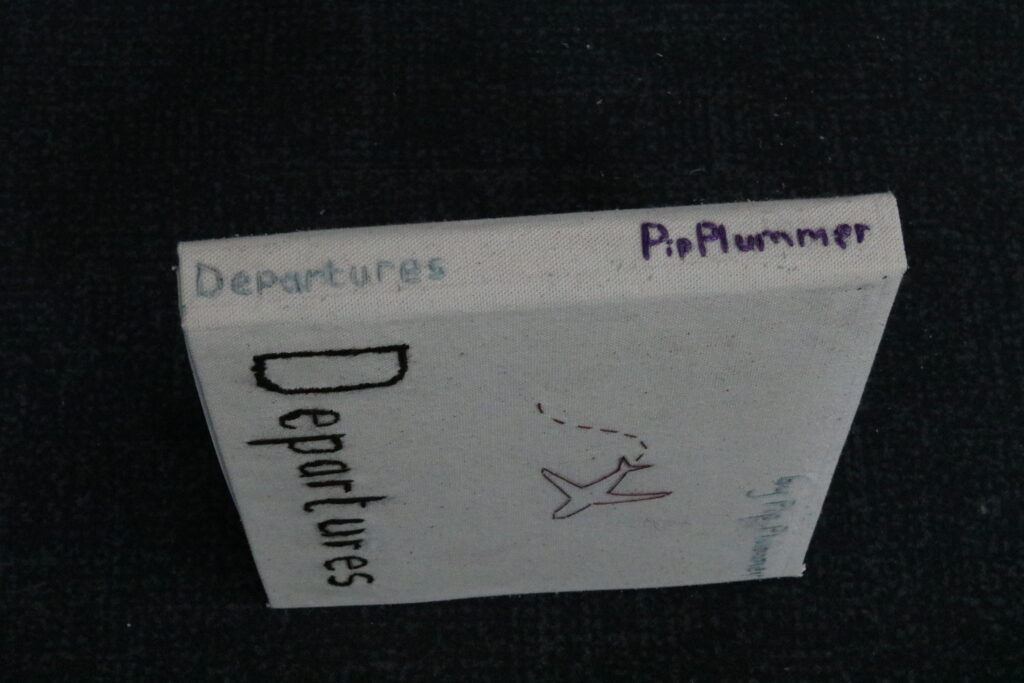
My plan was to stitch in my title – Departures – to the front cover and spine, along with my name. Then, I added a small plane with its trail behind it, using various online clip art for inspiration and guidance (example on the left).
Before I sewed it, I drew each piece on using a pencil. I felt that I wanted to use red thread for the plane and its trail because it would be eye-catching and bright, and I think that this worked well.
After I finished sewing, I needed to glue the greyboard to the canvas in this way, so that I could fold up the edges on the inner page.

Then, I added my cut out pages from the original book into the new cover, and created an end sheet using brown paper. This meant that the whole book could be held together.
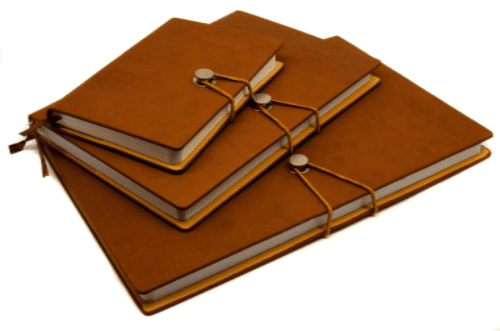
I also added two small screws, one on the front cover, and one on the back. This would allow me to attach a small piece of string to act as a fastening loop and hold the book shut. I think that this increased the homemade look of the book and alludes to an old-fashioned diary or travel journal. You can see an example on the left.