Examination dates: 15 hrs controlled test over 3 days
Group 13A: 22. 25 & 26 April
Group 13B: 23, 29 & 30 April
15 hours controlled test
Photography classroom
RULES: No use of mobile phones. No talking to each other or ask teachers for help.
You will have access to the blog to produce blog posts, BUT no access to the internet.
The blog will only be available for you to access during exam times each day between 09:00 – 15:20. In other words, you will not be able to make any changes/ improve work outside of exam times.
It essential therefore, that you have done must of the preparatory work – research/ artist case studies/ photo-shoots/ evidence of creativity, development and experimentation of images – before the exam period begins on day 1.
Work to be done
1. PRINTS: Final selection of images in print folder above (ready by end of Day 1 22 & 23 April of the Exam)
2. PRESENTATION: Complete mounting all final prints
3. VIRTUAL GALLERY: Present final images using templates here: M:\Radio\Departments\Photography\Students\Image Transfer\EXAM 2024\Gallery mock-ups
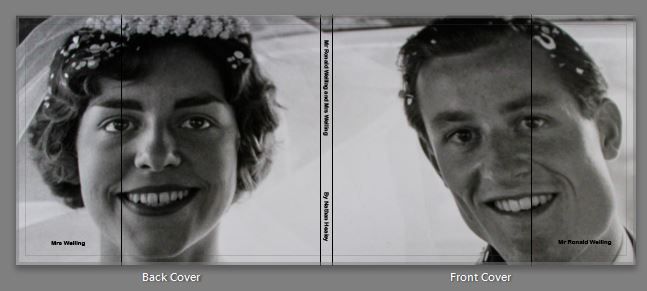
3. PHOTOBOOK: Complete design and evaluate
4. BLOG: Review and complete all supporting blogposts
5. FOLDER: Label all final outcomes and put in Exam folder
6. SIGN: Student authentication form
DEADLINE: LAST DAY OF YOUR EXAM
FINAL PRINTS > PHOTOBOOK > BLOG POSTS
IN PREPARATION FOR YOUR EXAM MAKE SURE THE FOLLOWING IS READY BY THE END OF THIS WEEK:
- Complete and upload new photoshoots and begin to edit in Lightroom – make sure to produce blog posts showing selection process and experimentation of images.
- A draft layout of your photobook using BLURB templates in Lightroom – exam time is used to fine tune design with teacher’s approval
- Review Checklist on blog for overview of work that must be completed – improve, complete and publish missing blogposts.

Structure your 3 day Exam as follows:
DAY 1:
PRINTS: Complete editing photoshoots, select and prepare final prints. Make sure you have produced blogposts for each photoshoot with a clear progression of selection and editing.
BLOG: Produce blog post showing presentation ideas and create mock-up in Photoshop. Consider appropriate sizes and ways of presenting images as singles, diptych, triptych, multiple grids/ collages/ combinations in window mounts or foamboard etc.
You must save final images (see guidelines below) in print folder here by end of the day:
M:\Radio\Departments\Photography\Students\Image Transfer\PRINTS EXAM 2024
DAY 2:
Photobook: Experiment with photobook design using BLURB in Lightroom – show variation of layouts and creativity.
Blog: Evidence of photobook process
1. Research and deconstruct photobook used as inspiration. Comment on different design element such as: feel of the book, paper, binding, format, size, cover, title, design, narrative (if appropriate), editing, sequencing, image and text.
2. Write a book specification and describe in detail what your book will be about in terms of narrative, concept and design with reference to the same elements of bookmaking as above.
3. Produce a blog post showing your layout and design process in Lightroom using a combination of print screens + annotation.
4. Final layout of every spread and write an evaluation.
5. Upload book design in Lightroom to Blurb and order your book via Blurb account. Once uploaded produce an hyperlink to book browser – see below for more details.
6. Once you have received book in the post bring into school.
Those who are not making a photobook can begin to mount up final prints and follow instruction below for Day 3.
DAY 3
PRESENTATION: Begin to mount your final prints as per your mock-up plans. Each final outcome must be labelled and velcro attached too. Make sure all your final images are presented in a folder with your name.
BLOG: Produce a virtual gallery and write a final evaluation of the exam module and your final outcome. Consider the following:
Gallery mock-ups M:\Radio\Departments\Photography\Students\YR 13 EXAM 2024\Gallery Mock-ups
– How successful was your final outcomes?
– Did you realise your intentions?
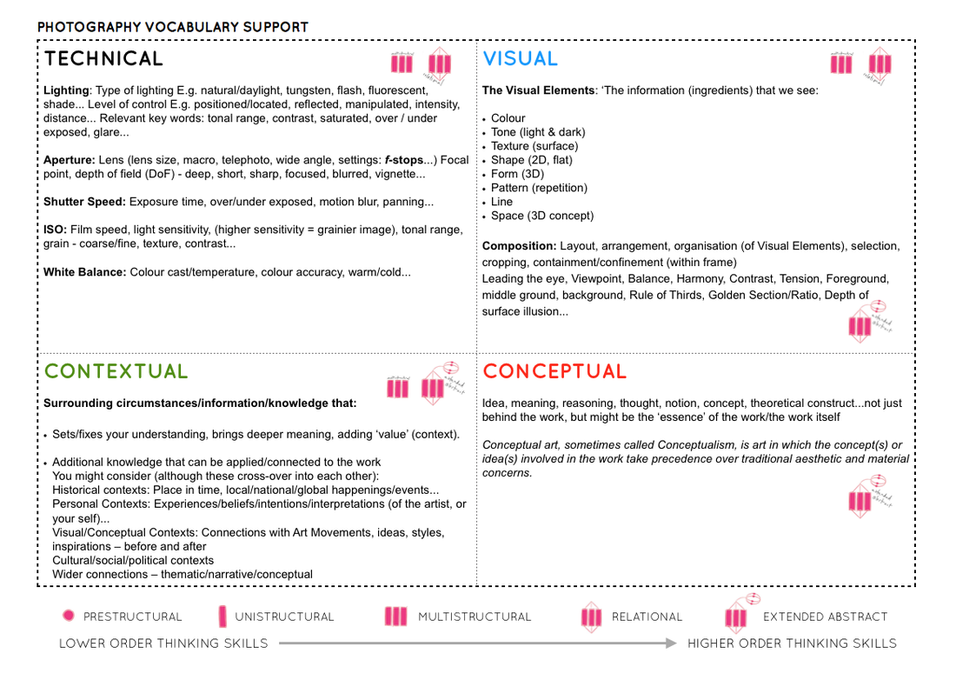
– What references did you make to artists references – comment on technical, visual, contextual, conceptual?
– Is there anything you would do differently/ change etc?
FINAL CHECK: Finish and publish any missing blog posts as per Checklist/ Go4School Tracking sheet and comments from teachers.
No students is allowed to leave until an authentication form is signed and teacher has signed off too.
PHOTOBOOK
Make sure you have a made a blog post that charts your design decisions, including prints screens of layout with annotation and write an ongoing evaluation. Final book design must be checked and signed off by teacher.


BLURB – ORDER BOOK
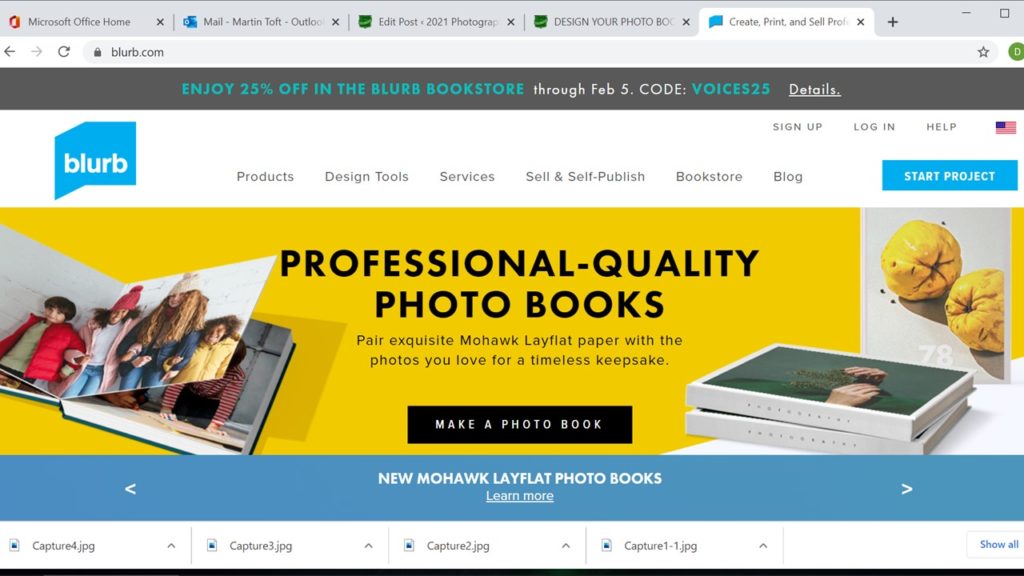
Inside Lightroom upload book design to BLURB, log onto your account on their website, pay and order the book.
Consider spending a few extra pounds on choosing better paper, such as Premium Lustre or Premium Matte in check-out, change colour on end paper or choose different cloth/ linen if needed.
LINK TO ONLINE BLURB BOOK
Your final blog post should be an online link to you BLURB book with an evaluation. If you have already written an evaluation as part of another blog post on your book design then add the online link to that blog post and change the date to make sure it sits at the top.

Log into your blurb account and click on Sell my book
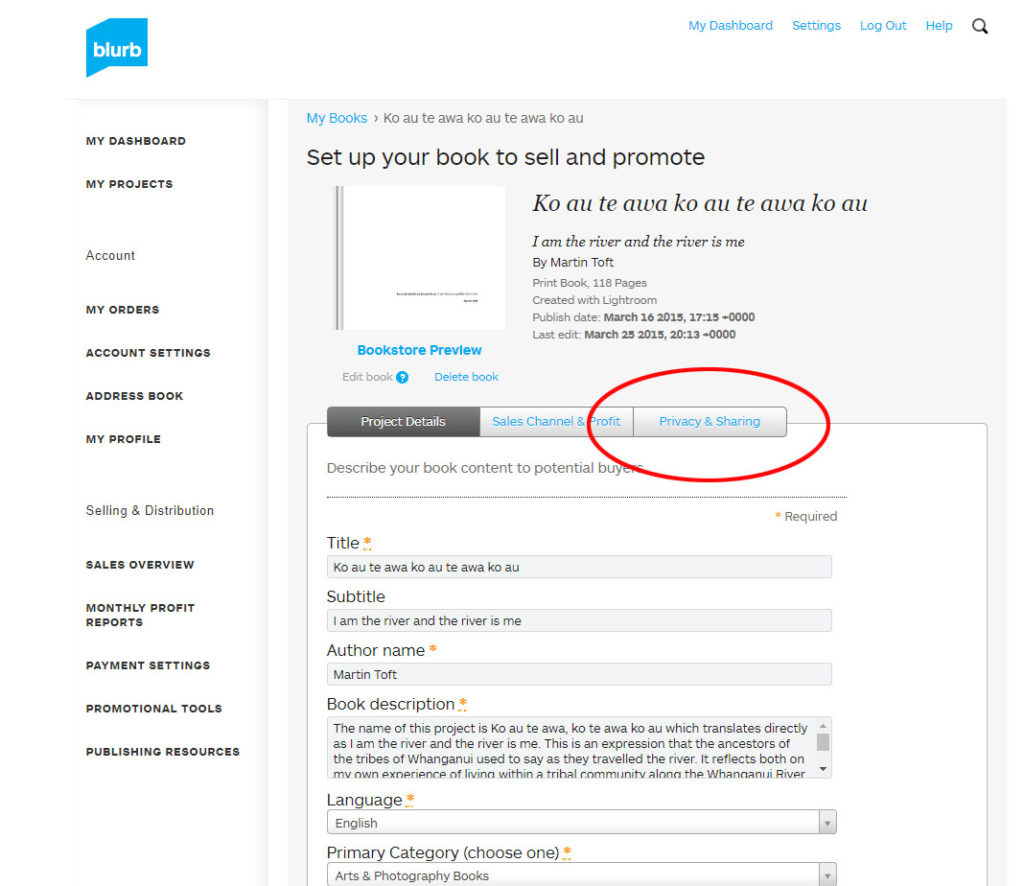
Click on Privacy & Sharing
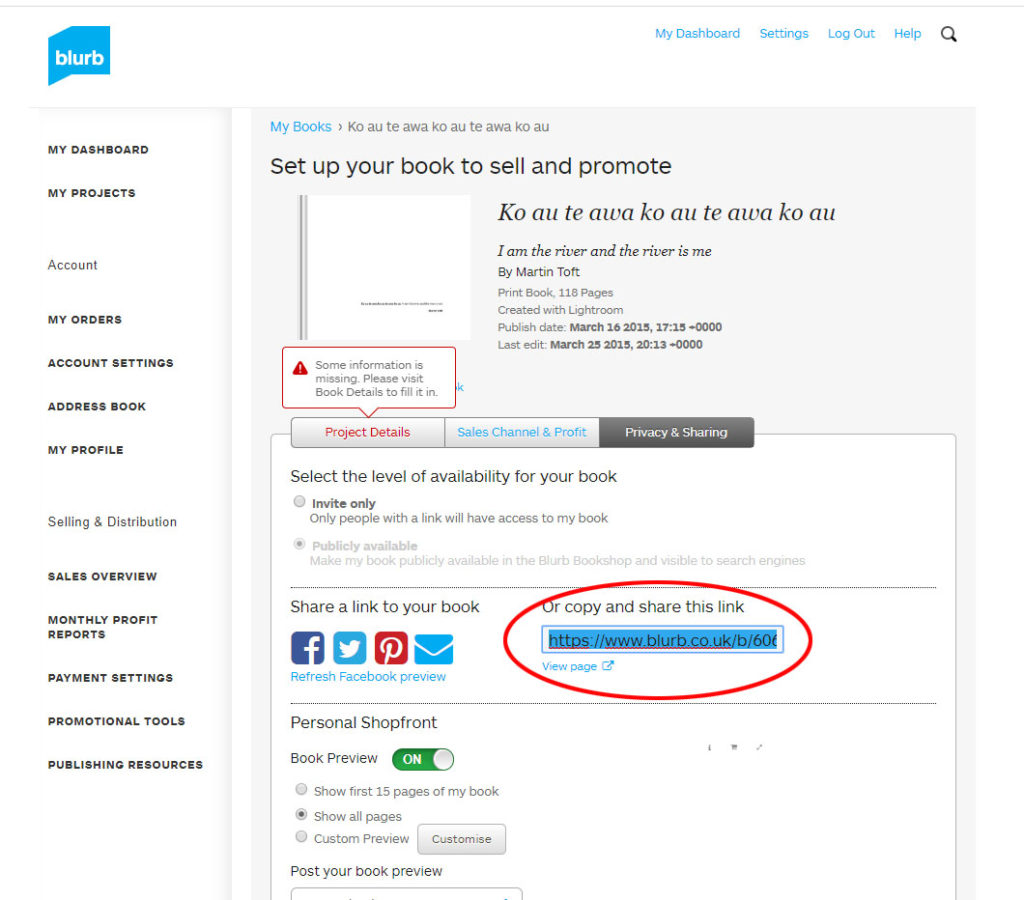
Copy link circled in red above.
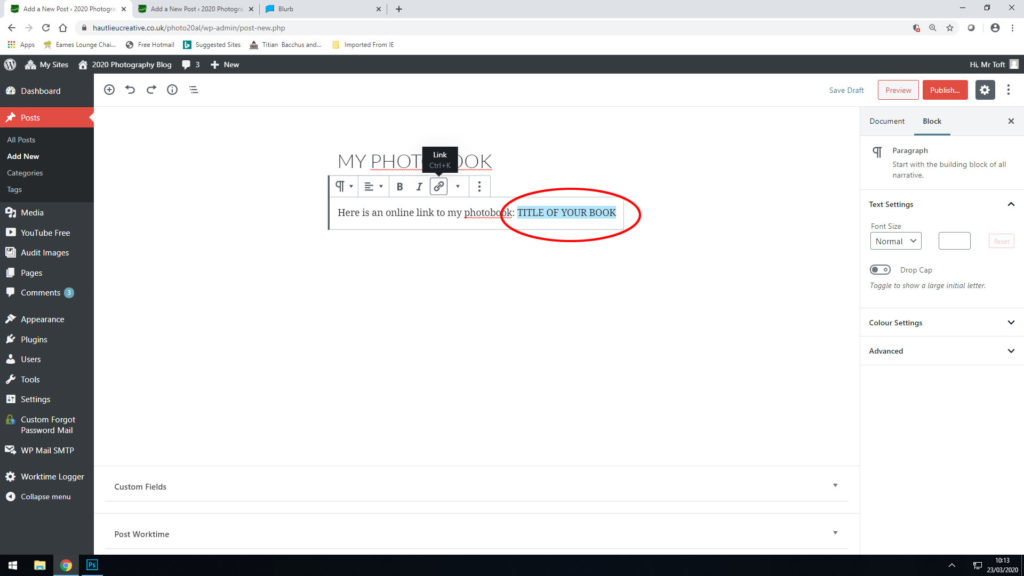
Make a new blog post: MY PHOTOBOOK and copy in link from Blurb into the title of your book using Link button above.
FINAL PRINTS
Select your final prints (5-10) from various photoshoots or photobook and make a blog post showing ideas about how to present them.
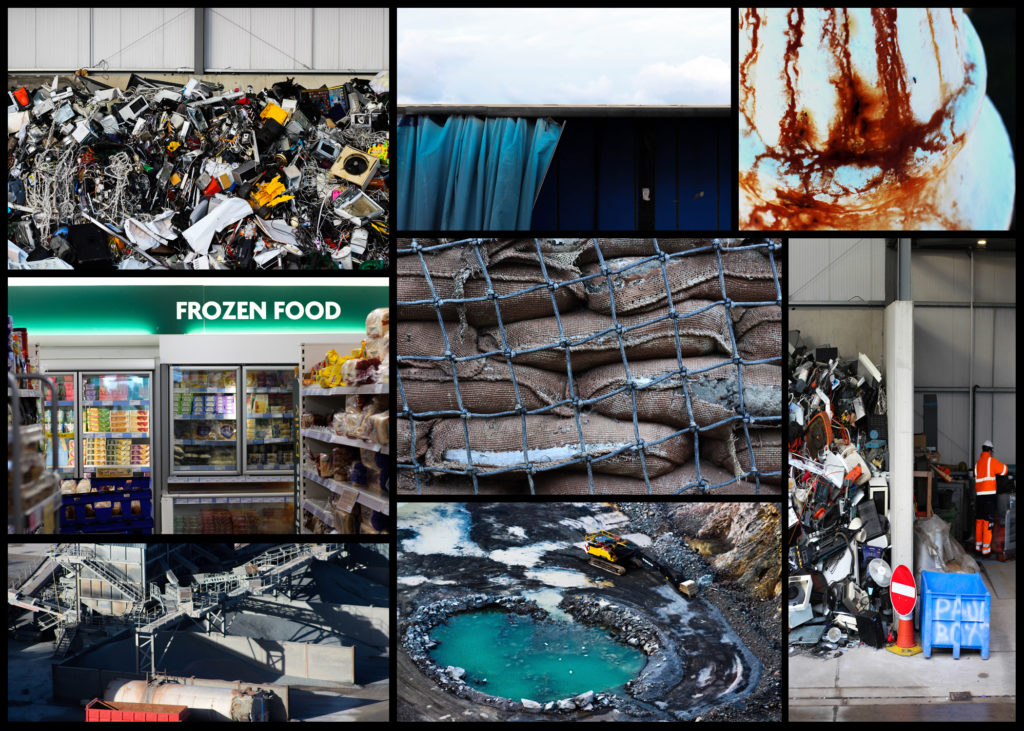
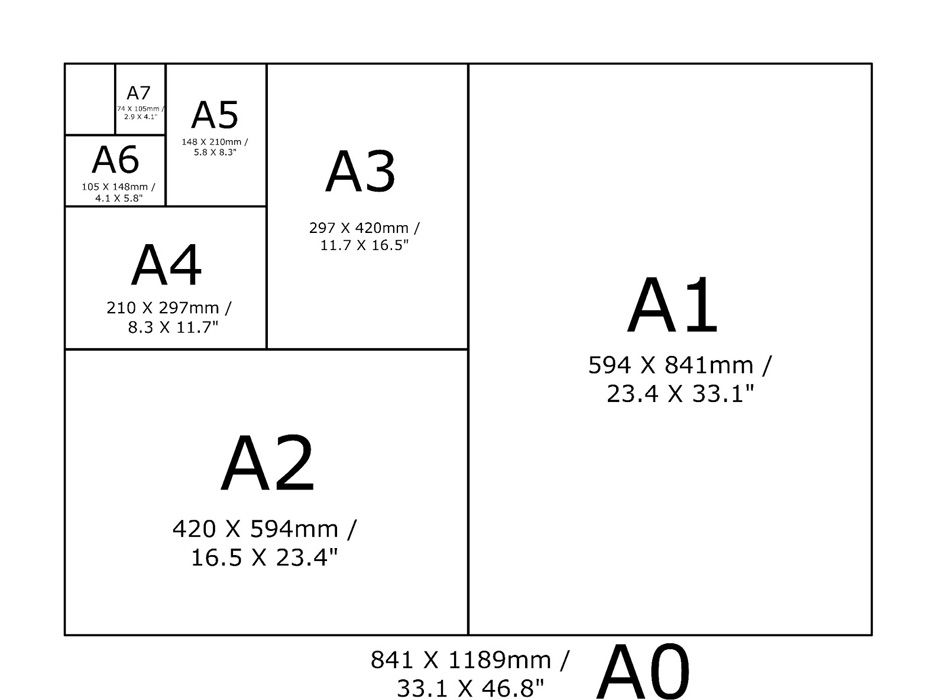
In photoshop produce a mock display (create new document size A1: 594 x 841mm) using different image sizes, for example: A3 x 2, A4 x 2, A5 x 3
PREPARE AND SAVE IMAGES FOR PRINTING:
- Add your images to the print folder here…M:\Radio\Departments\Photography\Students\Image Transfer\Yr 13 Exam
- Complete any unfinished work from last term if you have time, For example check your coursework portfolio and mount up any prints from previous projects.
File Handling and printing...
- Remember when EXPORTING from Lightroom you must adjust the file size to 1000 pixels on the Short edge for “blog-friendly” images (JPEGS)
- BUT…for editing and printing when EXPORTING from Lightroom you must adjust the file size to Short edge for “high resolution” images (JPEGS) like this…

- A5 Short Edge = 14.8 cm
- A4 Short Edge = 21.0 cm
- A3 Short Edge =29.7 cm
This will ensure you have the correct ASPECT RATIO
Ensure you label and save your file in you M :Drive and then copy across to the PRINT FOLDER in IMAGE TRANSFER:
M:\Radio\Departments\Photography\Students\Image Transfer\PRINTS EXAM 2024
For a combination of images, or square format images you use the ADOBE PHOTOSHOP > NEW DOCUMENT + PRINT PRESETS on to help arrange images on the correct size page (A3, A4, A5)
You can do this using Photoshop, Set up the page sizes as templates and import images into each template, then you can see for themselves how well they fit… but remember to add an extra 6mm for bleed (3mm on each side of the page) to the original templates. i.e. A4 = 297mm x 210 but the template size for this would be 303mm x 216mm.
Making a Virtual Gallery in Photoshop
Download an empty gallery file…then insert your images and palce them on the walls. Adjust the perspective, size and shape using CTRL T (free transform) You can also add things like a drop shadow to make the image look more realistic…
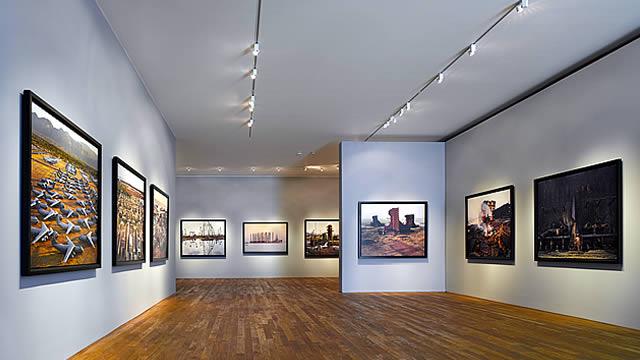
Here is a selection of Gallery mock-ups that you can use to superimpose your own final images onto walls using Free transform tool in Photoshop.
M:\Radio\Departments\Photography\Students\YR 13 EXAM 2024\Gallery Mock-ups

Always ensure you have enough evidence of…
- moodboards (use influential images)
- mindmap of ideas and links
- case studies (artist references-show your knowledge and understanding)
- photo-shoot action plans / specifications (what, why, how, who, when , where)
- photo-shoots + contact sheets (annotated)
- appropriate image selection and editing techniques
- presentation of final ideas and personal responses
- analysis and evaluation of process
- compare and contrast to a key photographer
- critique / review / reflection of your outcomes
