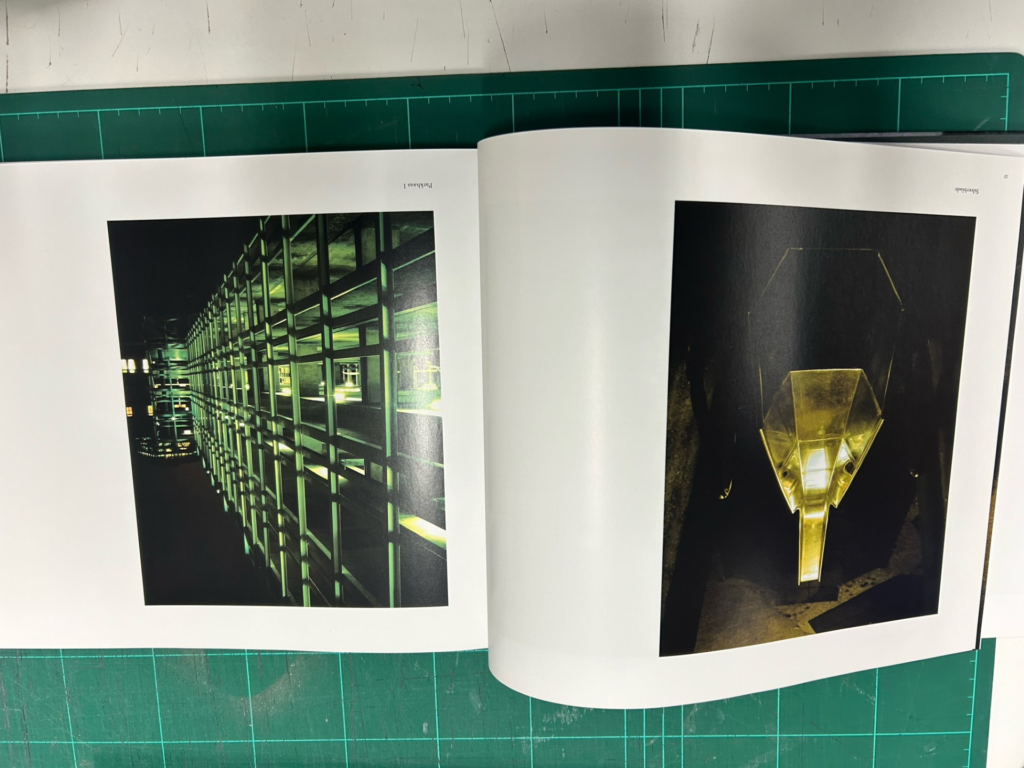
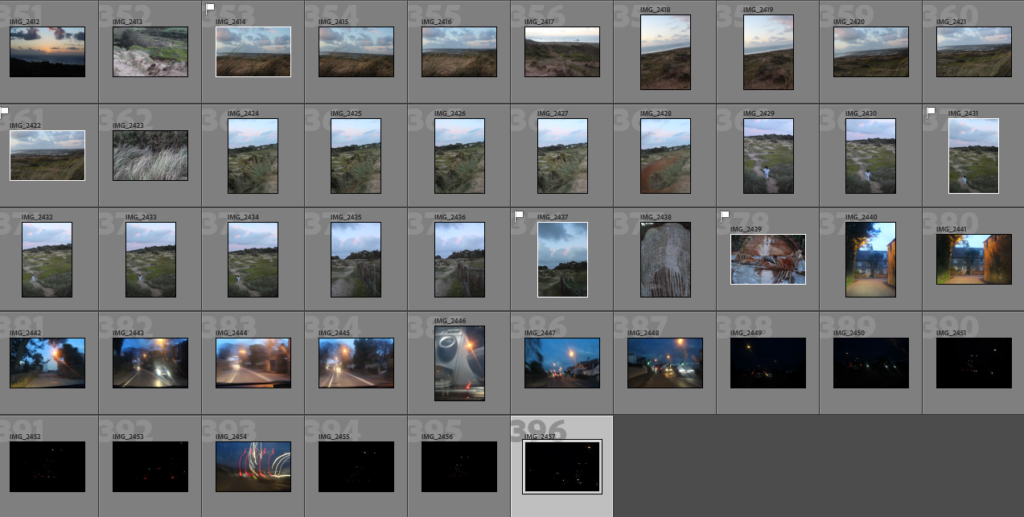
St Aubin and Sand Dunes

Photoshoot

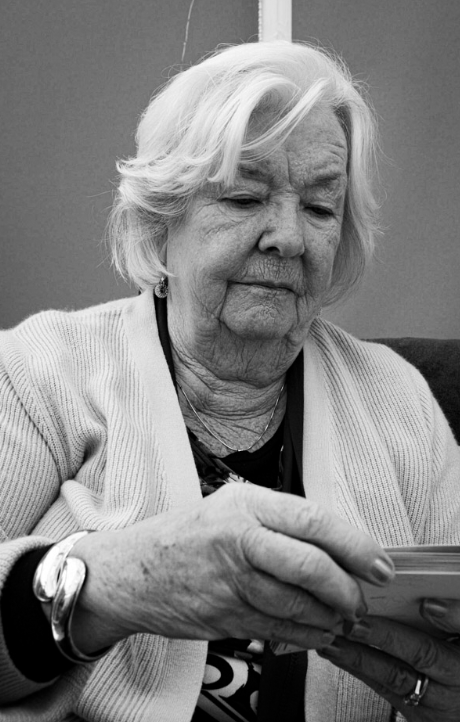
I tried to follow my basic plan for this photoshoot, however I added another location to photograph on top of the planned photo shoot. The reason for this addition was because I though about the theme of traveling, and thought I could get a wider variety of images. The images I finally ended up producing were of 2 locations instead of one as well as photographing the journey from one place to another.
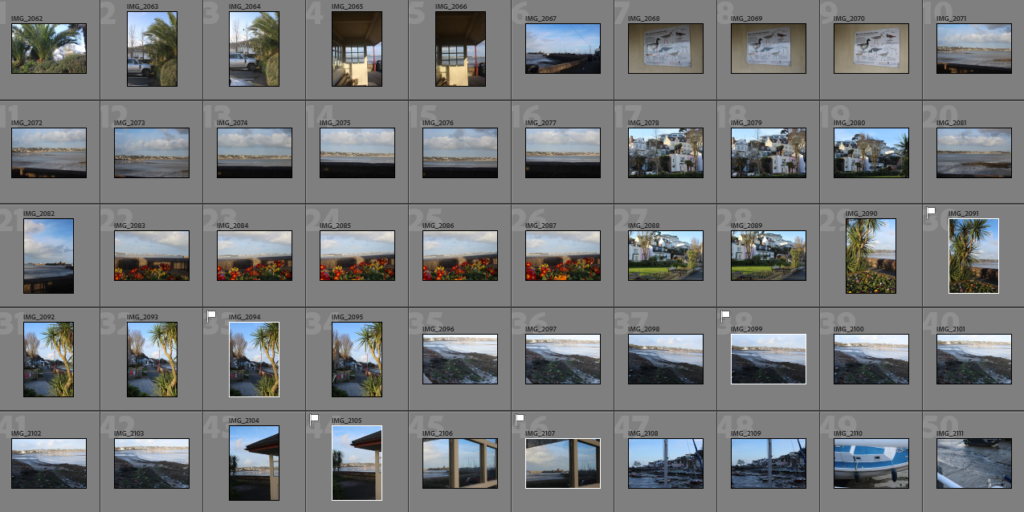
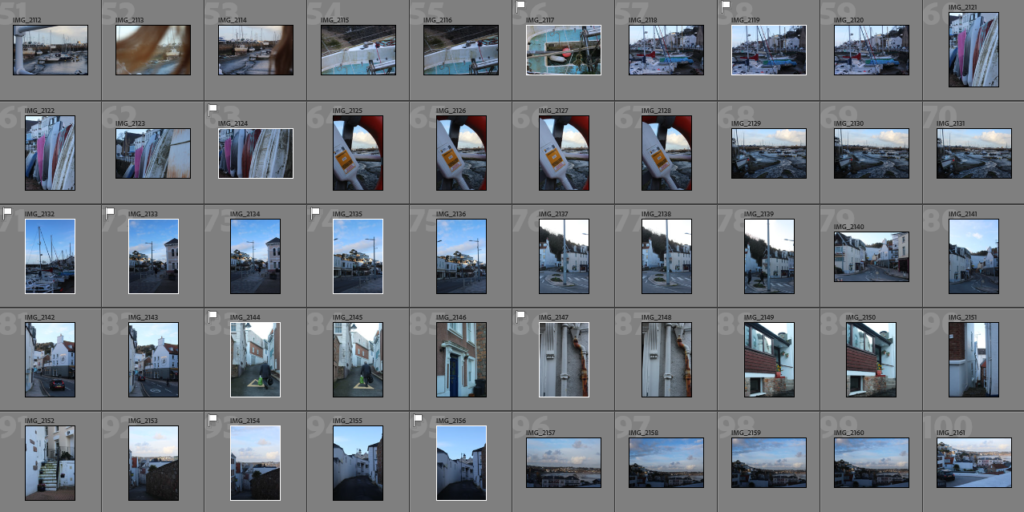
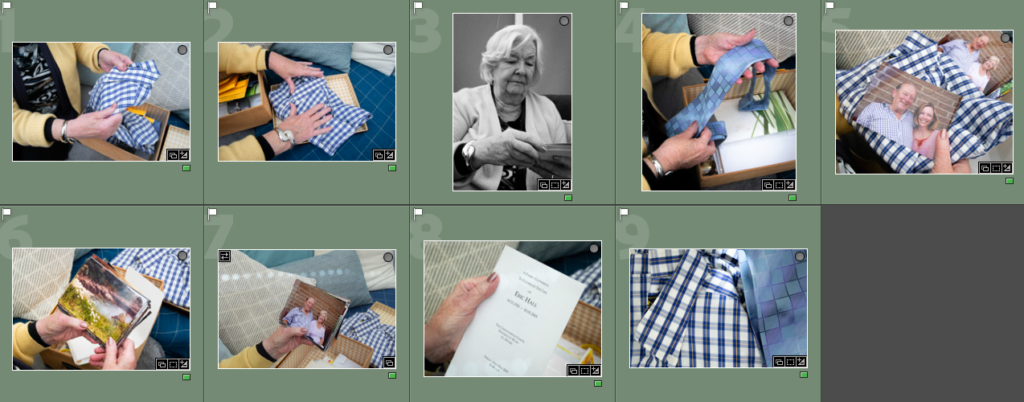
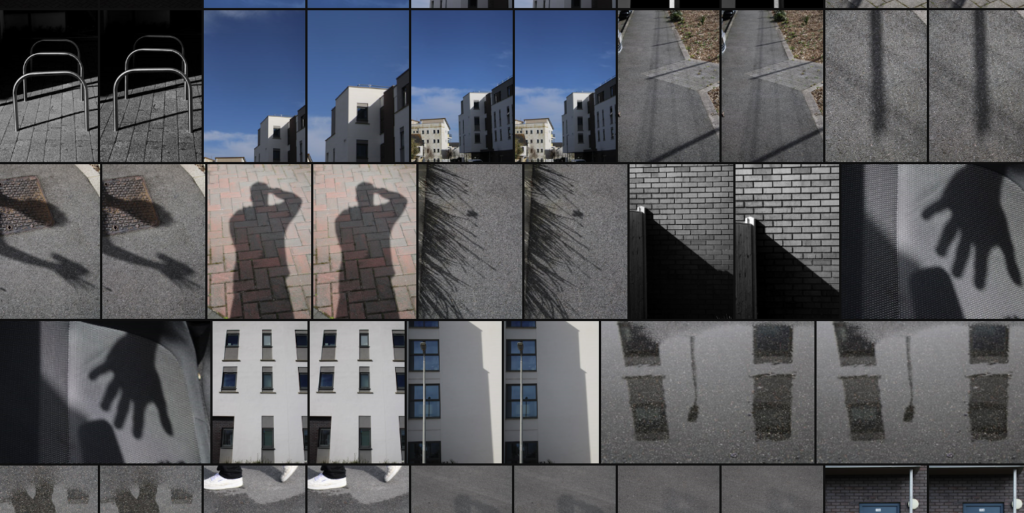
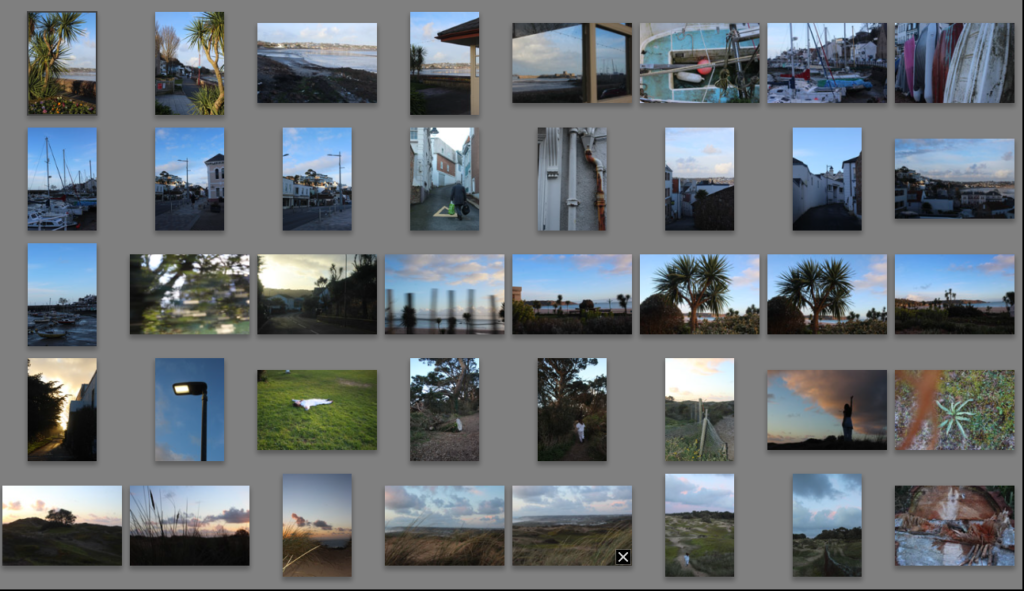
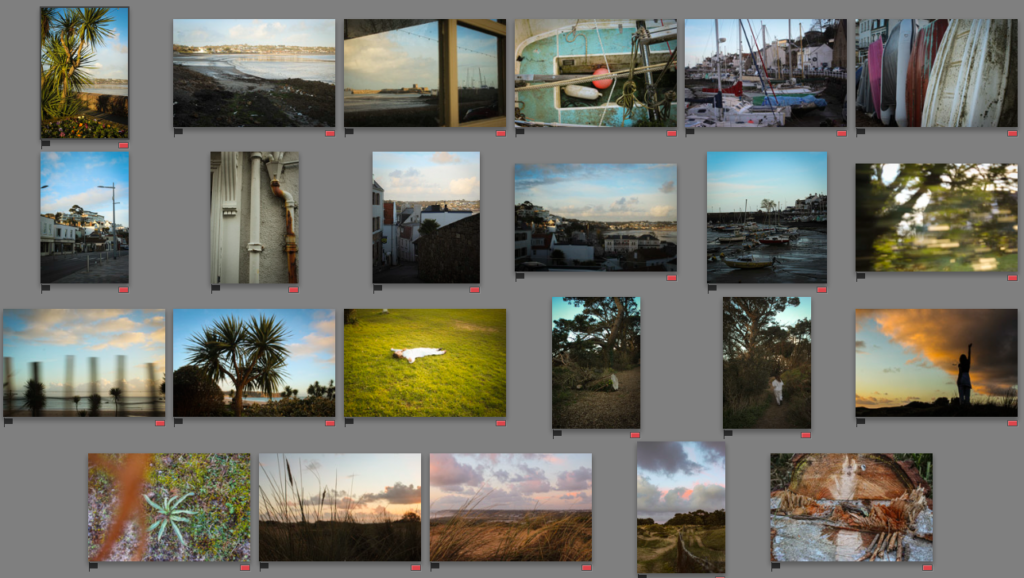
Sub-Selection

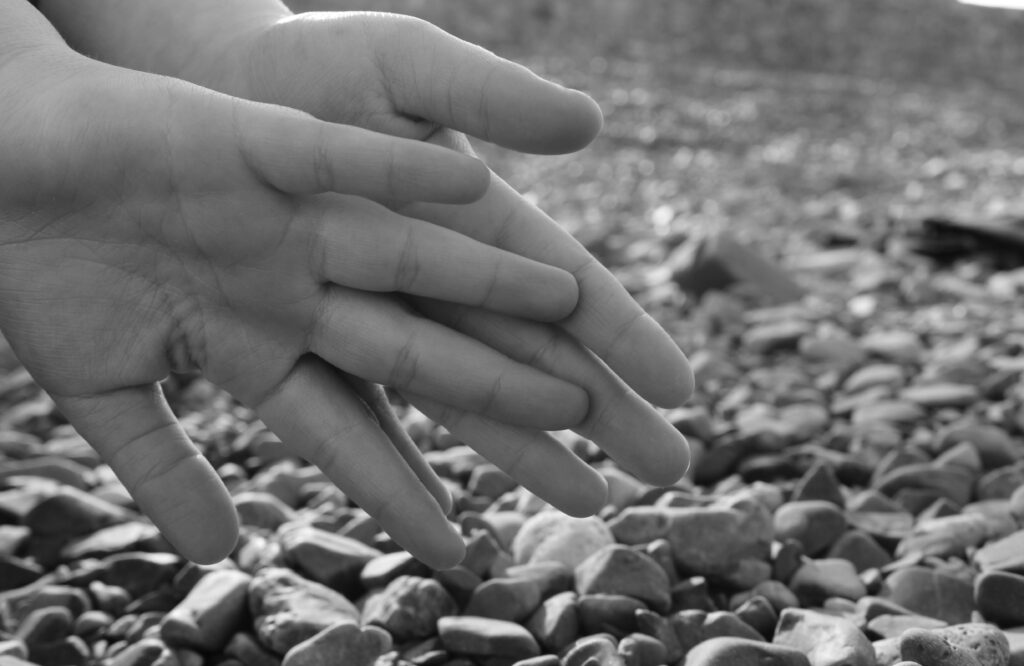
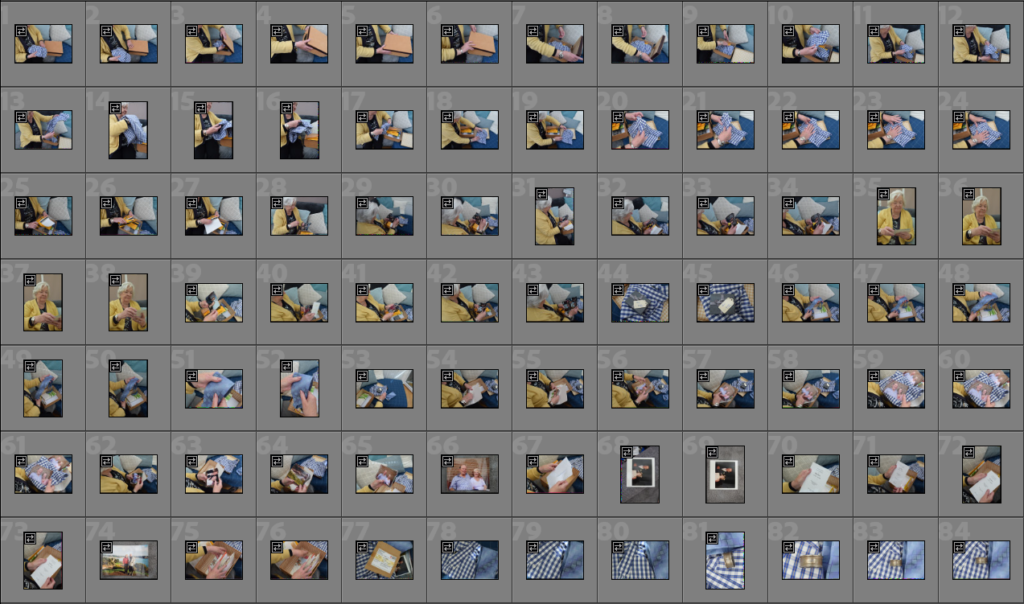
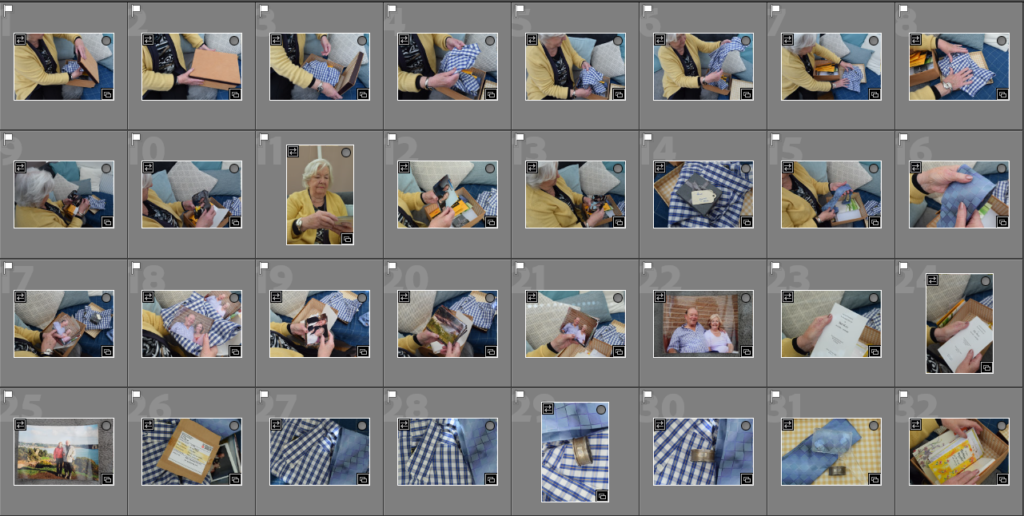
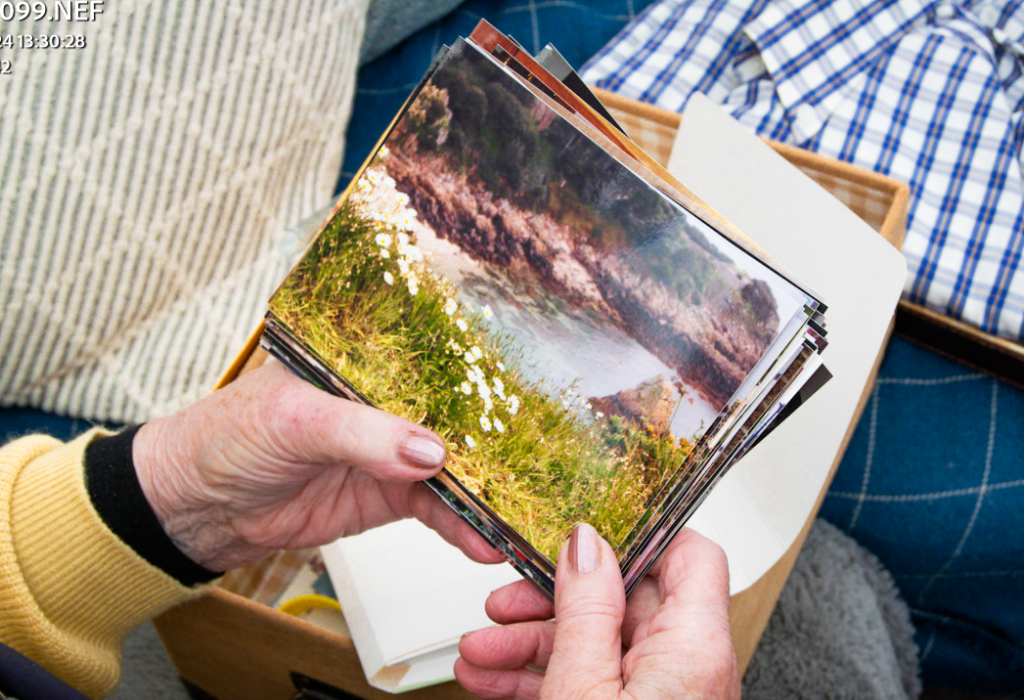
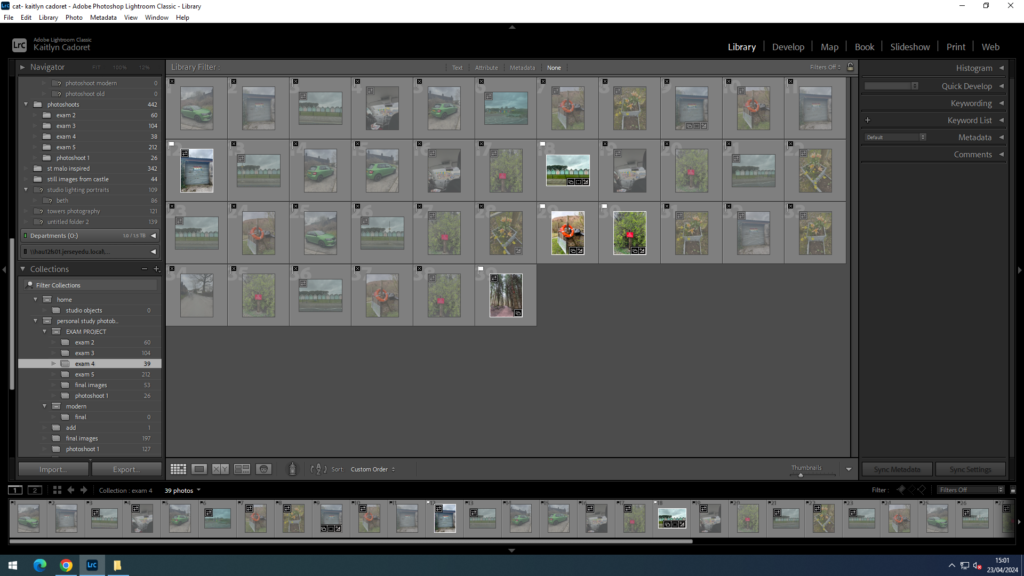
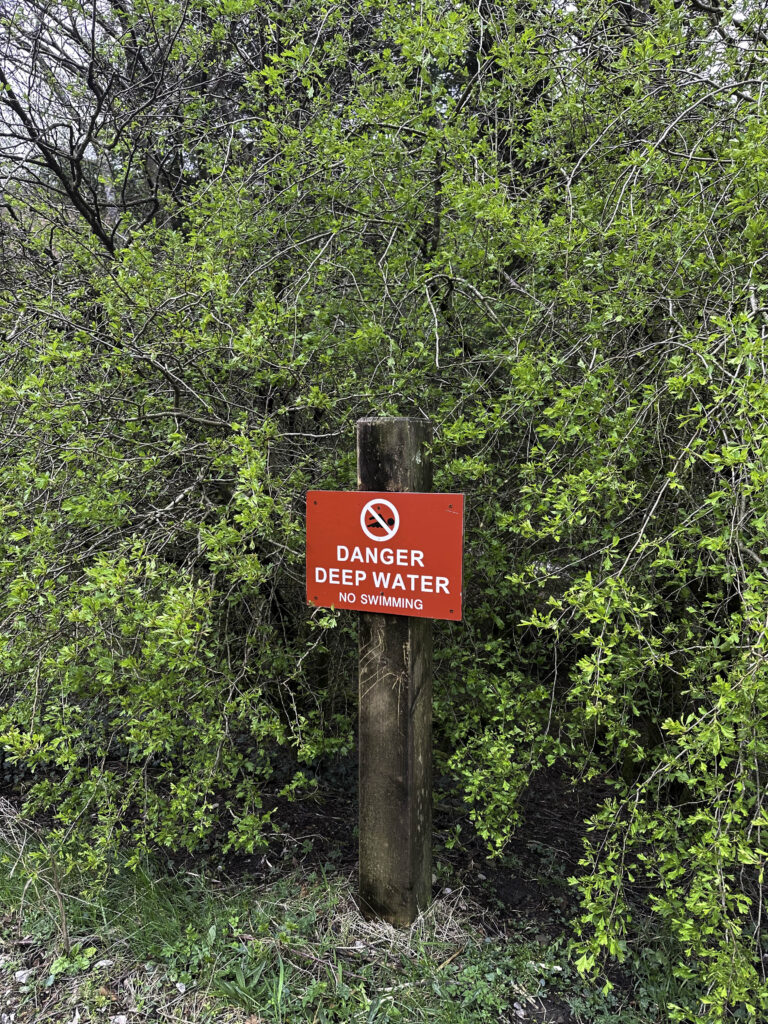
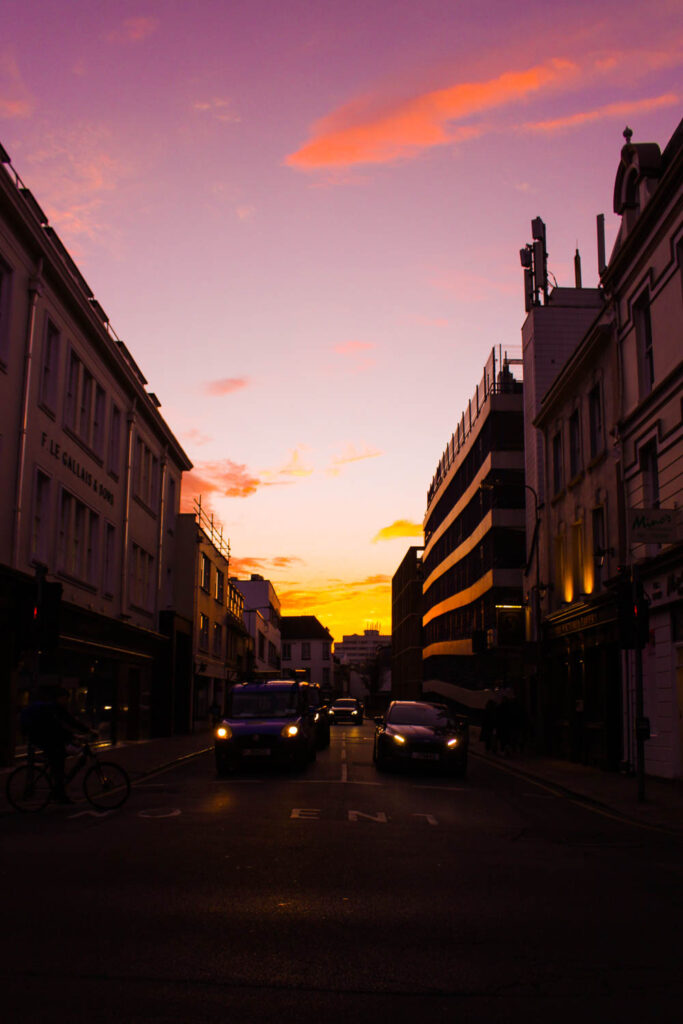
I have selected photographs of the best quality, and ones I though were showing the experience in the best way . I selected some that showed this shift from 1 place to another, to show a storyline of the experience as well as the order of events.
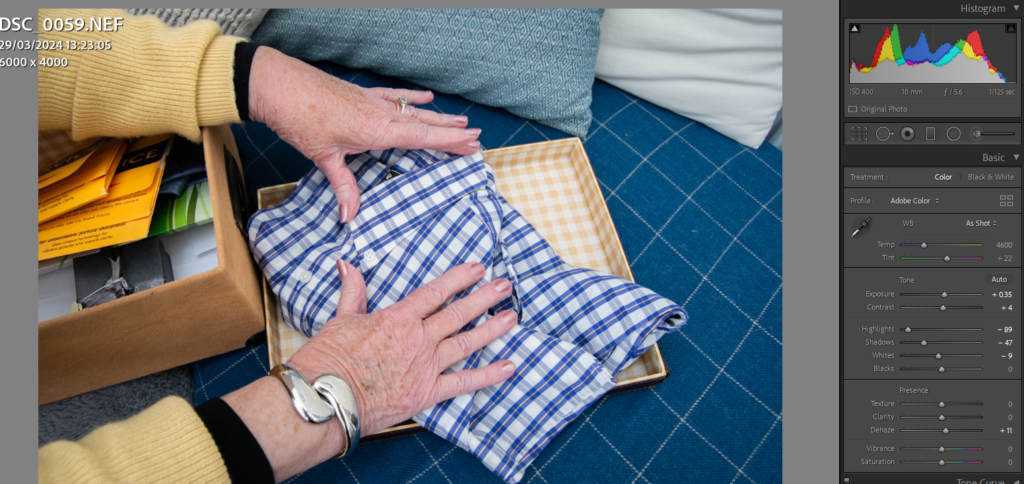
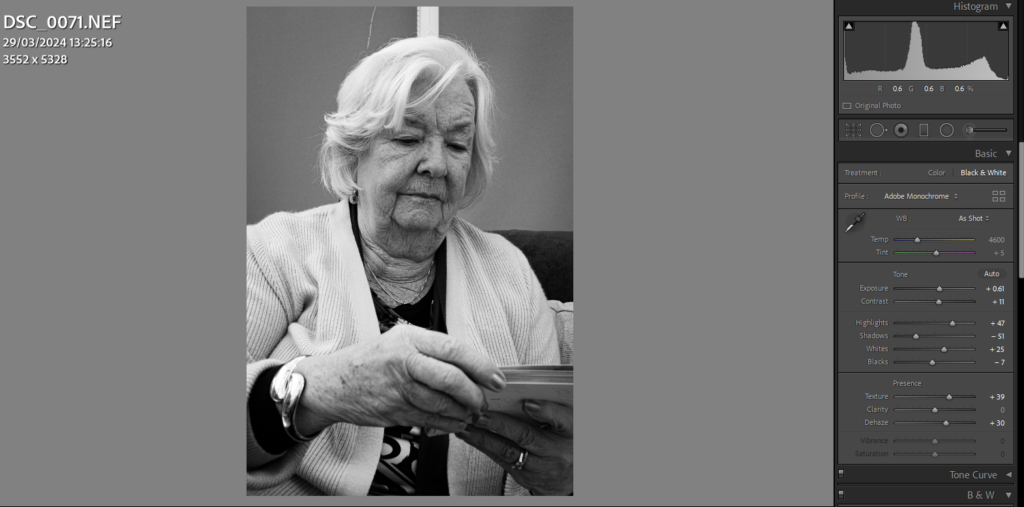
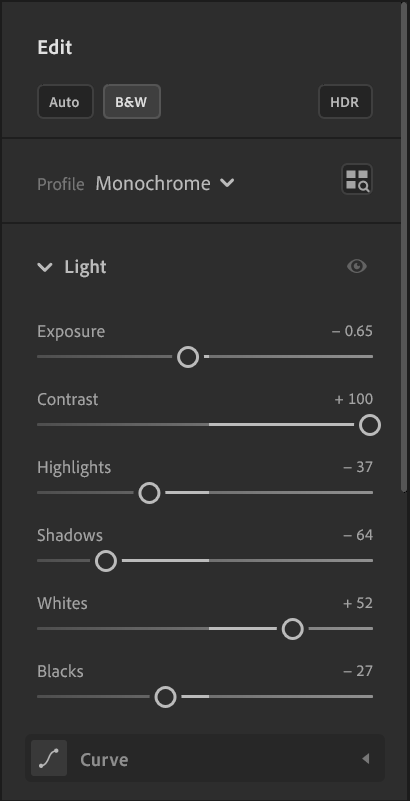
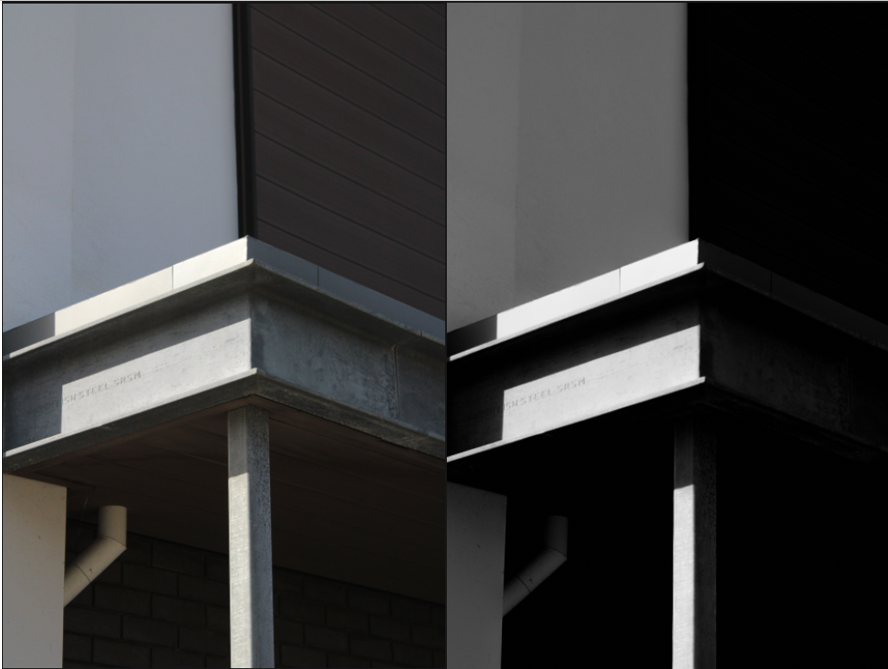
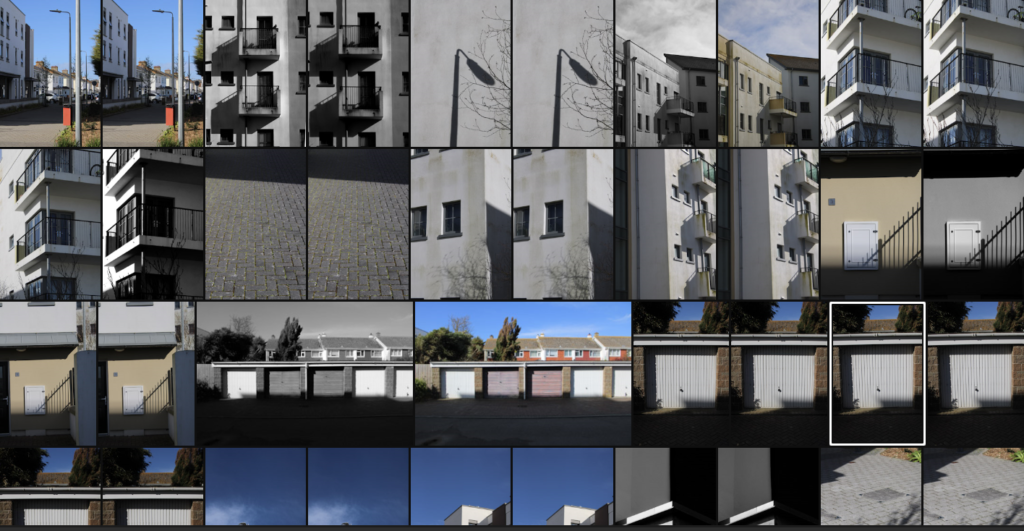
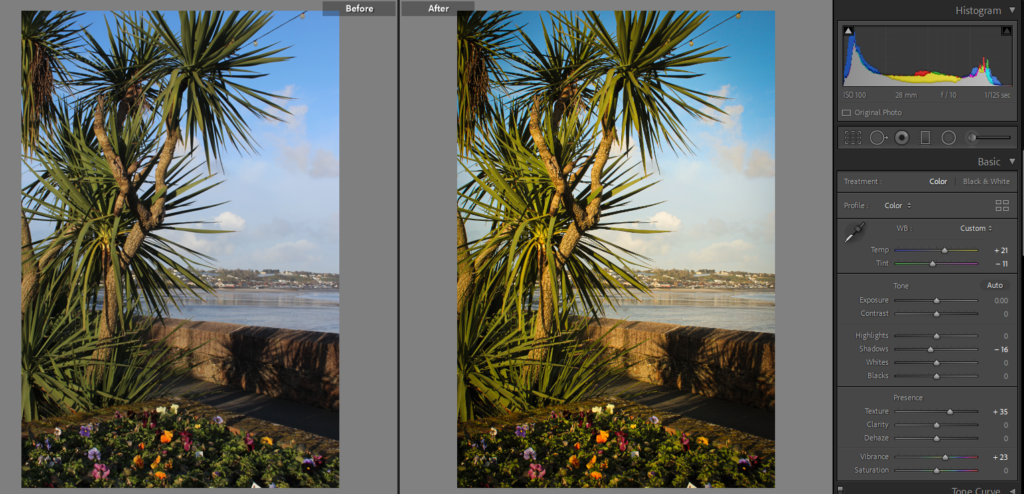
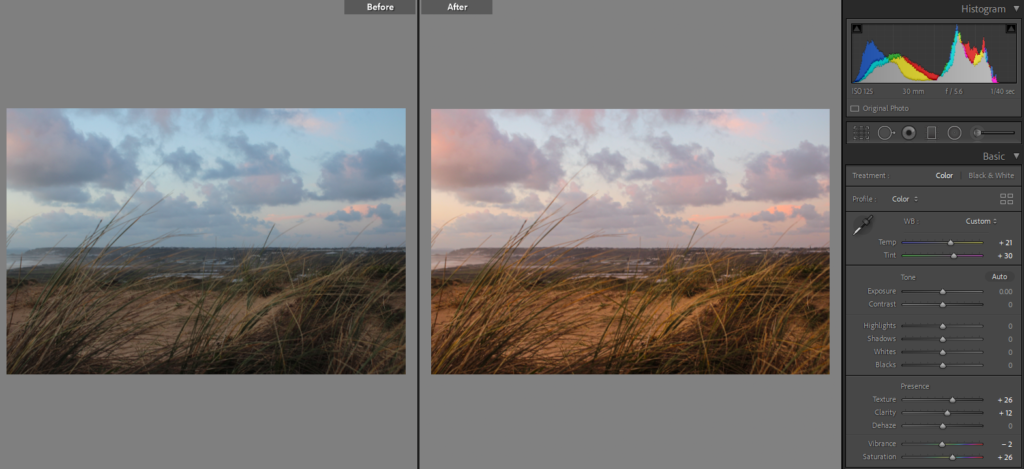
Editing

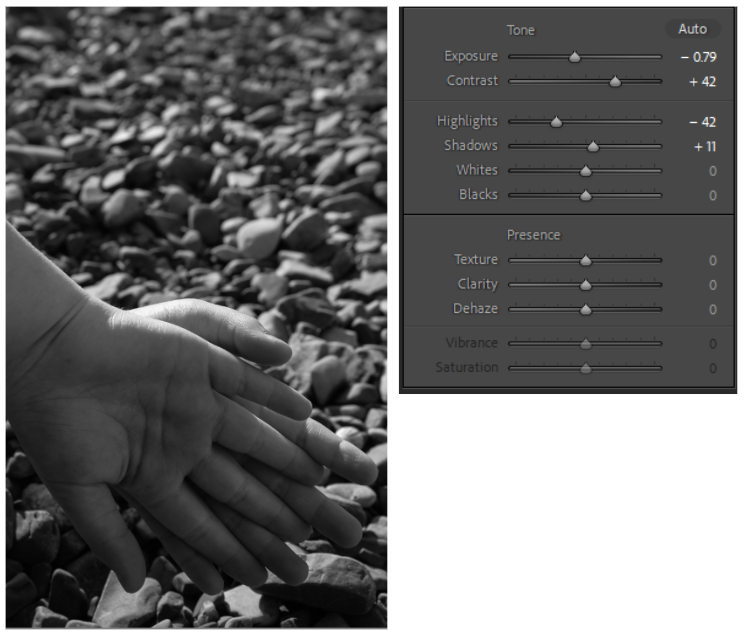
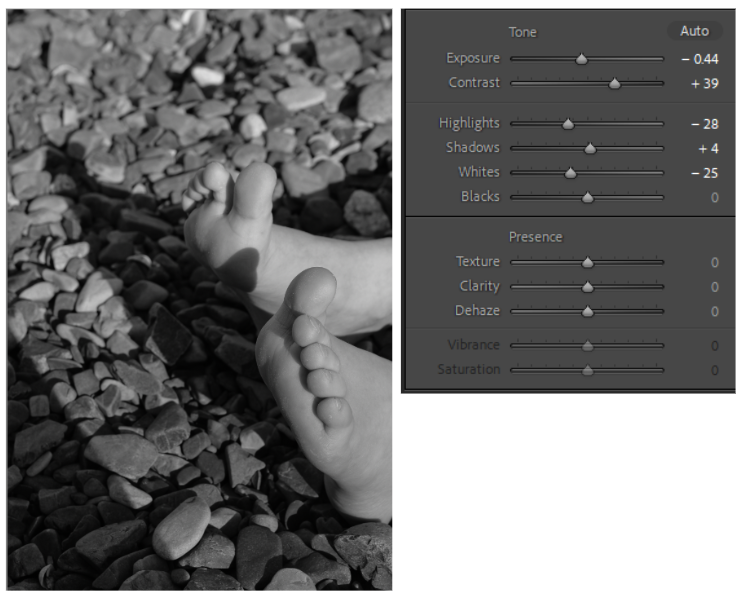
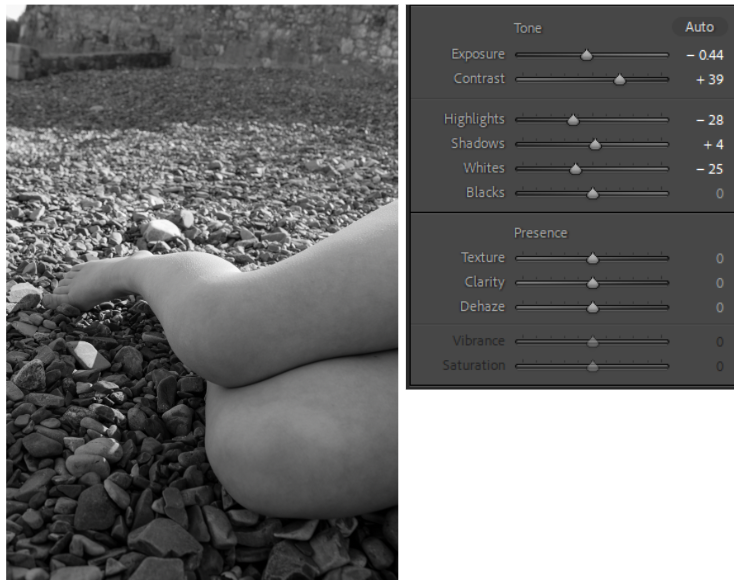
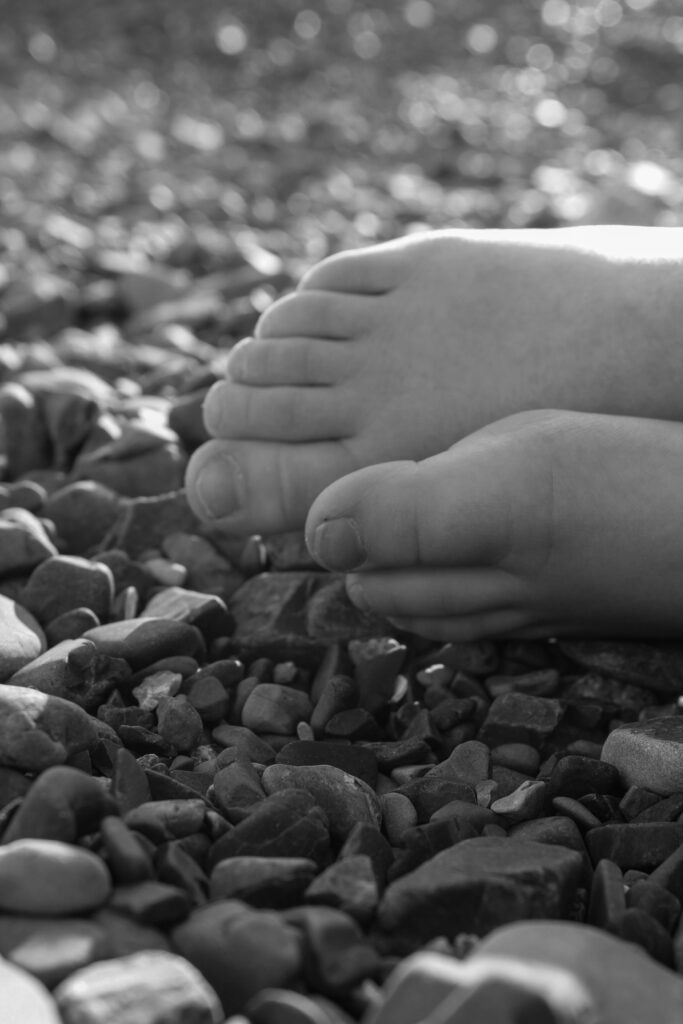
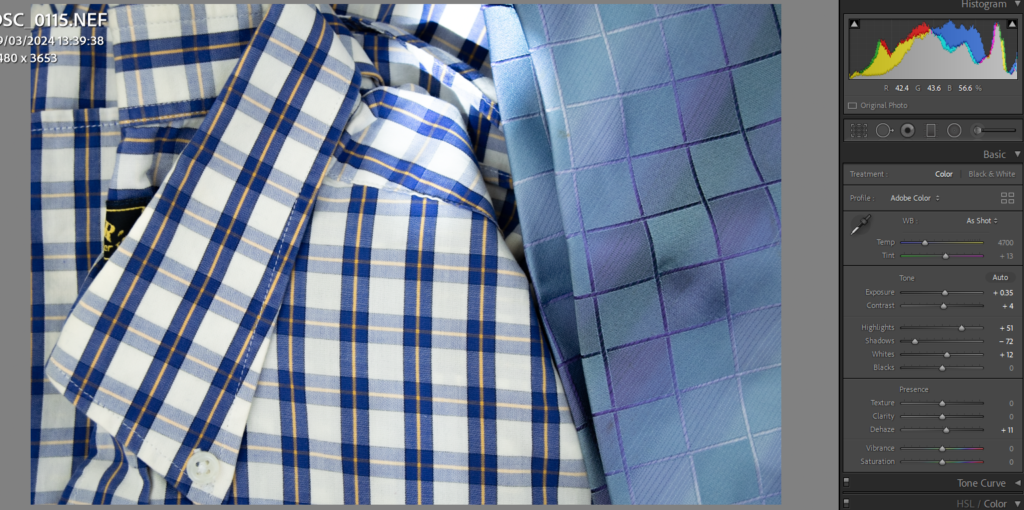
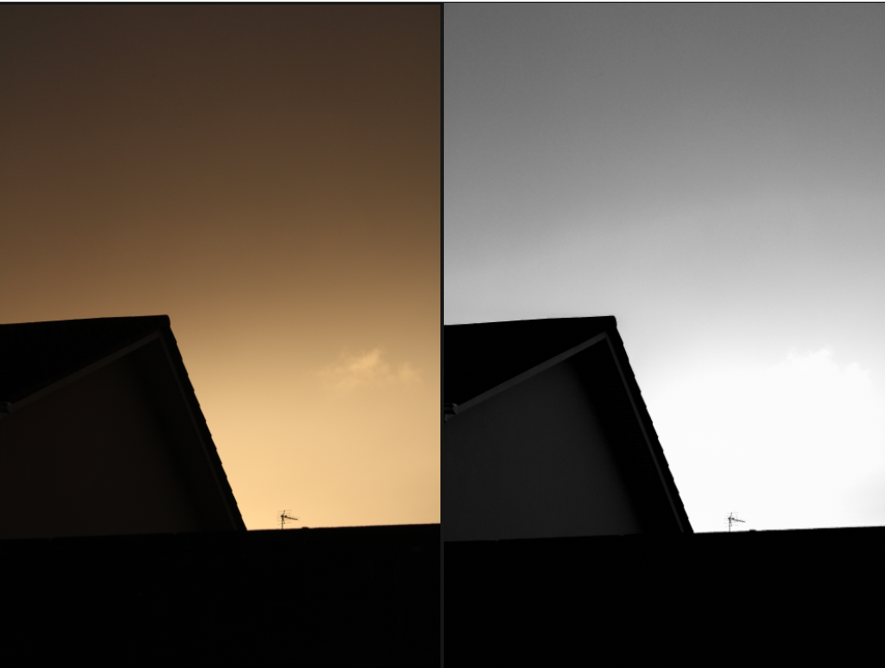
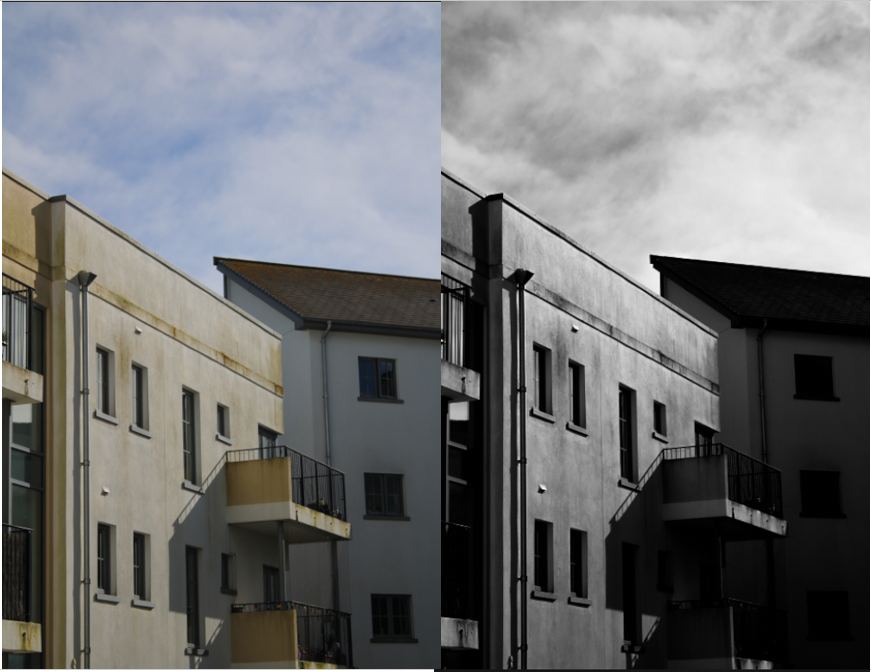
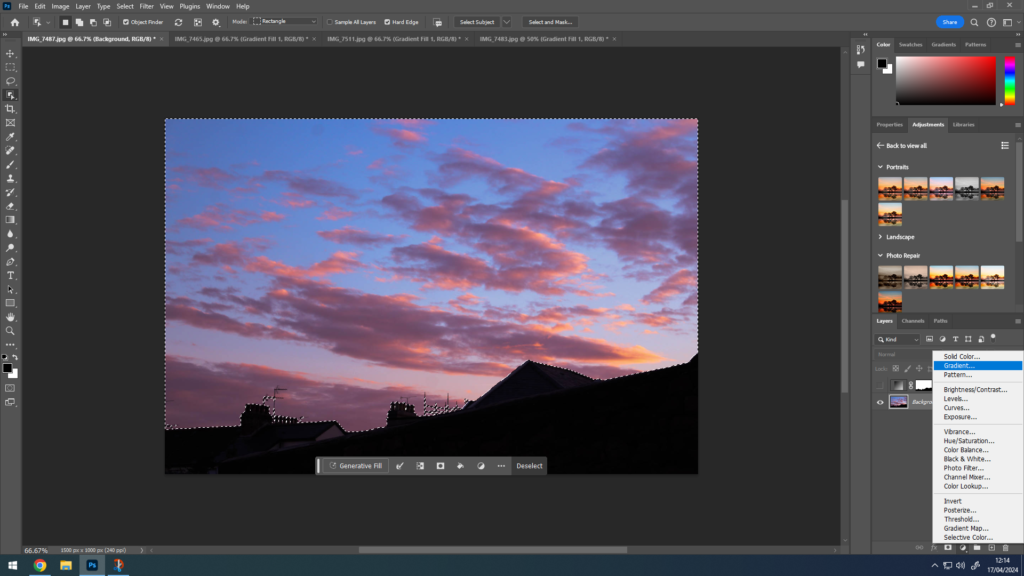
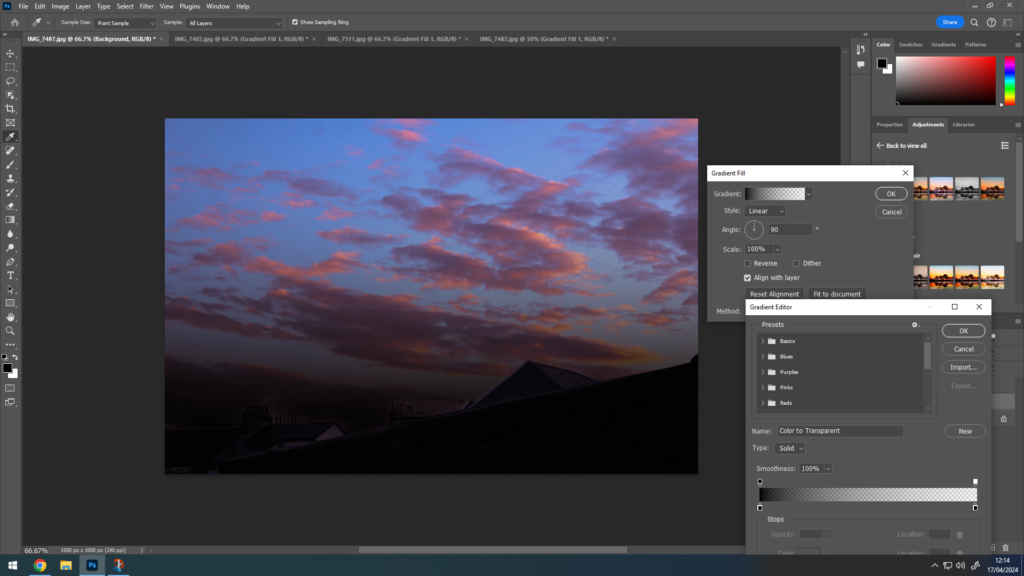
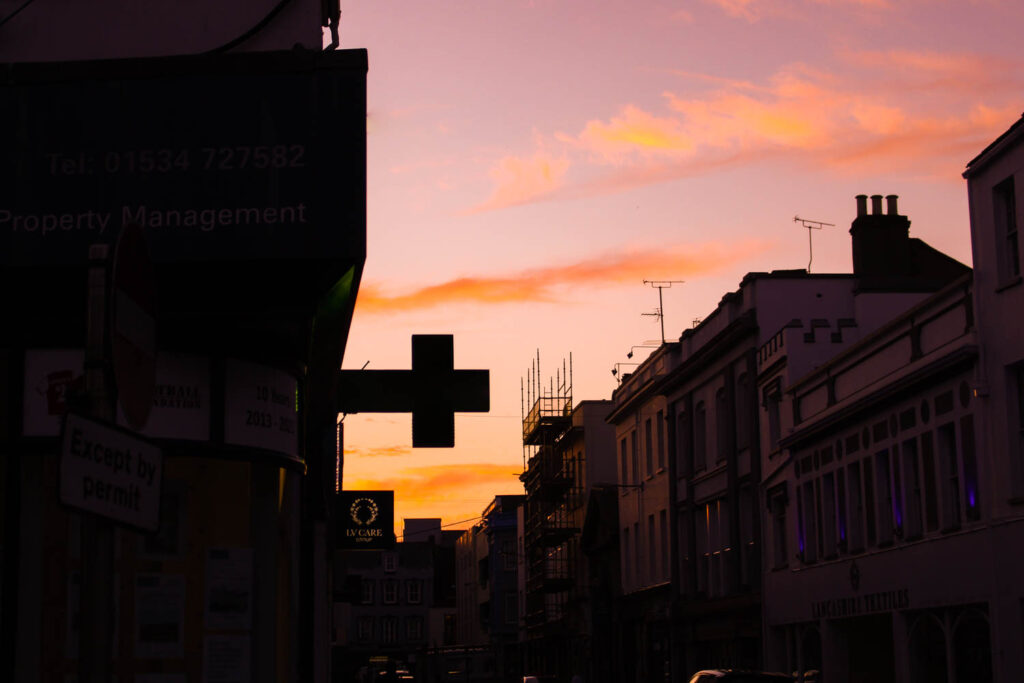
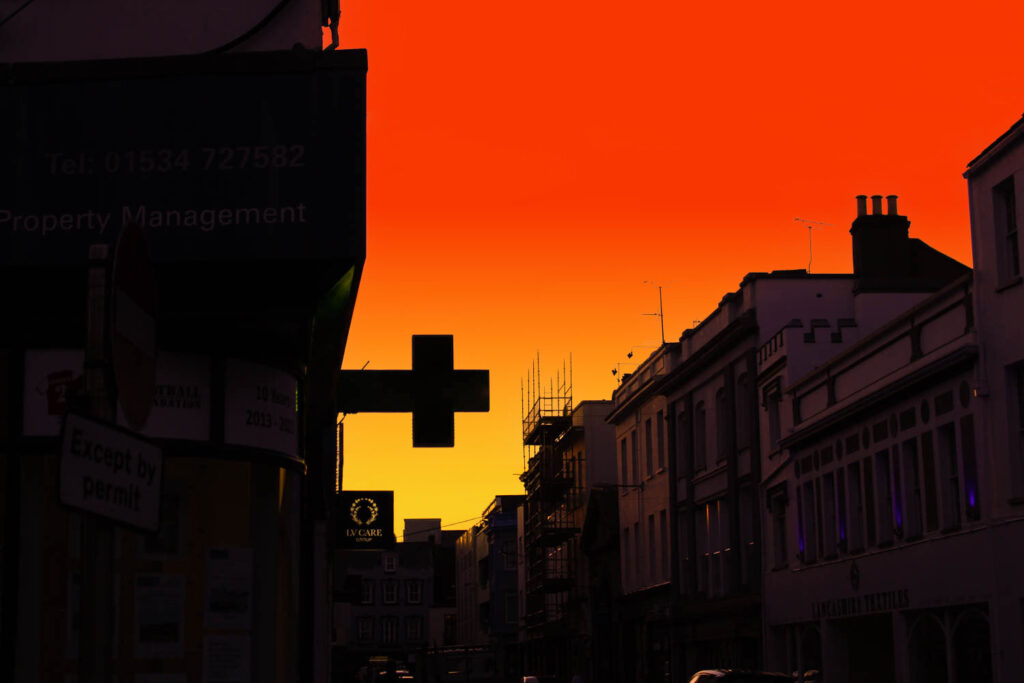
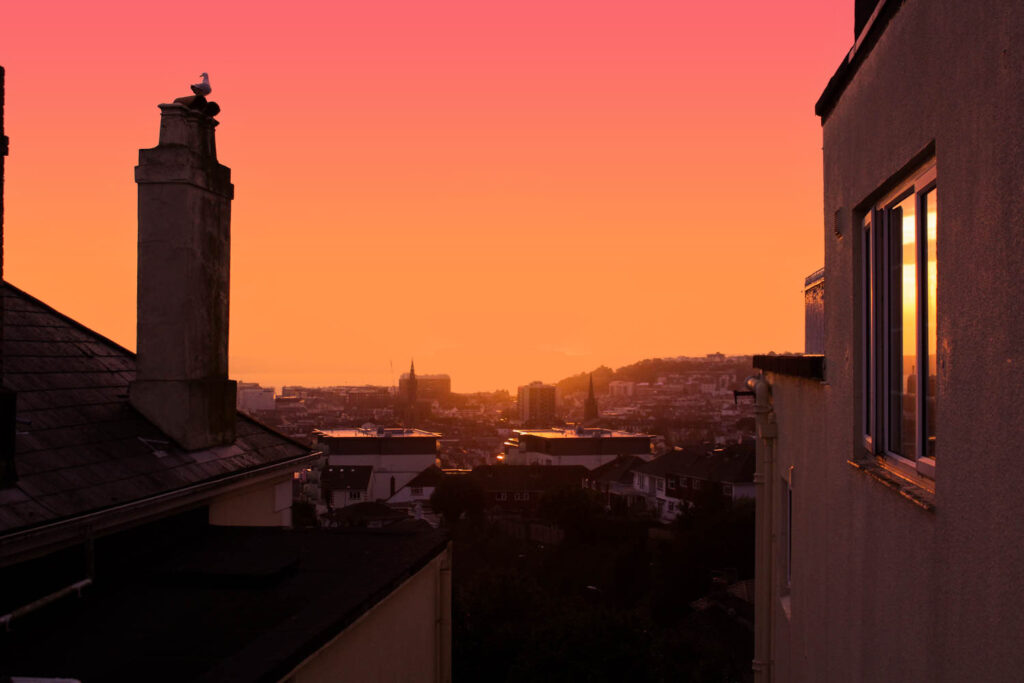
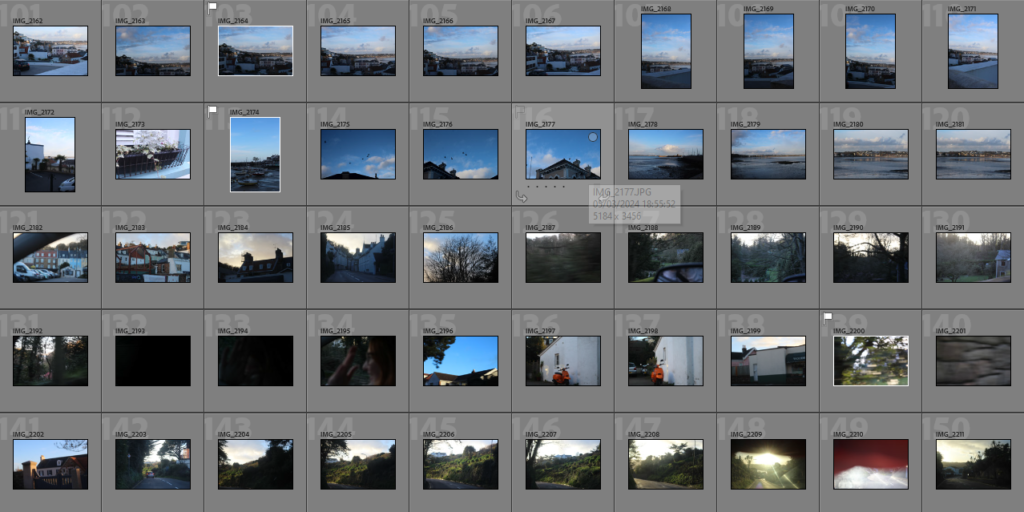
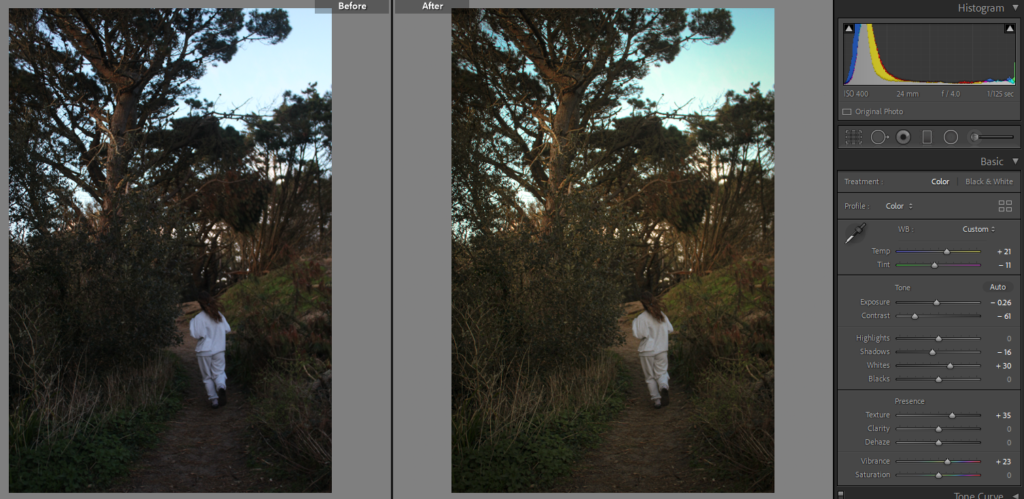
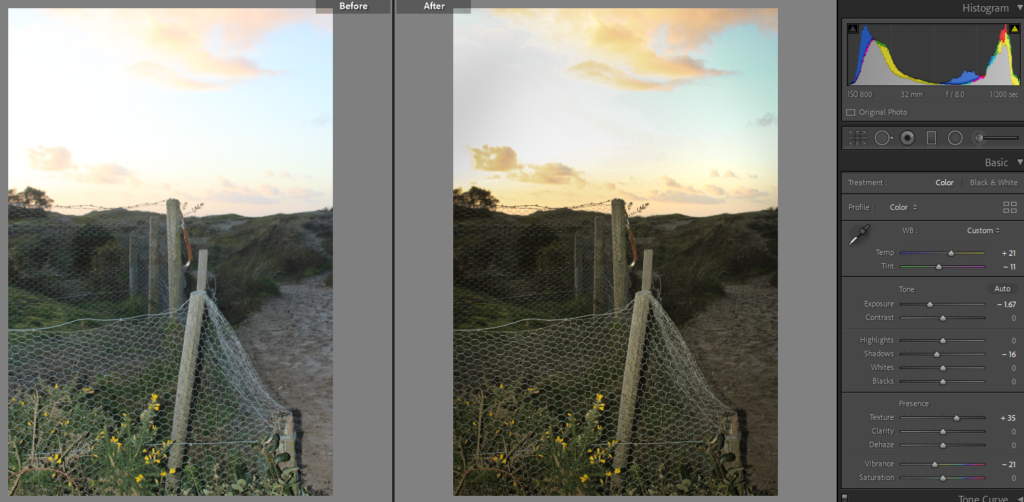
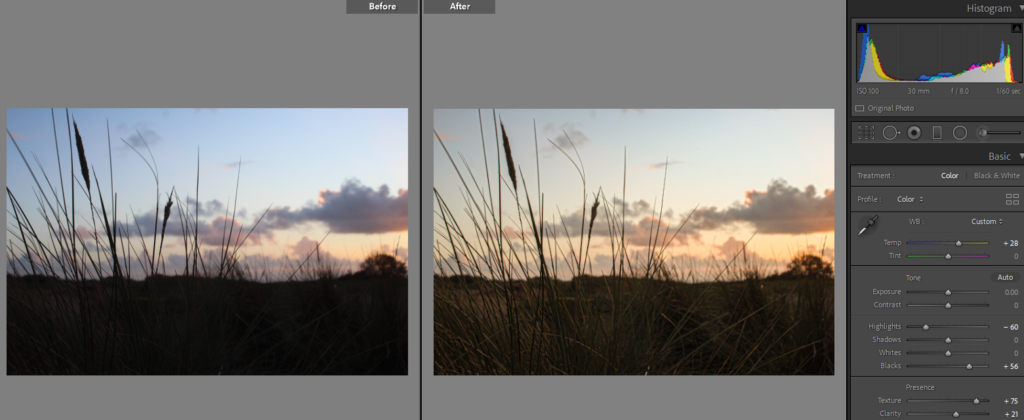
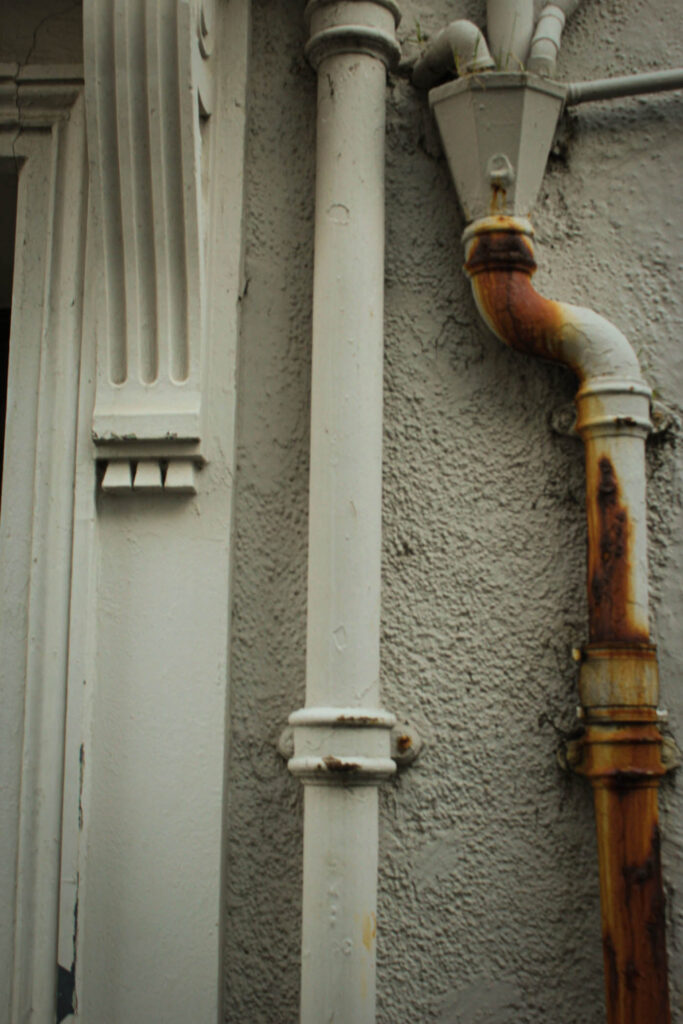
For the sub-selection I was able to copy the same editing style throughout the images of similar qualities, ones that had a similar exposure or showed a similar subject or view. I haven’t changed the images too much, just made subtle changes like sharpness and clarity but colours of the photographs stayed roughly the same.

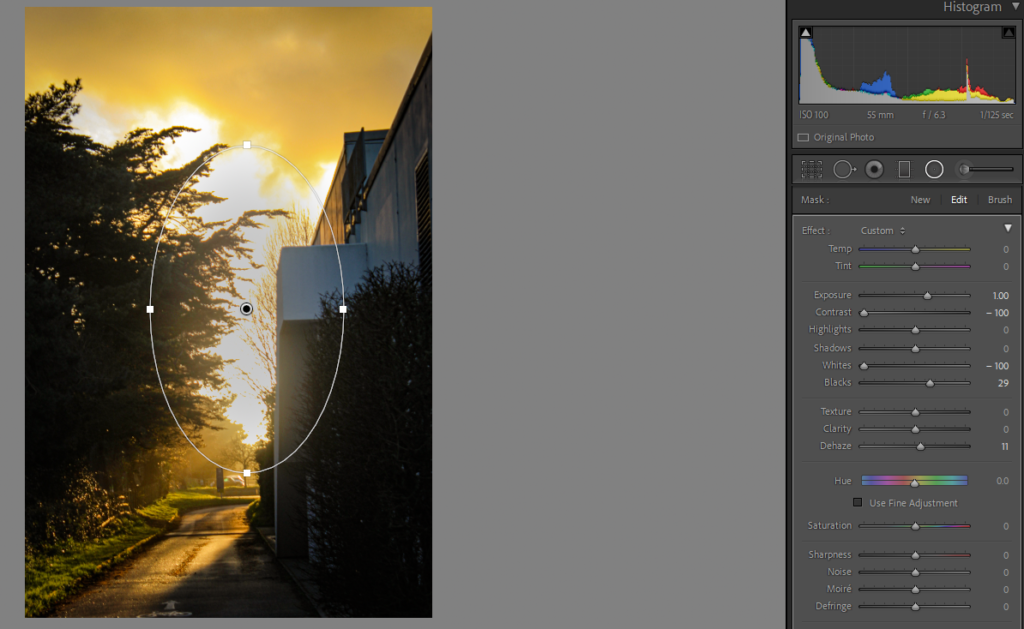
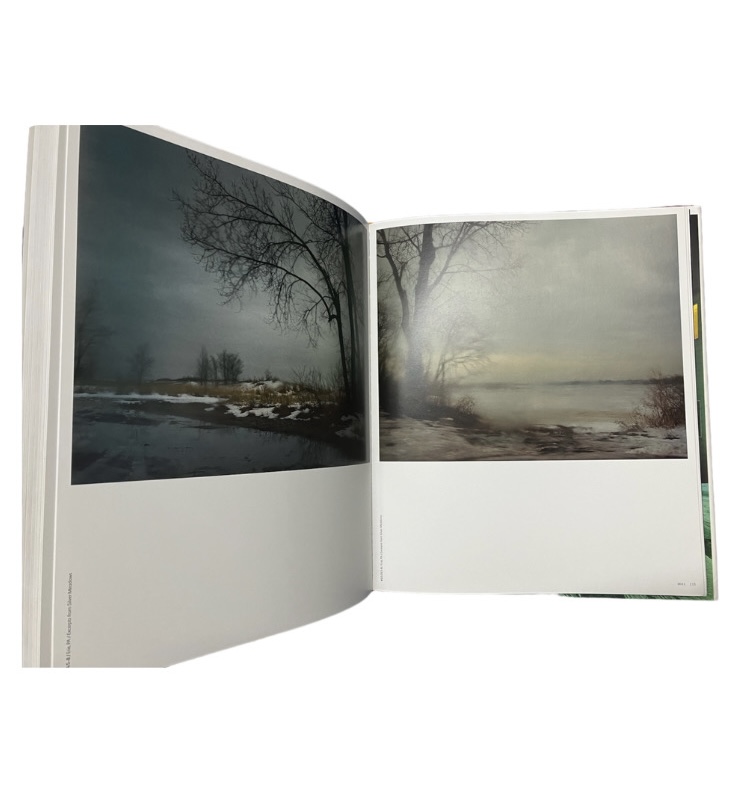
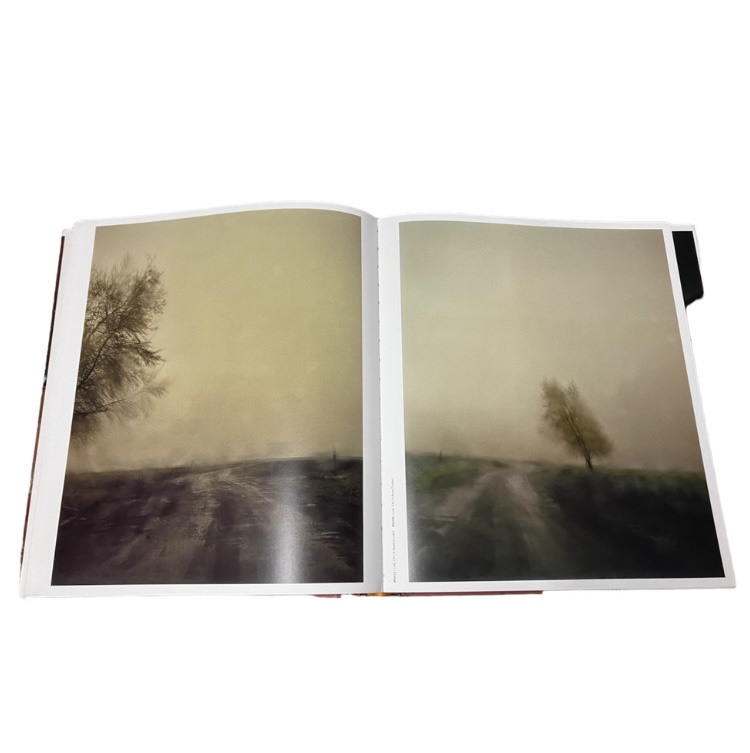
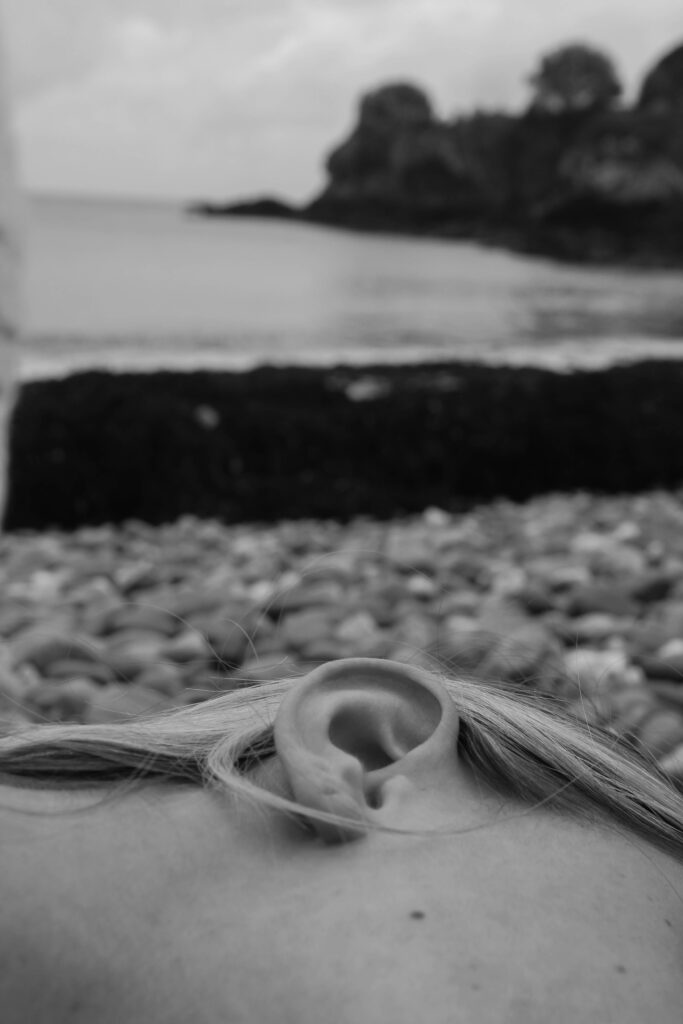
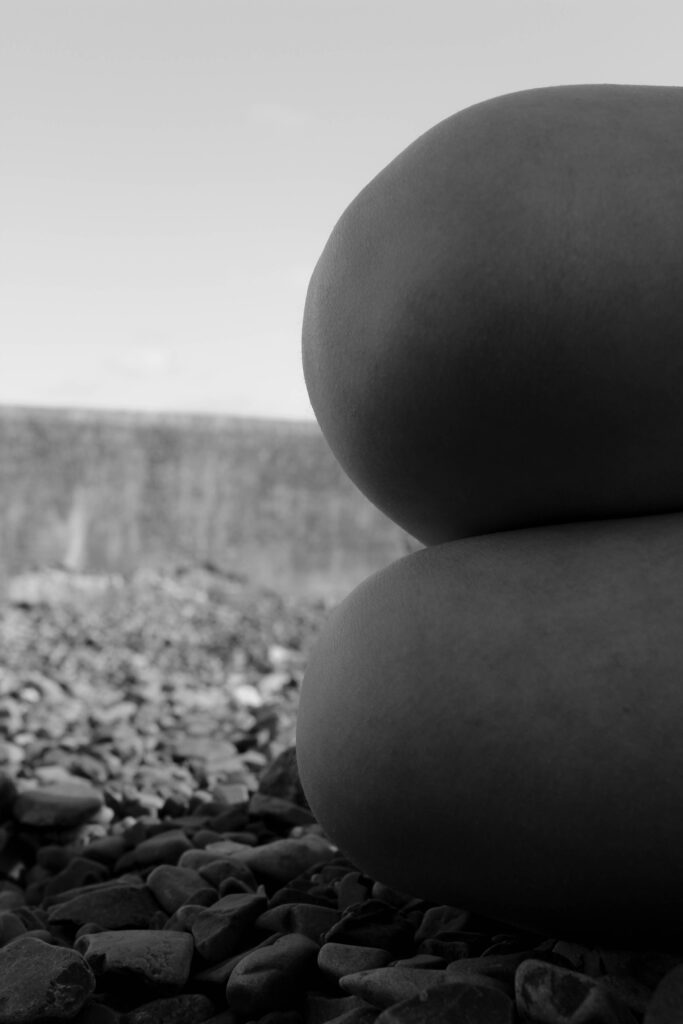
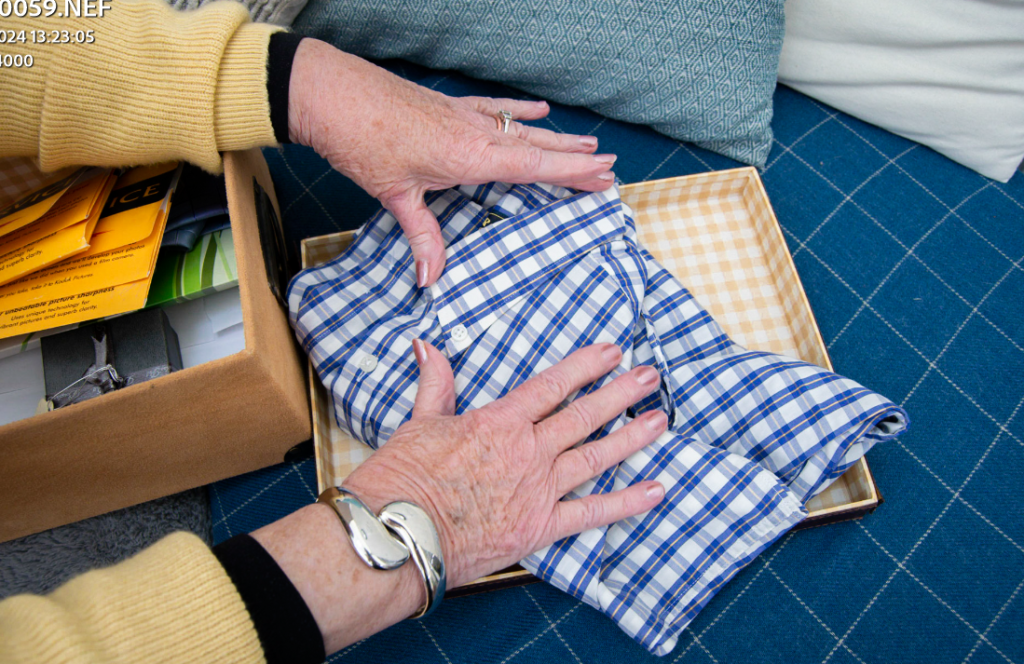
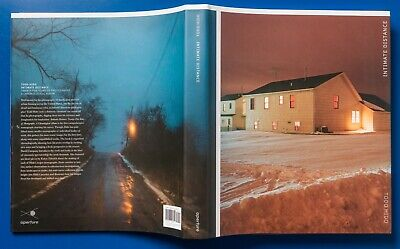
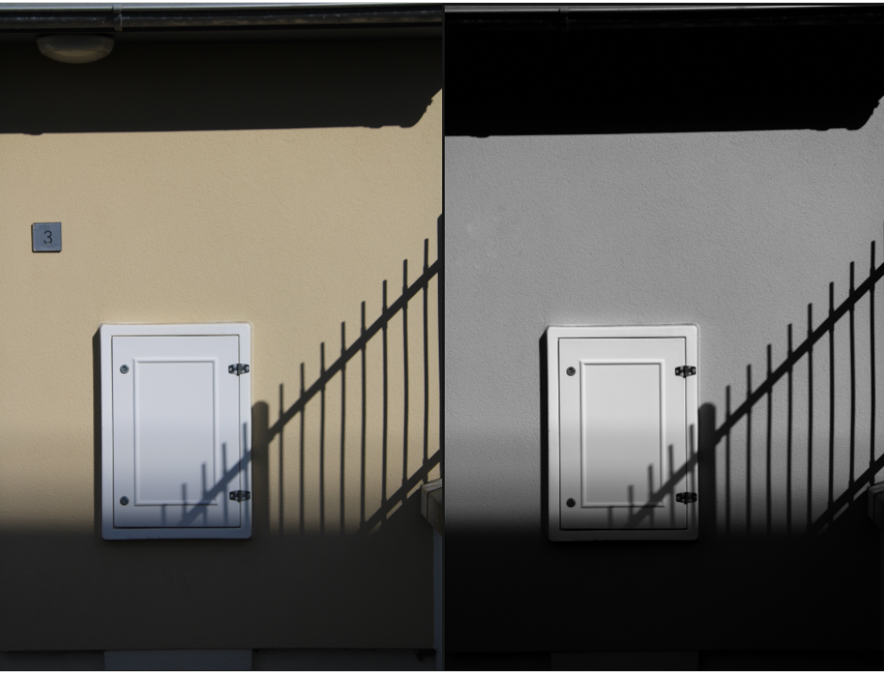
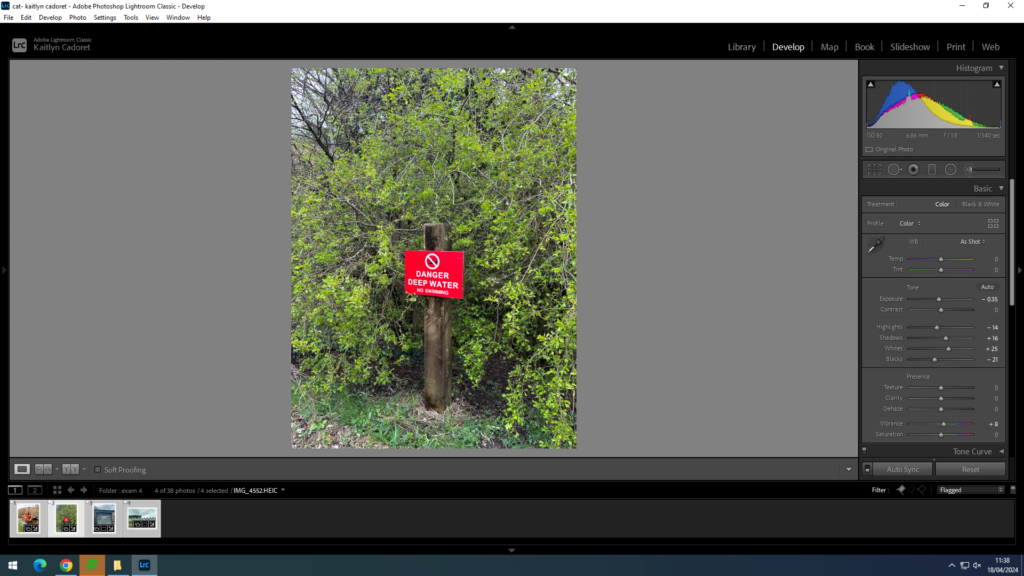
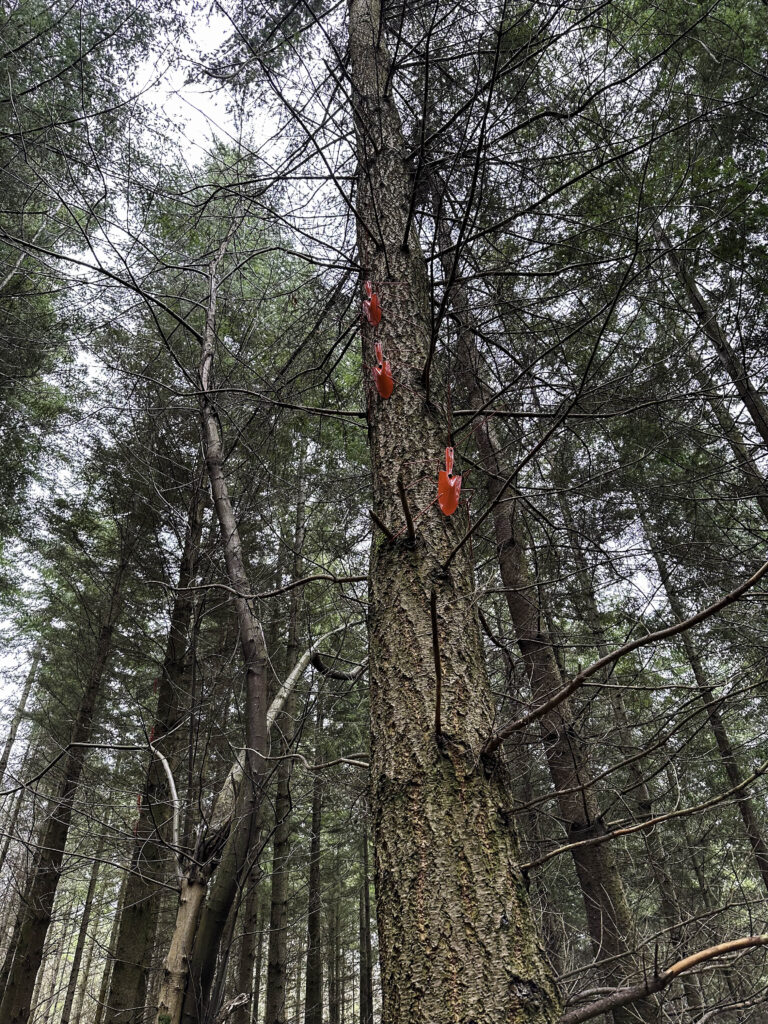
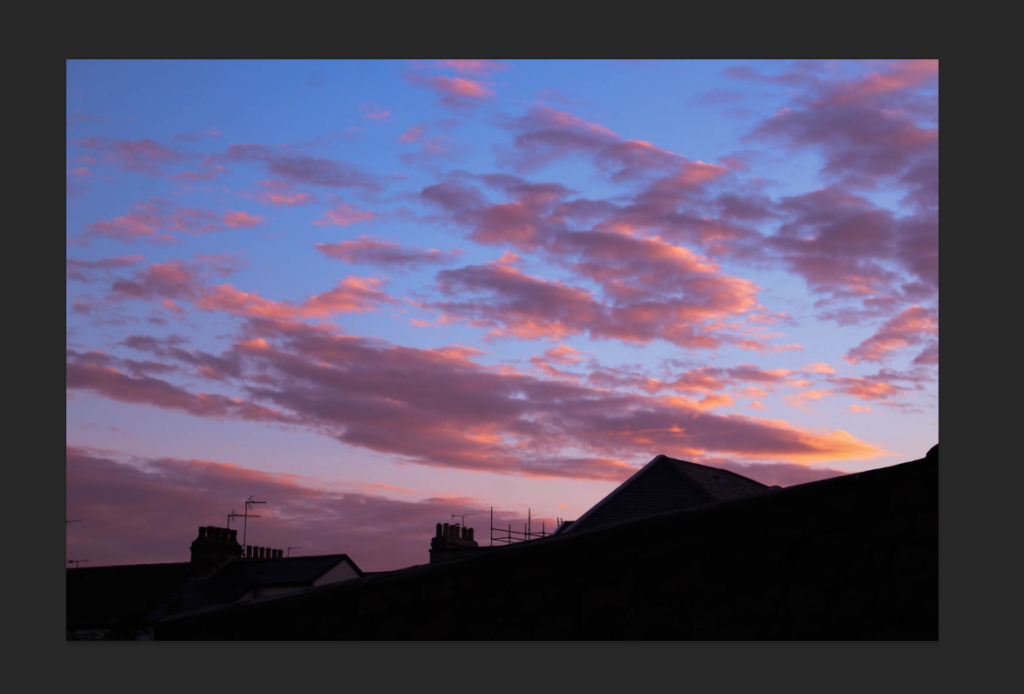
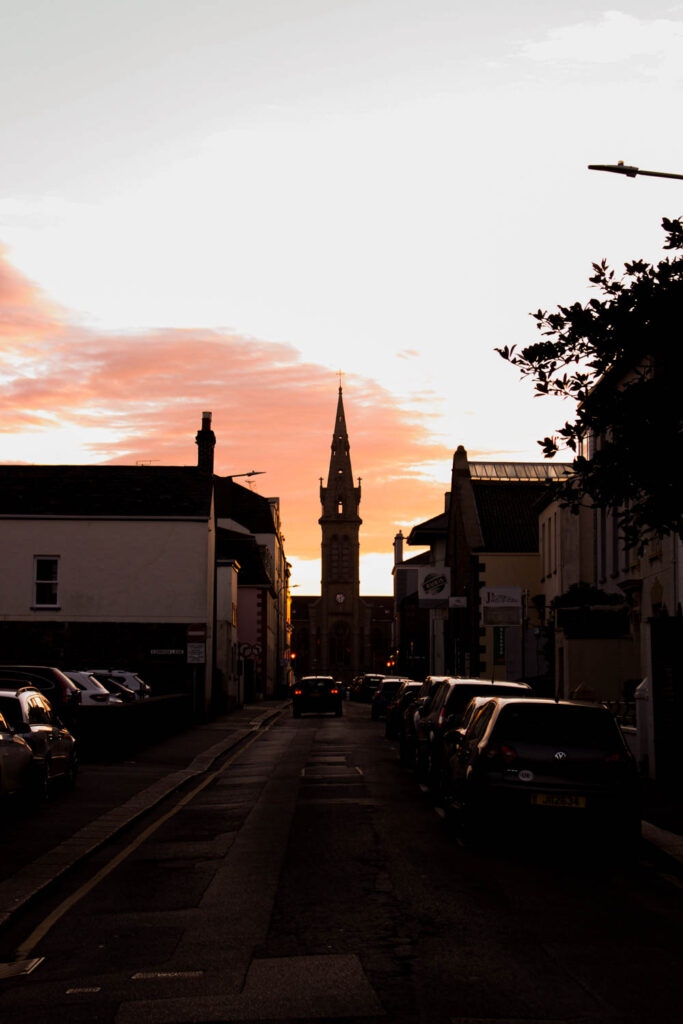
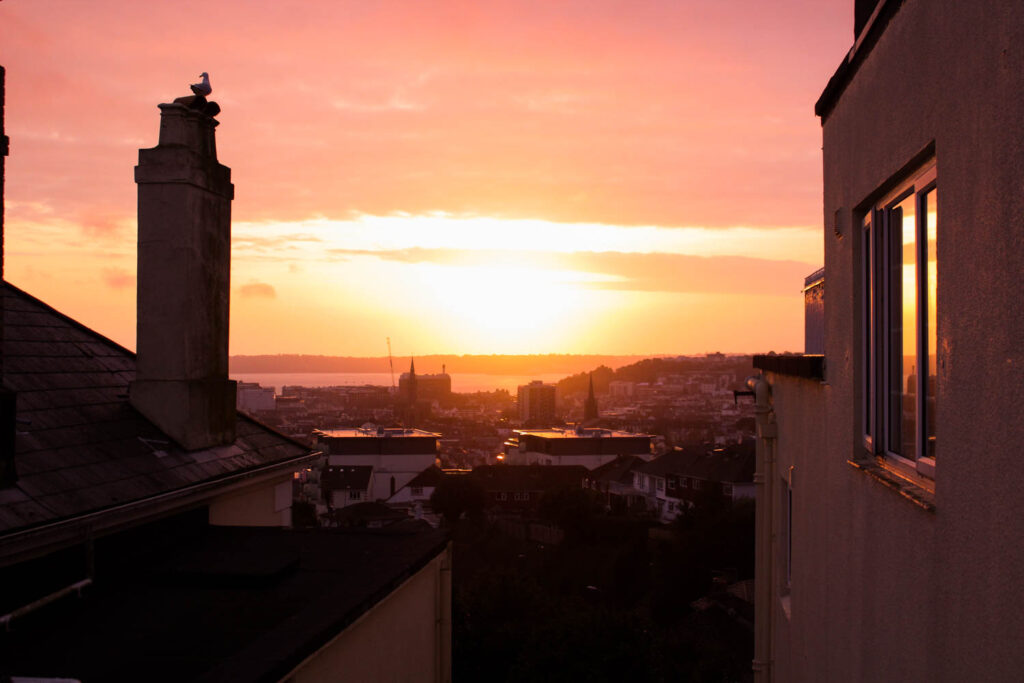
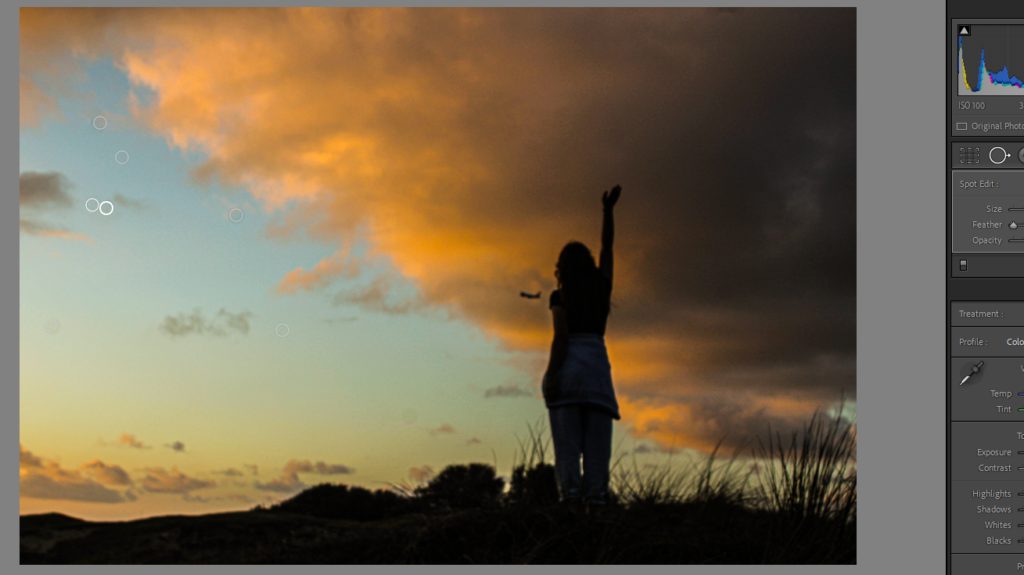
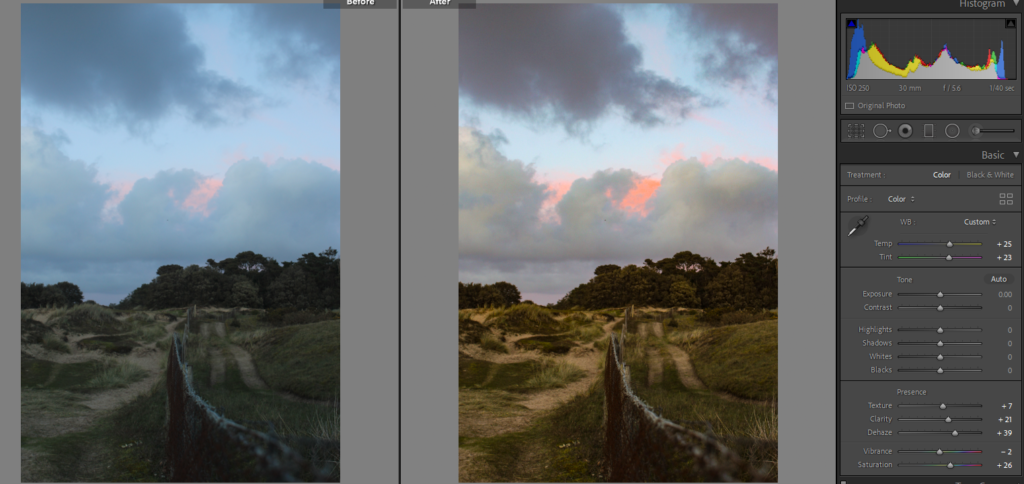
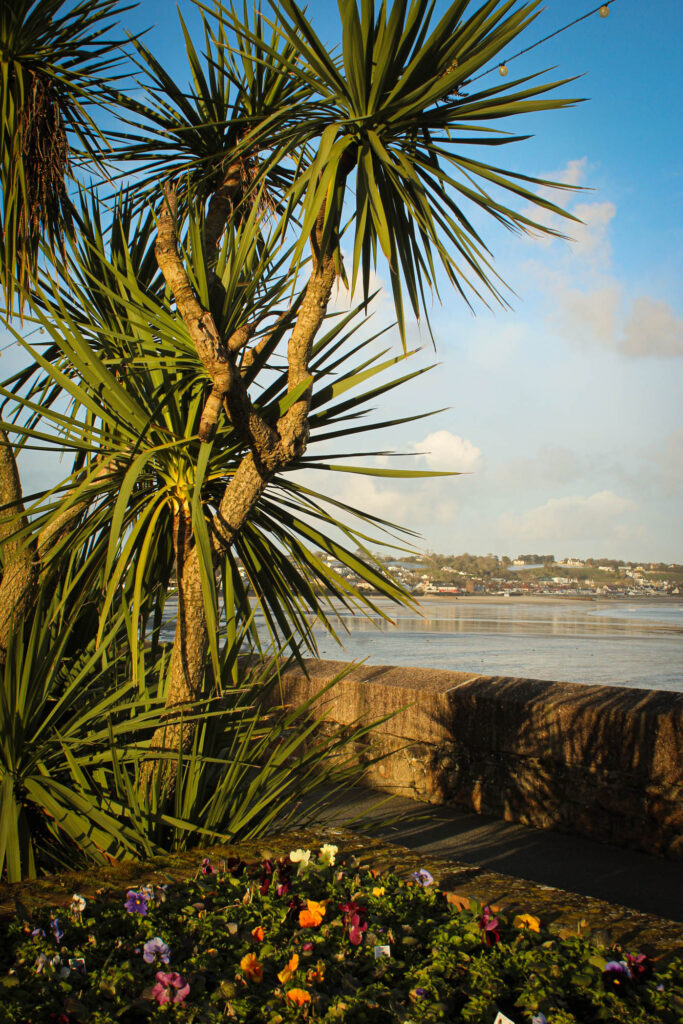
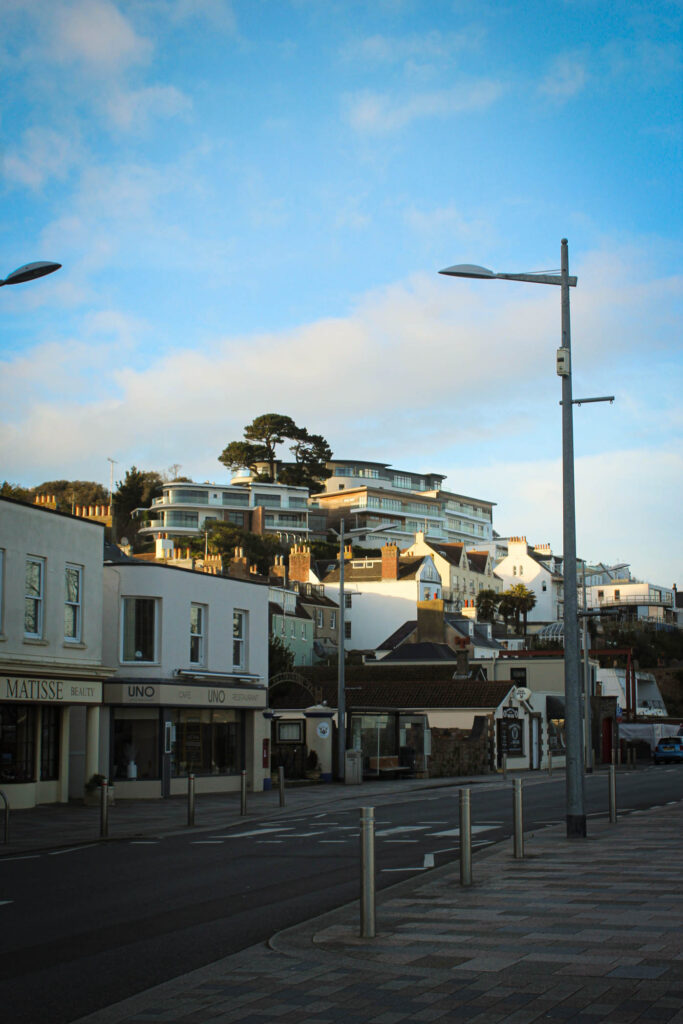
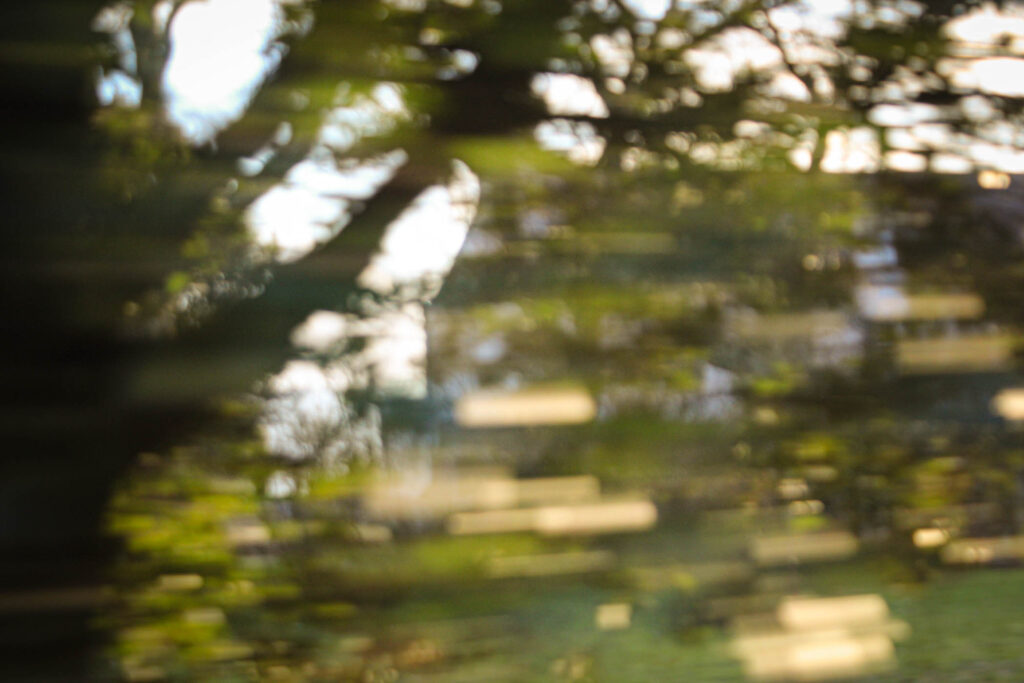
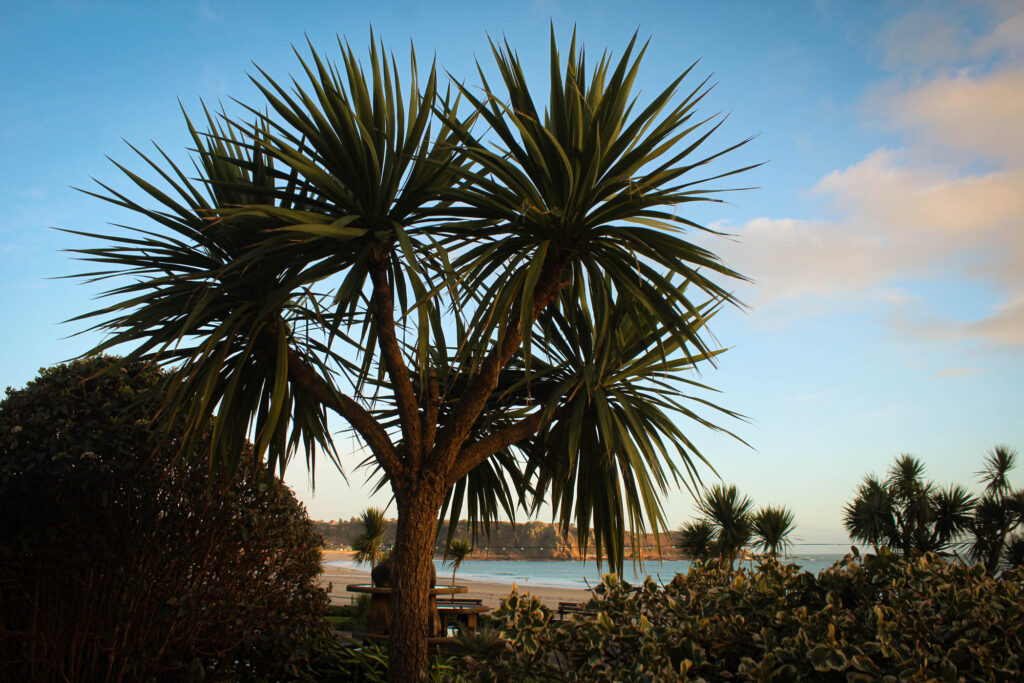
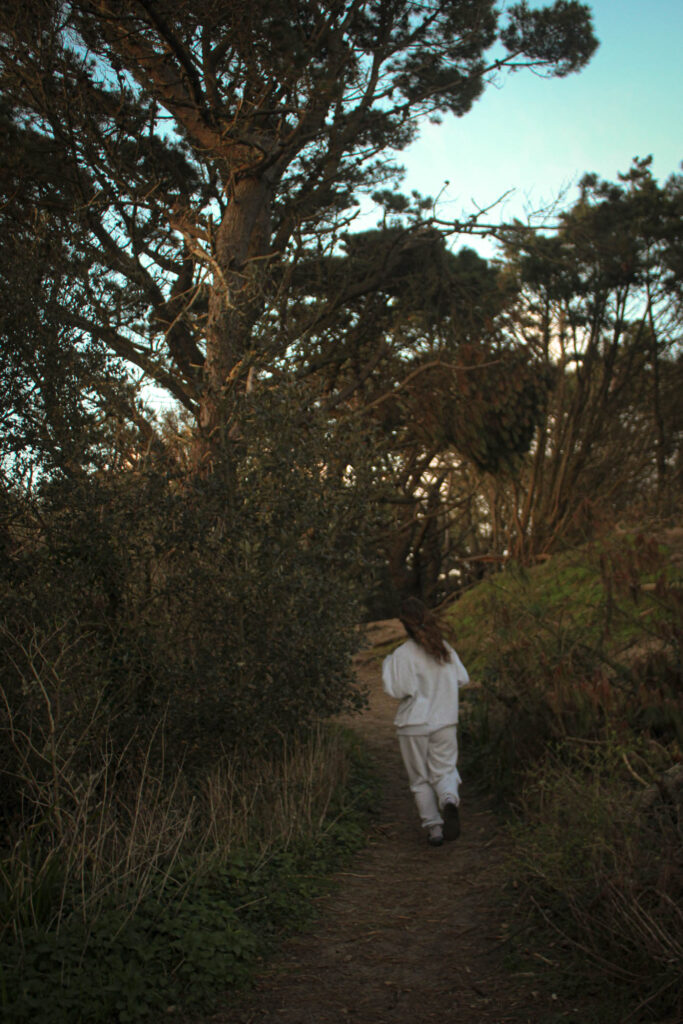
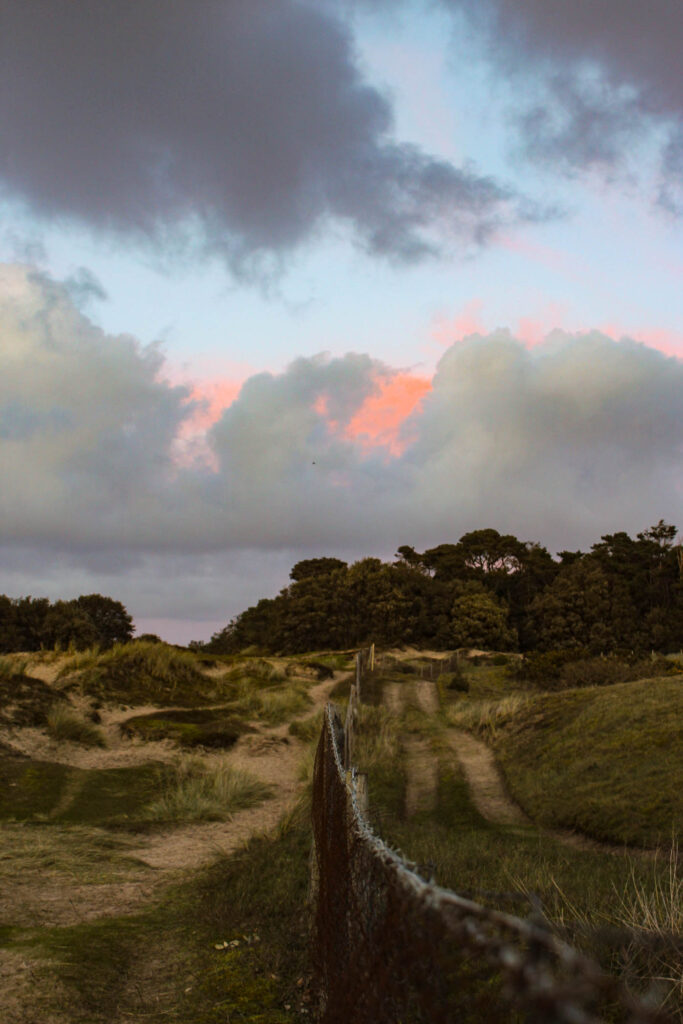
For the above image I had to use another tool which, when an area was selected , it abled me to control the exposure of that specific area instead of the whole photograph. This was useful for this image as I wanted to reduce the exposure of a certain area where the sun was setting behind the trees, but keep the rest relatively the same.
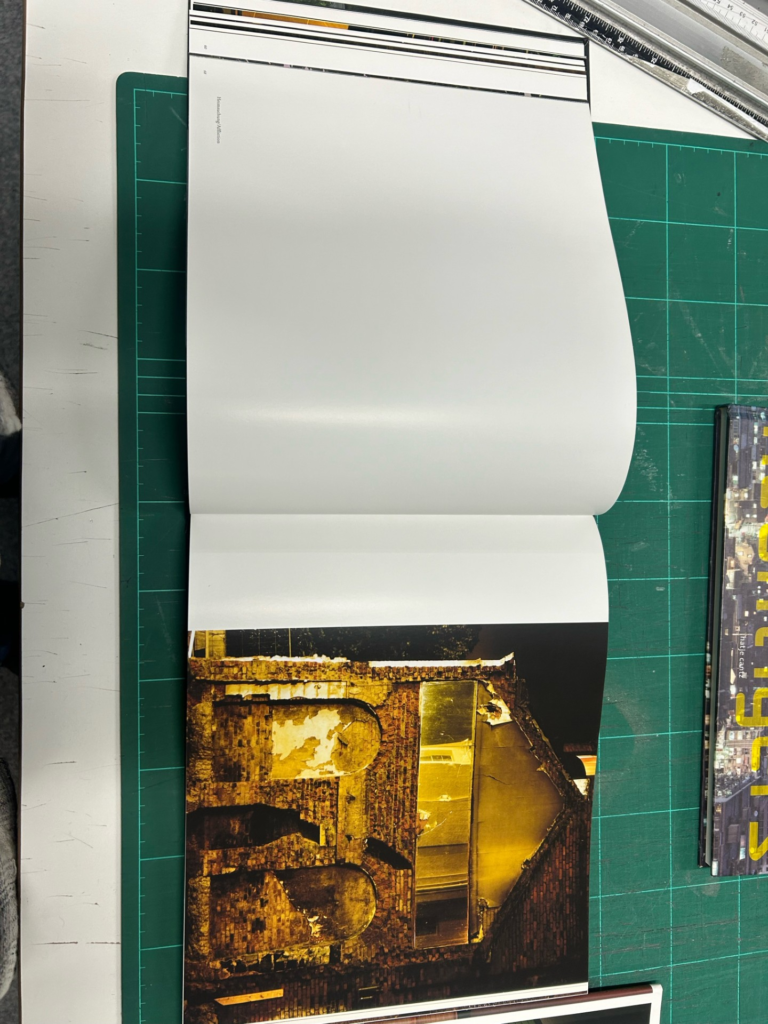
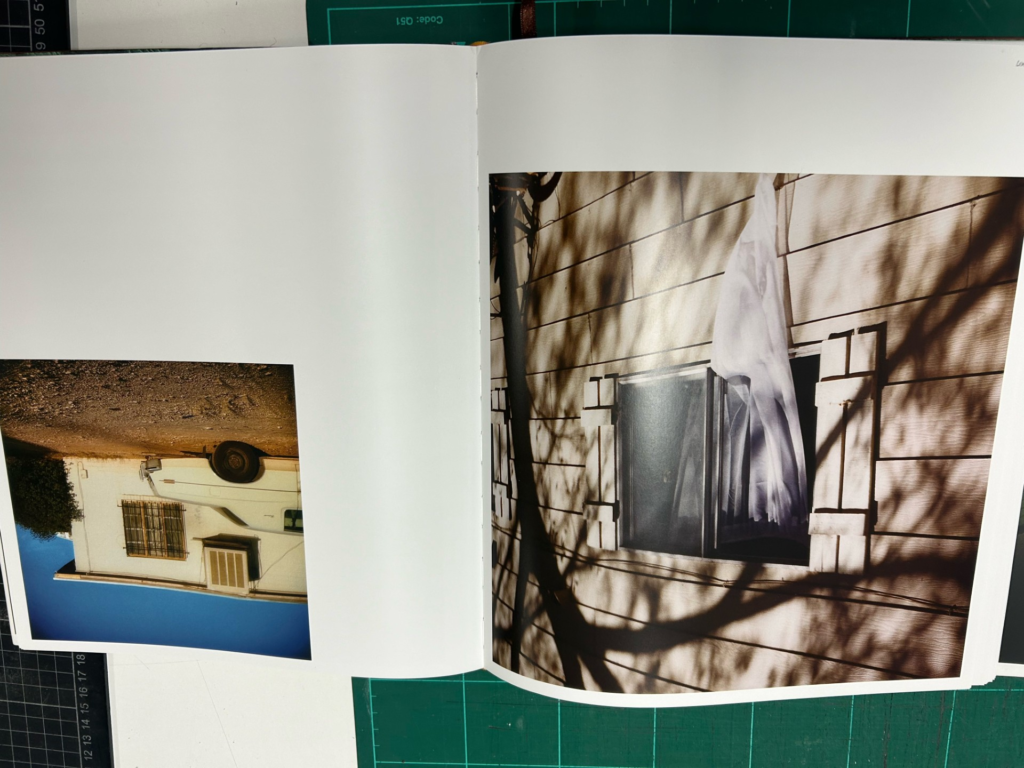
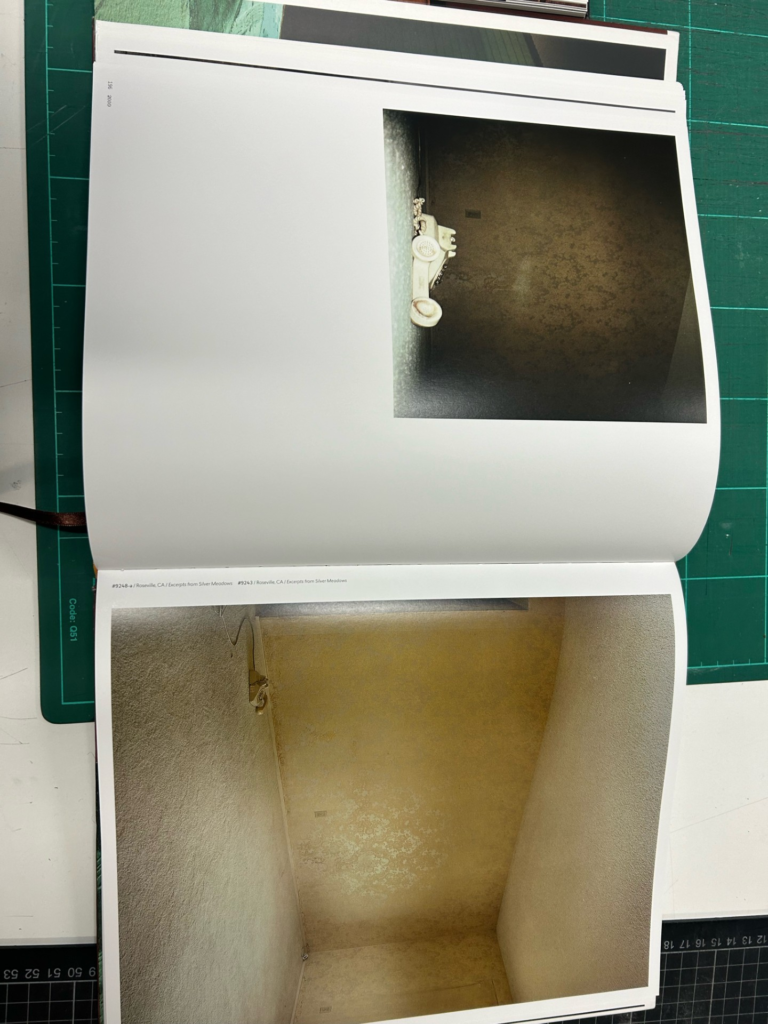
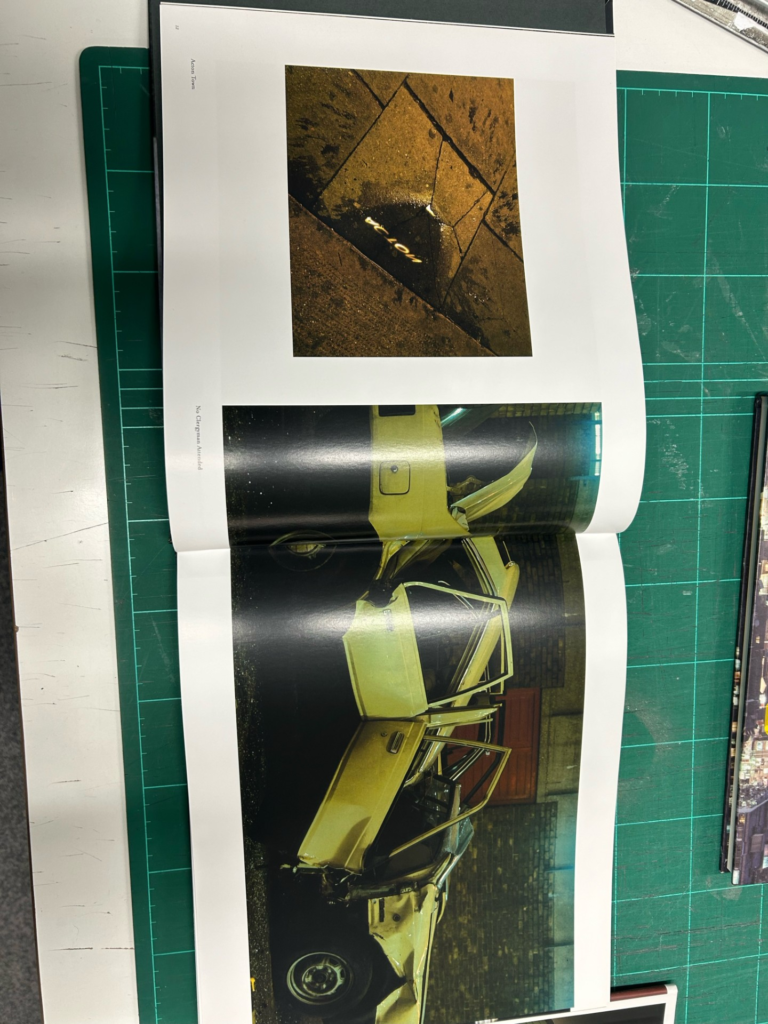
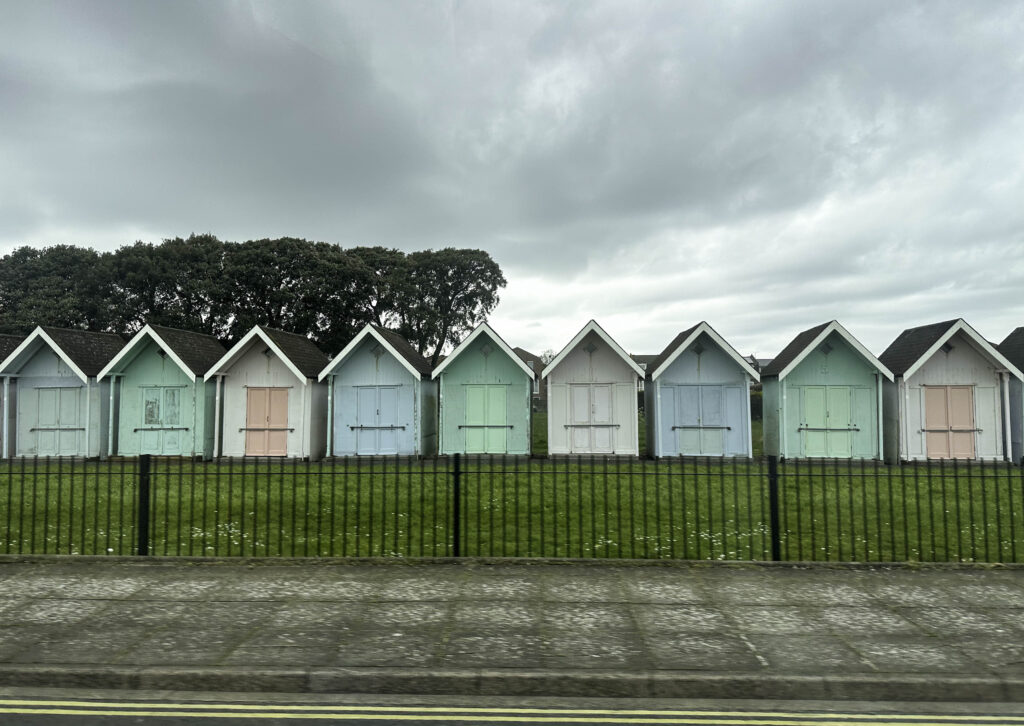
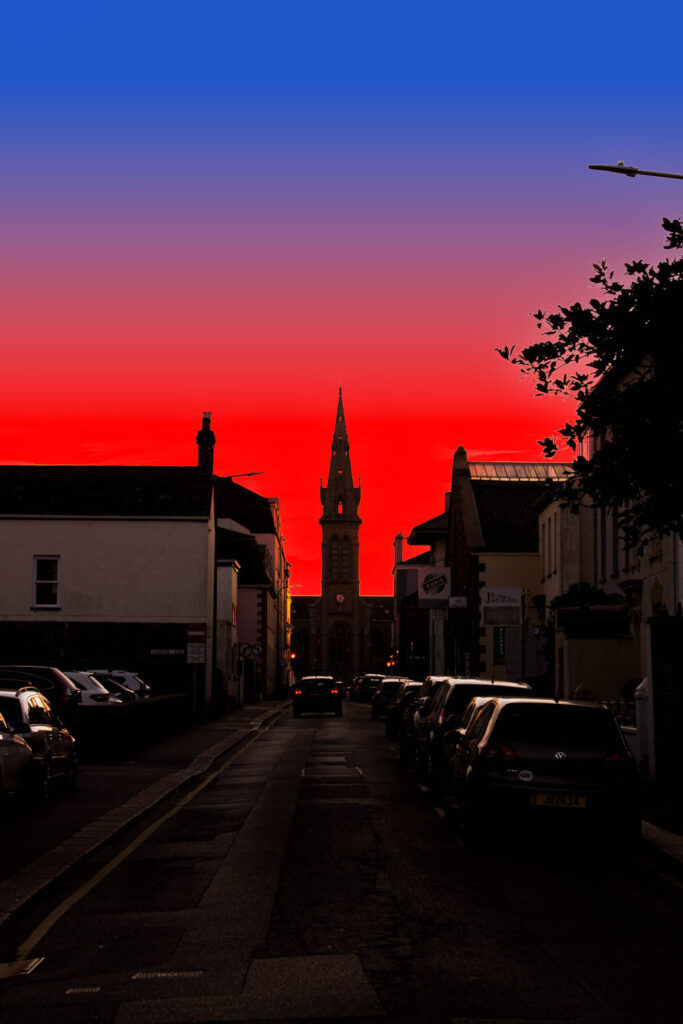
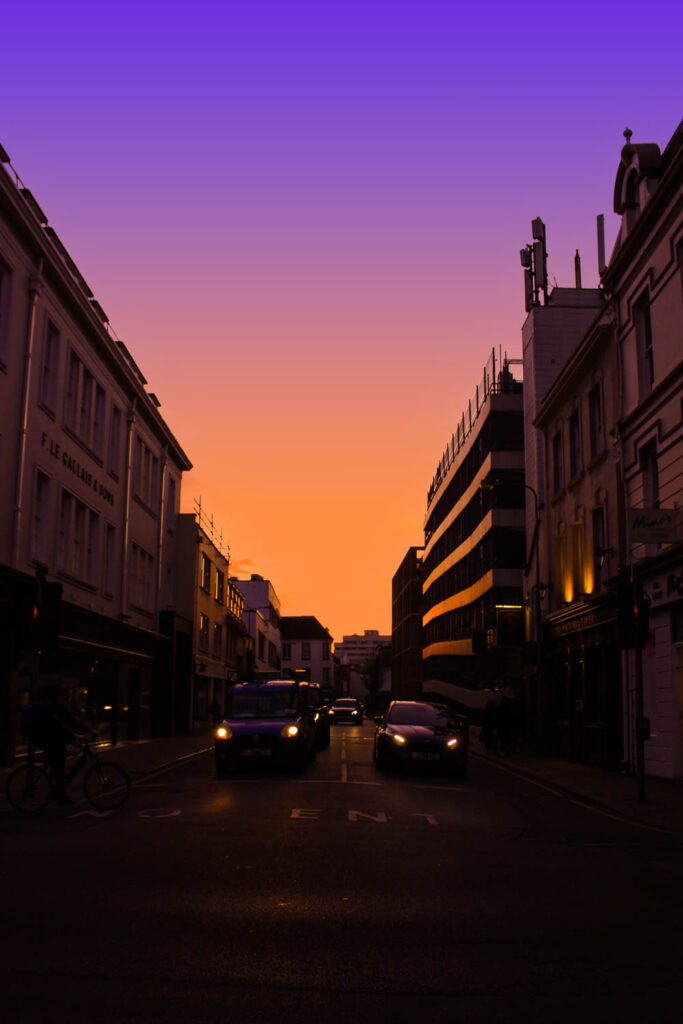
Final Images

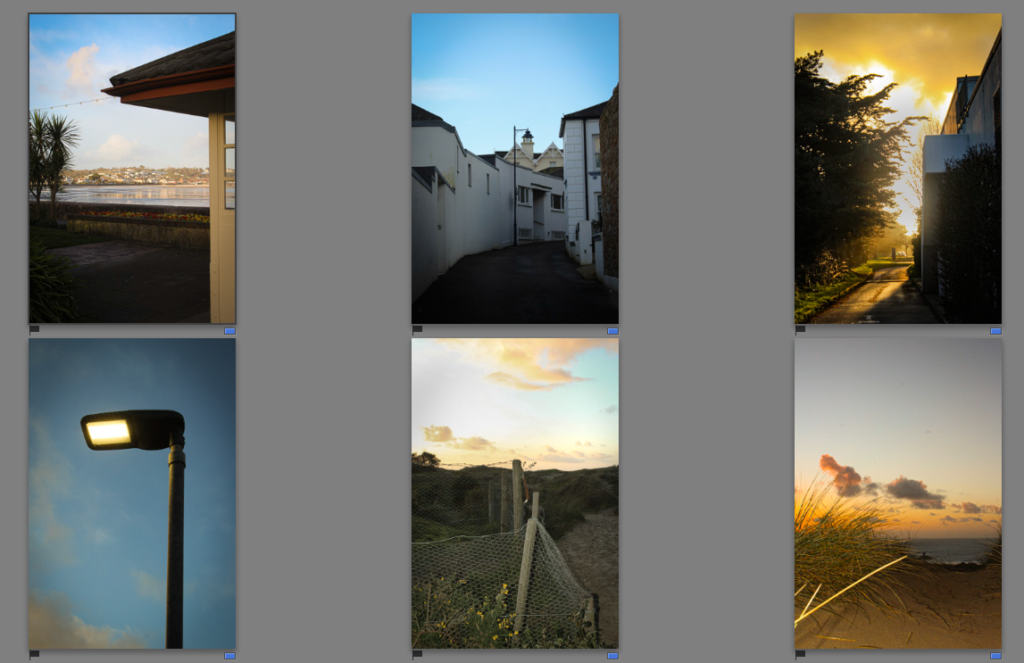
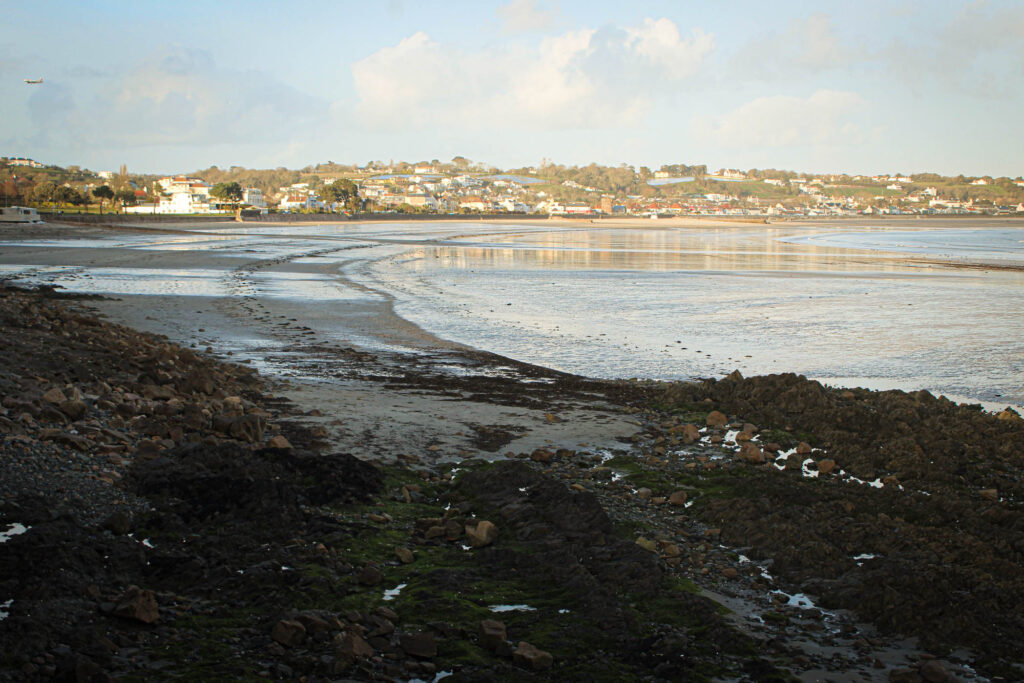
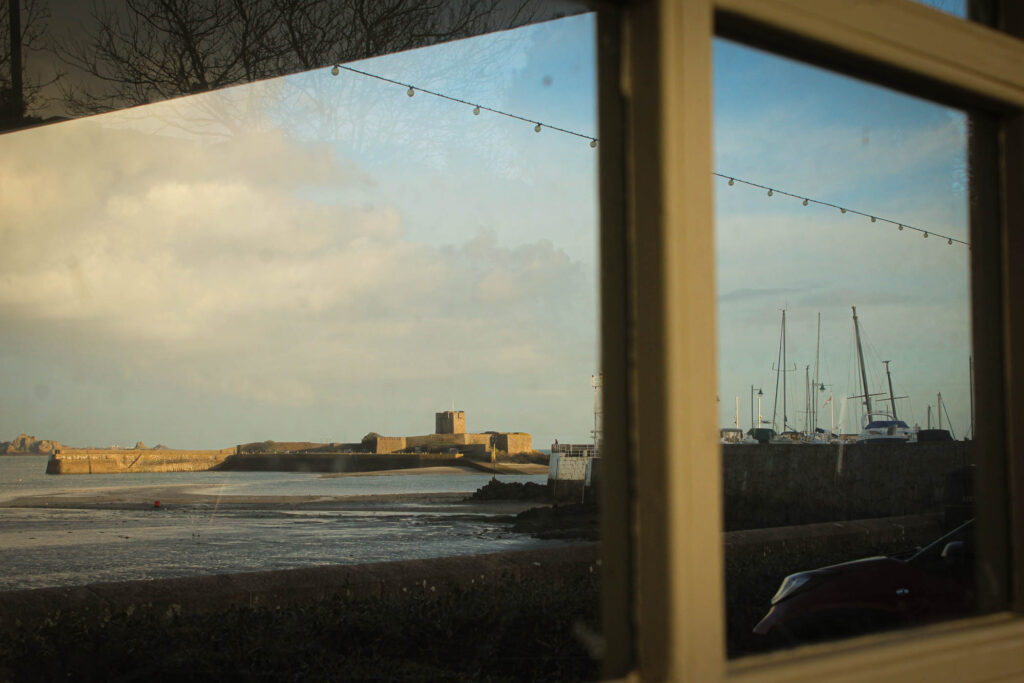
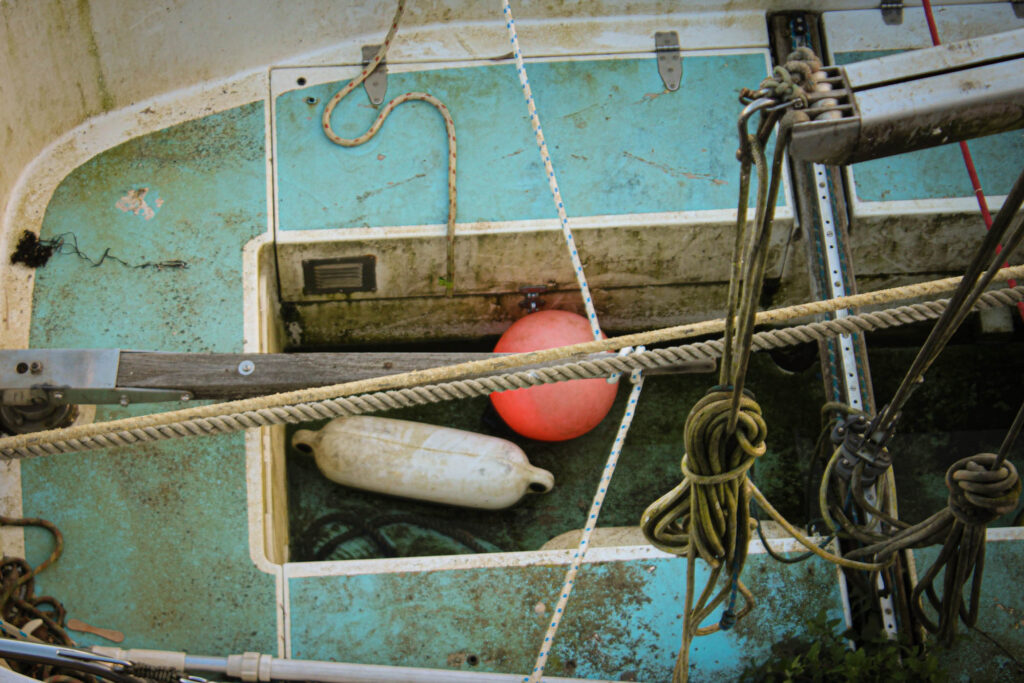
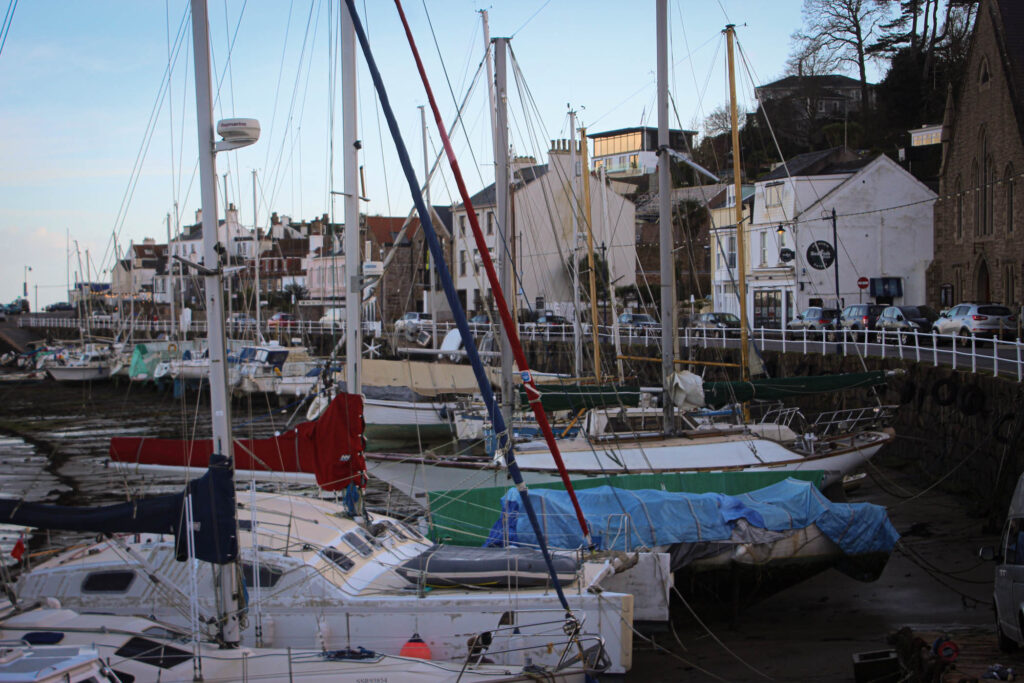
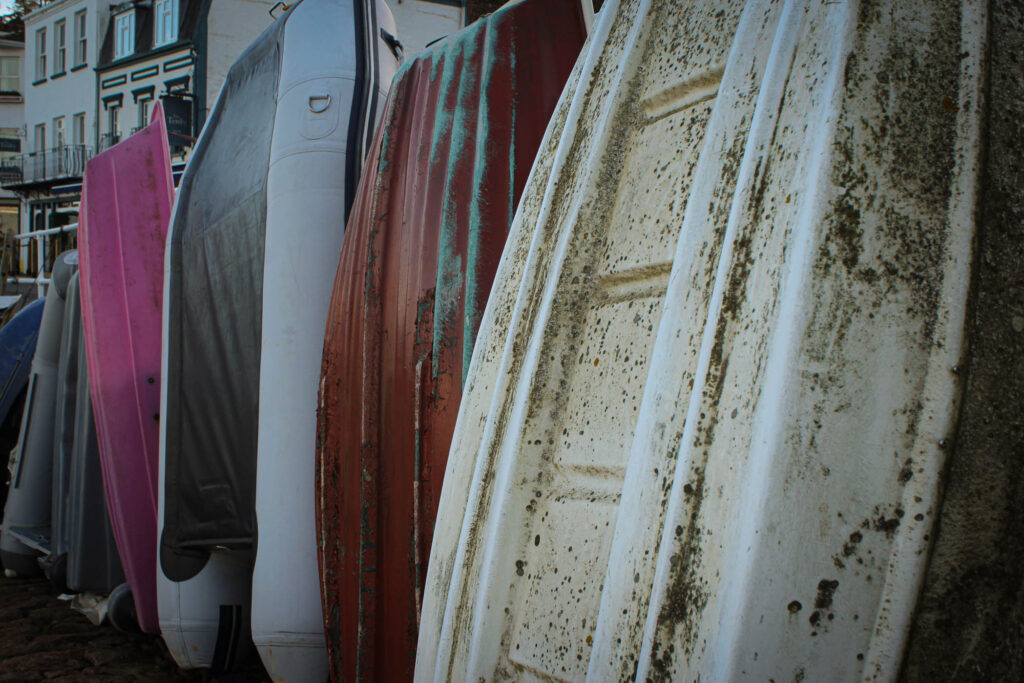
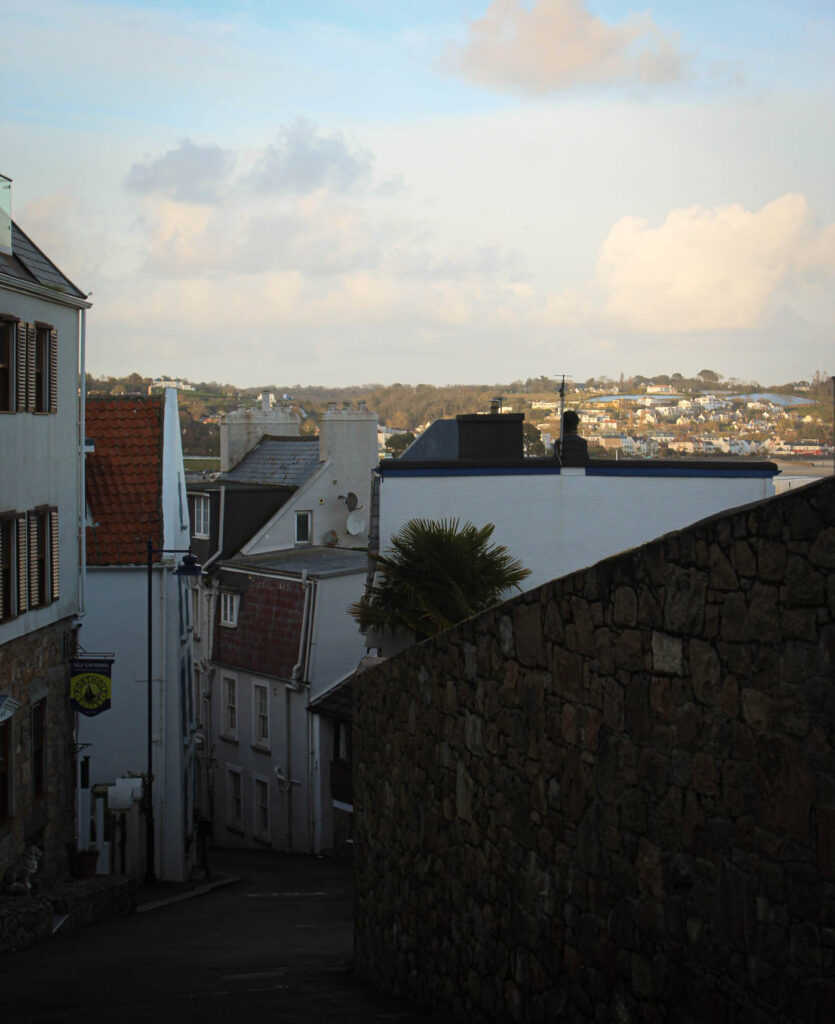
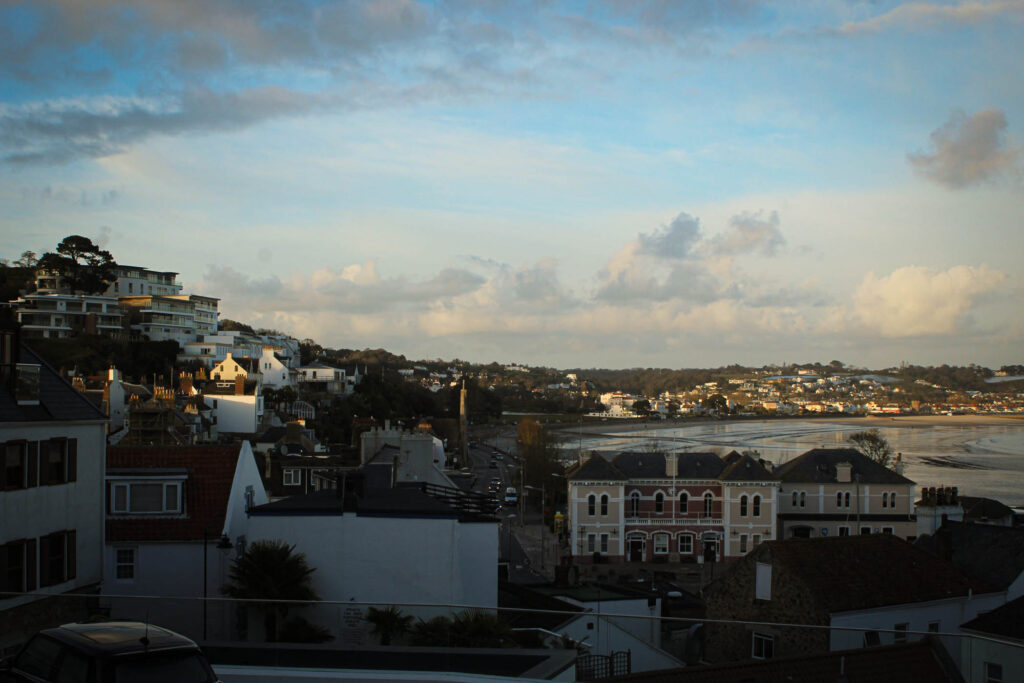
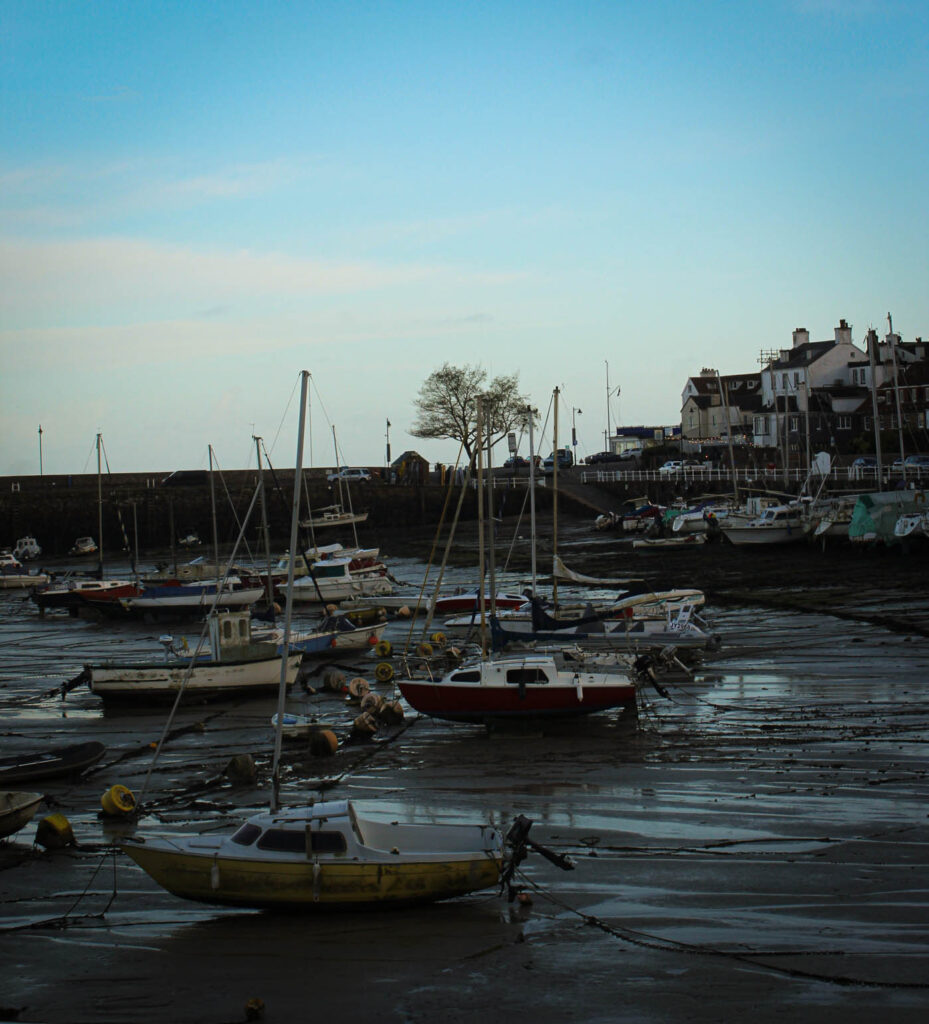
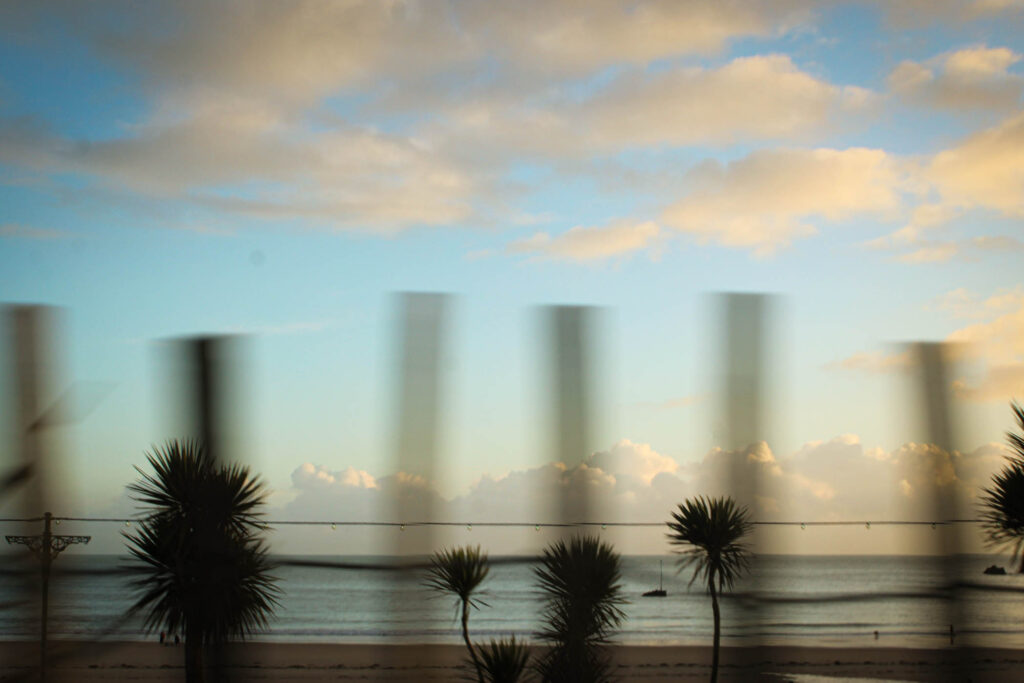
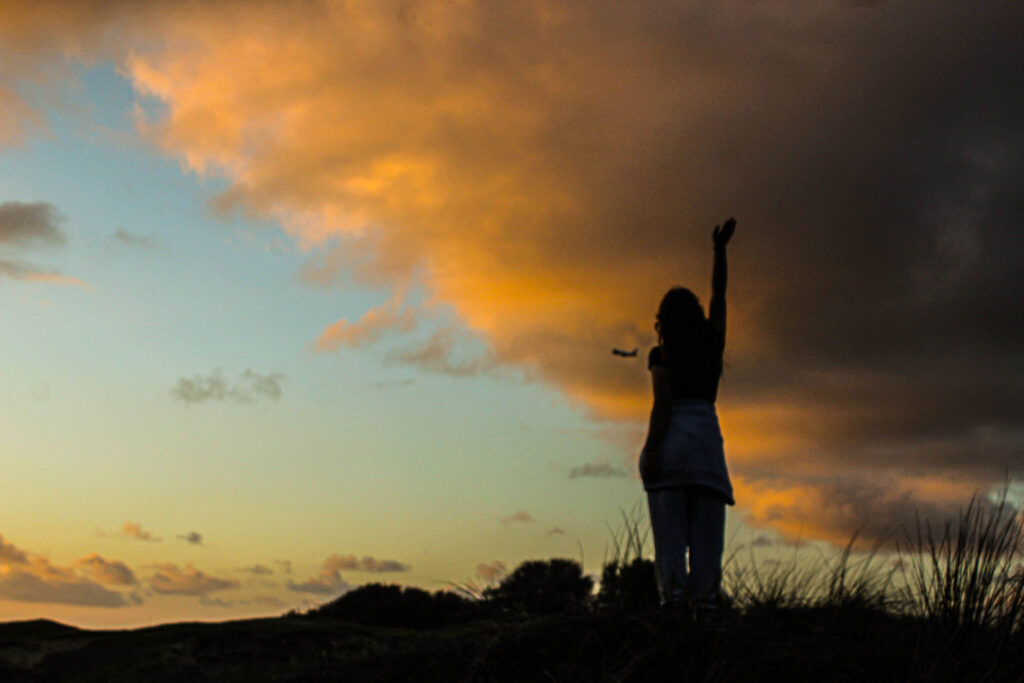
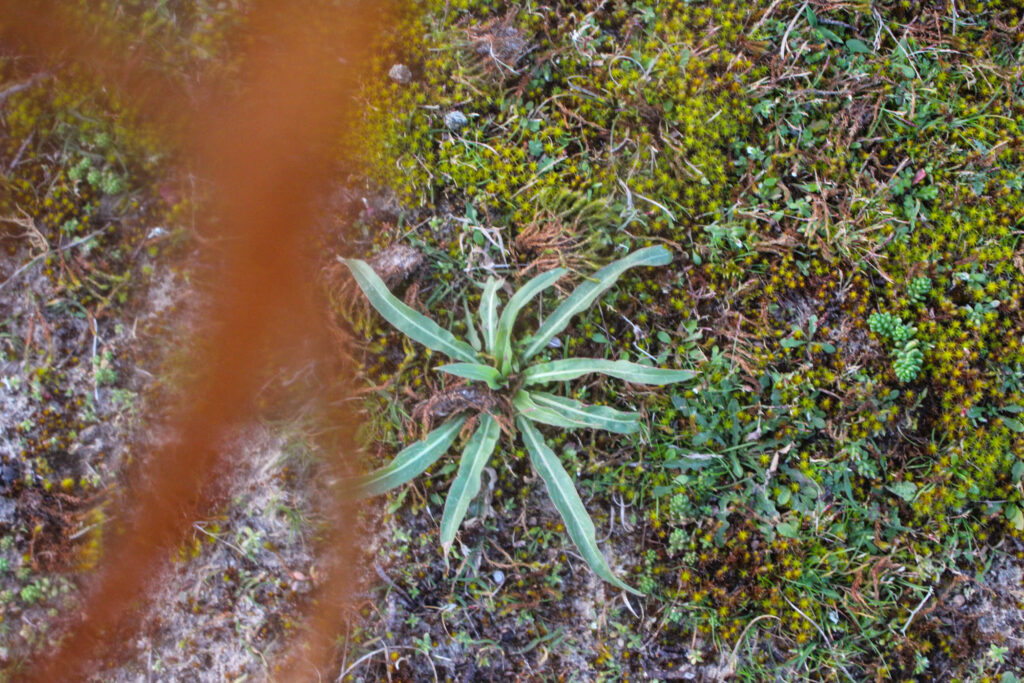
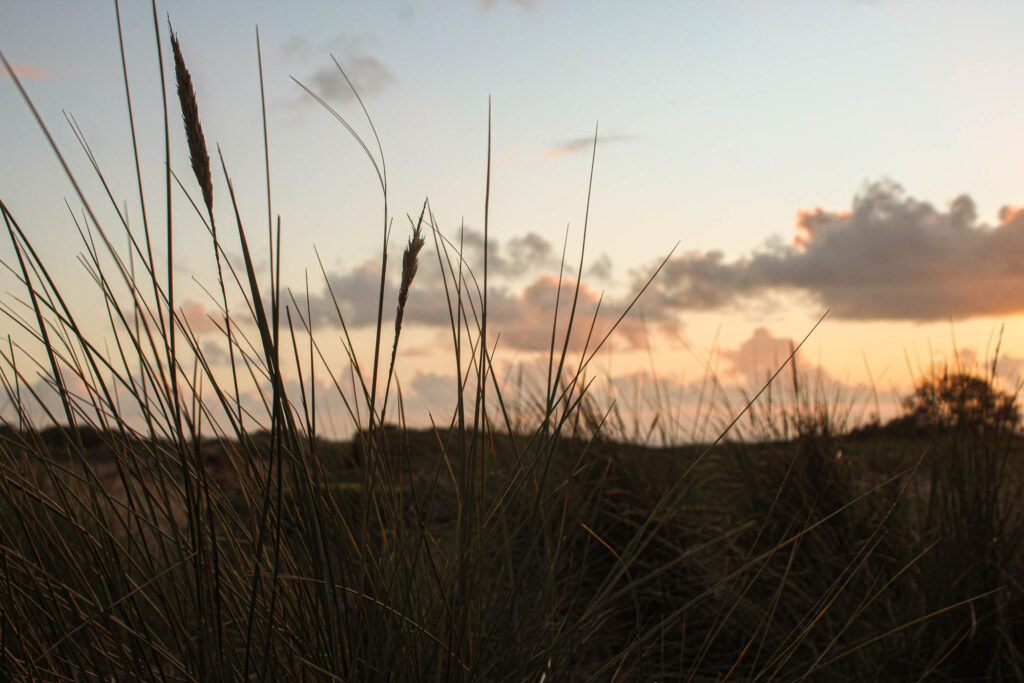
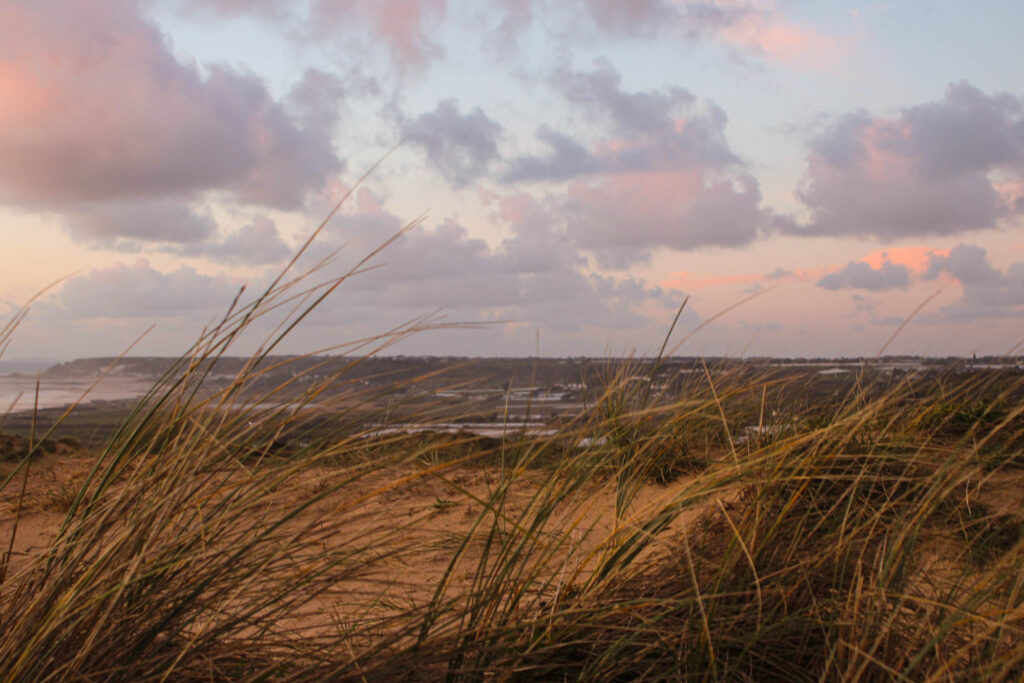
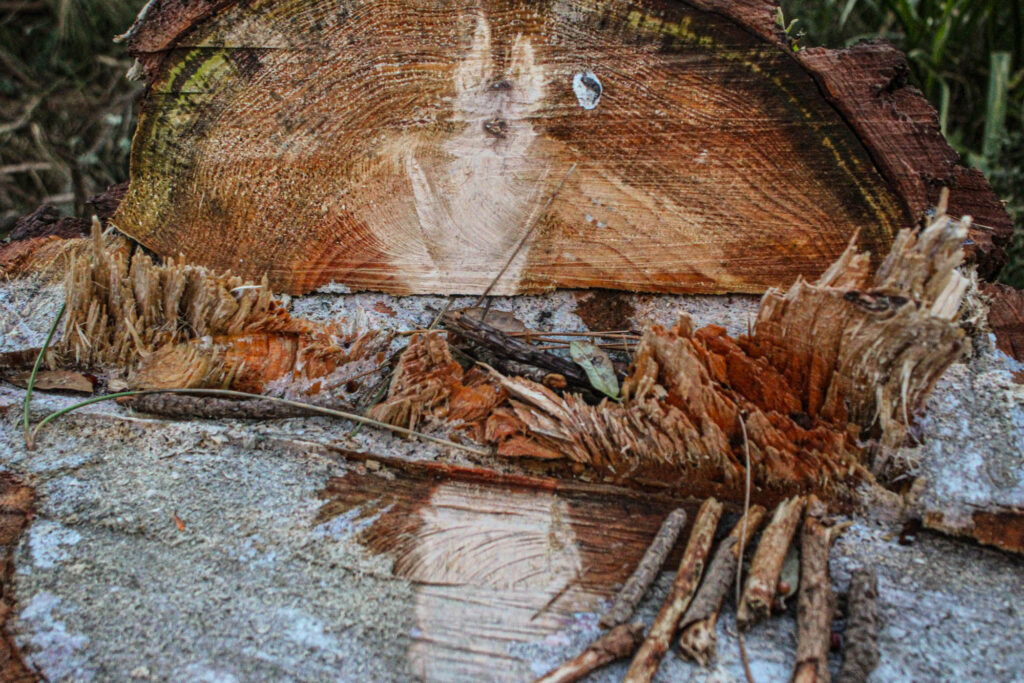
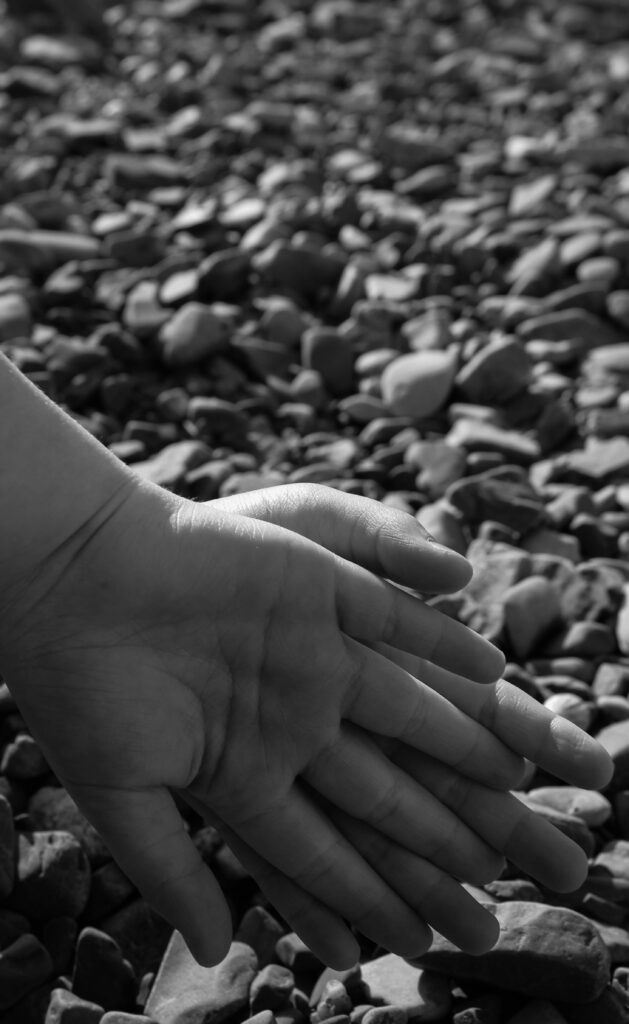
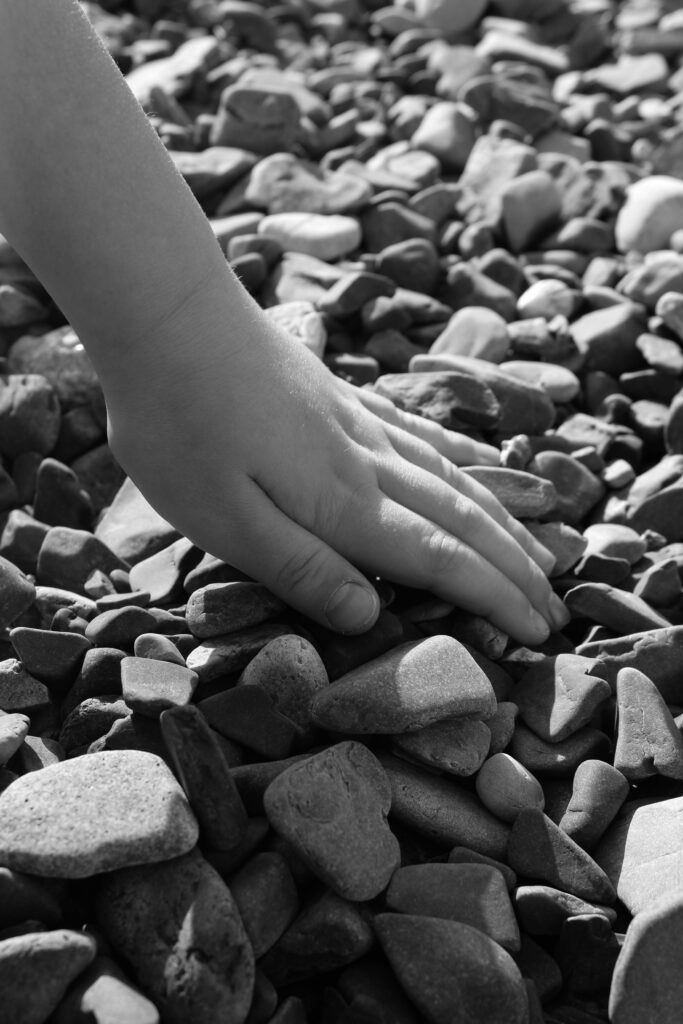
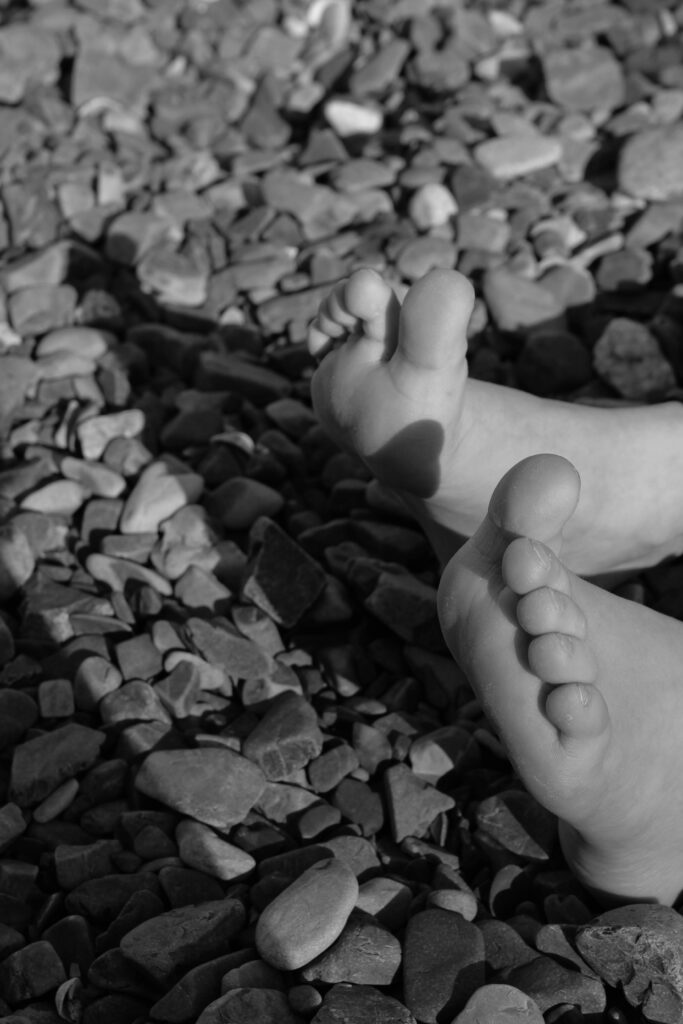
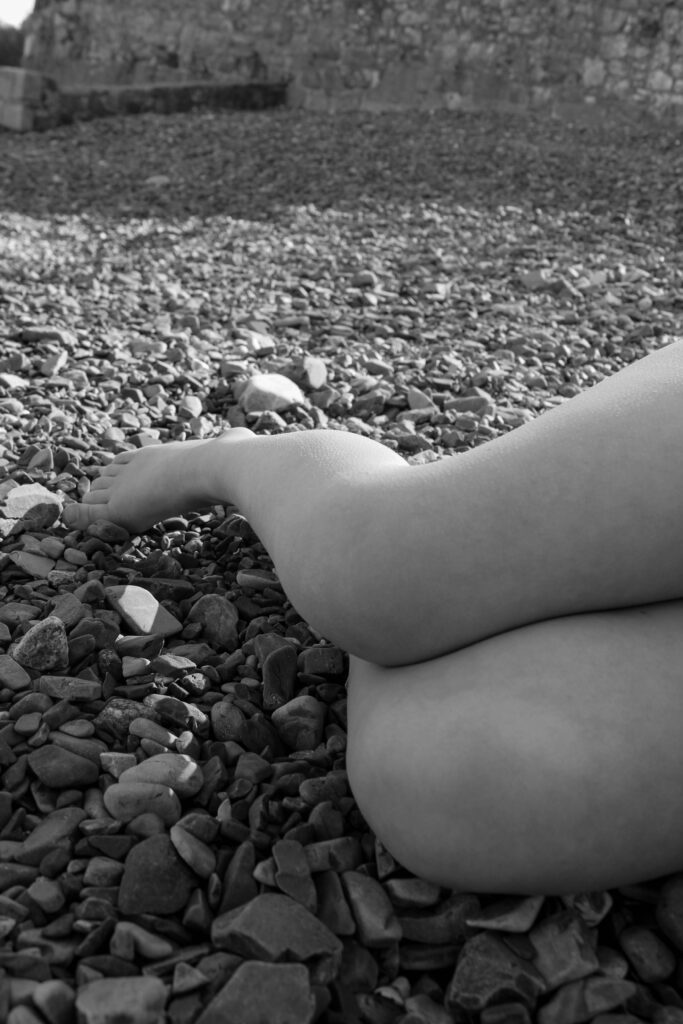
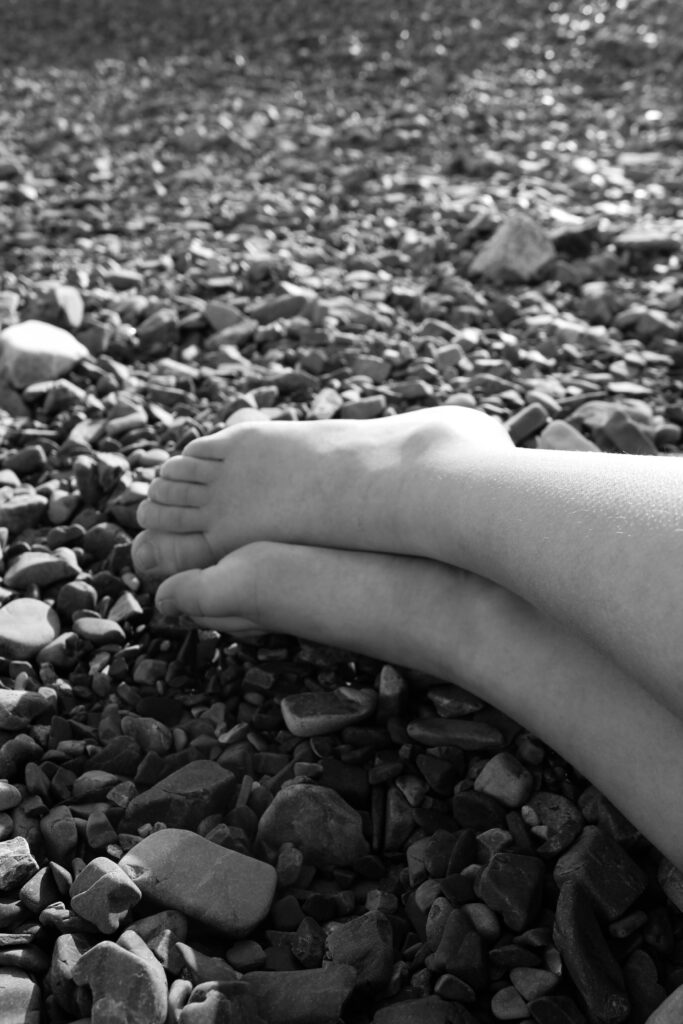
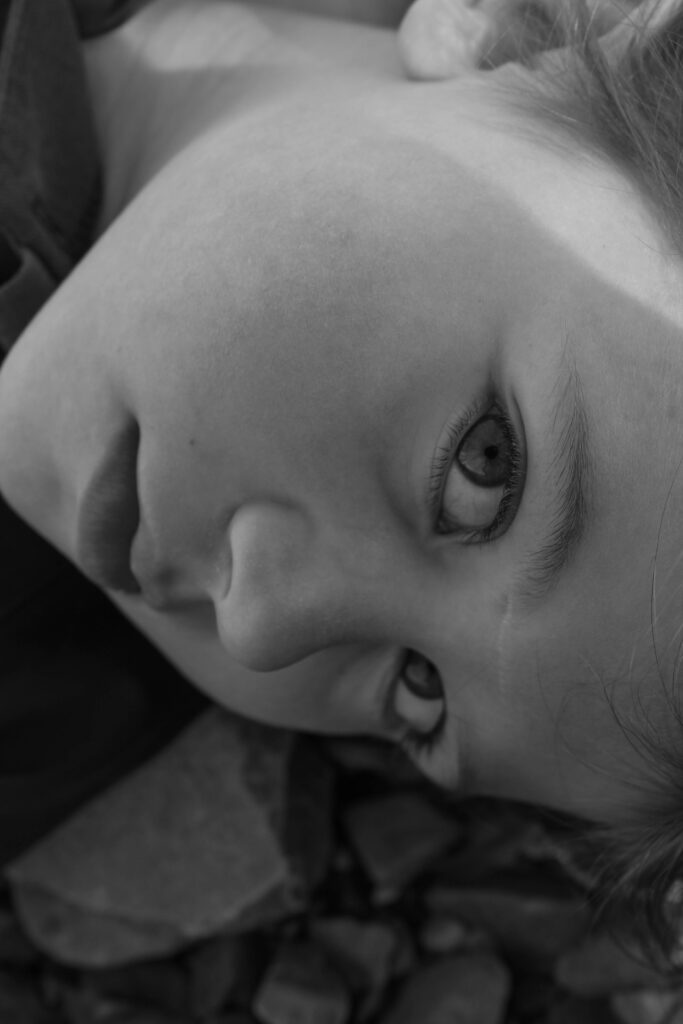
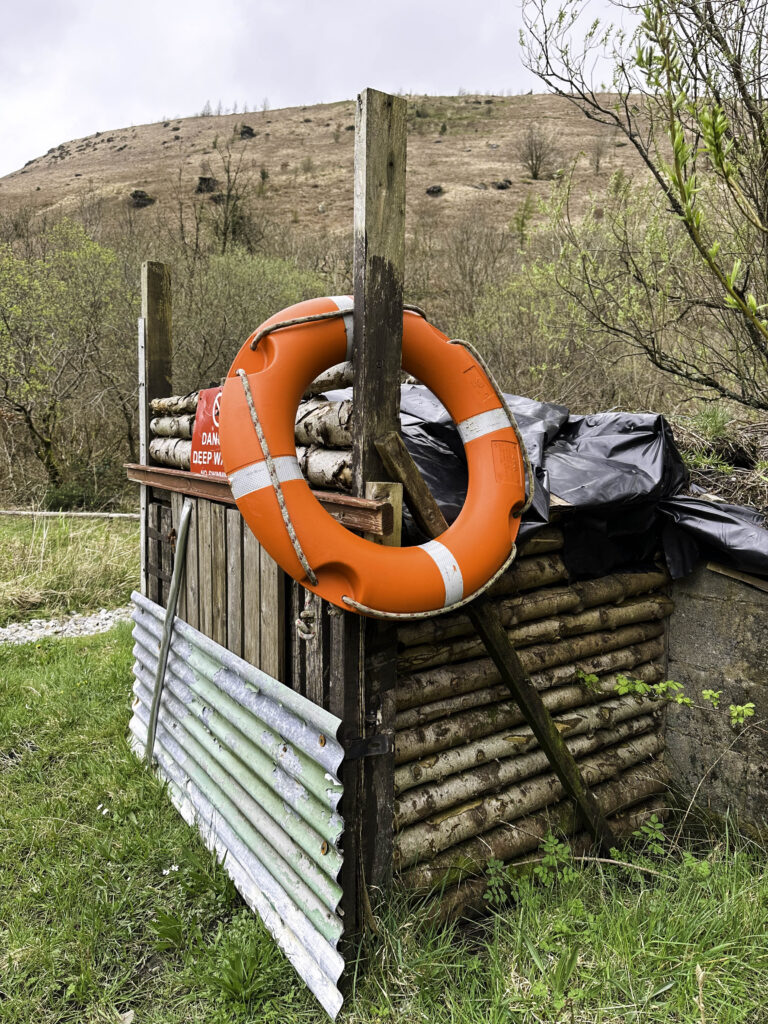
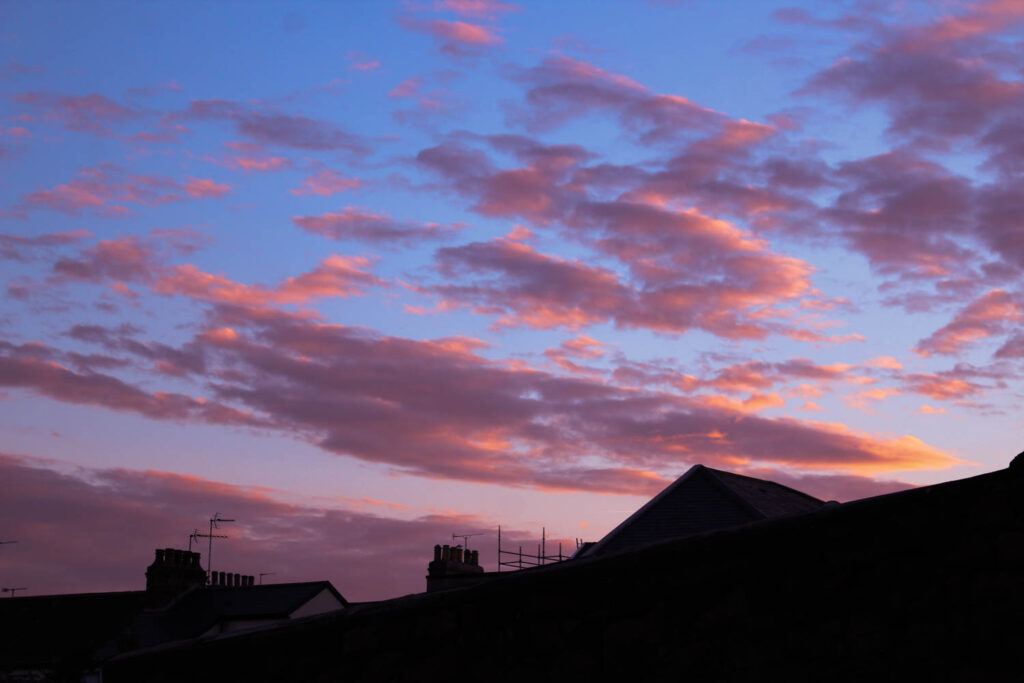
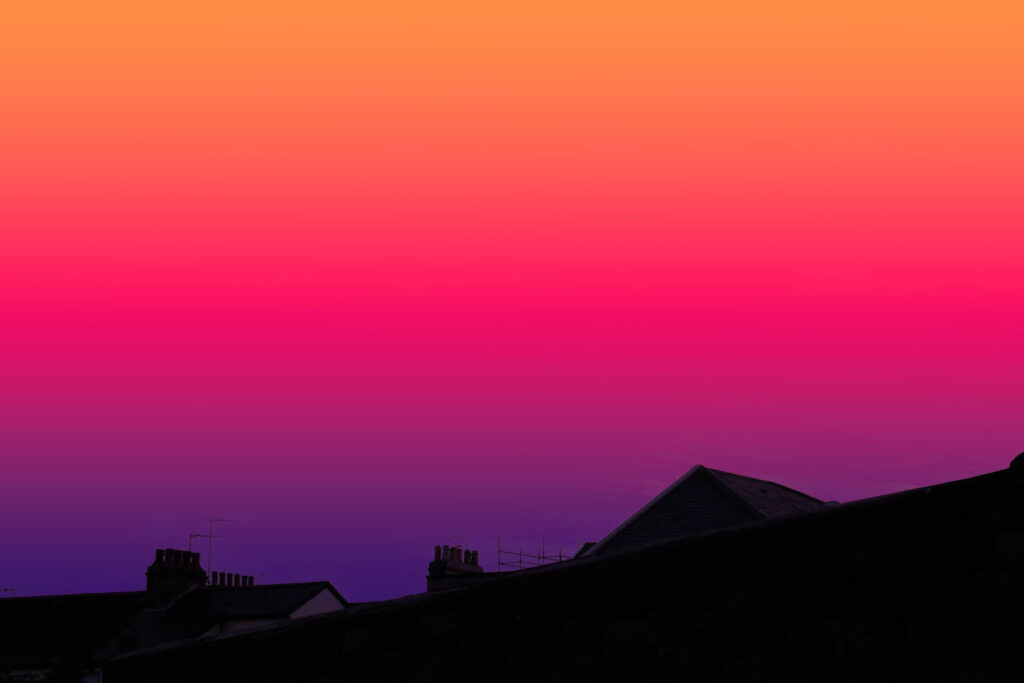
Overall the result of the photoshoot was different than what I have planned, however I achieved spontaneous photographs, by not having a plan for the rest of the photoshoot, it allowed me to be more experimentative with the pictures, and what I was photographing. I like how many of them show this movement from place to place, which links well to showing the adventurous topic I am focusing on. I also produced many different outcomes, some close ups and some landscape photographs. I like a lo of the images from this photoshoot therefore, when it comes to me making a zine from this trip it might be a bit bigger than other photoshoots.

Observe, Seek and Challenge- Photobook Research and Deconstruction

The Address Book– Sophie Calle

Sophie Calle and Siglio Press, 2012

The Address Book was originally published as a serial in the daily newspaper, Libération in August 2- September 4, 1983. It is a narrative photobook taking us through her journey after finding an address book on the Rue des Martyrs, Paris; photocopying it and anonymously sending it back to the owner. Calle decided to contact some people listed in the man’s address book, whom she refers to as Pierre D, in attempt to find out more about the man through other people. This resulted in a fascinating mix of photographs and text, retelling the story she gathered about the man. Unfortunately, after Pierre D. threatened to sue, Calle agreed not to republish the work until after his death. I like the way this photobook utilises text to support the narrative and the indirectness of the photos.

The small red book is filled with abstract images paired with narrative text, which I think is very interesting. It is a hardback that is 5.25 x 7.5 inches with 104 pages, including 26 black and white images and 2 coloured images. This version of the book was printed and bound in China.

Suite V̩nitienneРSophie Calle

Sophie Calle and Siglio Press

Suite Vénitienne was published in 2015 and is based on a project that Calle began in January 1980. It started with her deciding to follow a man in Paris, and although she lost sight of him in a few minutes (like most people she followed), she ended up meeting him once again at an opening. During their conversation, he revealed his planned trip to Venice, where she followed him. The book captures her journey, presenting us with detailed images from her stay in Italy. The comparisons between the text and images create an interesting insight to her thoughts at the time.

a comparison page between photo and text

This is a small blue book is filled with juxtapositions between text and photos. It is a hardback that is 5.5 x 8 inches with 96 pages, including 56 black and white images and 4 coloured images. This version of the book was printed and bound in China.

Intimate Distance– Todd Hido

Intimate Distance– Aperture 2016

Published on November 9, 2016, this photobook presents us with a interesting contrast between landscape pictures of suburban houses taken at dusk and suggestive portraits of young women. This collection of 250 photos, the fruit of 25 years of work, presents the eminently cinematographic work of the American photographer with images as magnetic as they are strange. This book is made up from 274 pages and its dimensions are 10 x 1.14 x 11.77 inches.

It is interesting to see the way the photographer arranged such opposing images in a singular book, yet still creating a functional and effective sequence. Each photo has a similar theme in terms of lighting and tones, which causes them to all fit together. My photos are all edited into black and white, therefore this would help with the sequencing of my photographs. This book shows how important it is for every photo, especially ones present on the same spread, to have a visual link.

The pages with both portraits and landscapes causes there to be a direct juxtaposition between photos, which is something I could do in my own photobook. Although having different themes, Hido’s book and my project could have a similar layout, due to there also being a mix of landscapes and portraits in my selection of images.

Photoshoot 1

Contact Sheet

My shoot was done in 2 different locations each location with a different model. First shoot was in Archirondel Tower on the pebble beach and the second was done at St Aubin’s behind the pier.

Selected images

Editing

I changed all my images into black and white to create contrast, I like how my images turned out they have mainly taken inspiration from Bill Brandt and his images on the beach.

Edited Images

Analysis

I am happy with the way my shoot turned out, the quality and lighting of the images is how I wanted it. They work well as a set of images and reflect the artist of Bill Brandt which was my main influence of my shoot. By using different angels from low to high around all different parts of the it creates composition and helps to make each image look slightly different and not repeating the same thing.

Shoot 4

After studying Larry Sultan’s work I decided to photograph my gran in a less staged manner. I got her to look at old images and memorabilia. Whilst taking the photos I was aware that I needed to make the archived images visible, so I have the choice to present it with a similar image that I have made.

Contact Sheet

Selected/ flagged images

After editing them I selected them yellow and green. I will use some of the green ones in my photobook.

Best Images

I like the composition of this image presenting my grandfathers old shirt, and my nans caring movements when laying it out.

I feel like I could present this with archived images next to it, to suggest what she is looking at. I may use images of her and my grandad when they were young, as if she’s reminiscing.

This image will connect well with my photoshoot from Beauport. It is an image from where his ashes were scattered, and my gran visits there often. By placing this next to one of those images it is like I am transporting the viewer into the archived image, and into the present time.

I like the pattern juxtaposition between his tie and shirt. It is more abstract compared to my other photos and I think it could break up the frequency of portraits quite nicely.

Photobook layout Inspiration

Rut Blees Luxemburg and Todd Hido:

I specifically like Blees’ work because of its Connection between my work which is the use of something that is in-between each other, for example, blees’ captures stairs which everyone uses, but composes it in a way which shows its history and the space around it, similarly my work does the same thing with different environments showing its common interaction with people, but its emptiness is shown, where it is in less of the “spot light”.

Some of Rut Blees Luxemburg’s books include a lot of good presentation of images, with the way she proportions them on her books, but also how some of the images composition connect well with the image next to it.

Similar to Blees’ work Todd Hido creates imagery during the night and captures the environment around him which he deems fit for his theme. MY interpretation of his photo books is a common theme of loneliness through the environment, like this image of a house in a lonely environment. And how he lays out his book with sometimes a title for the image.

Image layouts like this I like because of its consistent use in lines, and dark environment and similar feeling of the image, like a warm feel.

Here Todd Hido shows a connection between windows and doesn’t use big contrast to the feel of the image, which I like a lot.

I like this style of image a lot because of its theme in an empty environment like a room, with an obvious of hidden subject within the image, which shows a sense of familiarity or loneliness.

Connections with images like this is what I will be aiming to do, because it holds a theme in both the pages, this one is the theme of something broken, as it shows a small broken subject and the n a big one.

Edits 2

In Lightroom i firstly turn my images to black and white then i play around with the contrast and shadows to increase depth and a dramatic look, i also play around with the blacks and the whites to further increase contrast.

When regarding exposure i like to try keep it well exposed as in past projects i have lowered the exposure too much which results in images that are hard to look at.

Here is an example of how i have edited the images…

here are some examples of my edits…

Early Evaluation

I have a done a lot of case study just because I am trying to see what I like and what I dislike and then trying to find what works with the way I take photos so most of the case study I probably wont be following the style of however I will be copying some of the photography techniques that they use and applying them to the photos that I will be taking. with the exam I want my finished project to be a book with some really good photo that I am proud to be putting into the photos themselves will be me exploring different areas of the island

photo book early stages

This is just what I have so far on my photobook which will be change photos will be added and some will be taken out the name will change and it will under go some changes that the reason I am making a photobook is that I really liked making my first photobook that I want to make another photobook

photoshoot four

For my fourth photoshoot, I didn’t take as many images as some of my other shoots, as I didn’t really have a plan. For this shoot I was off Island and took the opportunity to try and capture some images that are a bit different from what we get at home.

editing

final images:

As my fourth photoshoot wasn’t planned I didn’t come out with as many images as some of my other shoots. I think that the images that I did get work well with my colour theme and as I was off Island when I took them it meant that they are something different from my other images which we may not see over here. Overall, I don’t think that this was one of my best photoshoots but think that the images I did get are of good quality.

Photoshoot 2

During my second photoshoot in le Squez estate, I explored the captivating interplay of shadows and structures. The sun casted long, dramatic shadows on the buildings’ outlines, emphasizing their geometric shapes and architectural complexities. I framed the shot with the help of deep, contrasting shadows to bring out the distinctive textures and patterns on the walls and windows. These elements created a contrast against the bright, sunlit areas, adding depth and intrigue to the images. This shoot allowed me to capture the unique character and mood of the urban landscape, showcasing the relationship between light and dark in a visual narrative.

Gradient Experimentation

I was playing around with photoshop and I learned to make a pretty cool edit on some of my sky images.

Process

To start off get an image of your choosing, then using the smart select tool highlight the sky
Go to the colour button and select gradient
These menus will then pop up, here you can select the colours, strength, smoothness etc.

Here are some results –

Before

After

Before

After

Before

After

Before

After

Before

After