My Book:
The process of making my book was reasonably simple as I have made a photobook previously for a past project. I ensured I learnt from my mistakes I made with the last book, to create a display of my work that I am proud of. To start the formation of my book I planned shoots and took mostly staged images as this allowed me to be clear about what I was trying to portray. Following that, I imported my images to Lightroom and began selecting/sorting through my most successful photographs and started my editing process there.
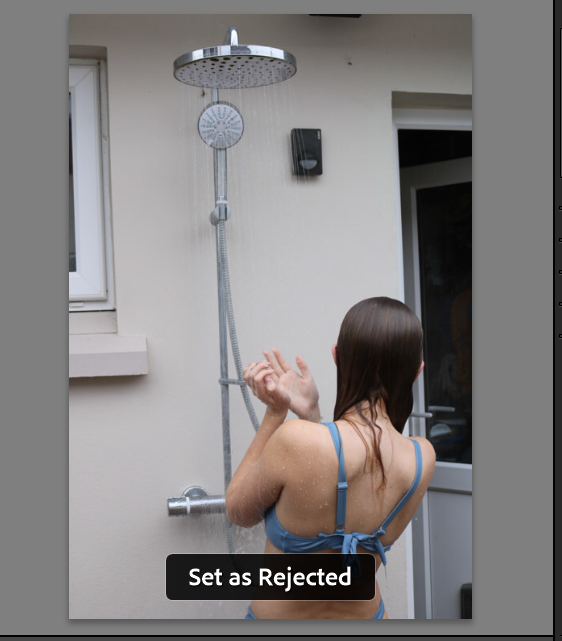
X key = Reject Image
P key = Pick Image
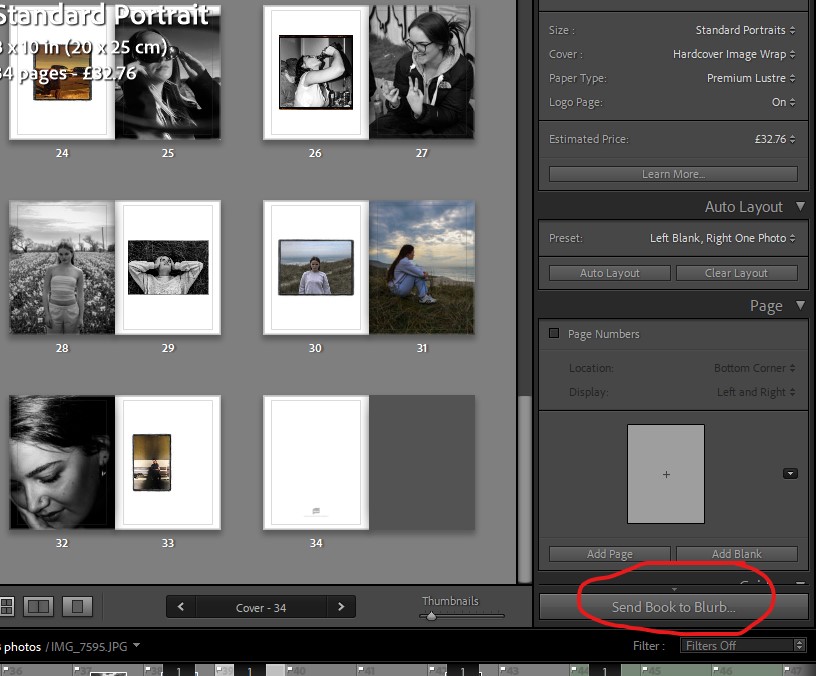
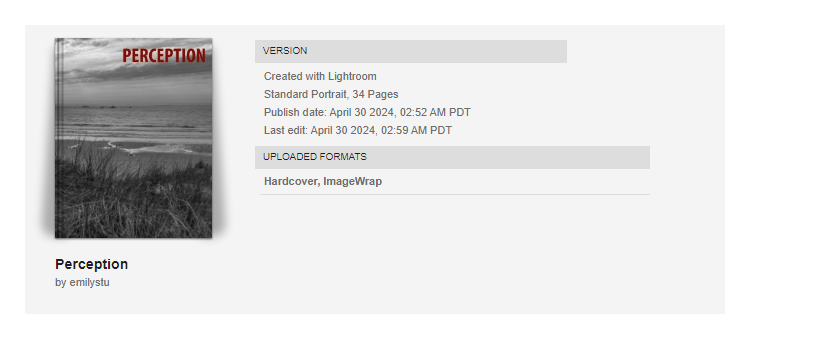
Once my initial editing was complete, I moved some of my images onto photoshop to do some final touch-ups and experiment with different aesthetics. However, I ended up not using my experimental images as I couldn’t find a consistent style that would run throughout my book. Once my favourite images were selected I pressed the ‘book’ button on Lightroom and tested out different layouts to see which composition was the most efficient and appealing. I tried multiple different layouts before I was happy with how it looked and then exported my photobook to Blurb ready to order.
My Images:
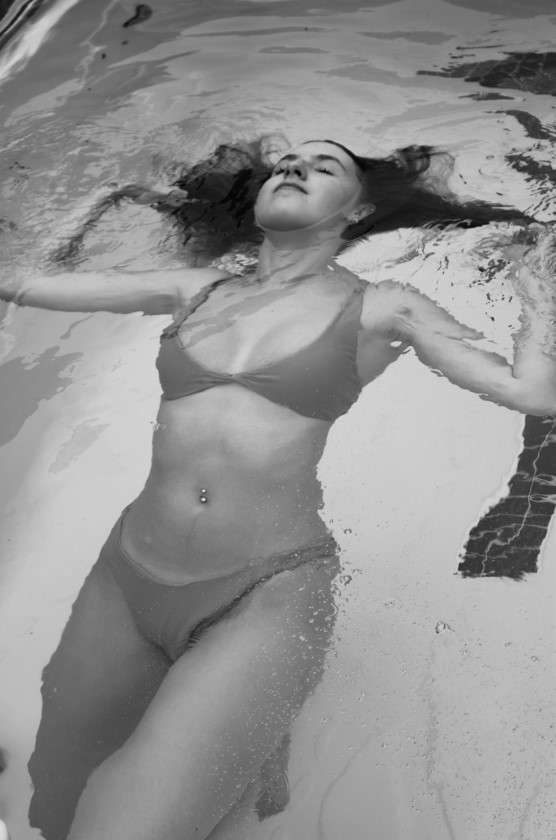
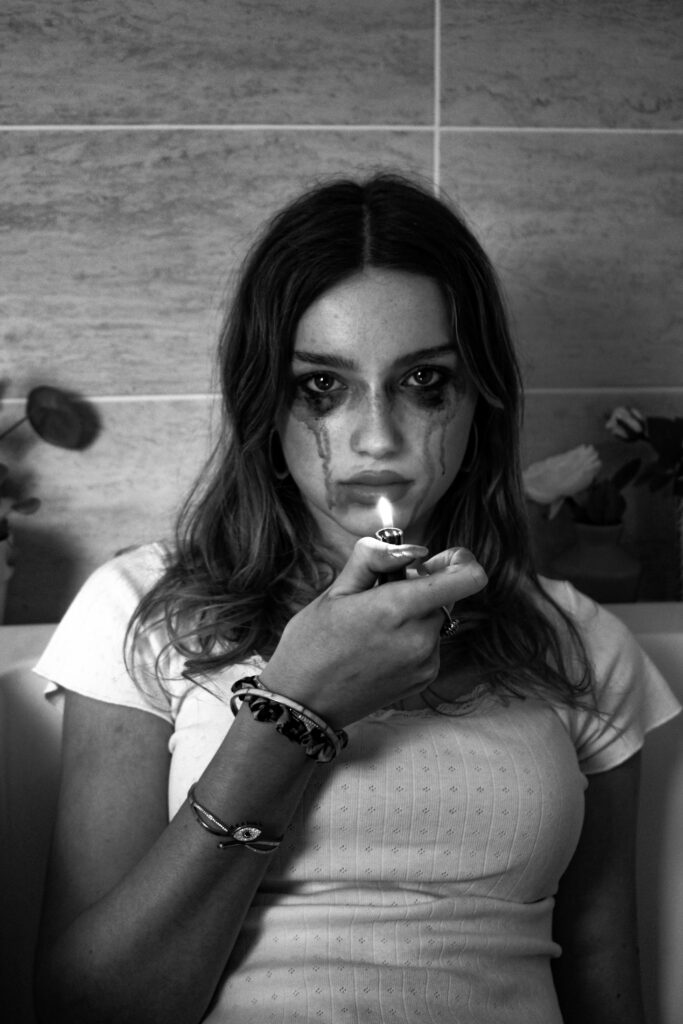
Overall, I think the majority of my outcomes, from this project, were successful setting me up nicely to create my photobook. I especially enjoyed this project as it enabled me to be more creative with my shoots than usual. I experimented more with my shots as the majority of them were staged, for example doing a shoot of in a pool and creating a dramatic look using makeup of tears running down a girls face.
I edited all of my images on Lightroom as, in my opinion, it has all the features for a successful initial edit, while any further altercations were made using photoshop.
Virtual Gallery:
To display some of my most successful outcomes I created two virtual galleries that present how my images would look if they were in an exhibition.
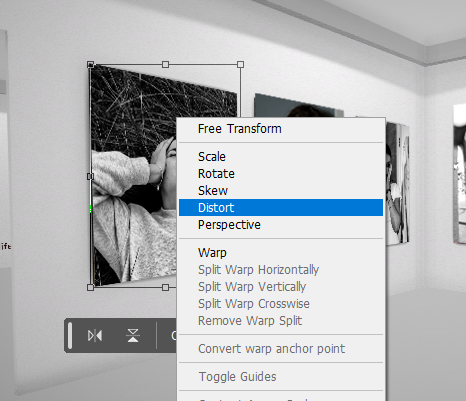
The process of creating a virtual gallery involves exporting the images to Photoshop, as well as your downloaded image of a gallery, and using the gallery as a background, adjusting the images to fit within the frames on the walls as if they were originally there. I find it easiest and most effective to do this with the Distort tool as it allows you to change the angle of the image as well as move the corners around.