I walked through a small area in St. Peter’s valley, shooting images of different structures that were more or less abandoned, or have been almost reclaimed by nature. For this shoot, I wanted to focus on Kawauchi’s style of developing bright, low contrast images focusing on the natural forms of the plant life and animals around me.
After putting the images into Adobe Lightroom Classic, I started editing through which photographs I believed honed in on Kawauchi’s style the most.
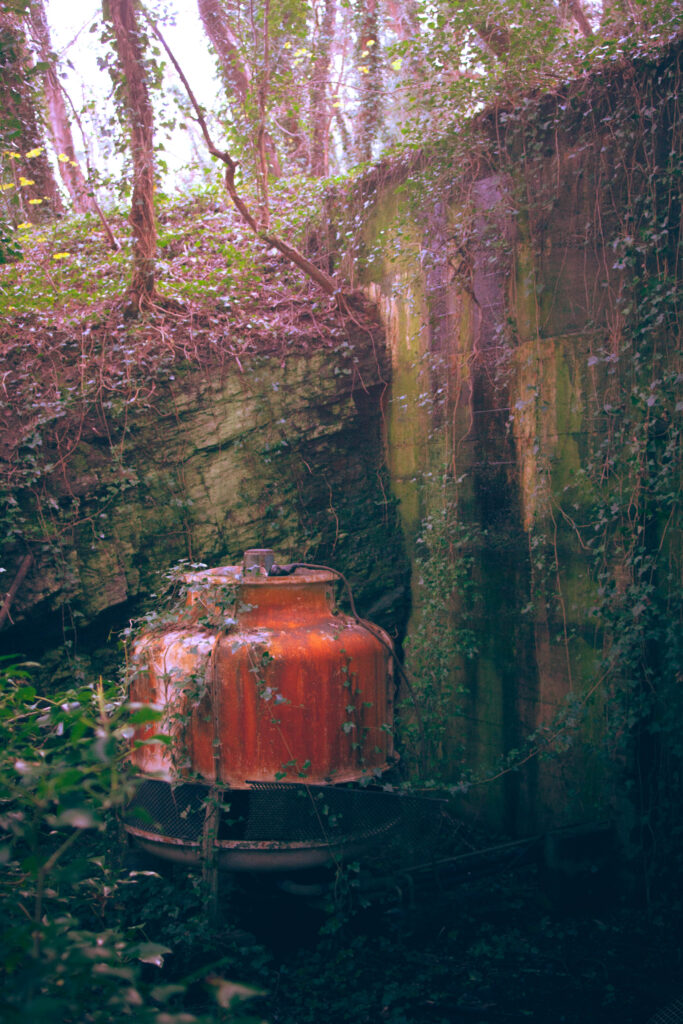
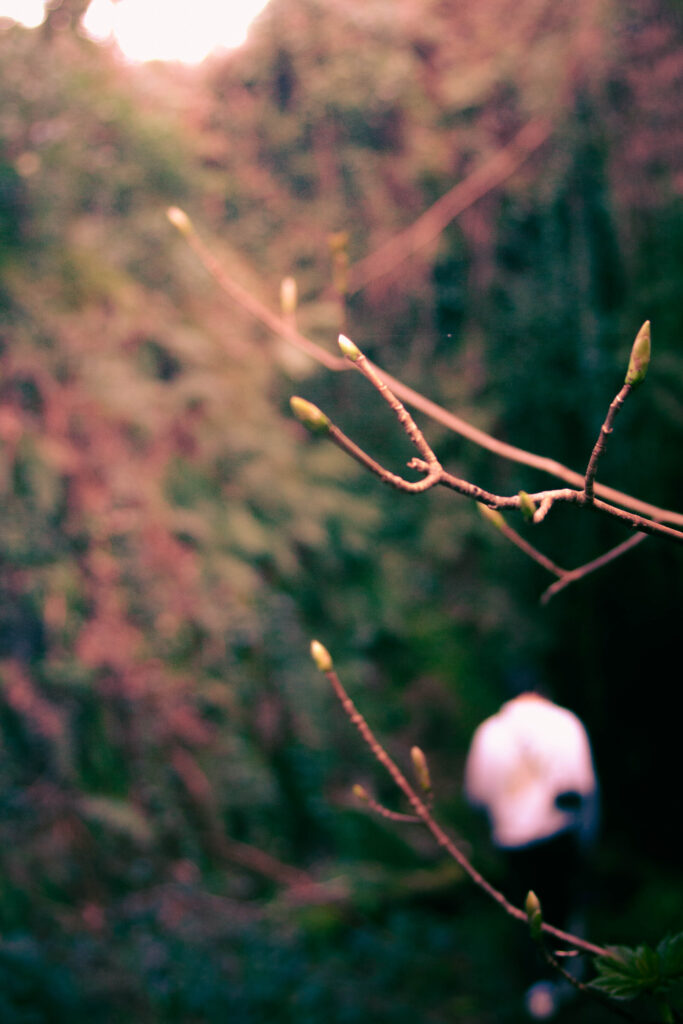
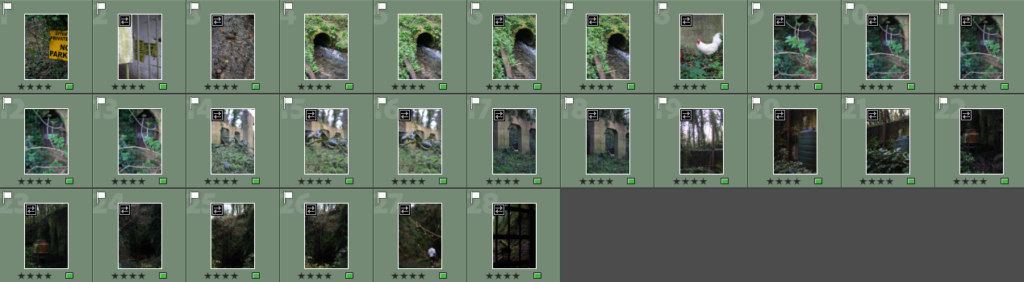
These are my final six images from this shoot. I had a pretty similar approach to each photograph, and wanted to establish an idea of surrealism from reality through my colour palette.
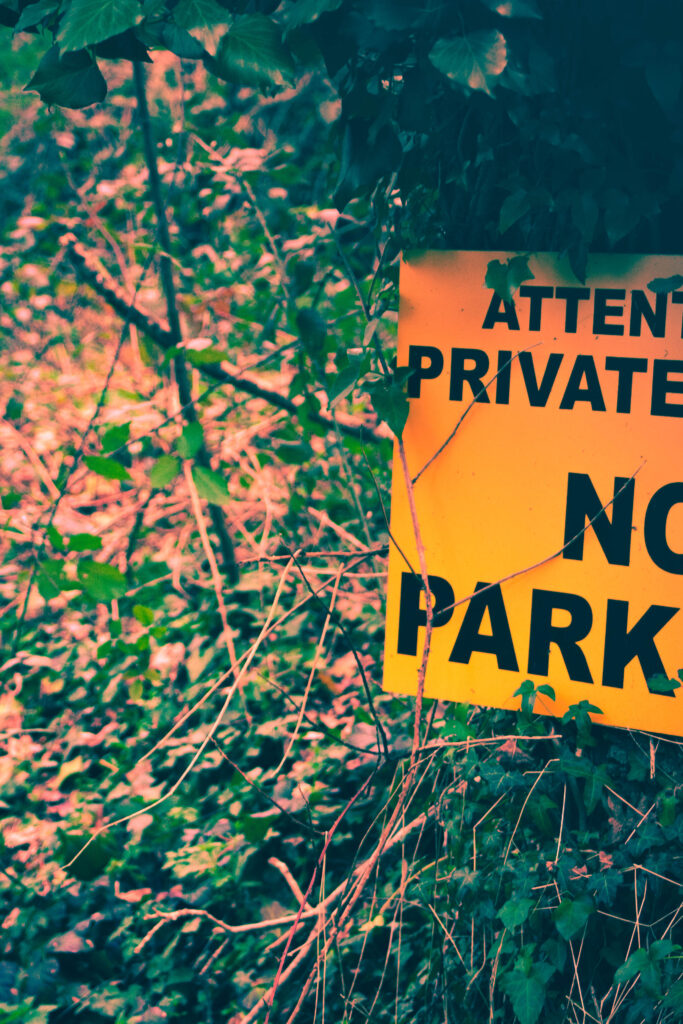
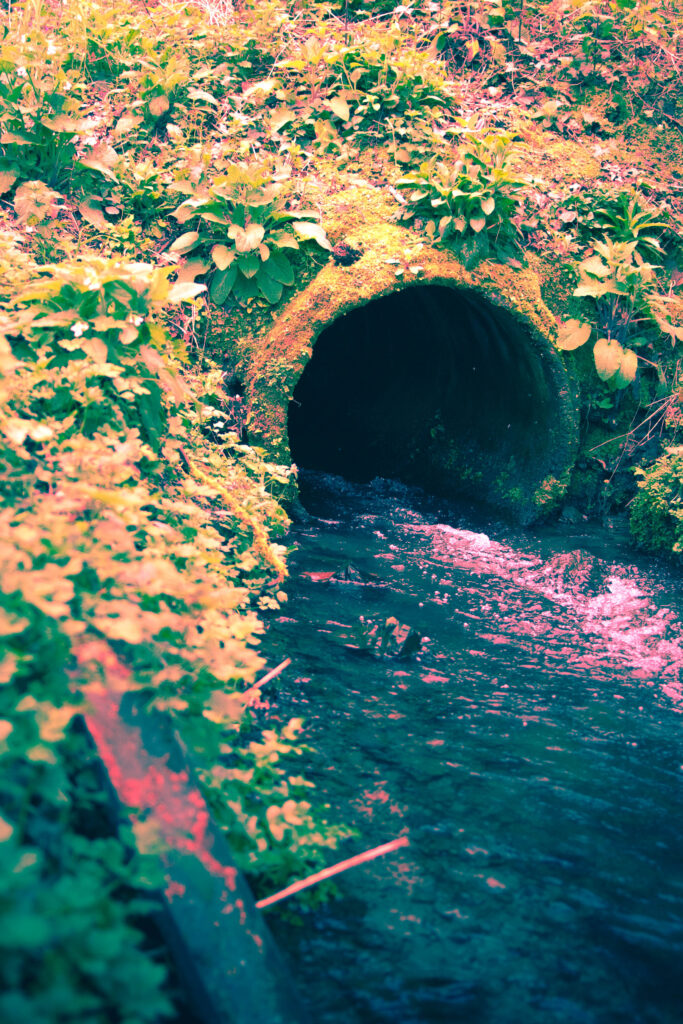
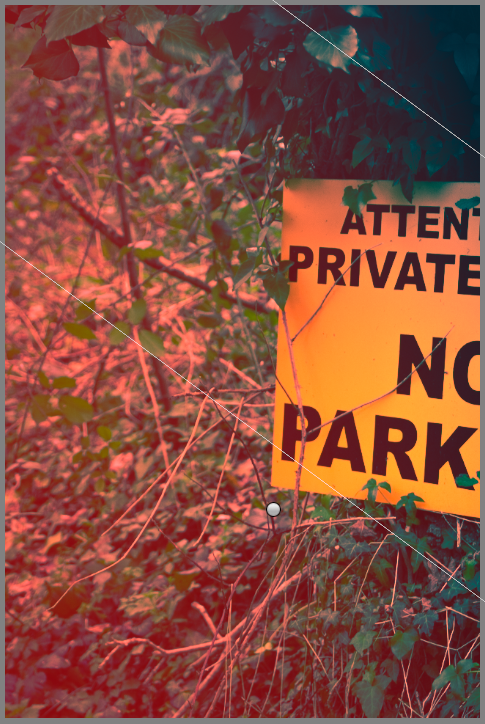
For this first image, I immediately knew that I wanted to increase the intensity of the colour palette, particularly the yellows, without it becoming too overpowering or dominant.
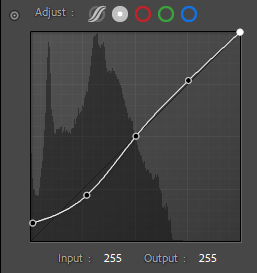
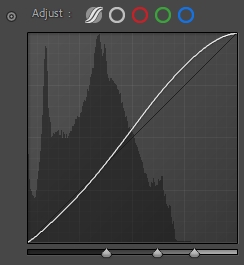
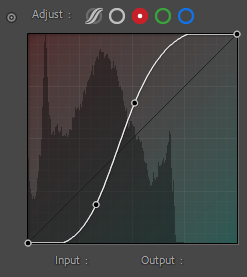
I started by making adjustments using the tonal curves, increasing the output of the blacks in the point curve, to achieve a more muted, lower contrast in my composition, before adjusting the parametric curve, and increasing the lights to bring some more brightness to the image.
I also experimented with the colour channels, playing with red and blue with these photos to create more drama and make the natural colours of the plants a stronger focal point, which was particularly successful in the shot of the stream coming from the pipe, tinting the foam in the water a pinkish colour.
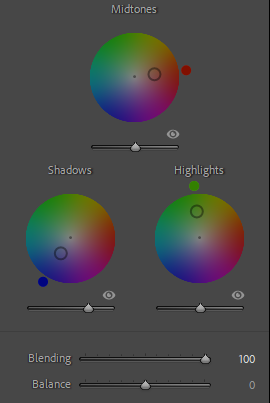
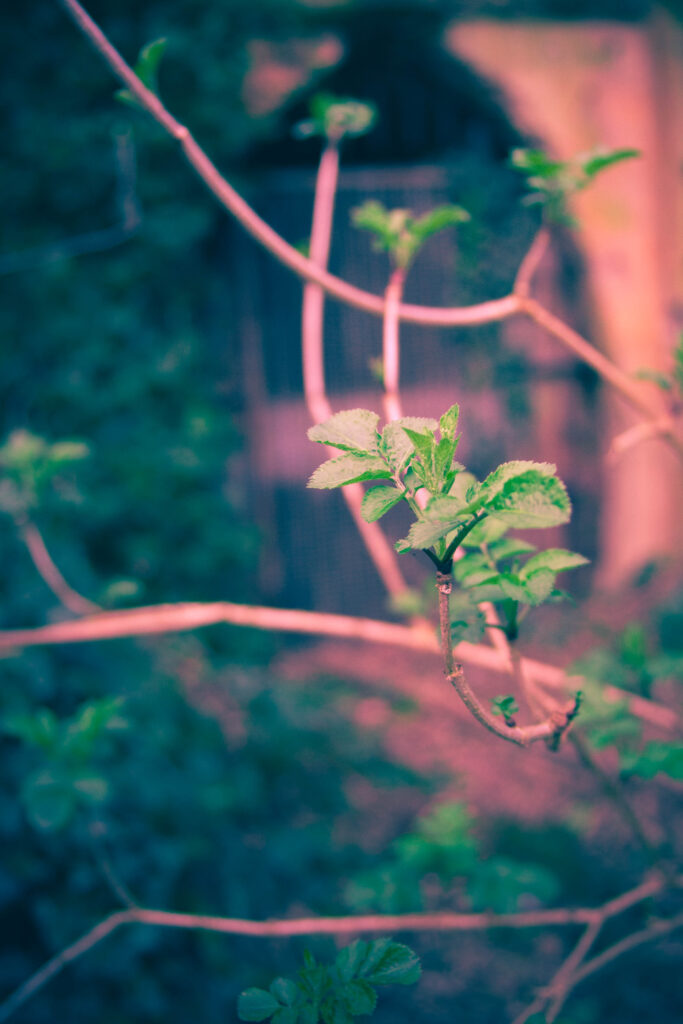
I then started colour grading, typically using a red or orange for the midtones, a deep blue for the shadows, and a red or green for the highlights, all of which were then adjusted using the blending slider to achieve the desired effect. To establish some contrast using lights and shadows, I used graduated filters where the light sources were present, playing with basic adjustments until I was left with a subtle, but more visually appealing gradient from light to dark across the whole piece. I repeated this by doing the opposite with the darks to contrast this, adding a slight vignette to bring it together.
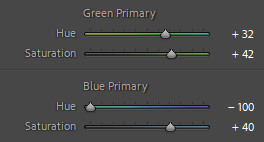
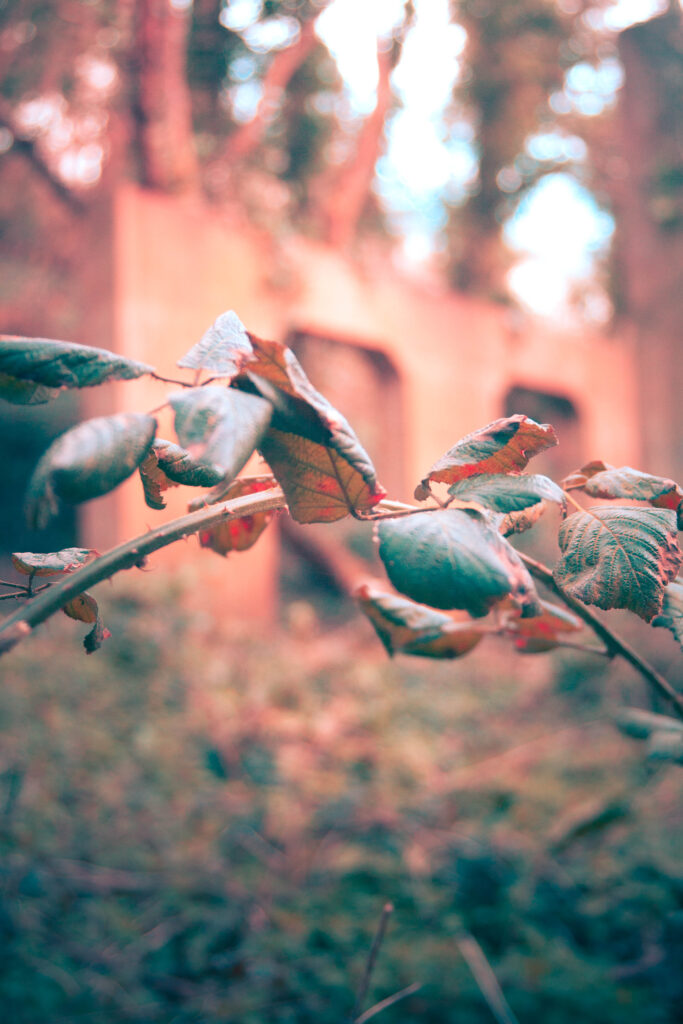
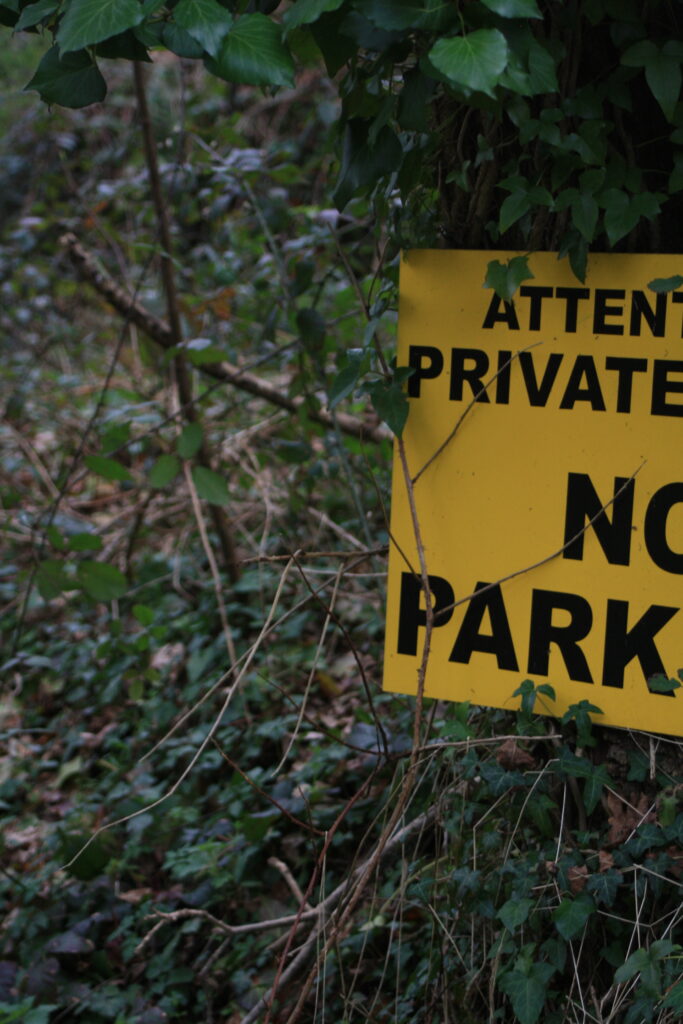
For this photograph, I experimented with the calibration window to adjust the hues of the blues and greens, which ended up turning the leaves different shades of orange and blue.