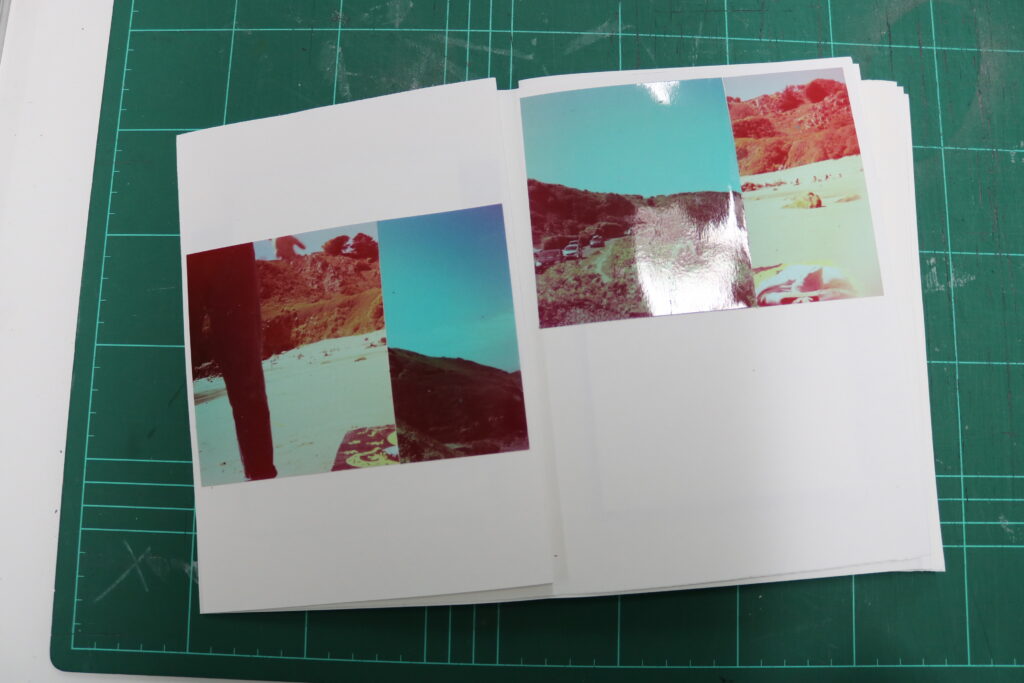
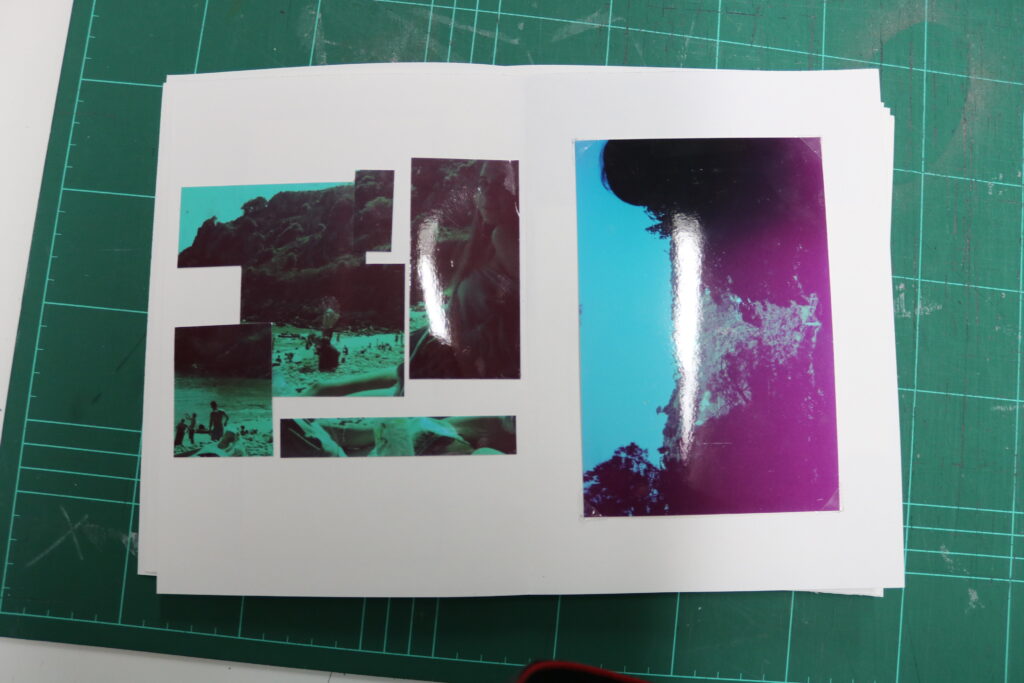
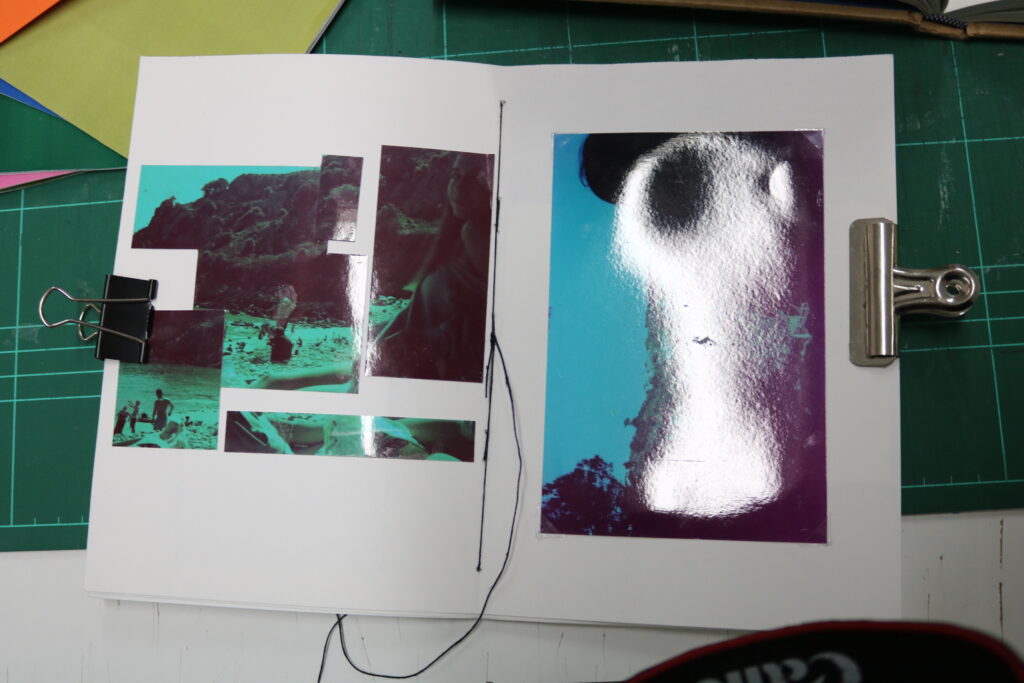
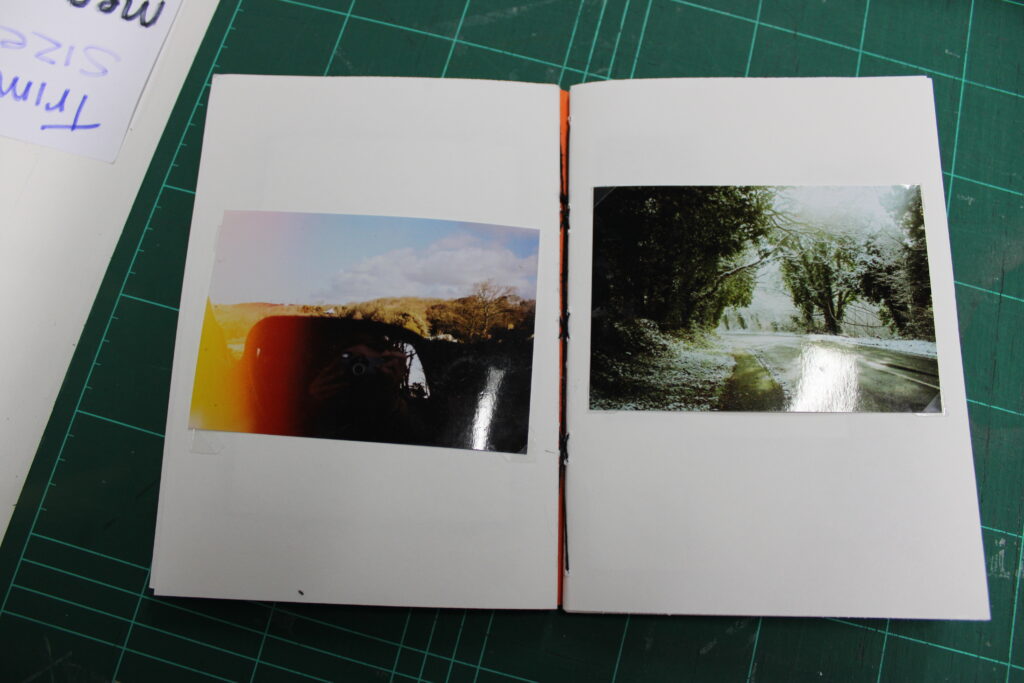
Once the plan was produced on how I was going to tackle and fit the photographs onto the paper, I have worked page by page, in order of the beginning, where the images that were cut up , I have stuck with glue, and images that had no notes on them , to be fitted in using photo corners.
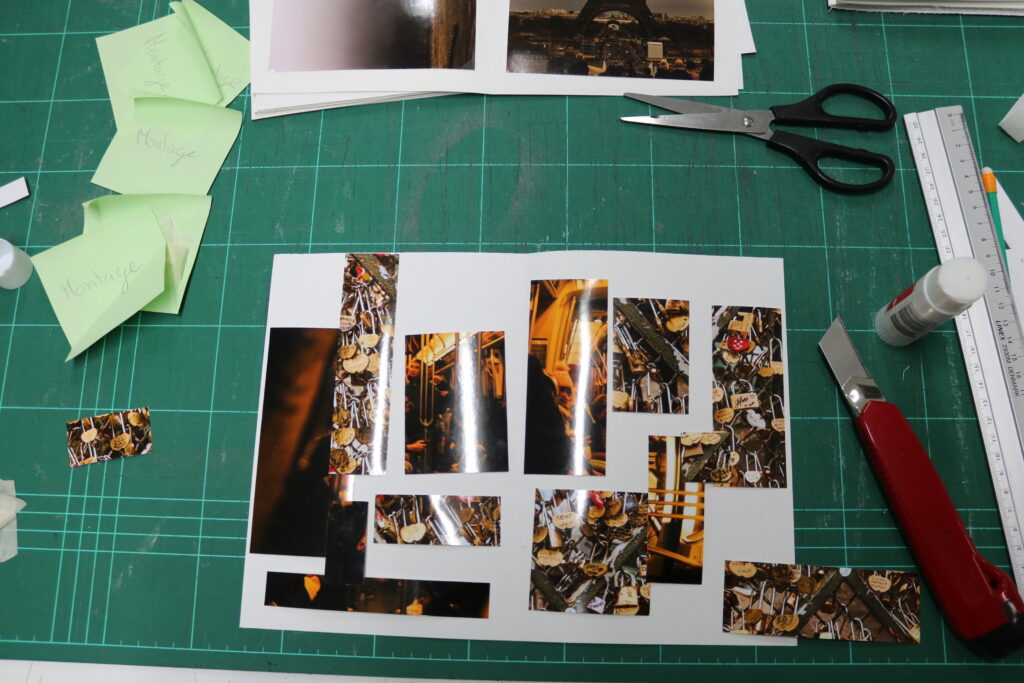
To get perfectly straight cut pieces, I used the strip cutter, then before sticking the pieces in a random pattern, I planed and played with the arrangement until I was happy with it.

As I mainly used the methods of cutting the images into cubic shapes, this process being used to combine images or just on one photograph, I also experimented with a cutting knife when cutting out irregular shape, such as the photograph combining method shown above.
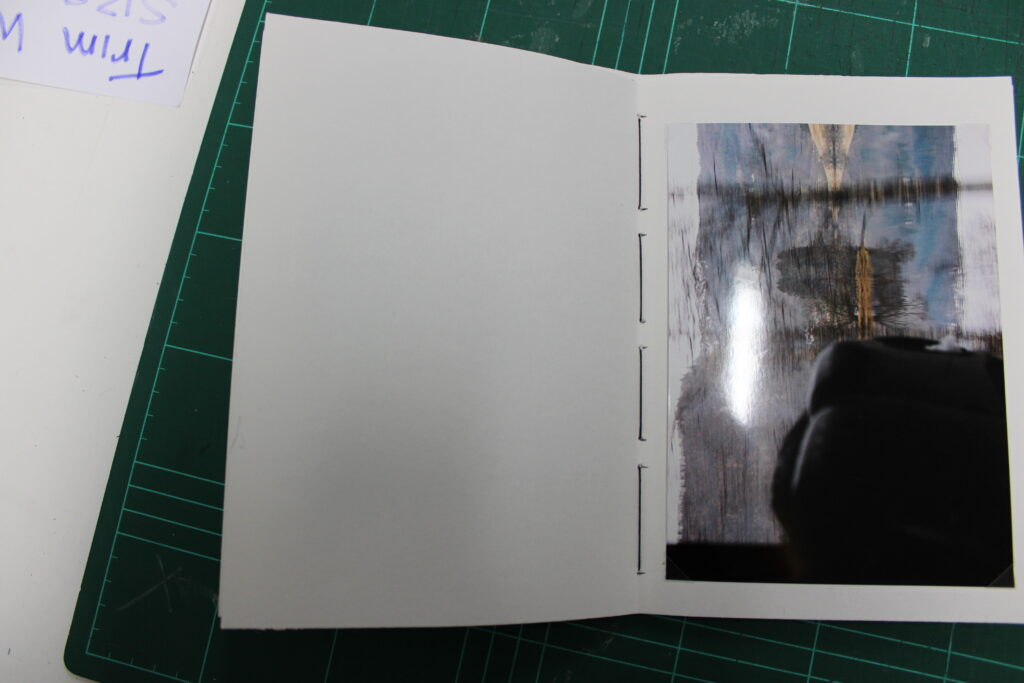
Once all the photographs were secured in the book, I needed to combine these pages together using simple sowing methods. Firstly, I used clips to keep the pages in place, then I have measured 1.5cm from the top(A) and bottom(B), marking it with a pencil, I then figured out the middle of the page by dividing the length of it by 2, from there I measured 5mm on each side, leaving me with 2 marked spots(C+D) ,which the length apart was the middle of the page. I then figured I needed 5.5cm (E) from the top as then if the gap between 2 dots was 1cm, the next mark needed to be 1cm from 5.5 mark (E) leaving me with mark (F). This meant that for it the distance of these marks were perfectly in between A and C. I then repeated the same process , however starting from the bottom. Marking out between B and D.
I was finally left with the order of : A, (E+F), (C+D), (G+H) ,B
This meant I would be left with 3 visible lines of thread/stich, and that from the side I start from, the thread will also leave.
I used a sharp-end tool to poke the holes in the place I have marked, and made sure to slightly bend the book so that I was getting to the centre of the crevice.
The order of how I actually pulled the thread through was : starting at D, the working down to G+H, coming out through B and back to the top through C, then working up to F+E and when it came out through A I tied this string with one that I started from, which was D. This order made the book stronger and had a tighter tension, which made the book more stable.
The image above shows how the stitching looks on the outside, but the image bellow shows the inside of the sticking, going through the middle of the 3 page stack.
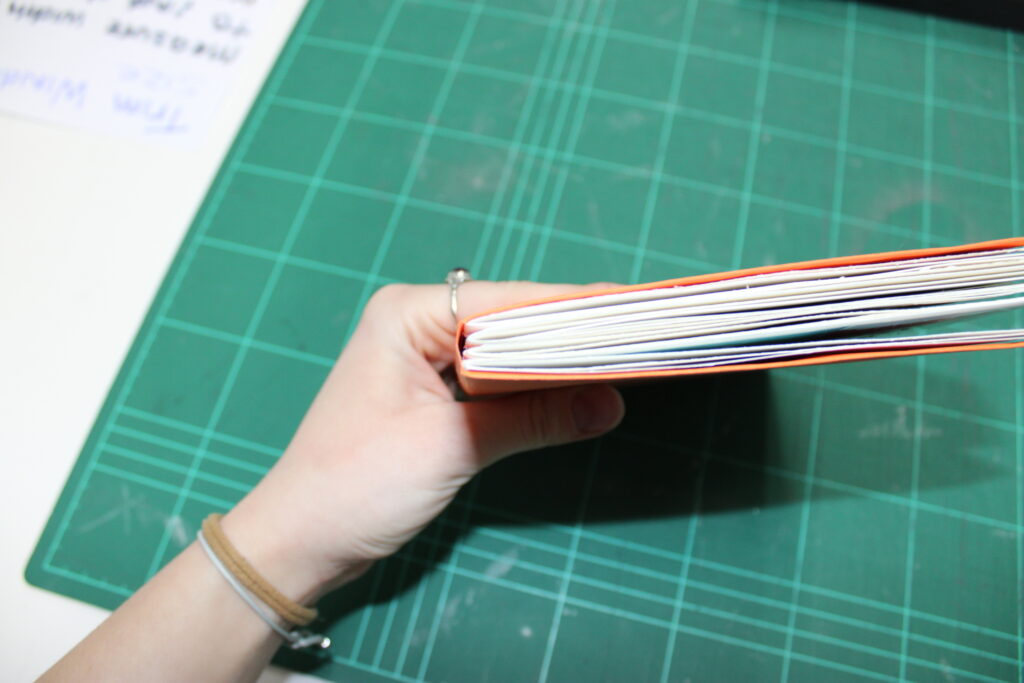
What I had to do then combine this group of page, 4 groups, by sticking them together of the outside side. to do this I threaded the thread through the gaps formed on the other side, which were 1cm, then I tied each one tightly. This combined the stack of all pages together, meaning it acted out like a book rather than a collection of zines.
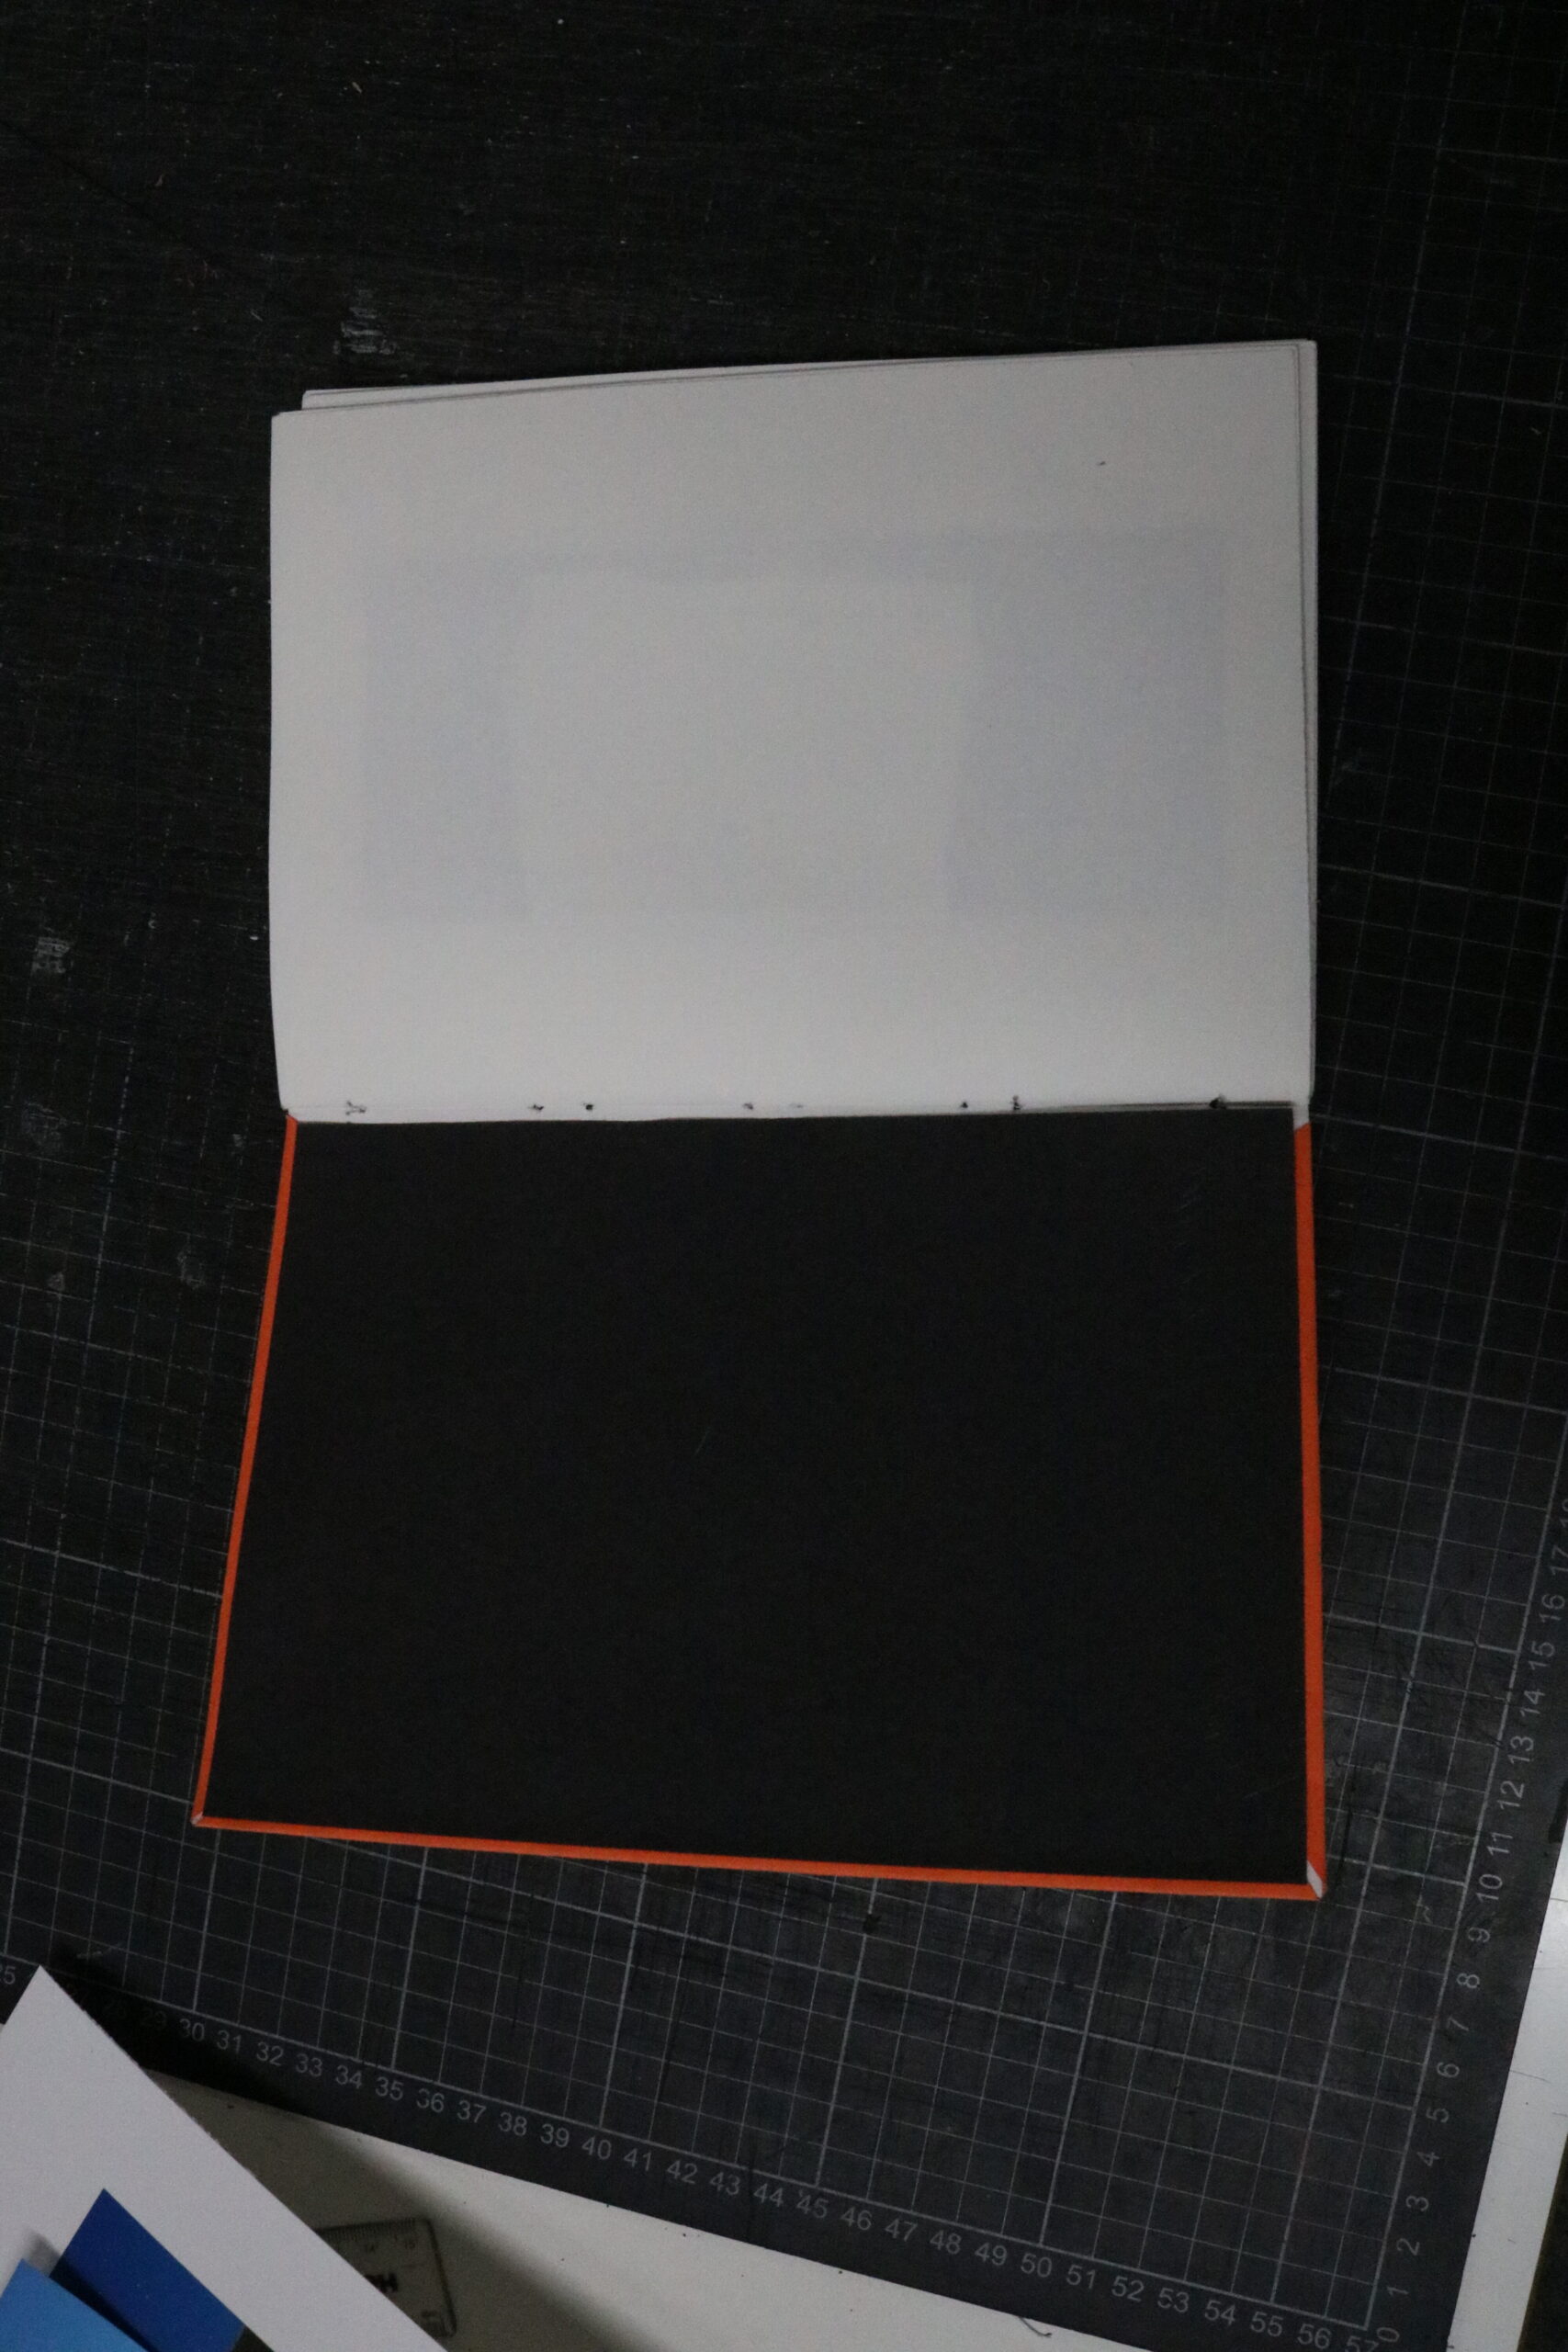
The last thing I have done was to add a cover, to which I chose a bright orange coloured paper, which was thick but not a card. I measured around the pages how much of it I needed and then I left a little more room for the paper to rap around the end pages.
Once I stuck the paper(cover) onto the inside page, I wanted to get rid off the gaps the folded pieces have created, therefore I used a black card and stuck it onto the inner cover, which also strengthened the cover and tidied up the inner look of the book. I chose black to match the thread I have previously used.