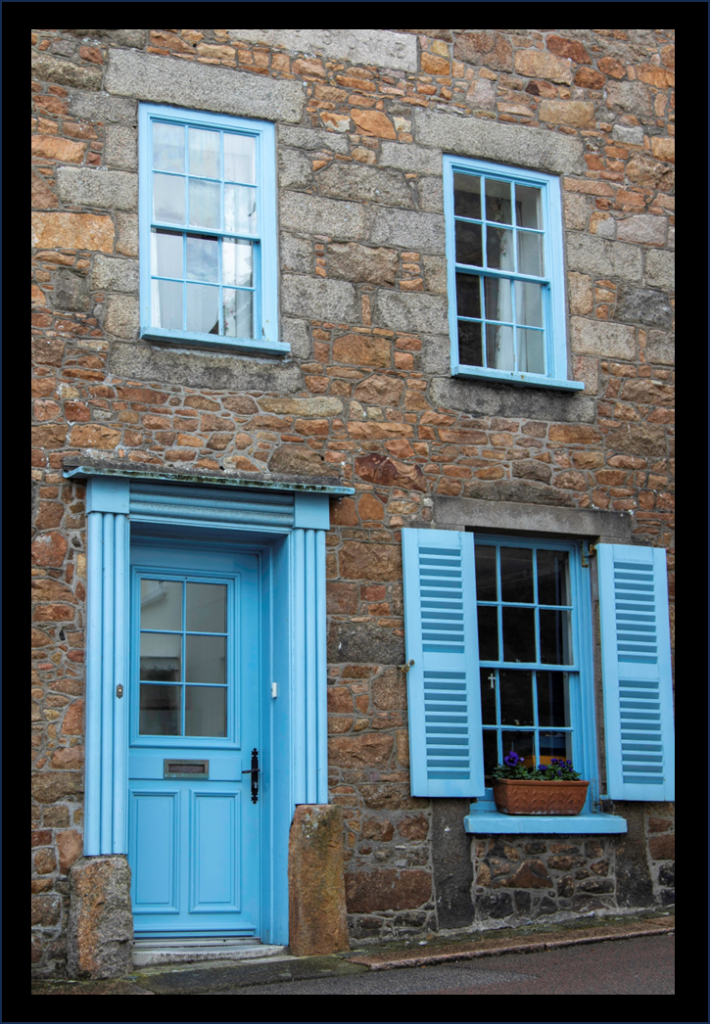
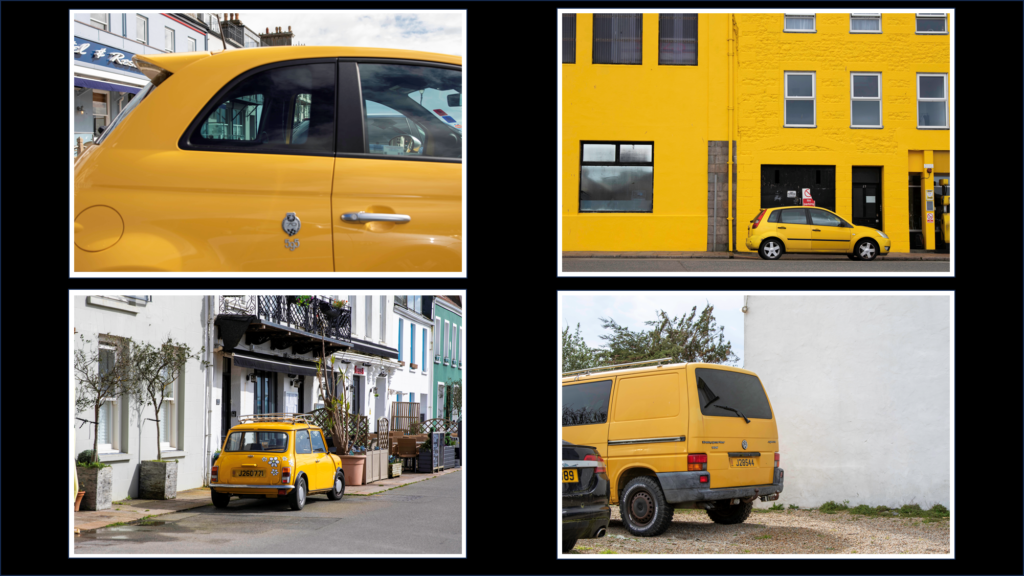
For my first final print I am going to print out four of my images on A4 glossy photo paper. I am then going to take a piece of black card and am going to measure my images ad the card to place the images an equal distance away from each other. Once I have my measurements I am going to use an angled knife that attaches to a ruler to cut out four squares in the card which will have a white boarder around them because of the angled knife. I will then use masking tape to hold my images in place, facing through the cut outs.
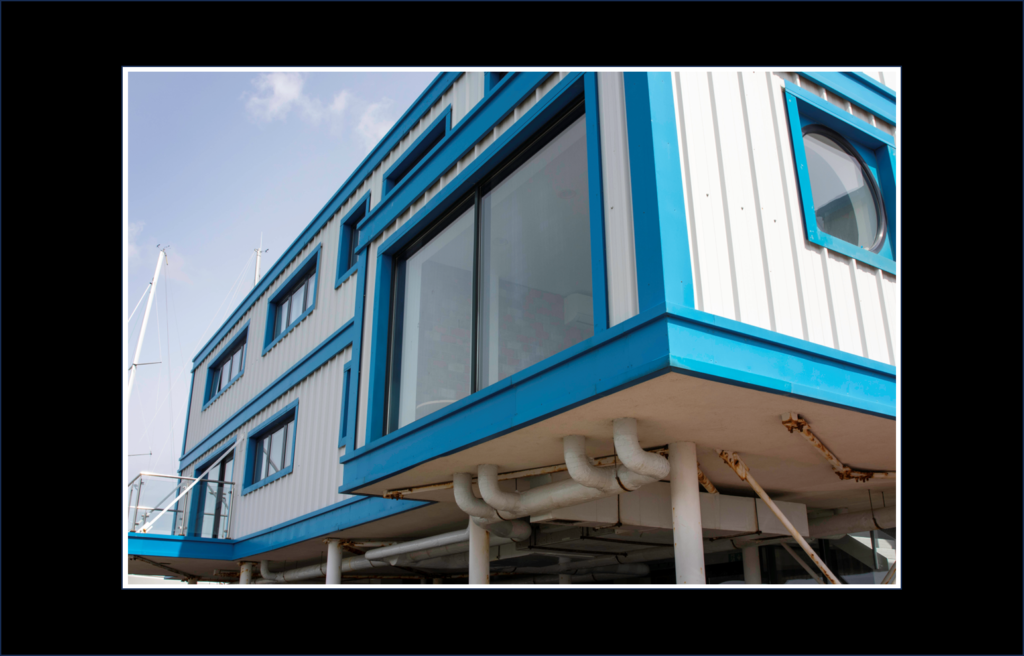
For my second final piece, I am going to follow the same method as my first, however this time I am going to print just one image out on A3 glossy photo paper meaning I will only need to make one cut out.
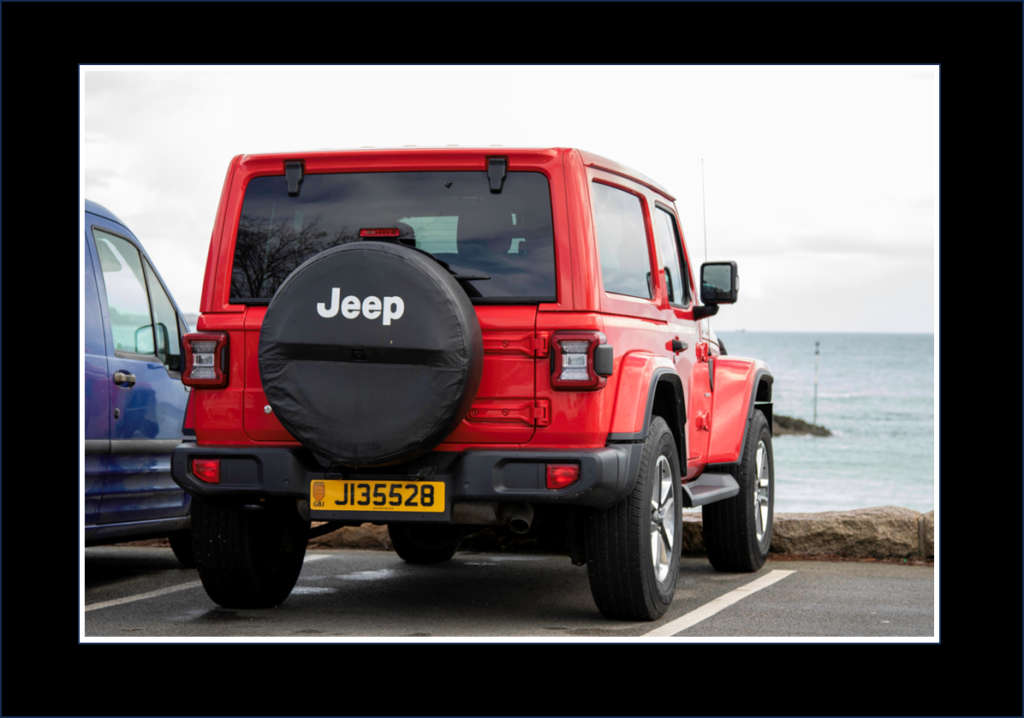
For my third final piece I am again going to follow the same method as my first and second, however this one will be on A4 glossy photo paper. I have chosen to do them different sizes as I think that some of them will be more clear in a bigger size, however some of them will look better a bit smaller as they are all ready very bold.
For my fourth final piece, I am going to print out two of my images which I think go well together on A5 glossy photo paper. I am going to use spray mount to mount them onto a piece of foam board and then double sided sticky tape to mount them onto a piece of black card. I am also going to do that same method for my fifth however, it will be printed on A3 glossy photo paper and my sixth final pieces which will be A4 glossy photo paper.
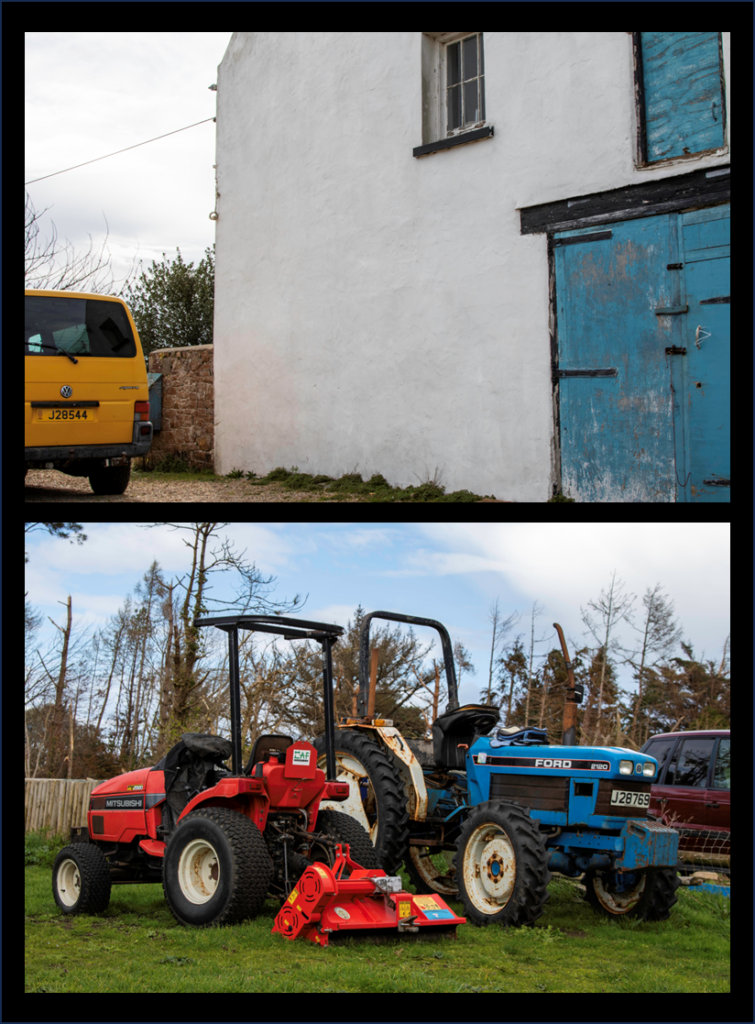
Fifth final piece
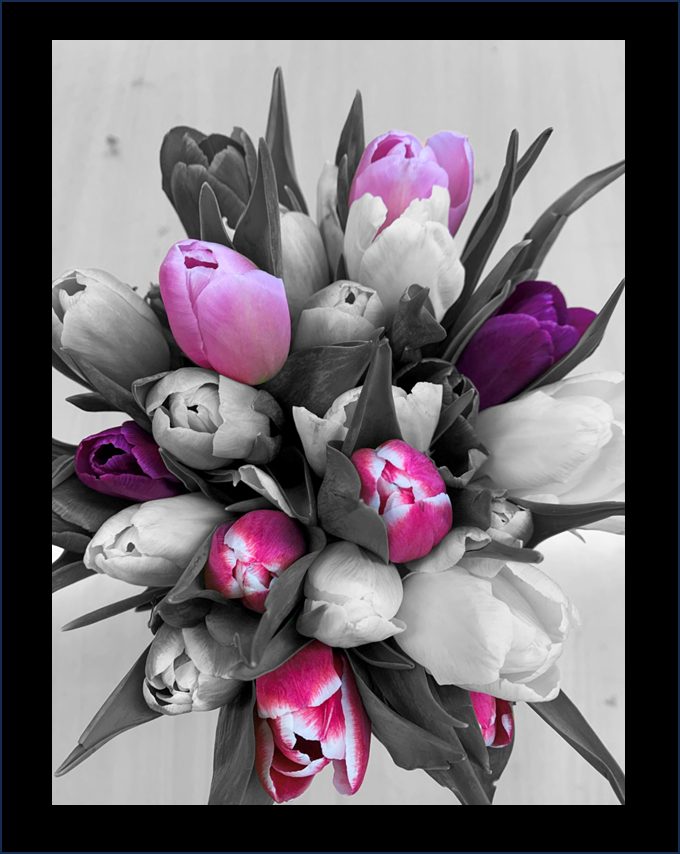
Sixth final piece